

Phantom2
-
Posts
896 -
Joined
-
Last visited
-
Days Won
1
Content Type
Profiles
Forums
Events
Posts posted by Phantom2
-
-
-
Maybe 2-5 per year the last 25 years.
Stefan

- R Palimaka, chrish and Archimedes
-
 2
2
-
 1
1
-
Tanks in 1/35? OK, works for me....
Helicopters in 1/35? I prefer 1/32 but I can accept 1/35....
Aircraft in 1/35? NEVER!
My 5cents on the topic.
Stefan
-
-
-
Of course I WANT my models to be as accurate as possible, but sometimes (...most of the times...) reality kicks in.
But I usually have a very relaxed attitude to dimensions (as long as the overall shape is OK), markings and colors, depending on the subject.
As long as I have fun buildig the kit and I´m satisfied with the result, I´m happy!
After all, not many people except my wife and myself will ever see it!
Stefan
- MikeC, Christa and Archimedes
-
3
-
-
-
I got the two kits "that got away", alas, the ones I missed out on earlier.
I bought the Mirage 2000 and the Texan T-6 from Modellbau-König (Modelbuildig King) in Germany.
They look EXACTLY as the KH boxes did, logo, colors, all is the same and now MBK have (or had....) almost the whole range!
I got what I wanted so I´m happy!

Stefan
-
-
-
I´d wait for the Kotare Spit....
Don´t care much for 1/35 scale....
Stefan
- wunwinglow and mozart
-
2
-
On 3/11/2024 at 9:38 PM, thierry laurent said:
It is the canopy. By the way it was also sold separately by Hph.
Yes, It´s the canopy I ment, sorry.
This;
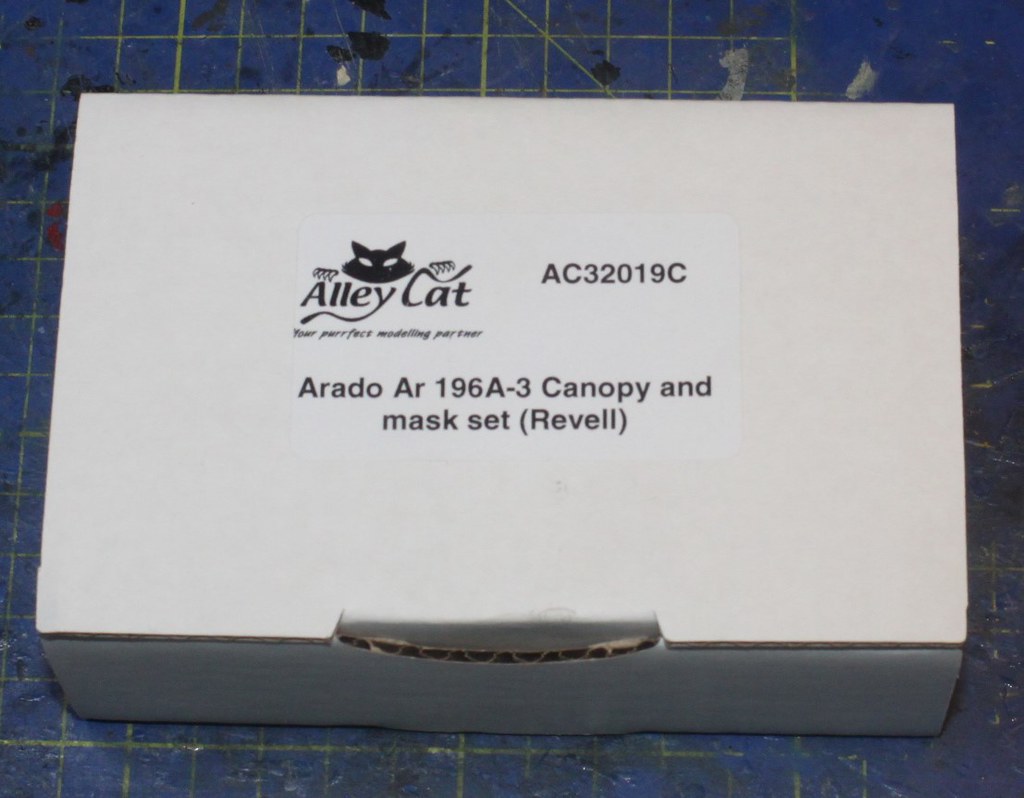
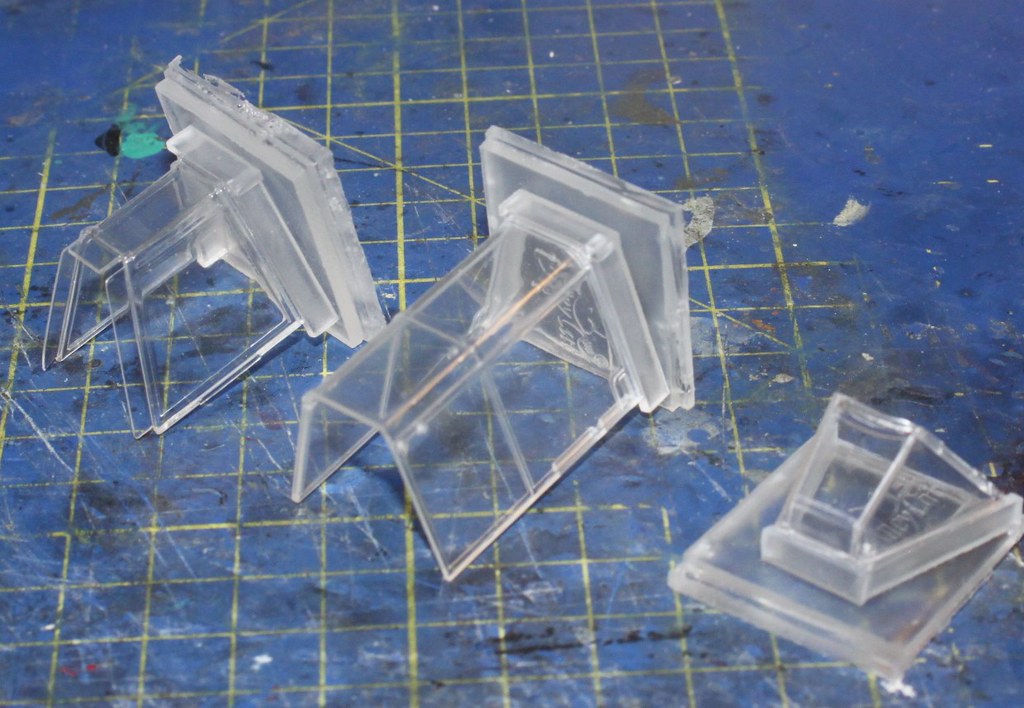
Stefan
-
-
Hi All!
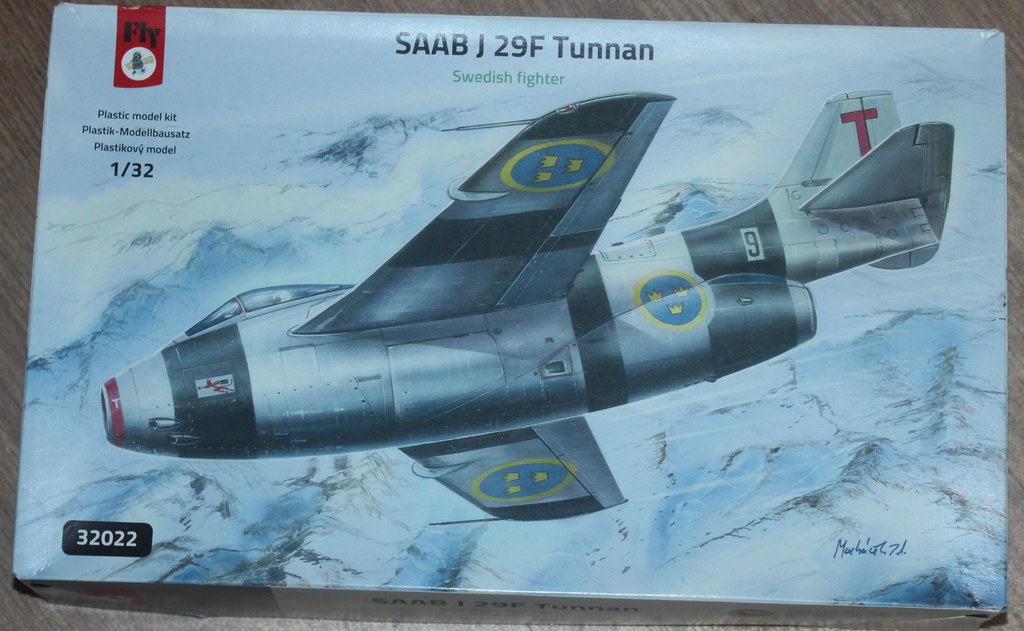
Now, we can remove the lid and take a look on what´s in the box!
It´s a standard “Eduard/Special Hobby” sieze box and there´s plenty of room for the kit, not many parts here, really.
All parts comes in a single, large plastic bag, the clear parts are thankfully in their own, smaller plastic bag.
The instructions and decals also come in a separate plastic bag.


Fuselage halves….

The wings….

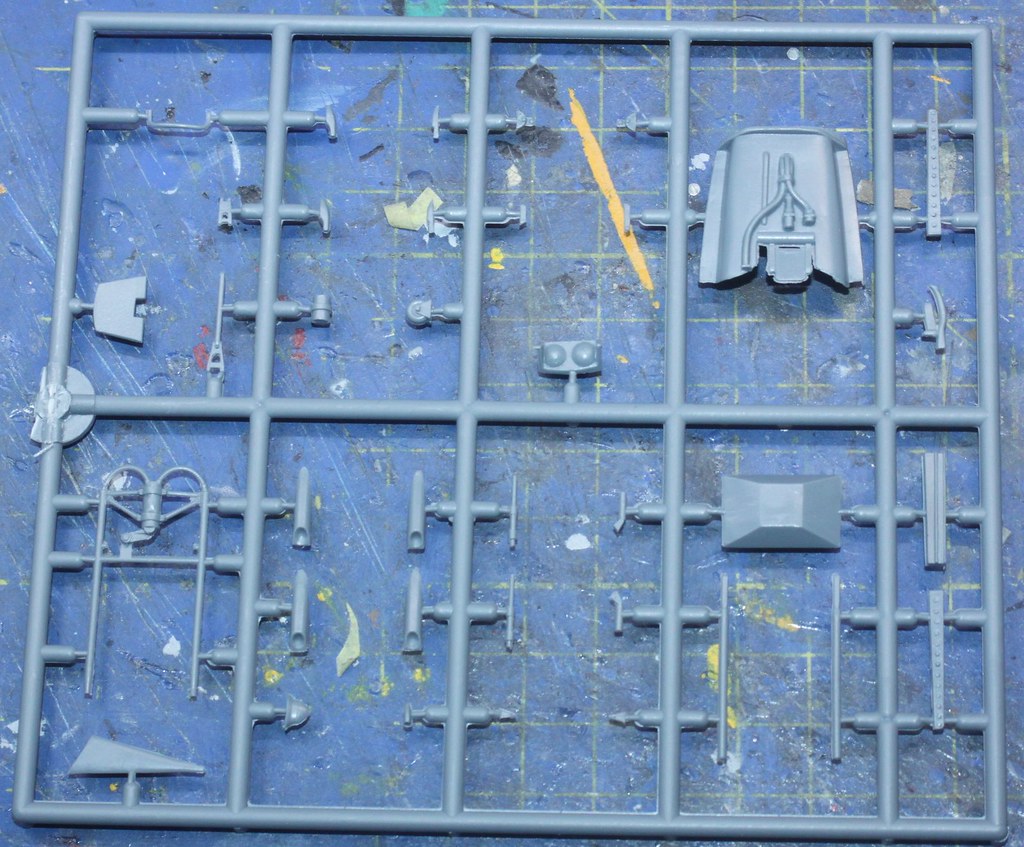
One large frame with tailplanes, nose wheel bay, engine parts and small detail parts…

One smaller frame with elevators, tanks, fins and pylons…

One small frame with smaller parts…
One clear frame…

These are among the best clear parts I have ever seen!
No distortion, completely scratch free, very nice and WELL DONE, Fly!

A large, well printed decal sheet with decals for 4 interesting machines, 2 Swedish and 2 Austrian.

That little sheet to the right contains the instrument decals.

Very well printed decals, even if I can spot some spelling errors,
even the Swedish Crowns are looking good and usable, and look at the badges!
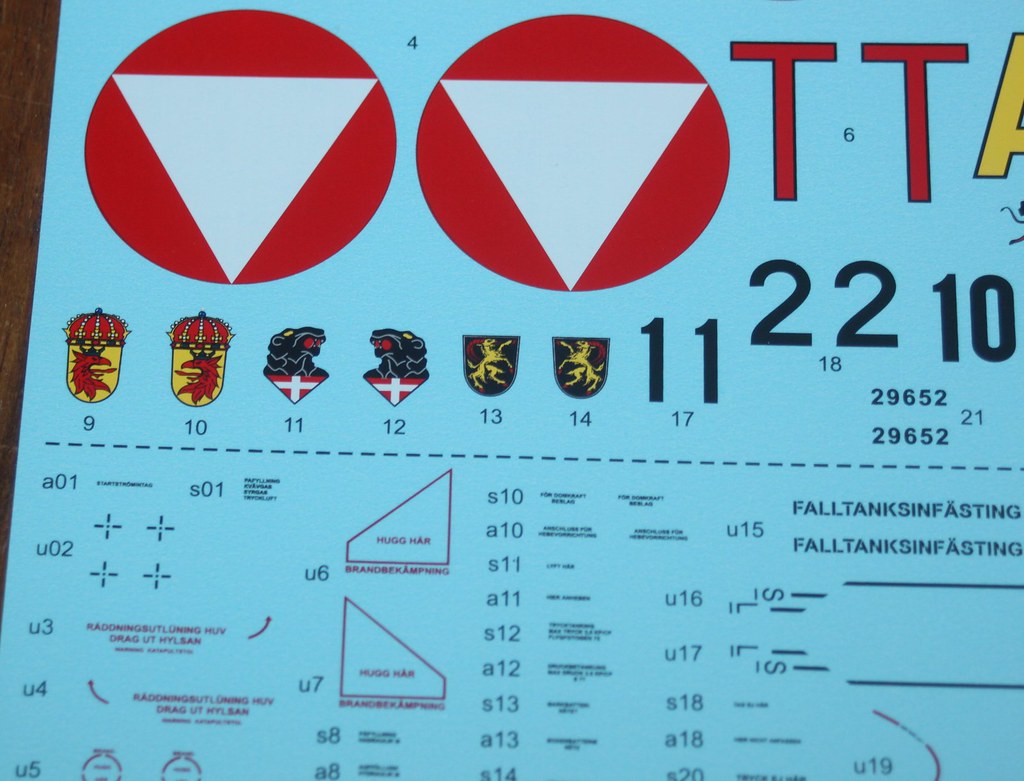
The little devil….

Finally, you´ll get a large bag with resin parts as cockpit, seat, wheel wells and wheels and some small detail parts.
Here are the parts cleaned up and removed from their plugs.

This is the aircraft I will build, Red Tore (Tango), s/n 29652, 1st Sqn. F9 (F6?).
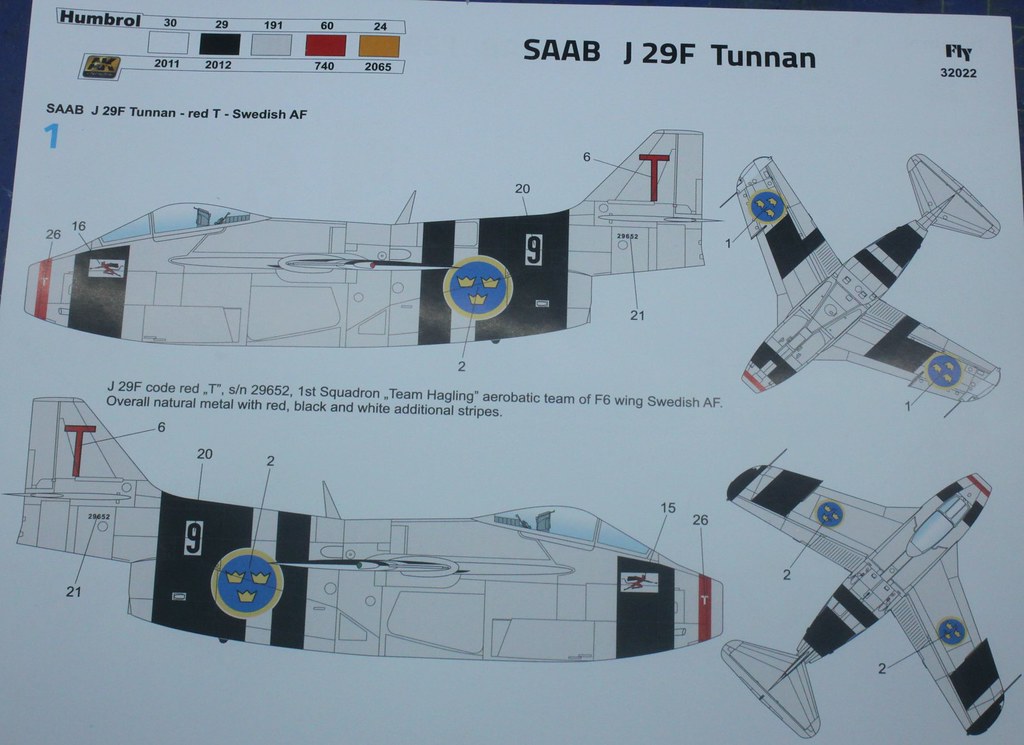
I really like those black exercise markings!
More to come soon!
Stefan
-
-
17 minutes ago, Tony T said:
Thierry and I have been banging gongs about a MiG-21 since page 1 of this thread.
I'm glad there's three of us now.
Tony
18 minutes ago, Tony T said:Thierry and I have been banging gongs about a MiG-21 since page 1 of this thread.
I'm glad there's three of us now.
Tony
Make it four!
I´d love to get a MiG-21 (ANY MARK!) in 1/32 from Eduard!
Their 48 scale kits are wonderful and the MiG was flown by more then 60 countrys!
I think Eduard are looking at the 109 F or G series, a completley new tooled kit in the Kotare style, but we´ll get a "profipack" style kit with all bells and whistles and later there will be a weekender too.
The 48th scale 109 series, all marks and all scales are their all time best selling kits with more then 250.000 kits sold up until now.
No wonder they look at the 32 market too...
Stefan
-
11 hours ago, LSP_Kevin said:
Who has the corrected nose gear?
Kev
A Swedish firm called "Maestro Models", many 3D printed and Resin/metal parts and even Decals for Swedish Aircrafts in all major scales.
The Nosegear set have art.no. 3206...
https://www.maestromodels.com/catalogsearch/result/?q=3206
...and the Intake set have the art. no. 3204
https://www.maestromodels.com/catalogsearch/result/?q=3204
I can only recommend this firm, I have used their products in many of my builds.
Stefan
- Kagemusha, R Palimaka, thierry laurent and 1 other
-
3
-
1
-
3 hours ago, Mark_C said:
I look forward to this, too. Will you be using their corrected nose gear?
Thanks, all!
Yes, if I can get a nose gear set, they are out of stock at the moment.
Stefan
-
Hi all!
As this is a Jubilee-build and a long one, even I have a chance to get it over the finish line!
What better then building something from my hometown of Linköping, Sweden, where the SAAB J-29 Tunnan (Barrell) was built during the 50´s and 60´s.
I´ll use the FLY kit and some aftermarket, even tough there’s not much available.

I have the Maestro nose ring as the kit intake is more akin a MiG-15 then a Tunnan.

As my main reference I have this book by Mikel Forslund, signed by the author himself!

More to come soon!
Stefan
- geedubelyer, Dragon, R Palimaka and 16 others
-
19
-
-
-
Hi all!
Top wing painted, all rigging done on the fuselage, time to glue the top wing in place.
The fit was Tamiya-like, almost perfect!
I started with the centersection, let the glue dry until the next day and then I mounted the struts and they just snapped into place.
I glued the rigging tread on a bit of thin plasticard rod (0.25mm) and used that as a needle.


A dot of CA to fix the tread and rod and then carefully trim off the excess.
The plasticard rod can be seen as small white dots but a bit of black paint hides them.

Repeat until all treads are in place…


These nasty small thingies are my best friends when I need to enlarge a small hole.
These are small drills used for root-canal fillings, not fun at all, but If your dentist are kind, you may get them after, they are small, flexible and impossible to break, perfect for modelling.
Ask your dentist kindly next time or these drills are disposed of.
I have gotten several tools perfect for modelling from my dentist, she knows I´m a modeller so she saves tools like this for me and usually asks if I need something!
The kids get a gold star, I get TOOLS!


More to come soon
Stefan
- Troy Molitor, mc65, KiwiZac and 5 others
-
8
-
I bet their first "off-track" kit could be a CAC-13 Boomerang!
A pretty little aircraft, not so well known and there´s only a resin kit on the 32 market.
Stefan
- Archimedes, Pup7309, RBrown and 1 other
-
4


Top three builds
in General Discussion
Posted · Edited by Phantom2
Ay, that´s a really hard question!
But here´s what I have in the stash;
1) Avro Lancaster, Border 1/32
2I DeHavilland Mosquito, Tamiya 1/32
3) Ki-45 Toryo (Nick), ZM 1/32
4) Henschel Hs129, ZM 1/32
5) Curtiss P-40E Warhawk 1/32
6) USS Langley, Trumpeter 1/350
All of my 35 WNW kits!
Stefan