

Sweety
-
Posts
26 -
Joined
-
Last visited
-
Days Won
1
Content Type
Profiles
Forums
Events
Posts posted by Sweety
-
-
-
-
Hi Out2gtcha,
Thank you for your message.
Sweety -
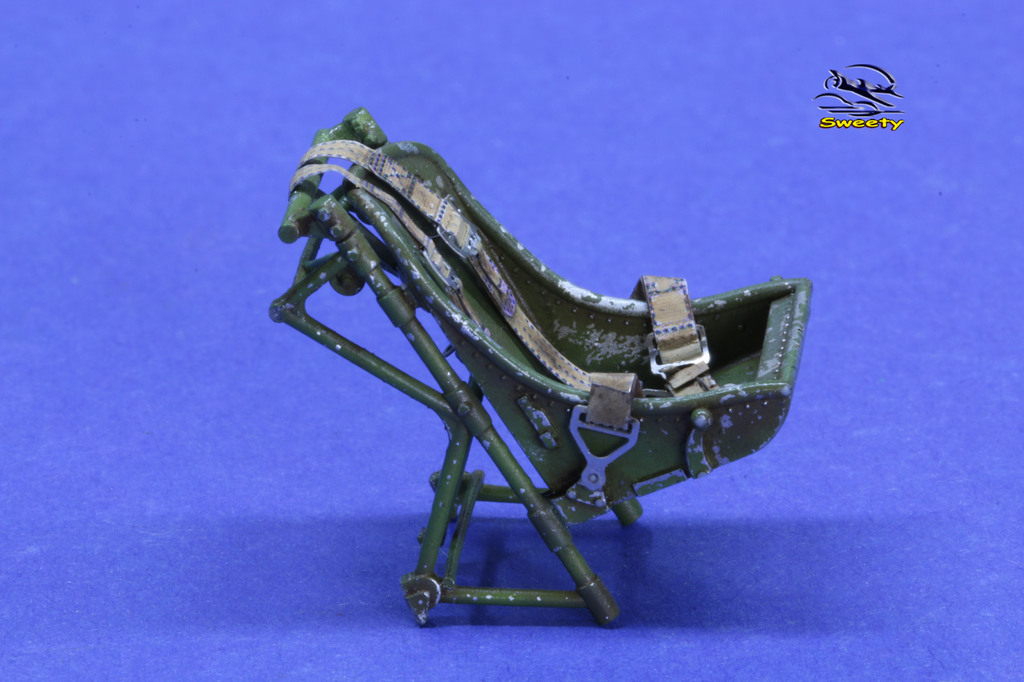
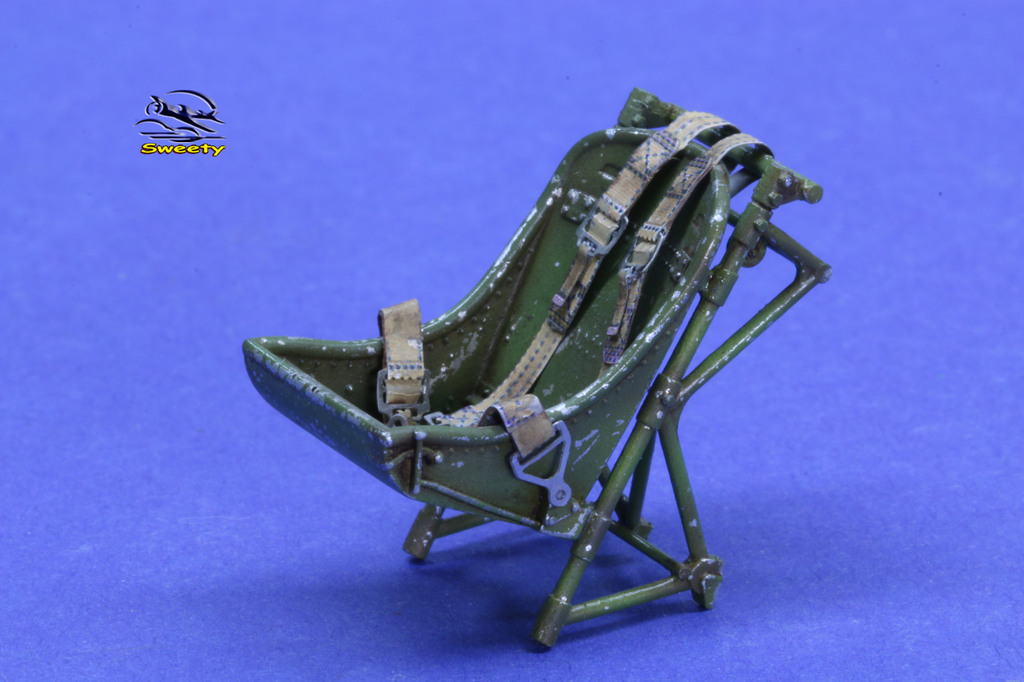
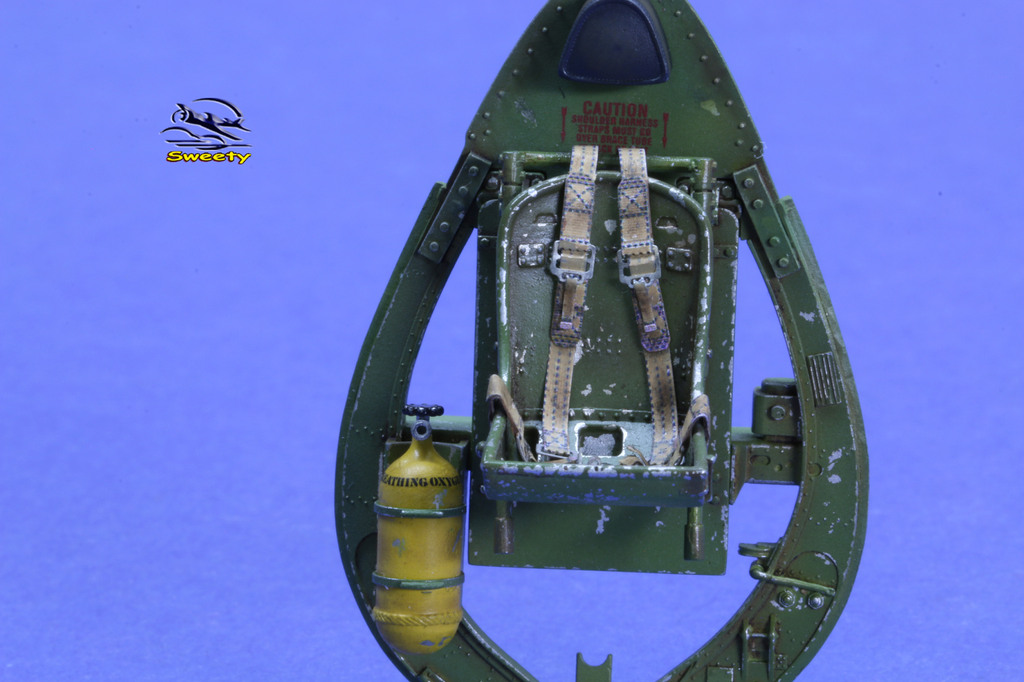
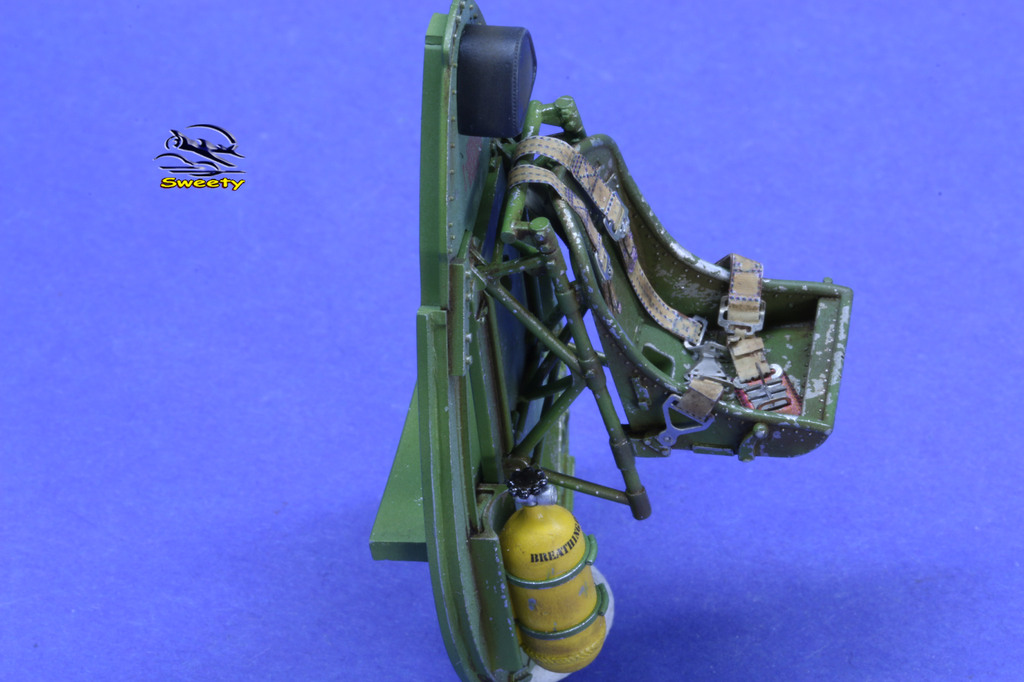
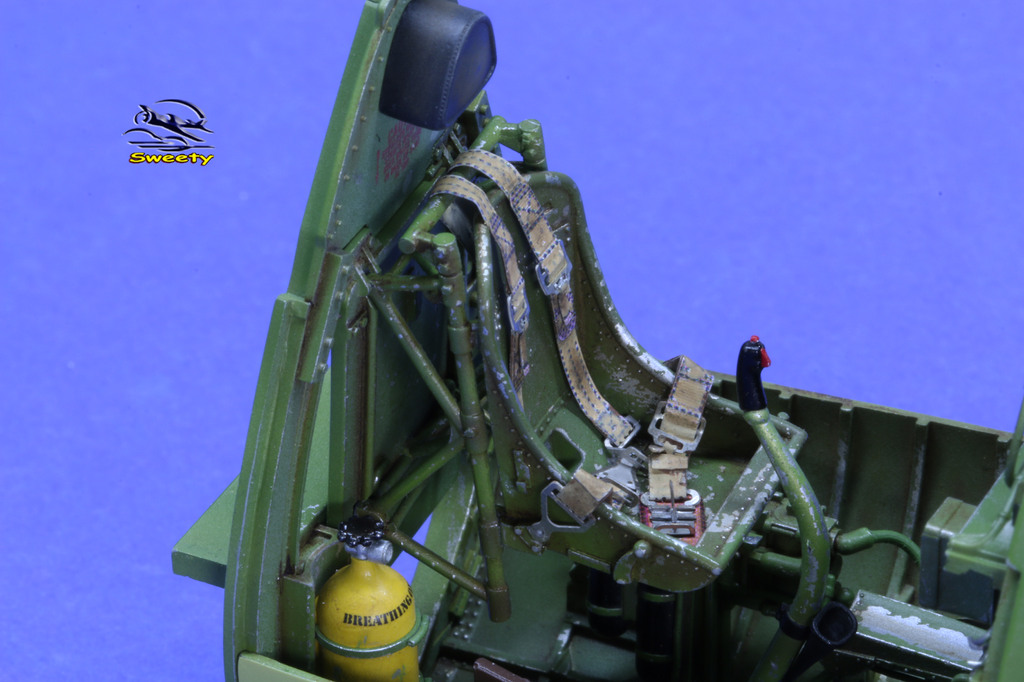
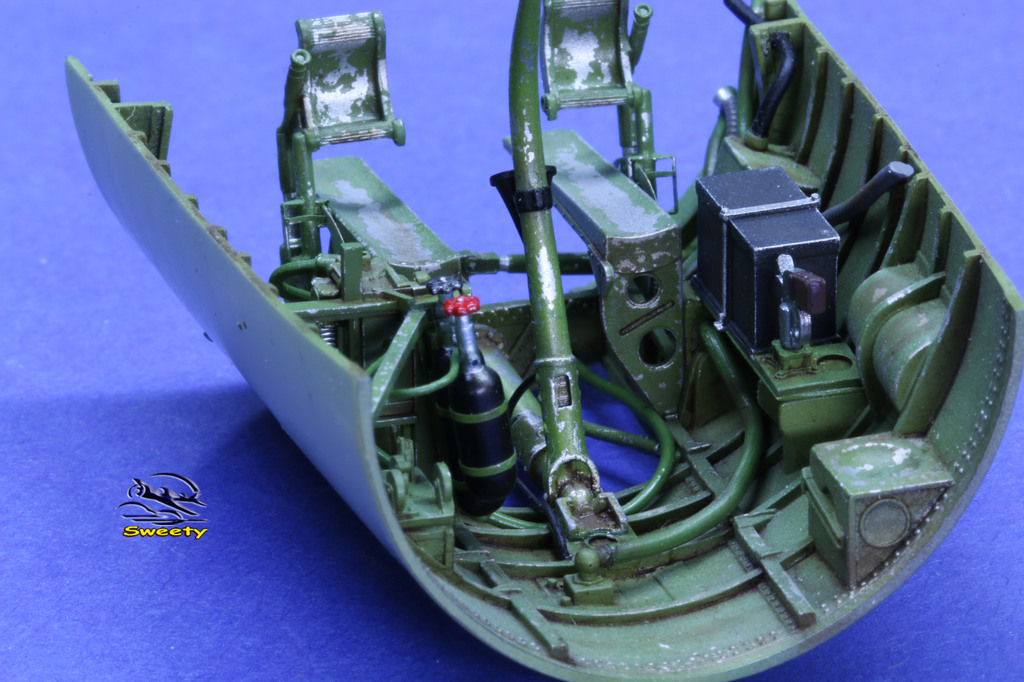
Hi everyone,
What's next?

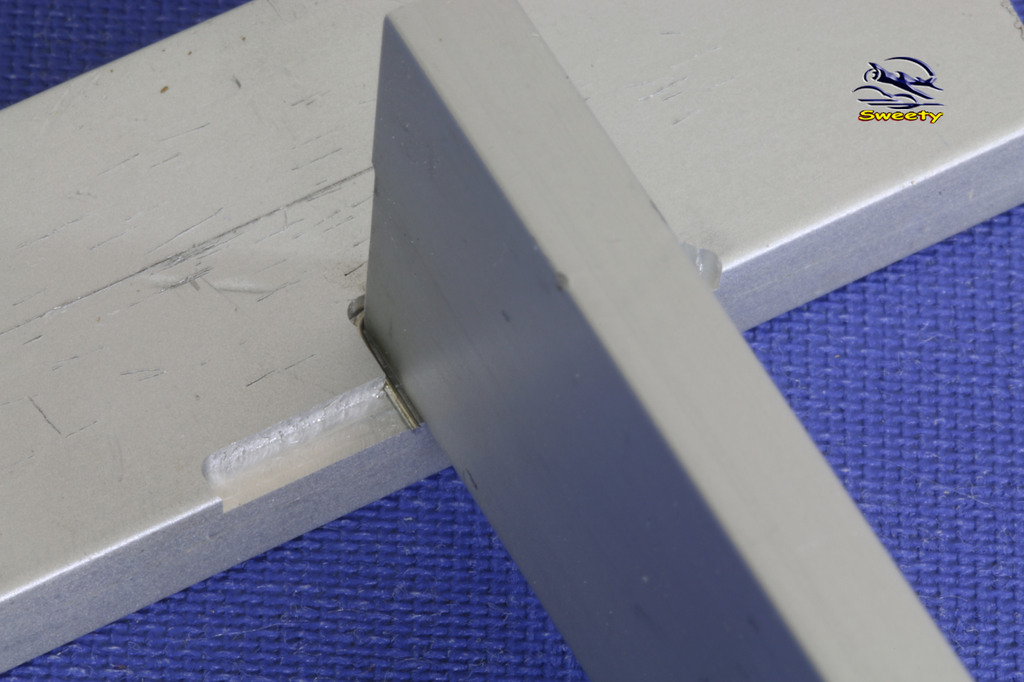
The footrests.

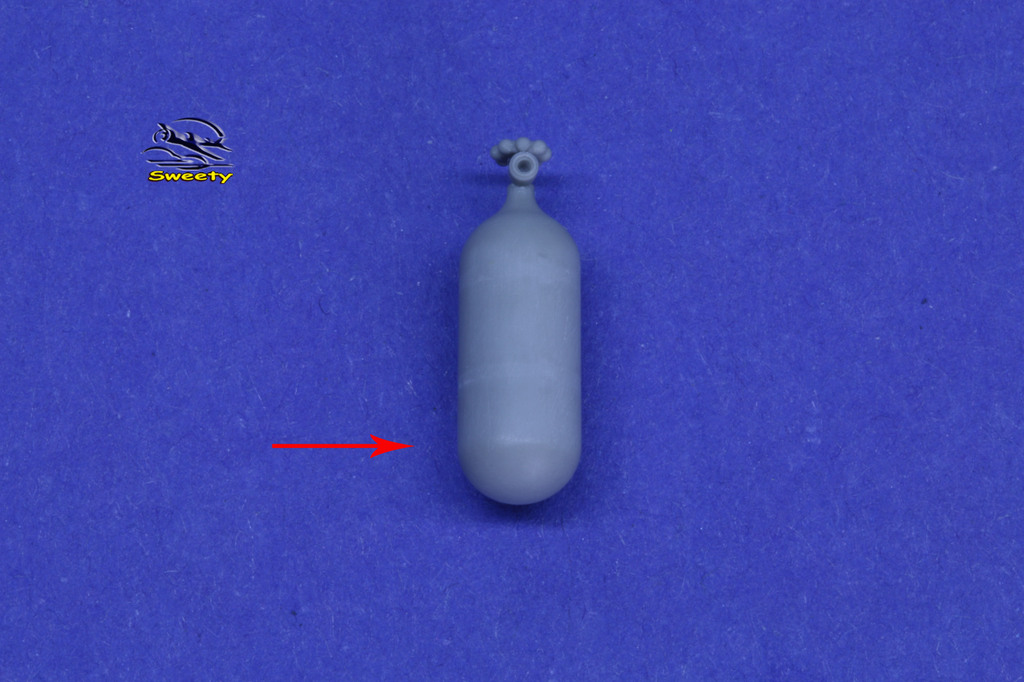
The compressed air bottles for the hydraulic manual pump.
Initially I wanted to add a welding cord.

Teflon masking.

But I did not like it, too rude and I can not make cords of welds thinner. The aluminum straps, bof bof!

I've done it simpler, anyway they hardly will see each other.


The oxygen bottle is also missing a welding cord. There it's easier, bigger!


All that remains is to install all this in the background of the cockpit and plug them in with their pipes.
See you soon,
Sweety
-
-
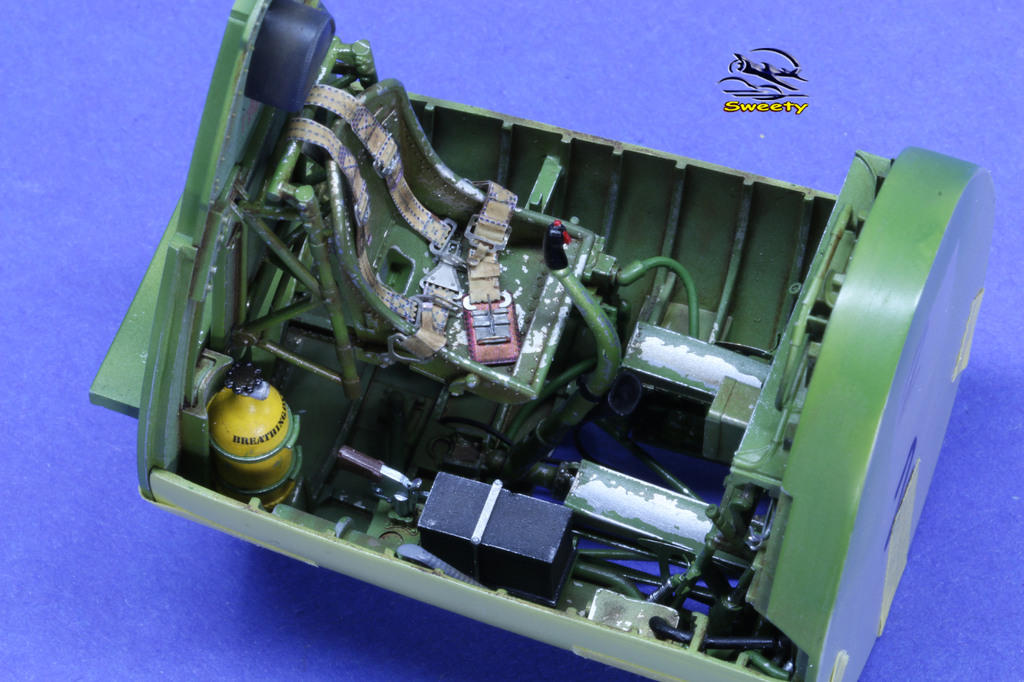
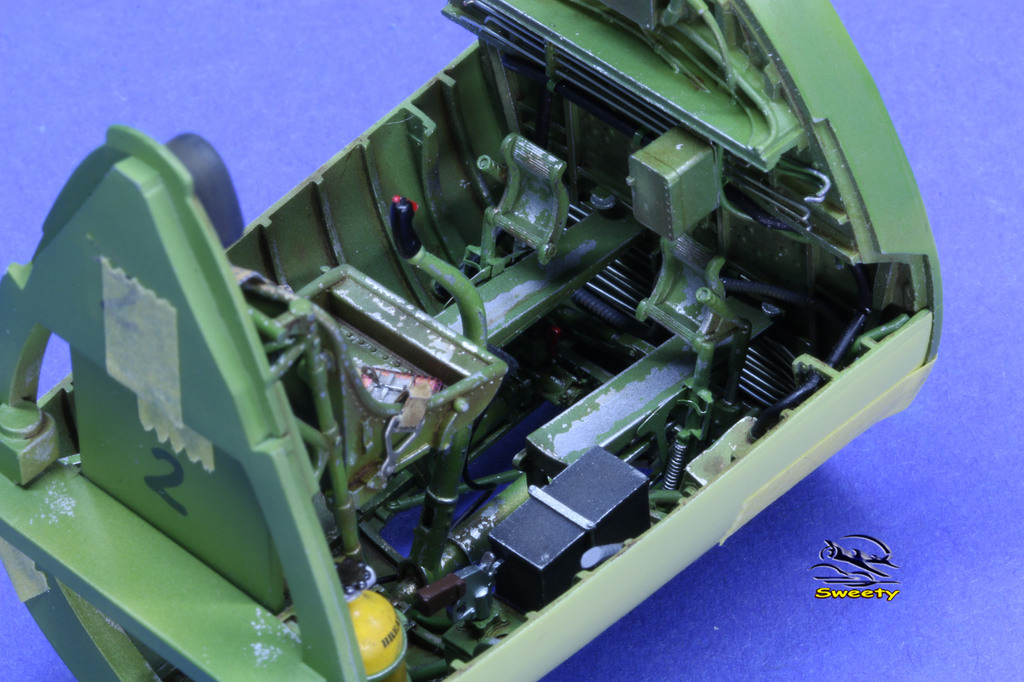
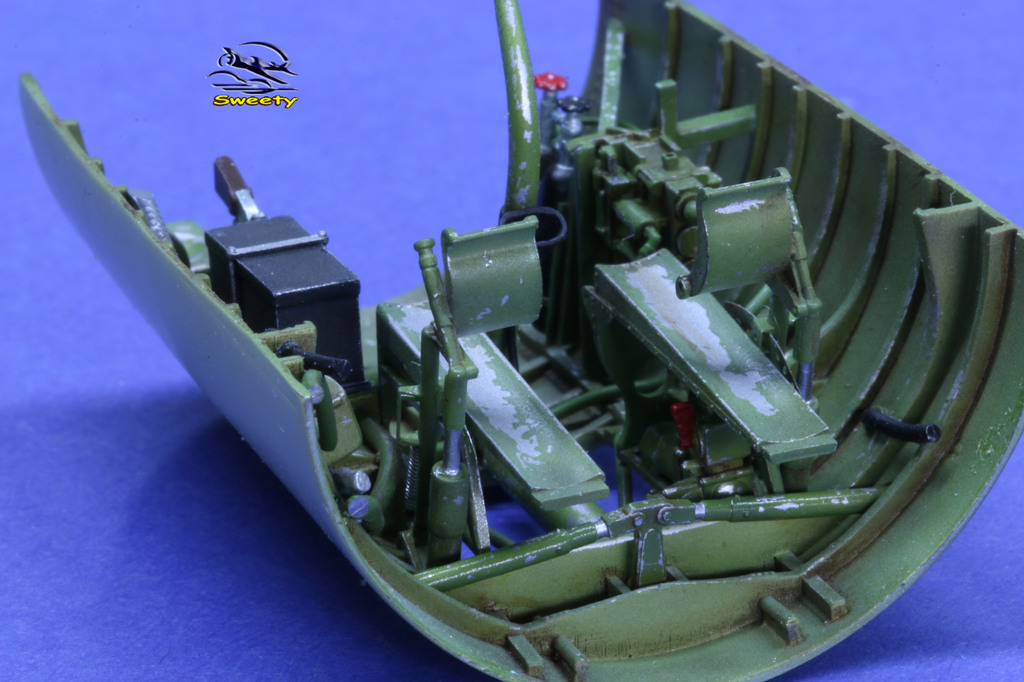
Hi everyone,
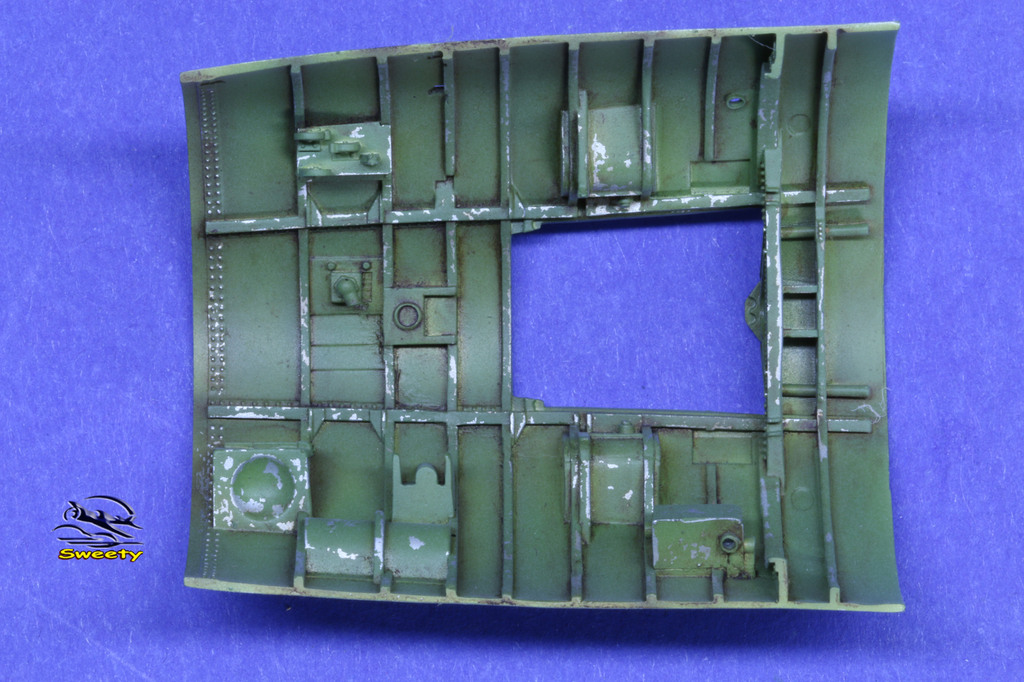
A few elements to furnish the bottom of the cockpit.
The joys of cleaning resin parts.

We're going to have to get out the engraver's stalls.


To make an old hydraulic pump.


The broomstick with the toilets in Boyington.


The rudders.


See you soon,
Sweety
-
23 hours ago, ade rowlands said:
Have never had that Latex like effect whilst using MRP but did get it all the time with Vallejo Model Air which is why I stopped using it. I use some resin add ons in my builds and yes, paint adhesion is always an issue with any manufacturer/brand. I have recently swapped my primer to AK Primer, I've only used the black one so far but can't see there being any differences in the 3 colours available other than the obvious colour shade and its effect on the overcoated colours. I've found this primer to have a good bite on all materials and have not experienced any issues with adhesion. I do wash all parts before paint though with washing liquid and hot water. Letting resin parts soak a while. I have had issues when using AK Chipping and Scratch effects with MRP though as you say, it just all comes off rather than a particular area. I've gone back to masking fluid dabbed on with a sponge for chipping and the good old watercolour pencils too. You shouldn't need to dilute MRP. I've not had to in my experience with it. I've found it thin enough from the bottle. A question are you using the Laquer MRP(big bottle) or the Aqua range(small dropper type bottle)? I'll admit if its the Aqua type I've not tried airbrushing those, I have several of them for brushing on where touch ups are required.
Hello Ade,
Thank you very much for taking the time to answer me and share your experience with me, I really appreciate it.
I agree with everything you told me, I realized an F-16 with the Vallejo, than an F-14 with the Gunze and now I’m starting with the MRP.I was using the MRP Primer which seemed thinner than the AK Primer, I will listen to your advice and redo some tests with the AK Primer.
I was degreasing with Isopropyl alcohol but I will follow your advice and return to washing liquid.
I’m also going to try to dilute the MRP less.
I know that it is small details that make a big difference on the result.
Thank you very much and see you soon.
Sweety -
On 1/8/2020 at 7:54 PM, Out2gtcha said:
Wow, looks great!
Now that's a statement I don't hear (have never heard) very often.
I myself went the other direction and gave up on Gunze to go to MRP because of trying to come up with the perfect mix ratio all the time, as well as problems getting a hold of the Gunze colors I needed. (MRP now with SprueBrothers.com so availability for me has greatly increased).
Gunze or MRP, looking forward to more progress!
On 1/9/2020 at 8:20 AM, nmayhew said:very interested to hear what your MRP problems were exactly?
Hi Out2gtcha and Nmayhew
I’ve been using the MRP paint for a short time.
The MRP paint has a superb surface condition and an impressive range of hue, easy to apply, in short a very good product.
I point out that I’ve used this paint only on resin for the moment.
I tested several primers from different brands. Hanging the paint remains problematic on this resin, Gunze or MRP!
With Gunze paint if a gluing breaks, the paint is ripped off just under the gluing, simply stick back at exactly the same place.
With the MRP paint if a gluing breaks, the paint is shoveled around the gluing and it becomes difficult to repair if not impossible.
For example, I reproduced sticker aluminum flanges. The low voltage of this aluminum around the hose is enough to take off the MRP and take off the surroundings, I never had that problem with the Gunze.
The MRP paint once dry on a surface can adhere like latex and can peel with tweezers and remains flexible. This is not possible with the Gunze which is brittle.
I find the edges of a masking less accurate with the MRP than the Gunze., probably because of its elasticity.
Catastrophic when using some chipping product because nothing holds anymore, masking has low adhesive power including post-it, liquid gum, gluing etc. To limit this problem I apply the chipping product with the brush only in the necessary places that should not be hidden or glued afterwards, it’s valid for the MRP as well as the Gunze.
Beware I do not criticize the MRP which is an excellent product I do not have enough experience with it to presume but I go back to the Gunze that suits me better!
I do not have an MRP diluent, I dilute it when necessary with isopropylic alcohol which works very well but maybe also deteriorates its grip??
Example of an MRP that peeled,

See you soon,
Sweety
-
Hi all,
Not much in advance because I had problems with the MRP painting, I had to strip and to begin again several pieces.
I think I've wasted enough time with this product and I'm going back to the Gunze.
As half is already done it was a bit complicated to make a mixture of several shades of Gunze to have a similar hue for the other half of the cockpit.
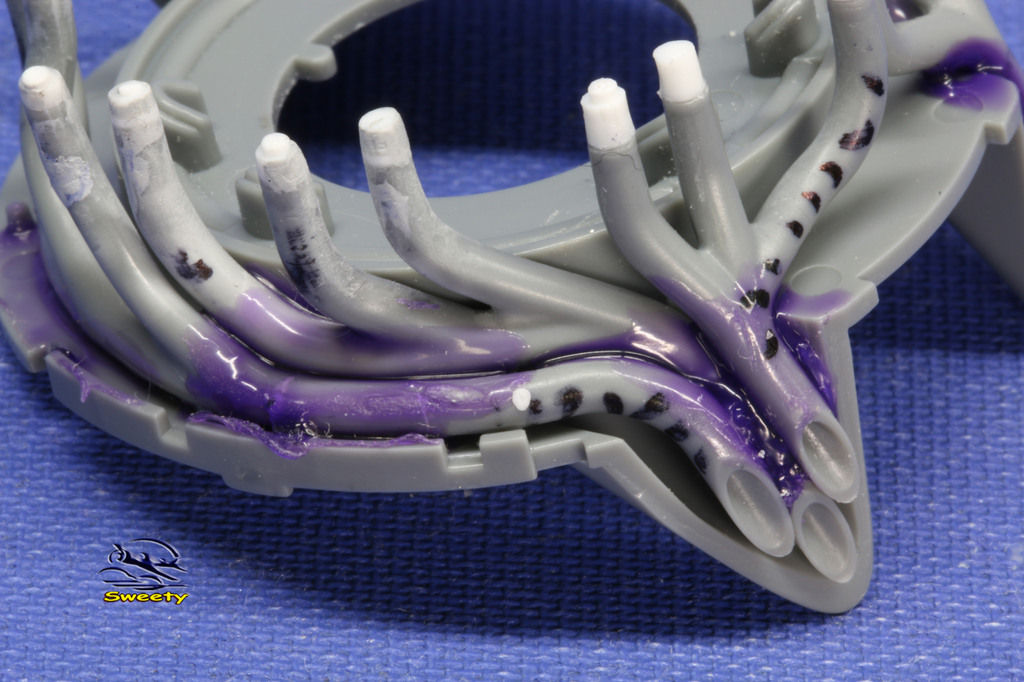
The reconstructed pipes.


Sweety
-
-
Hi everyone and Happy New Year 2020,
The bottom of the cockpit.

The pipes removed.


Une couche d’AK pour le chipping.

Une couche d’AK pour le chipping.

Painting and ready to receive the new pipes.
See you soon
Sweety
Last year I was on the brink but this year I will take a big step forward
-
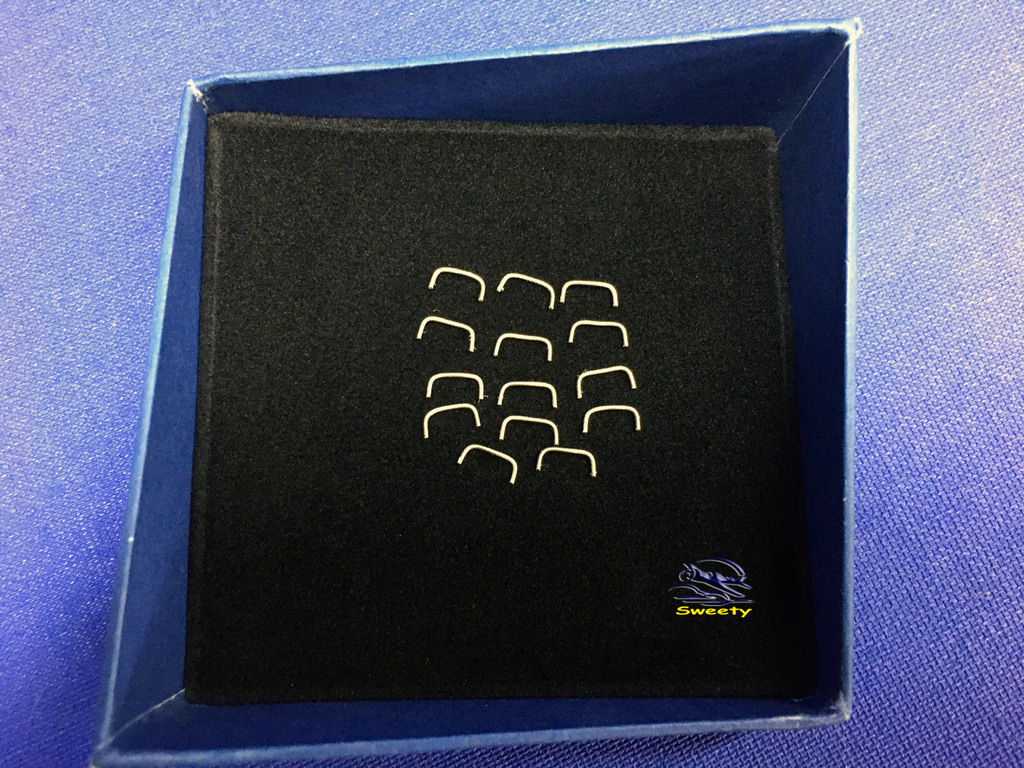
Hi everyone,
The new pipes are placed on the front bulkhead of the cockpit.
Making a few flanges to fix the pipes.


A bientôt,
See you soon
Sweety
-
-
-
-
On 12/17/2019 at 7:17 AM, LSP_Ray said:
Incredible engine! Can't wait to see what you do with the cockpit. Are you going to use the Barracuda placards?
Hi LSP-Ray,
Yes, I'm going to use the Barracuda decals.
-
-
-
Hi everyone,
A big thank you for all your messages.
The engine is almost finished. I'll leave it at that for now, I still have to skate it but I will do it when the time is right to put it in the fuselage to match it with the whole.
In addition I'm a little tired of this engine which, I must admit, has put me a few times in trouble to realize it.
Plus I can't wait to start the Eduard cockpit.


See you soon,
Sweety
-
-
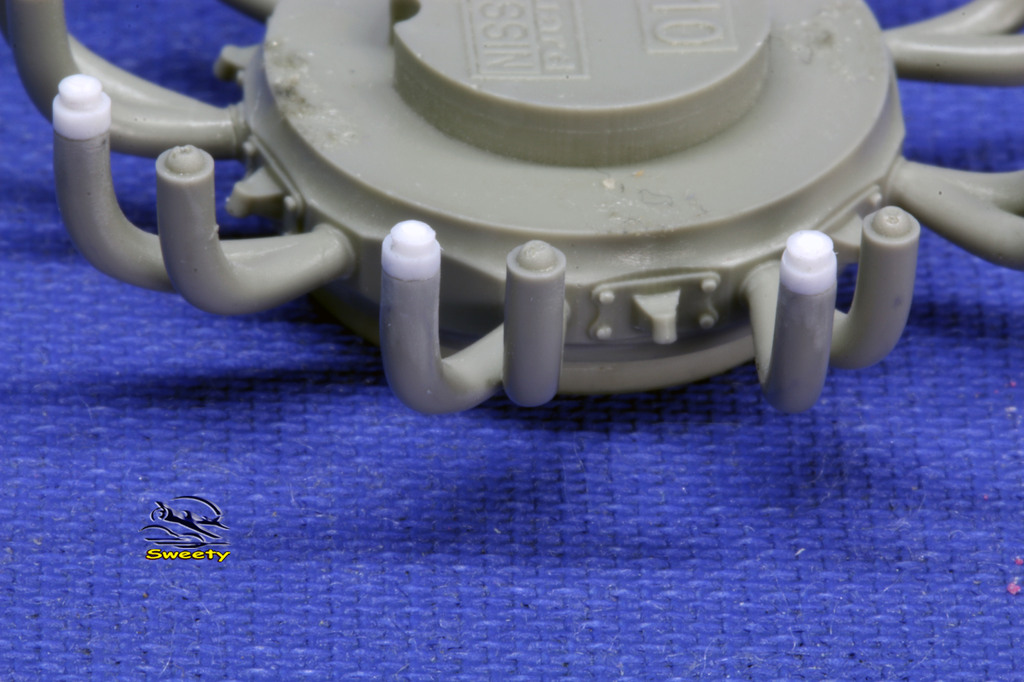
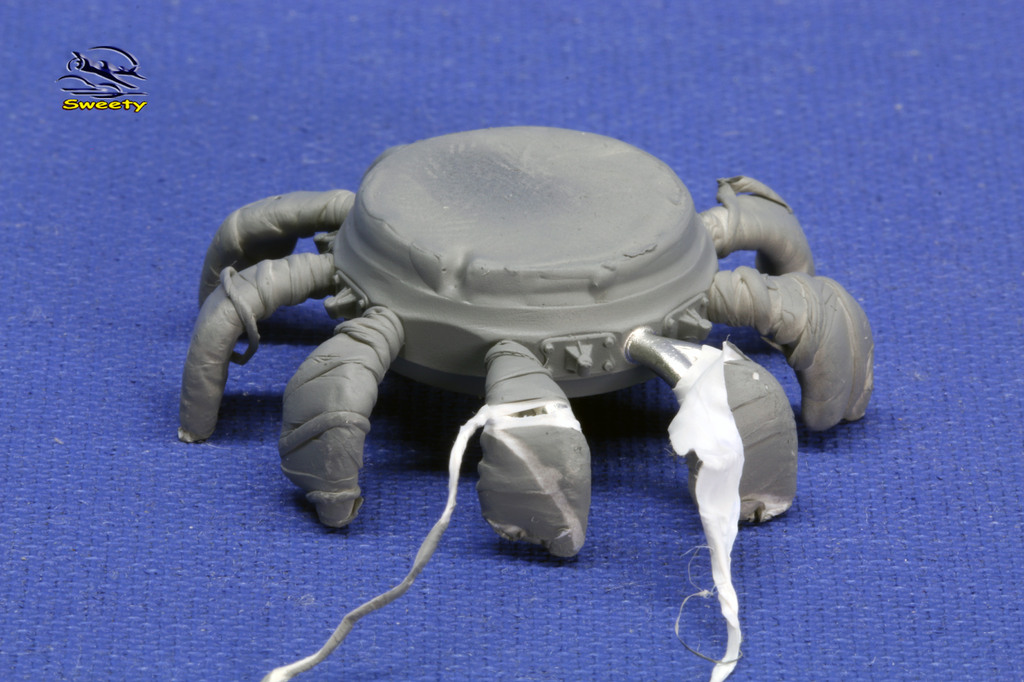
Hi everyone,
Extended intake pipes.

I used Maskol originally intended for masking to temporarily fix my exhausts without sticking them. It's surprisingly very effective.


Painting the exhausts.


Don't panic ! I didn't shot the Christmas reindeer!!
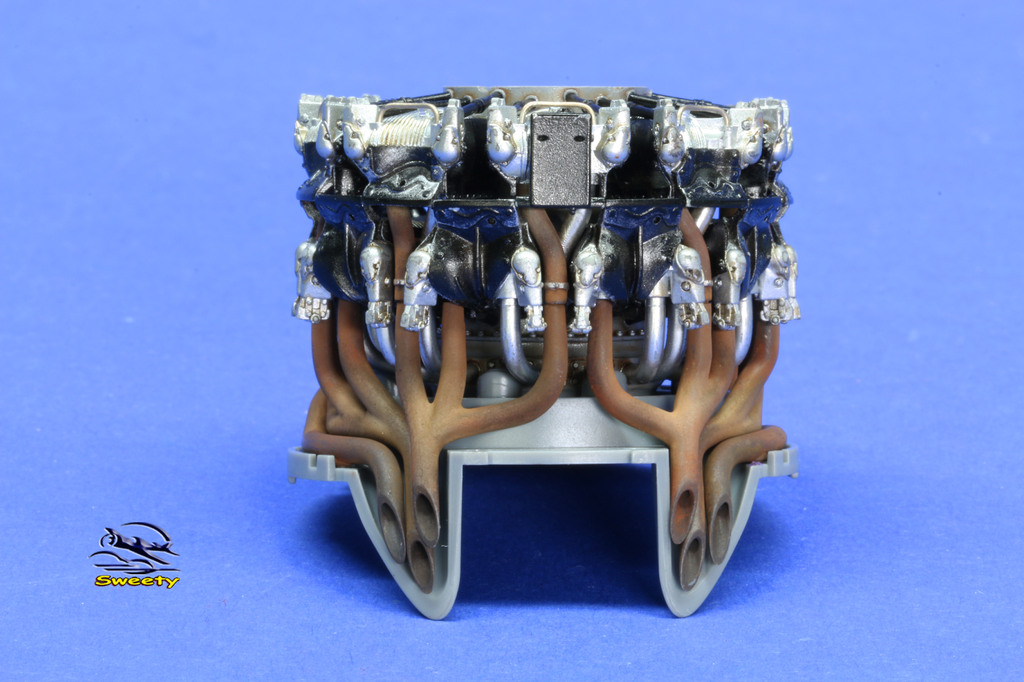

This engine will make less noise !!!
See you soon
Sweety
-
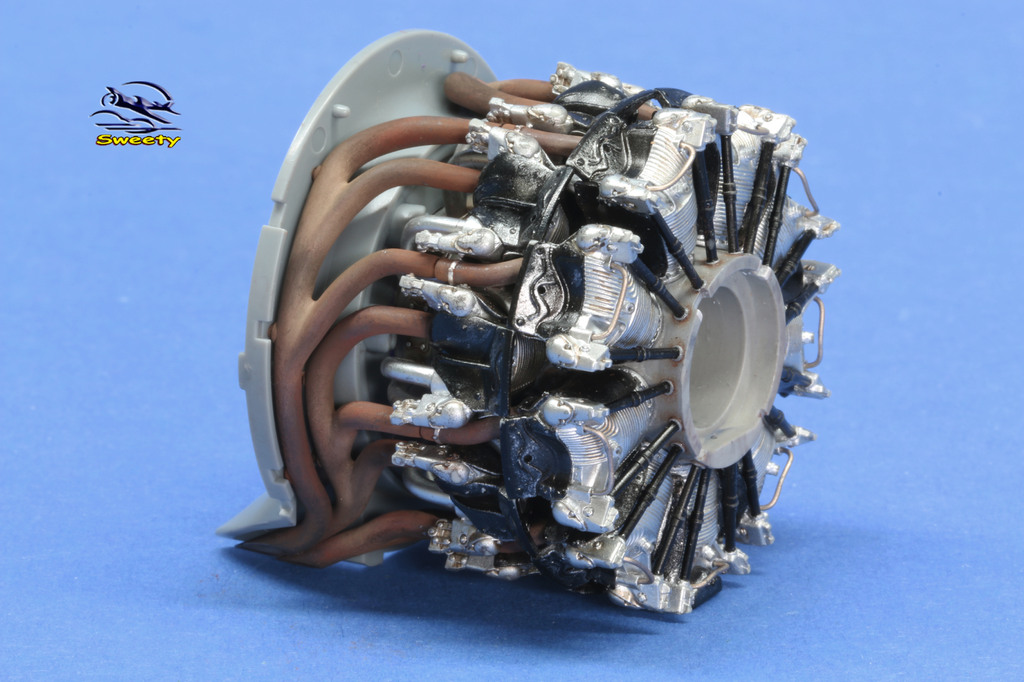
Hi all
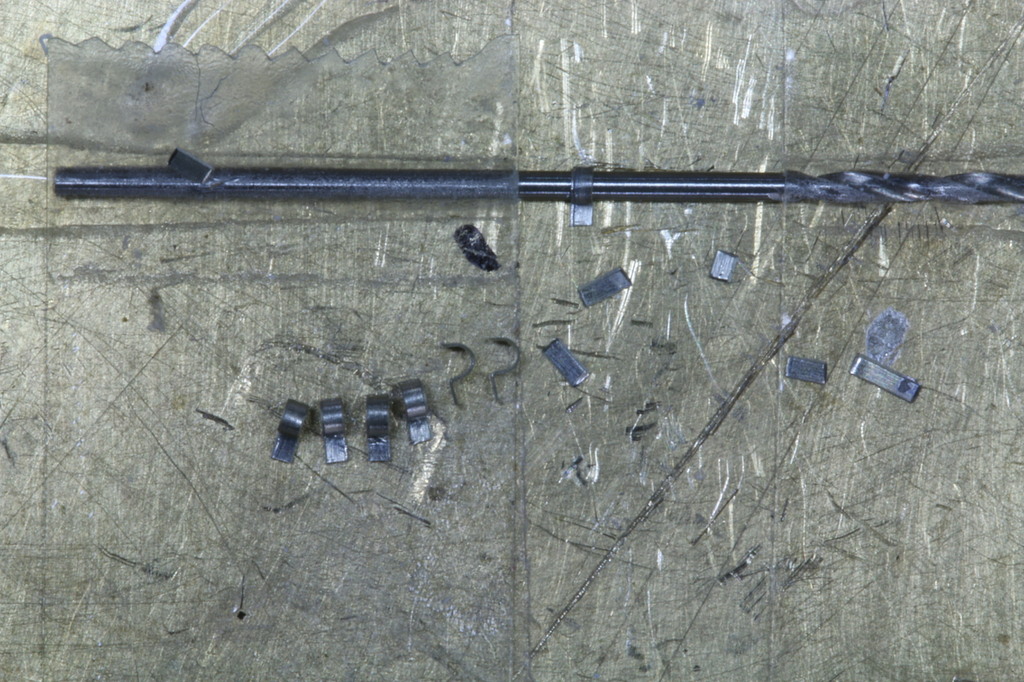
Pipes on the heads of the cylinders.

Regular formatting of the 18 pipes with an improvised folding machine.
Set up the wire.

Push the counter-piece.


And here are 18 regular pipes
Setting up the cylinders.
The admission pipes are too short.
I want to leave the engine hoods open and the pipes are too short which bothers me.
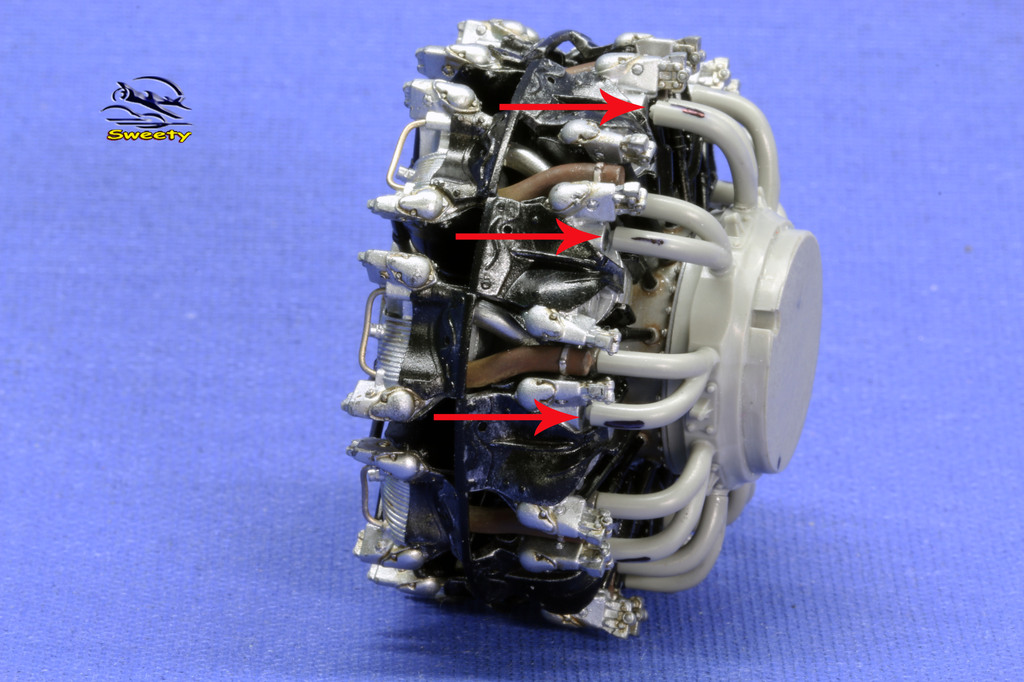
I've extended the intake pipes.

For the masking of pipes, I use Teflon, used in sanitary to waterproof the fittings
 .
.

There you go.


I foresee the same problem with the exhaust pipes.
See you soon,
Sweety
(Google Translate)
-
-
Hello everyone,
For version 1A.
The magnetos of the Eduard Kit will be replaced by the Bendix magnetos of the Tamiya Kit.
As well as the distribution ring.

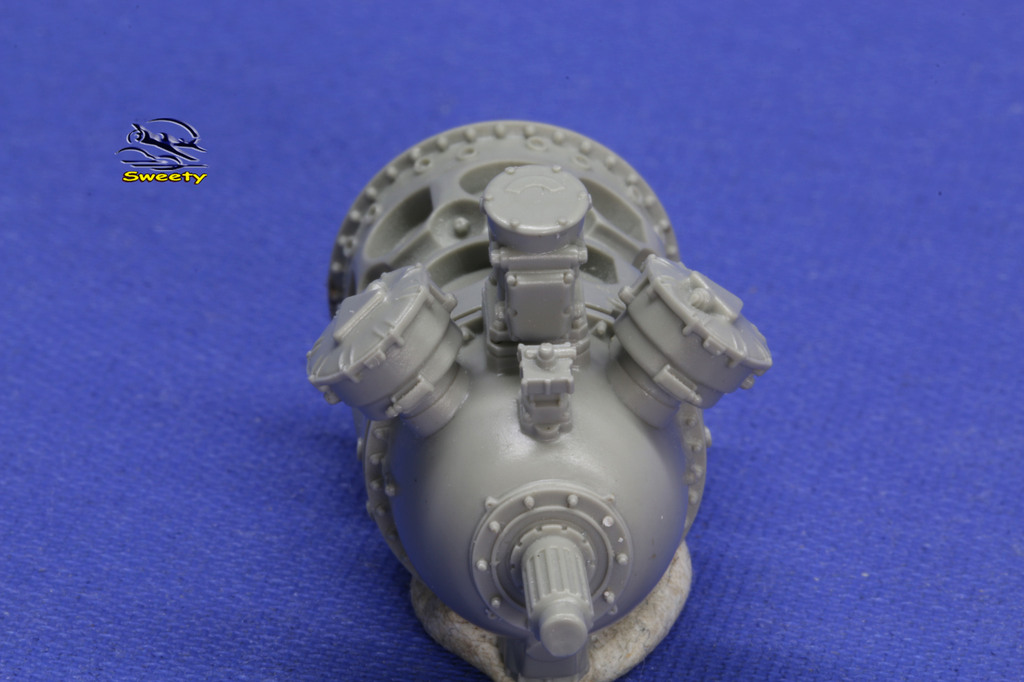


Creation of notches to adapt the Bendix distribution ring of the Tamiya Kit


Painting of the engine block slightly weathered for the moment


See you soon,
Sweety
(Google Translate)
- scvrobeson, Dpgsbody55, Trak-Tor and 14 others
-
 17
17


Corsair F-4U 1A Tamiya 1/32 Cockpit resin Eduard
in Works in Progress
Posted
Hi all,
Nothing new, I'm sorry.
Just a little greeting to all of you and raise this post before it disappears.
Because I don't despair of being able to carry out this project when life stops beating me.
Good sequel to all of you and see you soon,
Sweety