

monthebiff
-
Posts
4,895 -
Joined
-
Last visited
-
Days Won
24
Content Type
Profiles
Forums
Events
Posts posted by monthebiff
-
-
On 4/20/2024 at 9:23 AM, thierry laurent said:
I love such projects! I don't know if you know it but there is one error in the instructions and parts of the stabs of all AIMS sets for late Ju88 & 188. John posted a correction on his Facebook page.
Thanks for that info Thierry as I wasn't aware, I've checked it out and it's to do with the stabilisers which I built up years ago when I first started this one but good to know for my G-10 conversion though!
Regards. Andy
-
Nice work Chuck, I had the same fuselage fit issues as you and it was down to the internal bulkheads being oversize causing the problem. Once I sanded them down a little the fuselage fit was very good. I'm thinking of doing the same with my wings and was wondering what the fit is like on the spar once those internal locators have been removed?
Regards. Andy
-
-
-
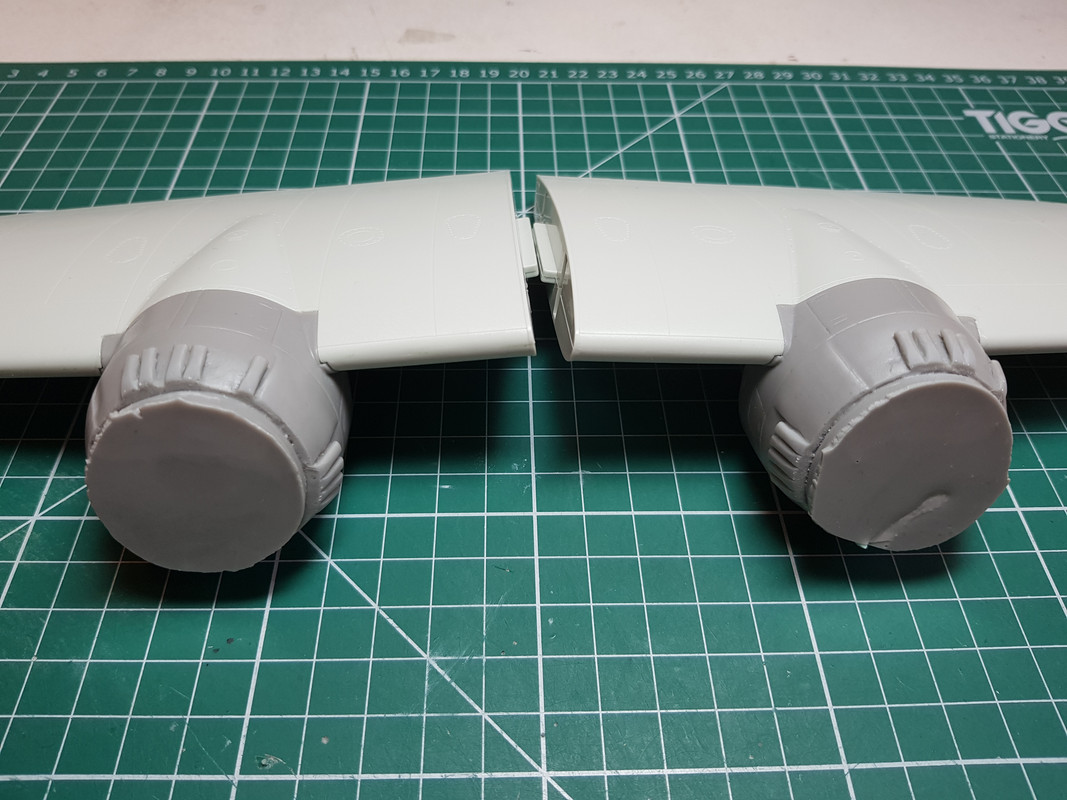
Some more done and needed to fit the cowl rings to the engine nacelles but to do that I needed a basic prop/ backplate/ fan assembly so I could glue the cowl ring in place and be able to remove and re-fit without fouling the cowl ring.
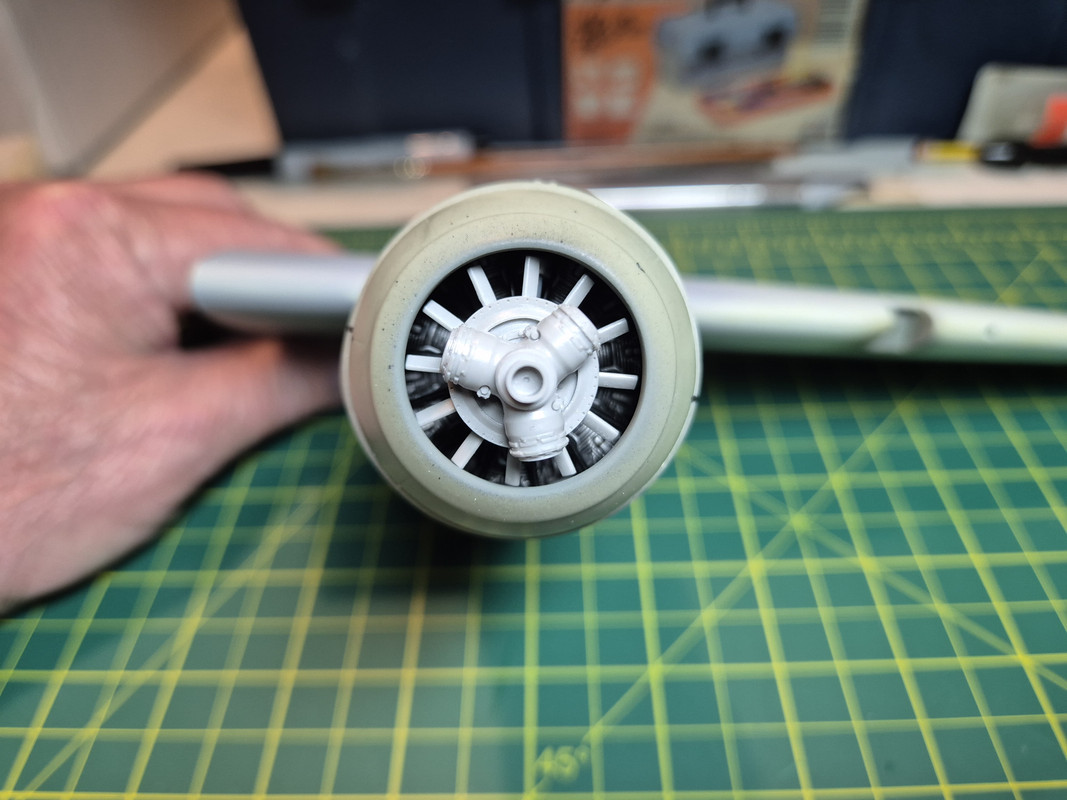
And both completed and fitted in place
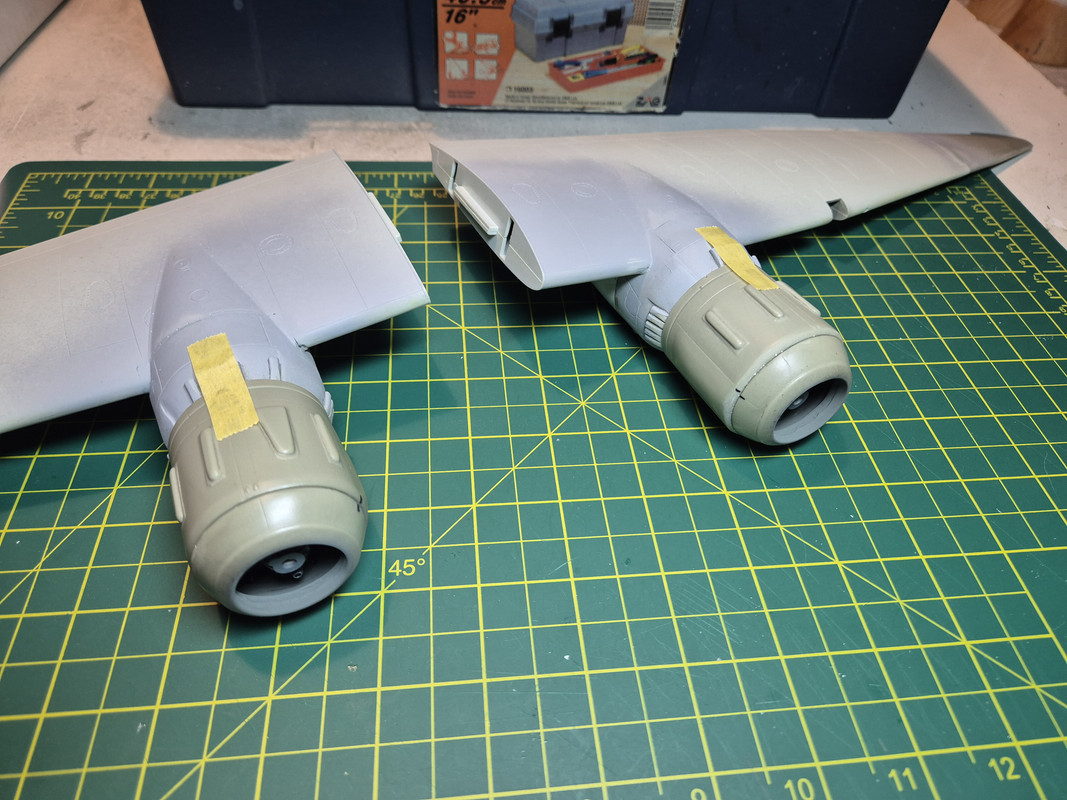
Time next to look at the aileron extensions as definitely some serious work seeded
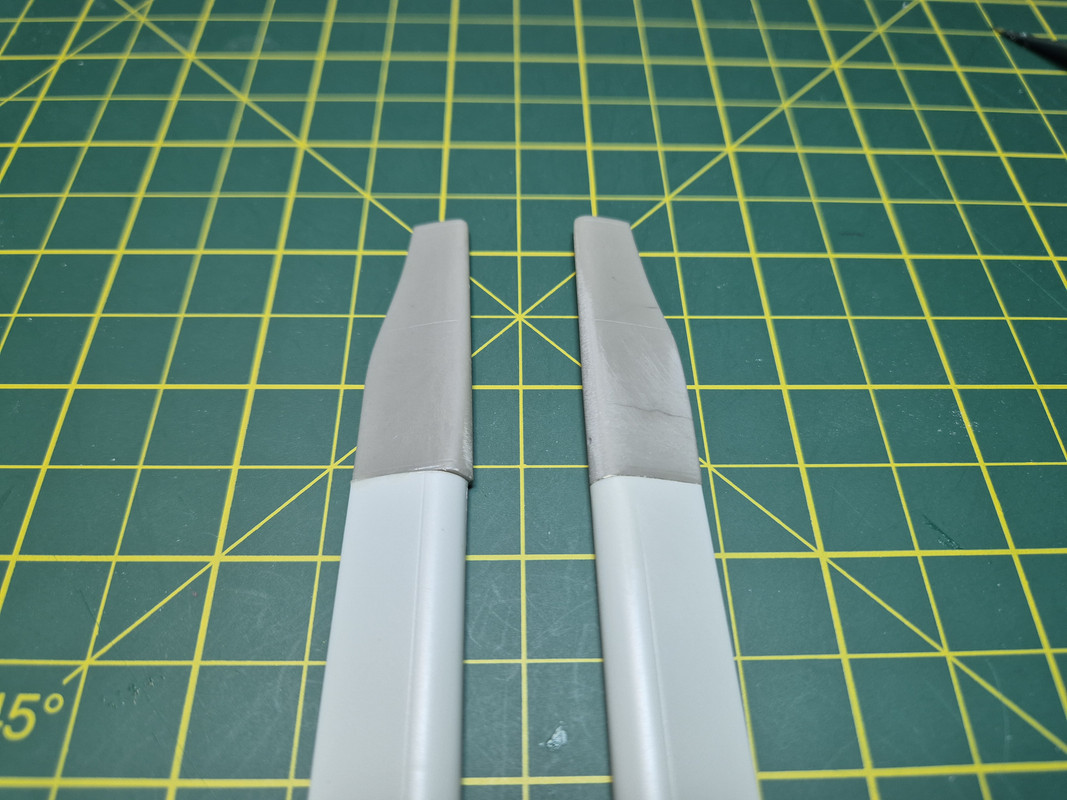
The R/H has already been started on but as you can see from the L/H part much careful sanding and reshaping is needed.
Regards. Andy
- Fanes, John1, patricksparks and 9 others
-
 12
12
-
11 hours ago, Mark_C said:
I stand corrected but is there anyone else apart from Eduard dipping their toe in the water yet?
Regards. Andy
-
4 minutes ago, LSP_Ron said:
Includes weapons interior structure. That must be the interior of the "air bomb"
Not just any bomb has been included Ron but an "Air Bomb" !!!
Could someone please explain what a WW2 Allied "air bomb' is?
Equally could someone explain why the AM producers are not interested in 35th scale planes?
Shall we discuss l
Regards. Andy
- BiggTim and thierry laurent
-
2
-
Nobody, but if correct then this kit is an absolute nail and in the wrong scale, double bad for me .
Regards. Andy
- thierry laurent and BiggTim
-
2
-
1 hour ago, BiggTim said:
I wasn't even going down the scale road. But since you opened the can, I will NEVER build a plane in 1:35 scale. It's a bastard scale that should never have existed in the first place. I'll put up with it for armor, but only because I have little choice.
There...happy now?
")
+1 Tim! 35th scale planes? Just wrong and however detailed they are it's still a No from me. Interesting it seems the AM suppliers have the same opinion
Regards. Andy
- BiggTim, thierry laurent and Phantom2
-
3
-
3 hours ago, Violator1991 said:
Spellchecks now means we've given up scale discussions??
")
Nope but Border have scaled down the abominable HB kit which is very wrong in fuselage shapes. Enjoy the same in 35th scale!
Regards. Andy
-
Supermarine is one word isn't it?
Regards. Andy
- Archimedes and Tolga ULGUR
-
 2
2
-
-
-
-
-
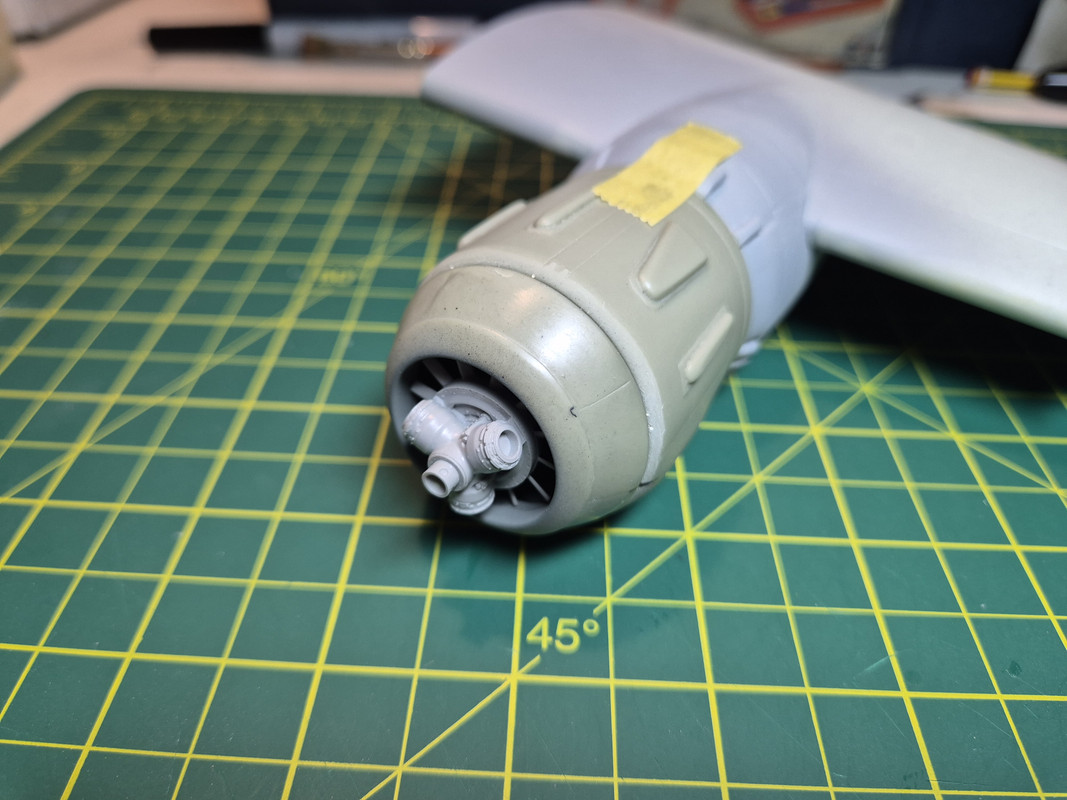
With the engines painted it was time to move on to one of the really tricky parts of this conversion which is getting the nacelles mounted to the wing as there are no positive attachment points at all.
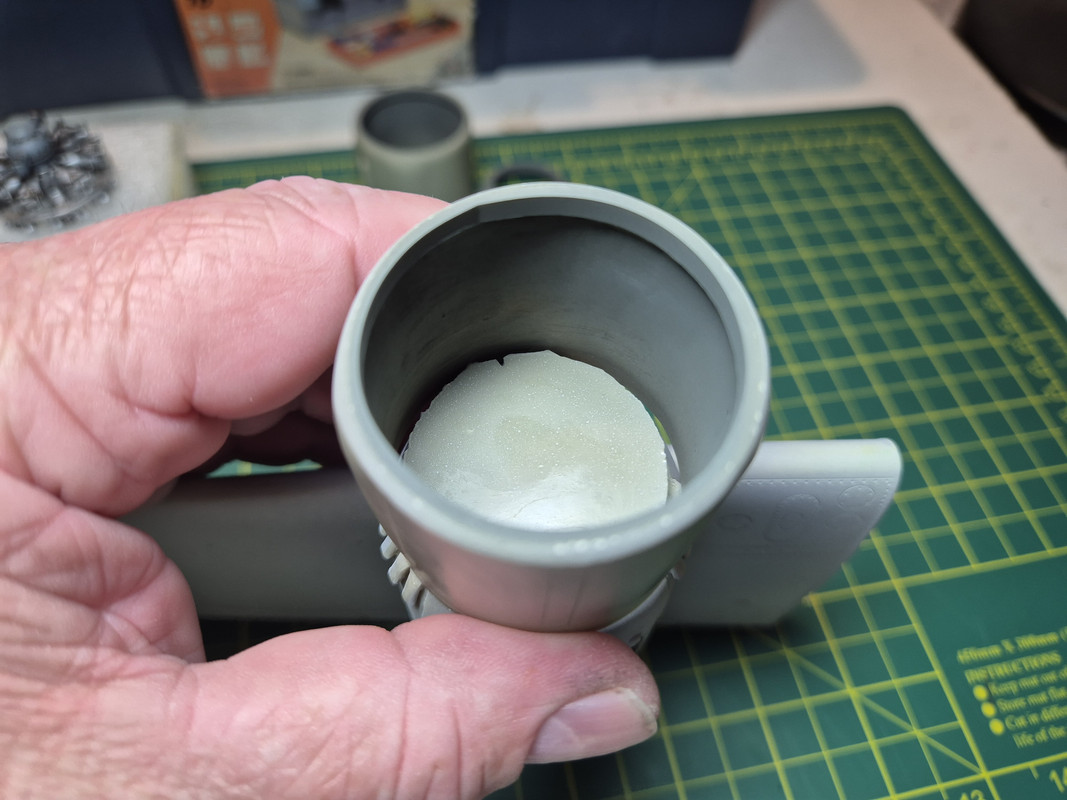
I've been pondering this issue for such a long time now (Erm, just the 7 years) and after painting up the engines at the weekend realised it's a pretty simple and clean solution to the problem!

With the engine secure inside the nacelle I then carefully taped it into the correct position on the wing and ran a drill down through the centre of the engine into the rear engine bulkhead

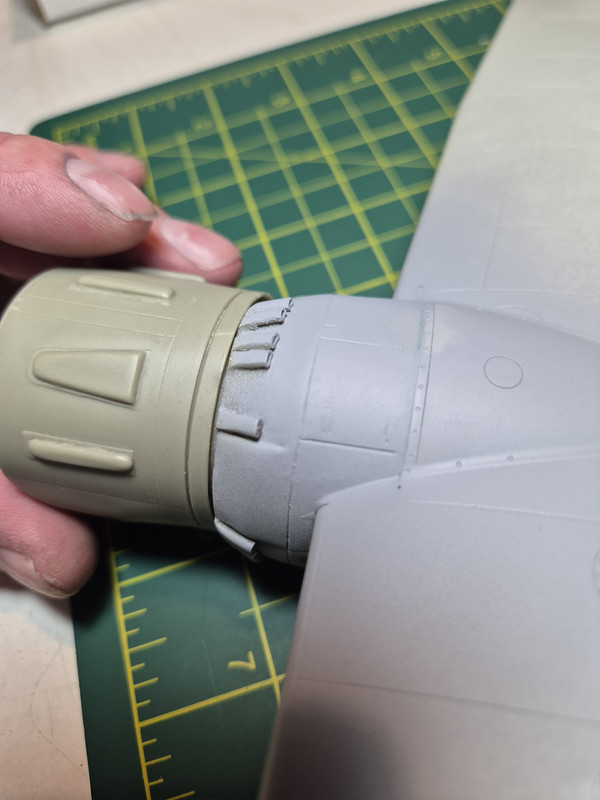
And with a suitable piece of aluminium tubing inserted I was then able to slide the nacelle in to place and all nicely aligned
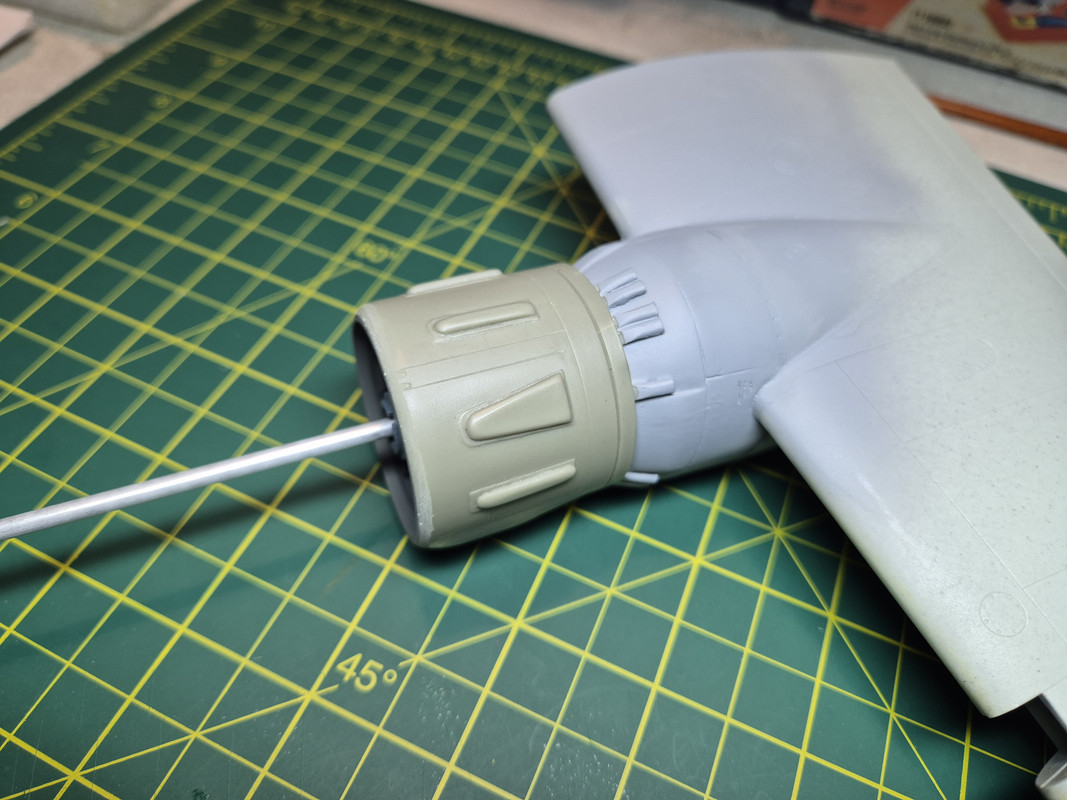
I then cut the tube to the correct length as this will also then act as a nice positive location for the propeller

Pretty happy how that's worked out so far, next up I will build up the prop hub and fan so I can get good alignment of the cowl ring before gluing in to place.
Regards. Andy
- Troy Molitor, Greg W, Learstang and 12 others
-
15
-
35 minutes ago, LSP_Kevin said:
Excellent work! That prop spinner looks great.
Kev
Couldn't agree more Kev, fantastic work!
Regards Andy
-
Personally a 32nd scale Wimpey from HK would be just amazing and after the quality of the airframe on their Havoc the geodetic structure of the Wellington would be well within their reach. I can keep dreaming!
Regards. Andy
- Archimedes, Shoggz and Christa
-
3
-
Now that looks magnificent Tolga!
Regards. Andy
-
So it's been a while but suddenly decided the 188 needed working on again. I decided to ease myself in gently and work on the engines. I'm not using the AIMS supplied resin parts but instead a couple of Revell Fw-190 engines instead as these although not 100% accurate allow a lot more surface detail when painted
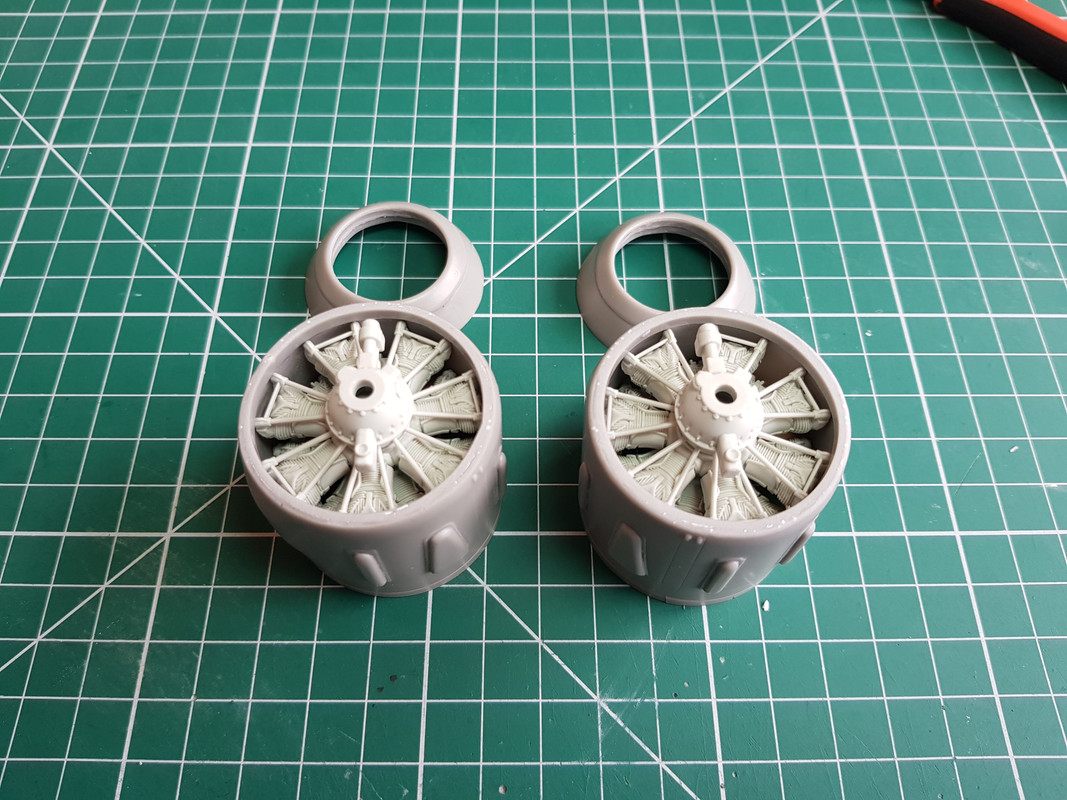
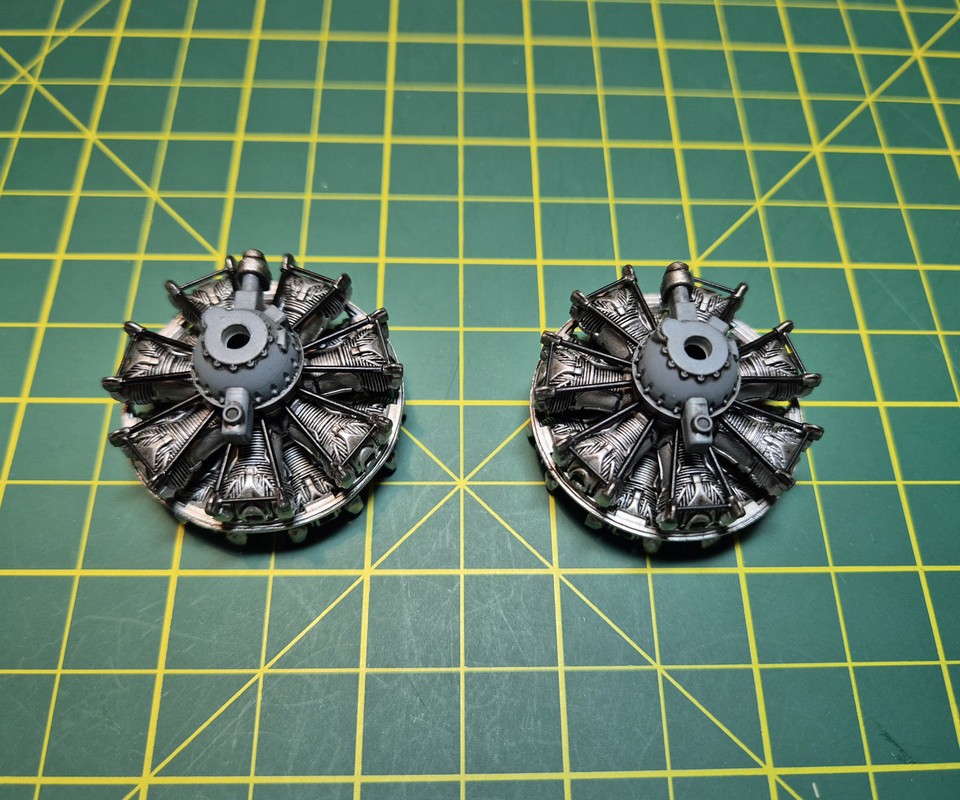
and propellers will be from Eduard
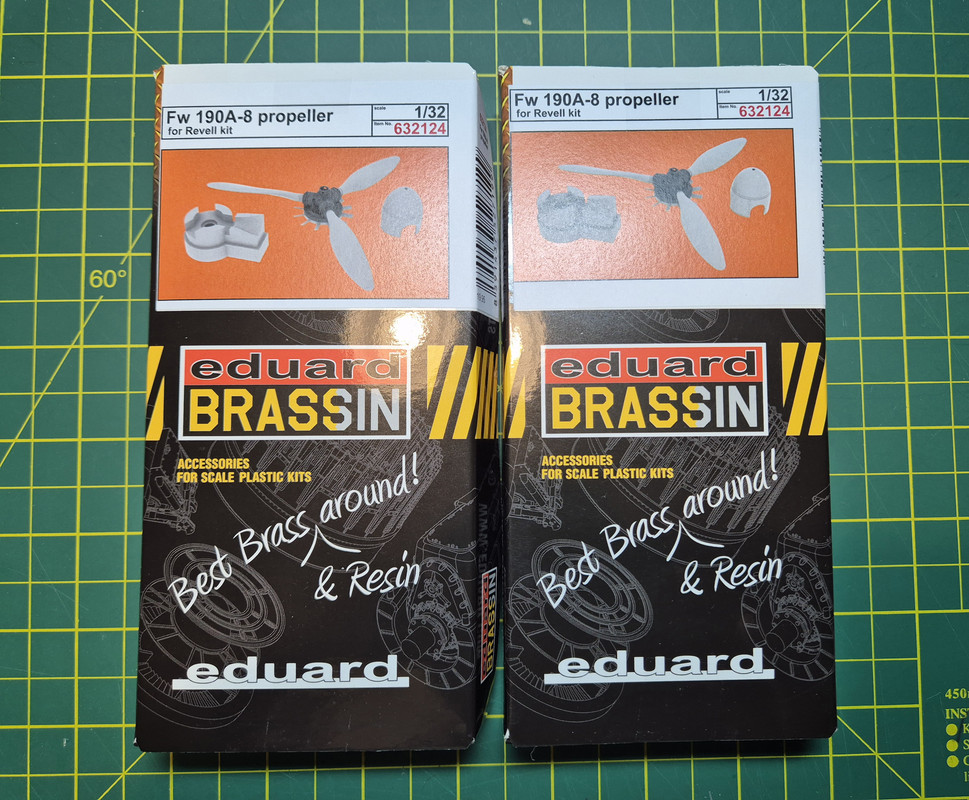
The Eduard prop set is so good, I've used one before on my F-8 build and is super nice to work with.
I've several issues to deal with on the wings but felt getting the engines completed was a good starting point.
Regards. Andy
- Tolga ULGUR, Troy Molitor, chukw and 17 others
-
20
-
Super progress Tolga, you have made this build look easy! Super clean work in every aspect.
Regards. Andy
- Tolga ULGUR and rafju
-
2
-
-
Looking very good Gilles, super smooth paintwork and coming together nicely!
Regards. Andy
-
Absolutely beautiful finish, thank you for sharing!
Regards. Andy


Revell/ AIMS 1/32 Junkers Ju-188 E-1 Z6+DM II/KG66
in Works in Progress
Posted
Some more done on the 188 and first up getting the resin extensions to the stabilisers cleaned up and reshaped/ rescribed
and then fitted to the wings alone woth the ailerons
The landing light cover was fitted and tinted in Tamiya Clear Yellow
Time fir a quick test fit with the fuselage to see how we are looking
A fee more areas of clean up and a little re-scribing needed but all in all very happy.
I've also started to take a look at the cockpit tub and see where I was up to and decide how to tackle the rest of it
Definitely the first thing will be to paint that final joint left over from cutting the casting in half to detail it.
Regards. Andy