

Shawn M
-
Posts
7,090 -
Joined
-
Last visited
-
Days Won
26
Content Type
Profiles
Forums
Events
Posts posted by Shawn M
-
-
-
thx Jennings!
Got some more work done, fitted the cockpit tub and IP into the fwd. fuse.
Canopies are drying after a future bath at the moment.
I need to sort the fit of the front, rear and lower fuse parts now....the intakes are NOT playing fair lol


also got the stripes painted on my GT40 build

- Rockie Yarwood, Greg W, Derek B and 6 others
-
 9
9
-
wo whooo progress!
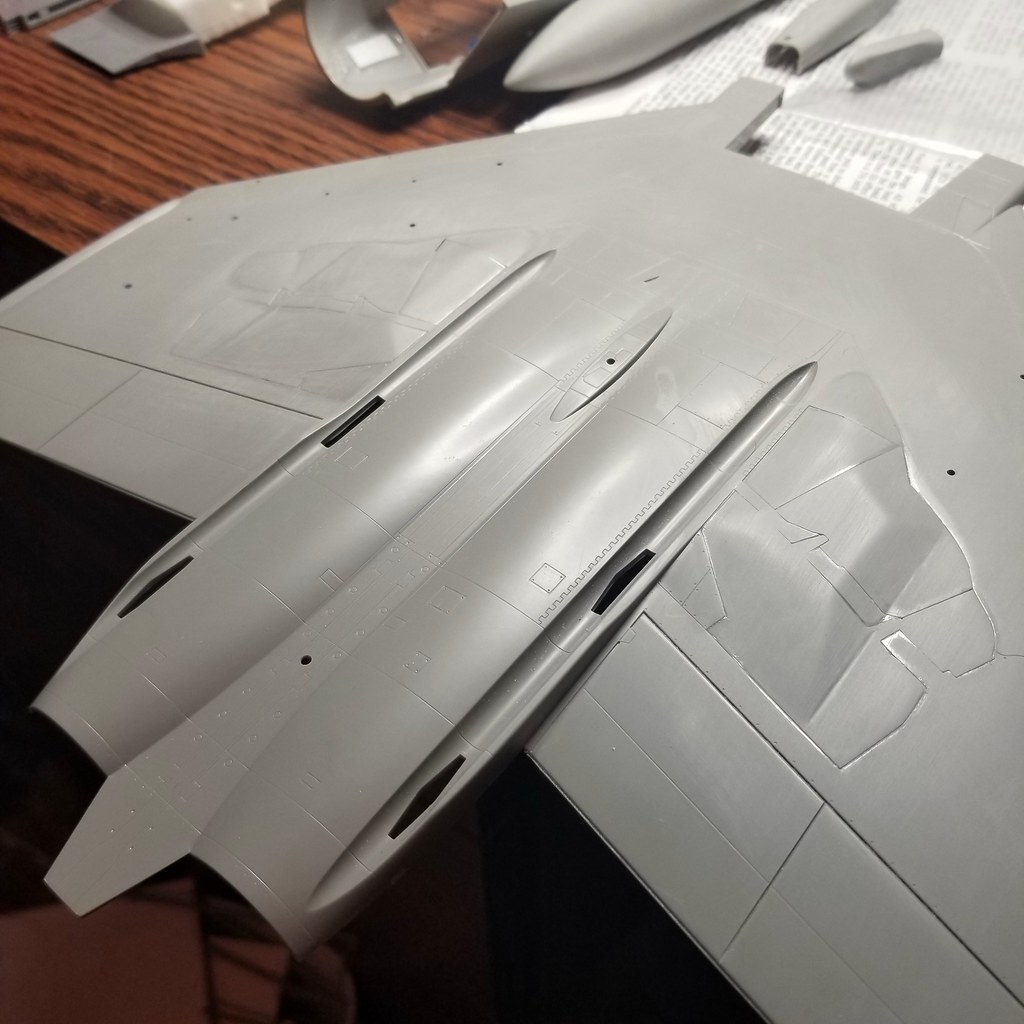
Rear fuse to wings joined, filled and sanded

Nav lights added


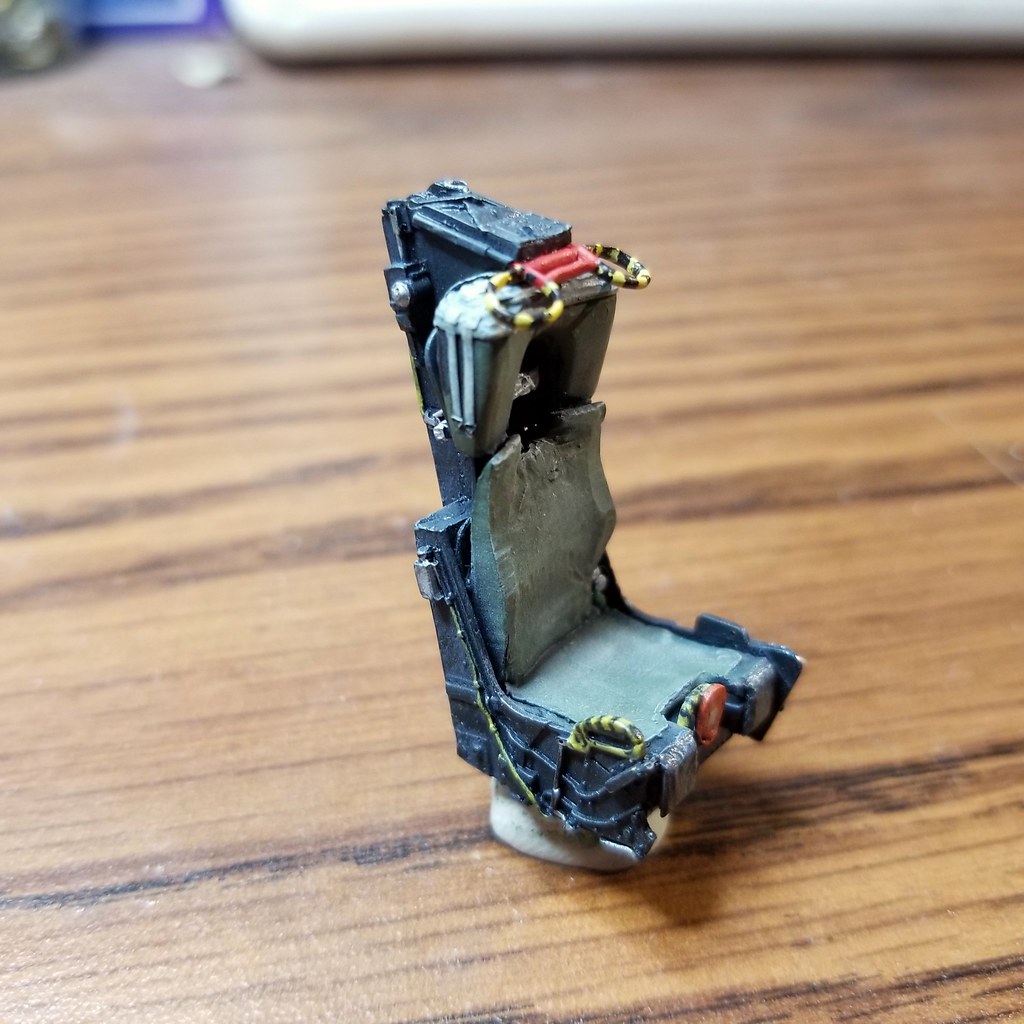
Cockpit painted up to get stuffed into the fwd fuse, only 1 seat to paint!
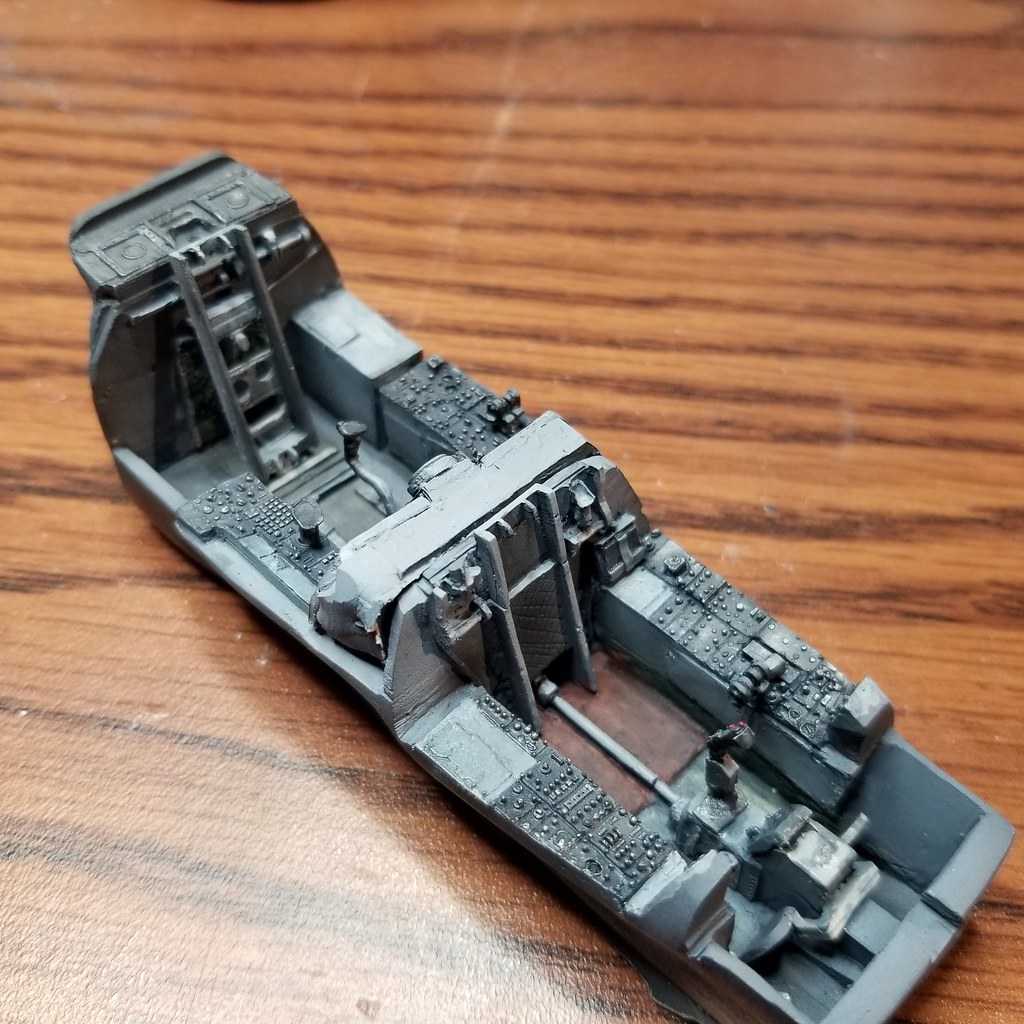


panels


seat

- blackbetty, Fanes, LSP_Kevin and 6 others
-
9
-
-
yes! plus the kit has the markings for the bird Im modelling, saves a LOT of time.
While the kit assembles into manageable sub-assemblies, positive locations for these assemblies are lacking especially after removing so much for the resin bits.
I added some resin stub blocks to help locate and provide a stronger glue joint for the nose to wing/fuse joint.

I've also been adding tabs along major seams to provide more gluing surface and strength.
- Derek B, Marcel111, HerculesPA_2 and 8 others
-
11
-
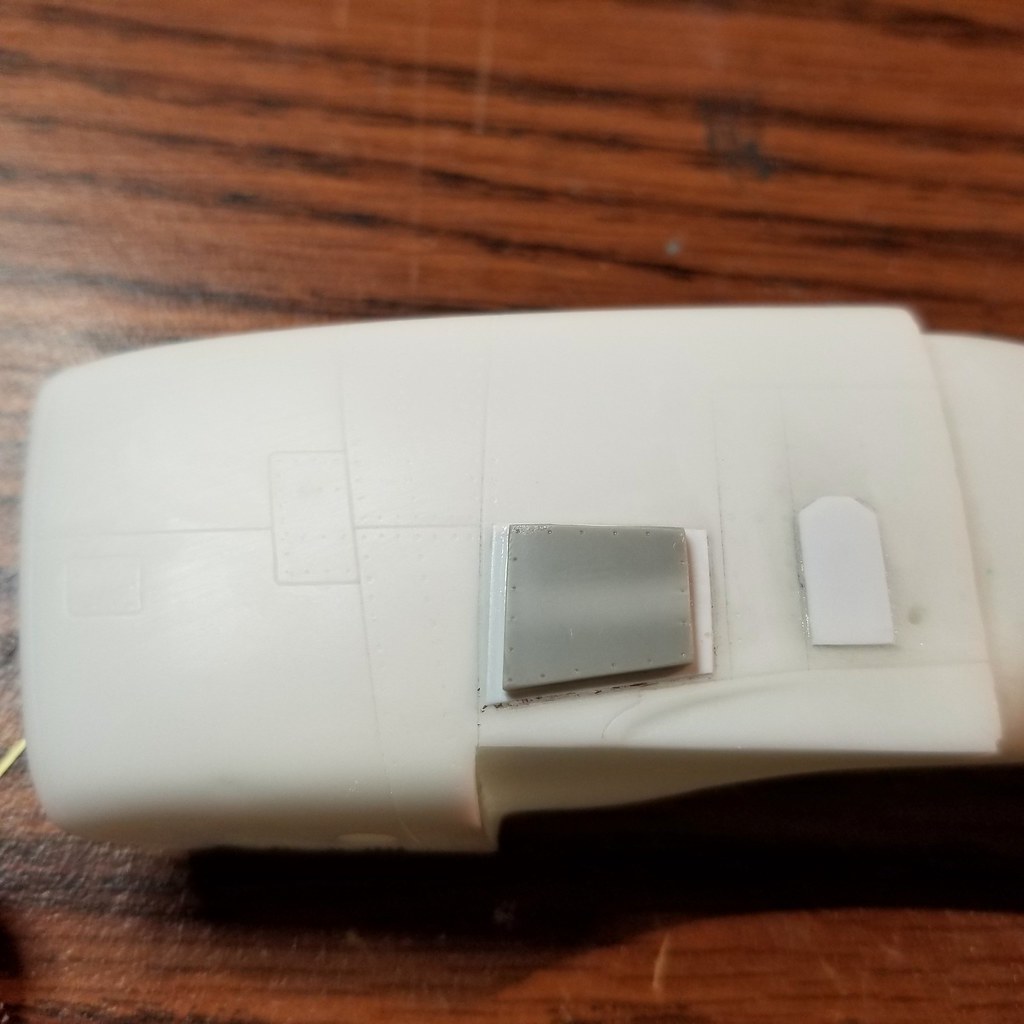
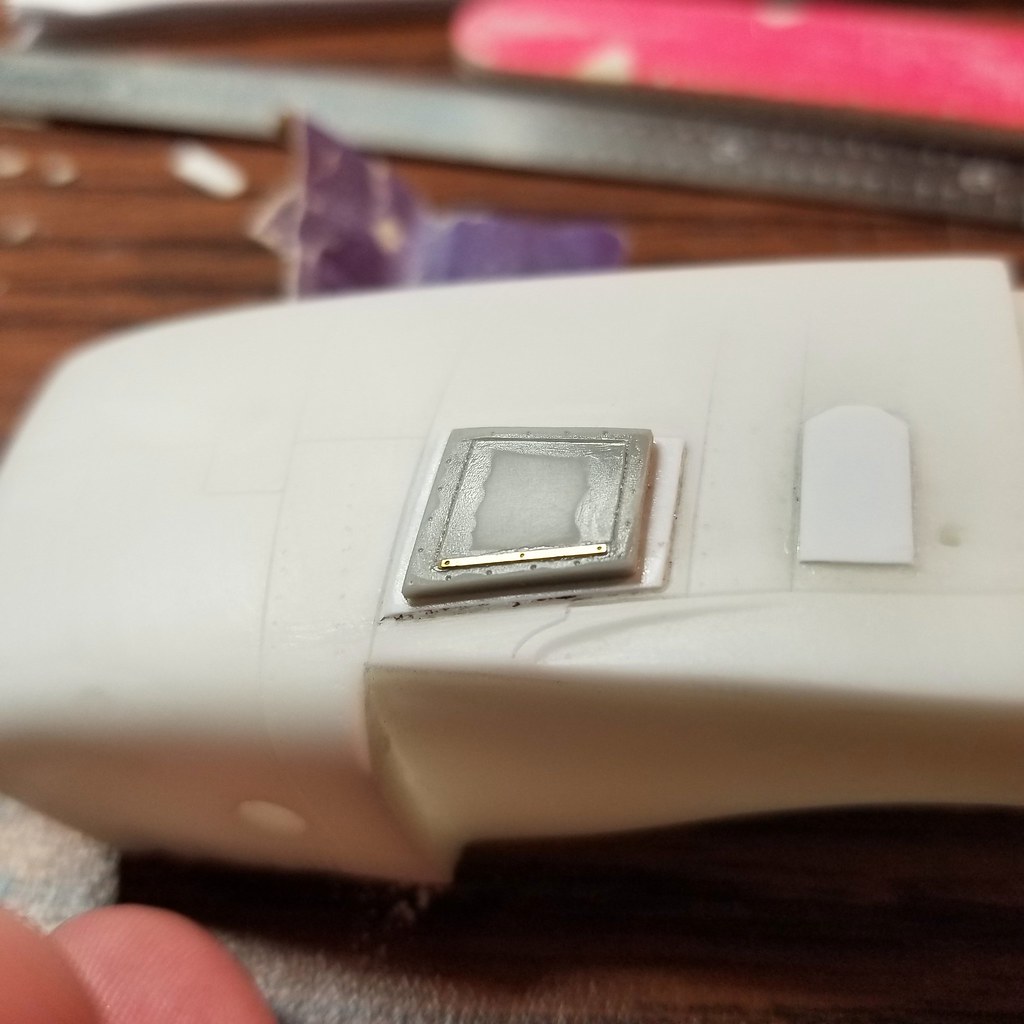
Starting with a German SC500 bomb half from my spares I set about creating the dorsal fairing found on the QF4E/Gs.
It was the right length and general plan form, so after some liberal sanding and filing I glued it on.
Once on it was apparent that it was WAY to tall so I lobbed half of it off and capped it with some sheet.


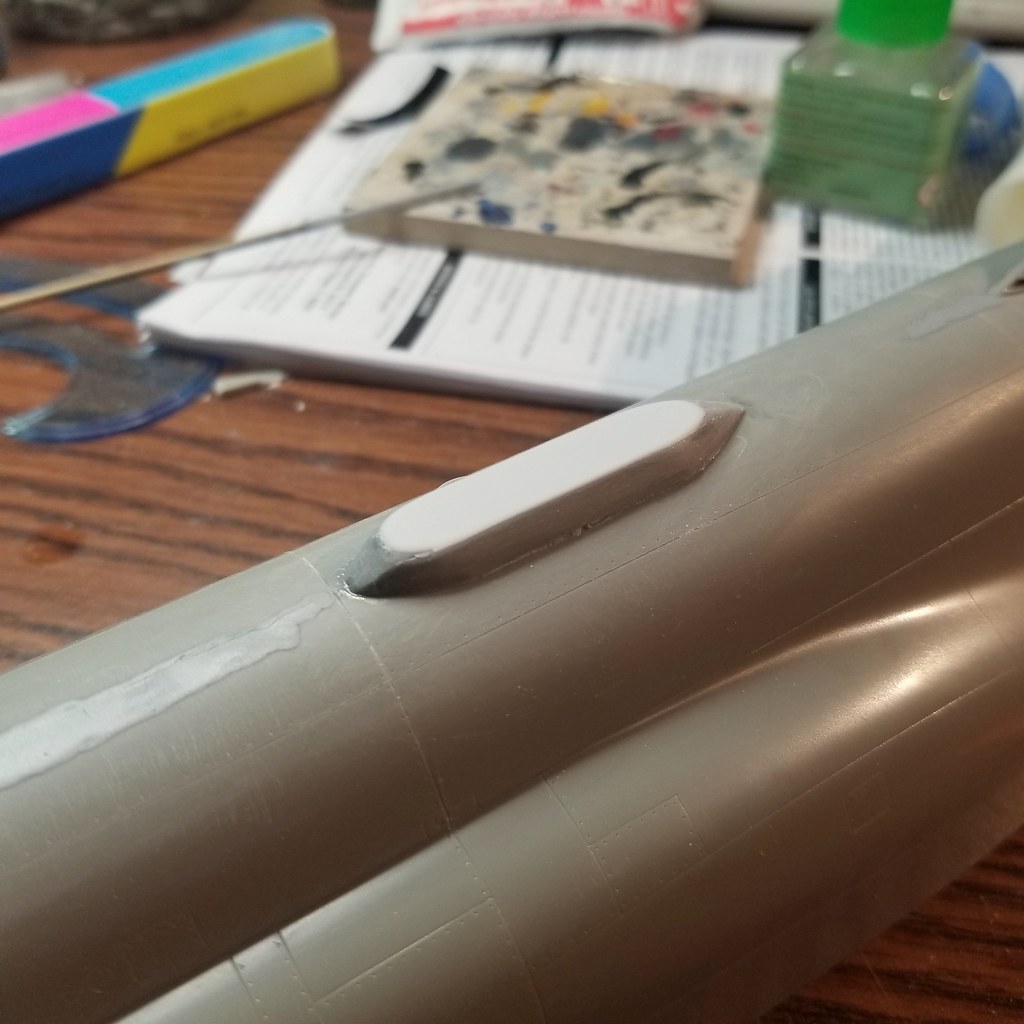
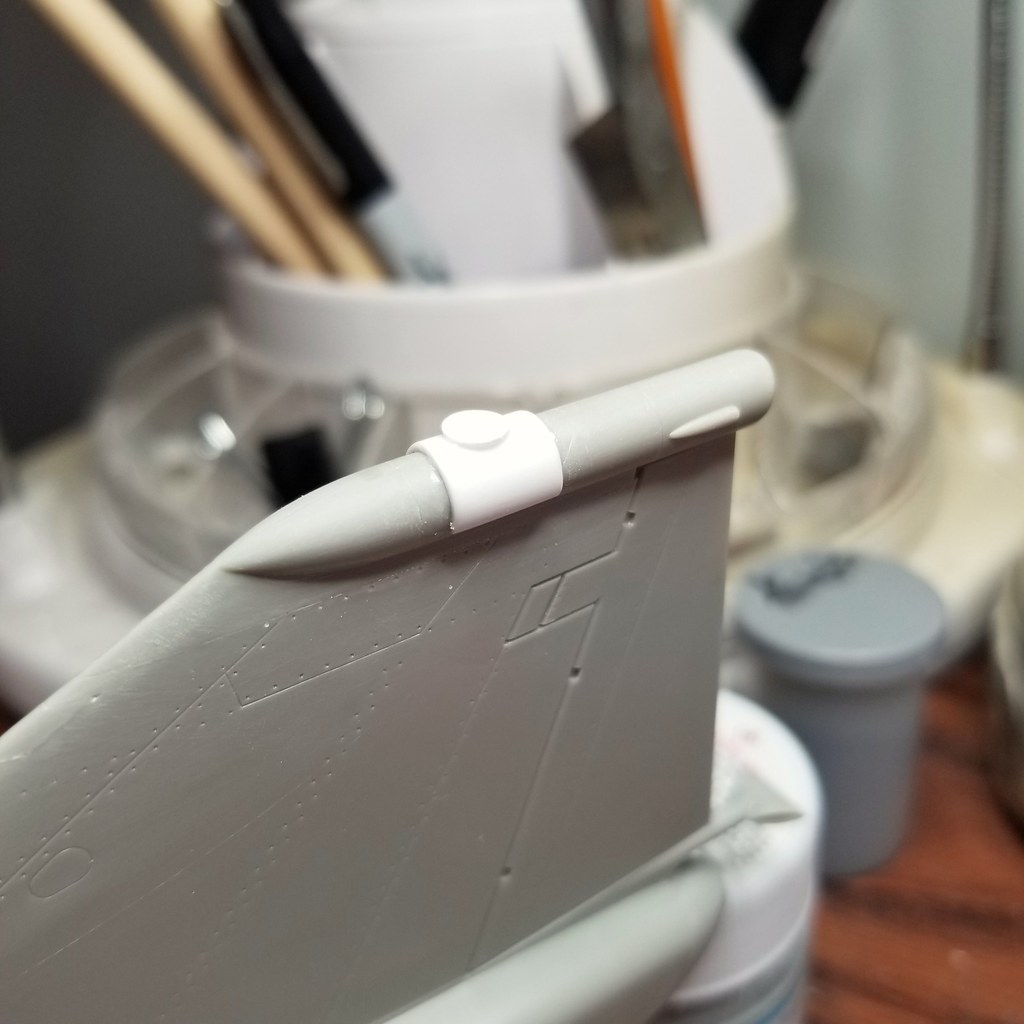
I also got around to adding an antenna on the fin cap with its mounting "band".

- Starfighter, Brett M, LSP_Kevin and 8 others
-
11
-
Thanks Ron!
Its a sad fate for such a great bird, but at least they went out with a bang! lol
-
-
outstanding, love your builds and artwork
- Rockie Yarwood and chukw
-
2
-
happy to see you back at this beast, I have complete faith that this will turn out great!
-
ahhh, the pod...
After debating about sculpting it from Milliput I decided to use the plethora of spares the kit provided to scratch build the unit.
Luckily I took a lot of pics of a QF4E a few years ago.
I grabbed a sparrow missile half as the base, sheeted the aft section to give me the filler for the bay. Then cutting up a few other kit missiles I made the over all shape.
The trick was to get that compound curved blend at the forward section.
While not exact, its close enough for me and one detailed out should look the part just fine.


Next up is the final fit and mods to accept the intakes and starting the cockpit.
As mentioned I bought a GT Resin RF4 cockpit kit, yes I know there are differences
")
I've already moded the IP and combing.
Pics to come as you're now caught up to where I am!
-
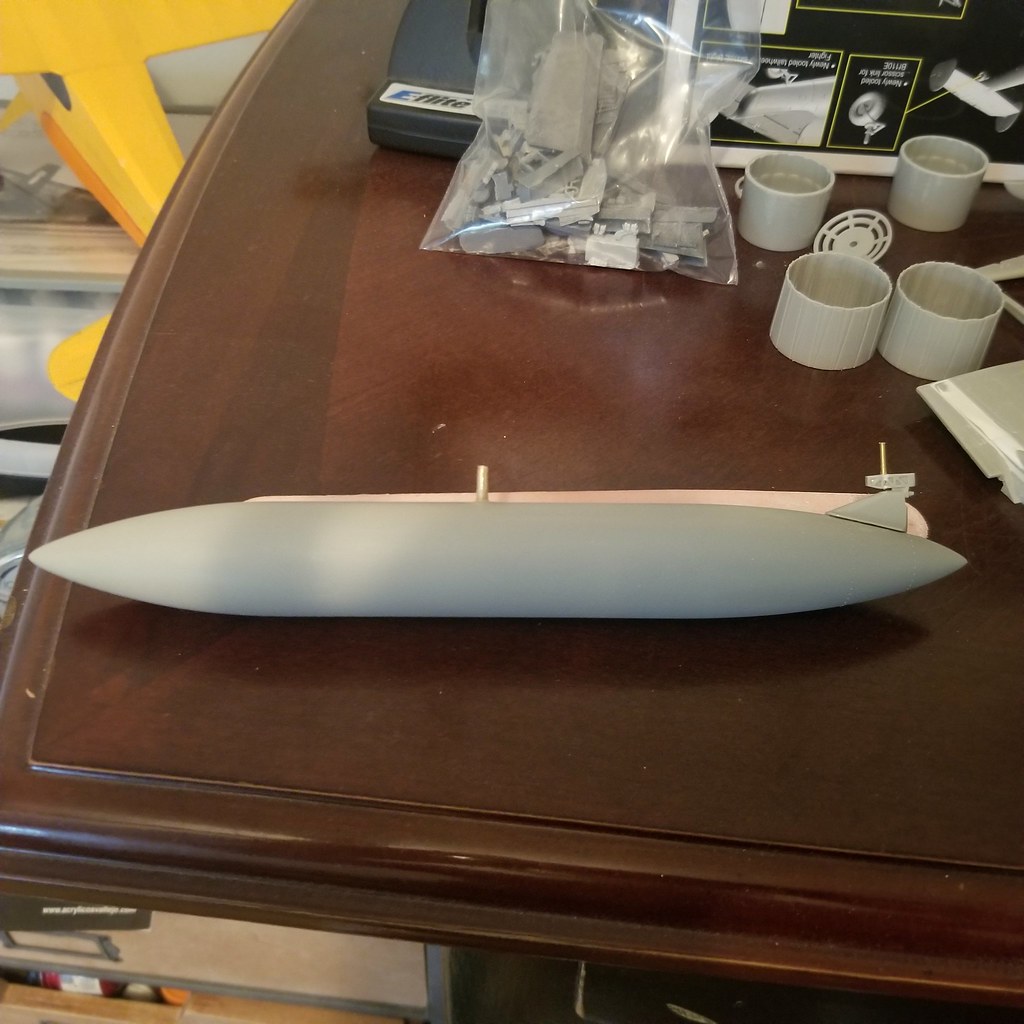
gear up, holes drilled for the drop tank
knowing this was gonna be a HEAVY bird with all the resin, I drilled and pinned the drop tank with resin receiver blocks in the wing
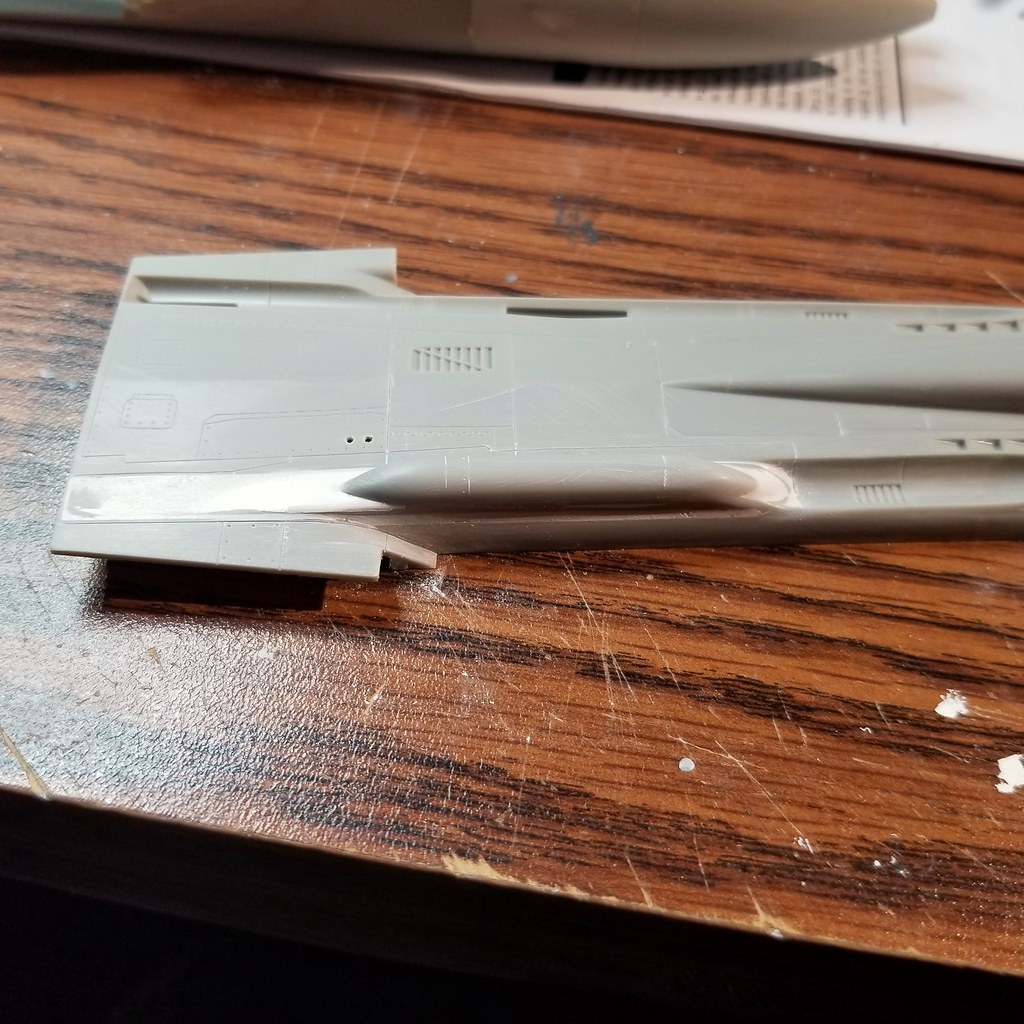
time to start the mods for the intakes
Cutting at the noted distance I removed the front of the kit intakes.
Test fitting showed an interference with the "floor" of the rear fuse, cut out the offending areas

after assembling the rear fuse and test fitting to the wing I added a spreader to minimize the wing root gap
while I had the sprue out I added a spreader at the nose to adjust for my mods and true up the fit to the lower panel

next up, scratch building the forward 'pod'

- Anthony in NZ, Derek B, LSP_Kevin and 13 others
-
16
-
Hi gang, figured I'd toss up a WIP on my latest LSP project.
I picked up the kit at Hobby Lobby ages ago with a 40% off coupon with a QF4 in mind. Somewhere also picked up a GT Resin Nose Correction and intake kit.
Later on I added a RF4 Cockpit kit to address the boring, bland and under detailed Revell Cockpit.
This was to be an in flight build, starting out I wanted to address the conversions and resin additions.
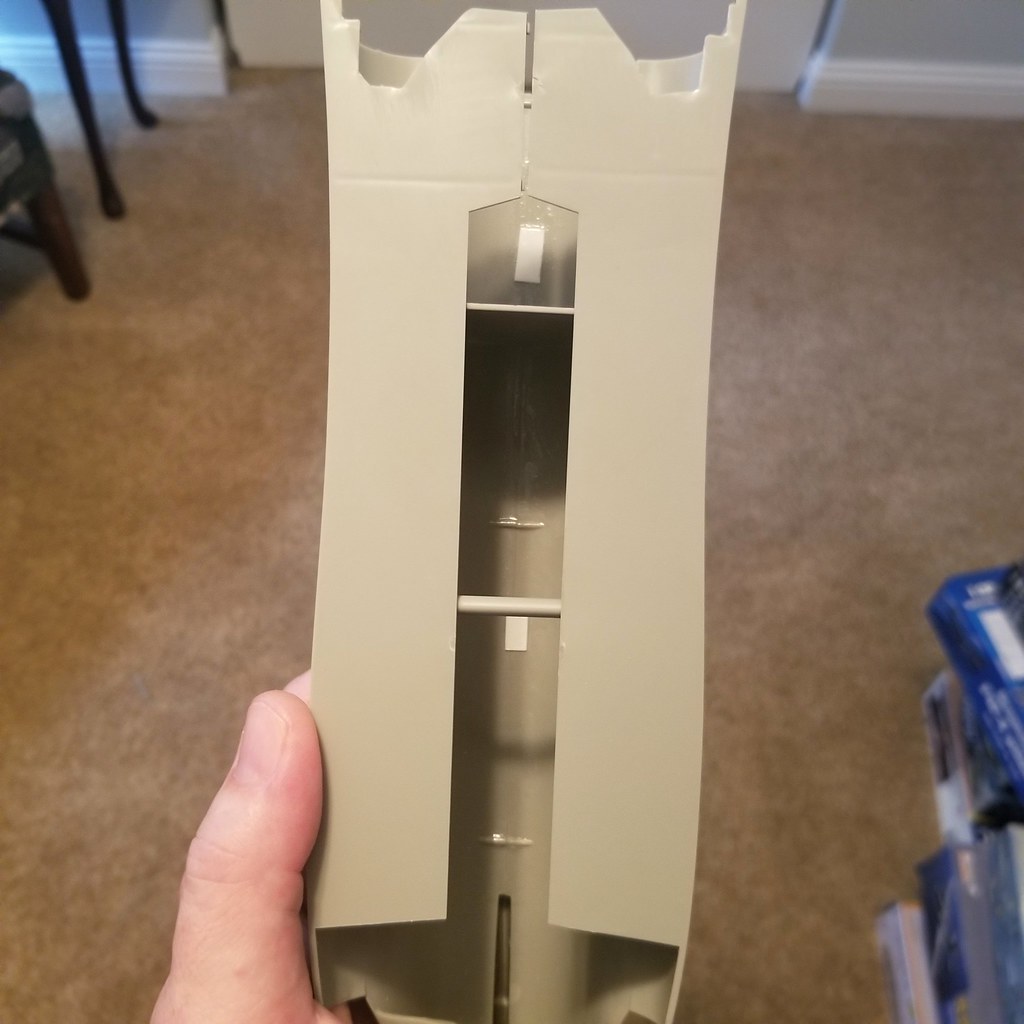
The nose job. Lacking any instructions I sized up the new nose and comparing panel lines figured out my initial cuts.

After completing them and receiving my cockpit set, I glued the front halves together. This highlights a diameter differene between the Resin nose and kit. To facilitate the pinch' I needed I cut off the "gun trough".

This allowed me to get an allllllmost gap free fit from the new nose to the fuse. Once that was done I added the "gun trough" back on and added the 'G radar bulb.


I still need to go back and rescribe panel lines etc. But getting this far was a lot of work.
more to come!
-
-
On 10/17/2020 at 9:35 AM, nichenson said:
Harold Bradford of Historic Racing Miniatures makes the best Daytona Coupe in 1/24th scale. It is lightyears ahead of anything that SMS, MFH, and Gunze ever offered.
100% agree, its an outstanding kit

click pic ^ for more photos of my build
- LSP_K2, D.B. Andrus, Out2gtcha and 1 other
-
4
-
they did develop a cat launch system for the PBM (P5M originator)
-
outstanding work Chuk!
Glad to see you wrap this one up.
Heal up, rest up and model on!
-
-
-
-
-
-
-


Hasegawa F-4EJ Eggplane
in Non-LSP Works
Posted
LOVE it