

MusAlp
-
Posts
66 -
Joined
-
Last visited
Content Type
Profiles
Forums
Events
Posts posted by MusAlp
-
-
...Right in the spot, man..., beautyful!!!! What a great looking bird....
Thank you

-
[PART 2]
-
Hello modelmakers,
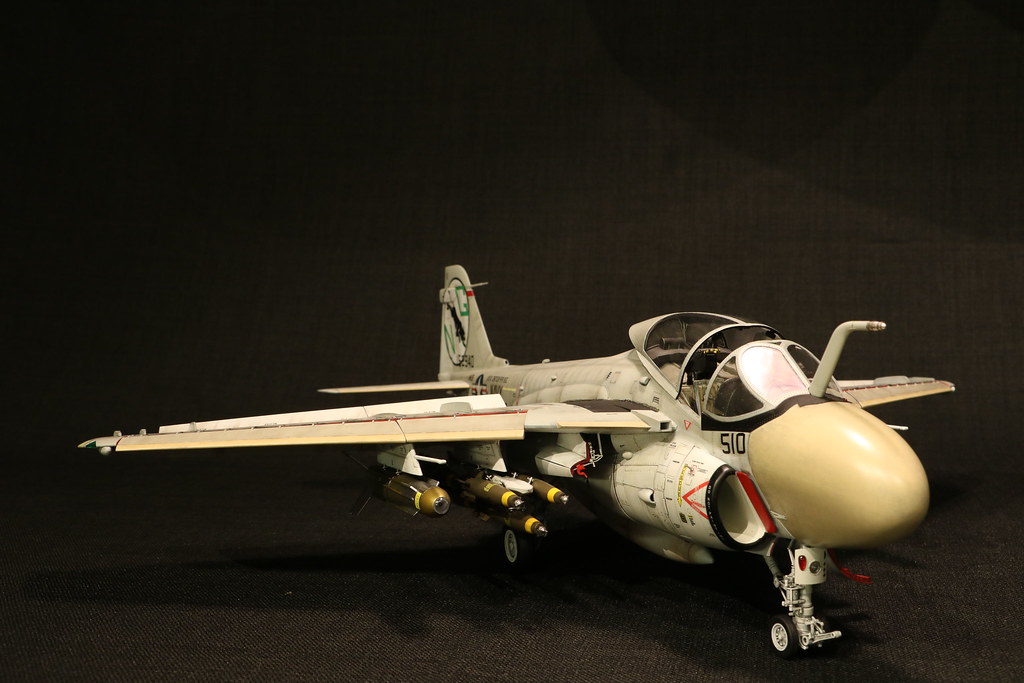
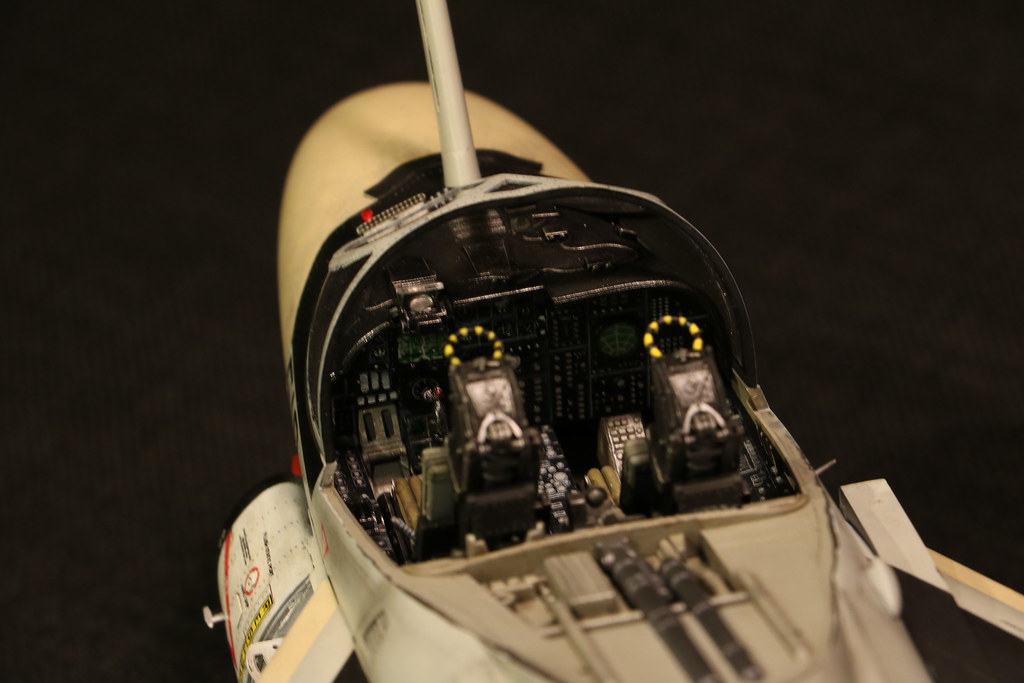
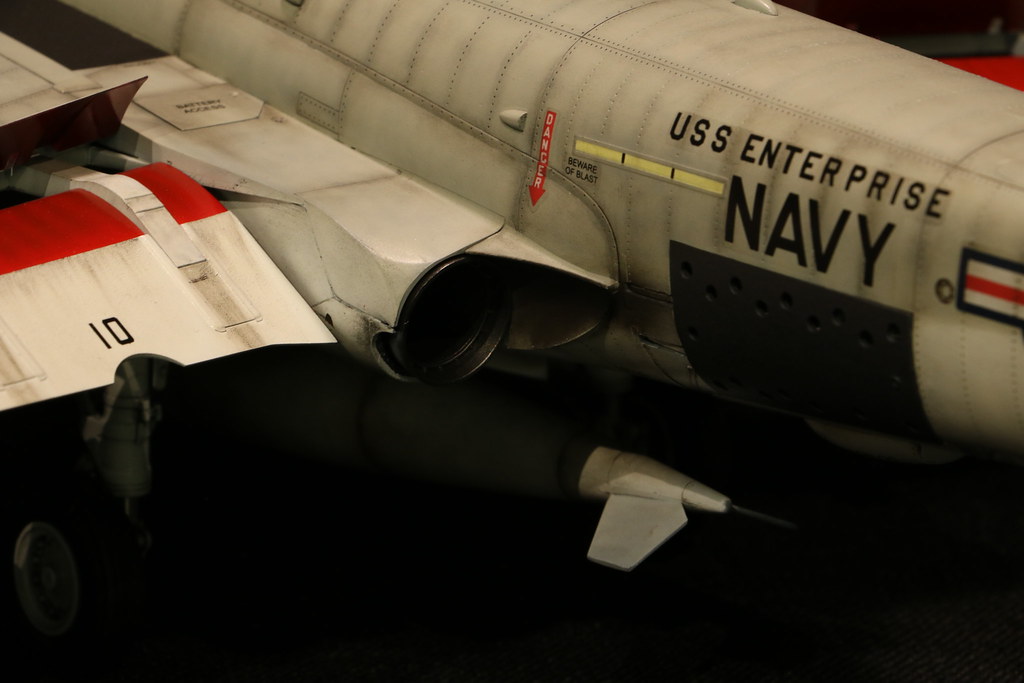
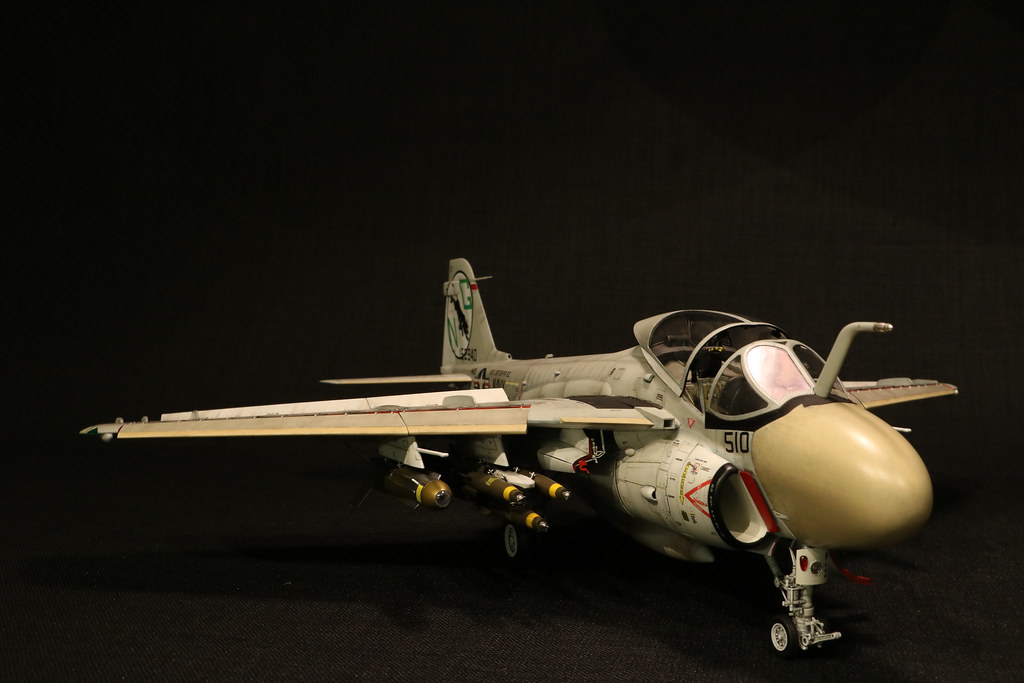
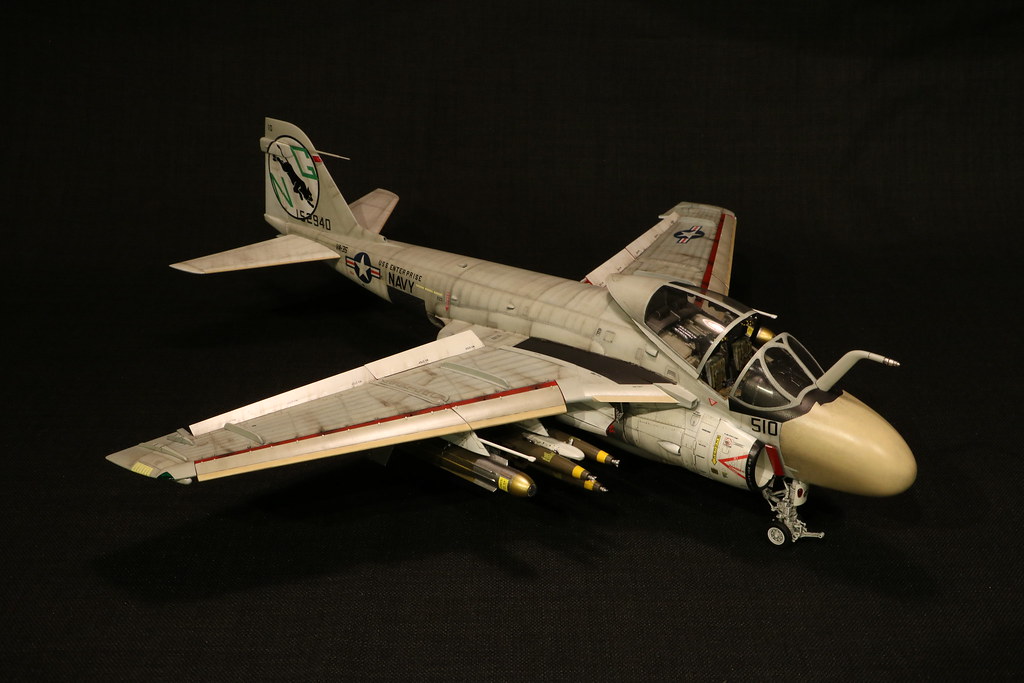
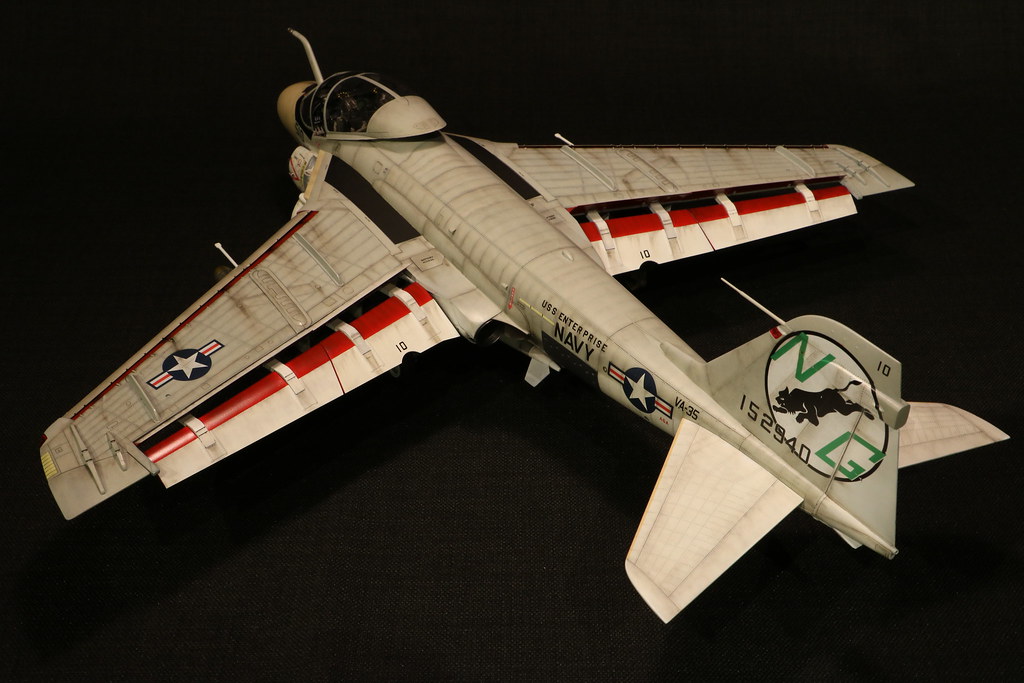
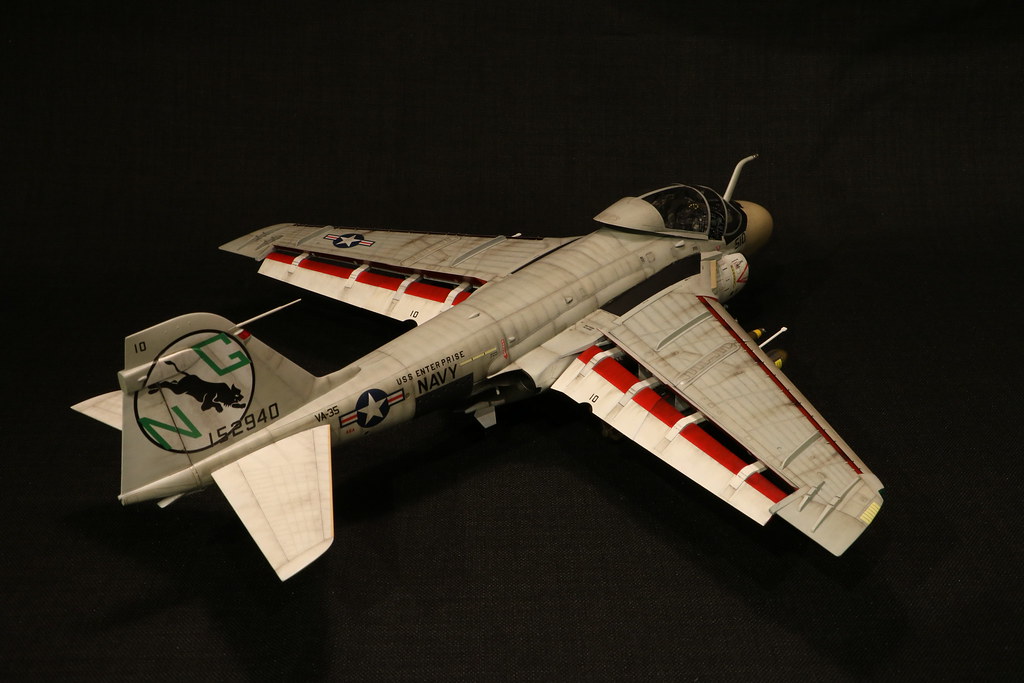
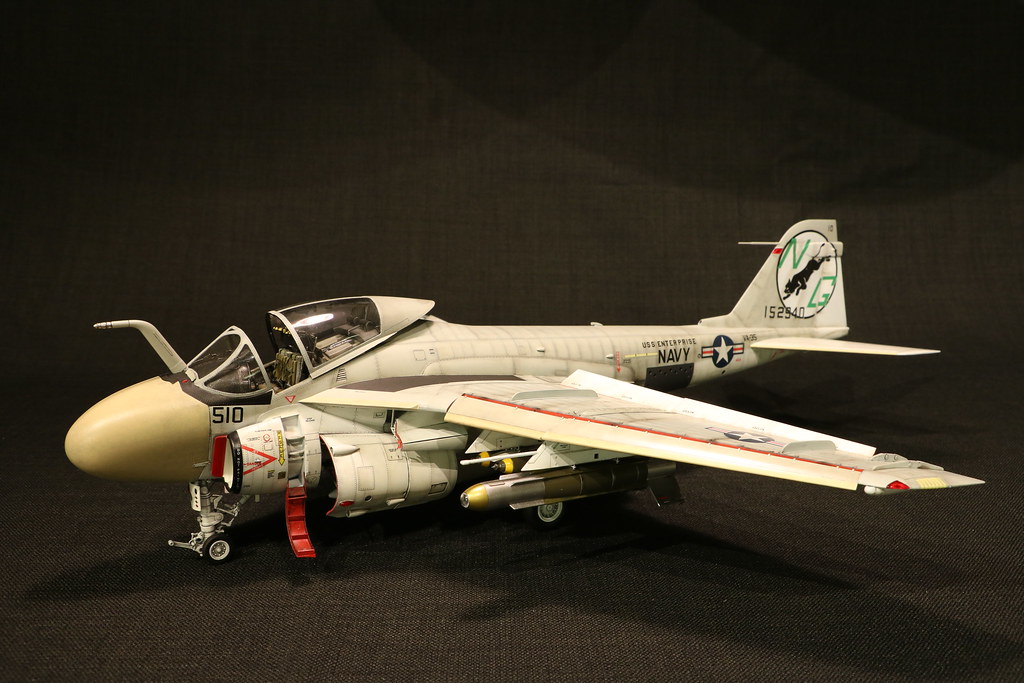
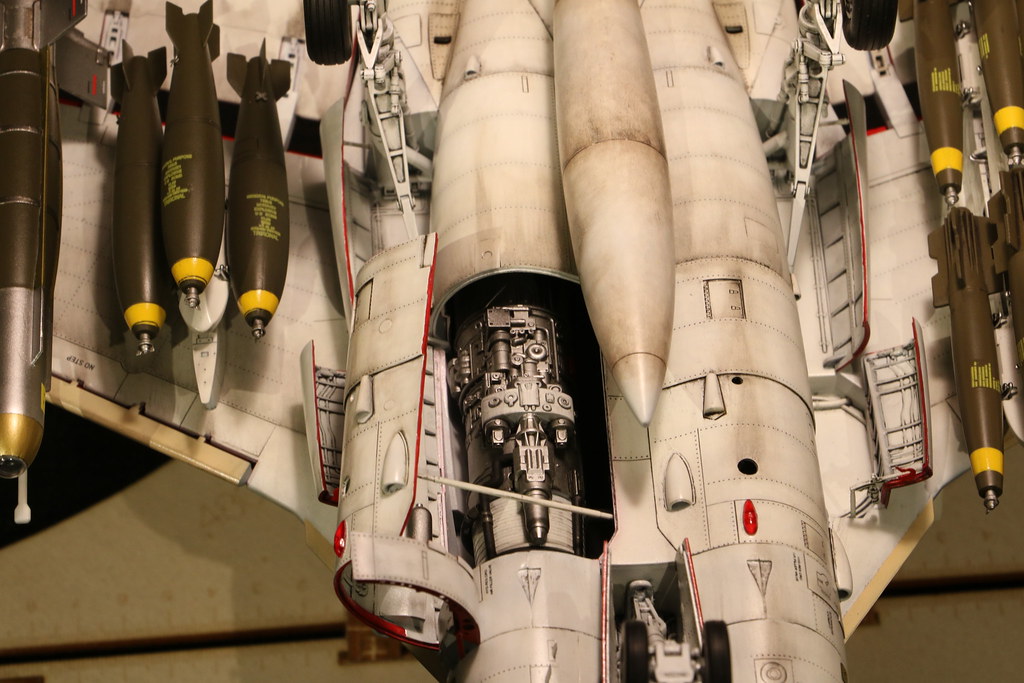
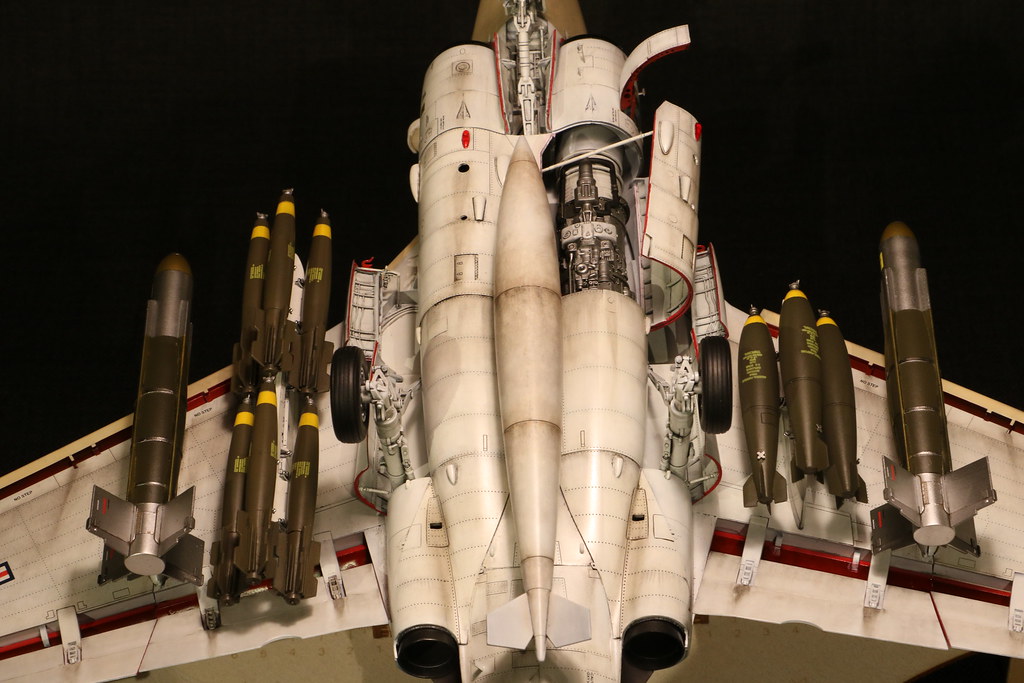
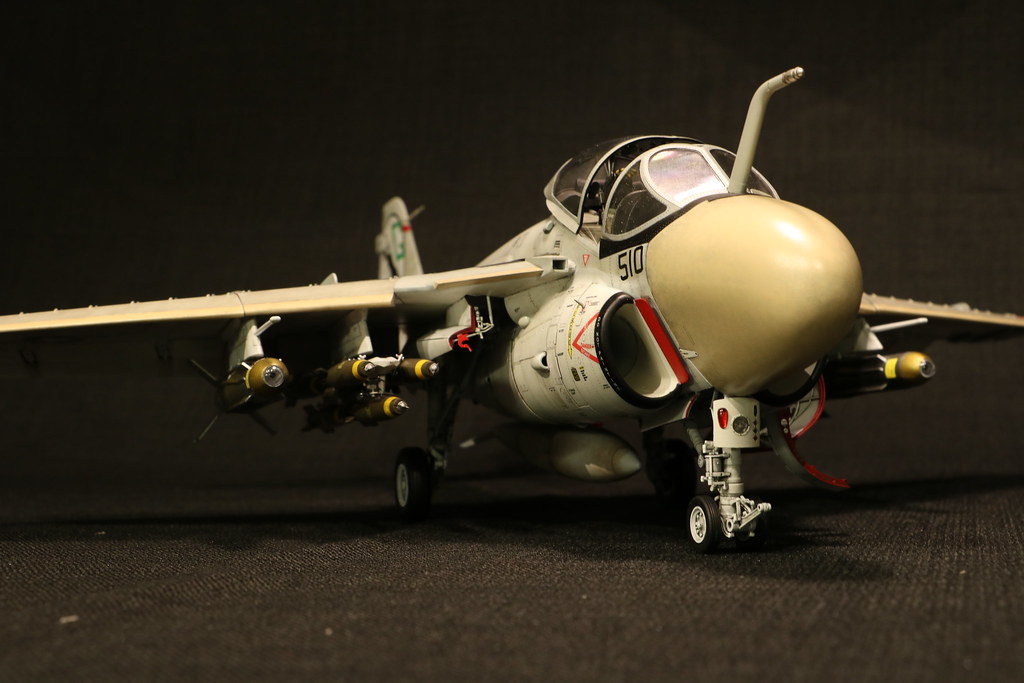
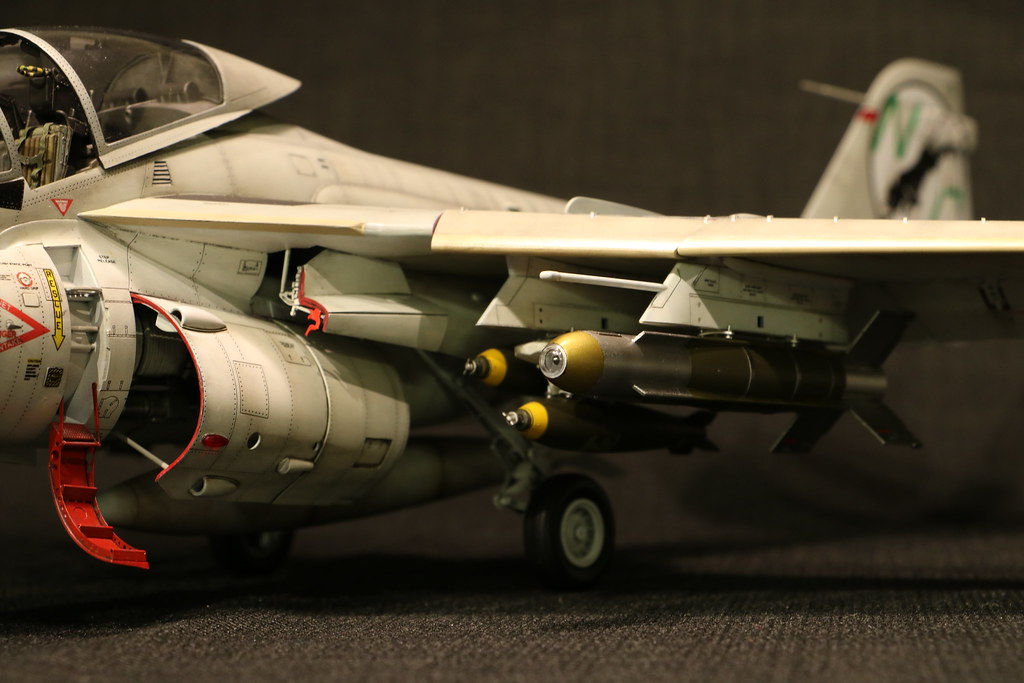
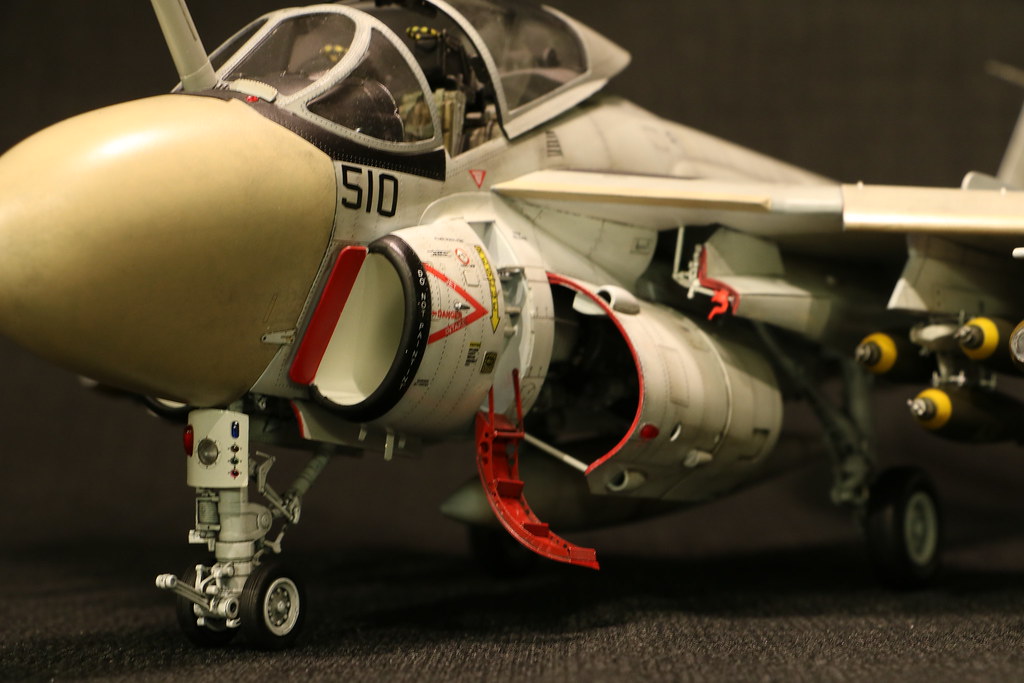
This is my recently finished 1/32 A-6A intruder by Trumpeter.
This was a wonderful kit to build, lots of fun. It tok me about 3 month to build.
The build is oob, painting was done with mrp & gunze. For whetering i used oils for the first time.
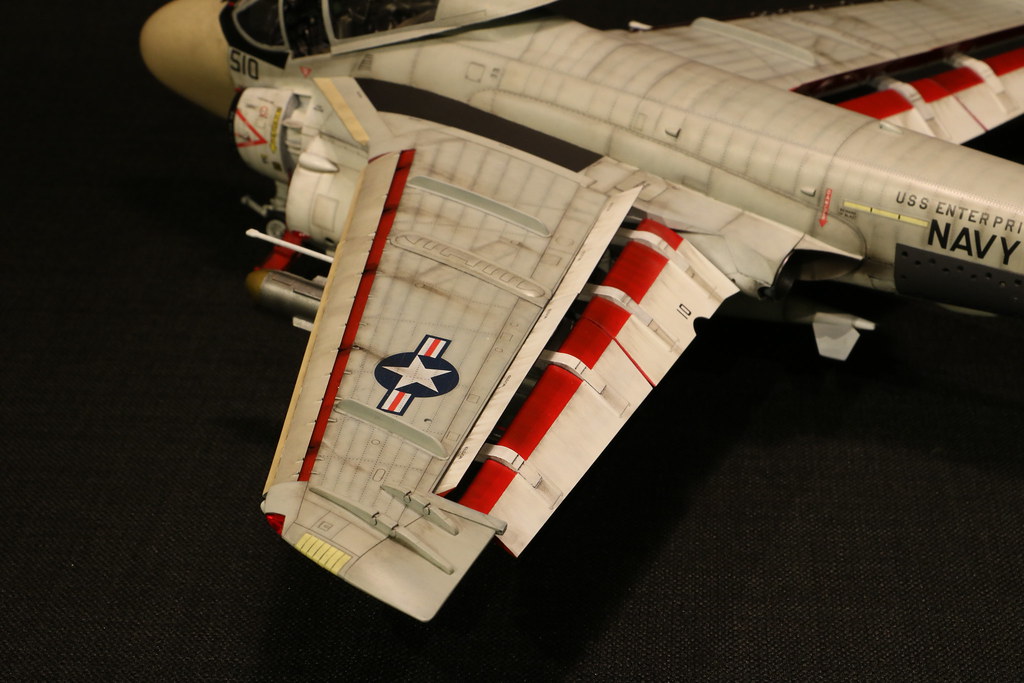
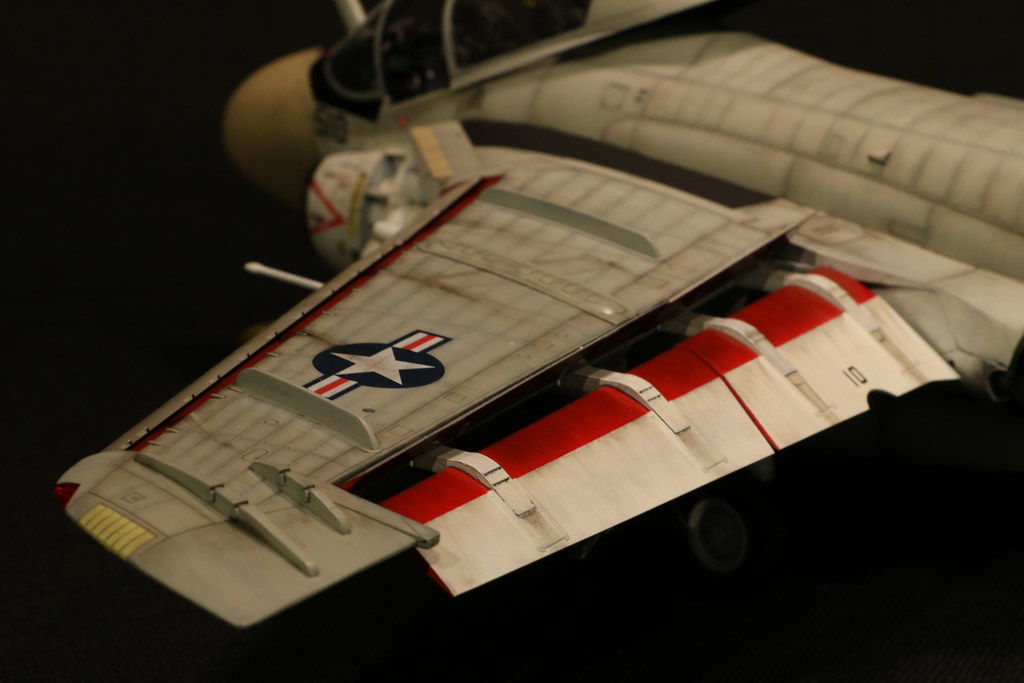
I know the bird is a bit dirty, theese hi-vis birds maybe did not get this dirty, but i have a soft spot for dirty warbirds.
I hope you guys like it.

-
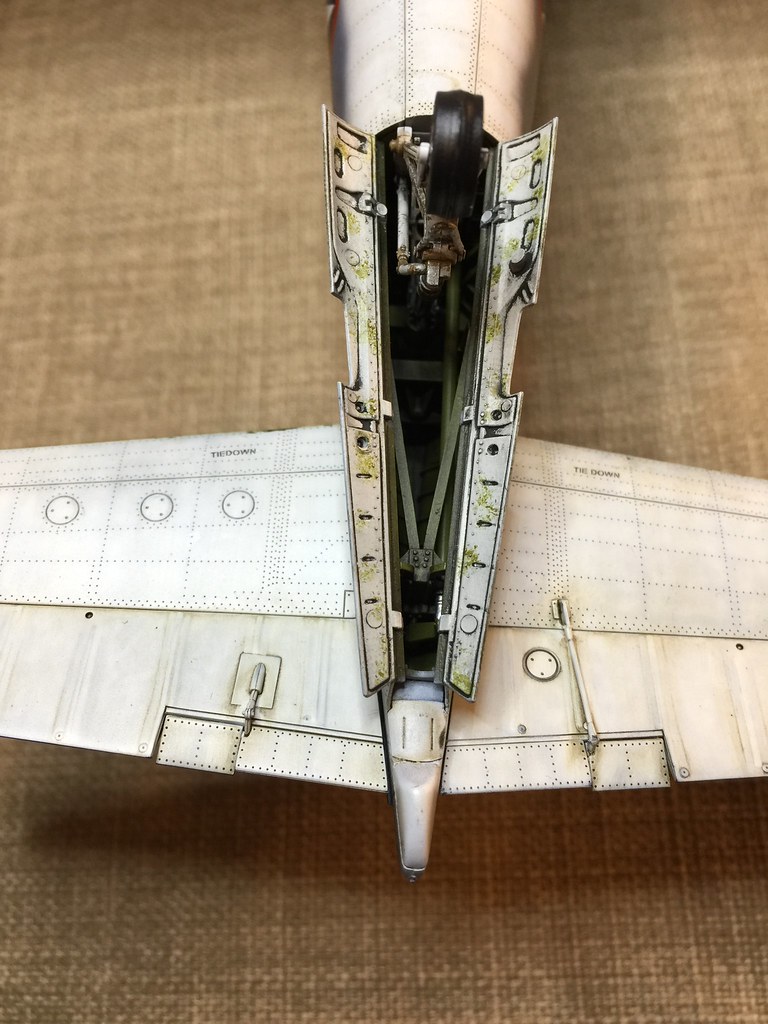
Looks amazing!
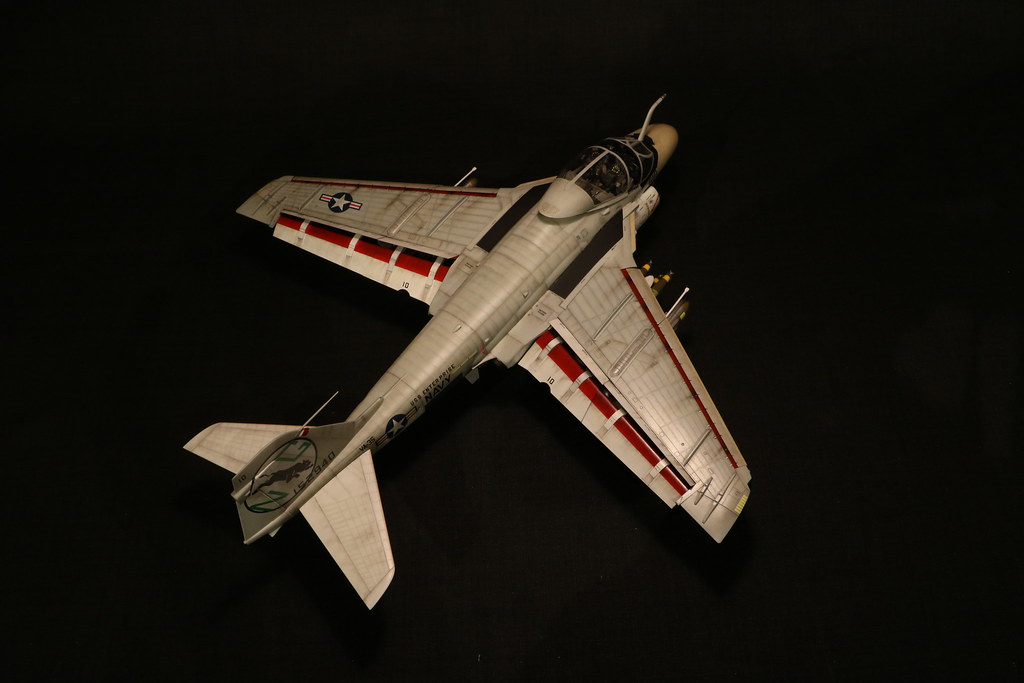
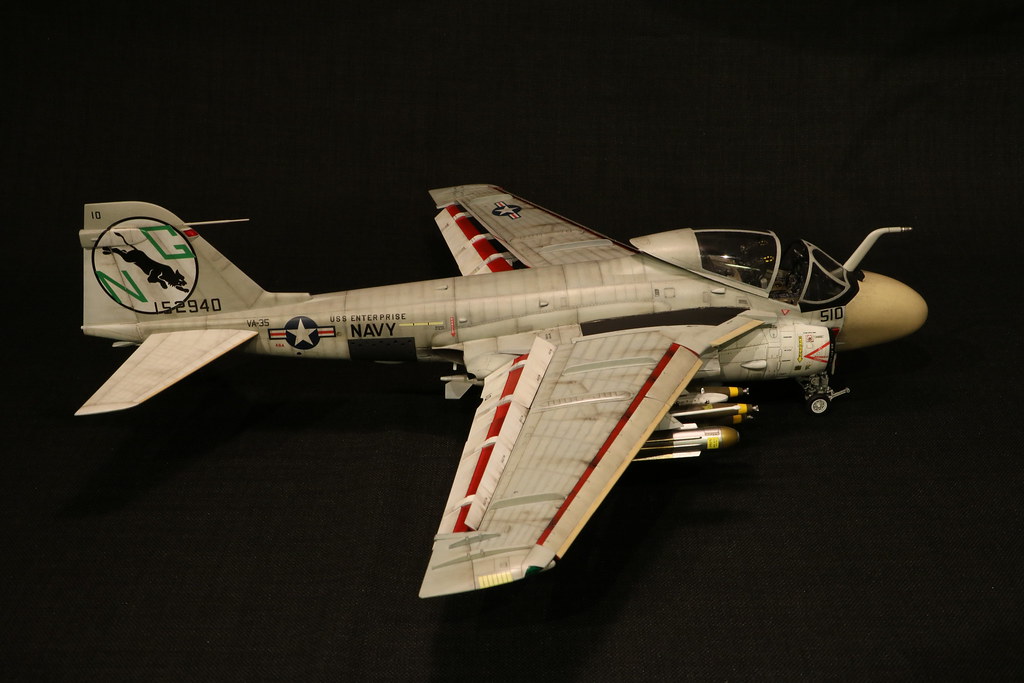
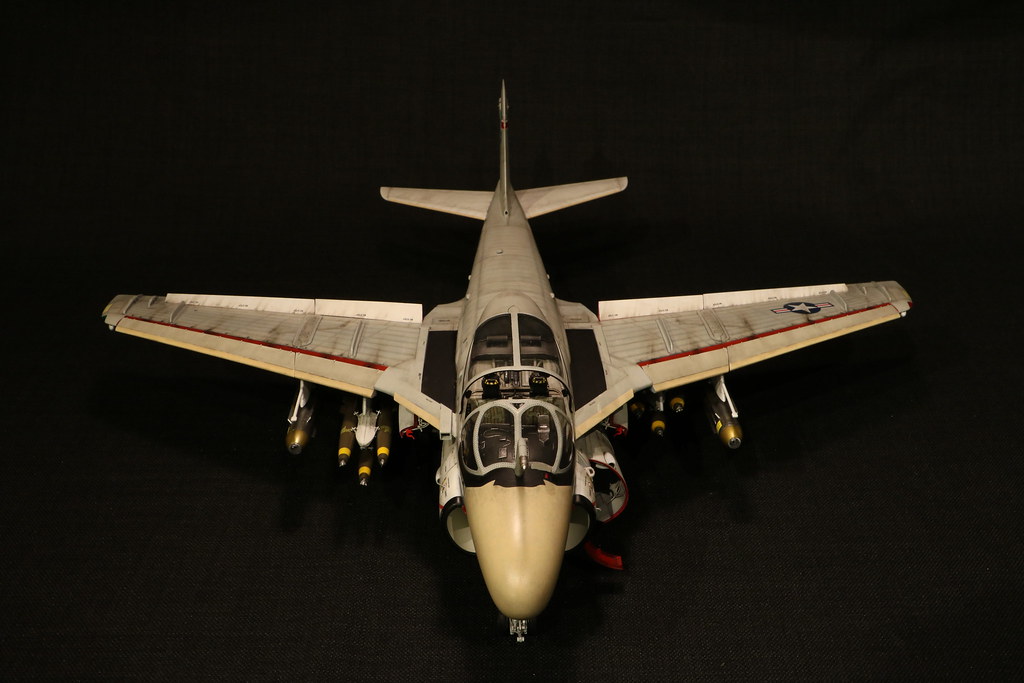
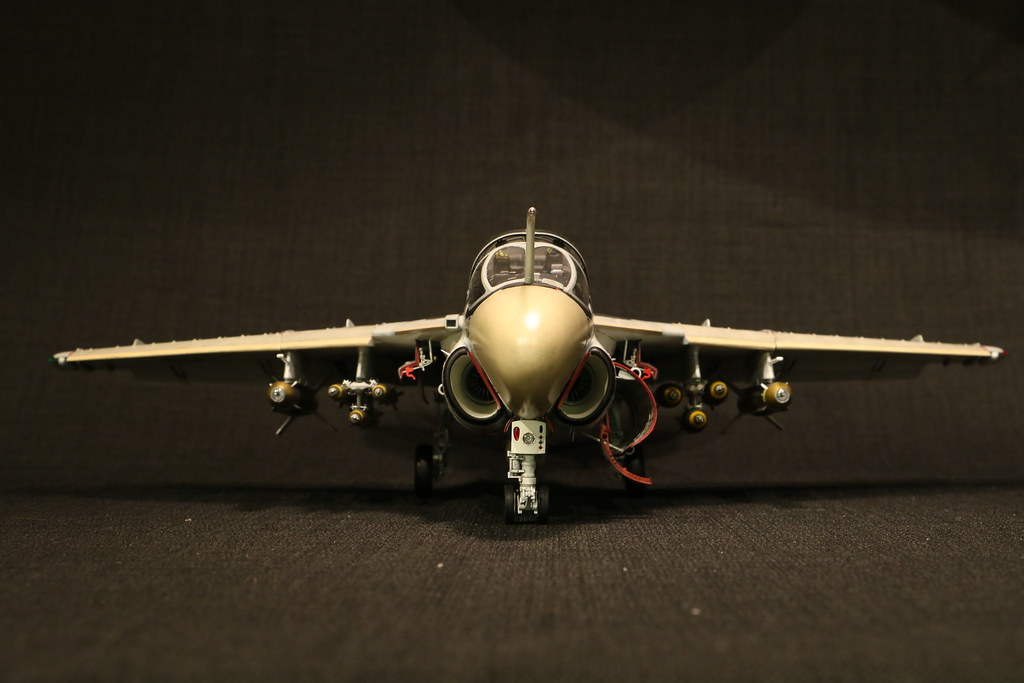
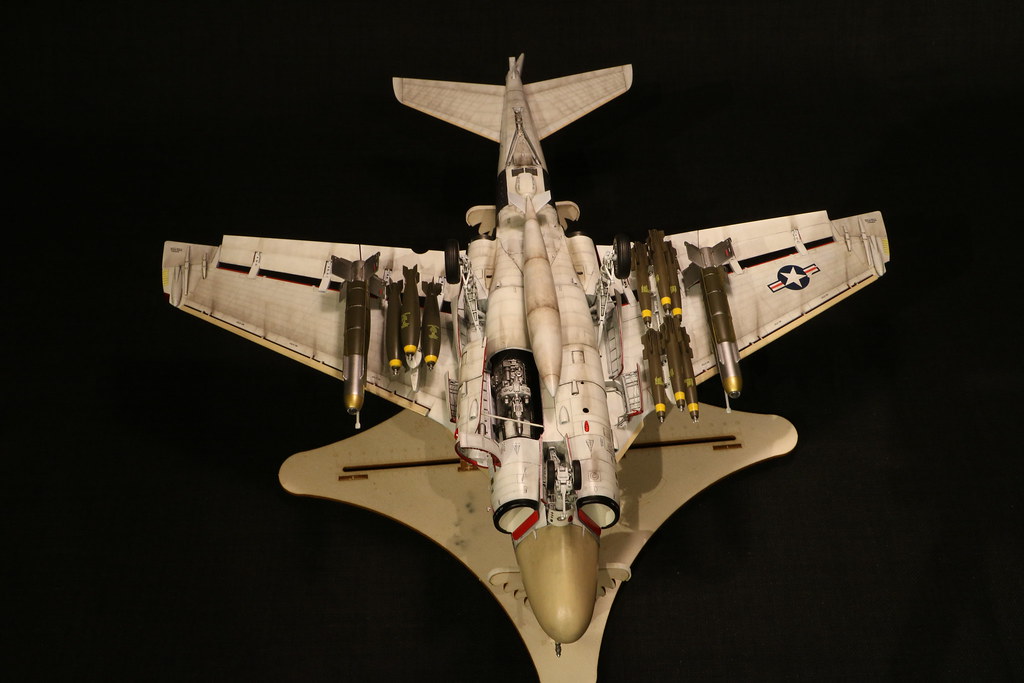
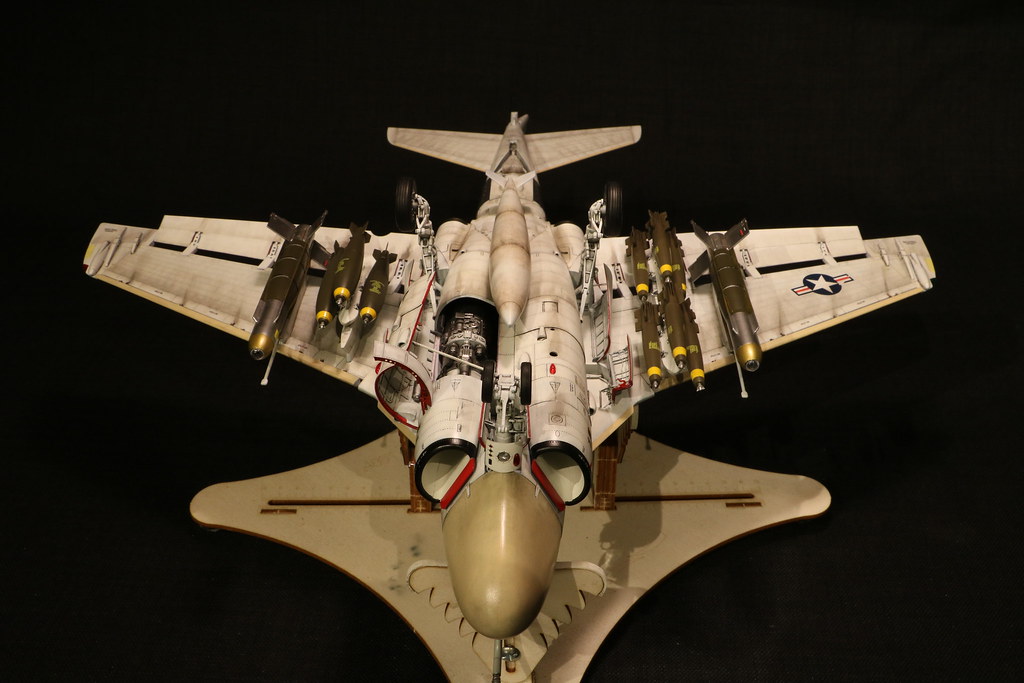
Do you have any pictures underside of the plane?
Thank you for sharing

-
Nice work, and it's refreshing to see a different operator!
Did Turkish MkIXs have metal/aluminium seats and propeller blades?
To be honest, i dont know if the seats and propeller blades was metal/aluminum. I just assumed that they were made of metal. Next time i will do my research a bit better.
Since you asking, i suspect they were wood? In that case, i fucked up
-
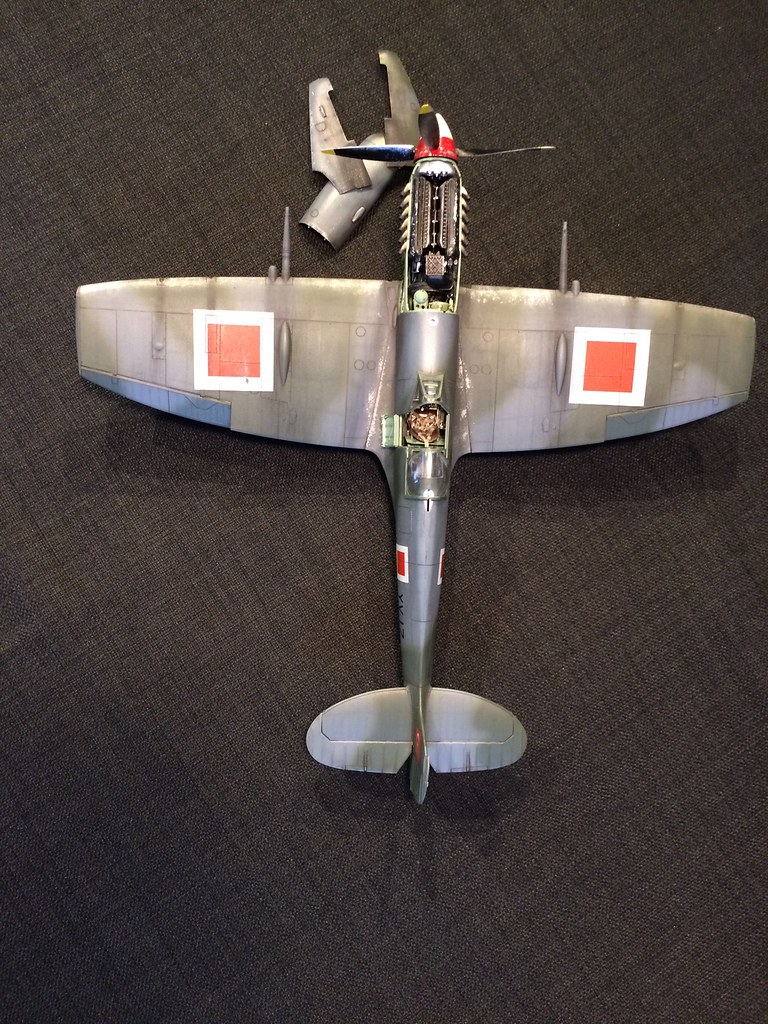
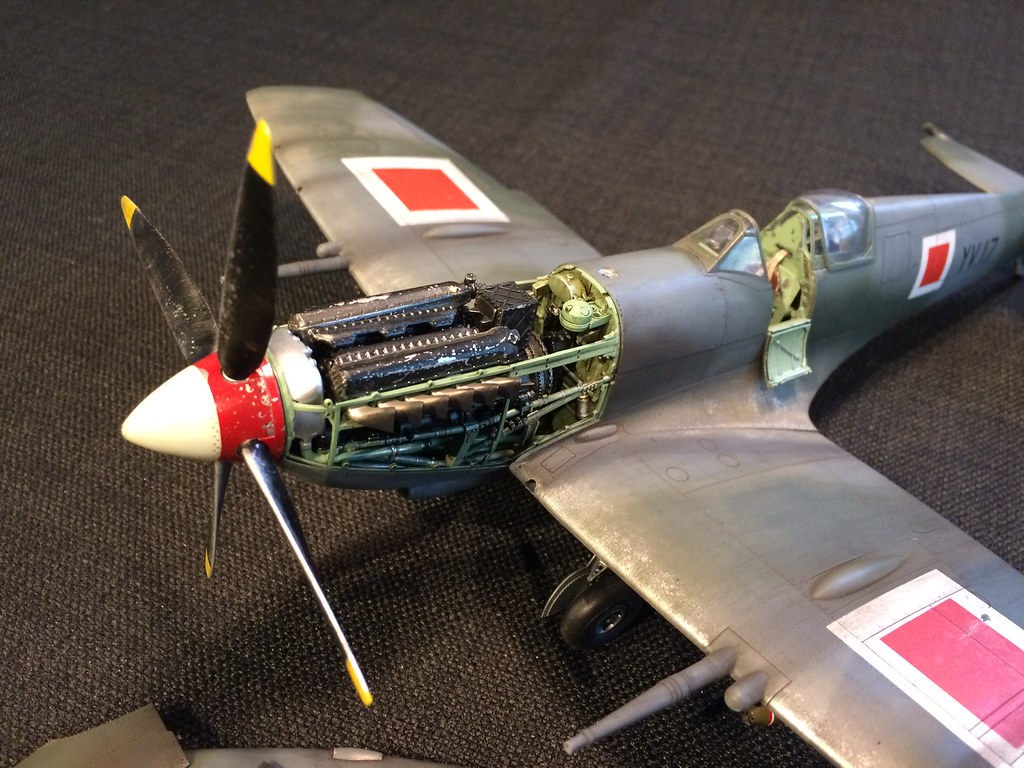
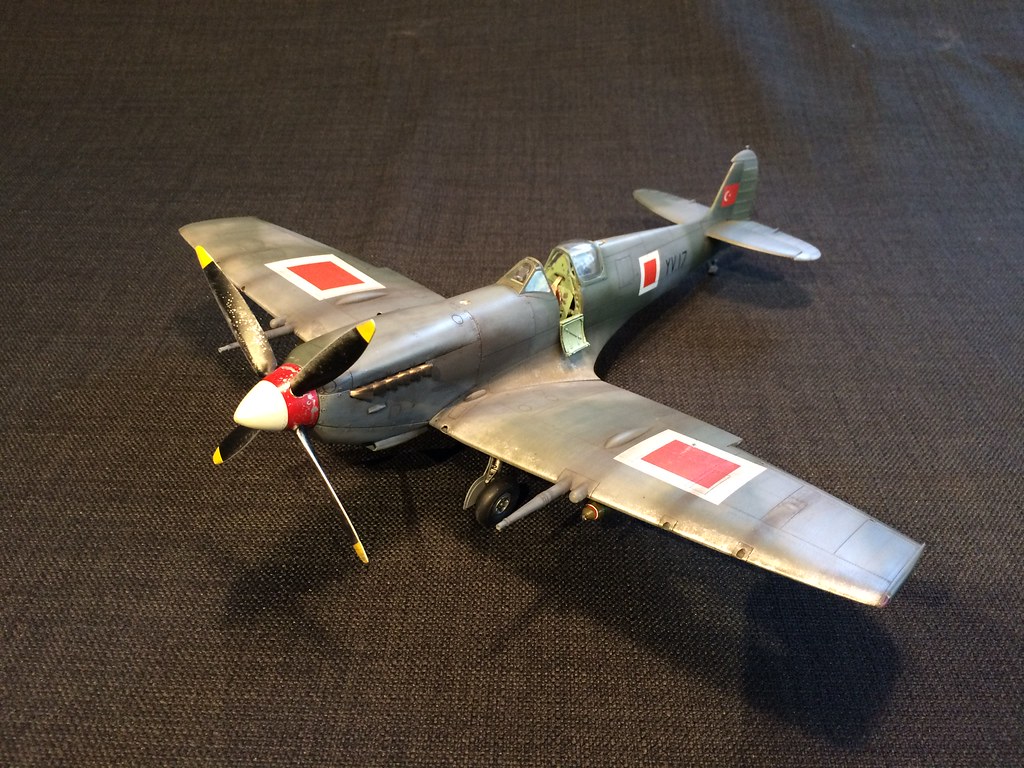
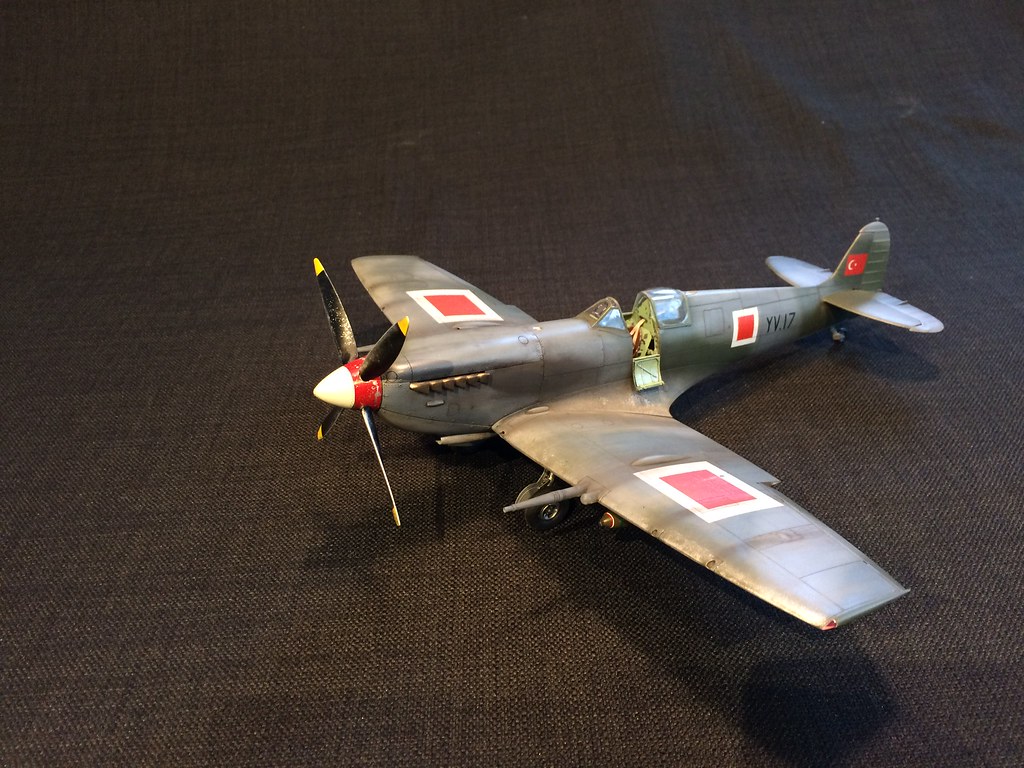
Hi everyone,
I built this spitfire mk IX in 2016 November. The built is OOB except for the decals, they are from OH-models "OHM-32003"
I remember enjoying building the kit a lot! This Tamiya kit is just wonderful, the fit is just perfect no issues at all.
The paint is from MR.Paint, i absolutely love the MR.Paint colors, they are so easy to work with. The first time i used MR.Paint was on this spitfire.
Decals from OH-models was rely rely thin, "a bit difficult to work with", but they went on like a dream if you are a bit careful.
Marking is from a Turkish Air Force Spitfire mk IX, i think it is from 1947.
The transition between the colors is not that good that i wish they would be, not my best effort, i have to work on that bit. Maybe on a different model kit.
I hope you guys enjoy the pictures, i have not taken any pictures of the underside, maybe i will take some and add later on.


-
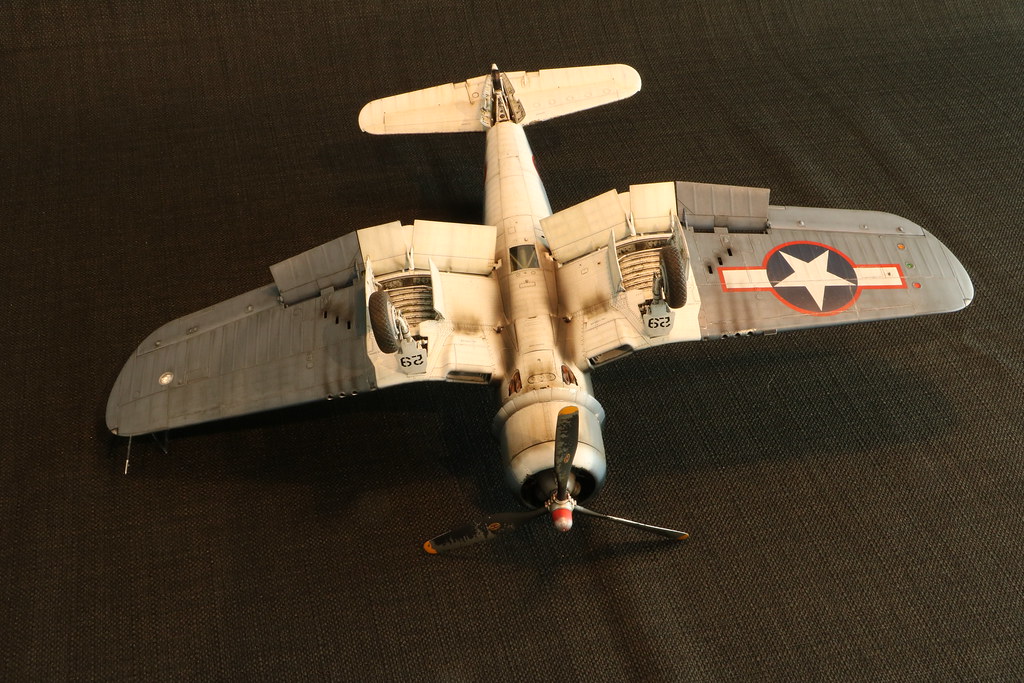
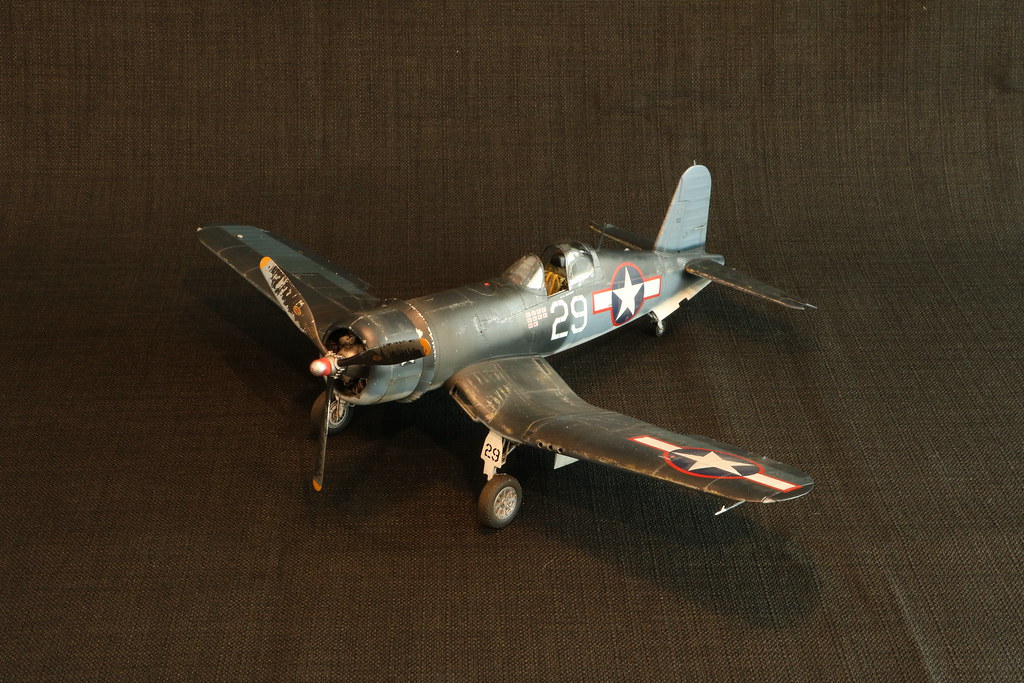
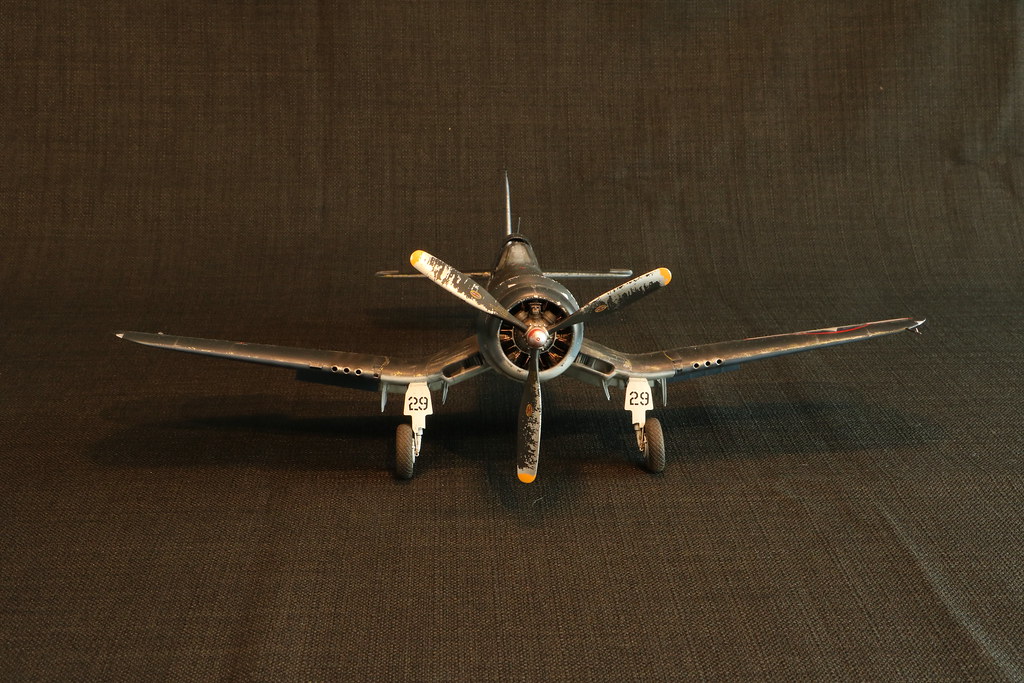
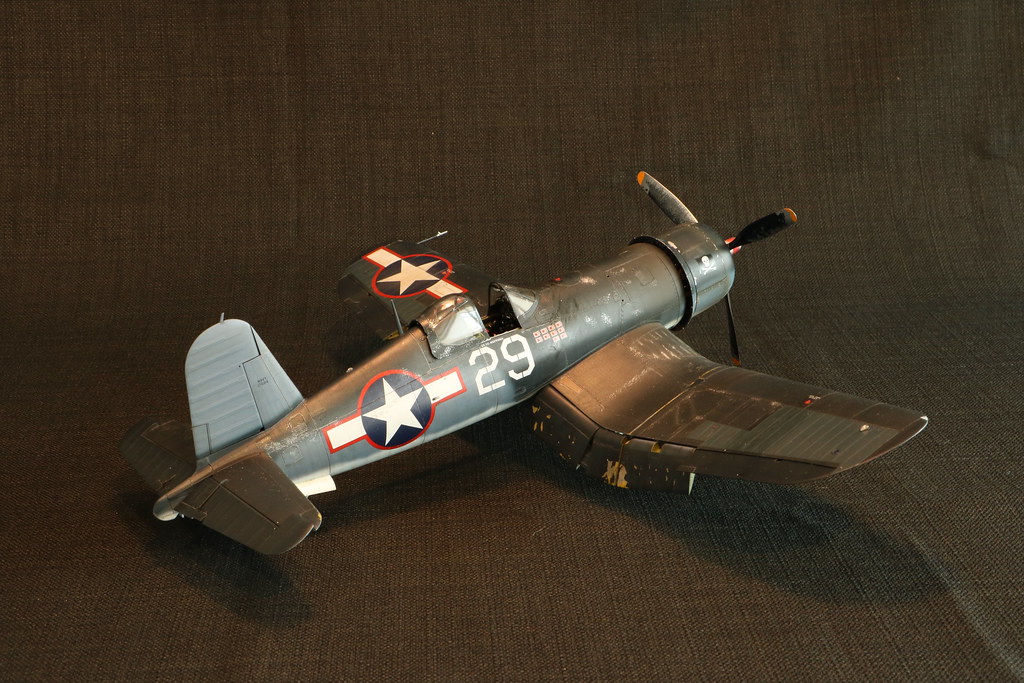
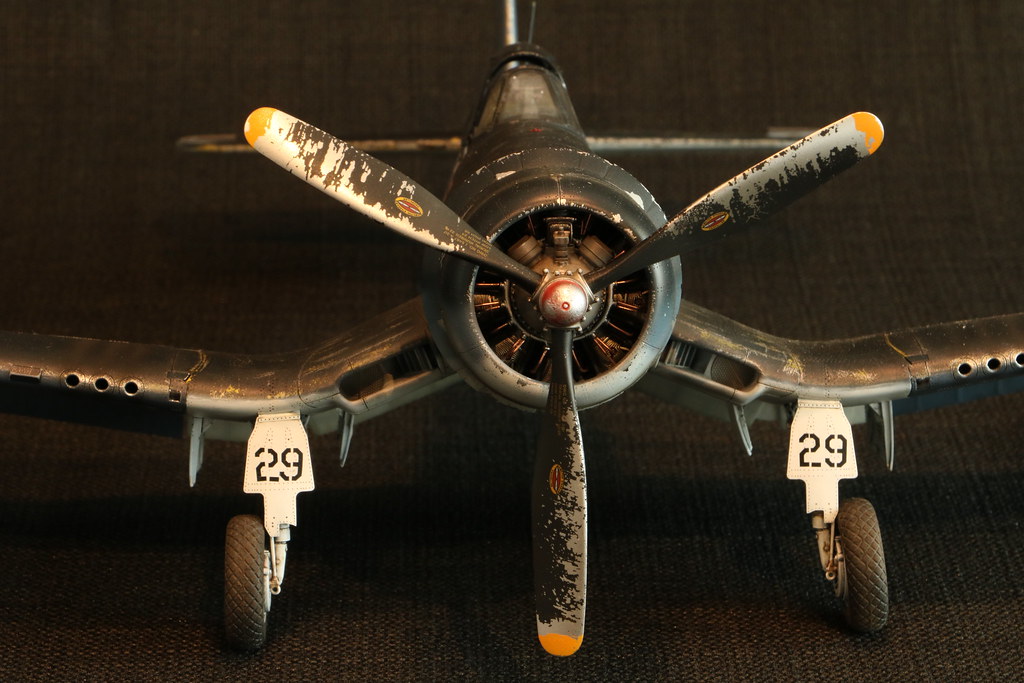
Great looking Corsair! How did you achieve the chipping effect?
Thank you Reuben.
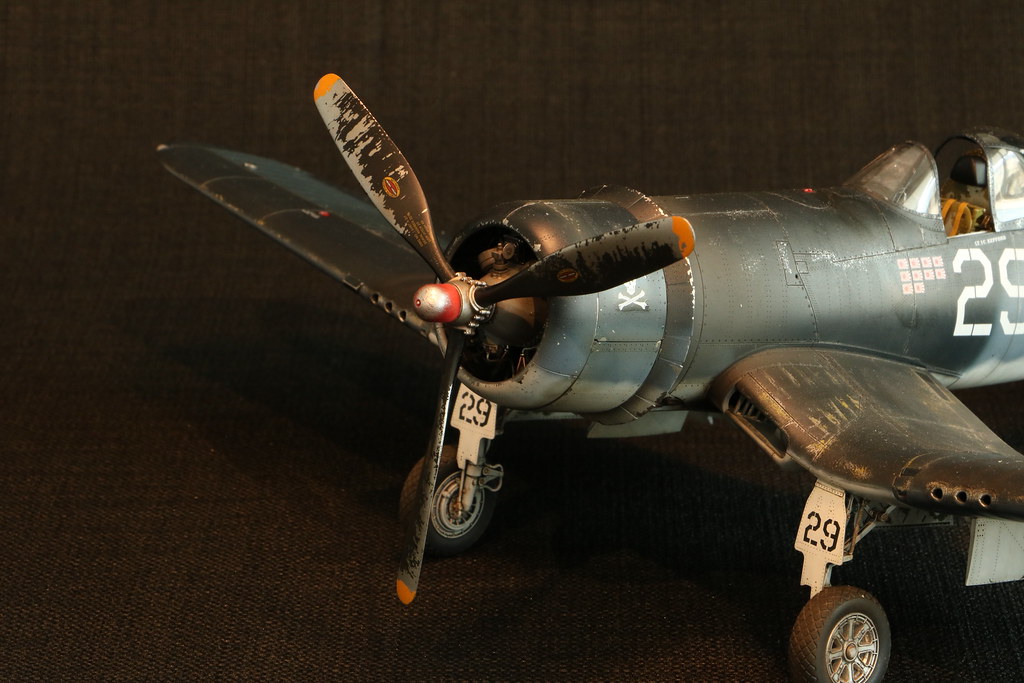
The chipping on the prop was done with chipping fluid from MIG "scratches effect".
On the fuselage i used several different techniques, mostly multi layer chipping. Before painting the fuselage in main color, i painted it with aluminium color, then i used chipping fluid. For the smaler chips i used sponge technique, it is more controllable to put chipping where u want it.
The chipping on the fuselage is explained on Doog´s Models site https://doogsmodels.com/2014/10/09/technique-multi-layer-chipping/
-
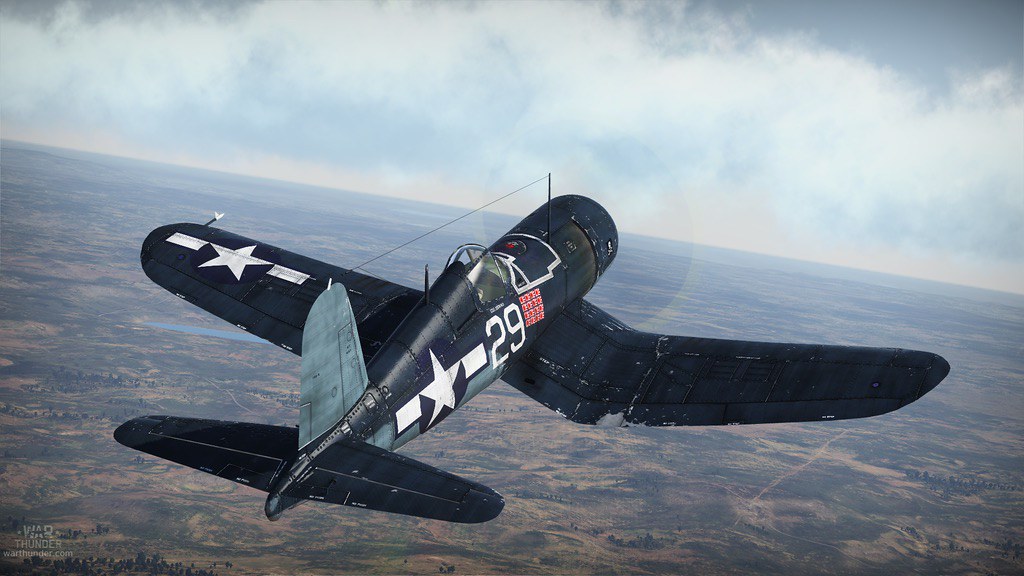
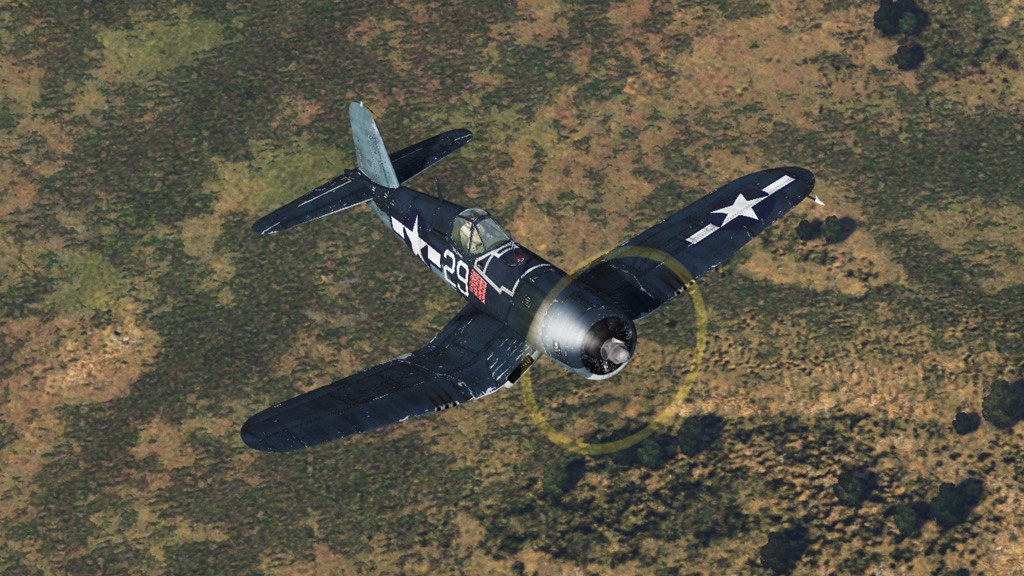
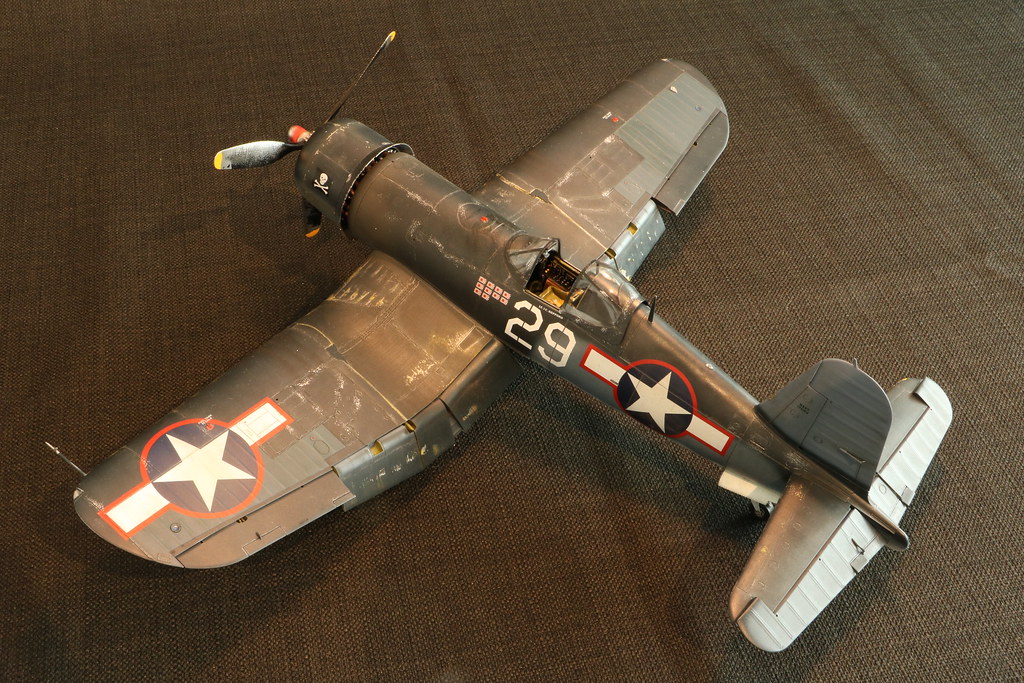
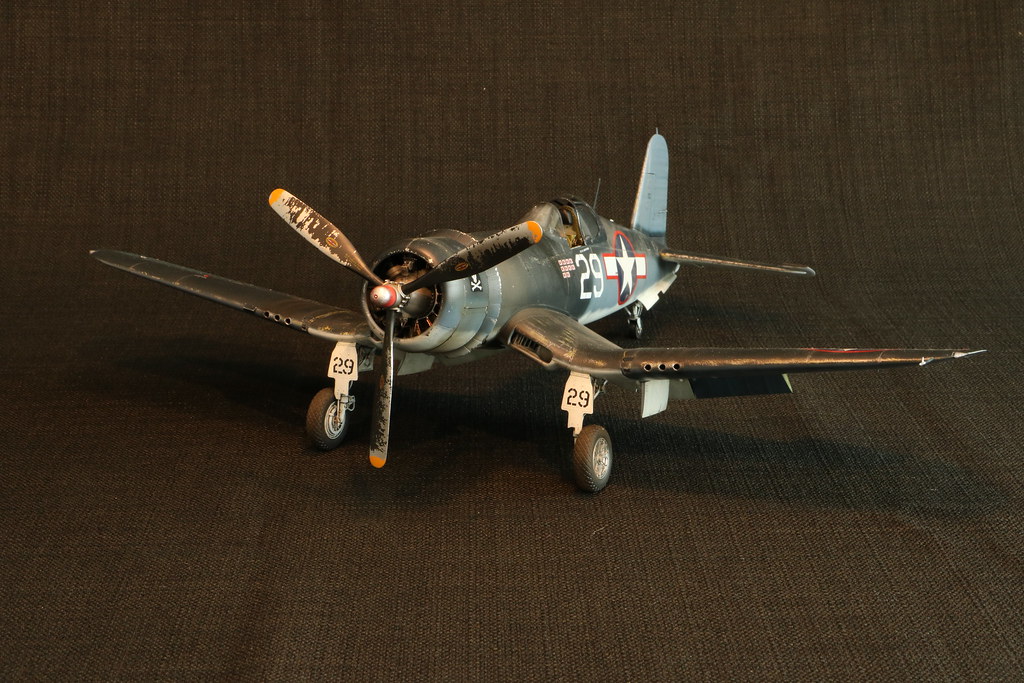
Thank youWelcome, that's a very unusual camo from the ones we've been building here.
Yes, the camo is quite unusual, when i saw the real plane on pictures, i liked it a lot. And gave it a try to build one with theese darker colors.
This is the reference picture that i looked at
-
the wheatering is spot on, looks so realistic. Well done!
I am jealous , i wish i could build mine that good.
-
What a nice looking corsair, the weathering is lovely. Fantastic work
-
-
-
-


1/32 Hasegawa Messerschmitt Bf 109G-6 Black 10
in Ready for Inspection
Posted
Really beautiful looking Bf 109G-6, Tolga. The weatering is on the spot, thank you for sharing.