

Ironwing
-
Posts
3,872 -
Joined
-
Last visited
-
Days Won
18
Content Type
Profiles
Forums
Events
Posts posted by Ironwing
-
-
-
-
-
On 4/4/2022 at 10:28 PM, JayW said:
All ears Geoff. Is there a brand name for this stuff? Where can it be had? BTW - I forgot what I used in teh past, but one of the solvents thinned it down just fine, but also ruined it's adhesive properties!
Jay
To thin Weld Wood I tried toluene,acetone,lacquer thinner, and mineral spirits. In each case, these solvents turned the weld wood into a gelatinous goo, formed a precipitate or just didn't react.
Weld Wood is a Xylol base.
I Found that thinning with Xylol to the consistency of milk allowed me to get a nice smooth layer without lumps using a 3/4 inch brush.
The Weld Wood dries very quickly so you can't eat a sandwich while your applying it.
Avoid going back over an area you've already applied the adhesive to. Going over an area already done cause the insitu adhesive to soften and becomes lumpy from the brush running over it.
I got mine at Home Depot in a pint can for a few bucks.
HTH
Sorry for going off topic
G
- patricksparks and JayW
-
 2
2
-
On 3/27/2022 at 10:24 AM, patricksparks said:
I have been using Weldwood as well, I clean up the glue with lacquer thinner, takes the glue right off, as the 21st century model is made of ABS the lacquer thinner attacks it a little bit but nothing to worry about when covering it up with aluminum, it is not as prone to it as styrene is, also I'll use Q-tips or a paper towl wrapped around my finger tip, just have to be careful if you are working around painted or detailed areas.
As for thinning the contact cement I read somewhere that Toluene is supposed to work, I haven't tried it yet because my heardware store only has gallons and I don't feel like keeping that much around.. I have been changing -up how much cement I'm putting down, I have been taking alot more of the cement off of the brush when taking it out of the container, alot less seems to go a long way...
I also purchased a bunch of throw away acid brushes, I got them off ebay, $9 for 25 with shipping.
Pat
Xylene/Xylol is the only substance that will thin Weld Wood. I've tried other solvents but none worked.
HTH
-
-
-
-
On 11/15/2021 at 10:48 AM, Derek B said:
Hi Geoff,
I am still very much enjoying your odyssean like voyage into the black arts of litho plating/aluminium sheeting of your model (you shall prevail!).
Cheers
Derek
Derek
Im glad your still looking in and I welcome any suggestions you might have. ll be down for a bit but Ill be back.
Be well...
Best
Geoff
-
On 11/15/2021 at 9:32 AM, JayW said:
Great litho work Geoff! A skill I must introduce myself to if I am going to take the next step. And best wishes and a speedy recovery from your upcoming procedure!
You may be interested to know - I have another 21CT P-51 in the mail (I payed too much for it - have you seen what people get for these things??). Old Miss Velma is going to get replaced with an improved version, perhaps my uncles old "Sissy Mana" if I can just find the nose art.
Jay
Glad you looked in. Another Mustang..hell yes dude!! Now you have a reason to start working with litho. You have the skills for it. Takes a bit of learning but you have the chops for it and Im more than happy to help anway I can.
Thank you for the well wishes.
Talk soon I hope...
Best
Geoff
-
-
Thanks Brian..I hope youll stay tuned
Best
Geoff
-
-
Greetings All
Its been a while since last post.. but its not dead. I ended up stripping the litho from the cowling. Its a messy job, somewhat scary and time consuming trying to get the contact adhesive off. I did run into some problems as a result of my activities. The cowling exhibited small linear cracks running front to back, especially on the back edge. They were covered with epoxy to stableize them. The big problem came when I pushed on the nose cap unknowingly and cracked it pretty bad (the litho cap wasnt in place) so much so that I had to remove it. Fortunately I had a spare...
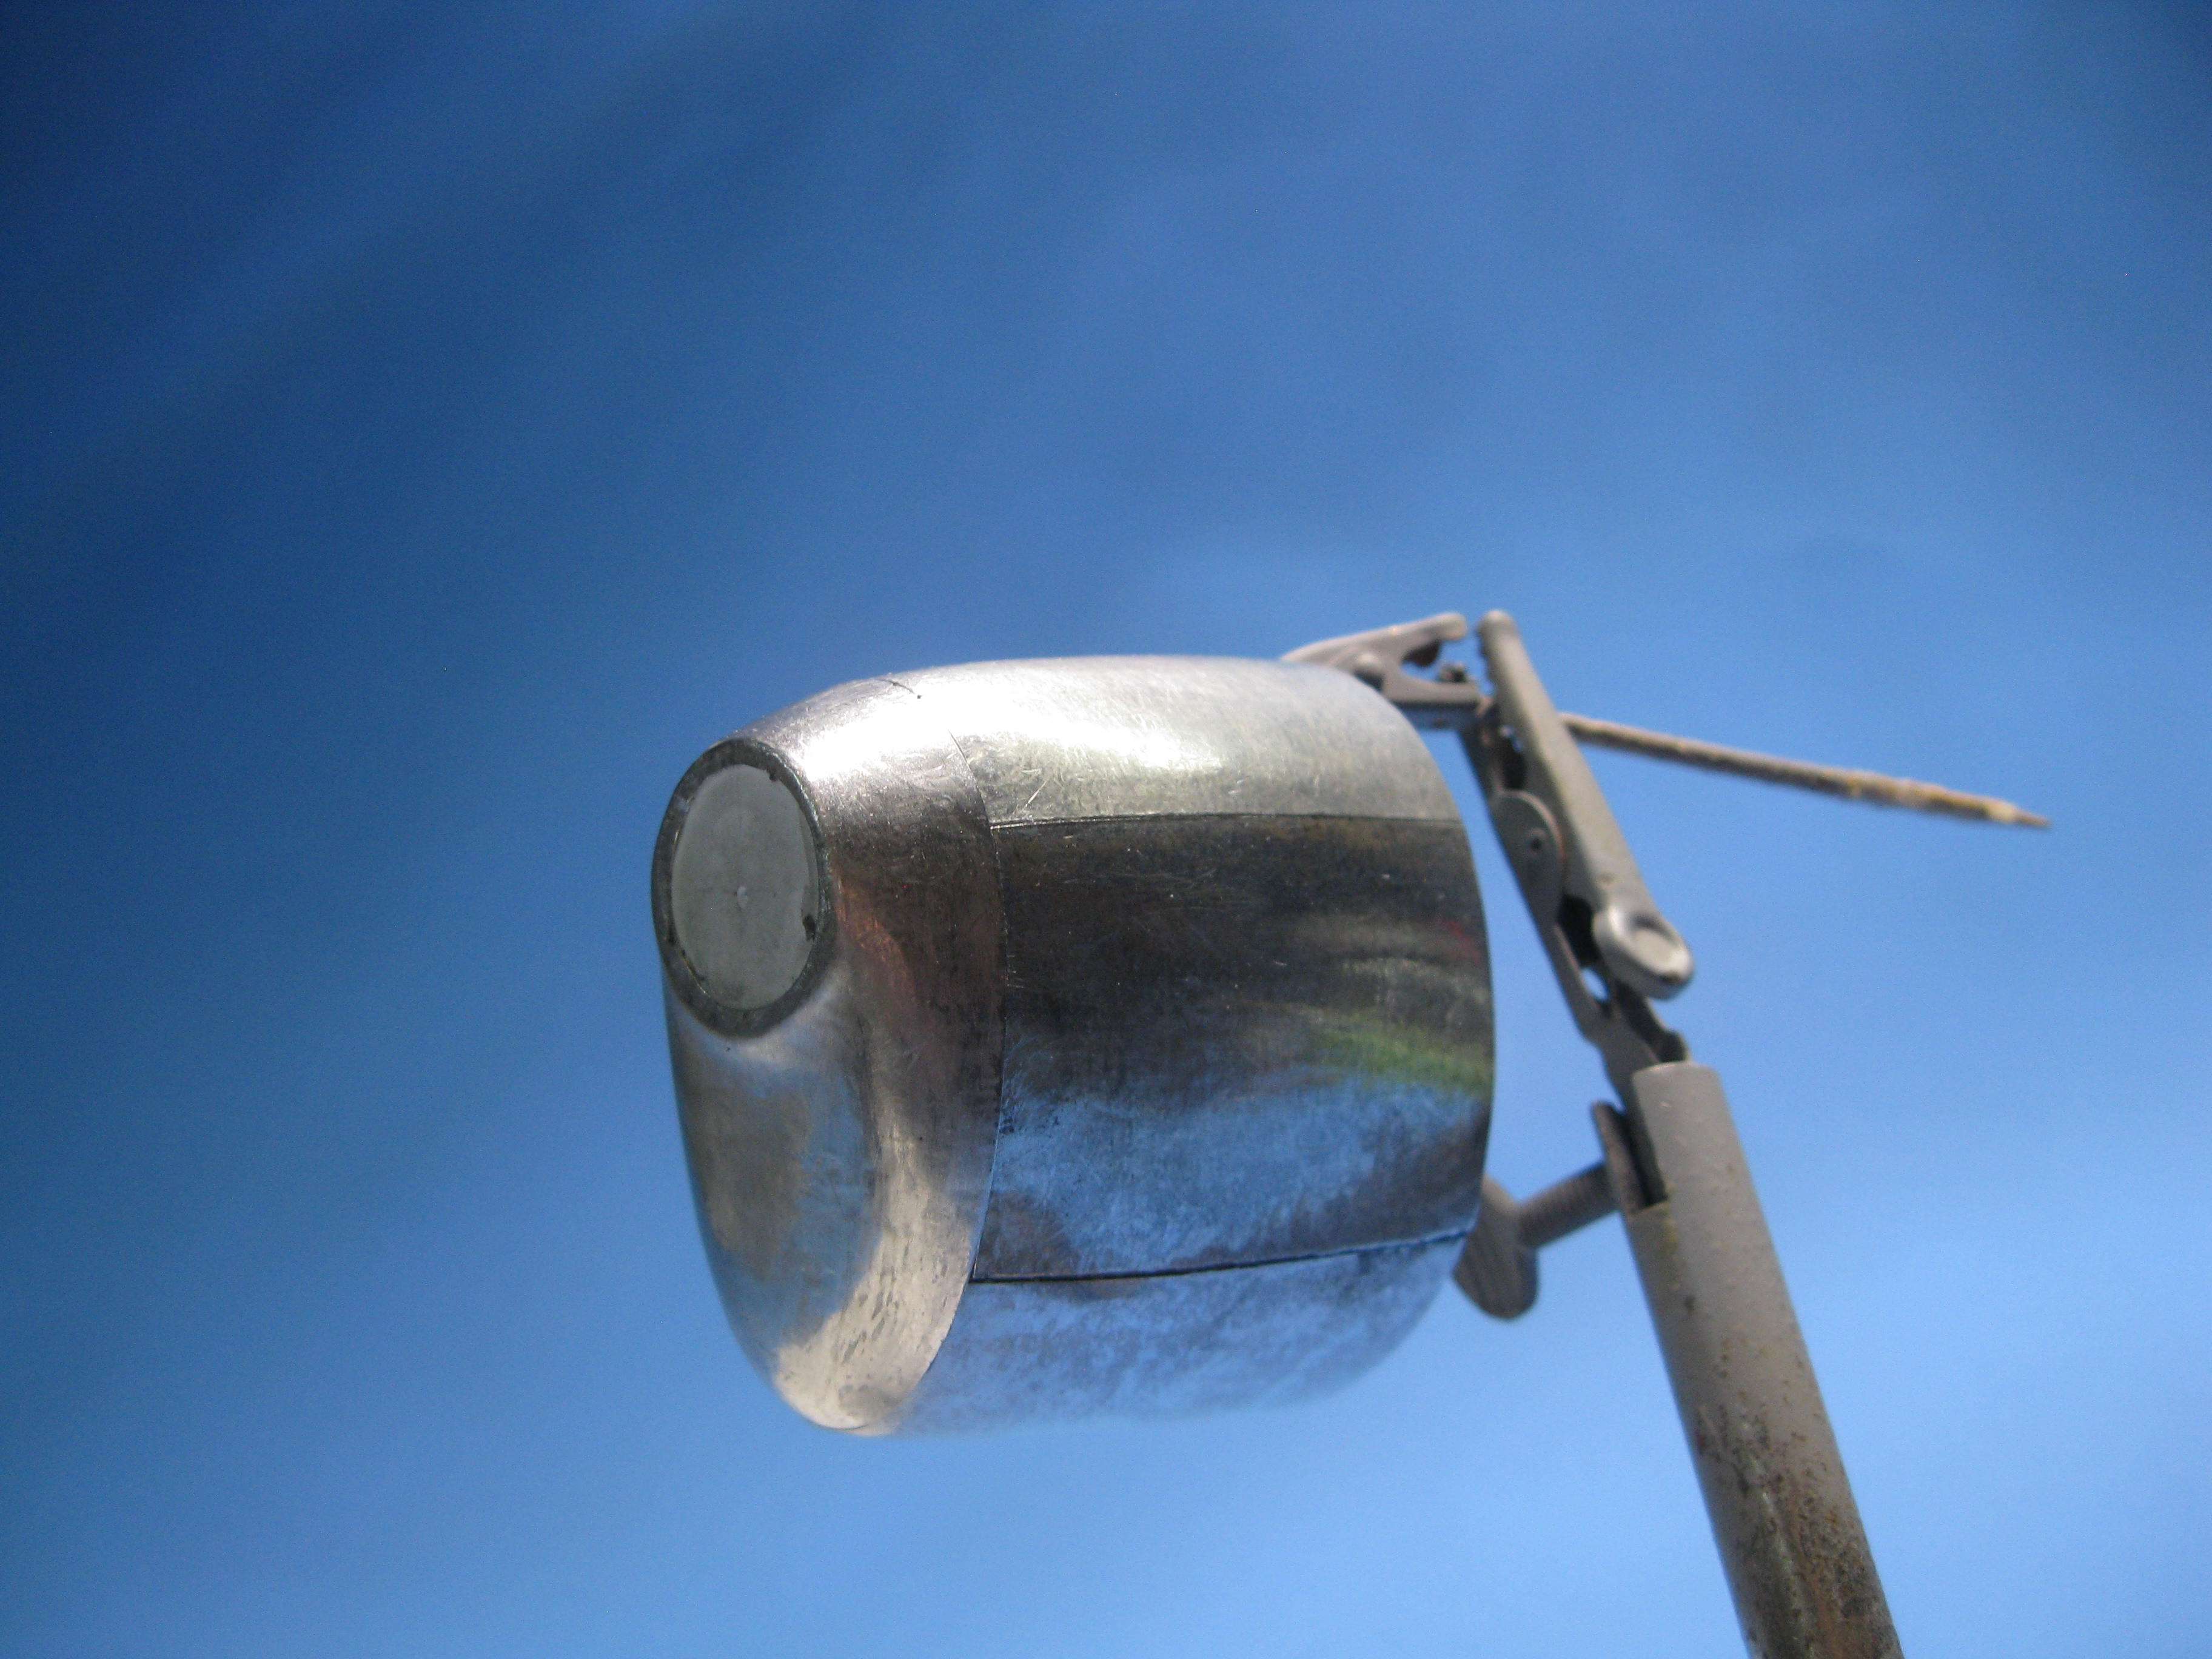
COWLING 2.0
This one came out better. But Im still deficient is getting down a smooth thin layer of contact adhesive.
That said..here is number two..
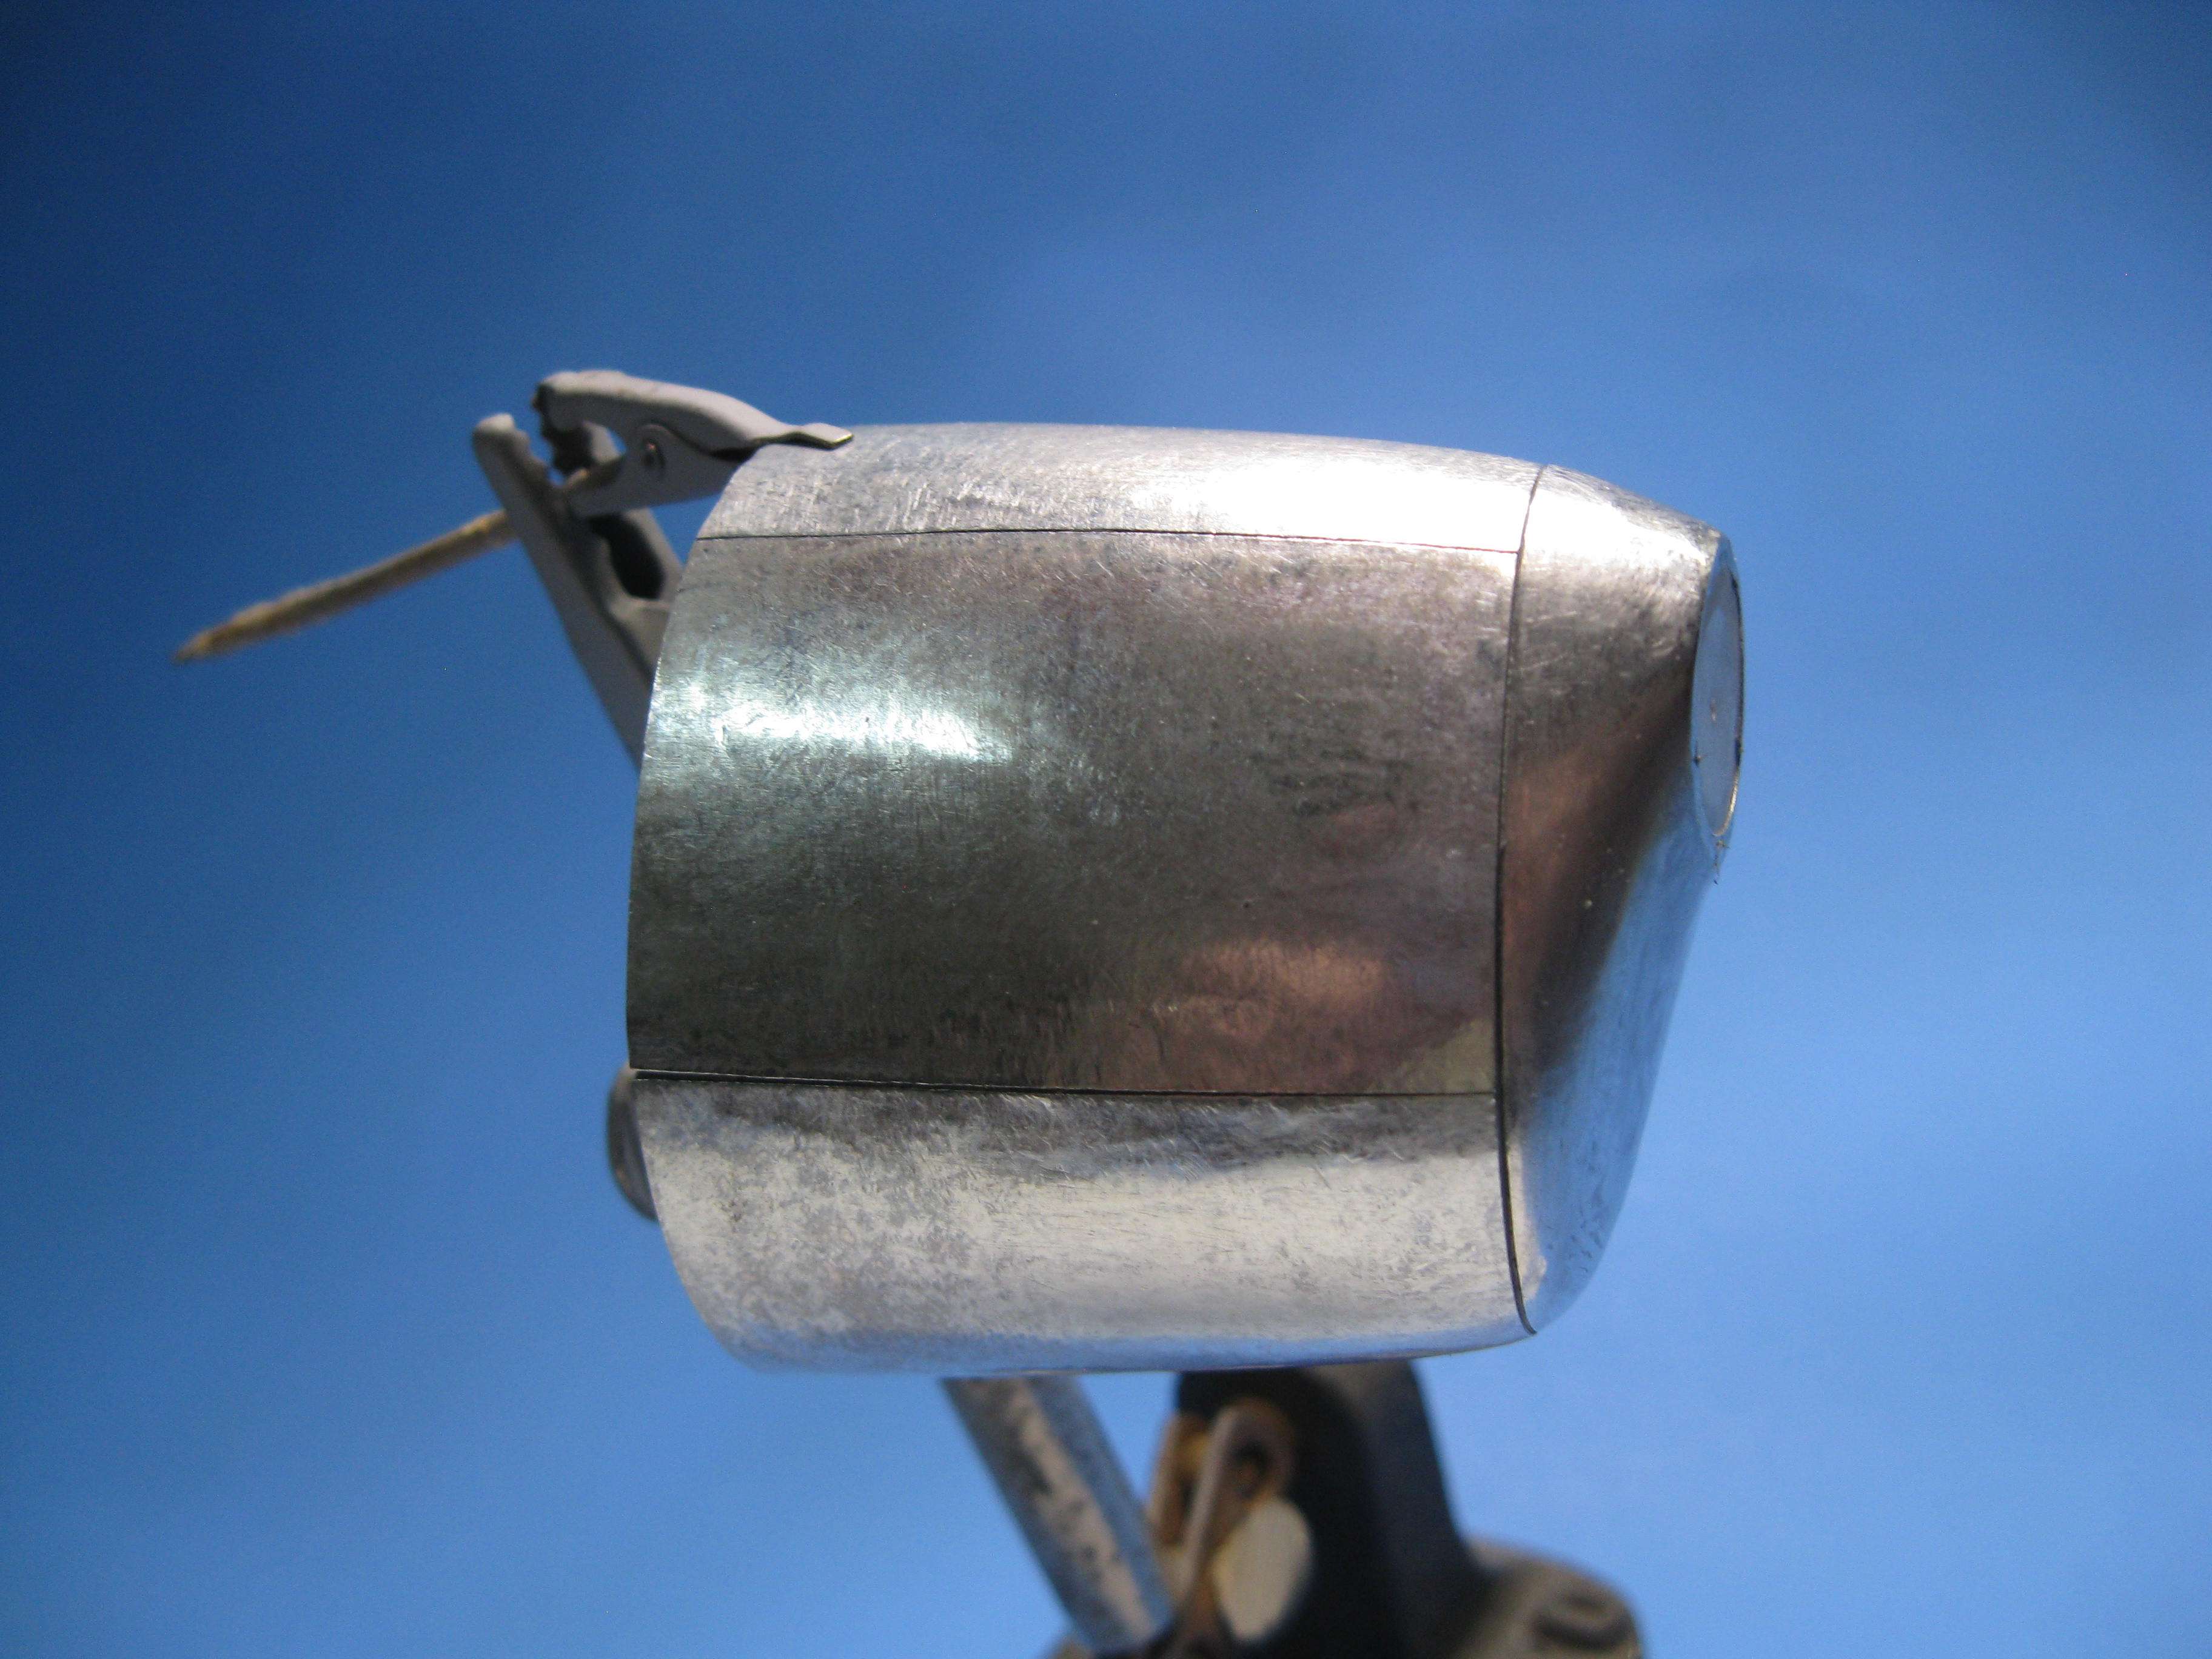
It can use a bit more hammer treatment to smooth it further before committing to sanding. I tried somethinga bit different, in that, I didnt rub the litho down. What you see here is hammered only.
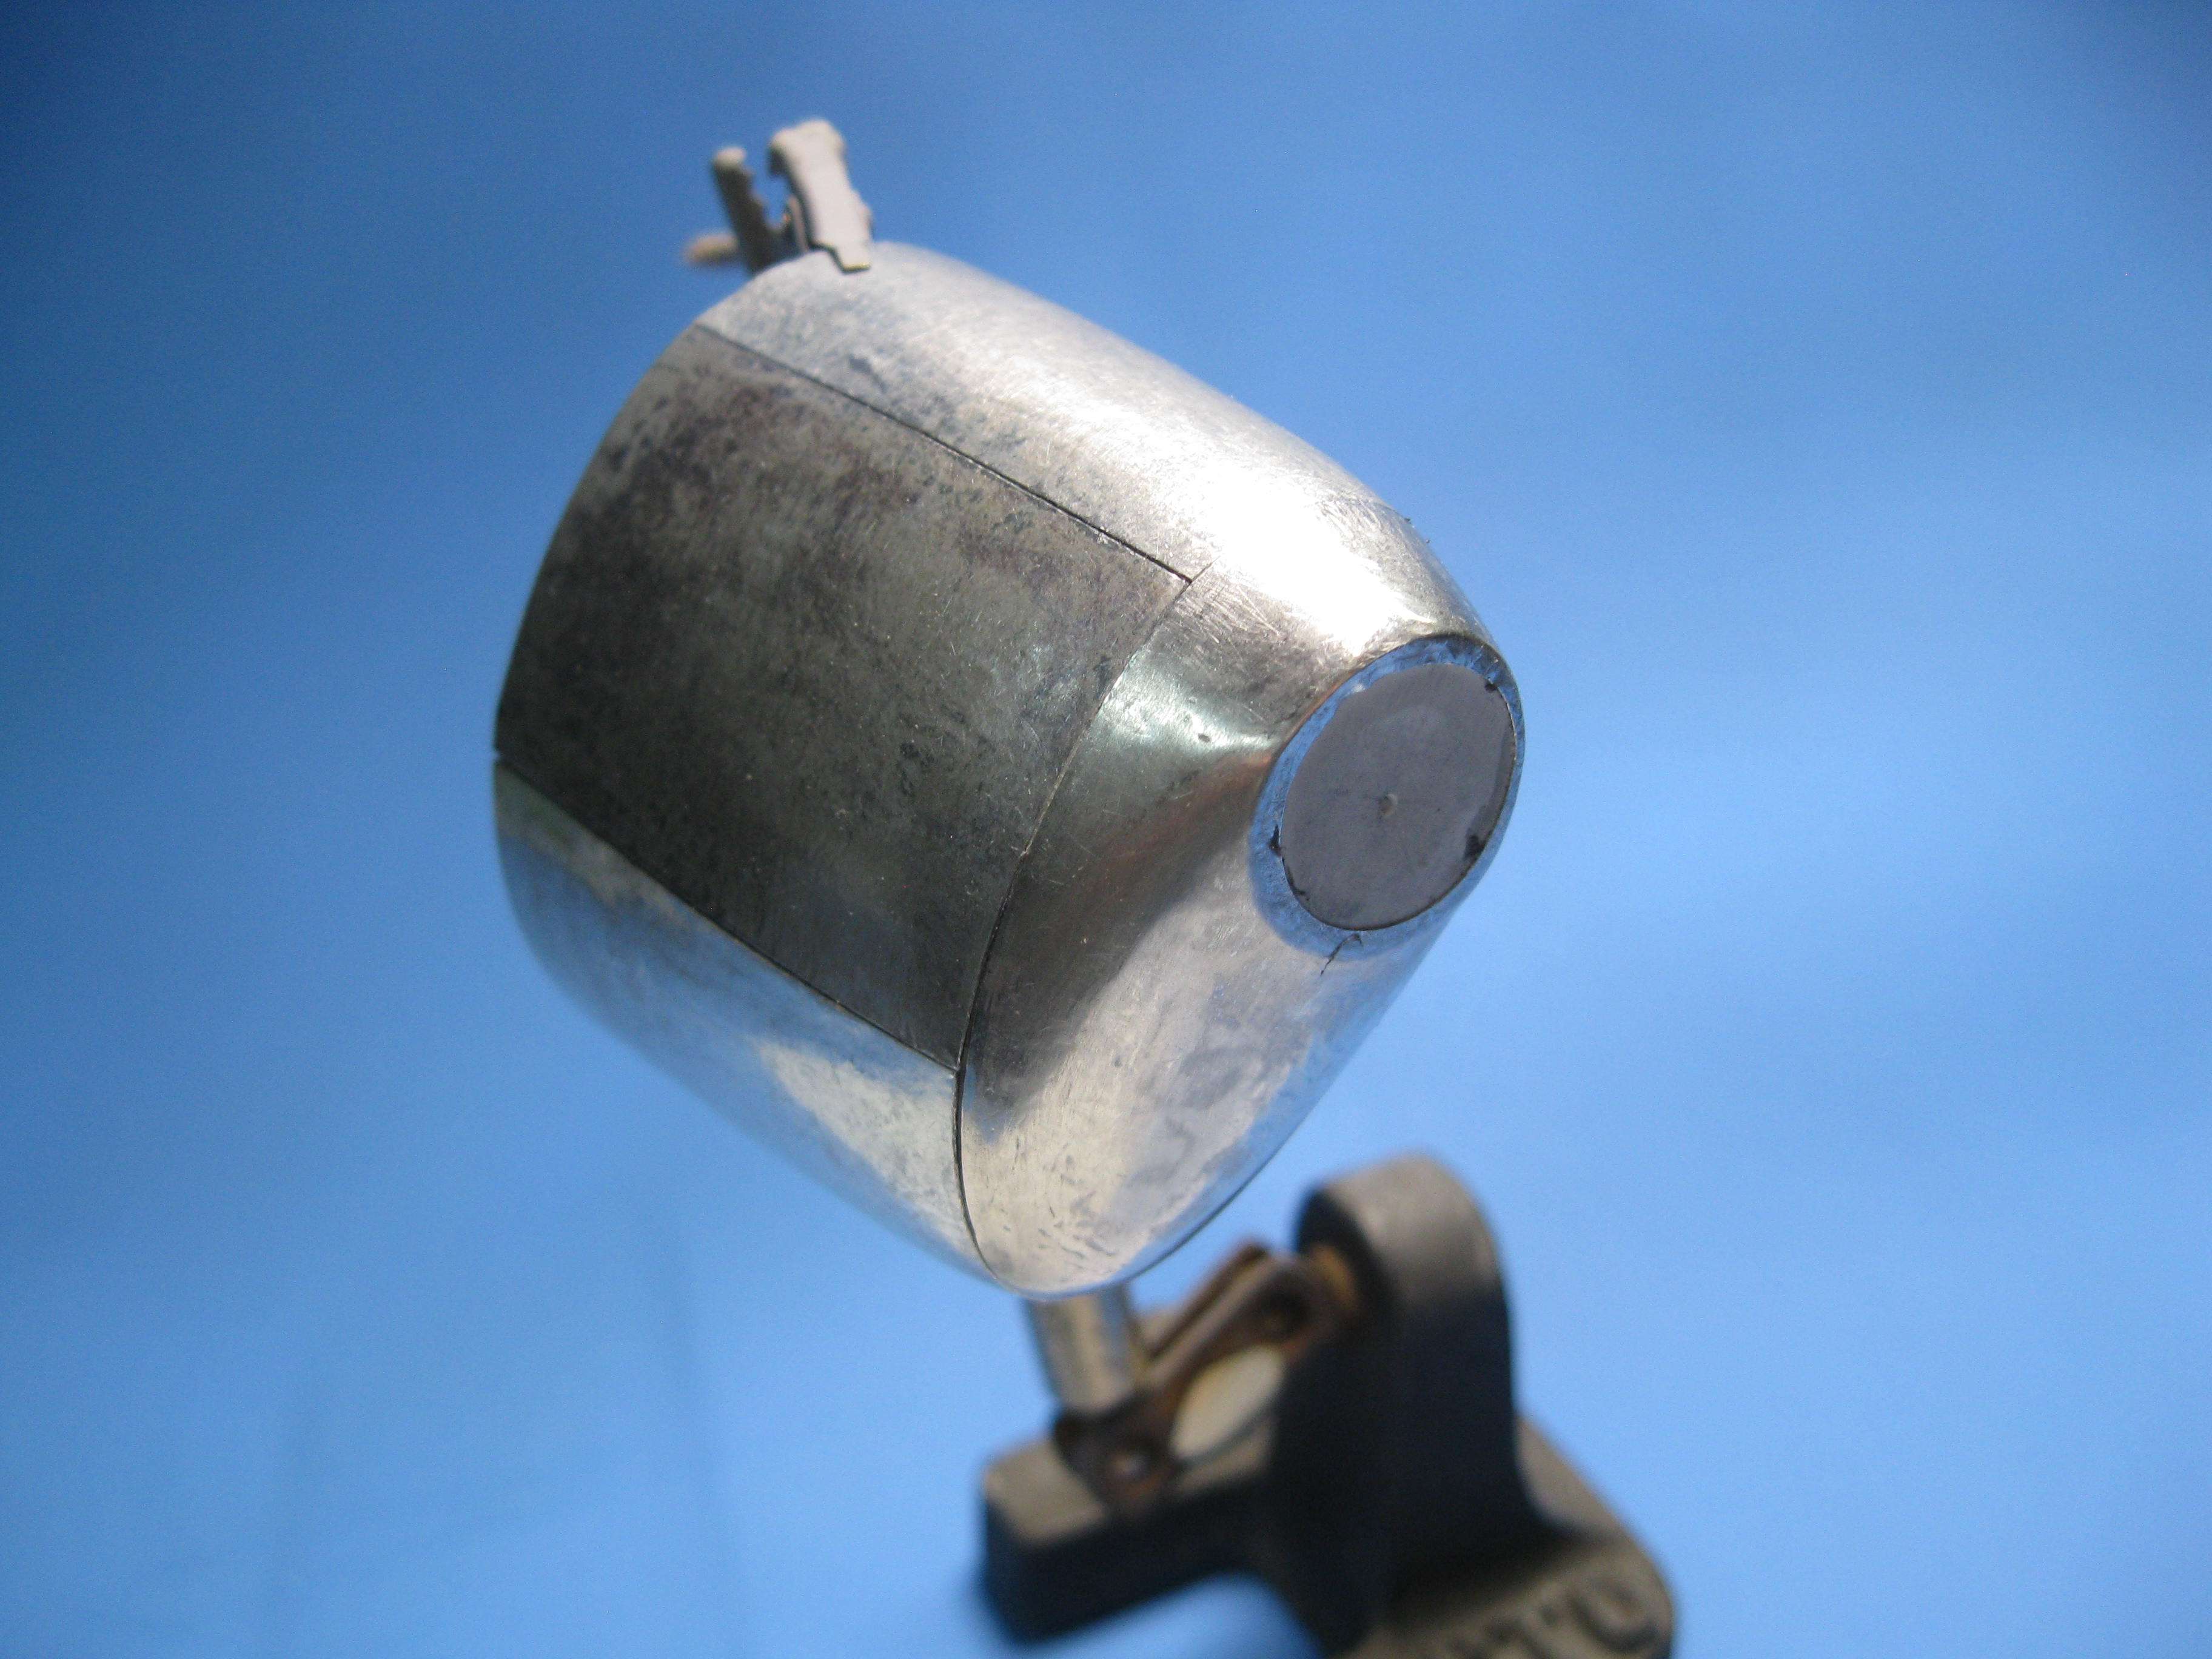
I have to say, This was hard to do..at least for me. Working around the constant tapering curve was a challenge and ensuring all five pieces mated properly in the front required really accurately aligned panels. The cowl cap isnt permanrntly attached. Its taped on from the inside.
There is still a boat load to do on the cowling. I just wanted to prove it wasnt dead
")
I have a date with a surgeon and a scalpel on 17 November. Ill be down for a while but Ill be back...
Be safe
Regards
Geoff
- Derek B, patricksparks, JayW and 10 others
-
 13
13
-
Chuck
Ive just caught up with what youre doing. As always, pristine and exacting work with an excellent tutorial. I dont know how you do what you do but you sure are good at it,
Best
Geoff
-
Peter
Another work of art in the making. I cant imagine how youll surprise everyone next but please keep doing it.
Best
Geoff
-
Dude,
Worth it or not. Youre giving a master class in how it gets done and your workmanship has entered that rarified place only a few exist in. Im so happy this is working out well for you. This is an iconic work of art. Stay with it...
Best
Geoff
-
Pete
You just keep pushing up. Master class skill young fella. I bumped into a couple T-38's a bunch of yeras back at Langely. They were all black, white tail markings. Wish I could remember what the markings were but they just look so cool sitting there with the canopies up. Its a really nice looking ship and everything youre doing is giving it its full due moment. Makes me smile...
Best
Geoff
-
-
-
7 hours ago, brahman104 said:
Certainly is a learning experience with litho...... I'm learning a lot myself at the moment. Glad you're taking it in your stride and having another crack.
If mk 1 was that good, I can only imagine what mk 2 will look like!
")
Craig
Hi Craig,
Lessons learned hard are the best to learn from
It will be a bunch of work to get back to where I was but Im unwilling to compromise.
Im glad yo stopped in.
Regards
Geoff
-
14 hours ago, Oldbaldguy said:
So are you saying the pieces of litho got bigger in places as you worked it - as in stretched?
OBG,
Glad you looked in.Aluminum does indeed stretch. However, in this case, Im of the opinion that its more an issue of the edges deforming, kind of "mushing" over from being worked. Hopefully, not fitting the edges too tightly will eliminate the problem.
Got any suggestions?
Glad yu looked in...
Regards
Geoff
-
Hello All,
Hope everyone is well. Back from a little R&R kiuhgfrtopklhyu7u7hu..that was a brief visit from my grand son..Anyway, once the cowling was skinned and given a real hard look at, after being sanded, I wasnt really happy with the panel separations. None got bigger but in some spots they closed. Note to me: dont make the panels fit so tightly. IMHO, scribing the lines in where they closed would work in theory. But the scribed panel line would look different and it would be obvious. Other than that, Im not disappointed. It was a great learning experience. Hence, with new found knowledge, Ive removed the litho from the top and two sides. The bottom pan was left in place for reference points. A new one will be done once the top and sides are back on. The nose cap remains intact safely put away on its buck.
Starting again, with the litho off. Theres a mess of clean up to do. Xylene..outside..gloves..repirator..weapons free.
Be safe All..
Regards
Geoff
-
On 9/16/2021 at 5:16 PM, LSP_Kevin said:
Supremely impressive, Geoff!
Thanks Kev
geoff

1/18 Scale Blue Box F4U-1A Corsair Modification
in Works in Progress
Posted
stellar...