

spyrosjzmichos
-
Posts
1,230 -
Joined
-
Last visited
-
Days Won
3
Content Type
Profiles
Forums
Events
Posts posted by spyrosjzmichos
-
-
Looks really good Spyros.
Jim
Thanks Jim! Glad you're enjoying the build!

-
Spyros, so very much appreciated.
My favorite part of any build - painting by brush or with an air brush
Peter
I know right?
Having a cockpit done and installed in the fuselage is one of the most satisfying parts of the build!
Can't wait for the next update!


-
Good start on Your F-4 Spyro. Thought I knew a thing or 2 regarding Phantoms but "SRA" didn't ring a bell... One of the things I had to look up and after doing so I found out that You probably made the right choice regarding the cockpit. As You probably know, the AUP's had some extensive modification in that aera which made me wonder why You opted for the "standard" pit...
Anyway, If the final result will be simular to Your 1-0-4, this build will be another joy to follow.
Regards Rudy.
Thanks Rudy!
I was aware that the Legend cockpit isn't perfect.
But I'm not usually bothered with accuracy as long as it's close enough.
I'm not fully aware of the history of the SRA version but I believe it was the first upgrade the Greek Phantoms received after initial delivery. I do stand corrected on that.
What I do know is that this version would require the least modifications in terms of the airframe itself and still be able to paint it in the Aegean ghost scheme.
My next update will take some time as I'll be on much needed holidays by end of this week!

-
Wow!
Kev
Thanks Kevin! 😊
-
Great stuff Eric!

-
Very nice work on the undercarriage Joel!
You're almost there.
-
Beautiful cockpit Peter!
Your painting is nice and sharp!
-
Nice progress Milan!
-
Good job so far with the cockpit!
Personally the only thing I dread is the coaming!
I always find it difficult to make it fit properly and I end up creating a ton of work to blend it in properly.
-
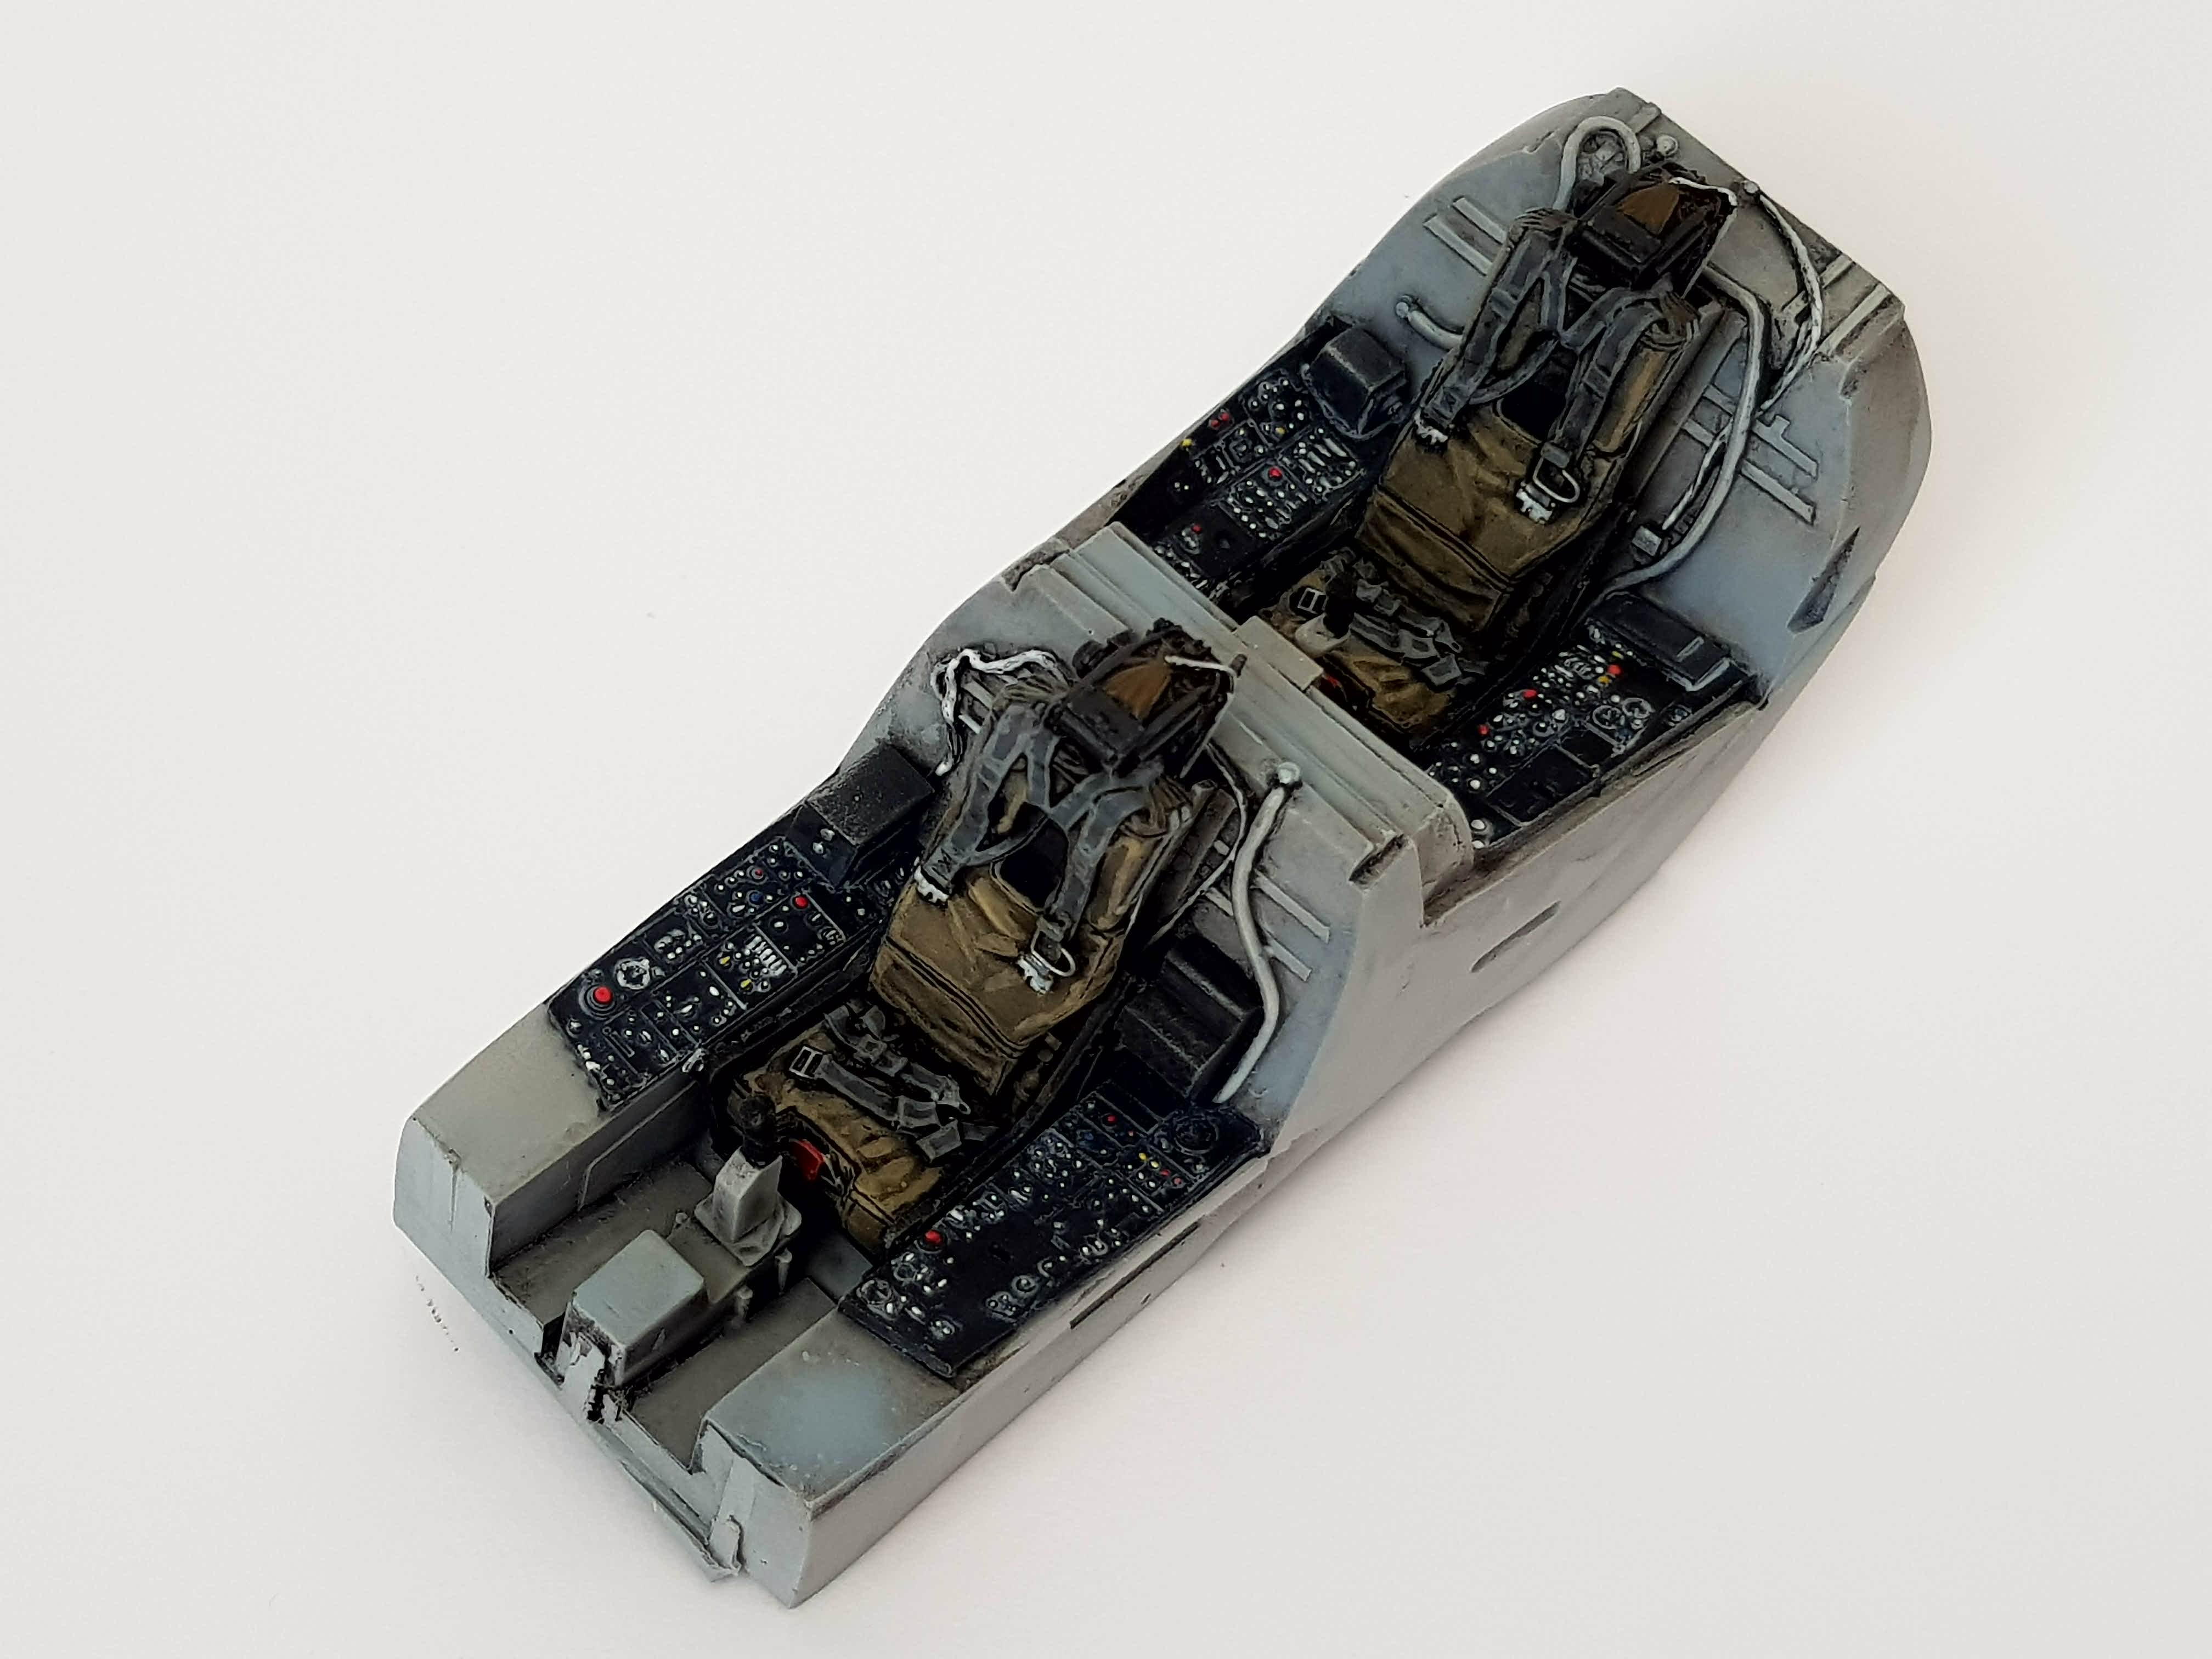
Hi guys!
This update is the current status of the build.
After this, I'll be going on a much needed holiday so it'll be a while till work resumes.

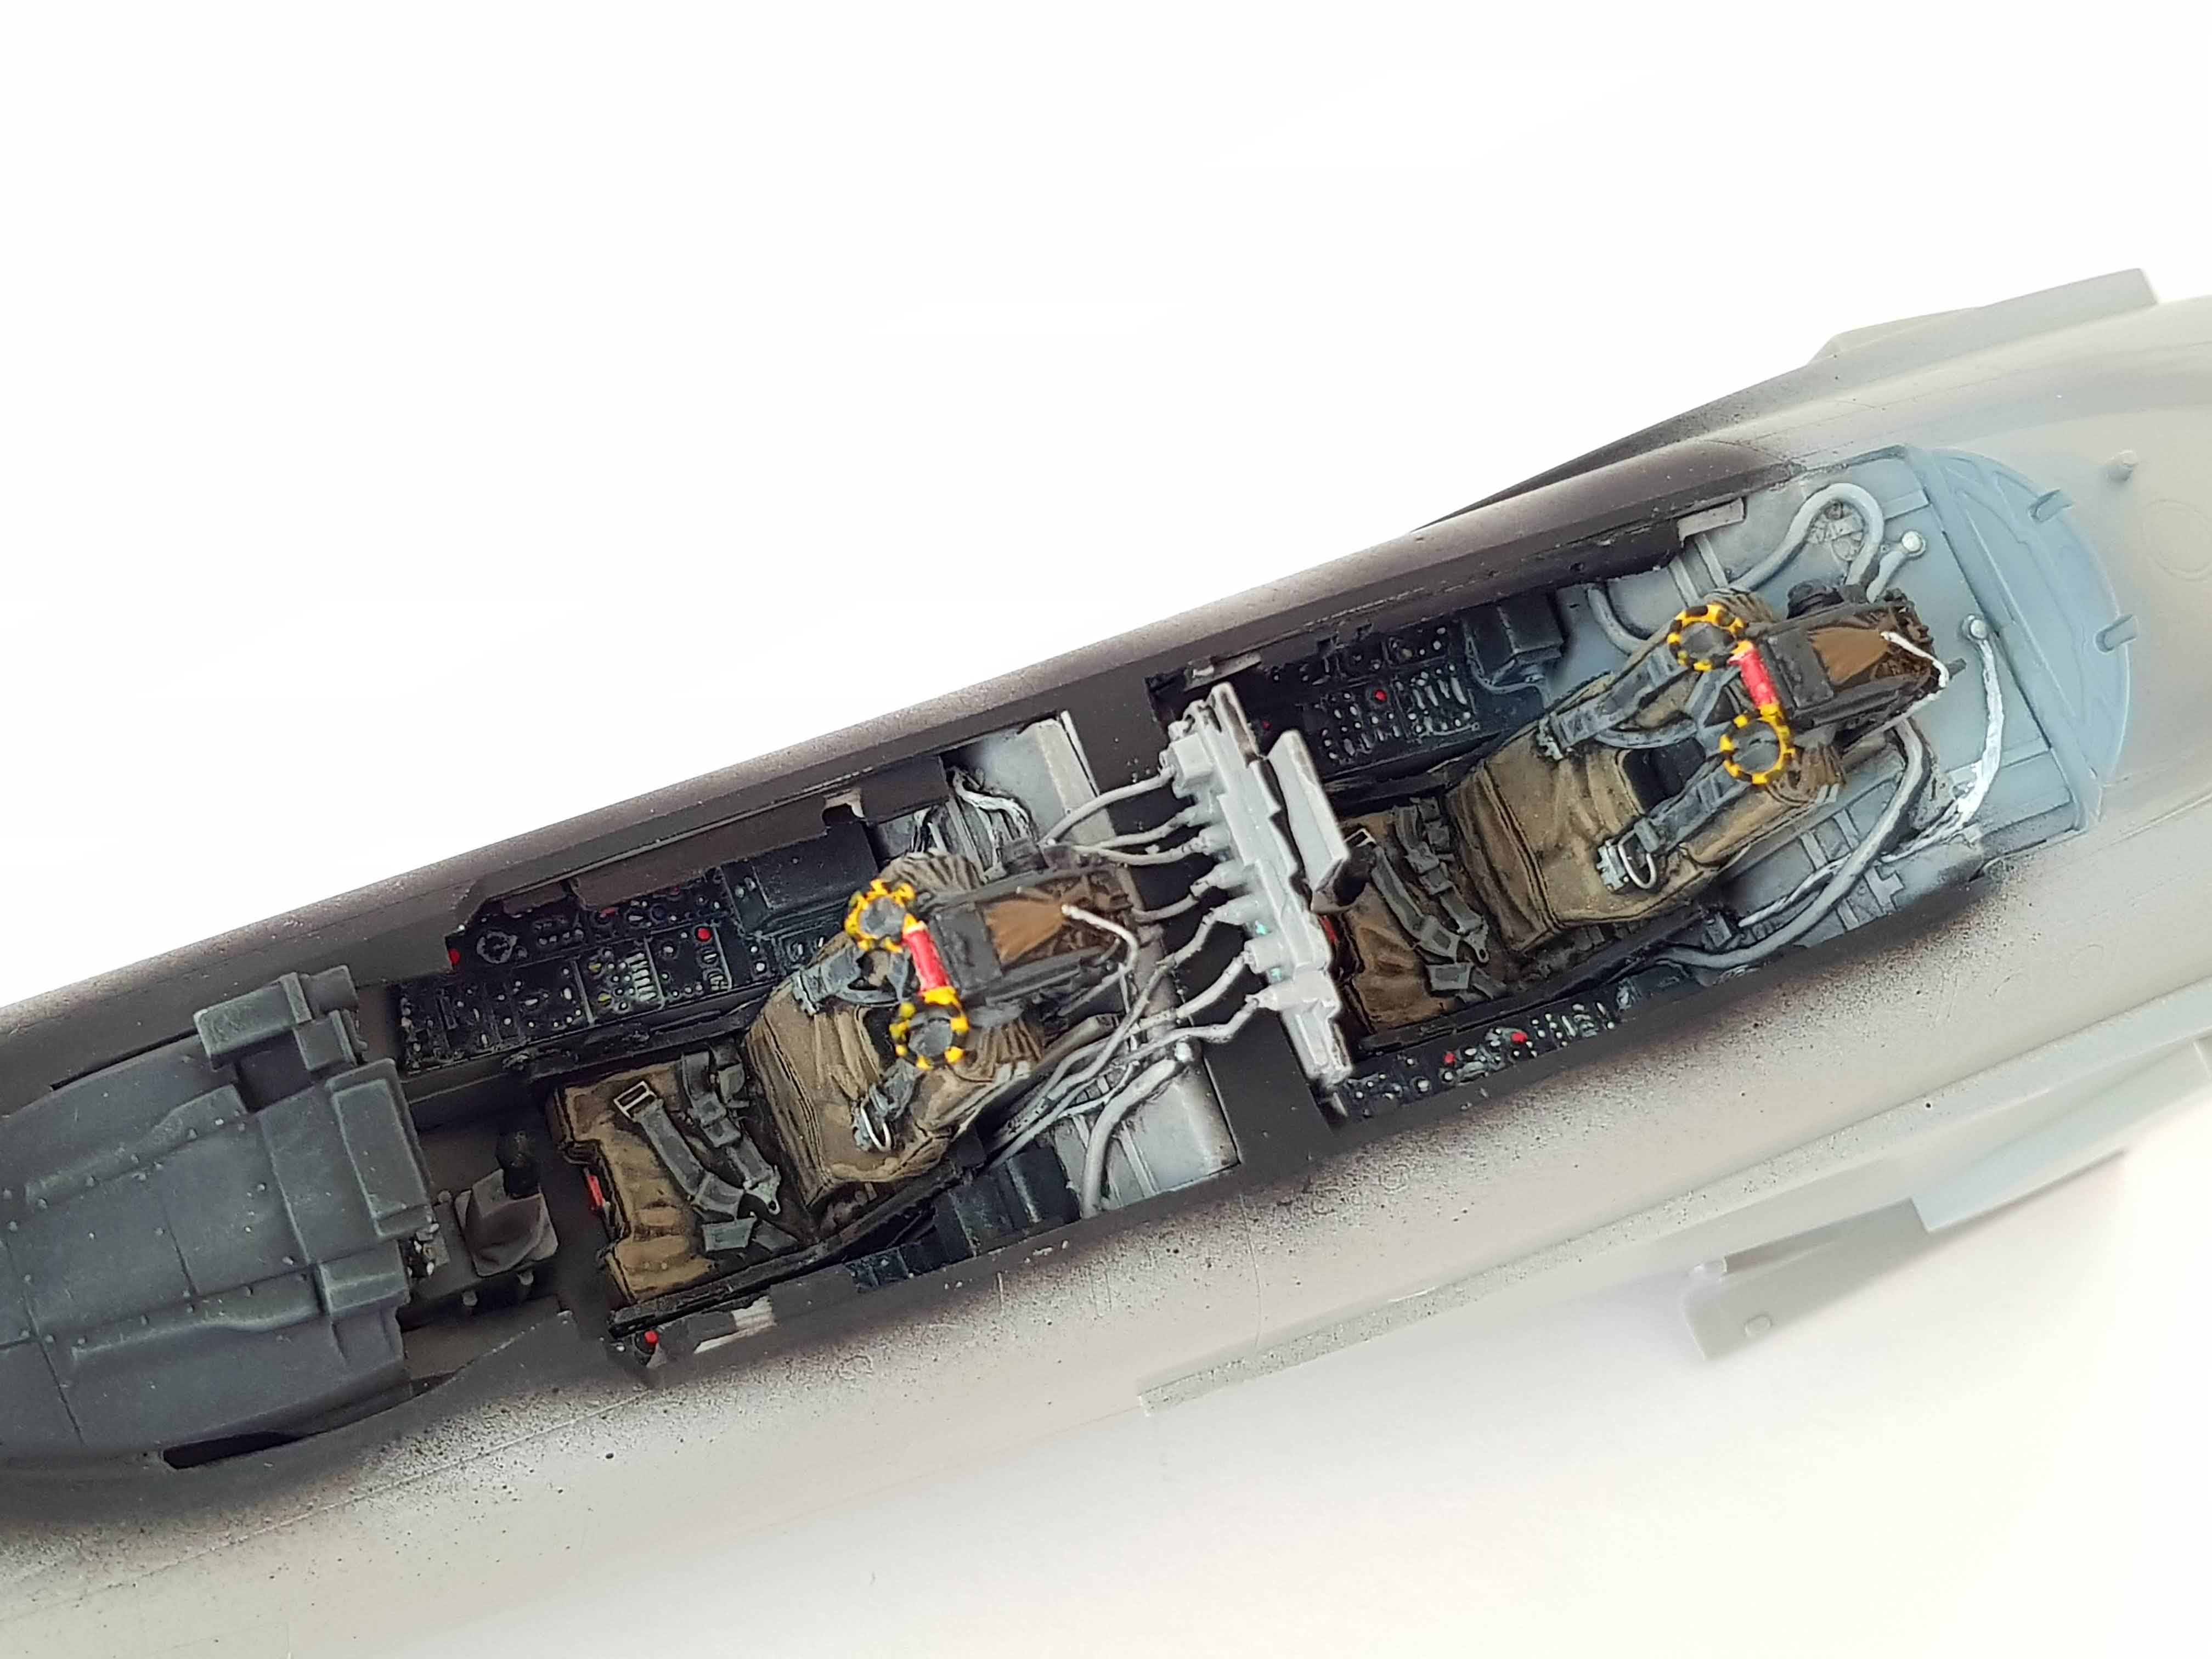
With the cockpit done it was finally time to put everything together and close the front fuselage.
It was easier than I expected with the only exception being the front coaming which needed a bit of work to blend in properly.
All joints were sanded smooth and I rescribed the lost panel lines.
I applied a bit of panel wash to make sure everything was fine.
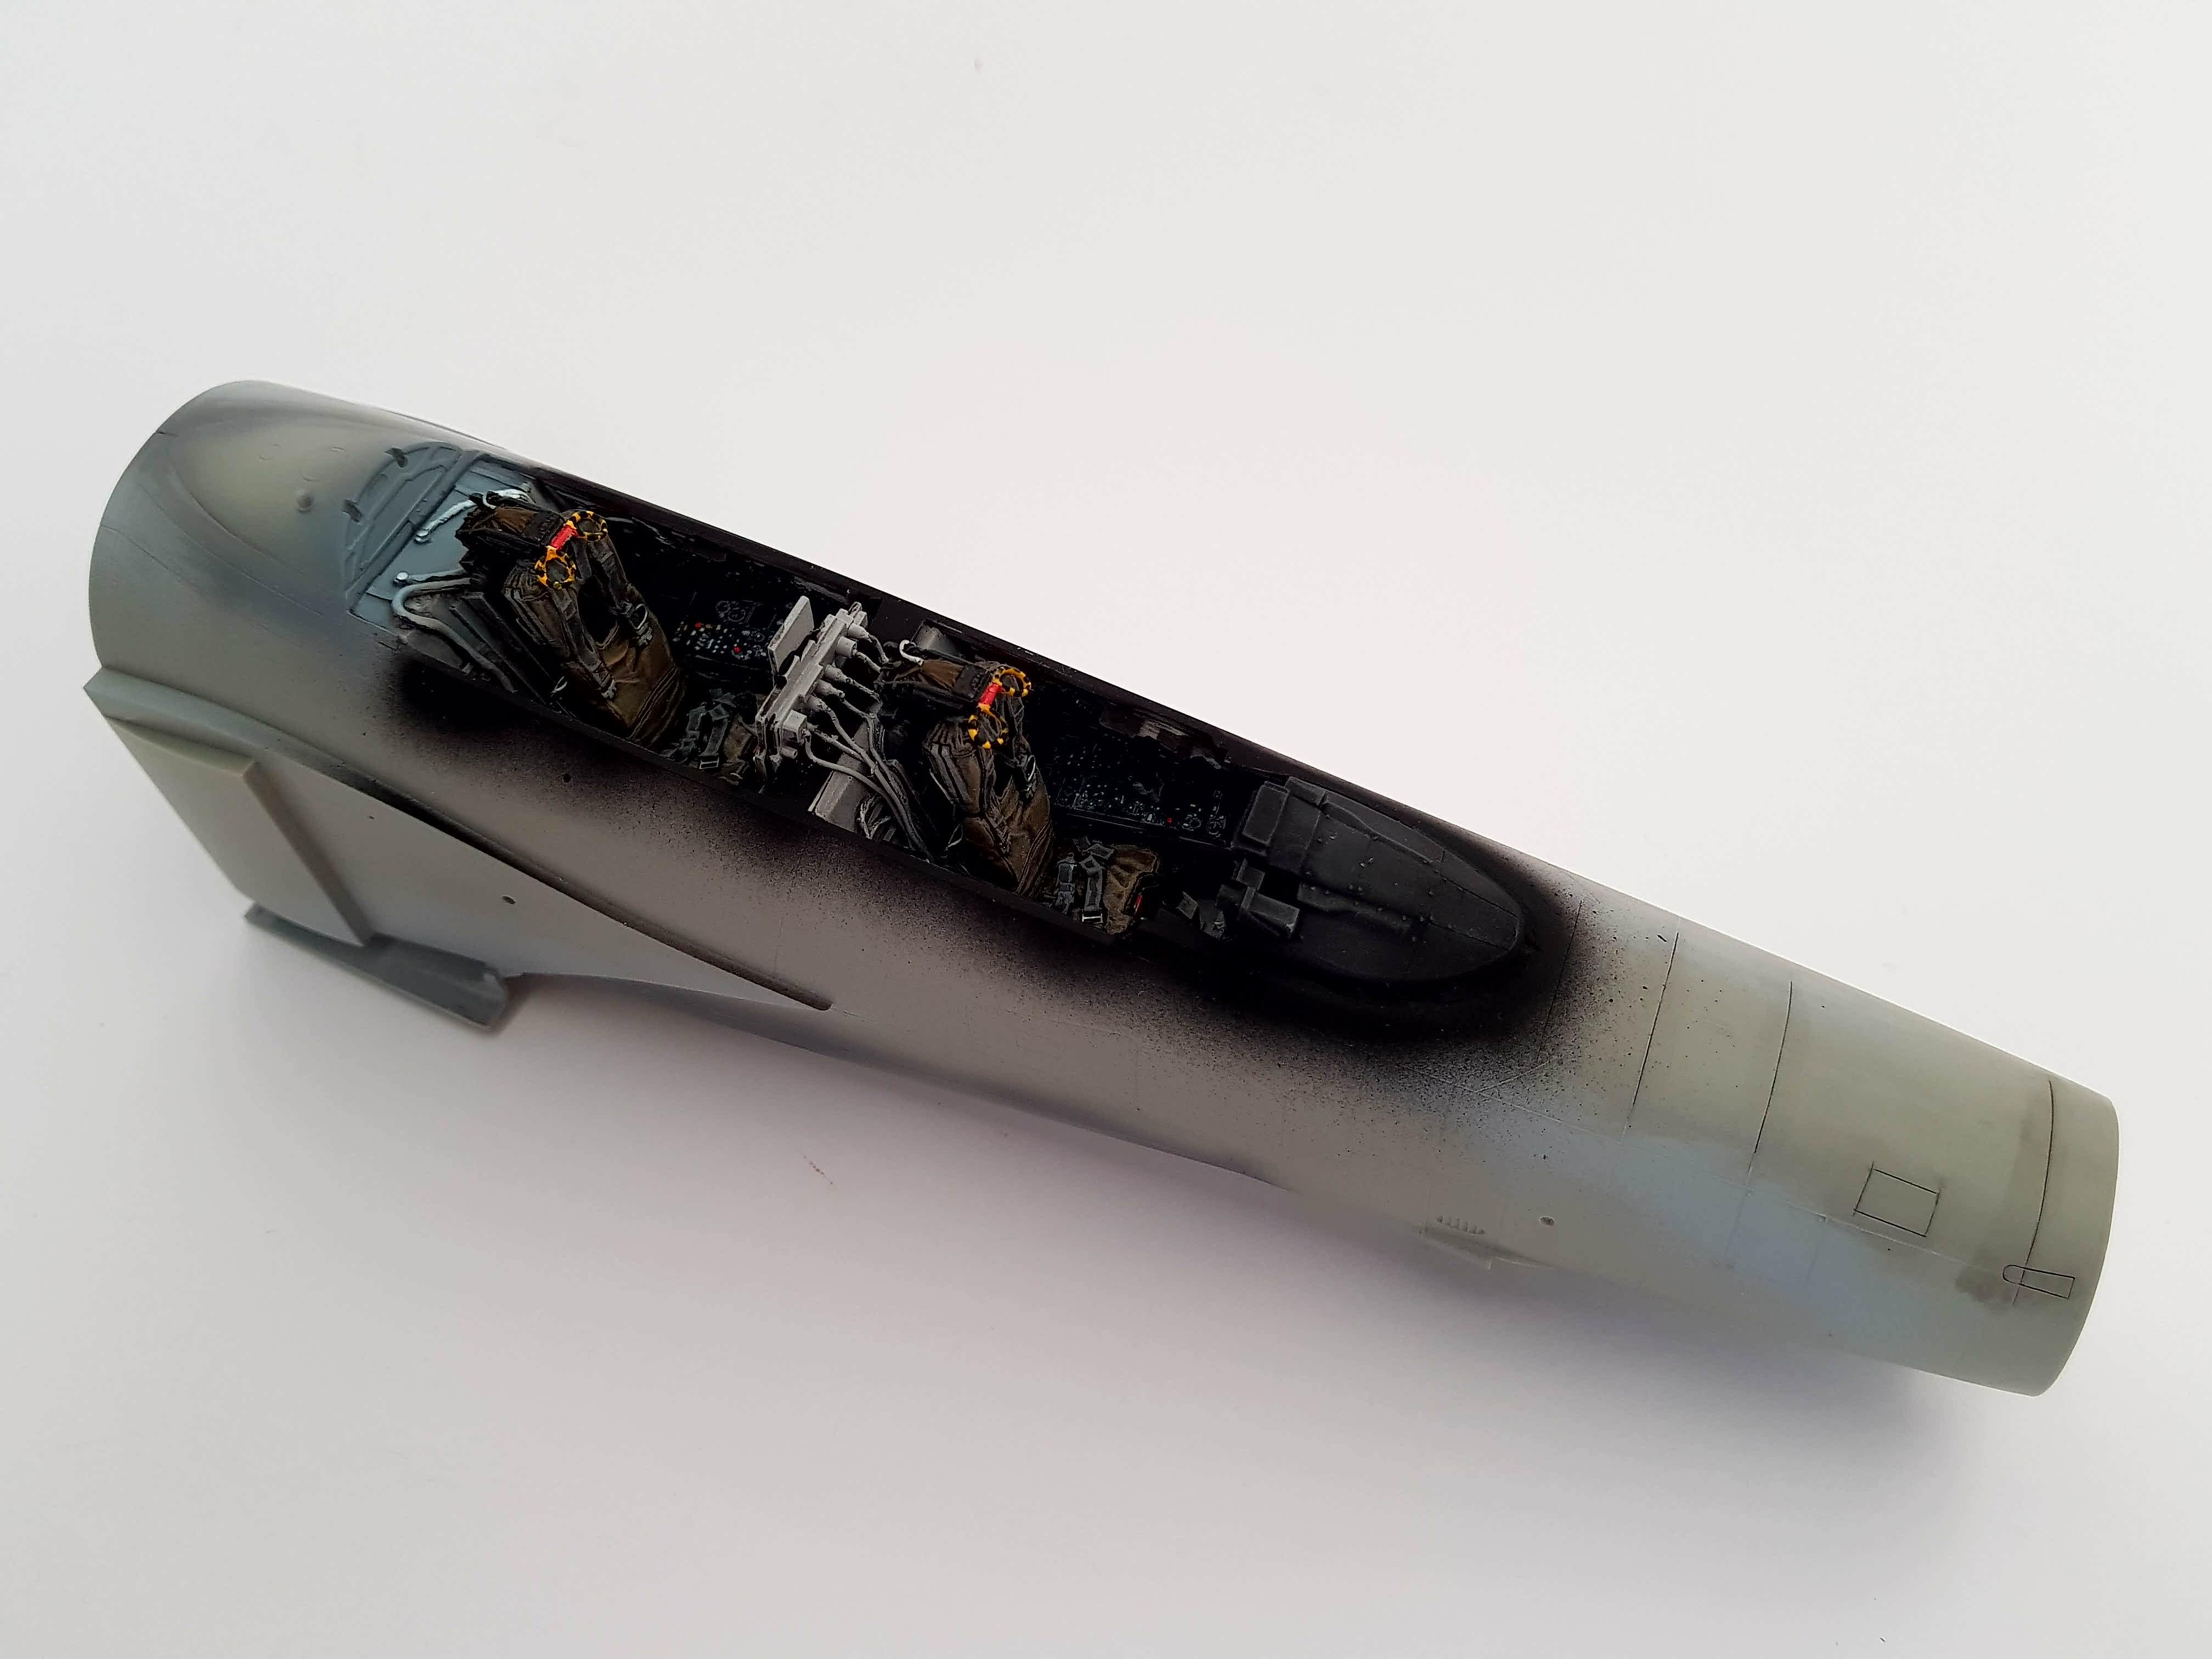
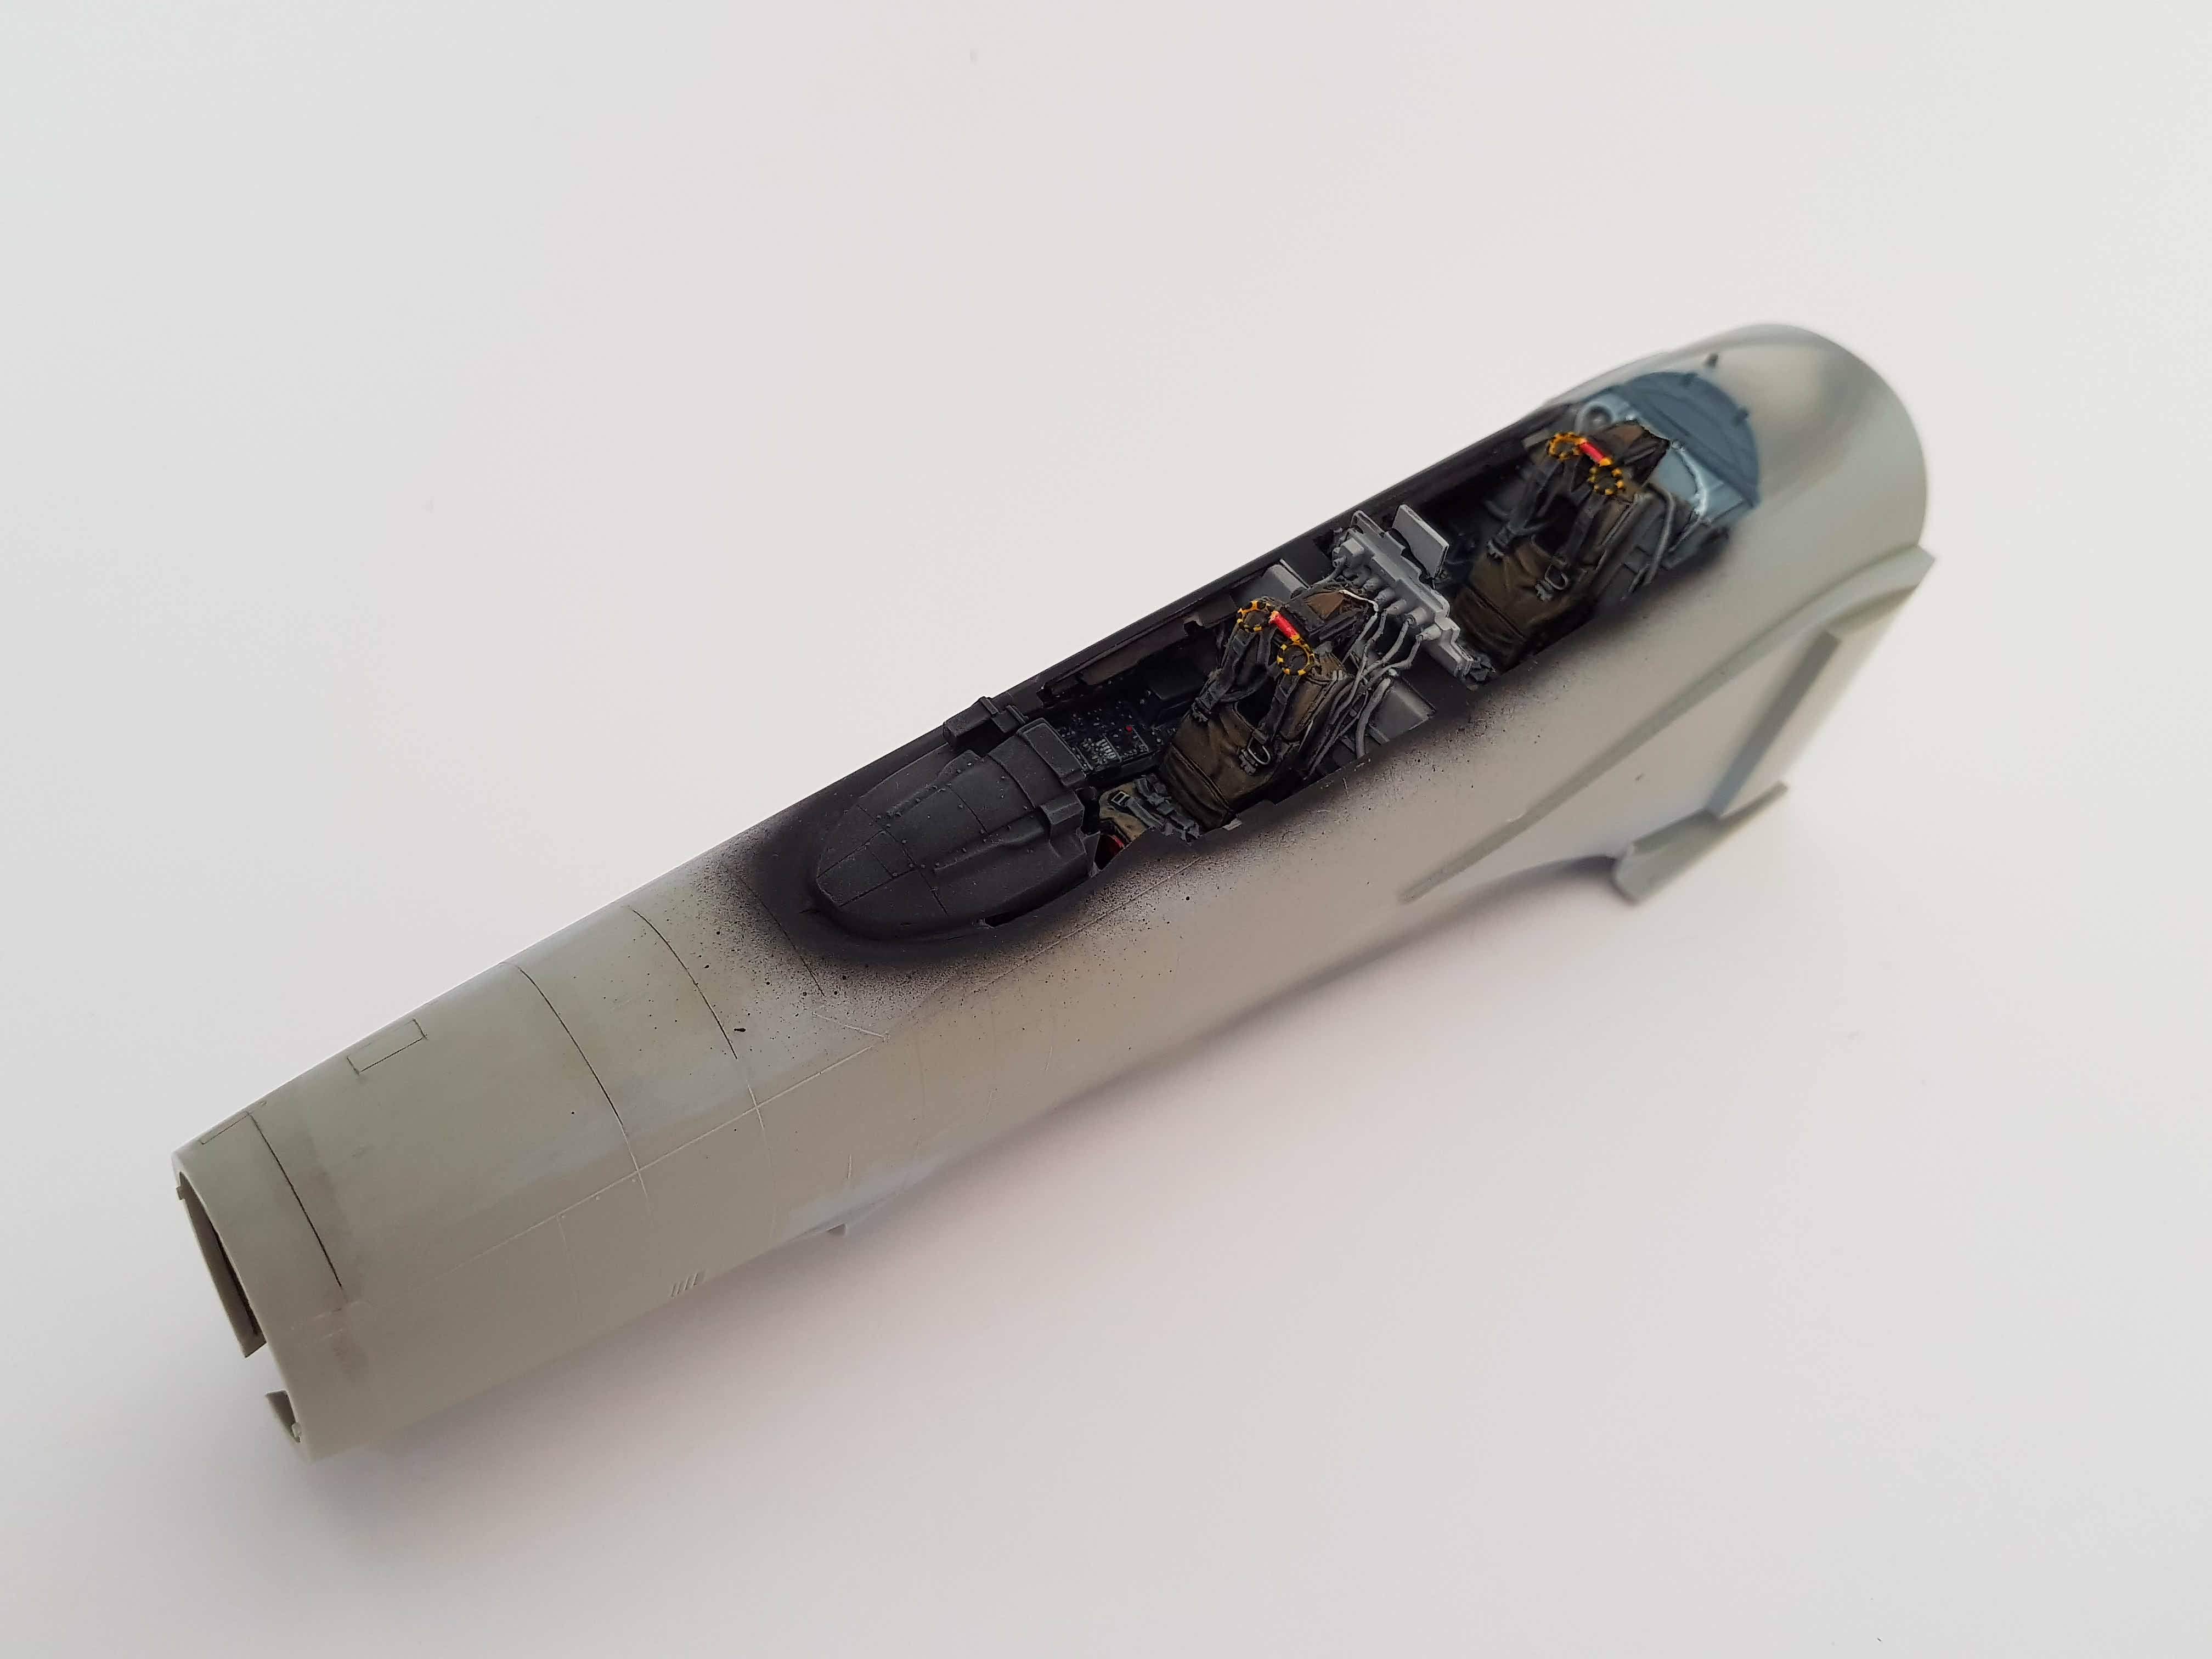
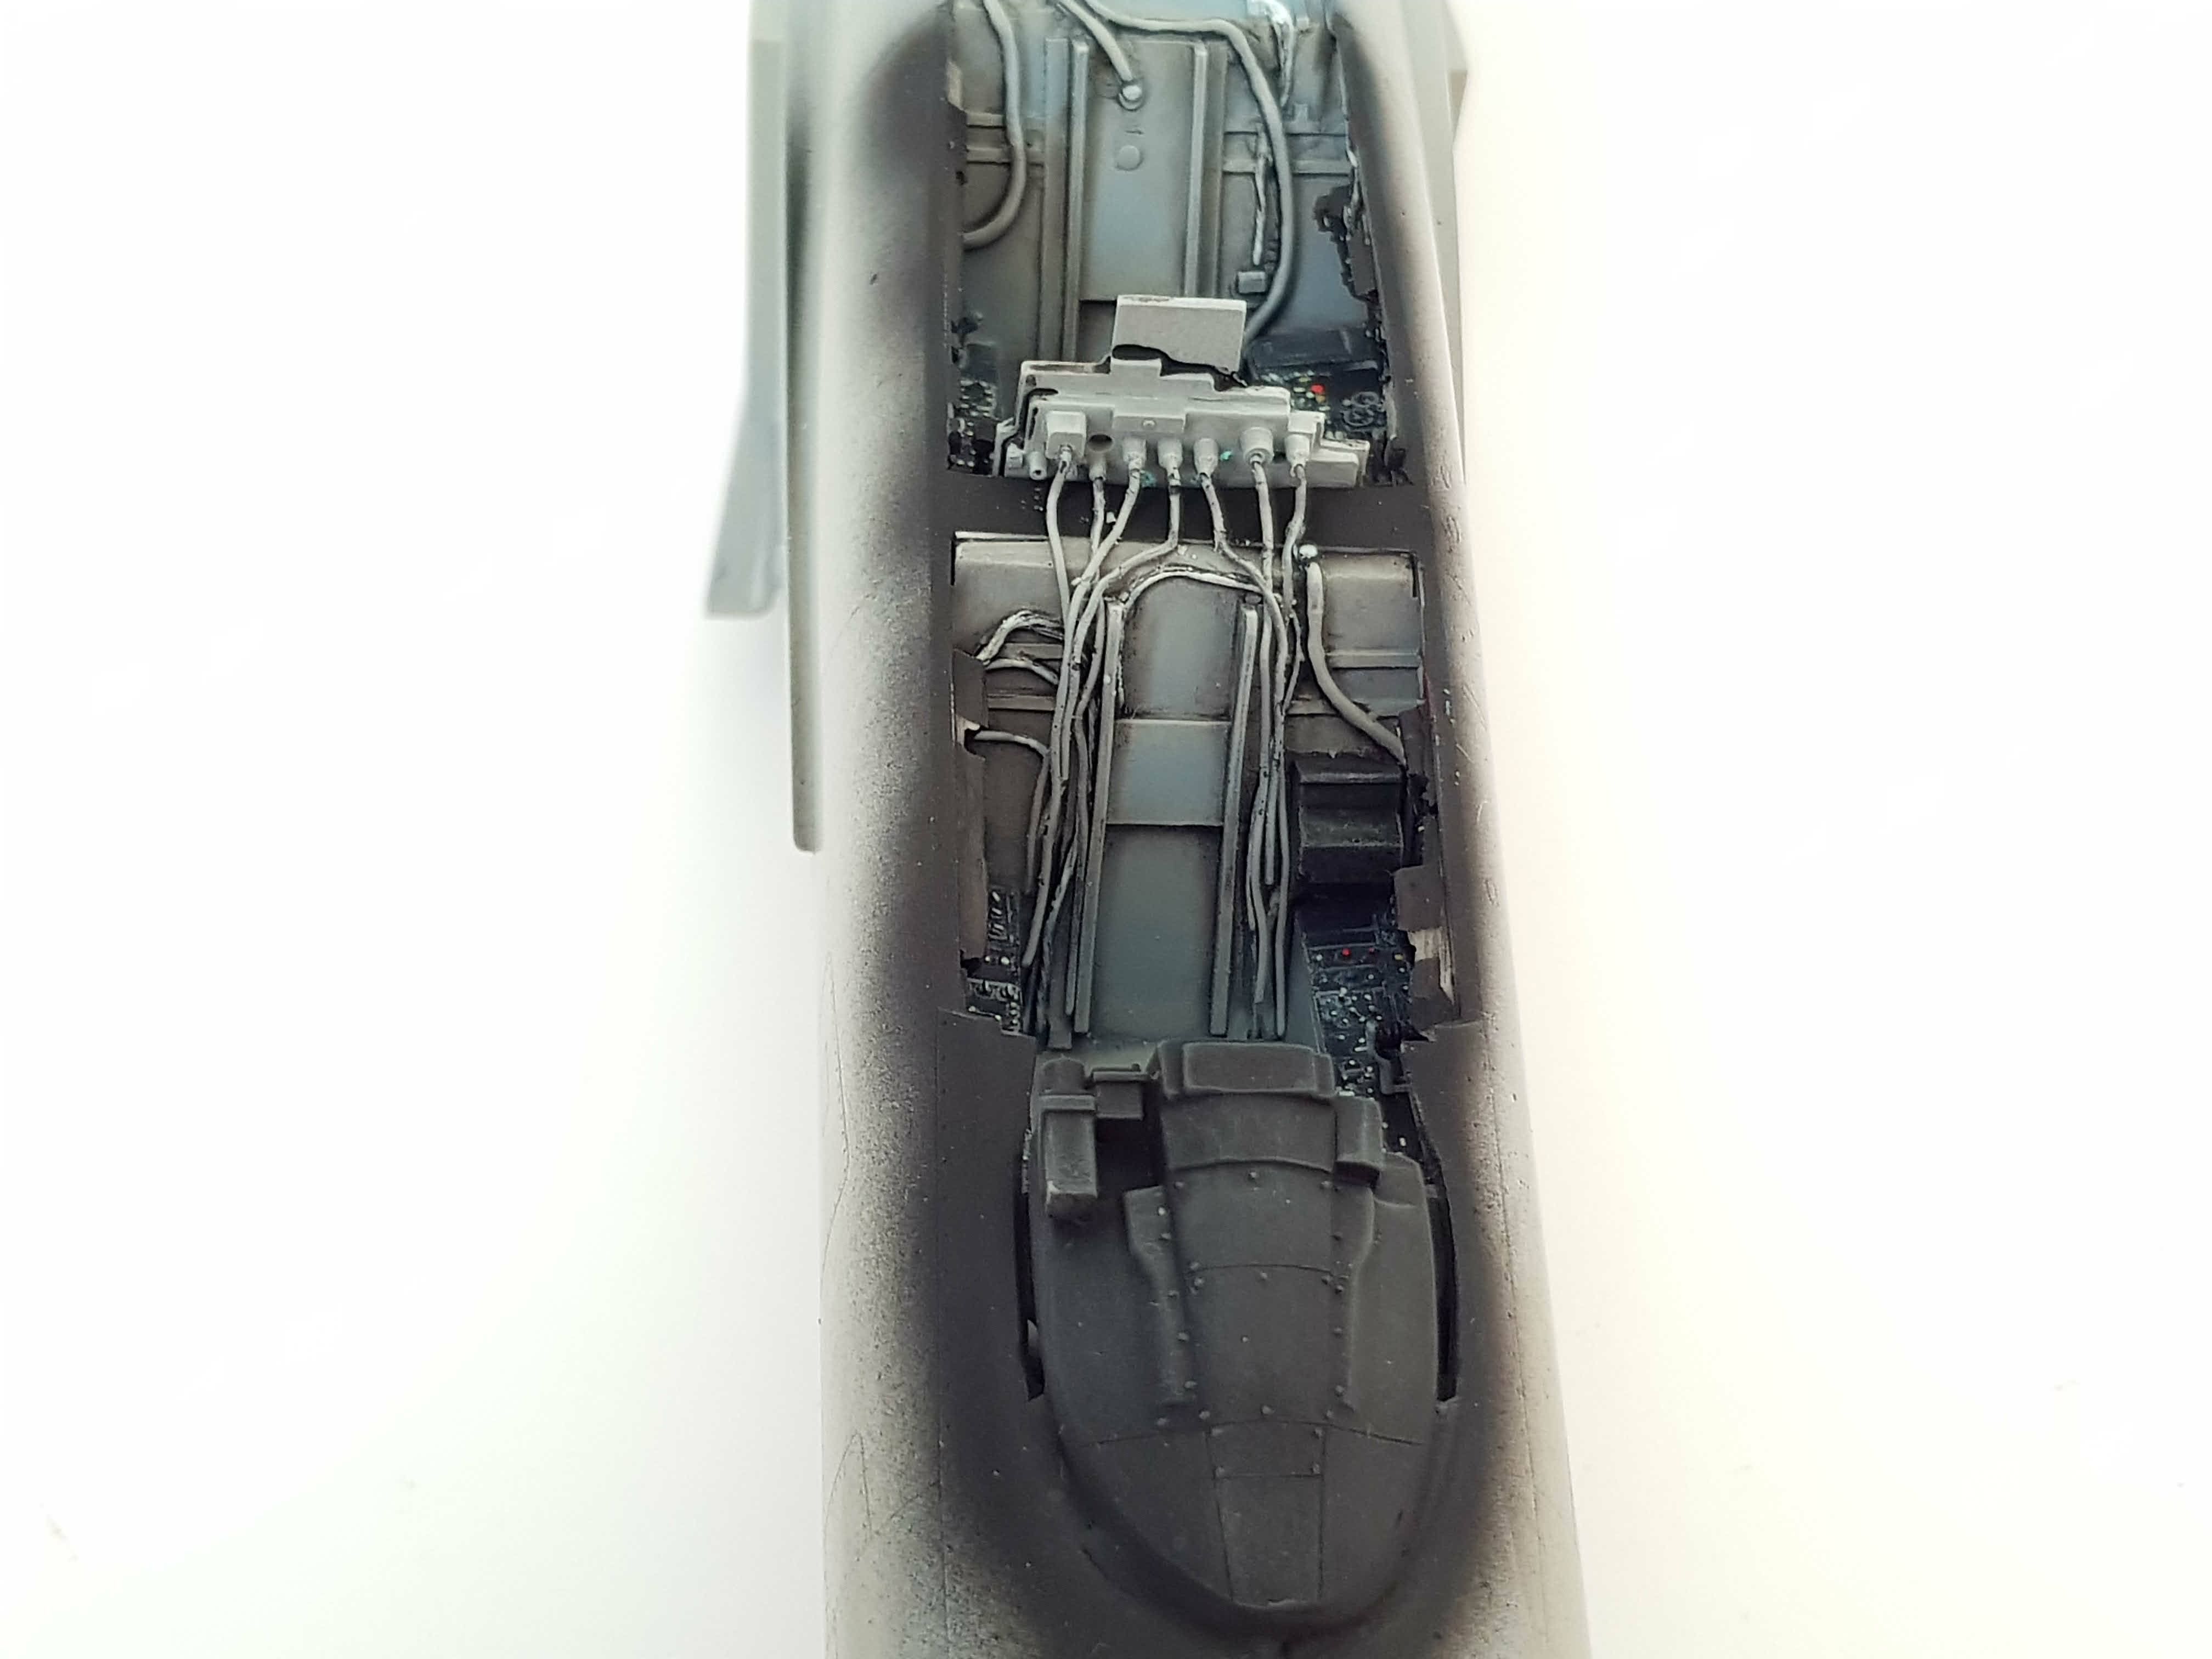
With the seats in place it's starting to look the part!

Thanks for checking once again!
Now bring on the holidays!!!

-
Wow,
Those seats and belts really make the cockpits pop. Bravo!
Gaz
Thanks Gaz!
-
But I'm just about 99% sure that there are some (blur) photoshop effects involved...?!
))) Xcuse me if I'm wrong 
I do apologise if it's blur.
But photoshop? I don't even know how to use that.
It's just pics from my mobile phone with different exposure as I don't really have good lighting and rely on natural light.
But I did order a proper LED photobox a couple of days ago and hopefully it'll help.
-
Hey Spyros, that's a really super effect. Cockpit looks great - I love the edges you've done on the seat belts.
Jim
Thank you Jim!

I like your high contrast painting method, really makes the details stand out
Thank you Shawn!

-
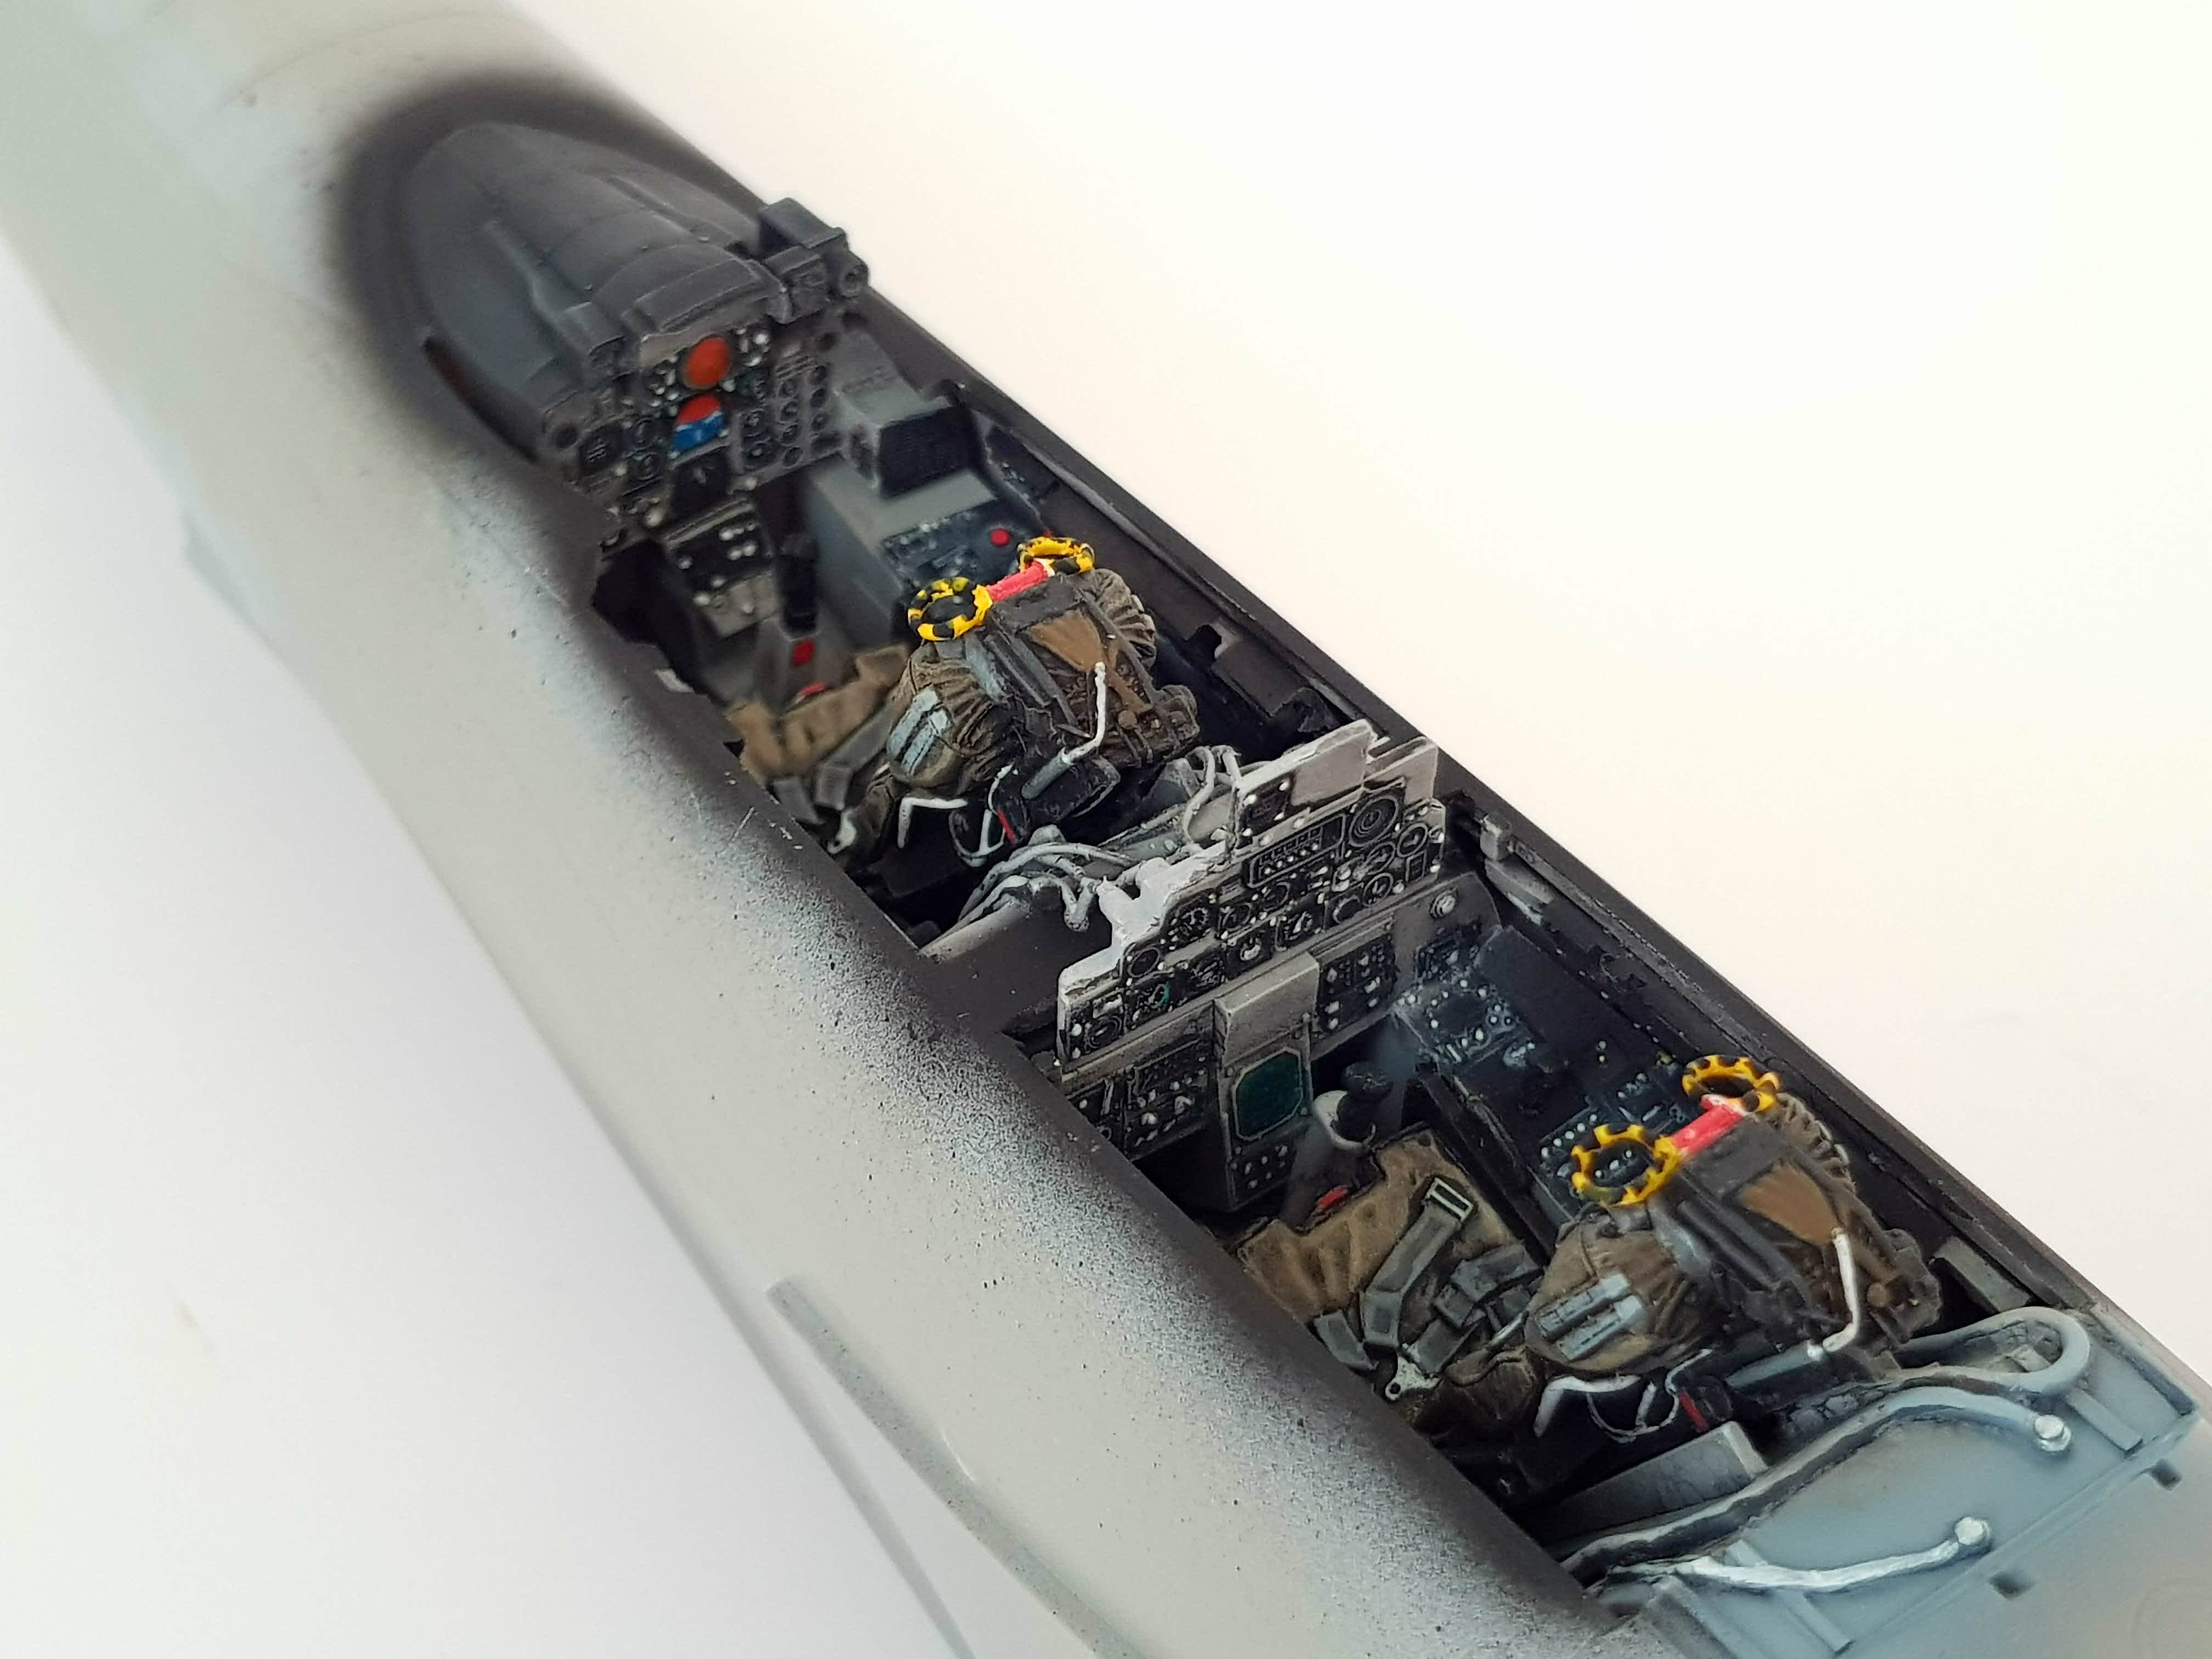
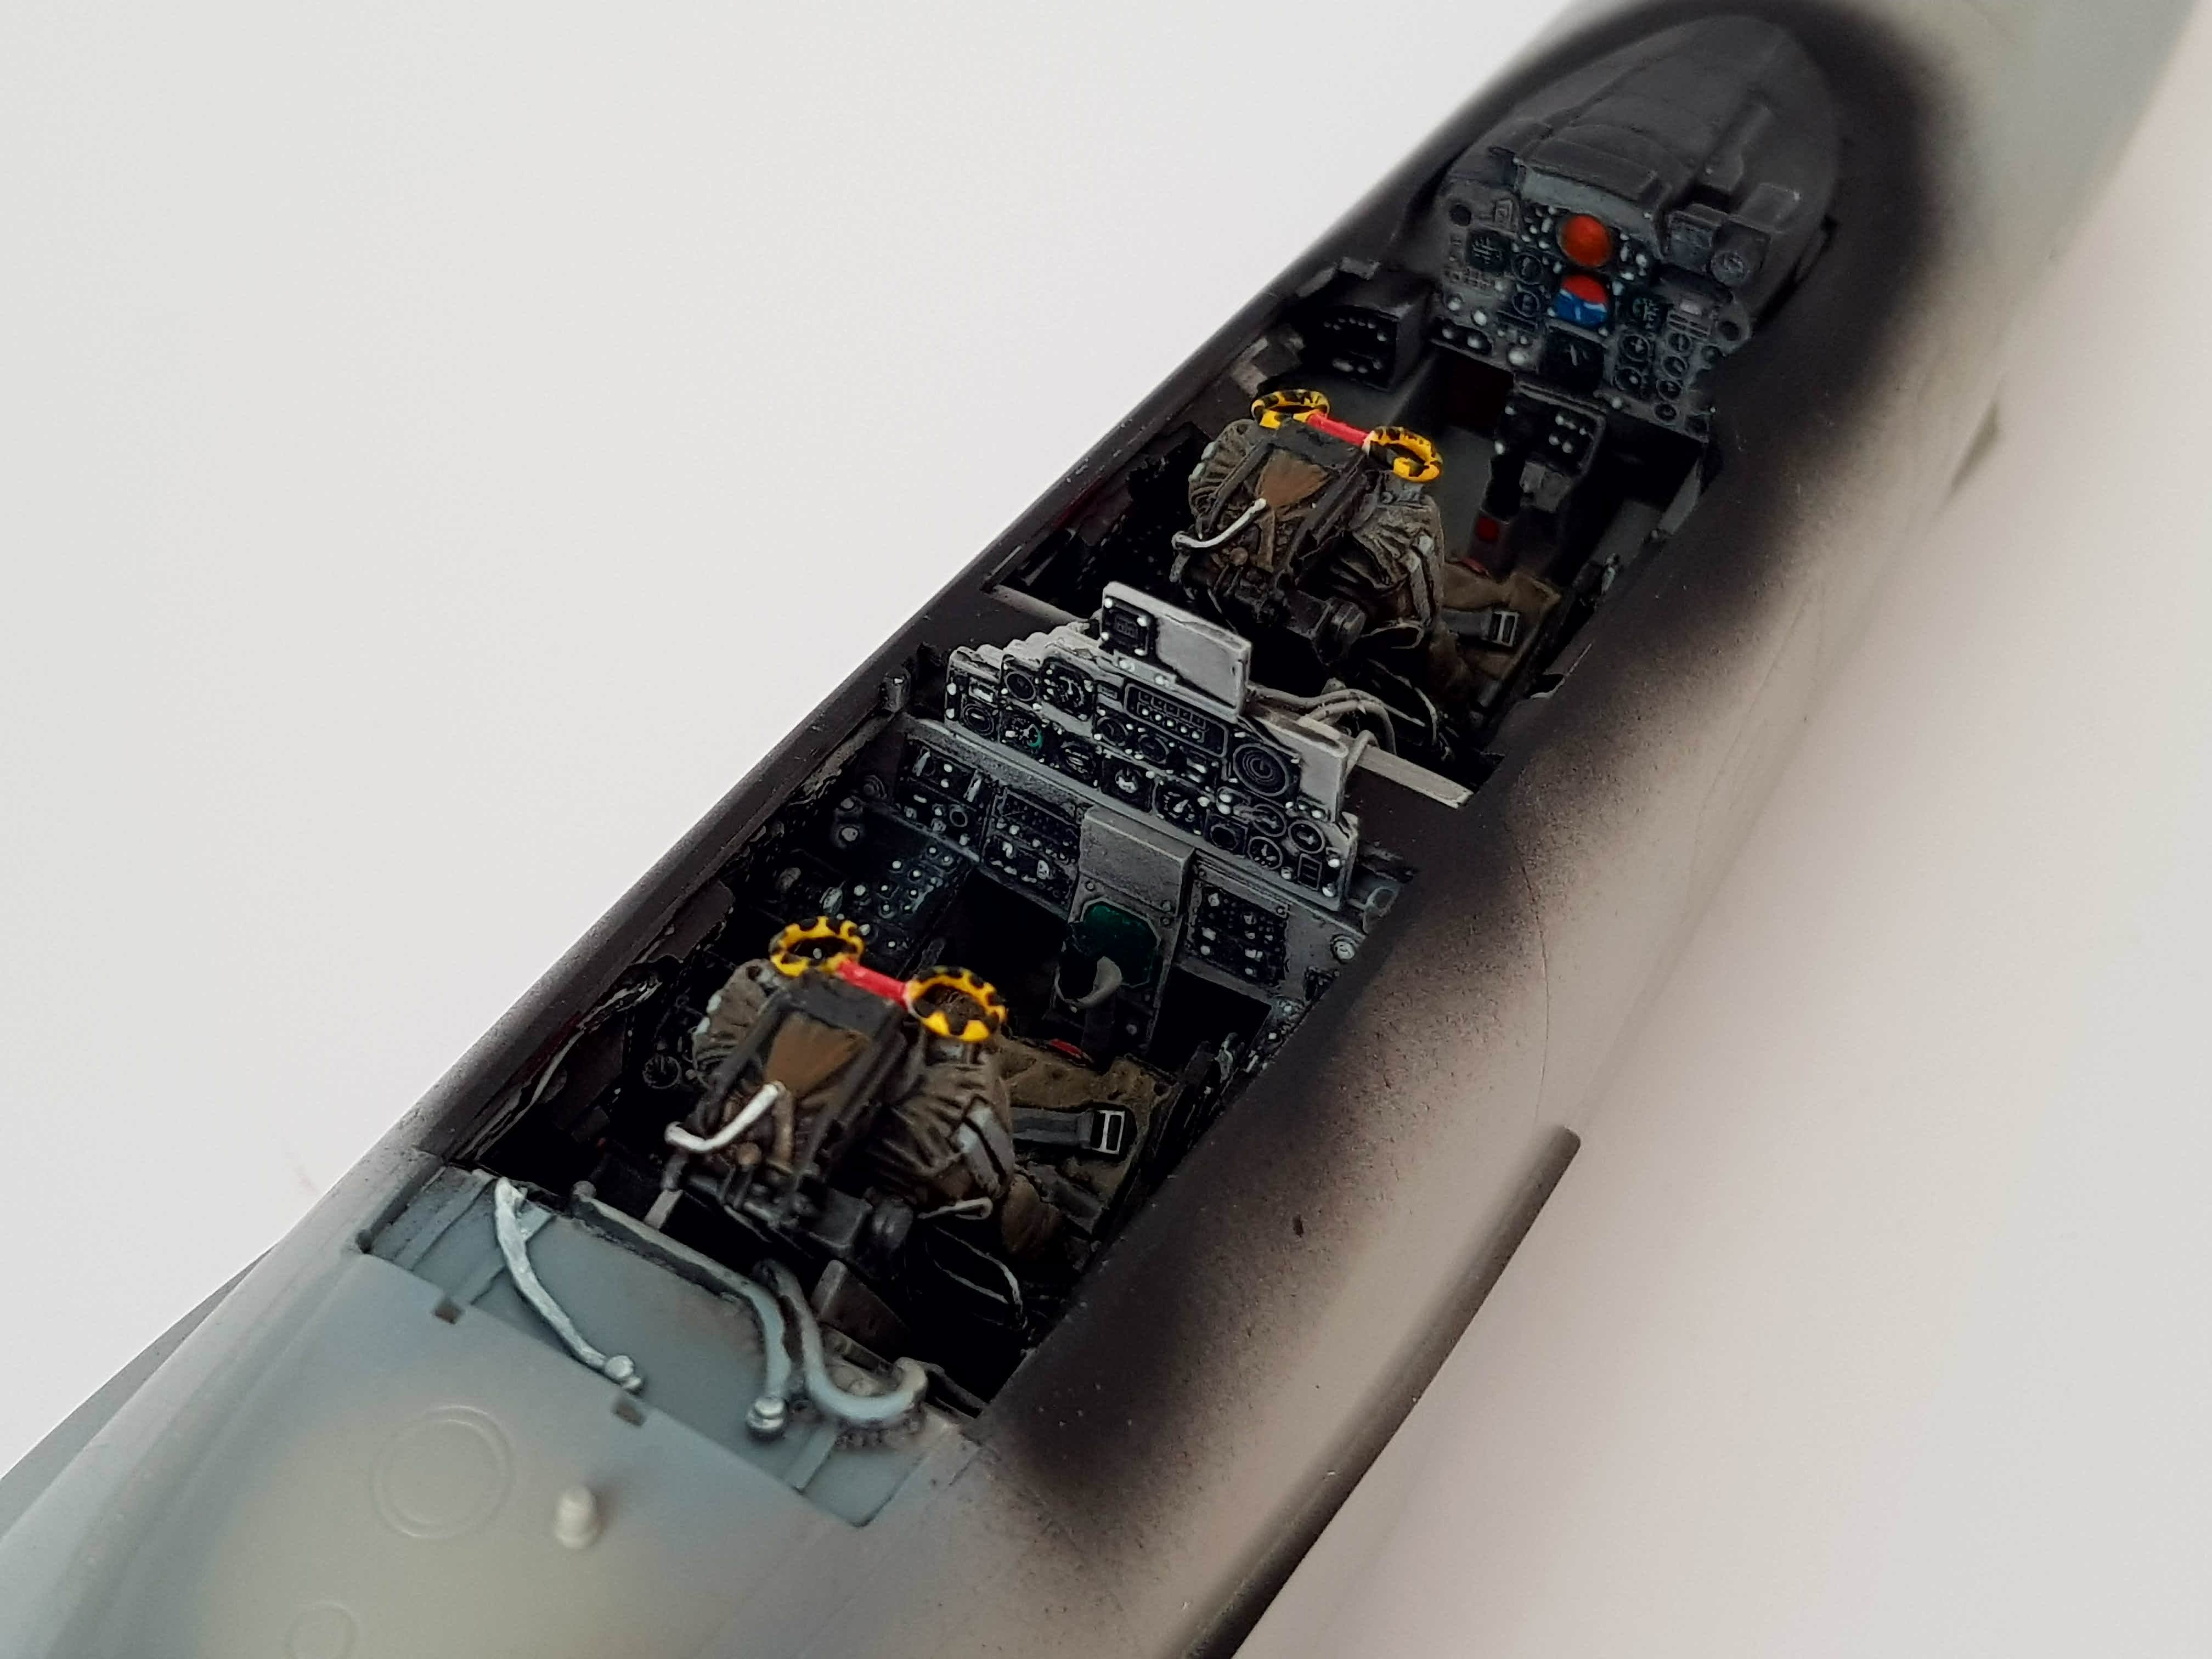
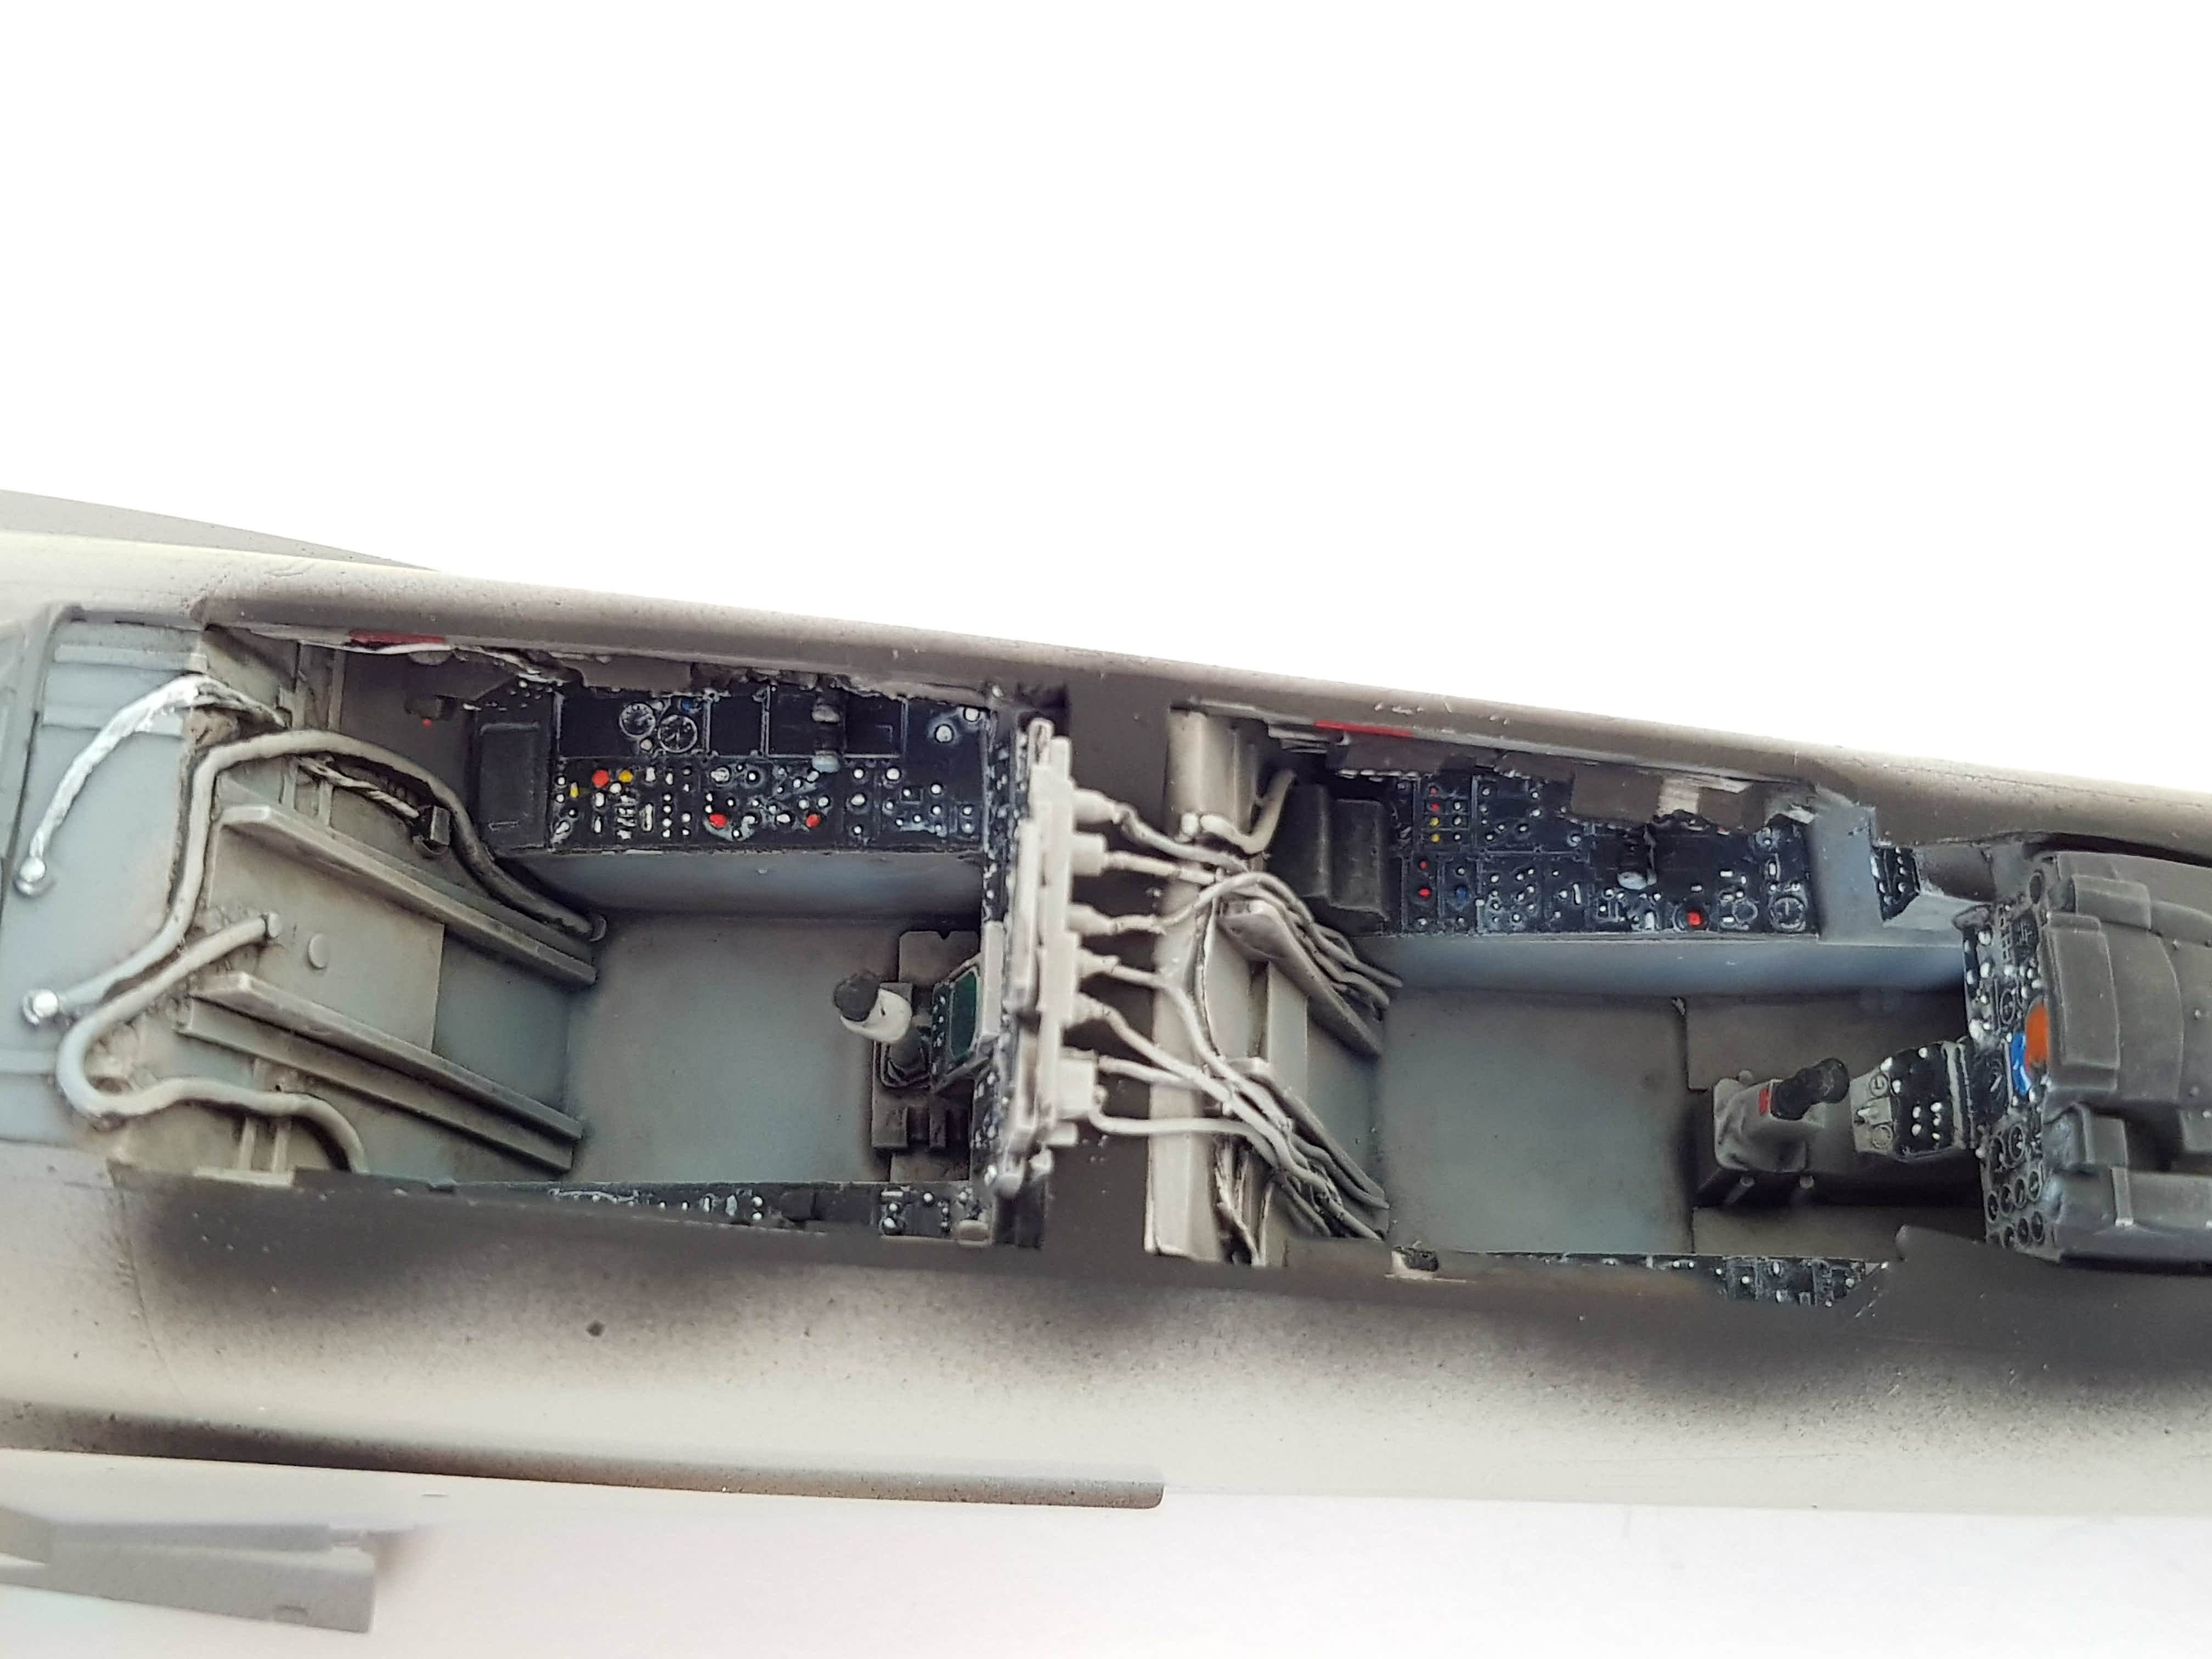
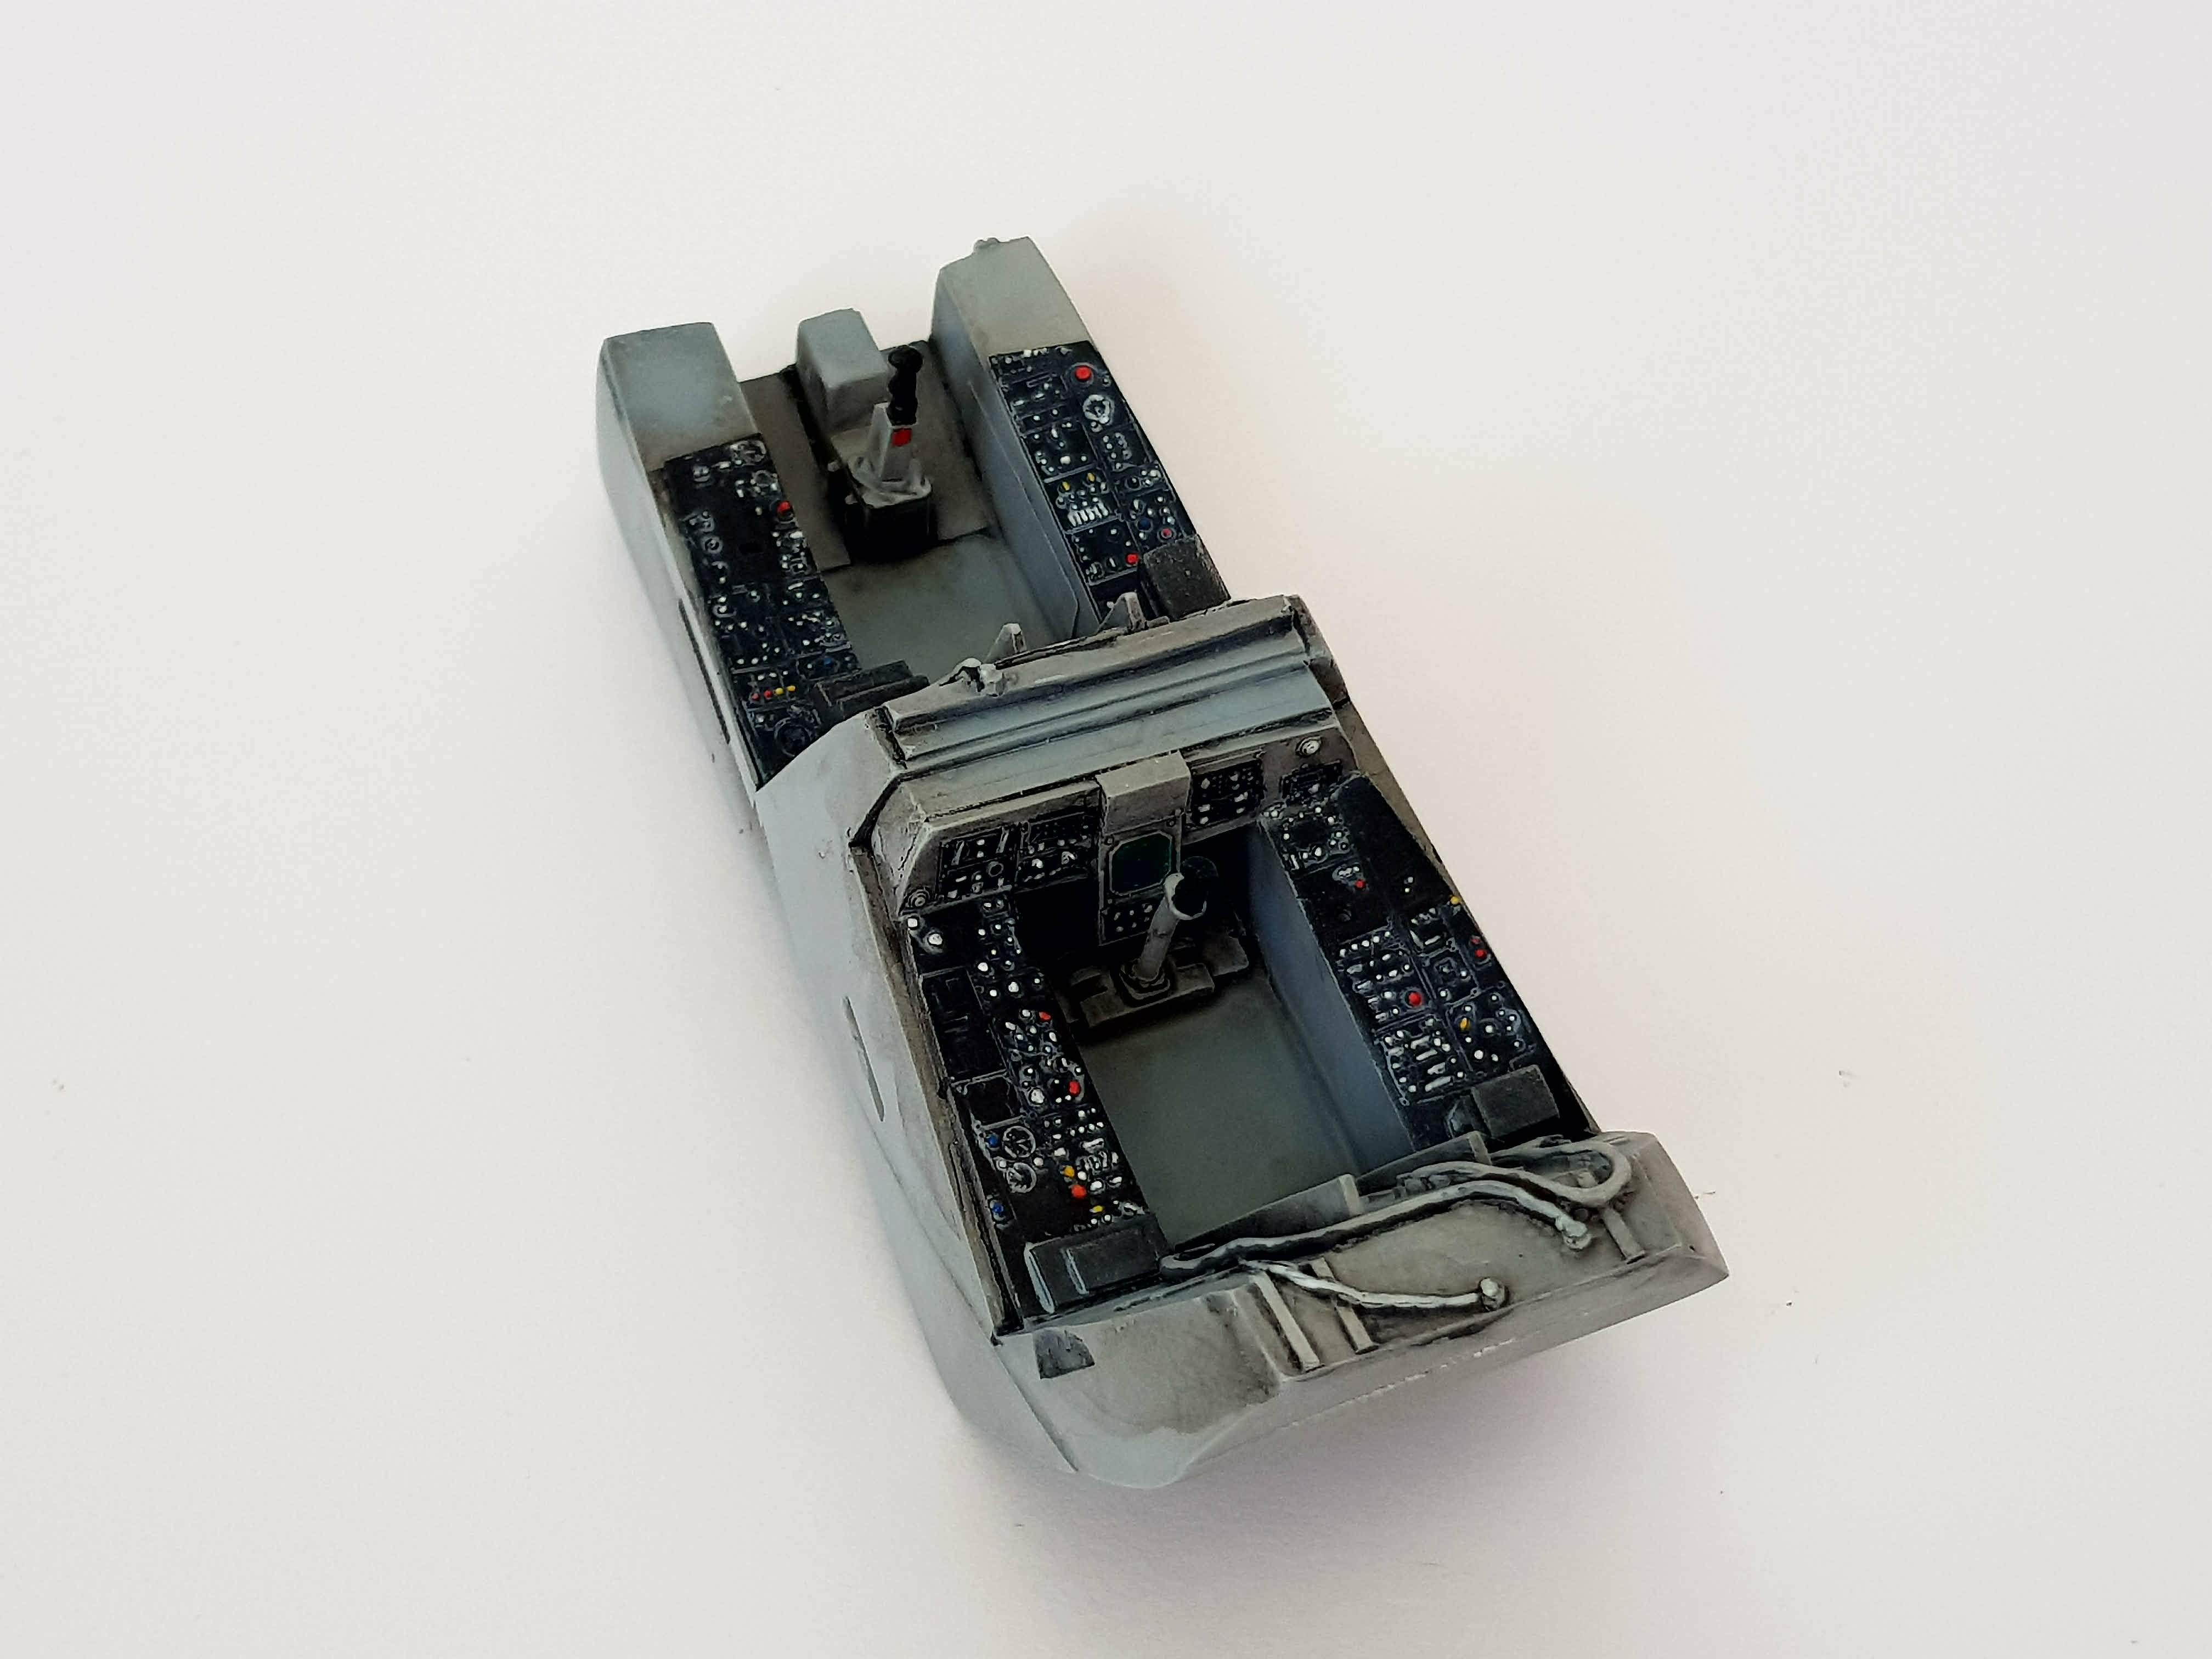
Ejection seats done minus the ejection chords.
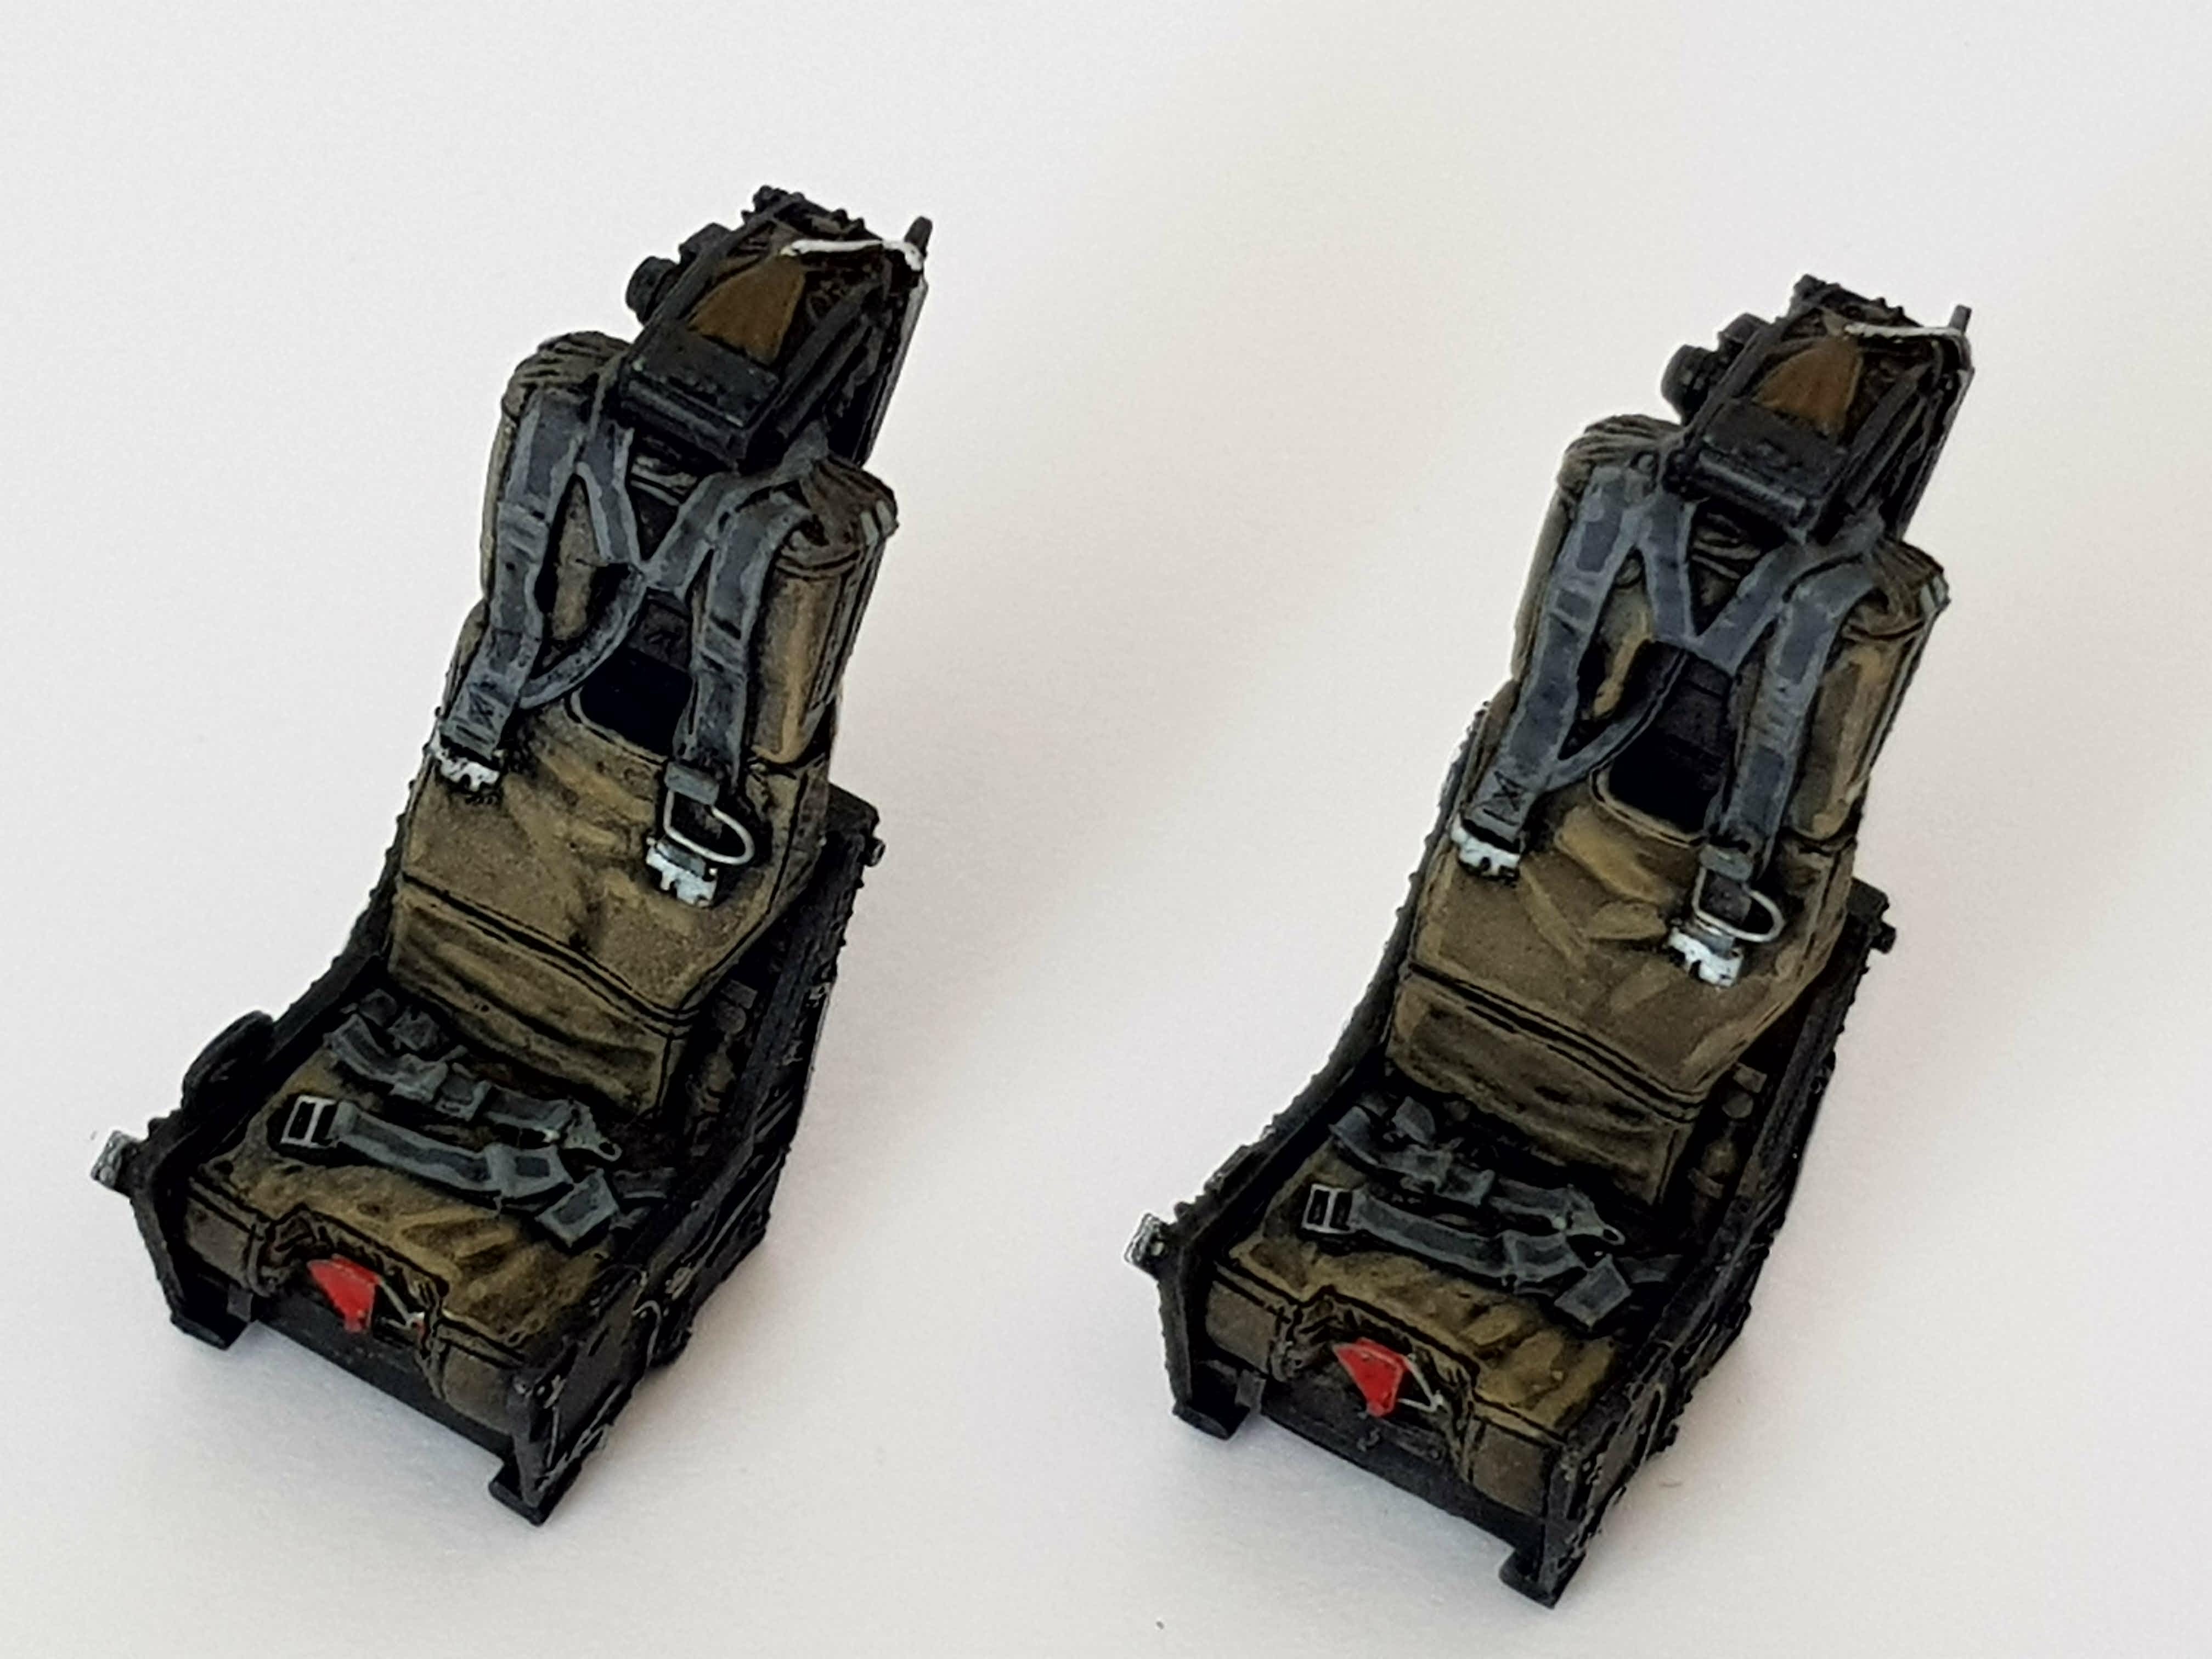
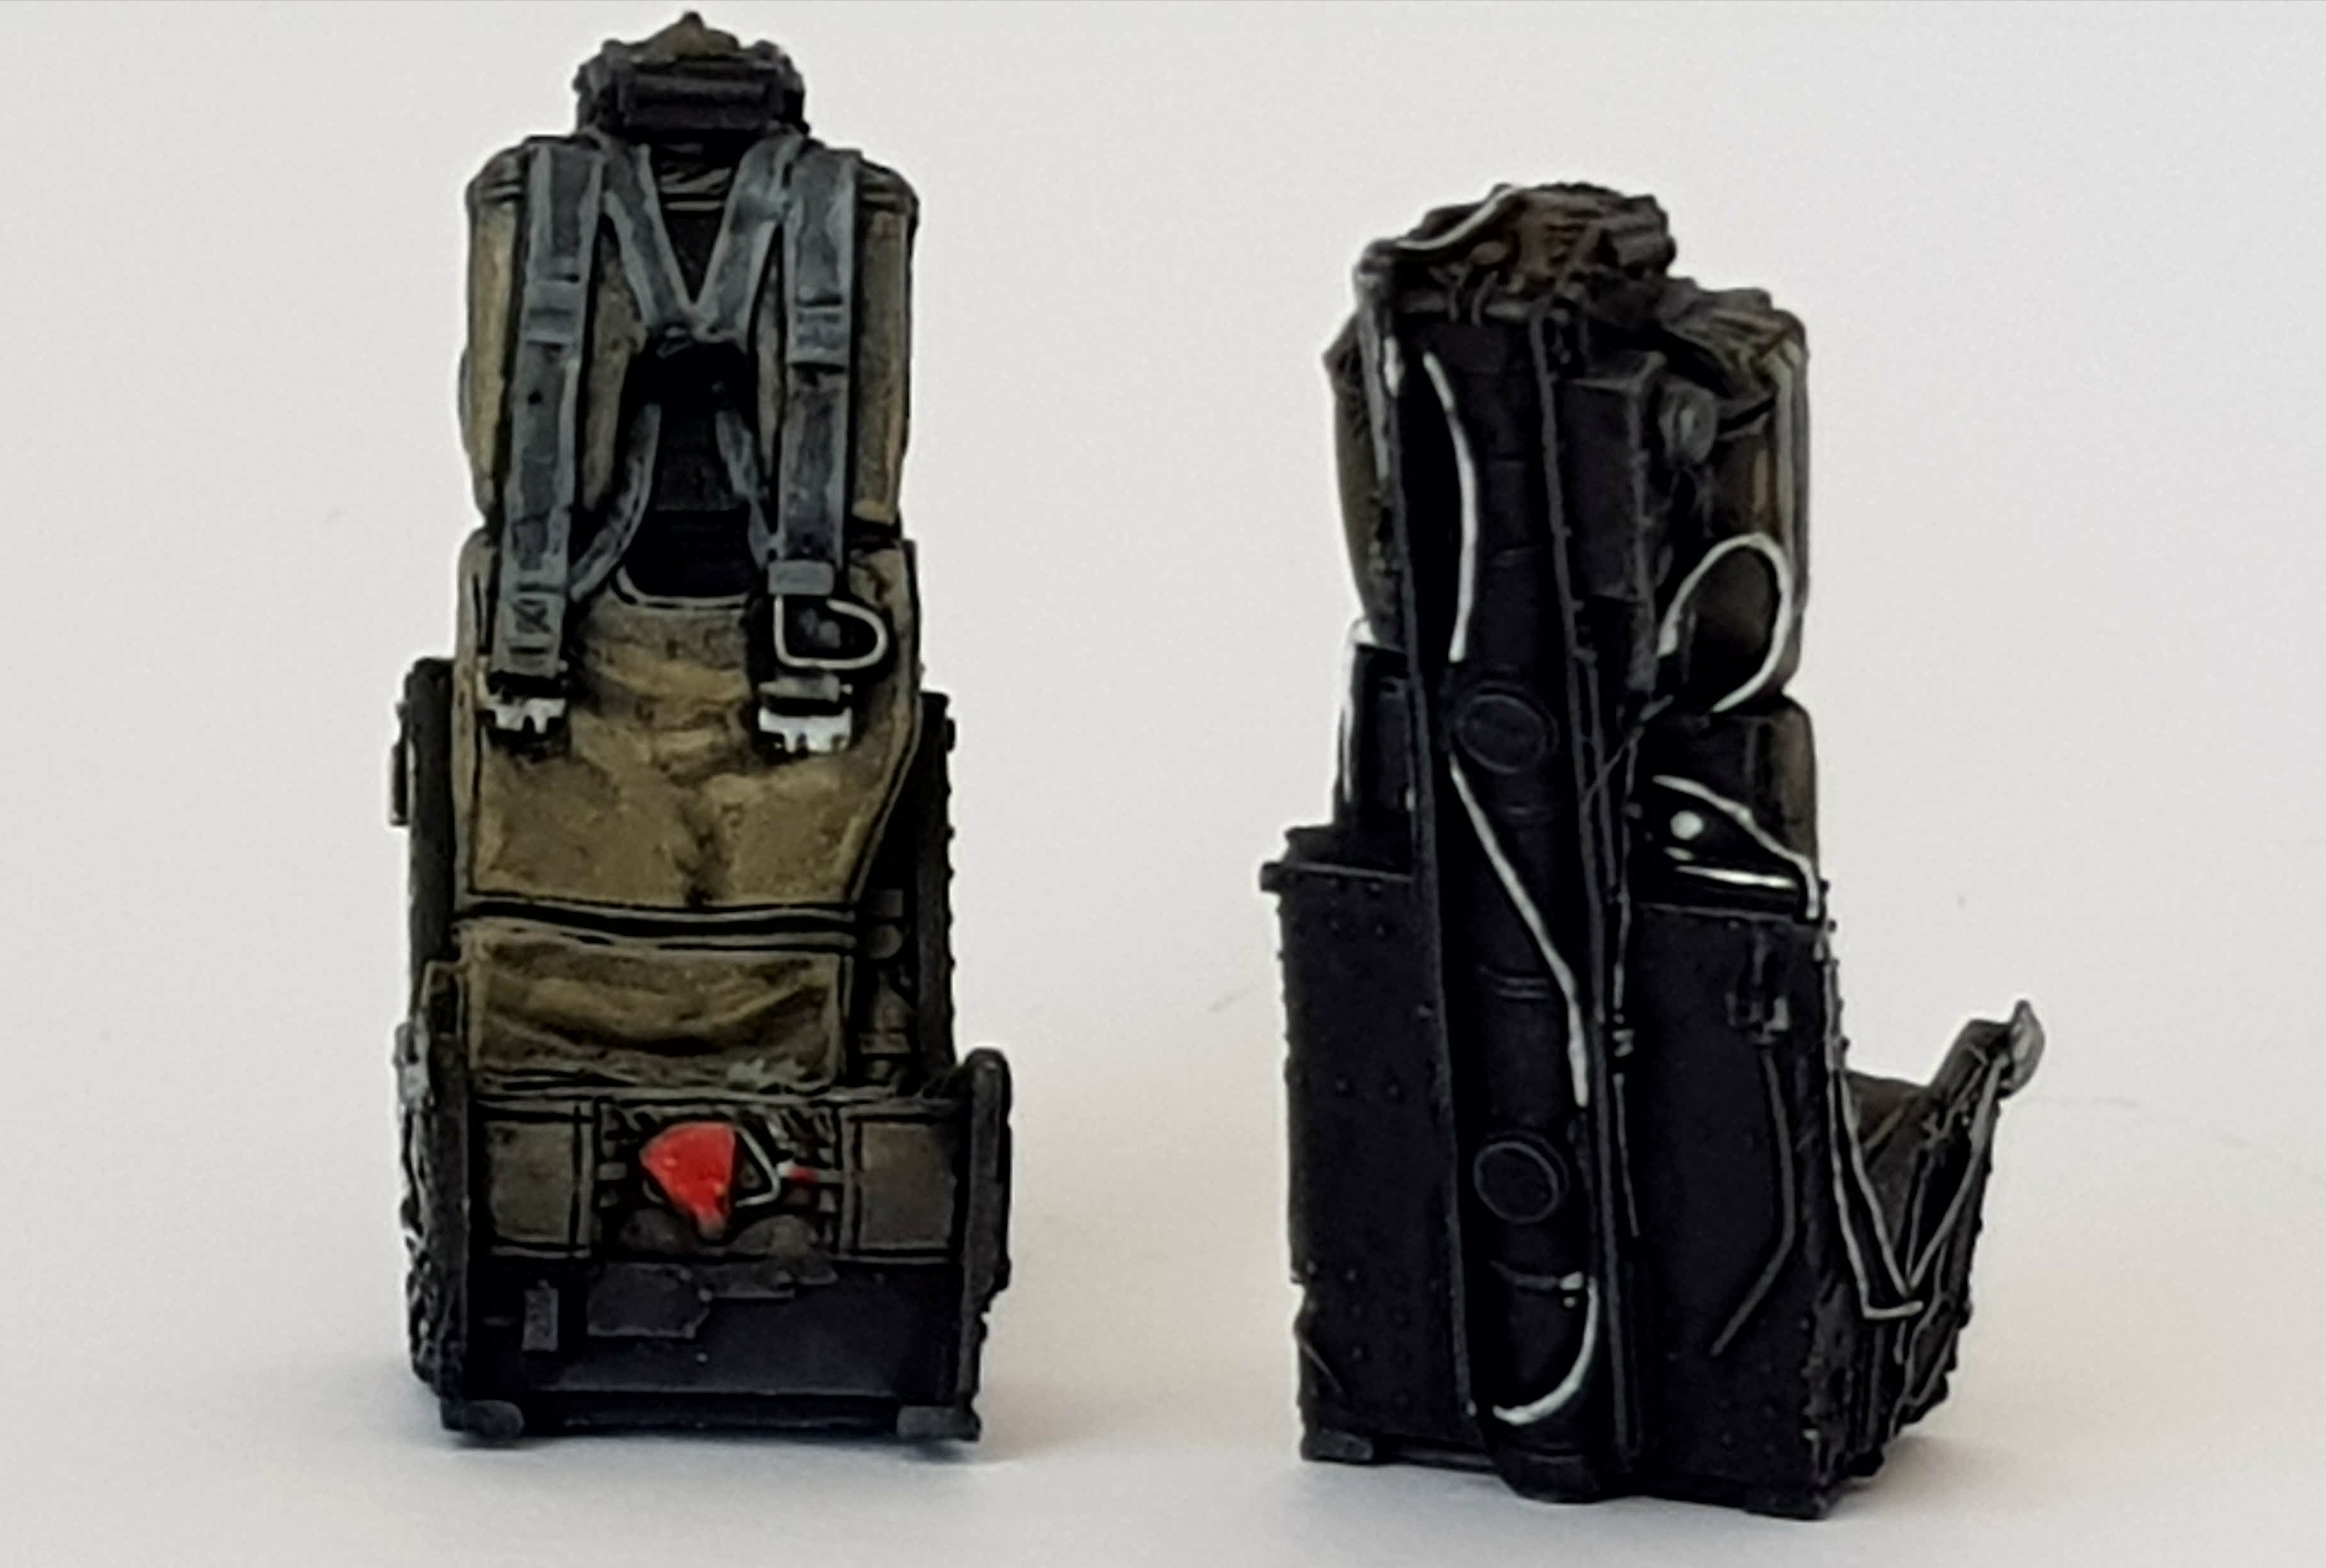
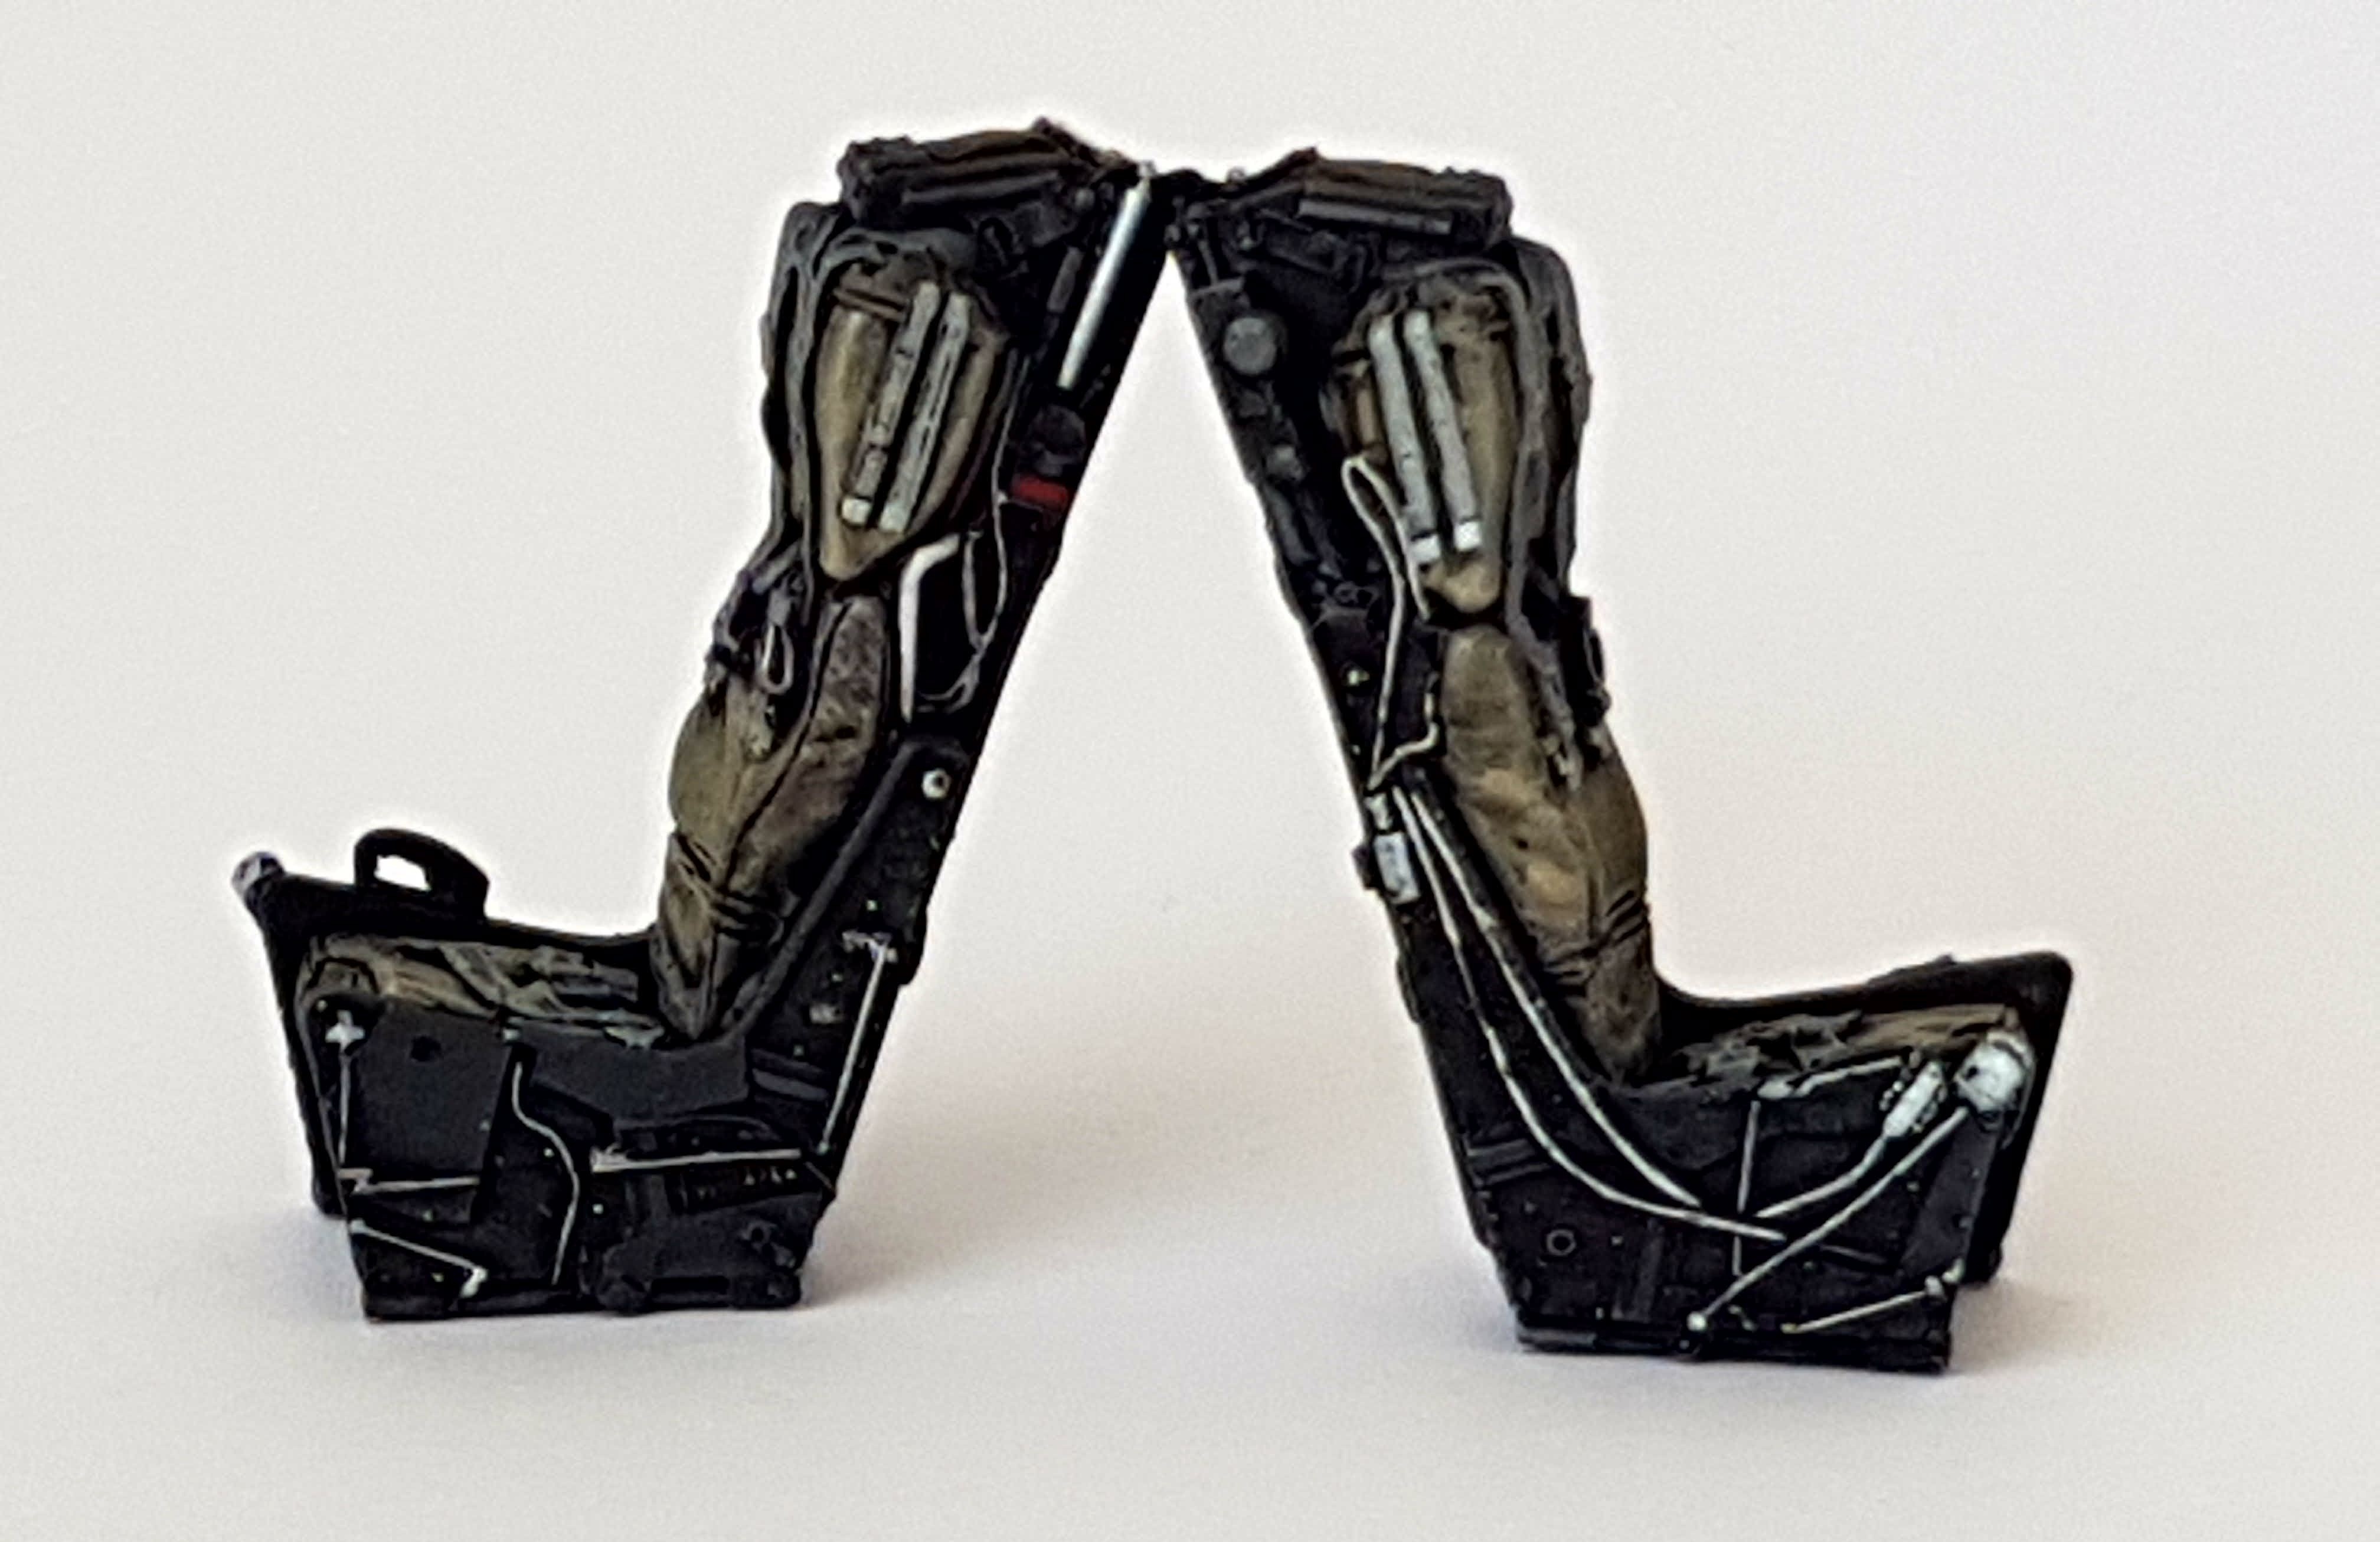
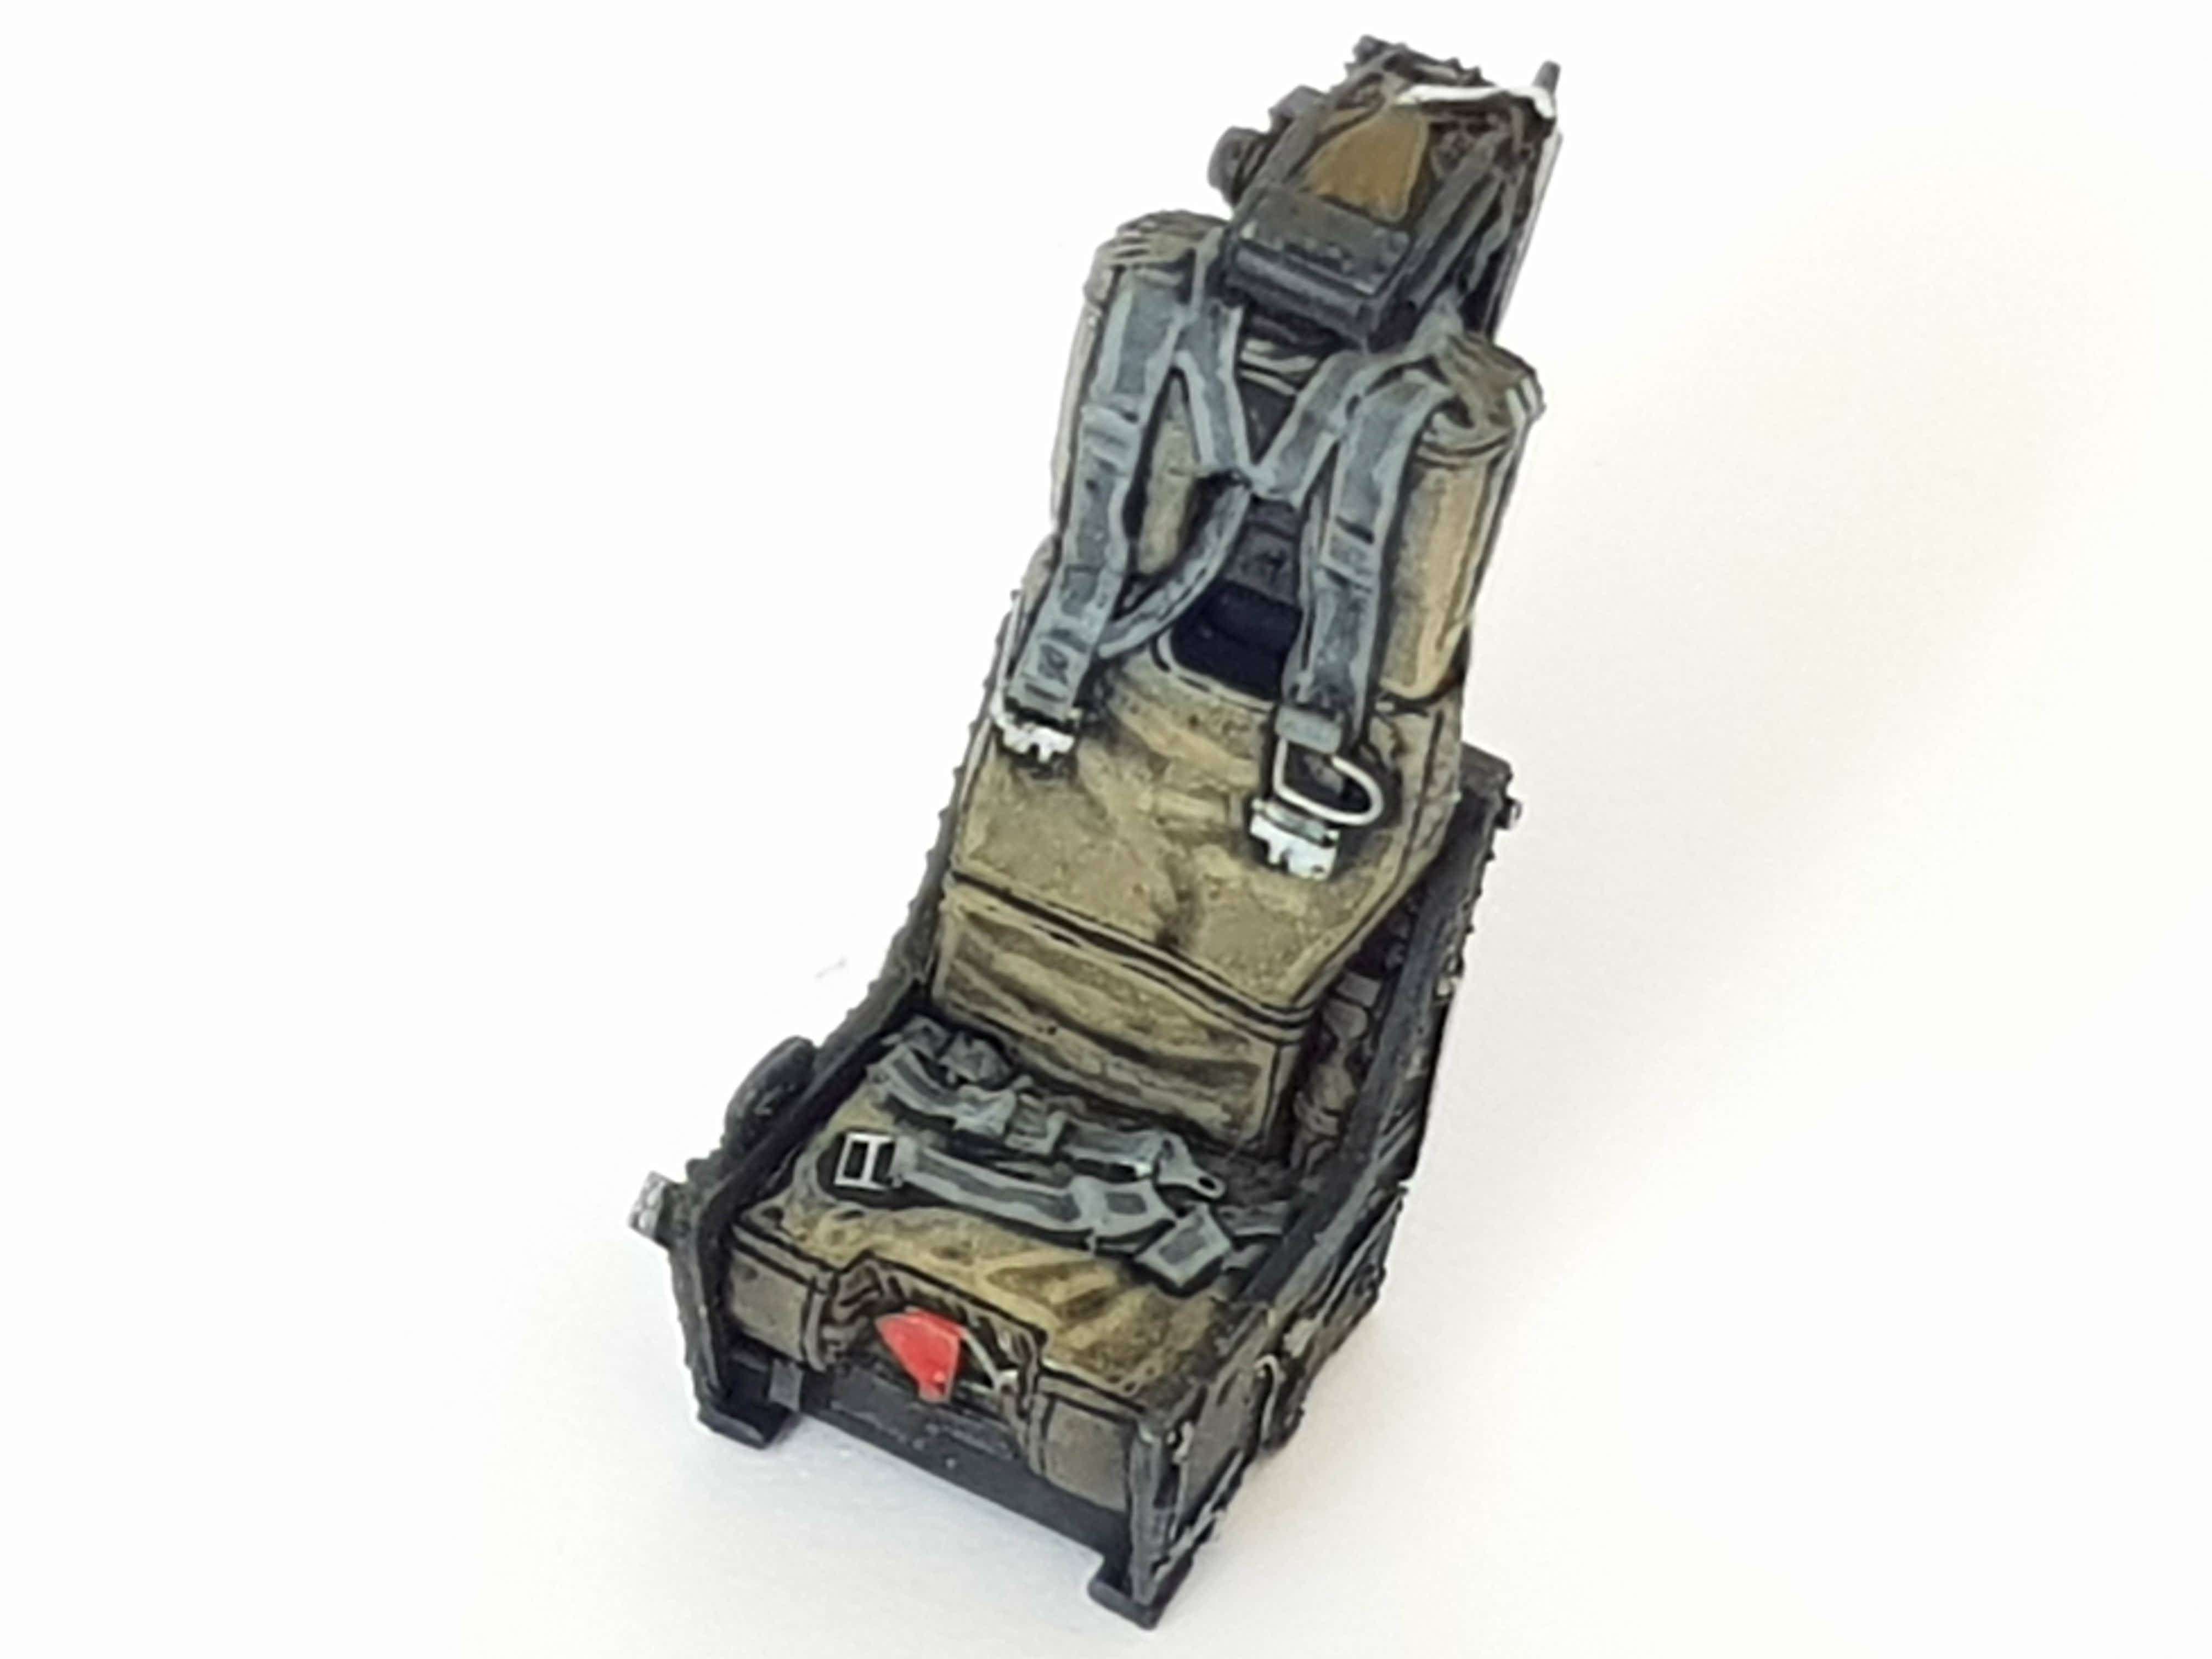
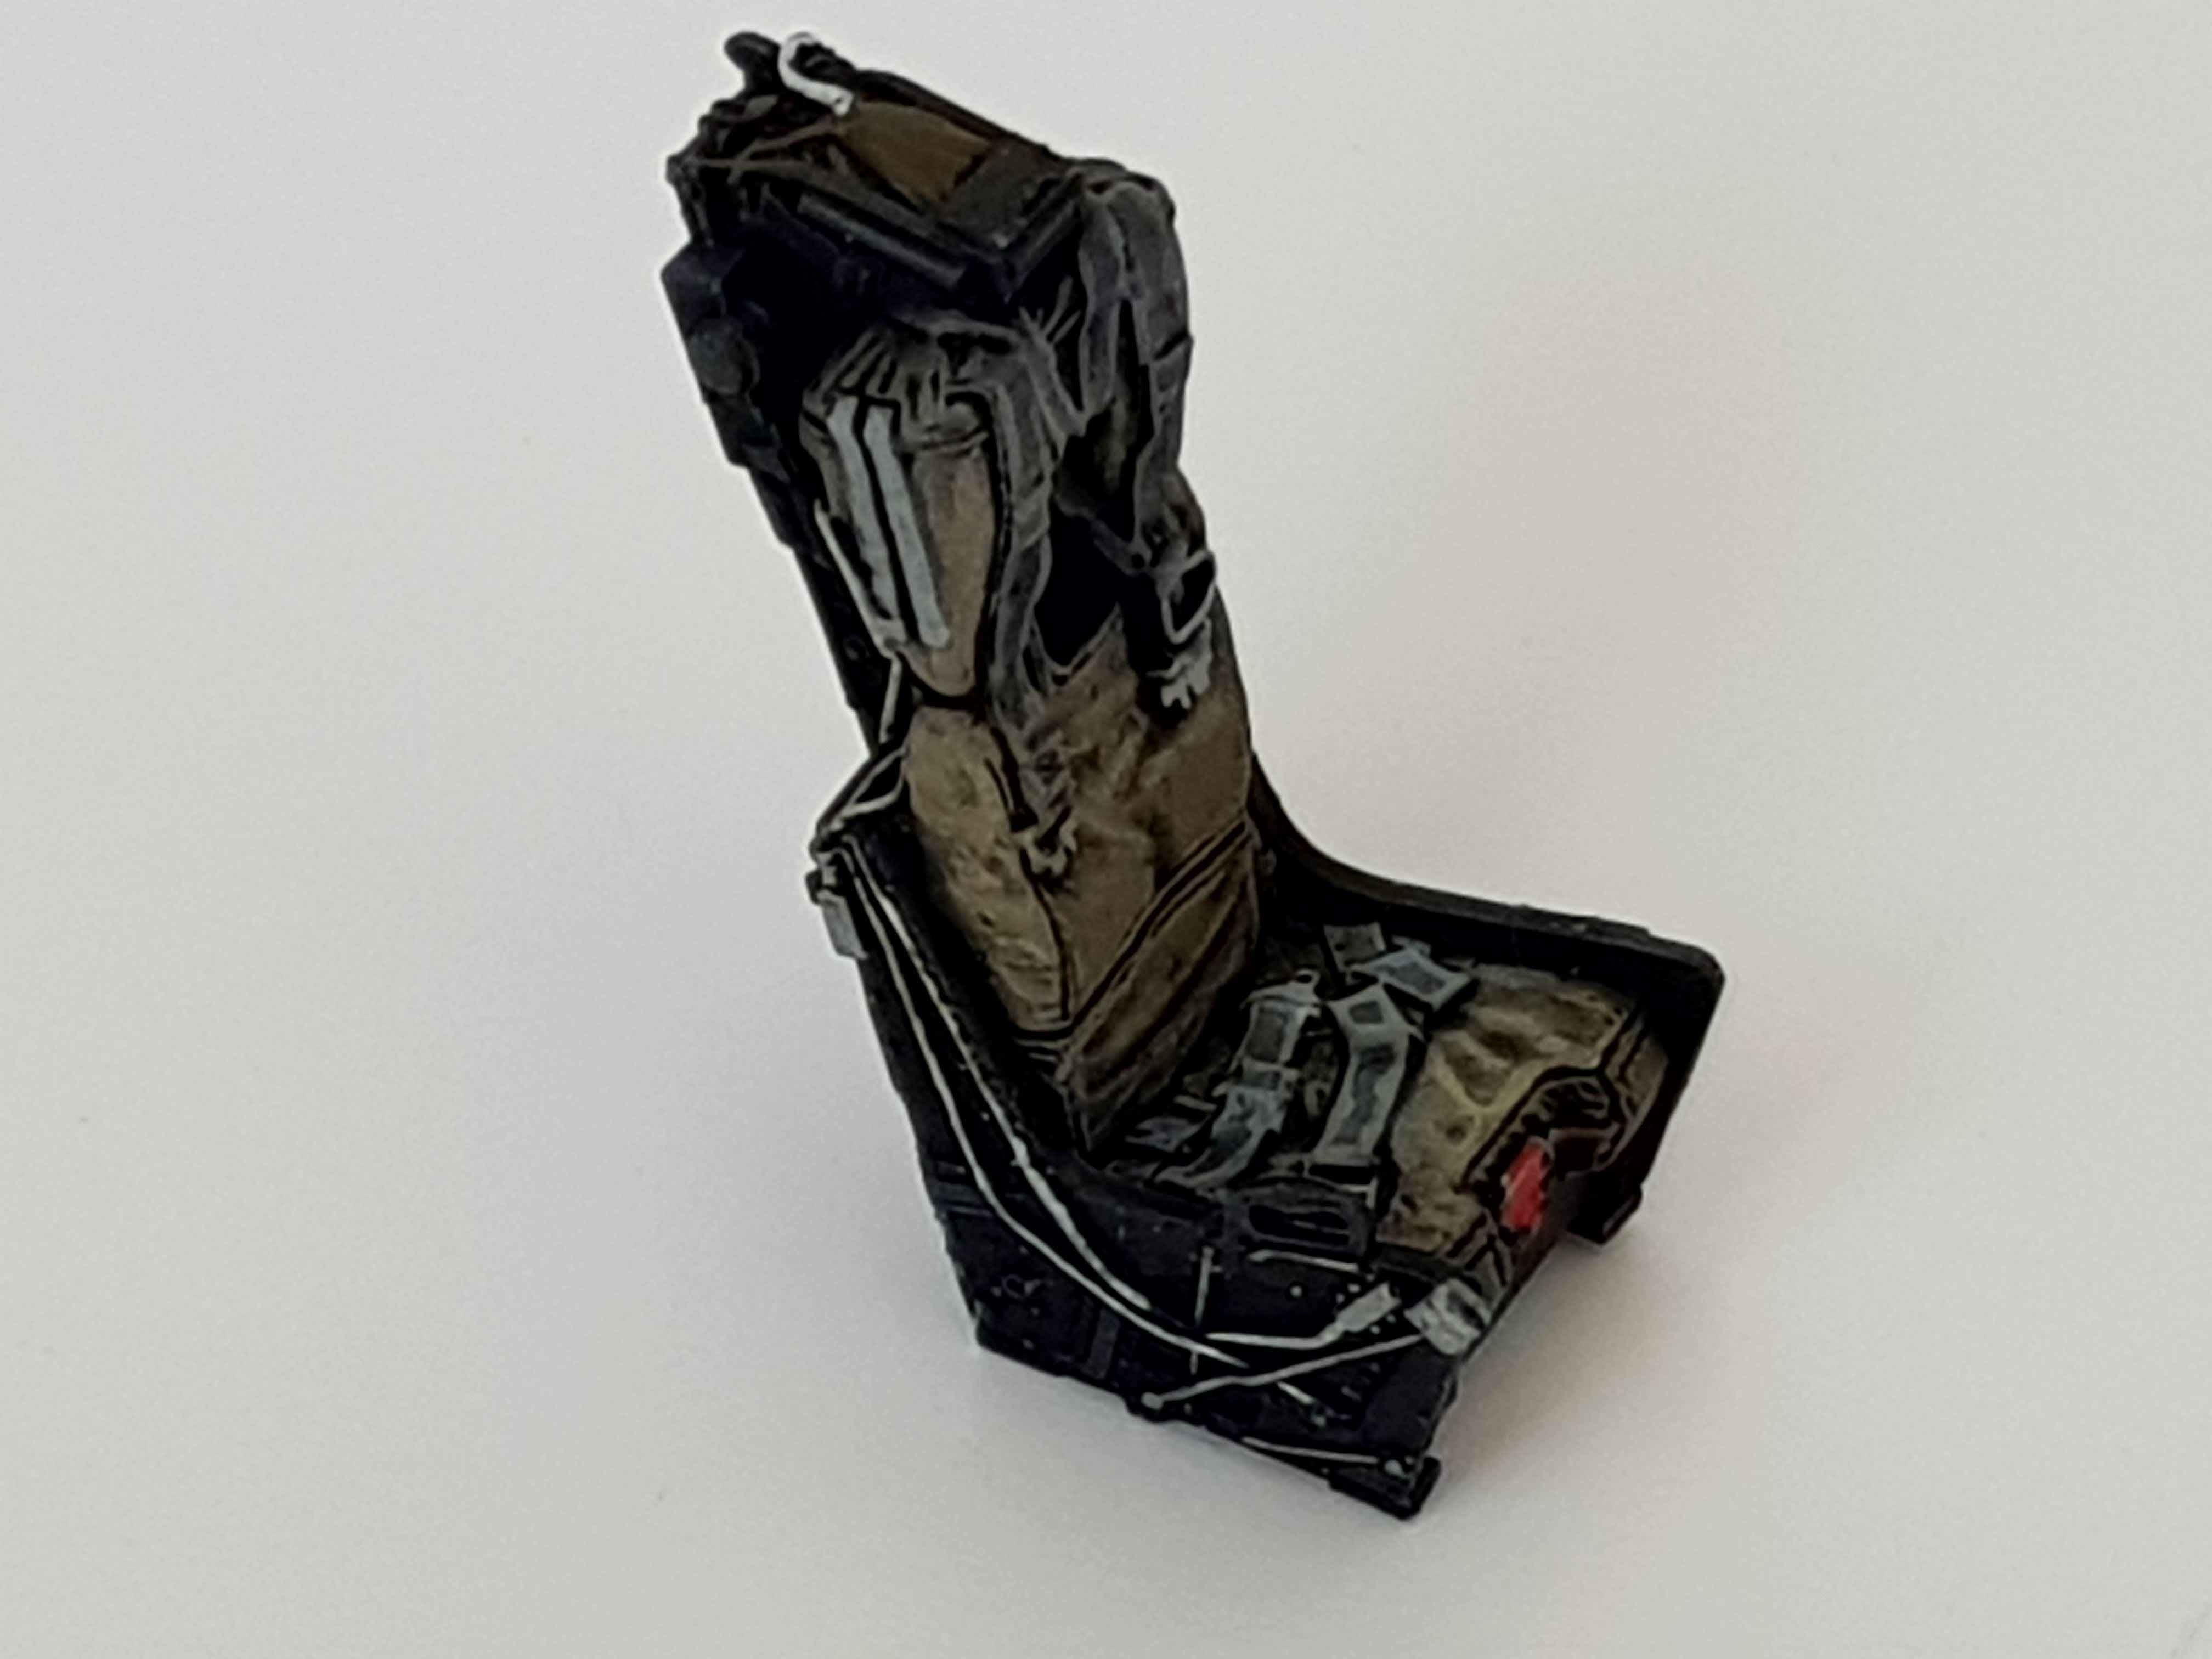
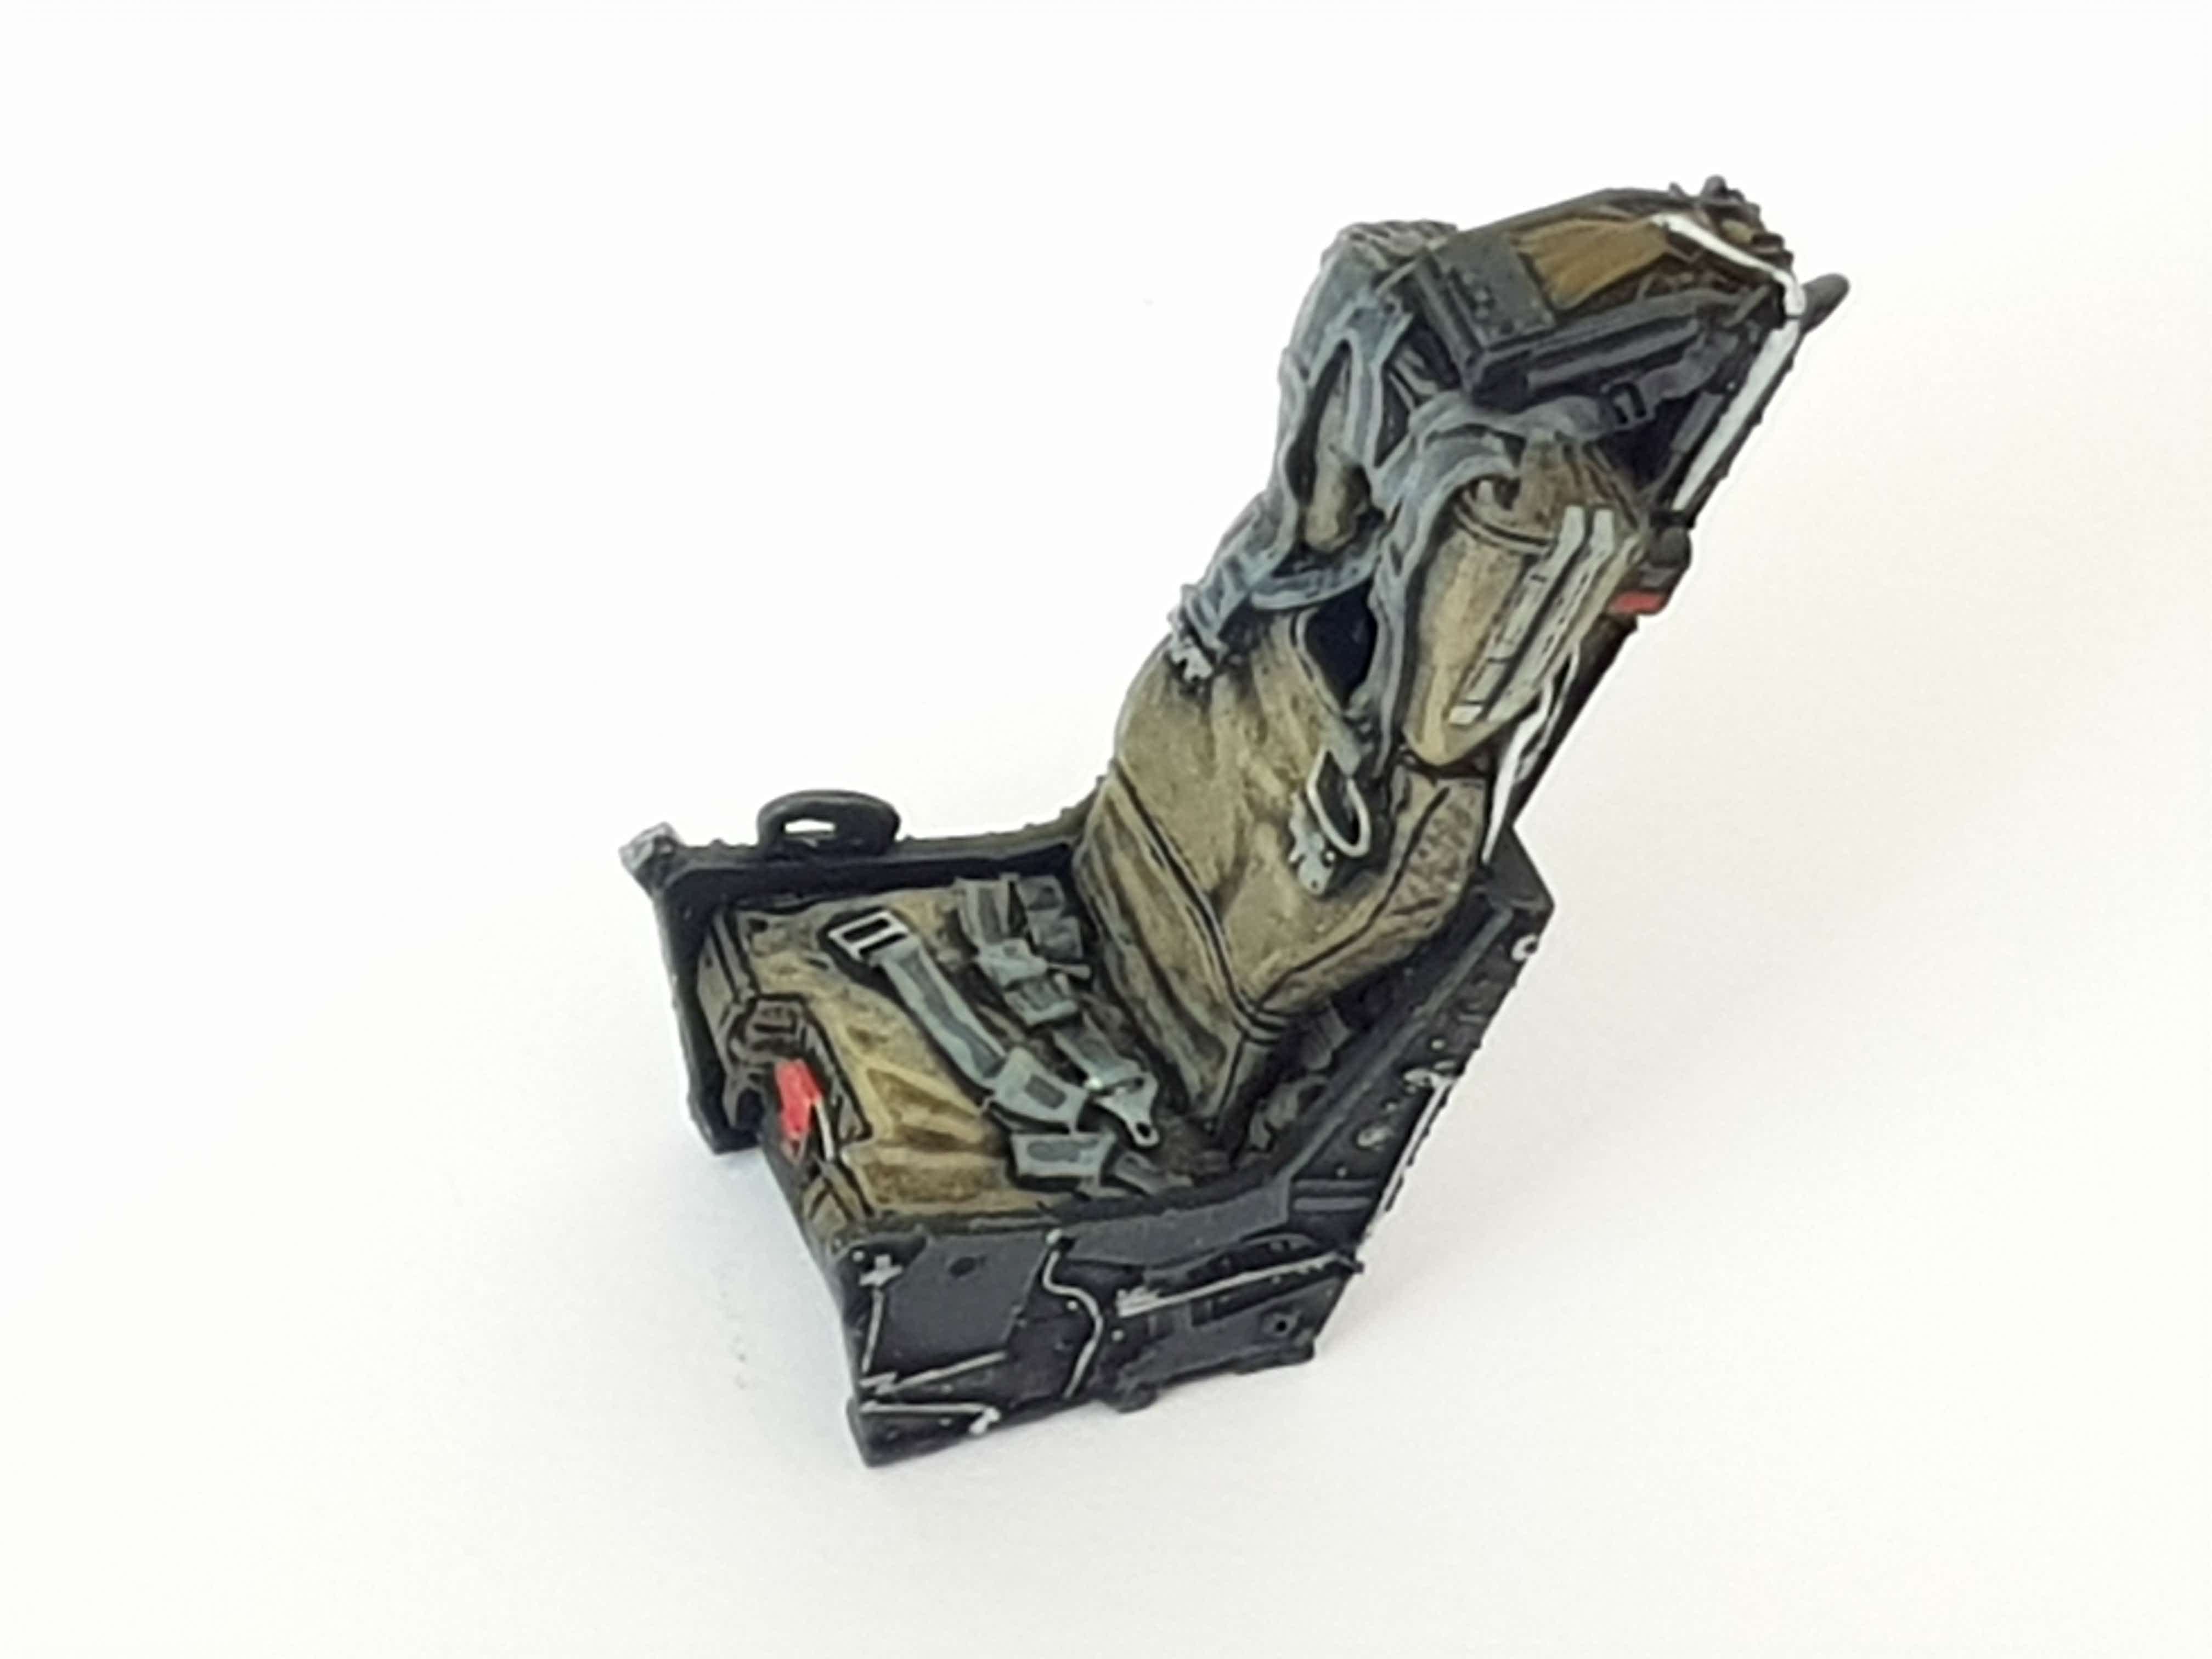
With them in place I think the cockpit is starting to look nice!
Now to put everything together and close the front fuselage!
-
Great work Eric!
How do you make such clean cuts?
Any specific saw you're using?
-
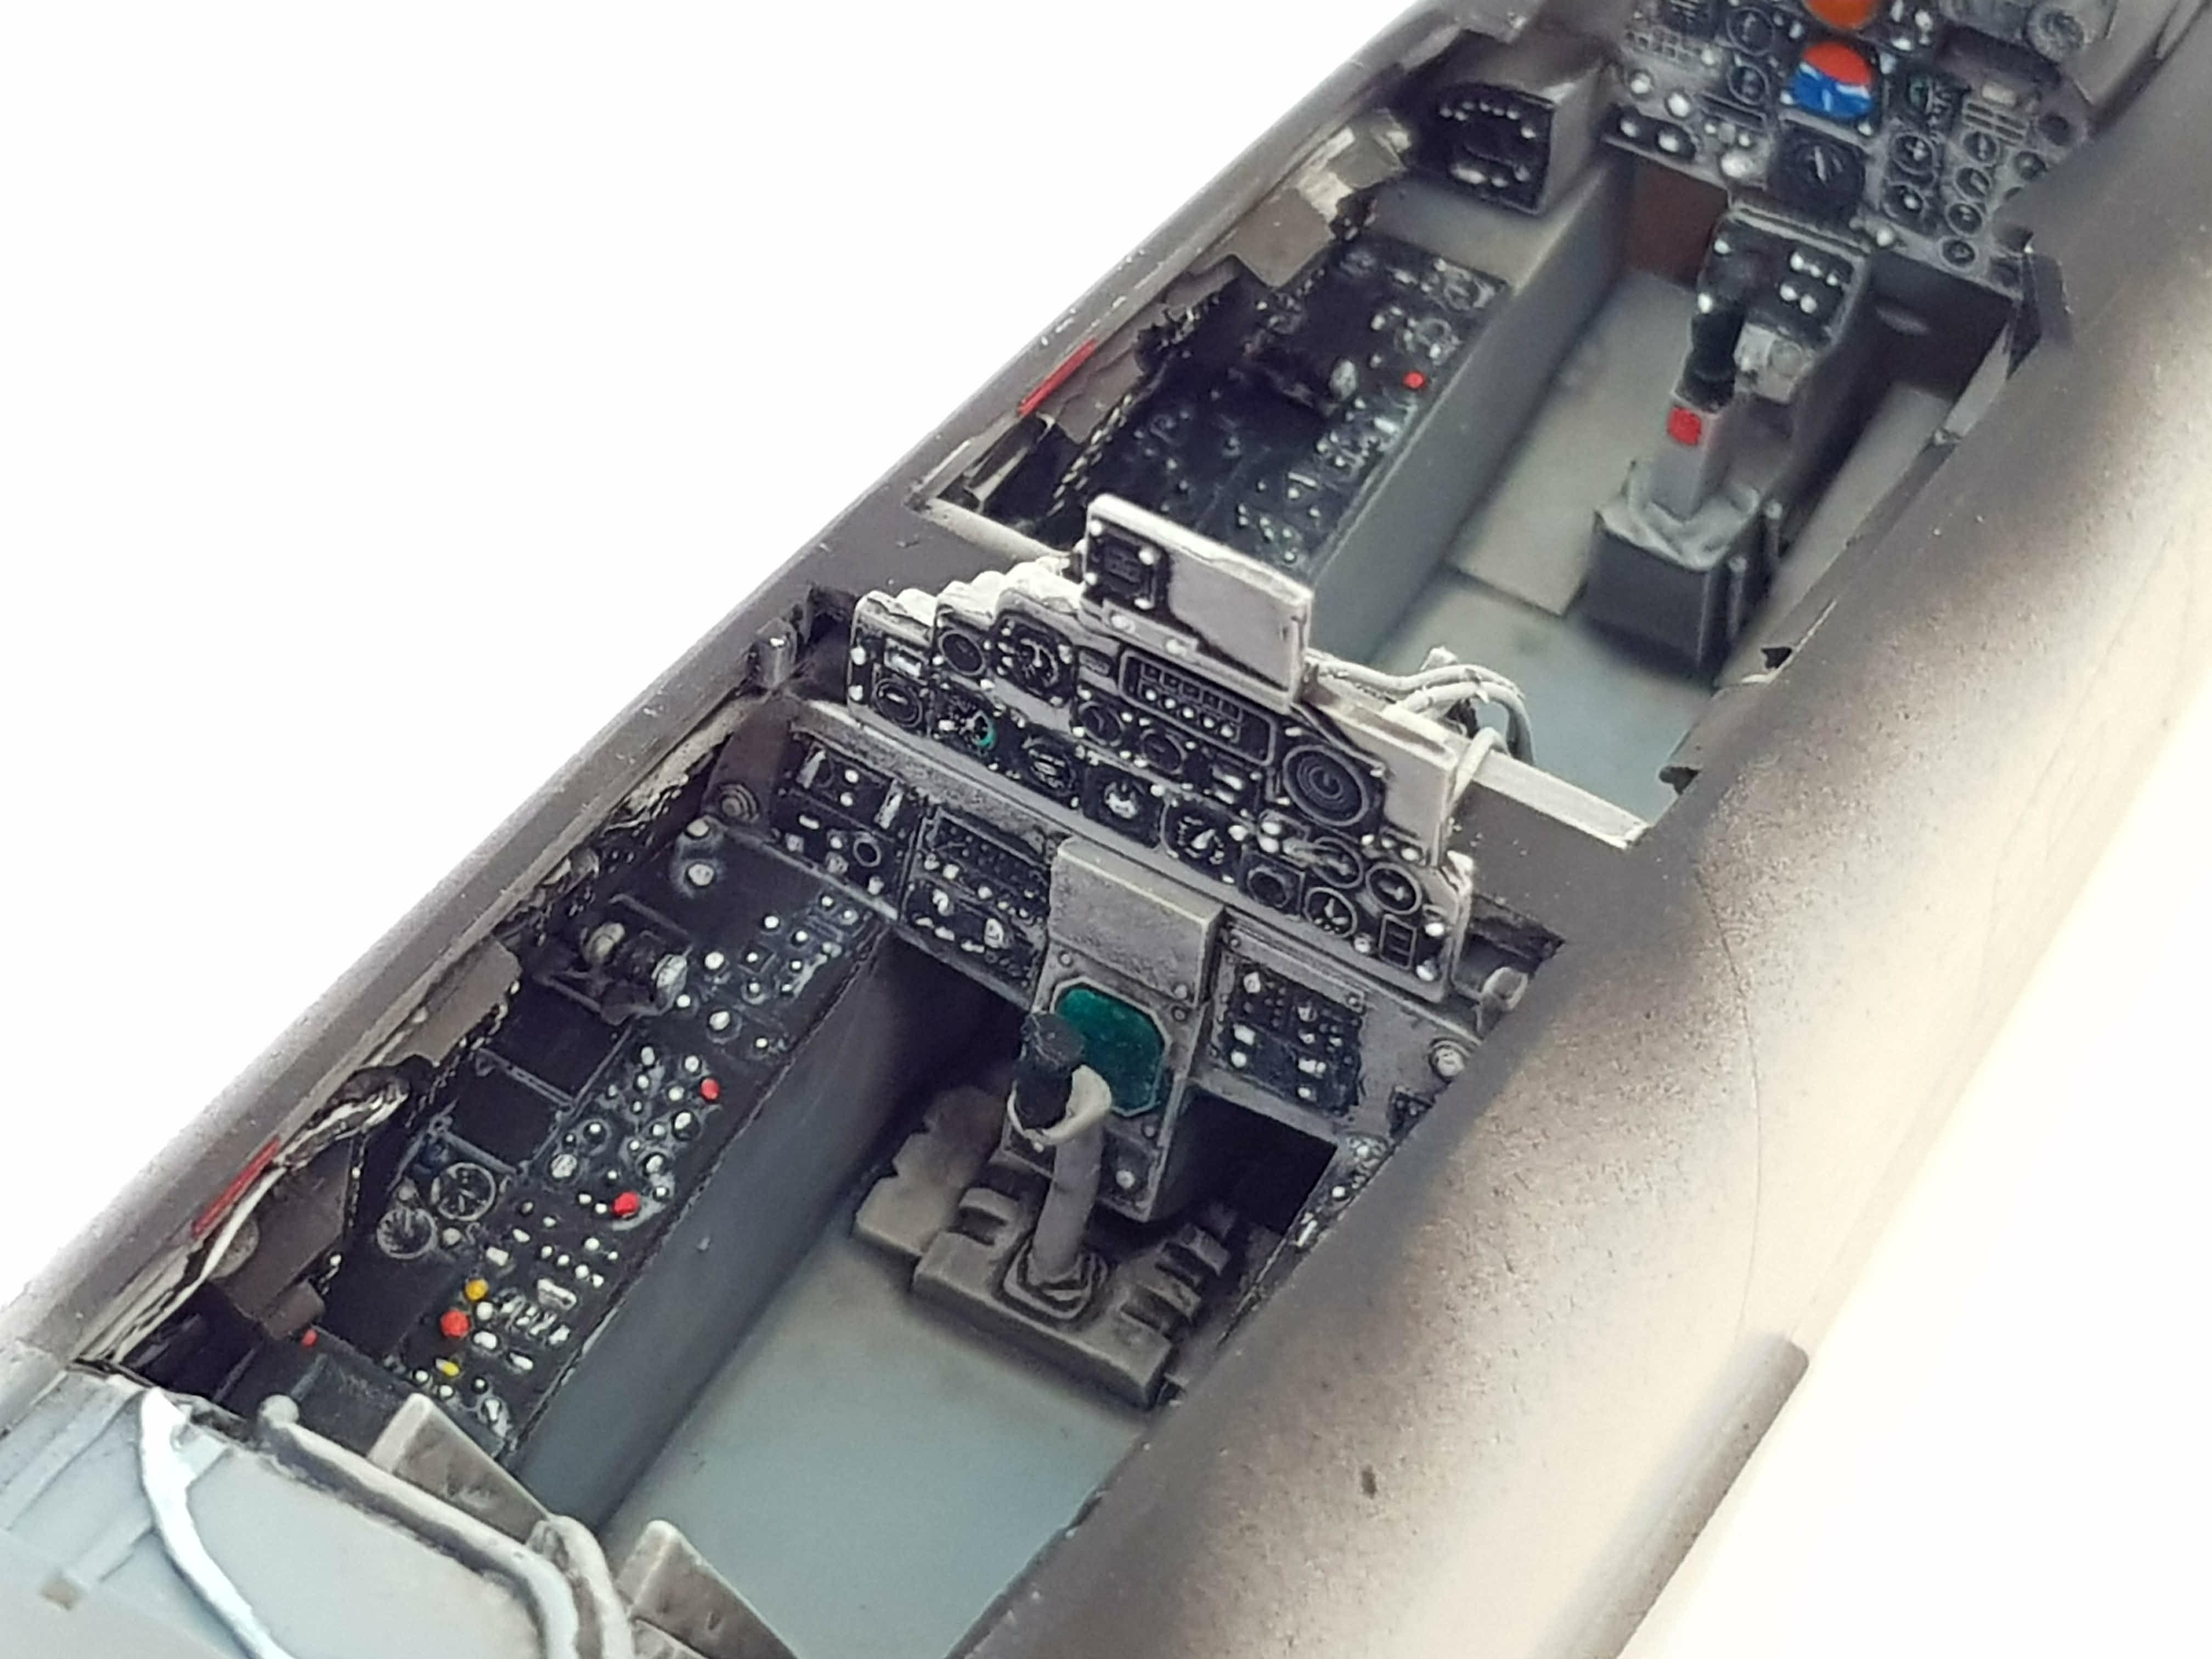
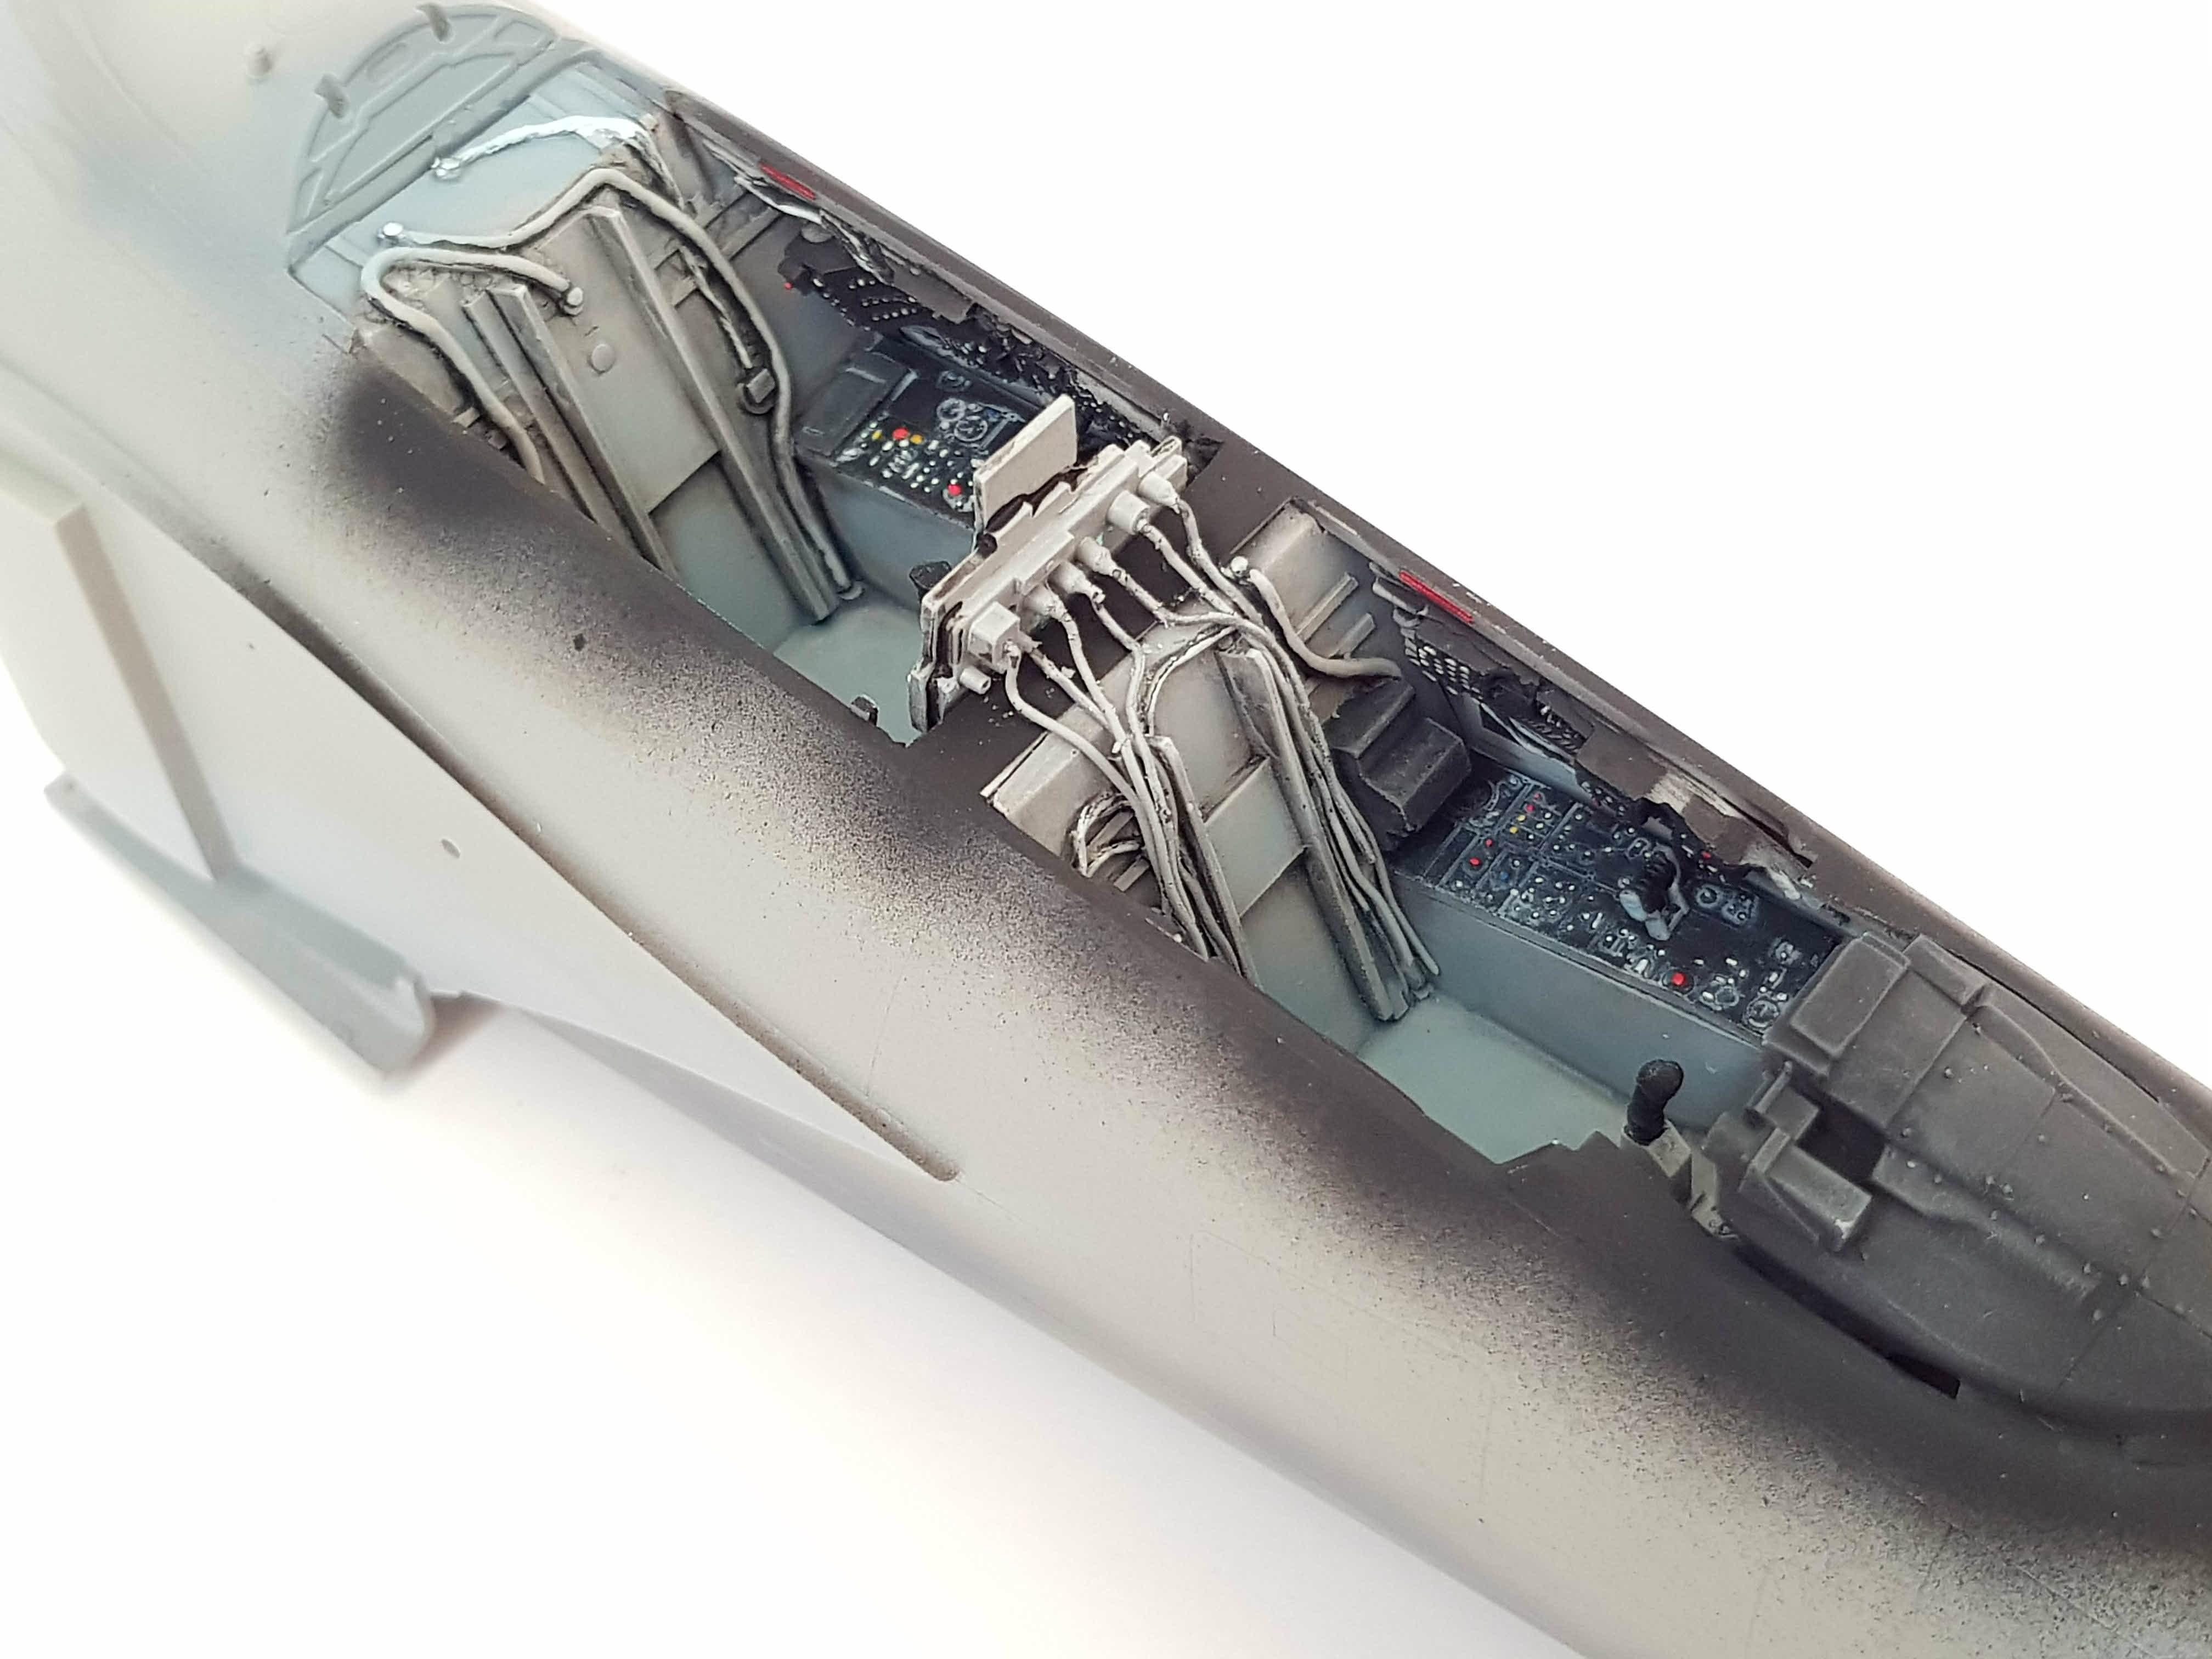
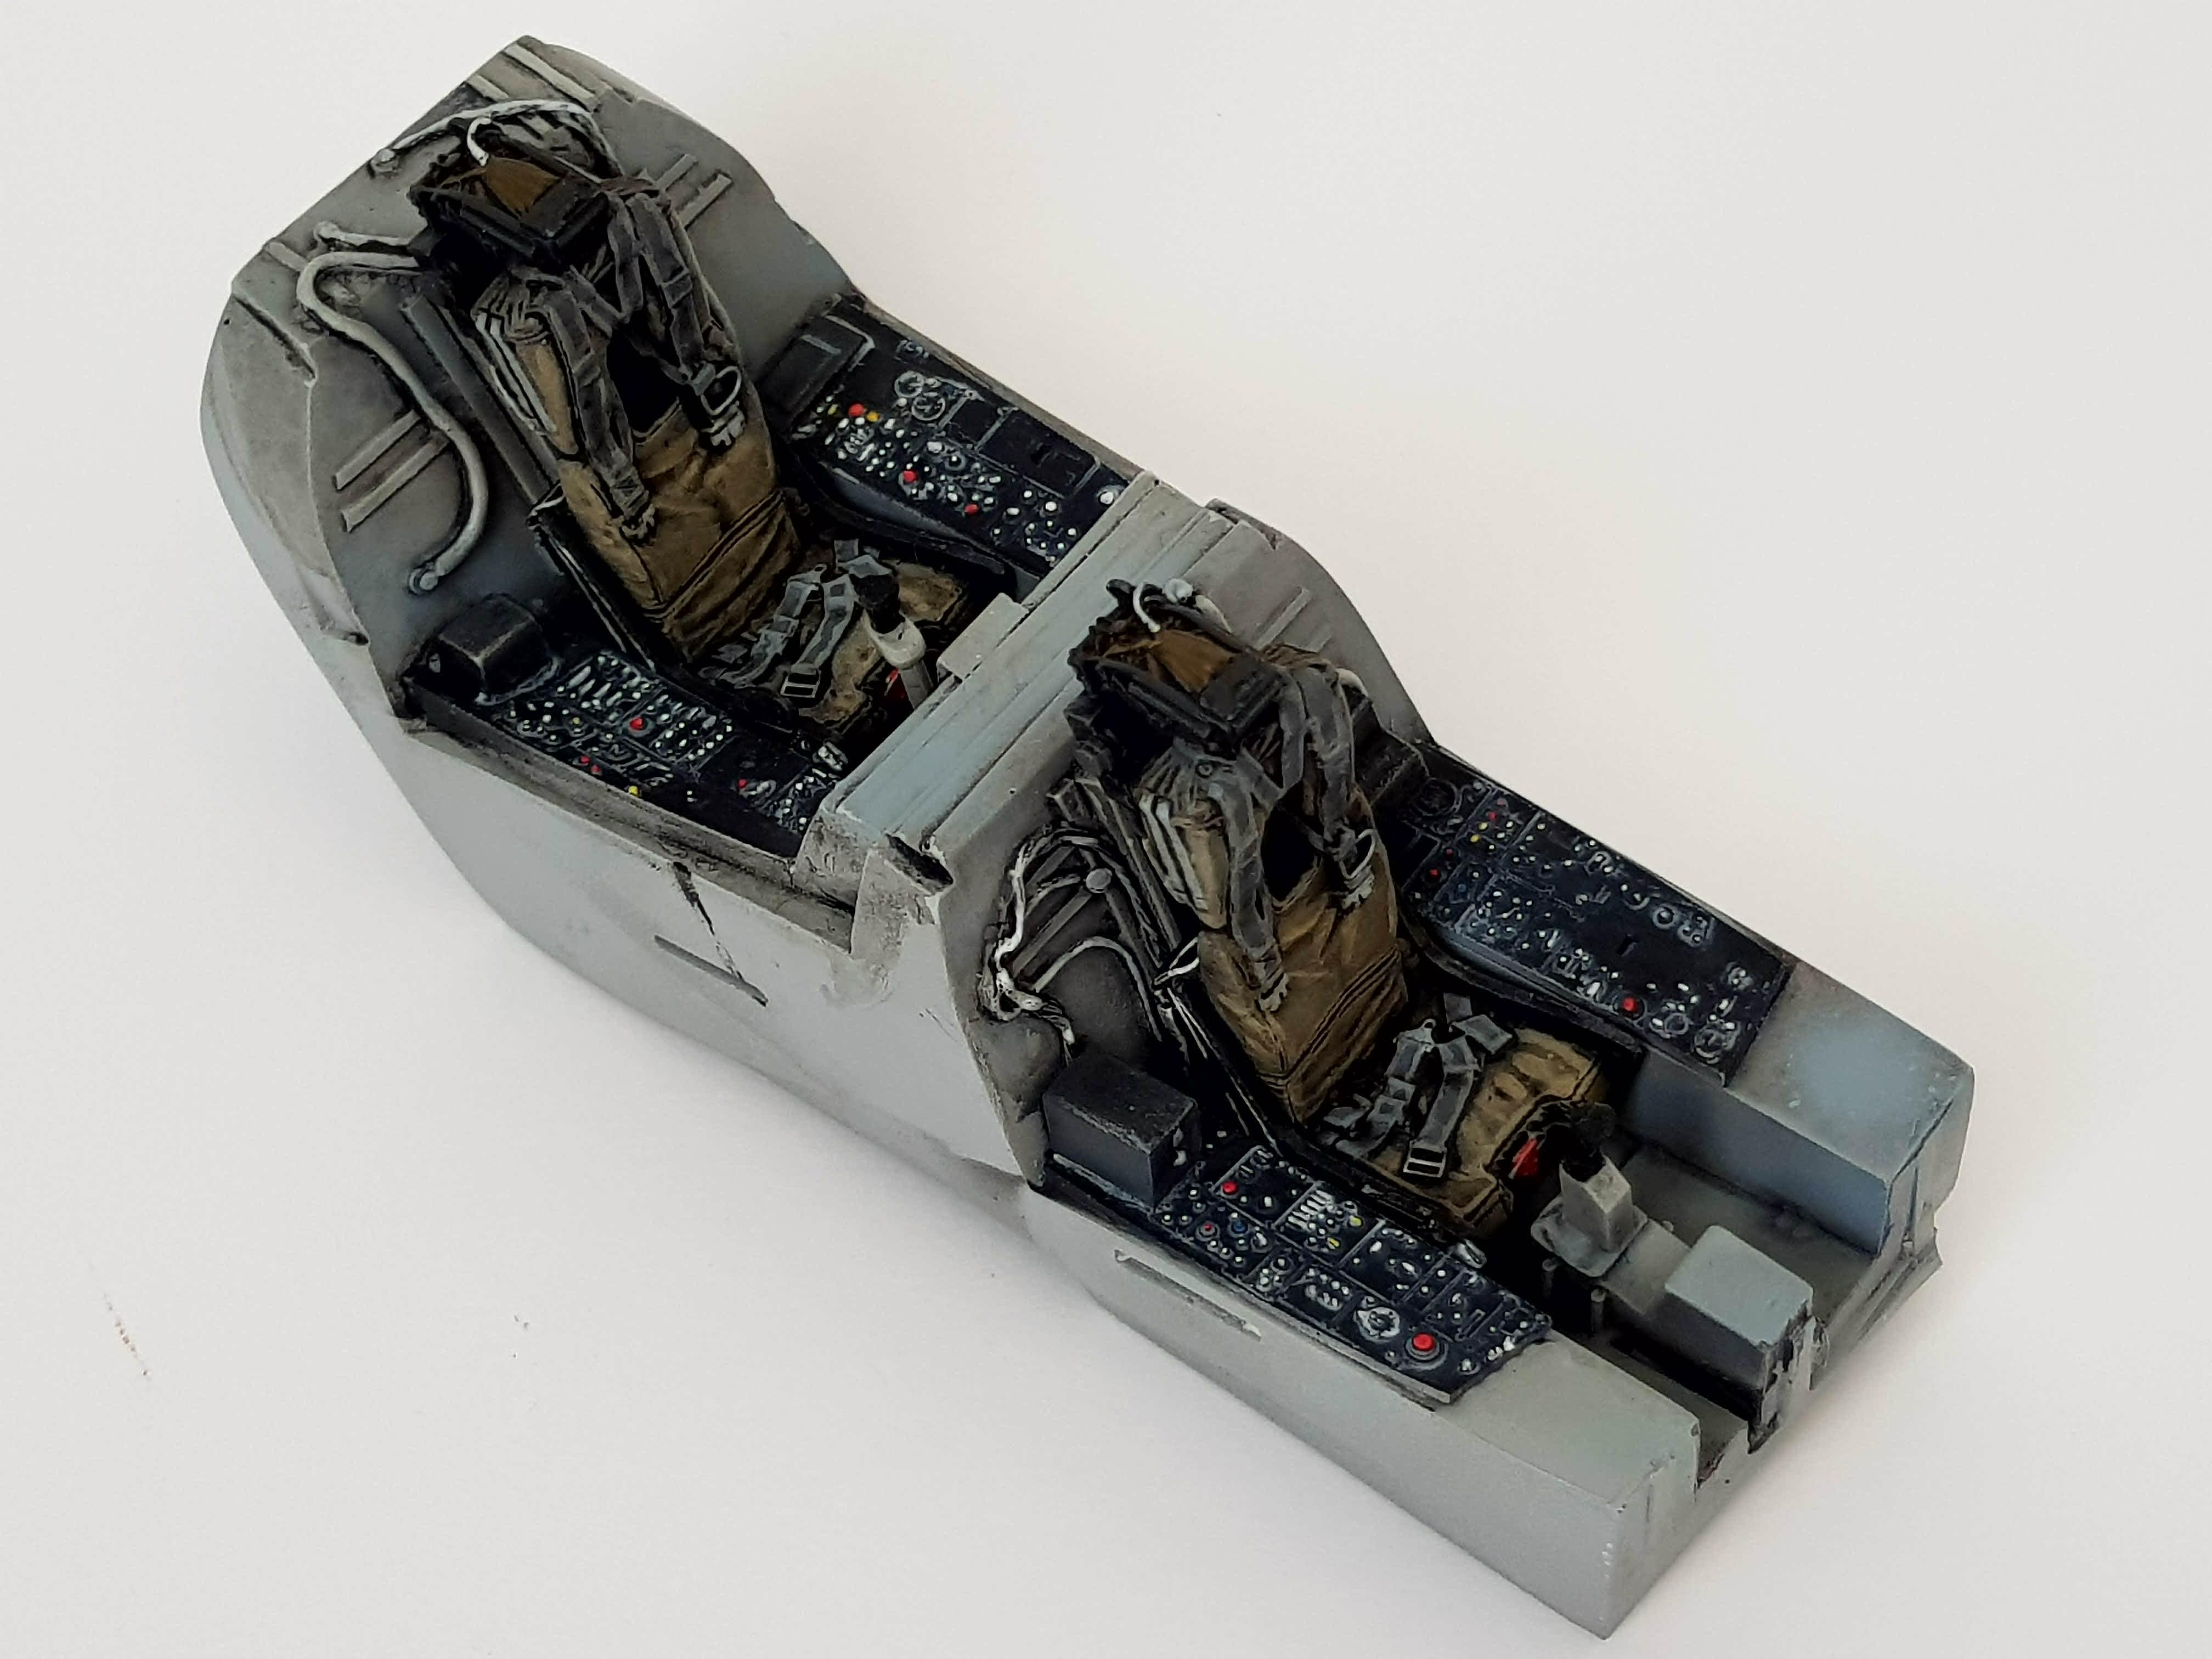
Hi all!
The cockpit is finally ready following some basic weathering and further detail painting!

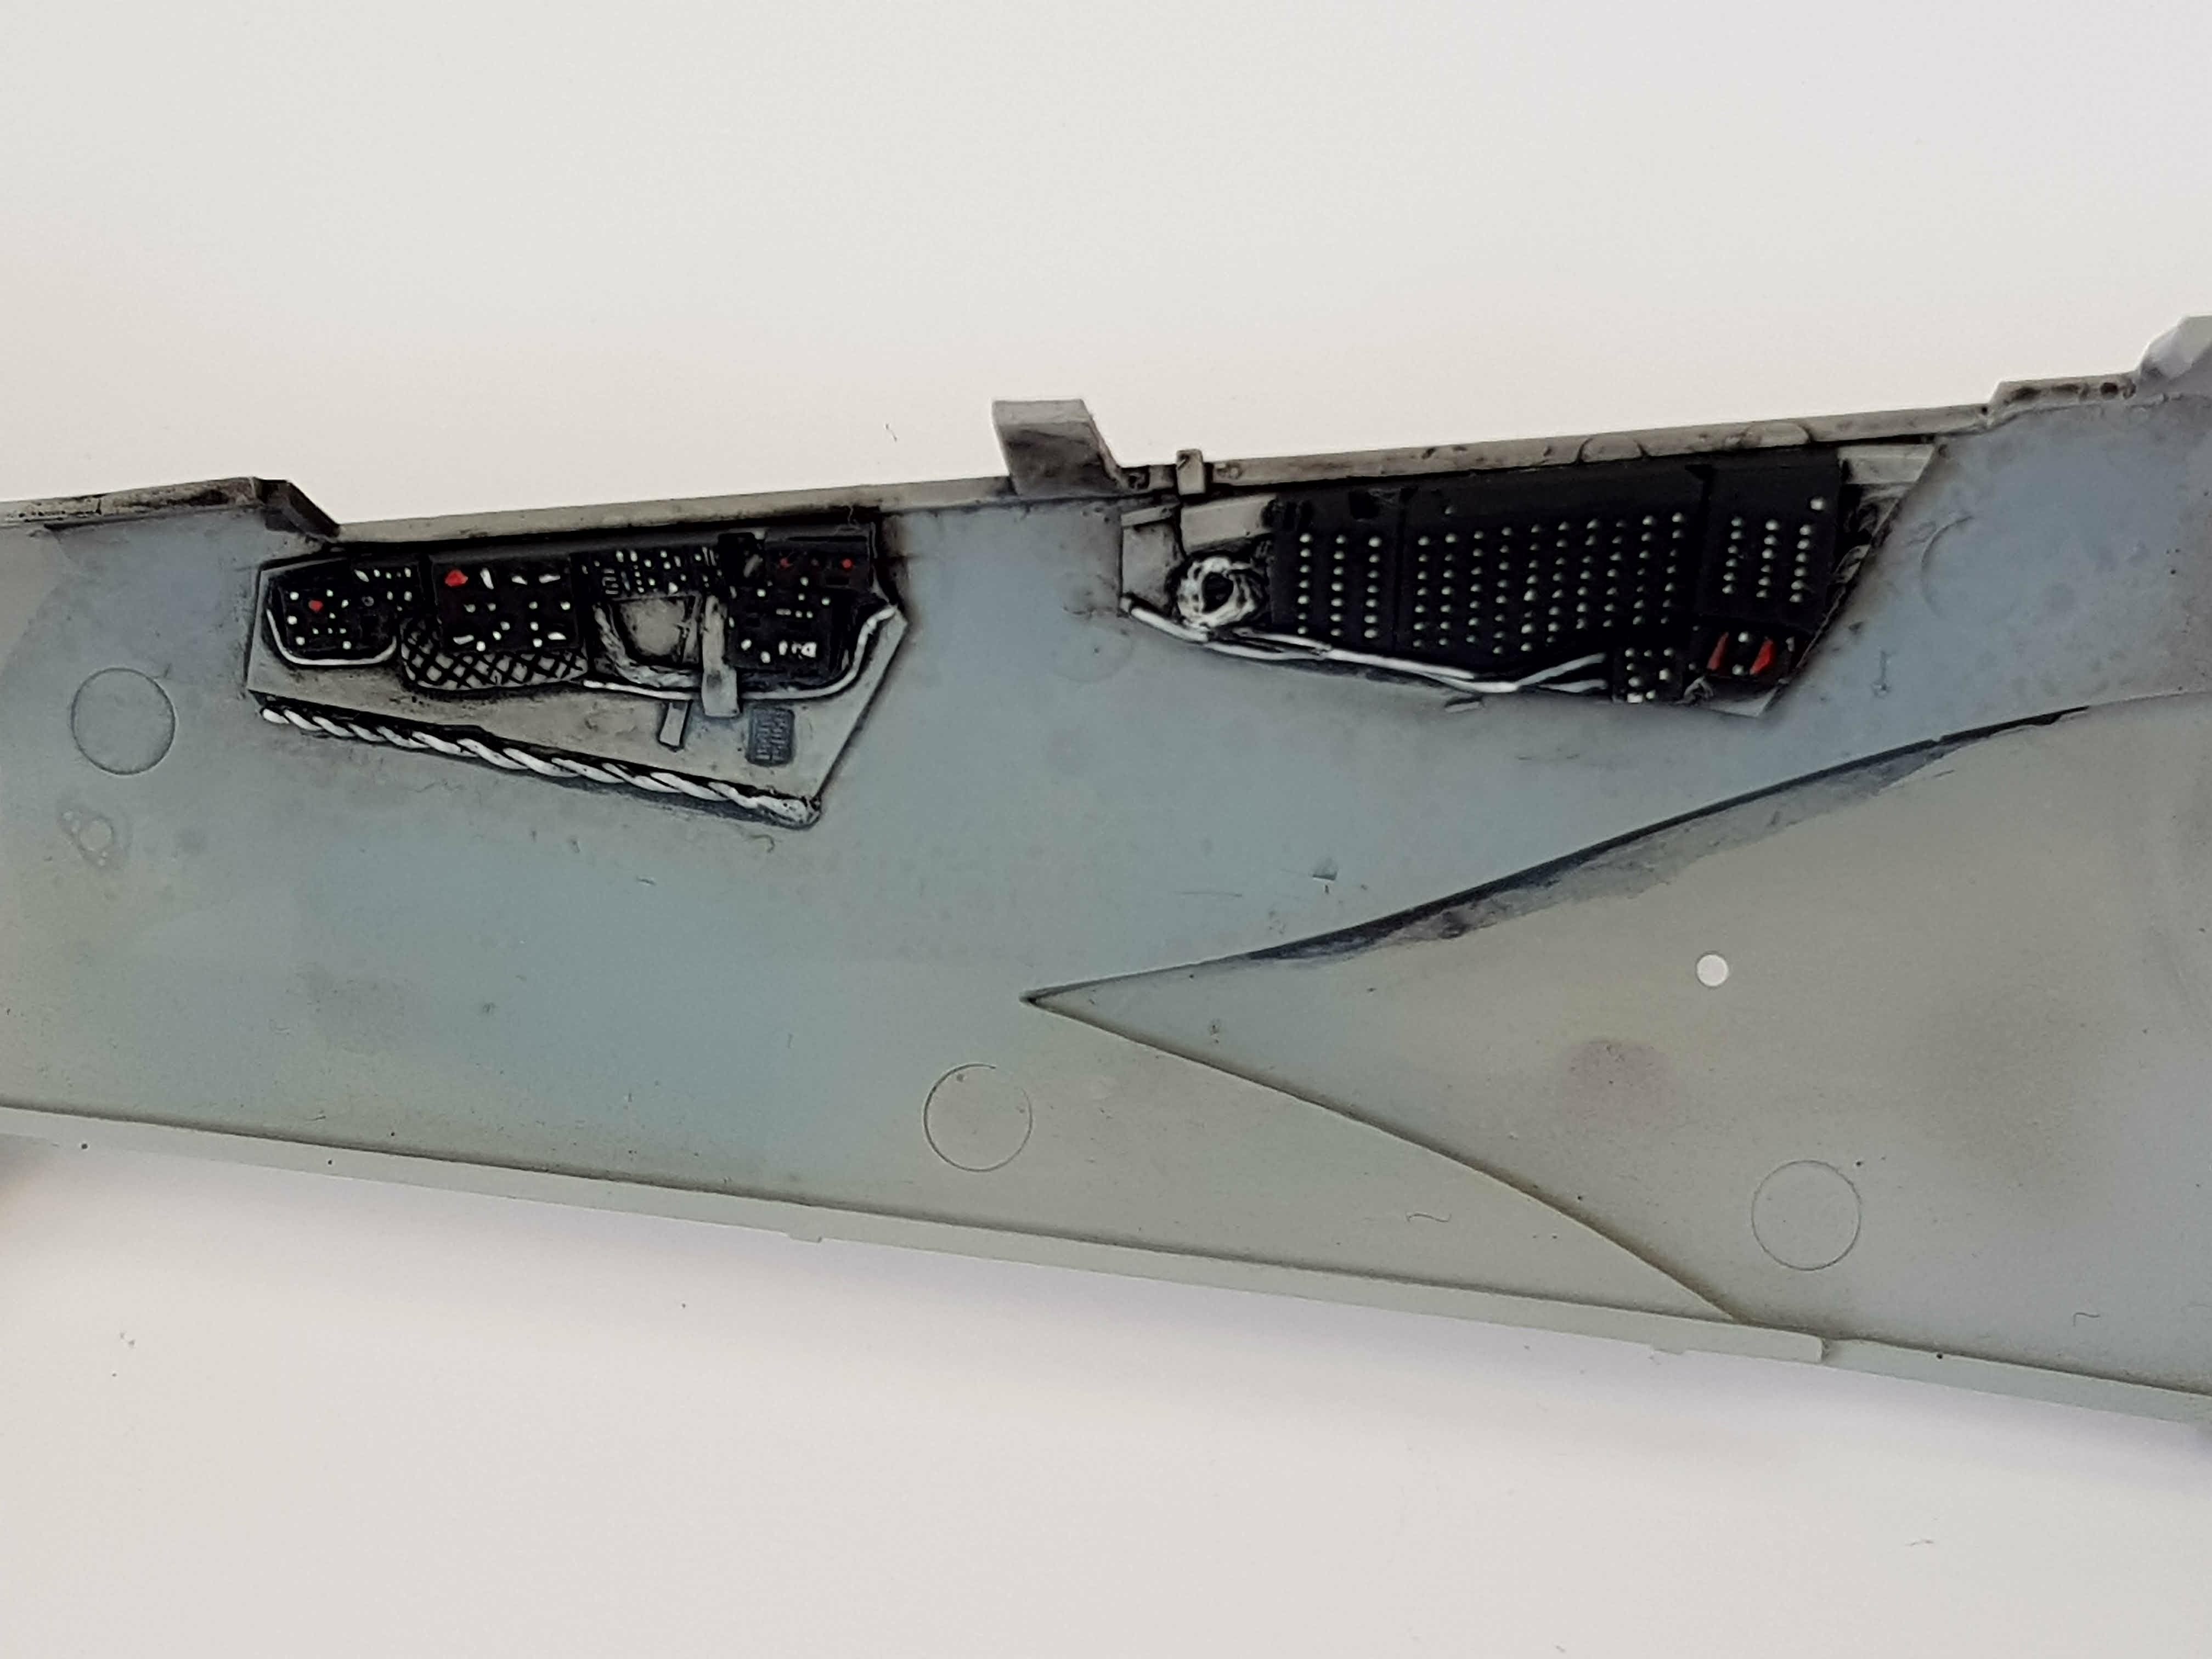
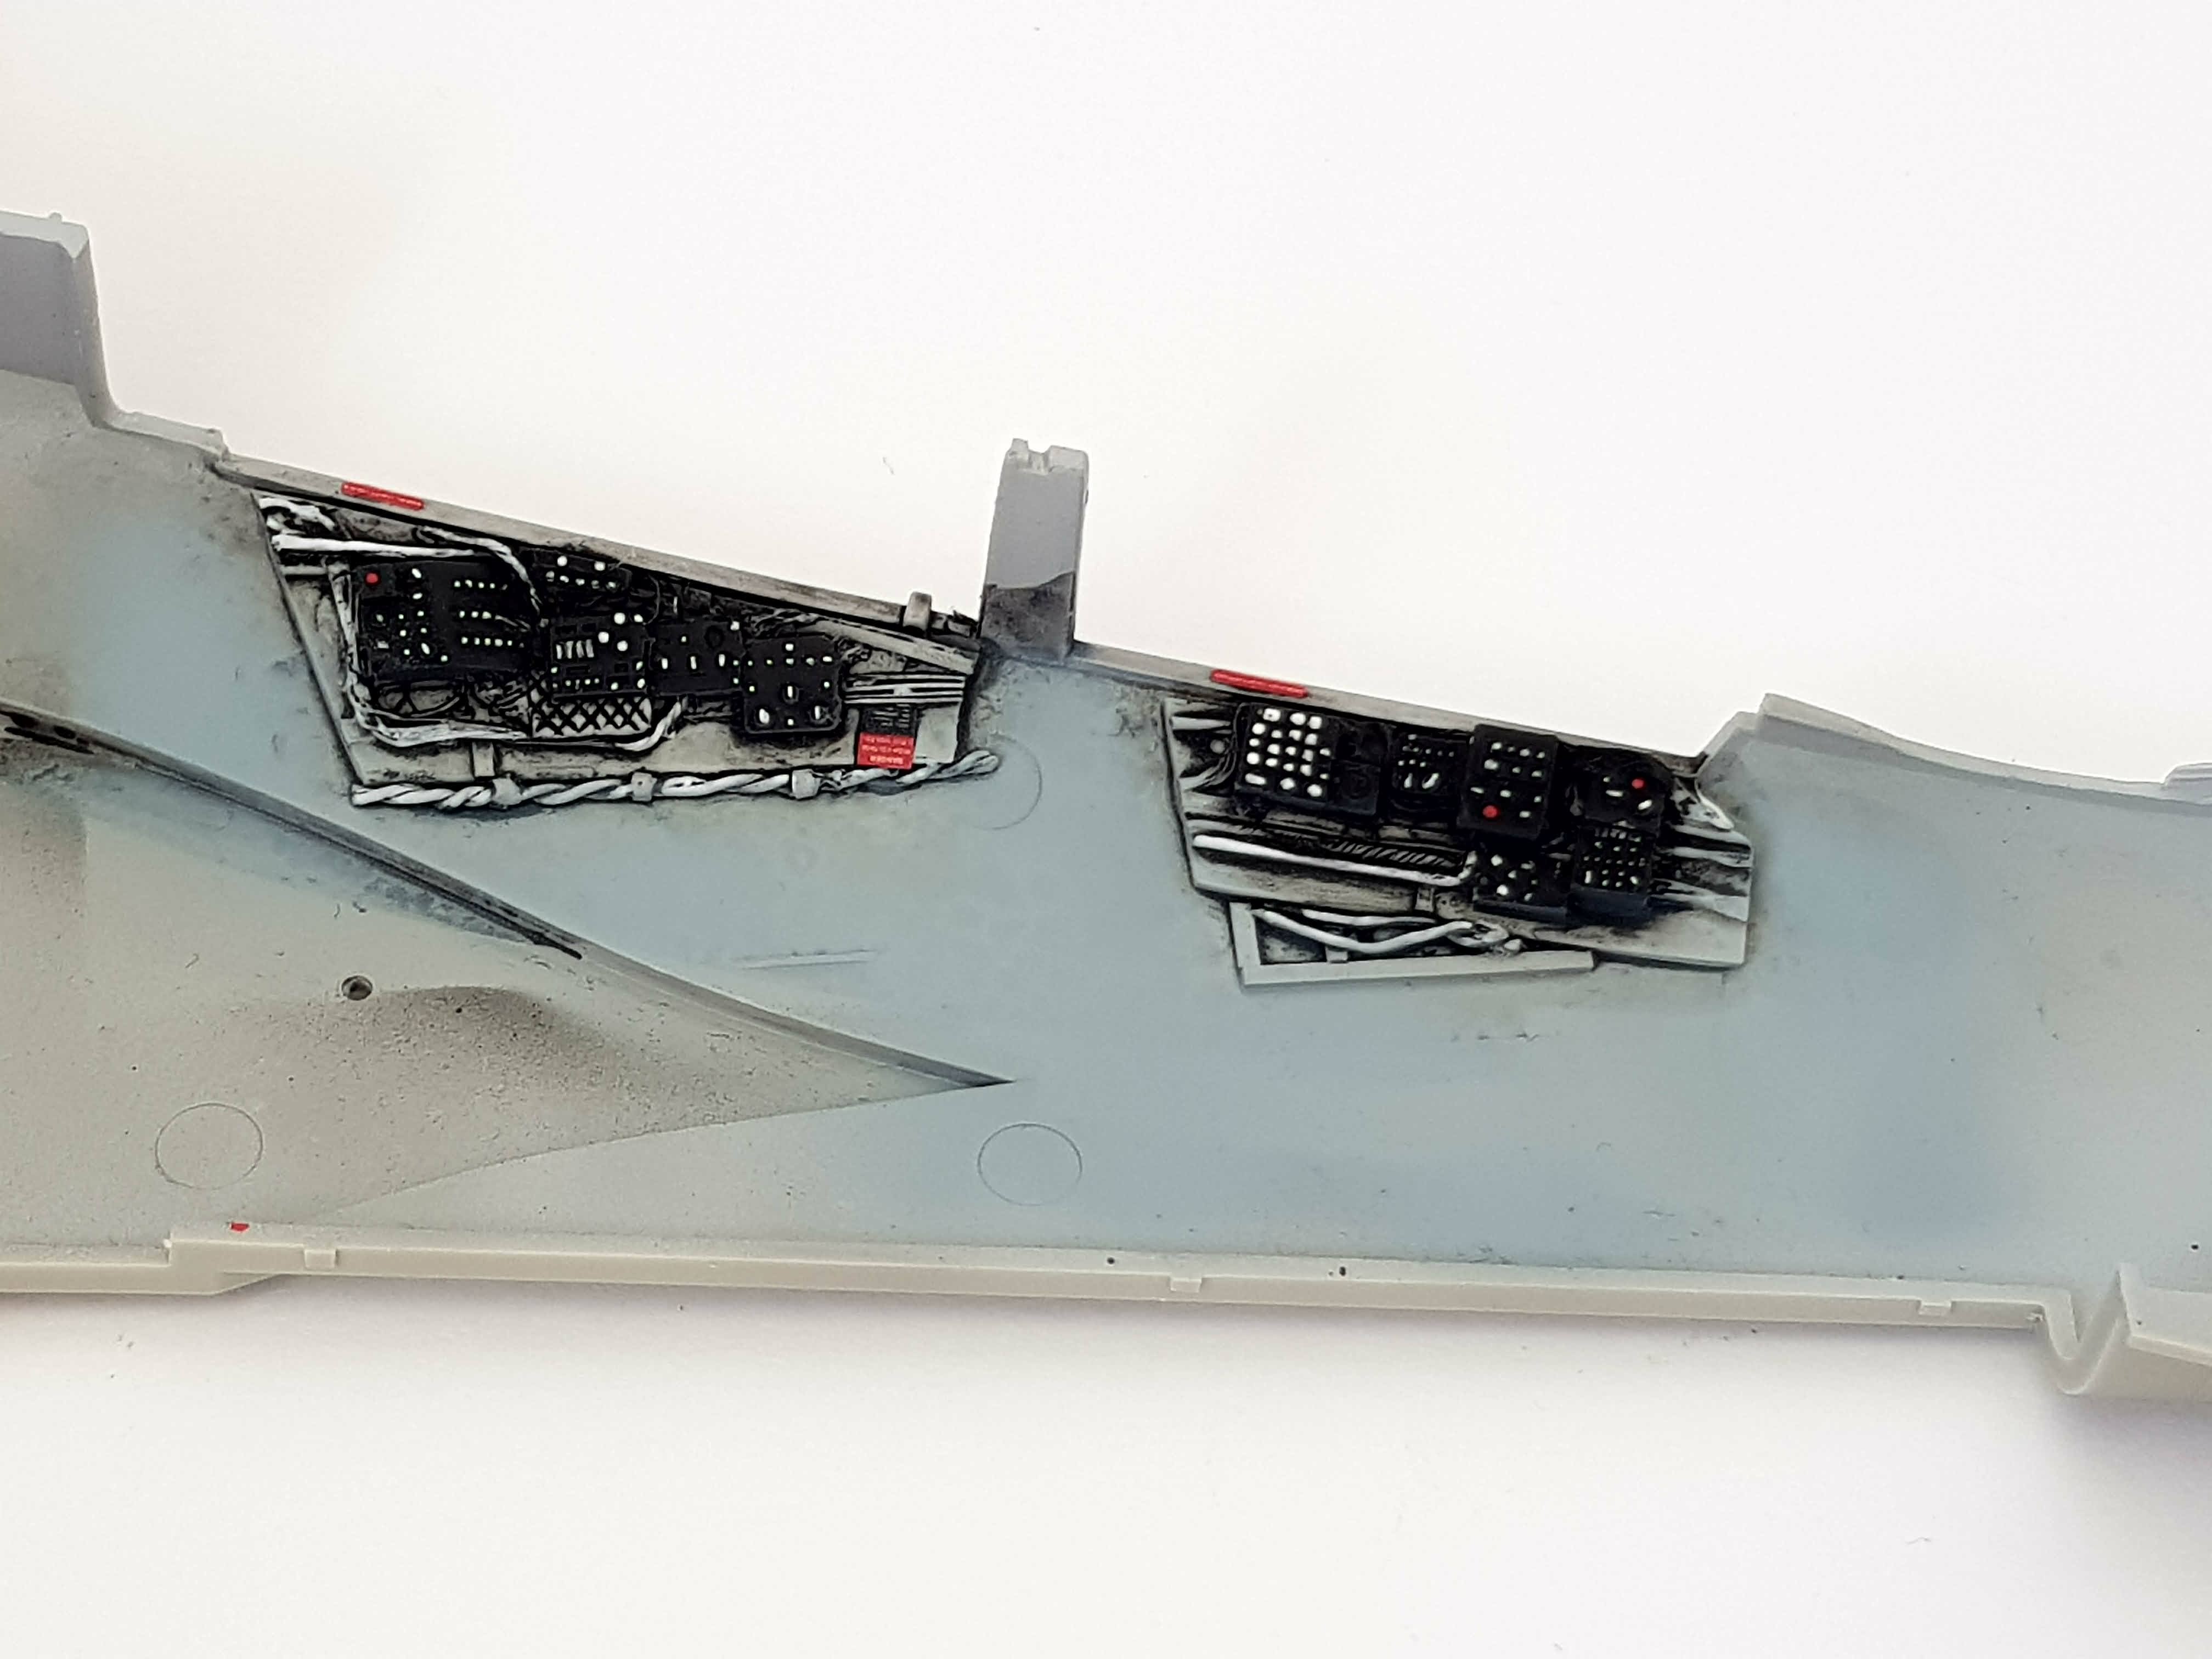
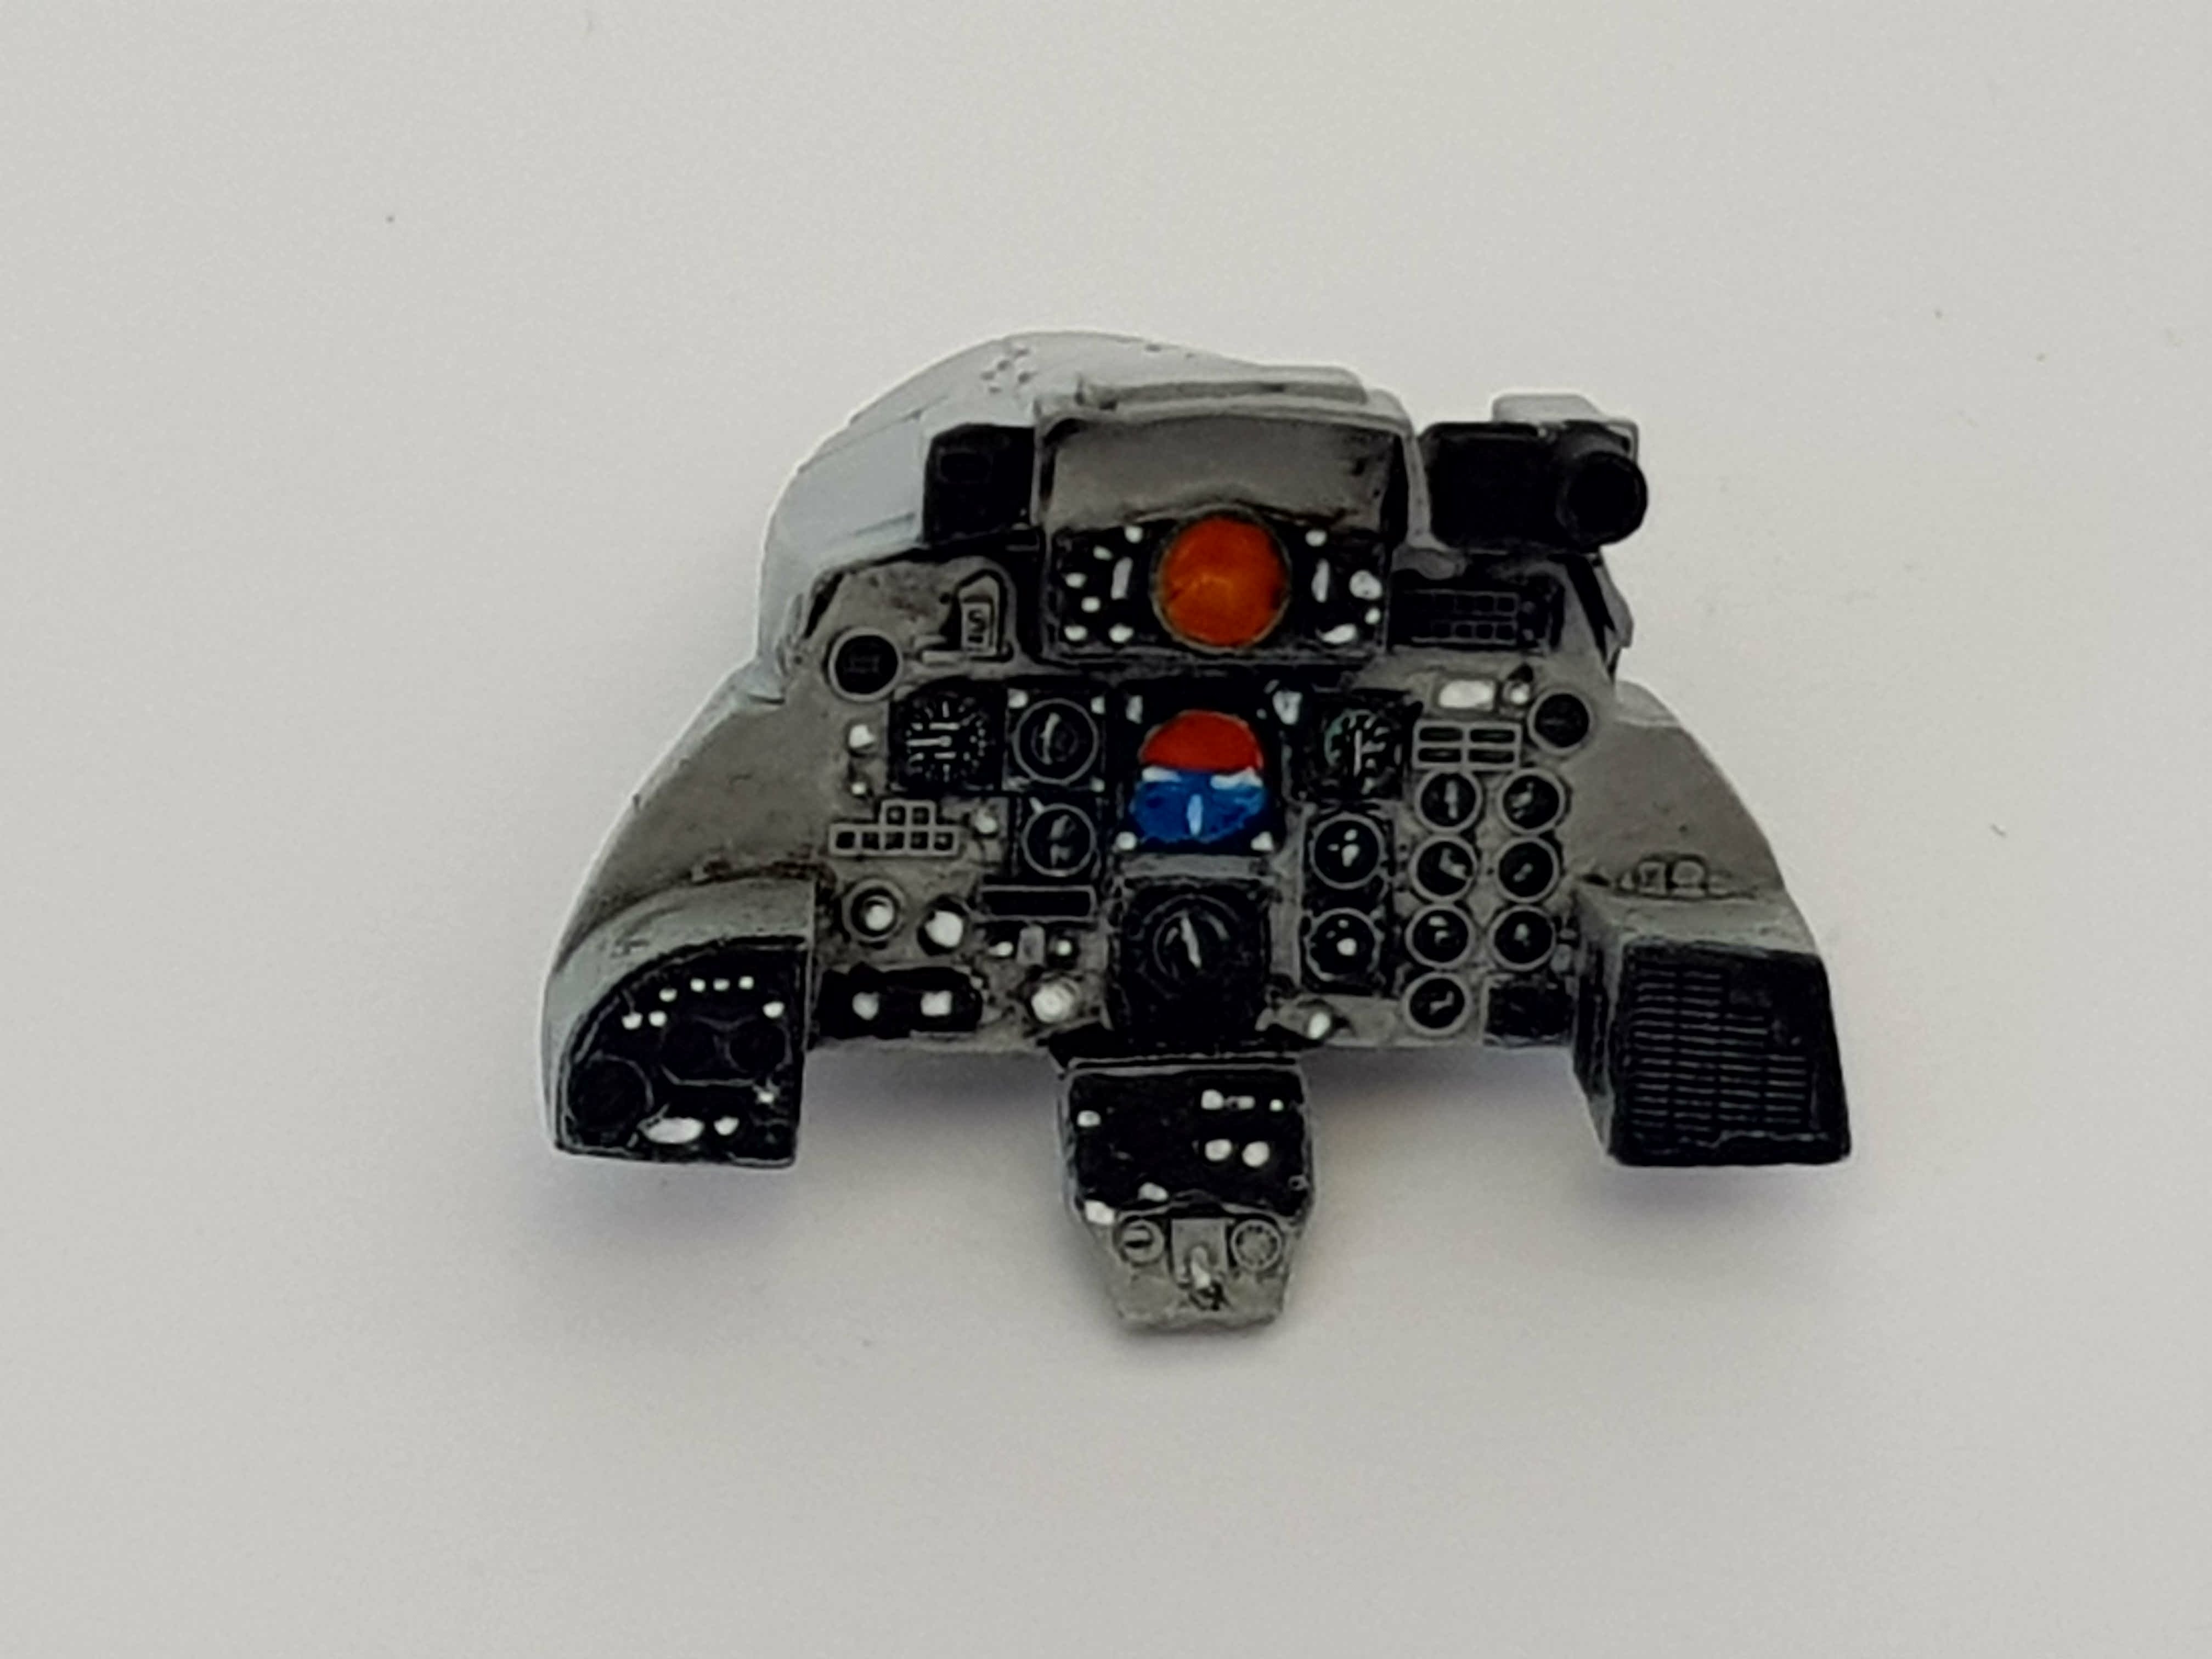
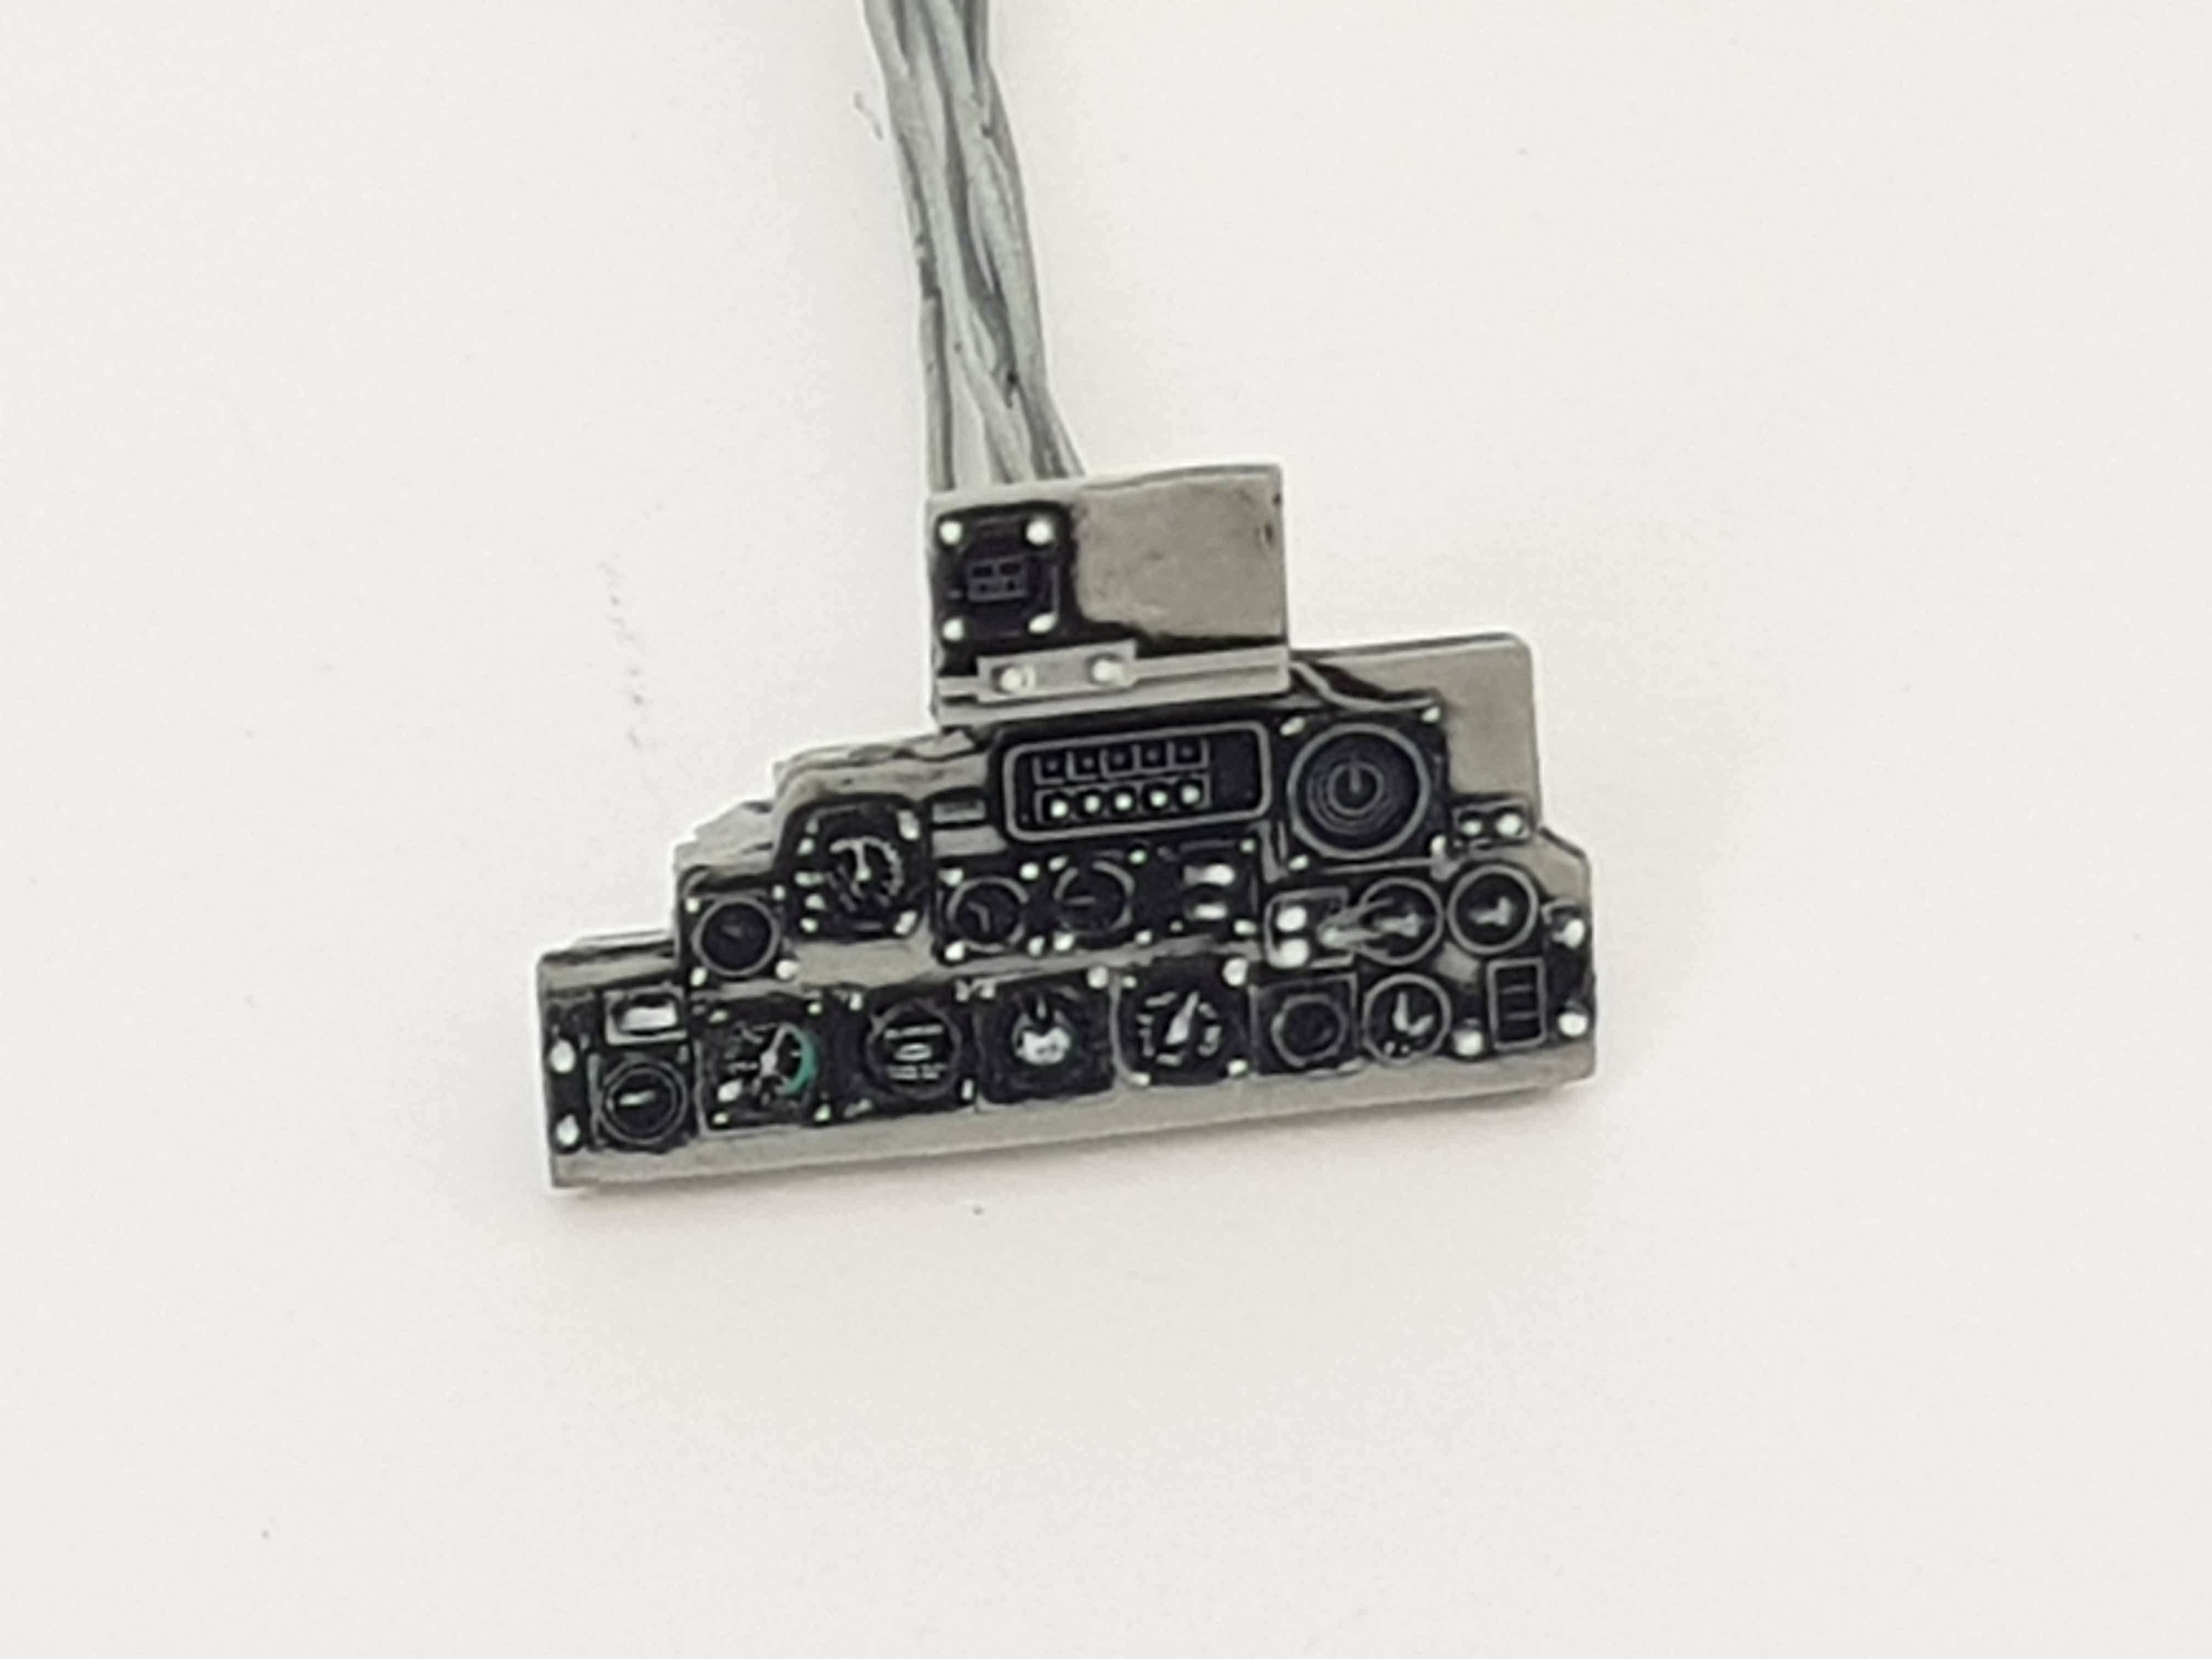
Thanks for checking!
- Gazzas, Seversky, F`s are my favs and 3 others
-
 6
6
-
Oooh! This looks nice!!!
More updates please!!!
-
Looks really nice Spyros. If it's not too late, I'll suggest some Airscale cockpit decals - they add a level of awesome that it's hard to get any other way.
Cheers
Jim
Thanks Jim!

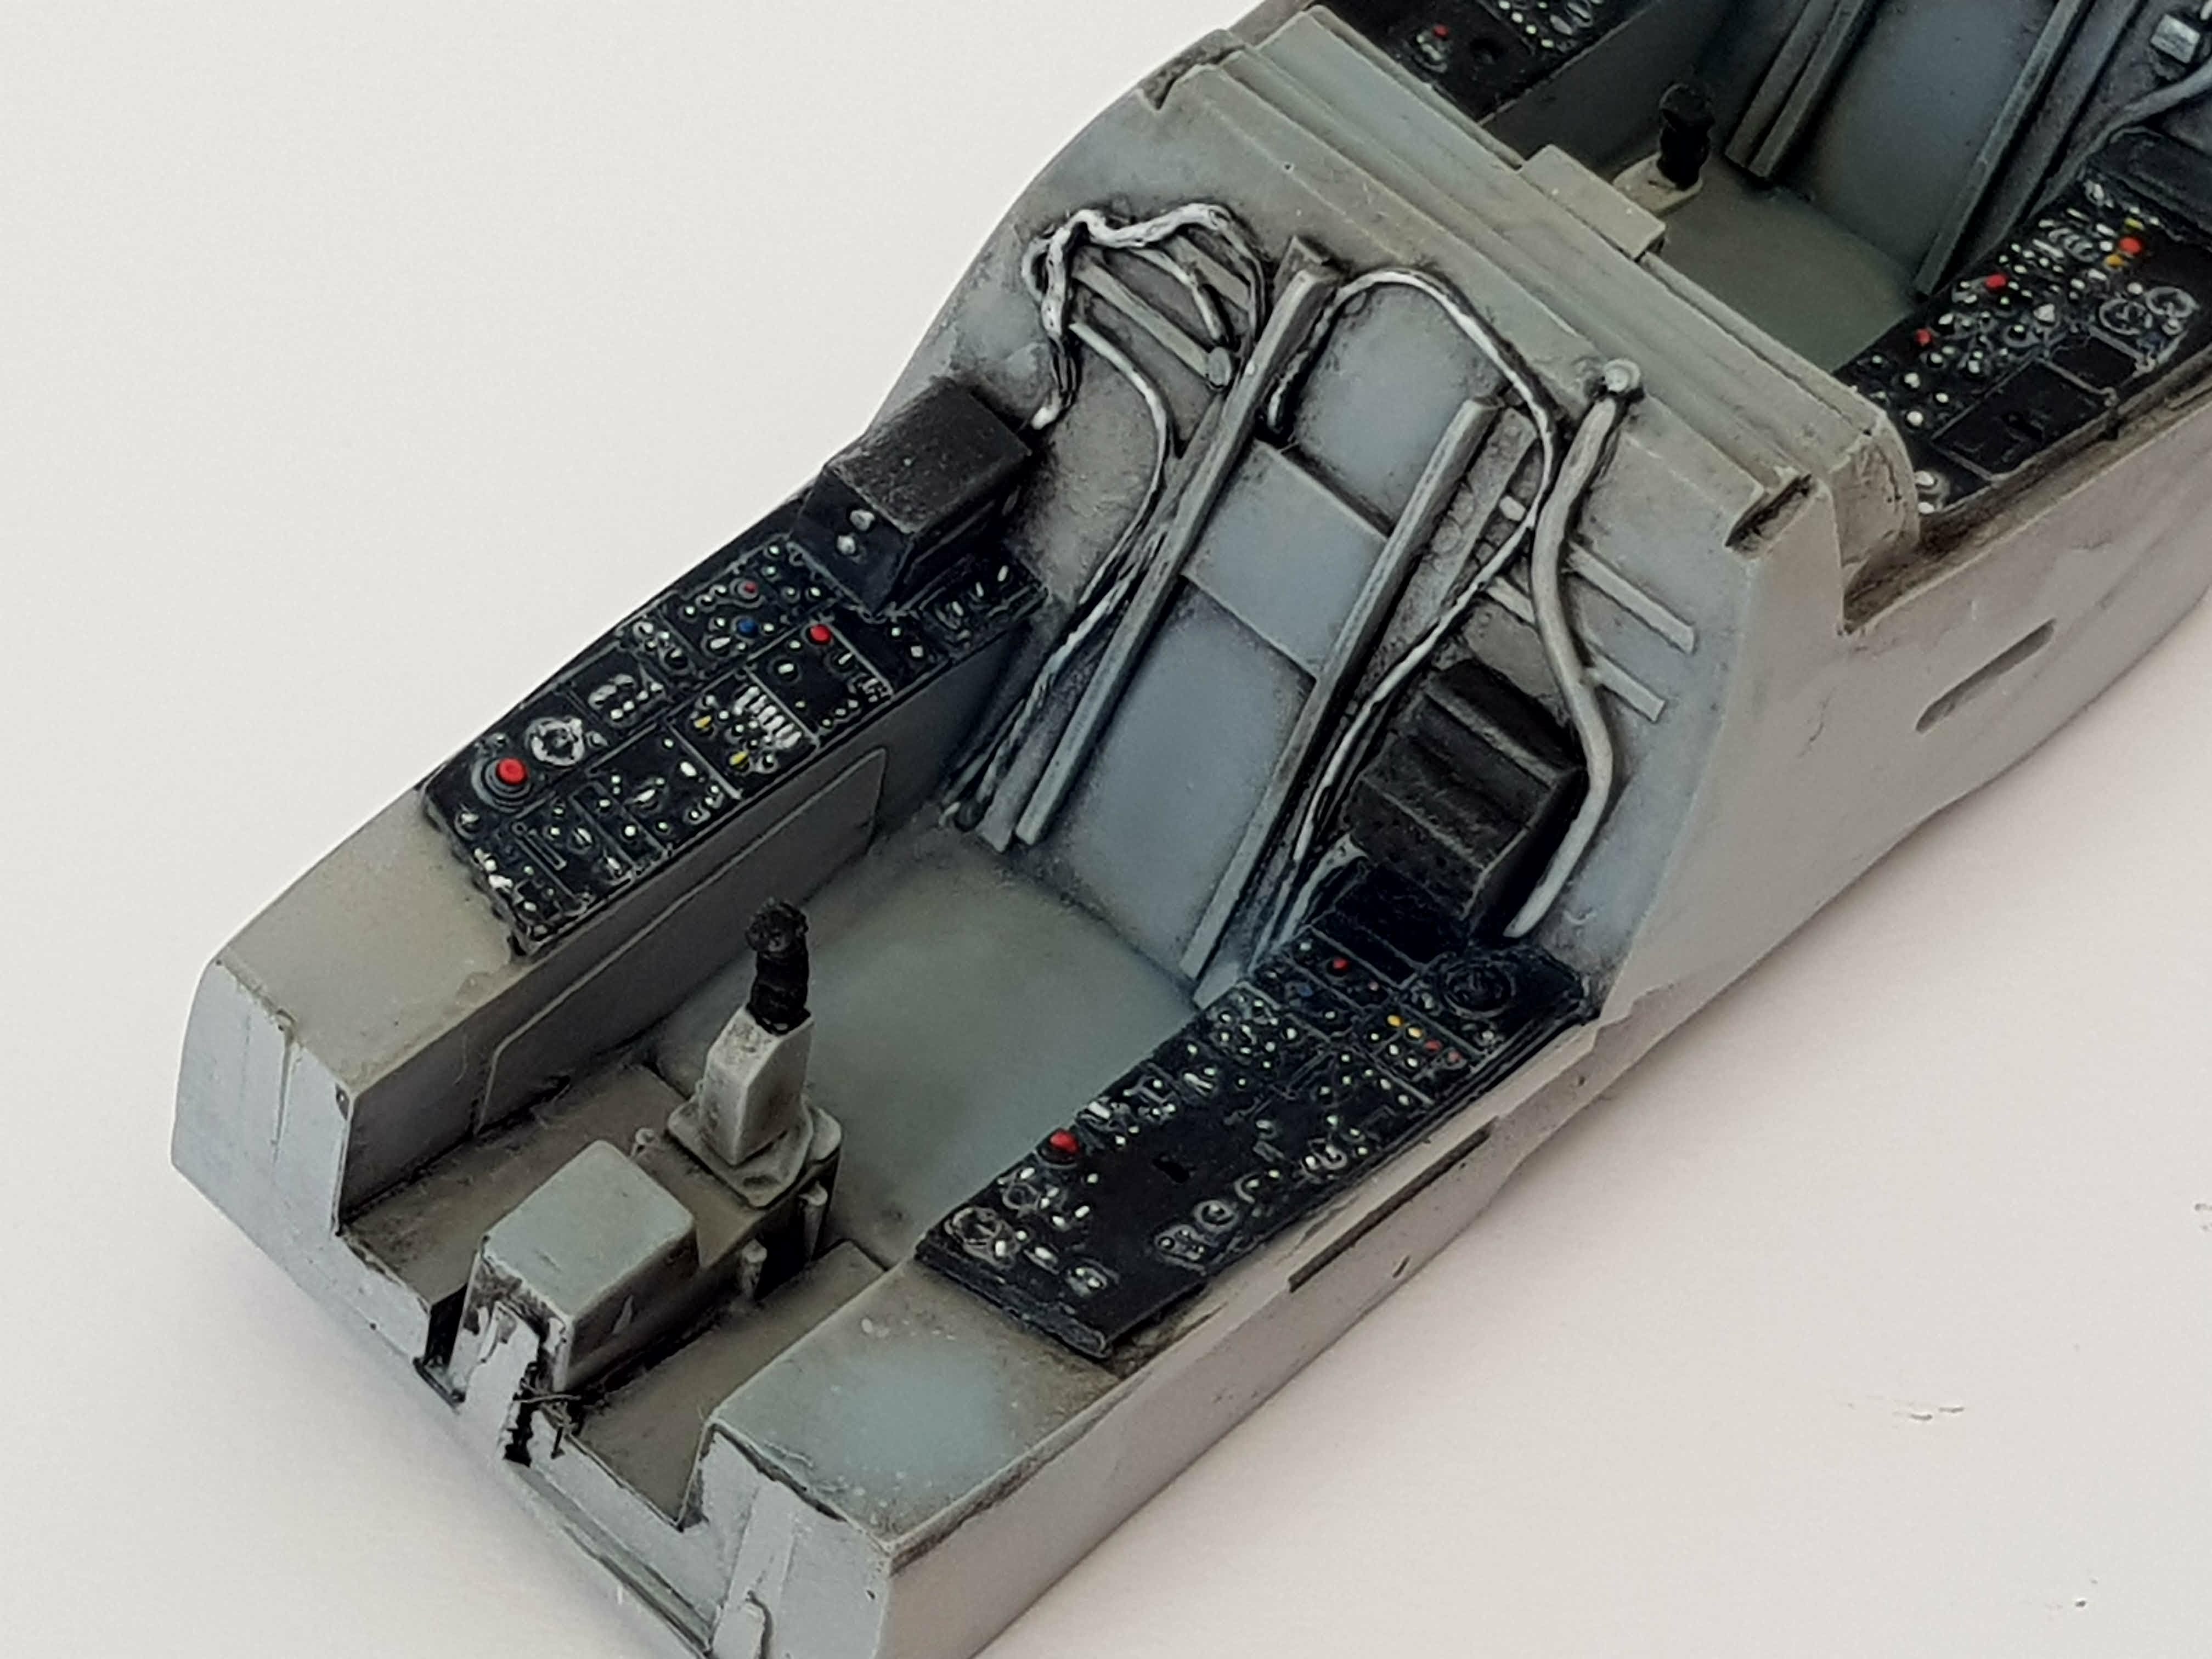
Great minds think alike!

I have an Airscale sheet so managed to incorporate a few instrument gauges into the front and rear panels.
So now it's a mix of hand painting and decals.
Will be uploading an update shortly.
-
Sweet cockpit detailing.
Thanks Gaz!
-
Great camouflage choice!
It may sound a bit trivial but I'm amazed at how cleanly you managed to fit in the resin tub!

More updates please!!!!
-
That work on the wheel bays is amazing Bryan!
Keep it up!

-
Great work on that exhaust!
-
Yeah it's good! Very nice upgrades! Happy building!
One small hint - weather the IPs good if you gonna turn it into a heavily weathered Phantom...
Thank you Milan!
I'll be posting some more pics soon and will be counting on your feedback!
-
Love it !! Great start.....Harv
Thank you Harv!
agreed harv! keep at it
Thanks Shawn!
Revell 1/32 HAF F-4E SRA
in Works in Progress
Posted
Thank you Joel! Glad you like it!
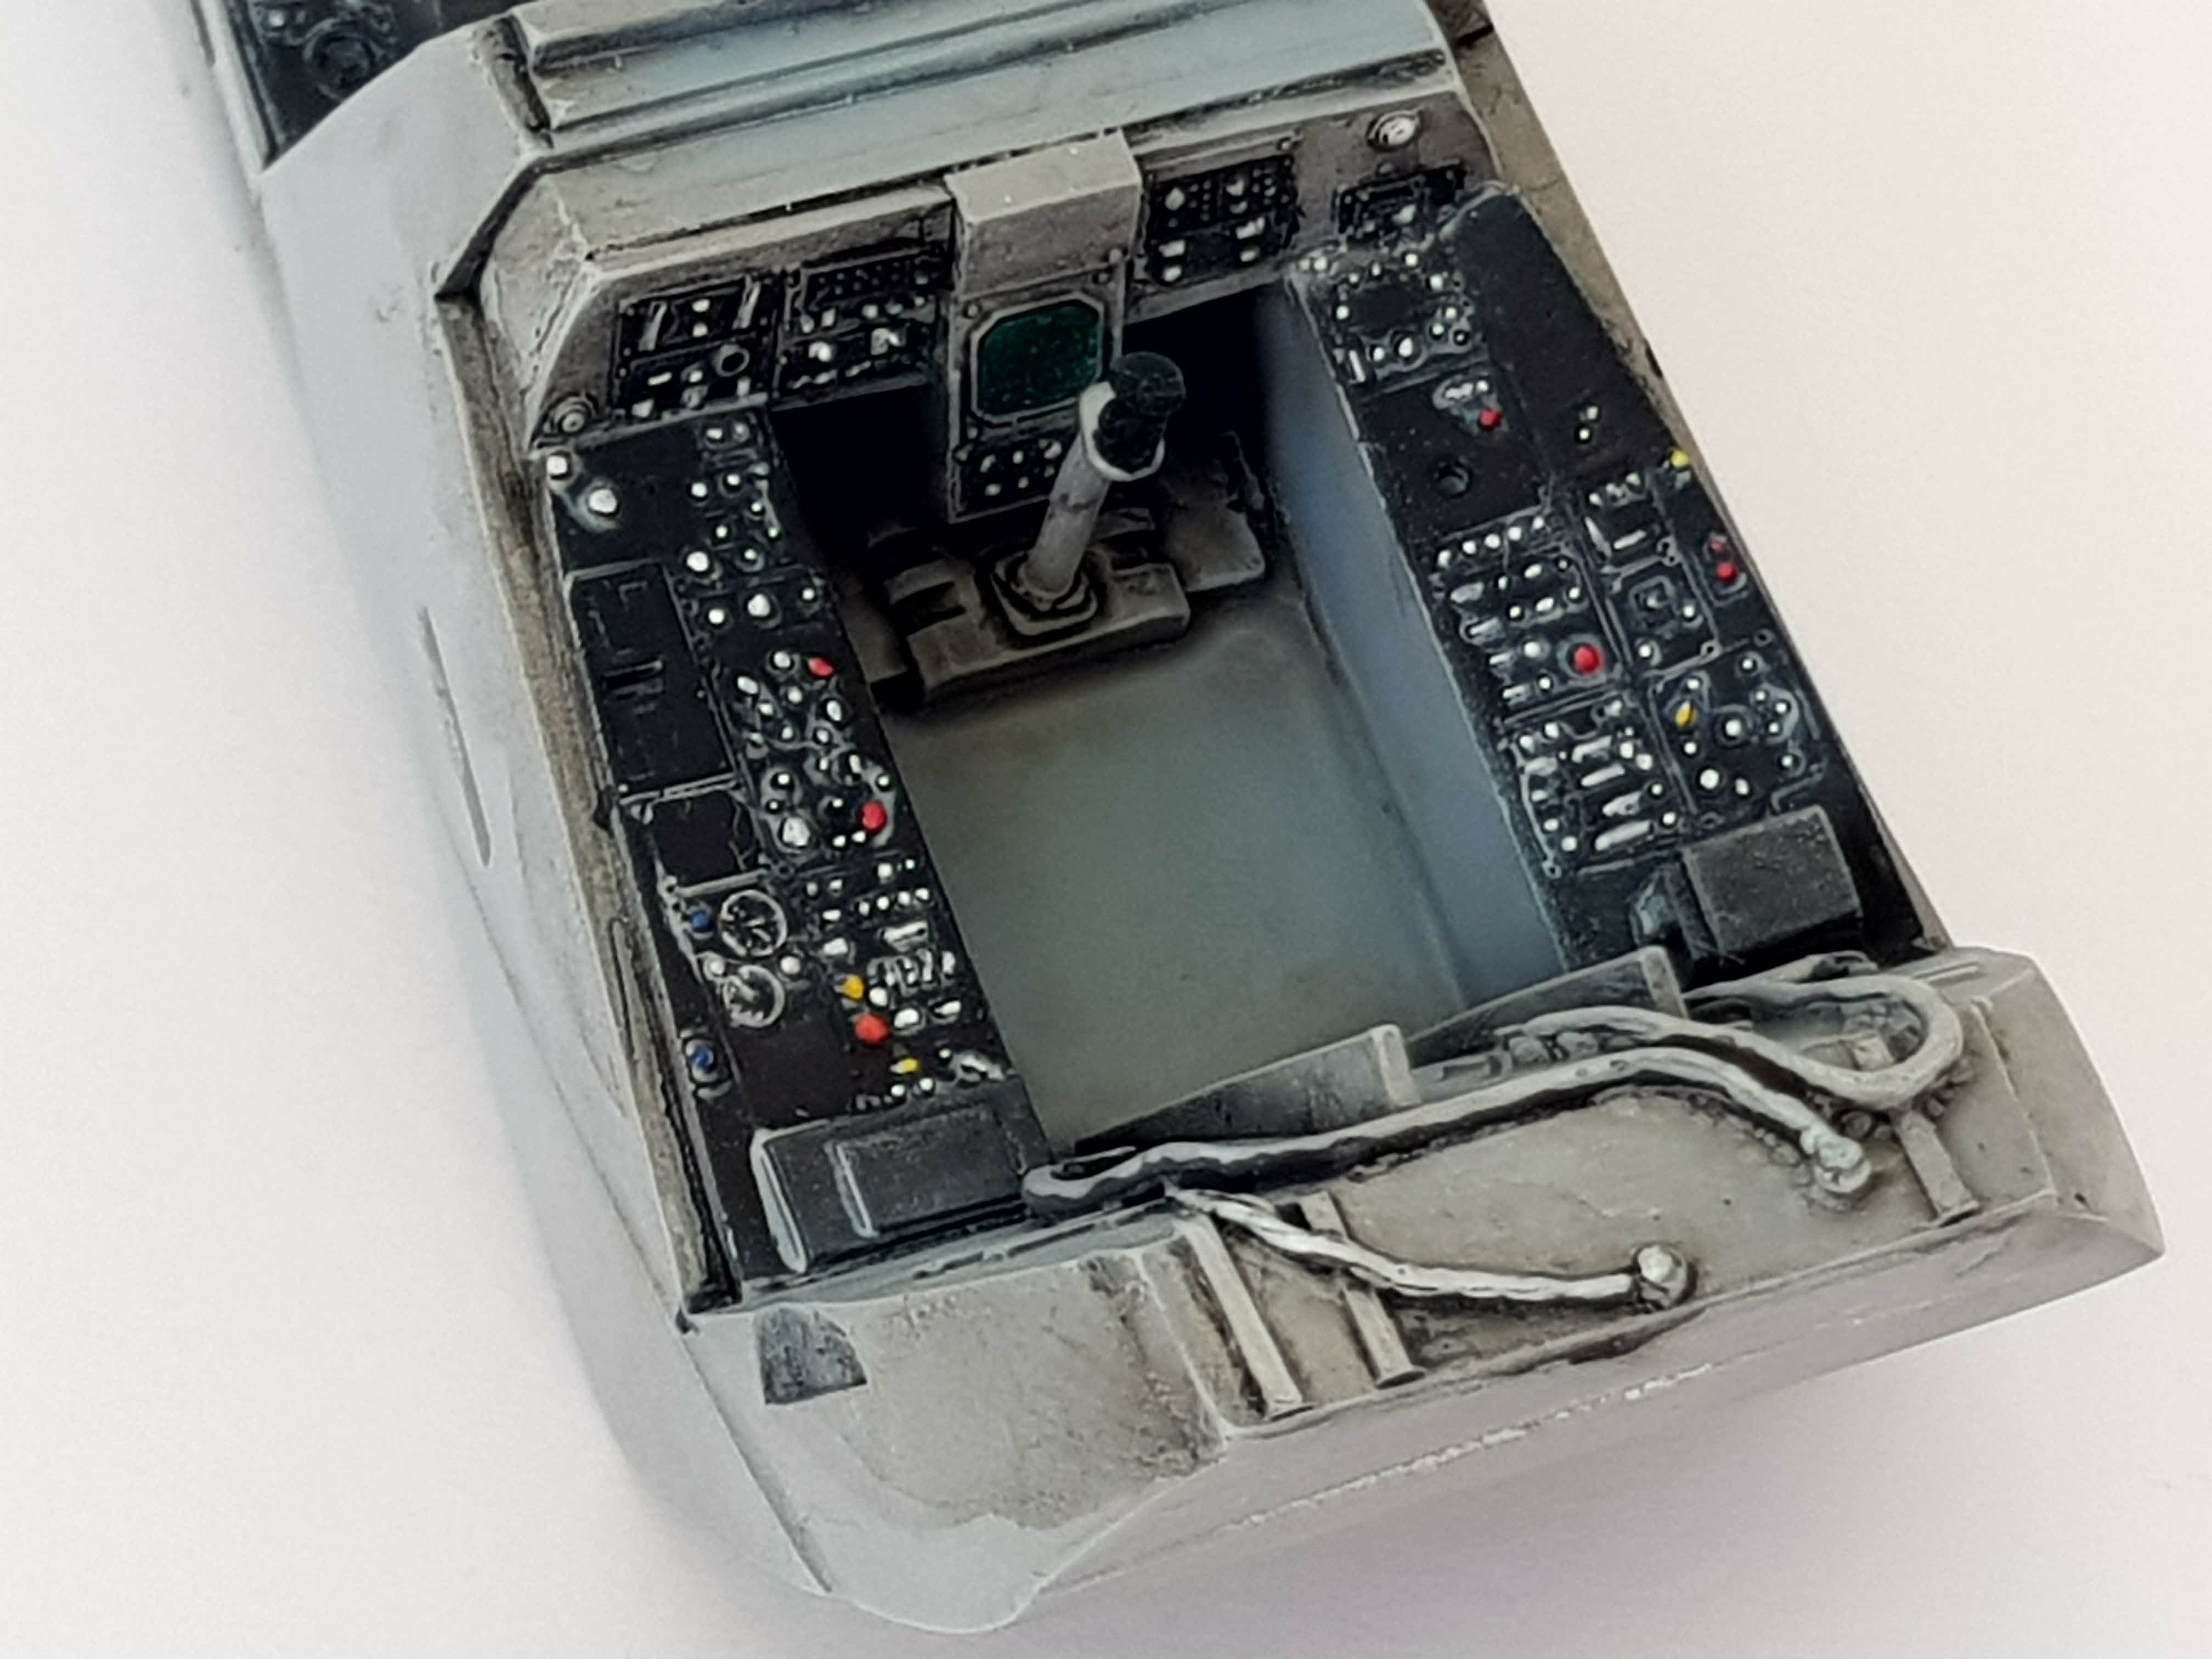
The cockpit will require a bit more detailing to consider it done.