

Redcrown
-
Posts
20 -
Joined
-
Last visited
Content Type
Profiles
Forums
Events
Posts posted by Redcrown
-
-
-
Do you have any left, or are you sold out now?
-
3 hours ago, Starfighter said:
Thank you! There aren't many modifications to do if you're building an early lot Super Hornet: I have replaced the Legacy fuel gauge on the front IP with the new digital one from the Trumpeter cockpit and slightly modified the side consoles. The turtle deck behind the seat is different of course; you can either use the Trumpeter part or use the (very nice!) replacement from Eduard.
Awesome! Thanks for the info.
-
Awesome work Chuck! Do you have your next project picked out yet?
-
Awesome job! What modifications did you do to the Academy cockpit to use it in your build?
-
Bullseye Model Aviation just announce on Facebook that they are doing another F-16 Aggressor sheet an possibly adding a few 1/32 options.
- Vandy 1 VX 4 and Squizzy 78
-
 2
2
-
Great job Pete!
-
Thanks for the reply Pete. I'd love to see you do a step by step on painting the pilots. I'll be picking up some of those brushes and Vallejo paints and look for those books as well.
Cheers
-
Fantastic work Pete. Could you break down your painting techniques for us, I struggle with figure painting.
Thanks,
Rick
-
Hi Peter,
Great job on this kit! I just had a quick question about your painting technique. You said that for painting the jet you thinned the Mr. Color with 40 drops of paint and 80 drops of levelling thinner, and with the missiles and pylons you used 25 drops of paint and 25 drops of thinner. What was your reasoning for this? Your results were fantastic. What is your process for cleaning your airbrush after using these paints?
Thanks,
Rick
-
I was able to purchase their 1/48 F-22 correction set since the Nat's ended. I sent them a message on their contact us page on their website. Mike responded right away and sent me a Paypal invoice, and I sent a payment, and received it in the mail a week later. You might have luck buying something that way. HTH
-
Hi Dave,
Did this sheet make it back from the printers yet, I'm looking to buy it.
-
Thanks Kev! It's nice to have this thing archived- and appreciated, since I always forget where I posted past tutorials.
Thanks Rick.
Another good question. Generally speaking, I try to avoid spraying any clear coat on Alclad metallic finishes, because no matter what you use, a clear coat of any kind will knock down the shine. That's why this Eagle build has no clear coat on the rear titanium panels. Small stencils can be applied directly to the Alclad without a clearcoat, but you must use Microsol sparingly. Some high shine Alclad finishes like Chrome, Polished Aluminum, Airframe Aluminum, etc. are all alcohol based and very fragile, because they don't “bite†the primer coat like the other Alclad lacquer products and decal solutions are not recommended according to the Alclad website.
For larger decals you really have no choice but to spray a high gloss clear coat, to achieve the very same thing as a regular paint finish. While the metallic finish does not need to be shinier than it is already to apply decals, it should be protected, especially if it's a high gloss finish. The final "spot coat" of clear coat seals the edges of the decals and smooths out the edges, reducing their ability to reflect light.
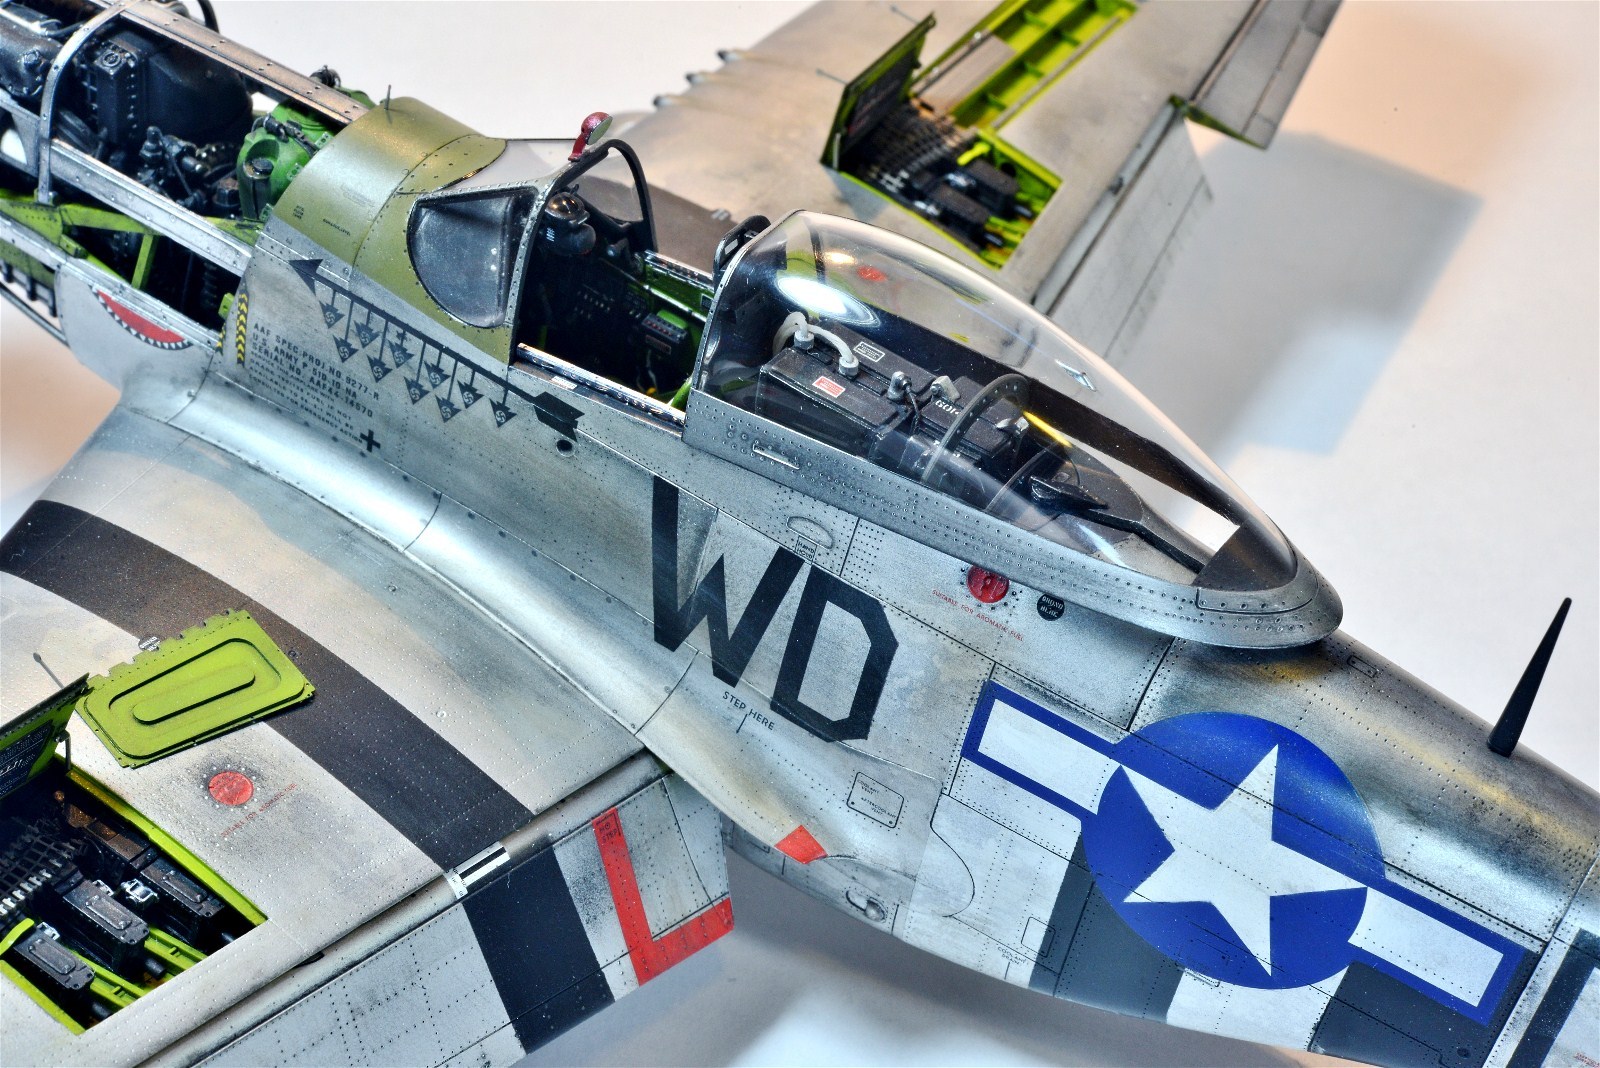
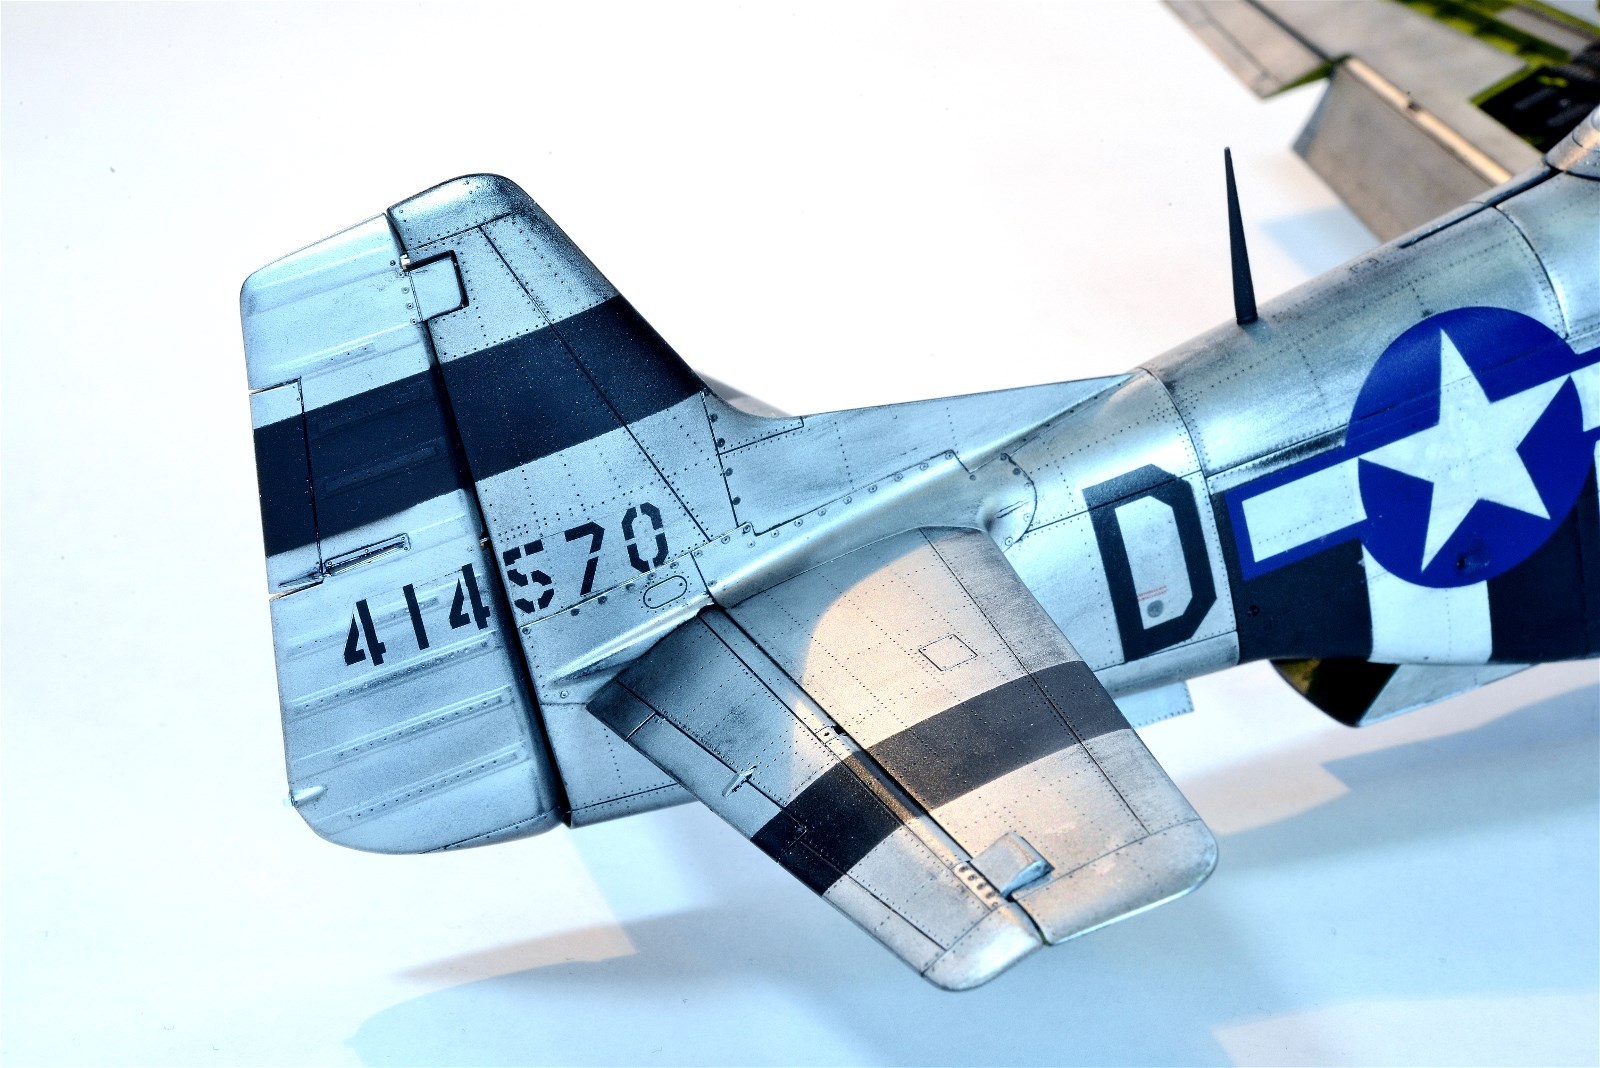
Here are some examples. For my Mustang build, I was trying to create a war weary fighter that was a bit on the dull side, so the reduction of shine was not a big factor. For this project I used Alclad's lacquer clear coat, ALC 310. Avoid the acrylic Alclad Aqua Gloss, ALC 600, because it's crap that is hard to spray and takes a long time to dry. After the decals were dry, I sealed them in with the clear coat, followed by a dull coat.
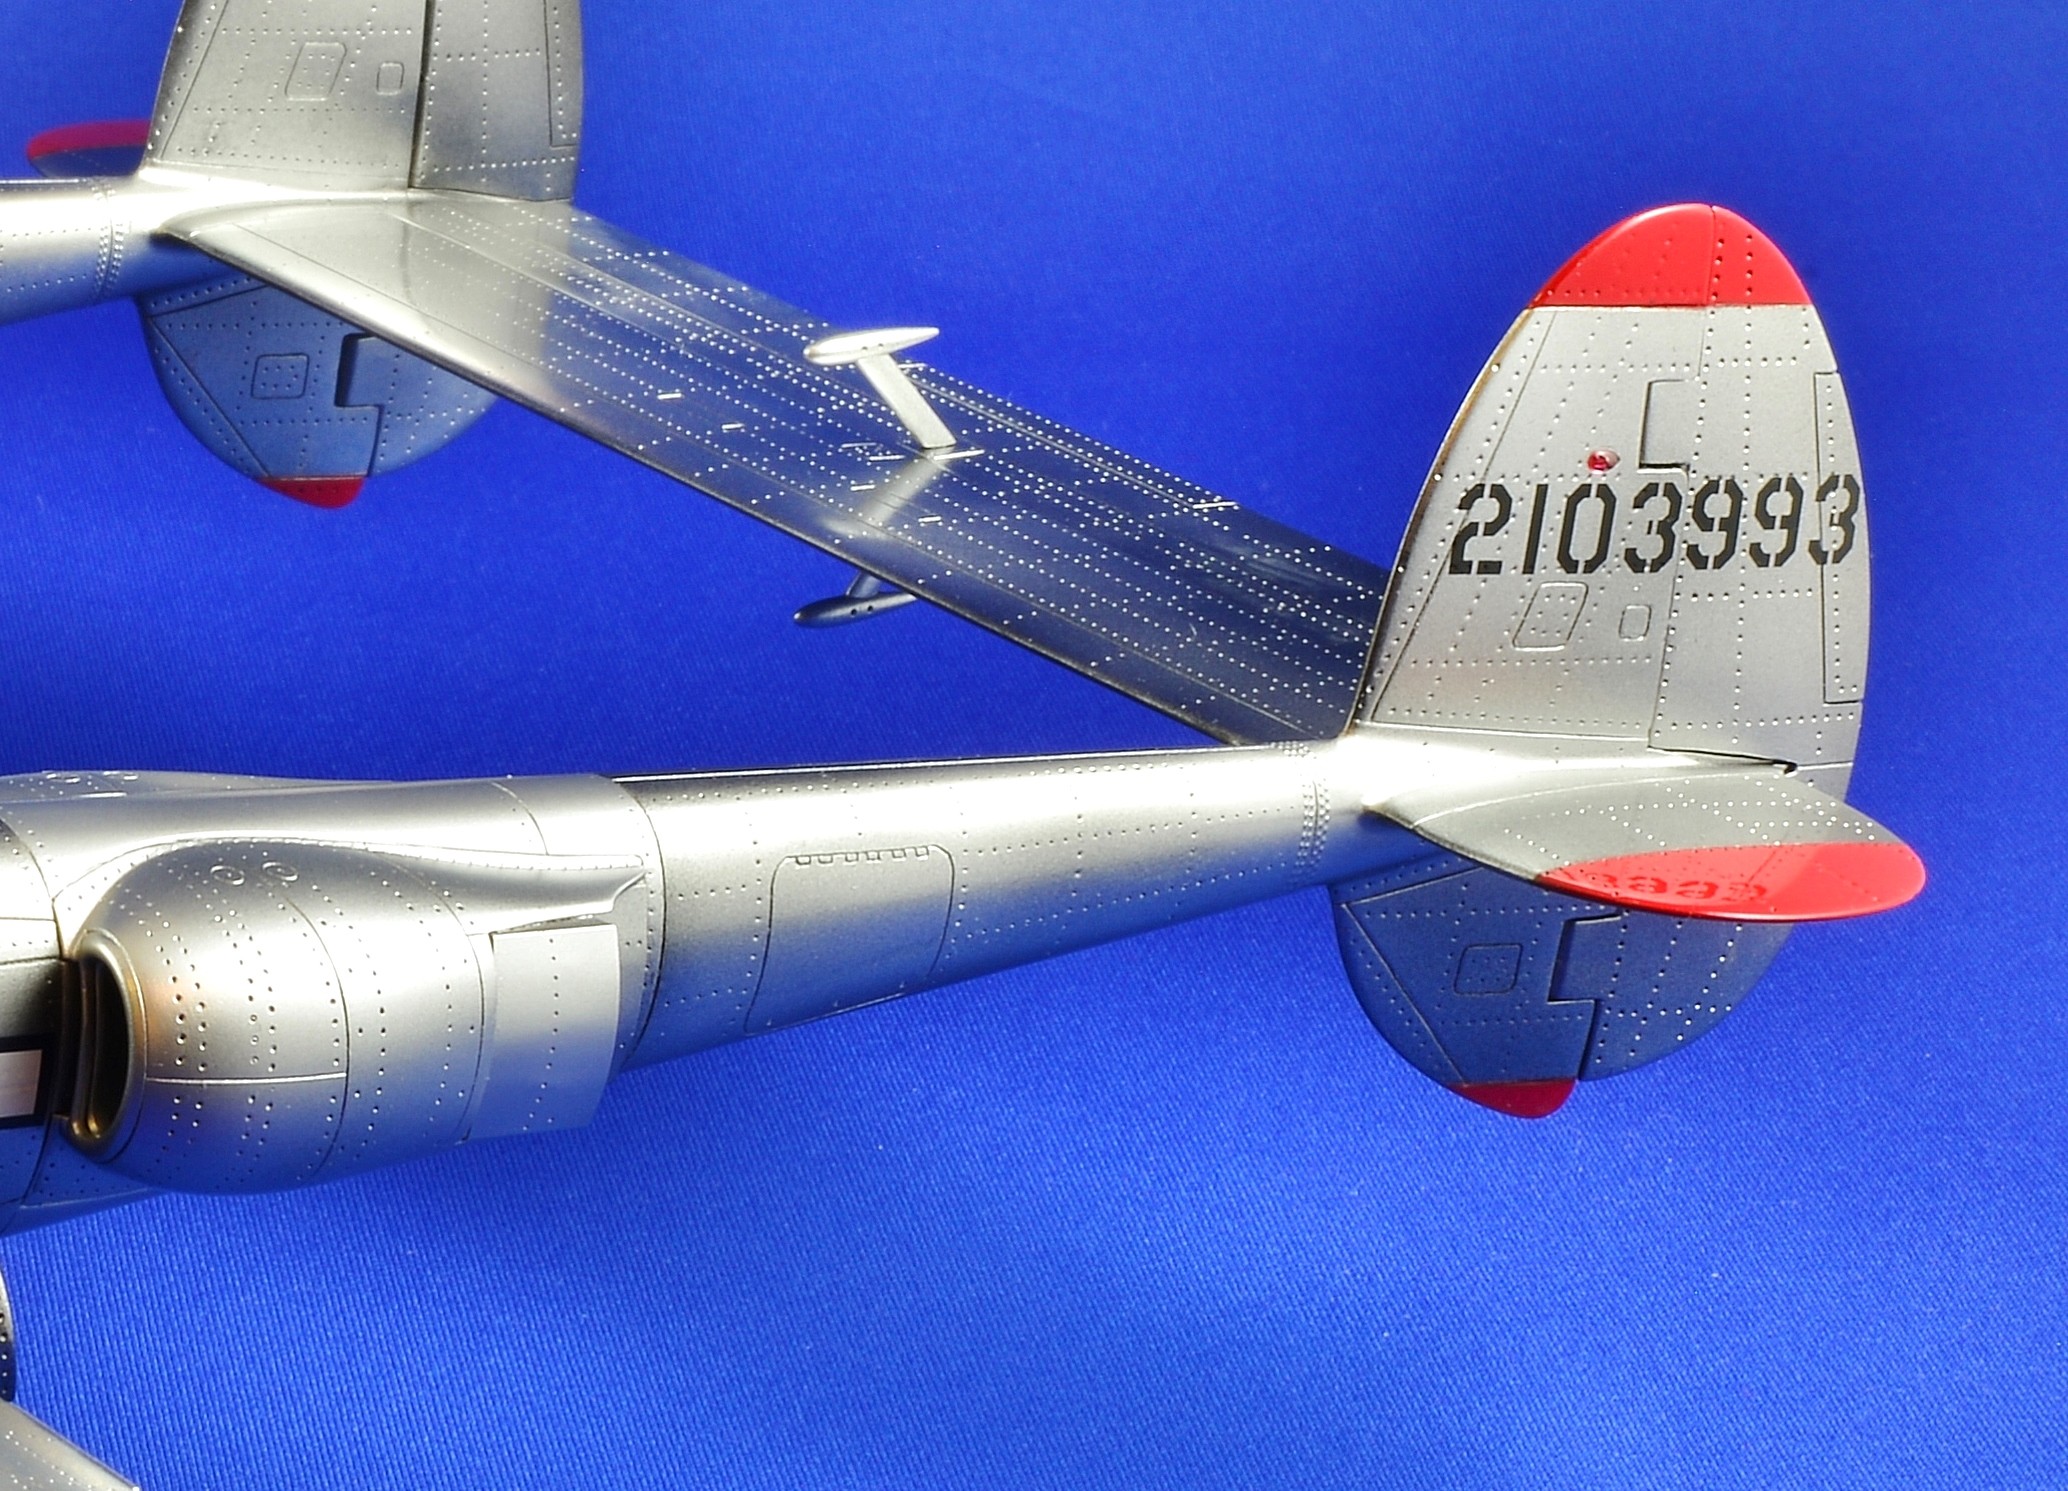
For my P-38L, I was trying to replicate a museum hanger queen, that was polished and very shiny. Thanks to a tip from Kevin, I used Tamiya's acrylic X-22, which is now my go-to gloss finish for everything. It sprays easily with a bit of Tamiya lacquer thinner, dries quickly and also dries very hard.
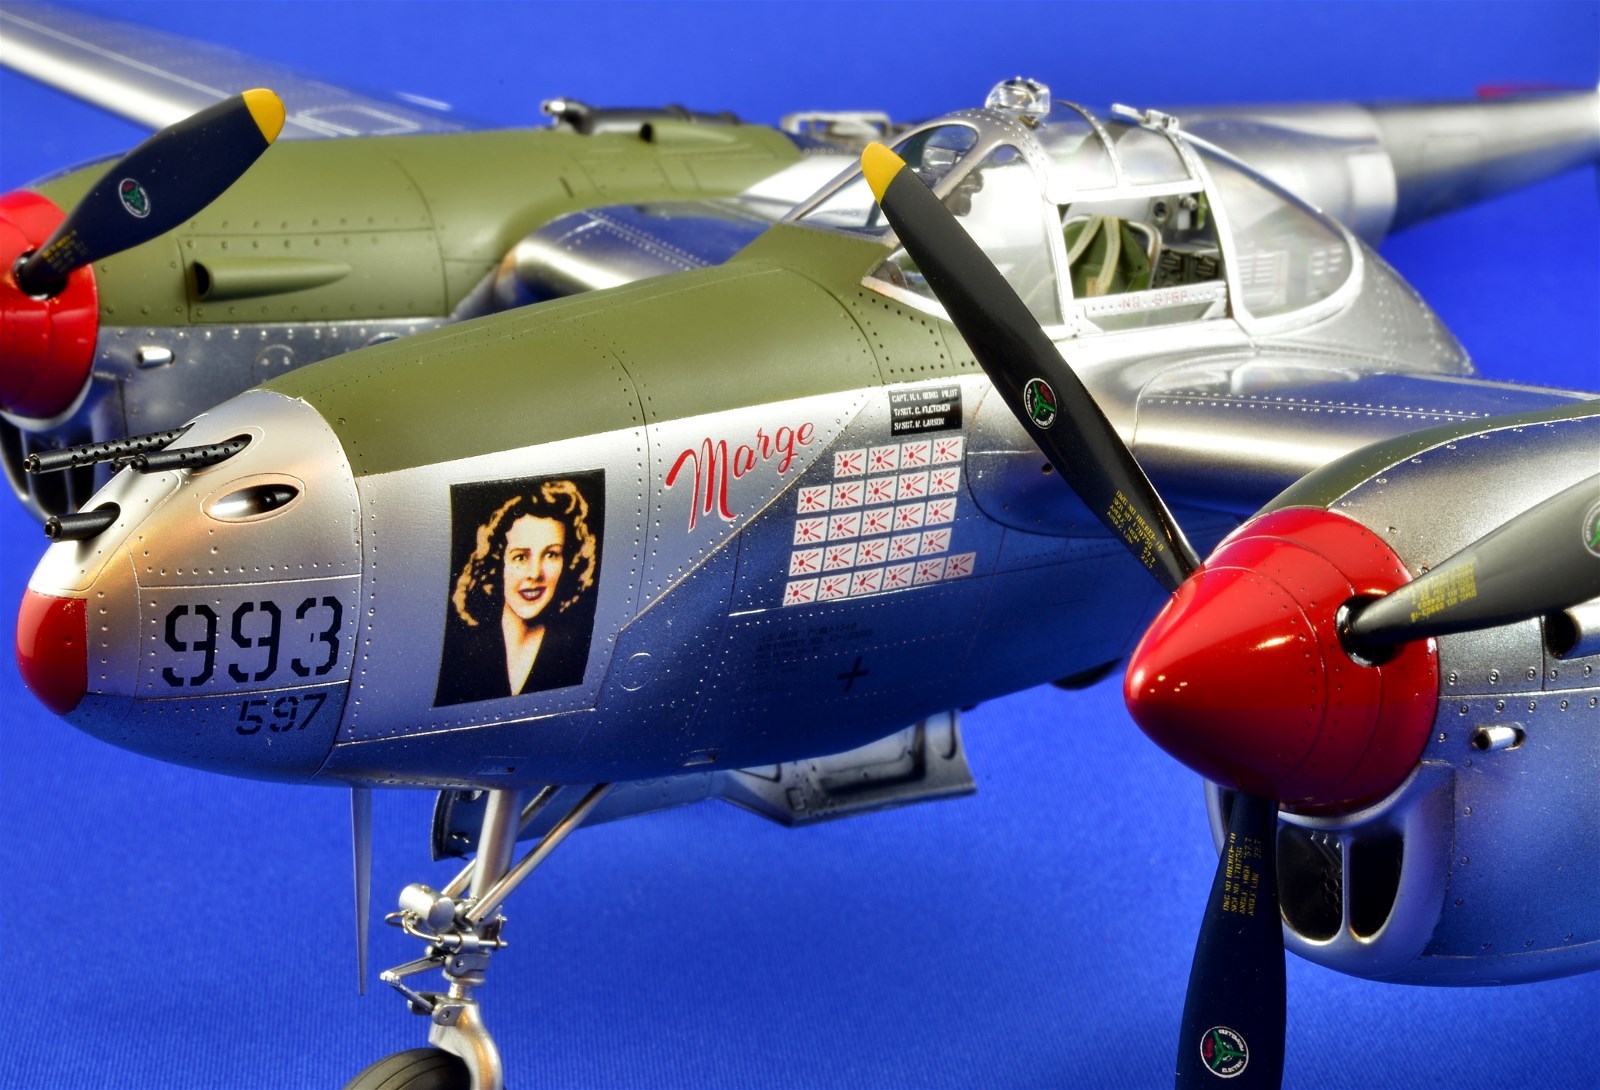
There's a fairly wide carrier film behind this big stencil, but you can't see it with a good coat of X-22 sealing in the edges.
Hope that helps.
Cheers,
Chuck
Great tips Chuck. Thanks for the tutorial!
-
Hi Chuck,
Great tutorial on decaling, very helpful. Just a couple of questions, do you use the same techniques for applying decals over natural metal finish like on your mustang build or do you do anything different? I've always wondered if the decal film would show up more on NMF builds or not. Do you still put another coat of gloss clear over the decals on NMF builds as well, and then a flat coat?
Thanks,
Rick
- Uncarina and chuck540z3
-
2
-
Hi Karim,
Outstanding job! Could you give us a rundown of your painting and weathering techniques please
Rick
-
Wolf,
Fantastic work. How do you make the leather seats look so realistic? Do you use some oil based paints, or just Tamiya paint?
Thanks,
Rick

Revell 1/32nd F/A-18E Super Hornet
in Works in Progress
Posted
How was the shape of the nose? I've been watching some youtube videos of guys building this kit and they say that the nose is too bulbous. Your build turned out fantastic!
Rick