

perry
-
Posts
606 -
Joined
-
Last visited
Content Type
Profiles
Forums
Events
Everything posted by perry
-
Excellent work on the Spit Butler, its really coming on now mate, keep at it, you're nearly there!
-
Beautiful work Graham!
-
Aluminium or brass tube should soon return her to her full glory
-
"perry's curse" , I like that Hubert
-
I agree with what Larry and the others have said. Though I consider my modelling skills only to be moderatly average, I've suprised myself with the new things I have attempted and learnt to do while modelling vacs. Since building vacs, I now make and print my own decals, crash form new parts, use tubing to make stronger undercarriage, struts for biplanes, metal work for interior parts. These are all skills that can also be used on injection kits. What I'd say to anyone is dont be afraid of a vac. Yes, they are a challenge but but I enjoy a challenge.
-
I've just made a start on my 3rd 1/32. Yes, there are issues but hey, they're vac models and most people I think accept that fact. For me, thats part of the fun, overcoming the shortfalls, scratchbuilding and working to make a model like Jerry says, that is something you cant go and buy from your local hobby store. Remember too that injection kits have their own shortfalls; parts that need to be remade, replaced with aftermarket, wings, fuselarges that arent right, read the various threads on here or any other modelling forum. Everything has to be scratched or sourced for a Combat model. Thats part of the fun of it all.
-
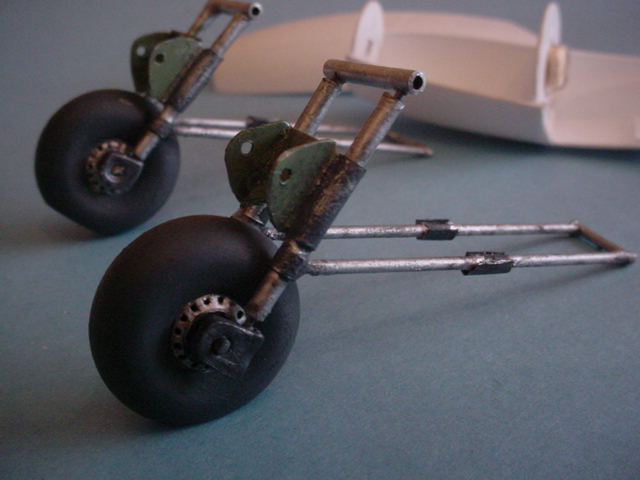
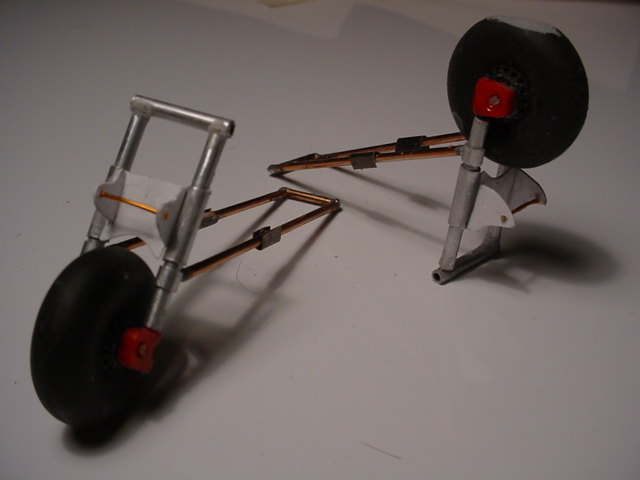
Thanks guys! Jack; the undercarriage was made with aluminium tubing and brass wire. I used the next size up in tubing for the outer pieces on the legs. Brass wire was inserted inside the legs and the hubs drilled to take the ends of the wire making nice strong joints. The rear arms of the undercarriage are brass wire soldered at the rear end. The bottoms of the struts have been drilled to accept the front pieces of the arms. Butler; actually, it was our very own Steven, aka sculptor who kindly supplied me with the kit, otherwise, I would have been struggling to find one. They're a bit like hens teeth! Glenn; I haven't made my mind up which aircraft I'll be finishing it as yet. Was thinking about a white nosed machine, black underwings and white stripes but, havent yet made my final decision. Larry; thanks for the advice my friend, i've already found that the plans don't always match the kit parts Its going to take some fettling around in some areas but, I'm hoping it should be a little easier than the Gladiator and Swordfish. Perry
-
Thanks for the kind comments guys.
-
the wings are now sanded down and the Fowler flap is cut out. Now in the process of adding the bulkheads to the engine nacelles and wheel well details. More picture when I've got a little further. Thanks for looking, all comments welcome Pez
-
and painted..... sorry about the poor photos here, it was throwing it down with rain all day and very dark.
-
had a good few hours on my hands over the weekend so, main undercarriage made up
-
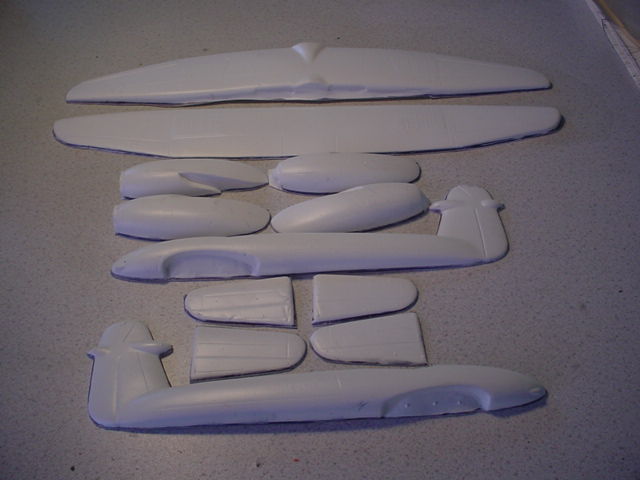
..... main parts cut out. Smaller parts I'll be using, I've left on the carrier so they dont get lost. Now then, lots of sanding to do
-
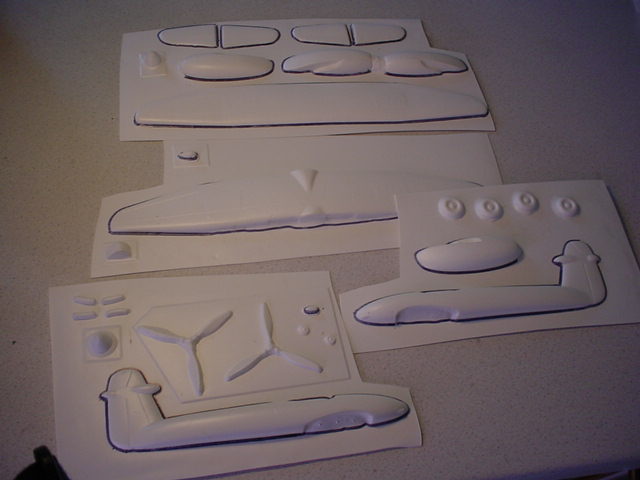
all marked and ready ..........
-
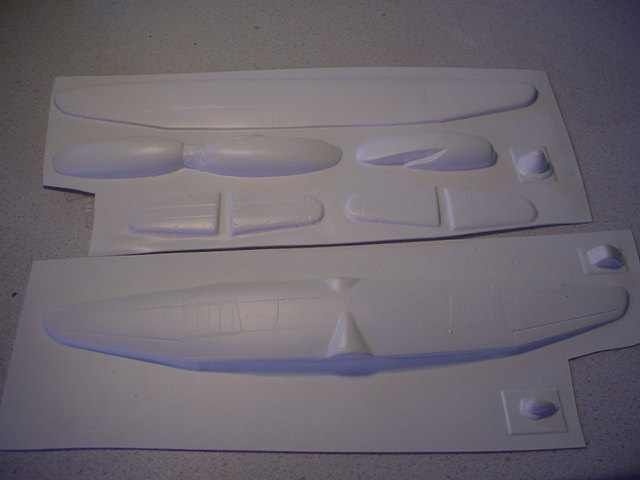
Hi guys! This is another 1st for me, my first GroupBuild which I'm taking part in across on Britmodeller. Since finishing my Swordfish, I've been itching to get started on this! Here's my attempt, a Combat Models (I think) 1/32 Westland Whirlwind. Makes a bit of a change from the 'stringbags' I've built lately. Anyways, here's where I started

-
Nice work as usual so far Graham and, congratulations to you and your good lady on your 25th!
-
Fantastic work Jack!
-
I was reading about this in Aeroplane monthly, great to see the vid though, thanks for sharing!
-
Fantastic work John and great to see a rare model built.
-
My fave WW1 plane and the kit looks really nice!
-
Great little flying beer keg Keith, love it!
-
Gorden Bennett Graham, that would send me blind and drive me insane putting just 1 of those belts together!
-
Come on Denie, we're all waiting for an update!
-
Sean, get out the vac and go for it man! Yes, everything has to be made but its worth it. Theres nothing really to be afraid of. Once the parts are cut and sanded, its like putting an injection kit together. Sure you have to plan, think, think ahead and overcome problems but it'll boost your confidence and give you ideas too for when you build injection kits.
-
Thanks Bozz - excellent!
-
Thanks for all the kind words chaps, like I said, not perfect but, I'm happy with the results. Think I'm going to leave vac biplanes alone for a while now