

smudger
-
Posts
403 -
Joined
-
Last visited
-
Days Won
3
Content Type
Profiles
Forums
Events
Posts posted by smudger
-
-
Nice clean build mate, well done, love the F-14
Happy modelling, Martin
-
I've seen em on EBay for $129 + $34 shipping to Canada....................from a seller I've purchased models from before with no problems............P-61 doesn't really interest me though.
Happy Modelling, Martin
-
Very, very nice mate
Martin
-
Now the problems arise:
#1. the front canopy section is cracked & way too wide for the fuselage
#2/ the decals are missing
I have contacted Airfix in the UK & locally & I did get response from the local distributor but since then nothing.
Does anyone make AM canopys or deals for this kit?????????????????????

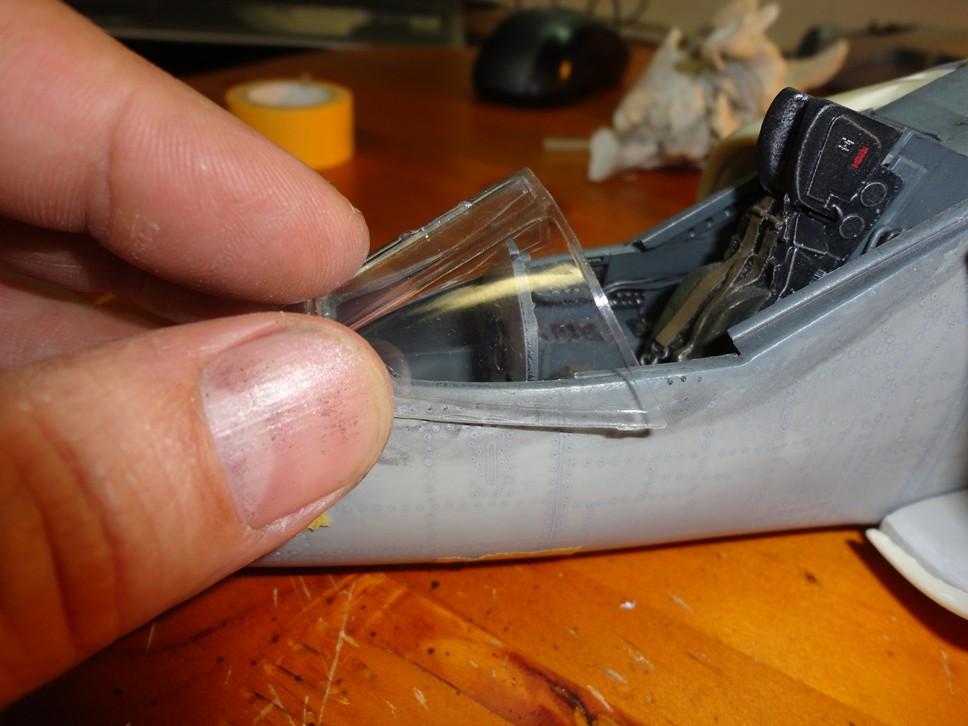
Soooooooooooooo, if anyone can help me obtain said front canopy & decals I willladly pay for them.
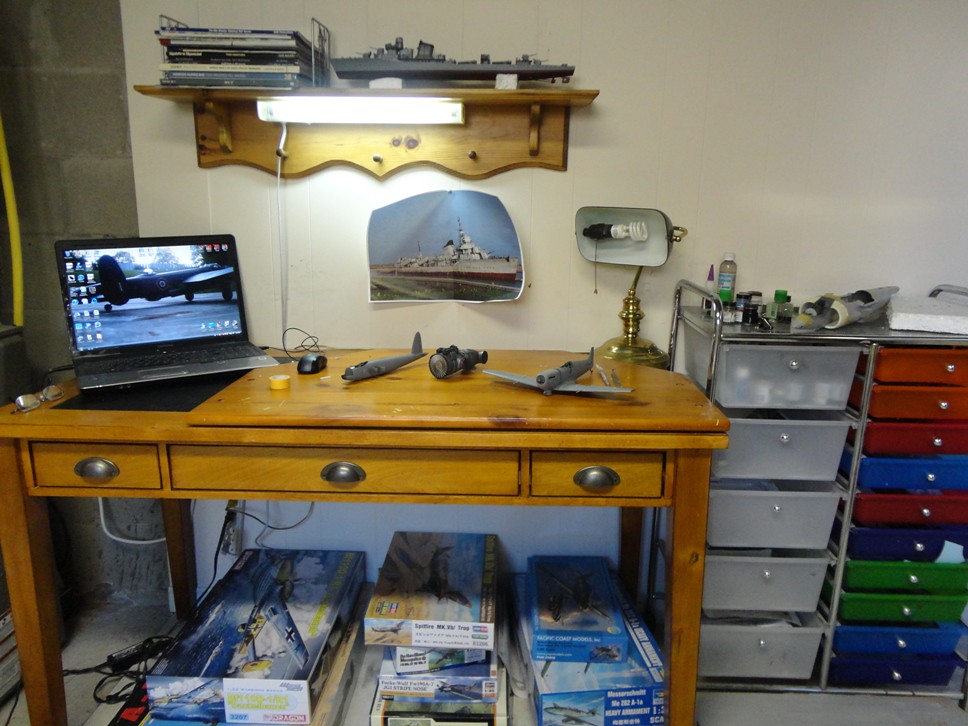
& now a random picture of my work space in the basement of my house:
Scratch buiilt wheel bays are up next...............................................
Happy modelling guys
Martin
-
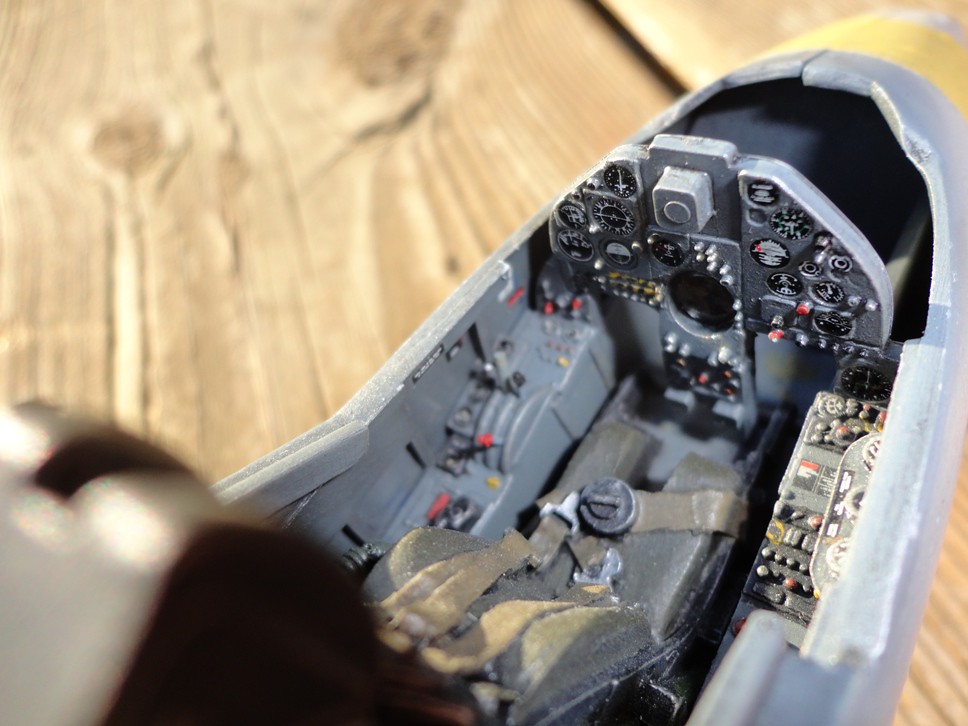
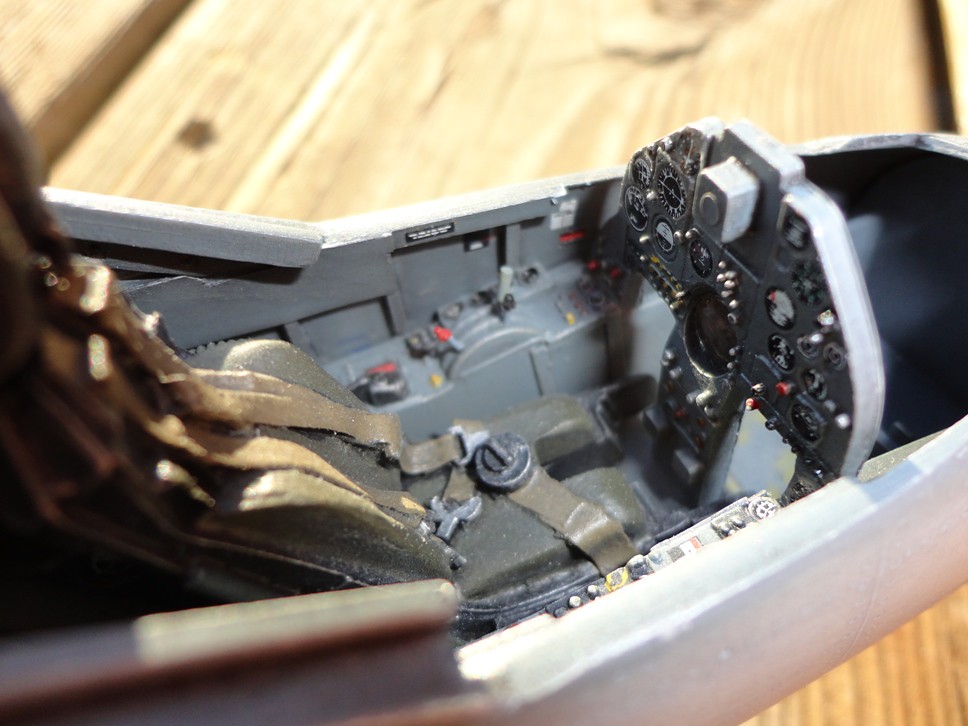
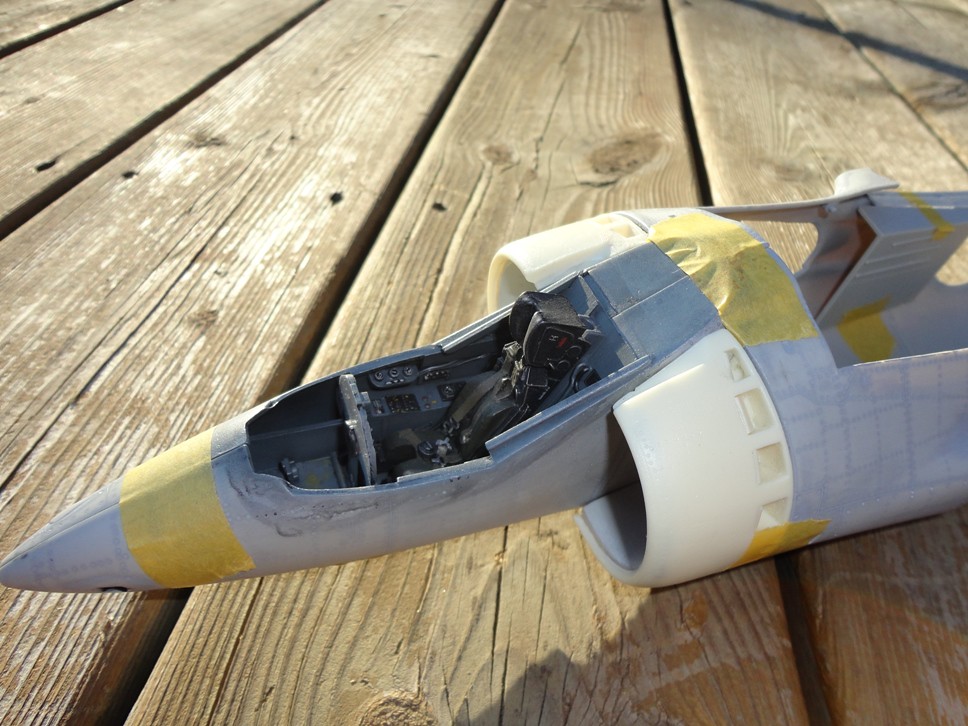
Hi all,
I've been dragging around this old kit of the 1/24 Harrier for years, from my home in the UK to my current home in Canada so I thought its time to give this big boy some build time.
I started with the cockpit & added ribbing, dials & wiring but there is still more to do in this area, the bang seat is the Heritage one as are the intakes.
-
Oh & dont forget the Canberra
Happy modelling, Martin
-
Buccaneer & Jaguar to go with my finished Lightning F.6 & Hunter.
Happy modelling, Martin
-
Thanks everybody.
Kev, last name is Smith
Vandy, Alclad for the bare metal areas & Tamiya Acrylic for the olive drab.
Happy modelling, Martin
-
No problem Kevin, go ahead
Martin
-
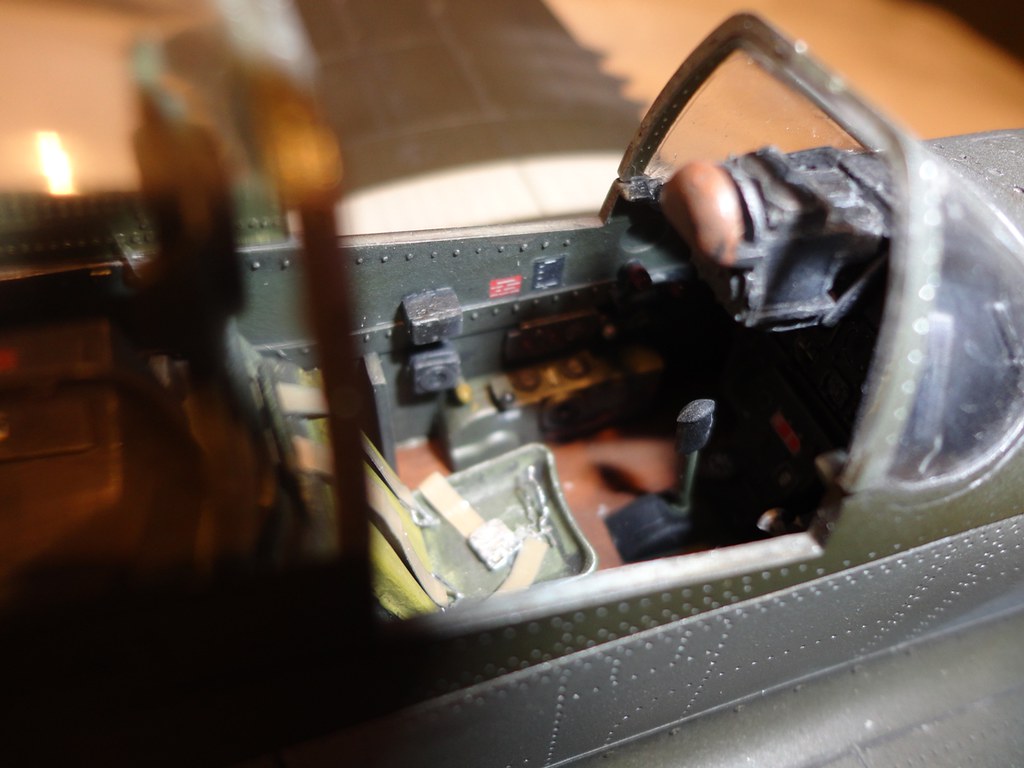
A couple of piccies of my finished Dragon P-51D.
Have to say that for a new tool this kit is terrible, nothing fits & there are huge gaps where to be honest, for a new kit there shouldnt be any gaps & the undercarriage is a complete weak waste of time................if you are building this kit get some white metal UC legs.
Its almost as if the kit was way over engineered to the point of spoiling its "buildability" fun.
Anyways I persevered & finished it but am not mightily impressed with the end result.
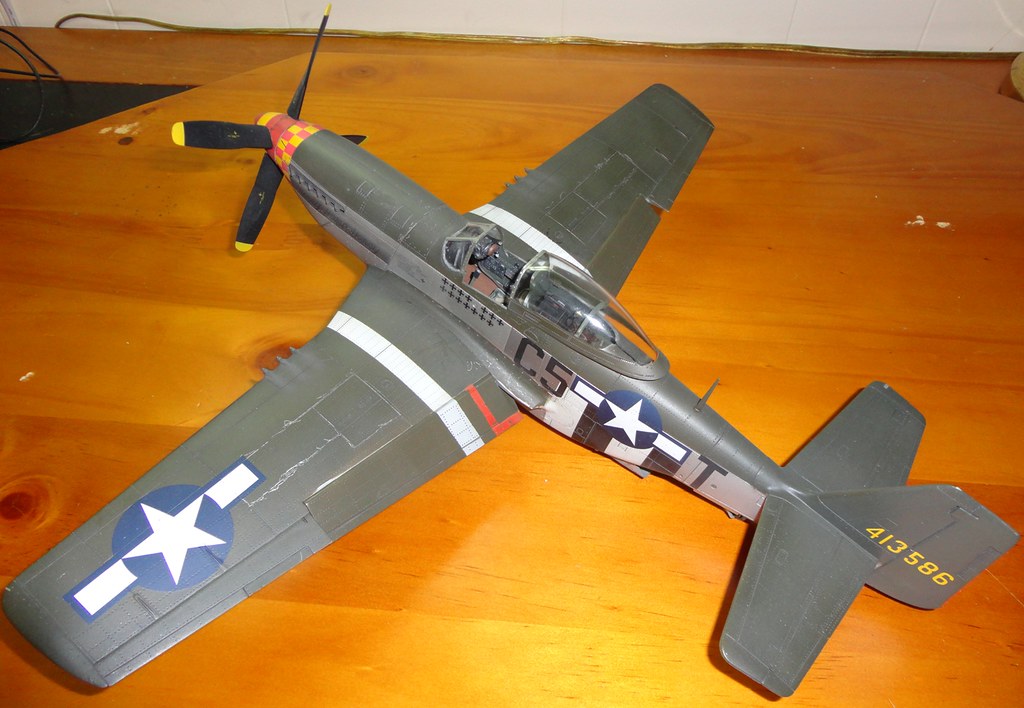
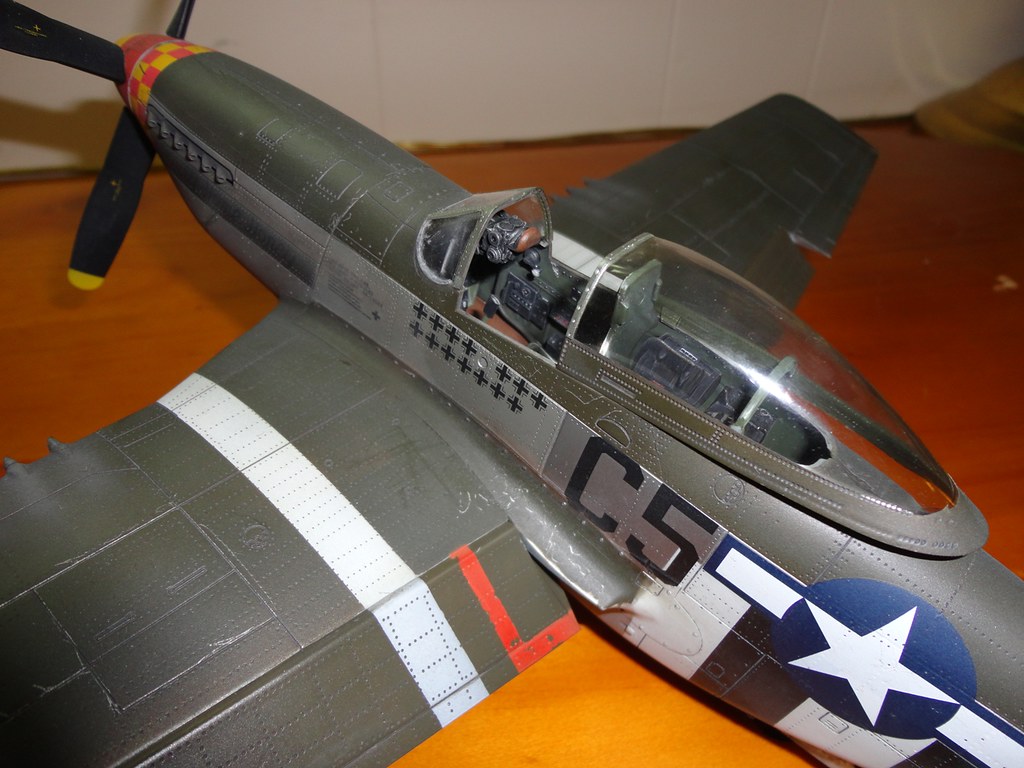
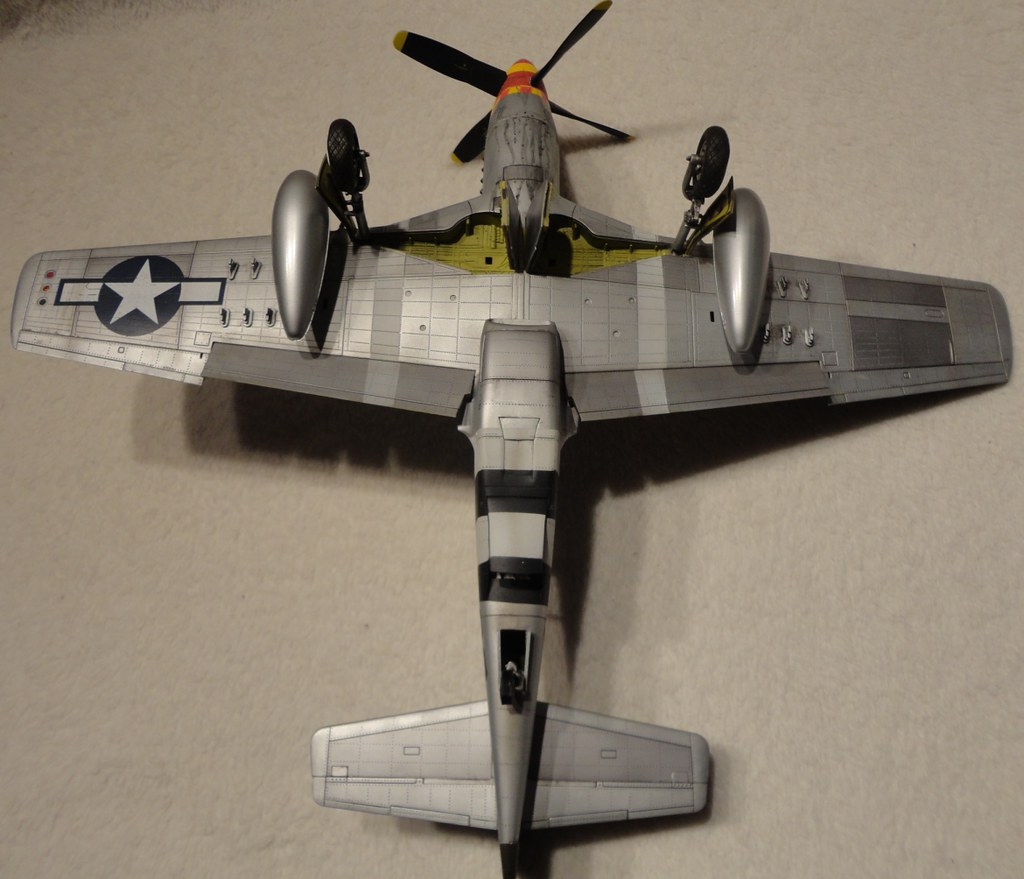
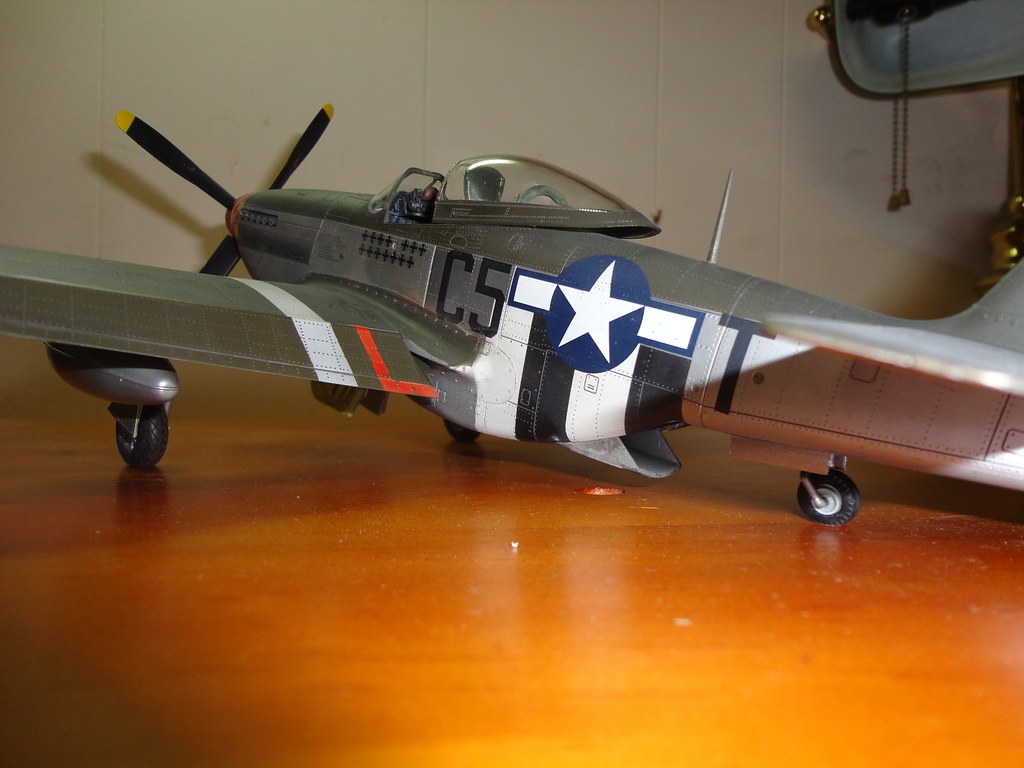
Happy modelling everyone.
Martin.
-
Nice job Jerry, F-15's are such an imposing looking model, well done.
Happy modelling, Martin
-
Thx for all the kind comments everyone.
Happy modelling, Martin
-
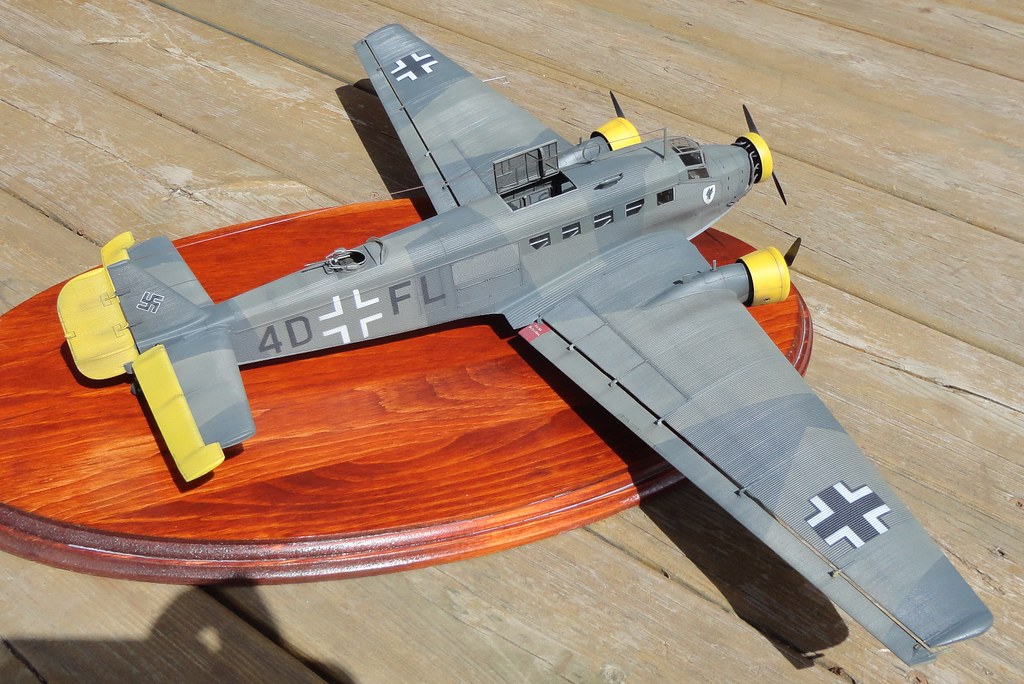
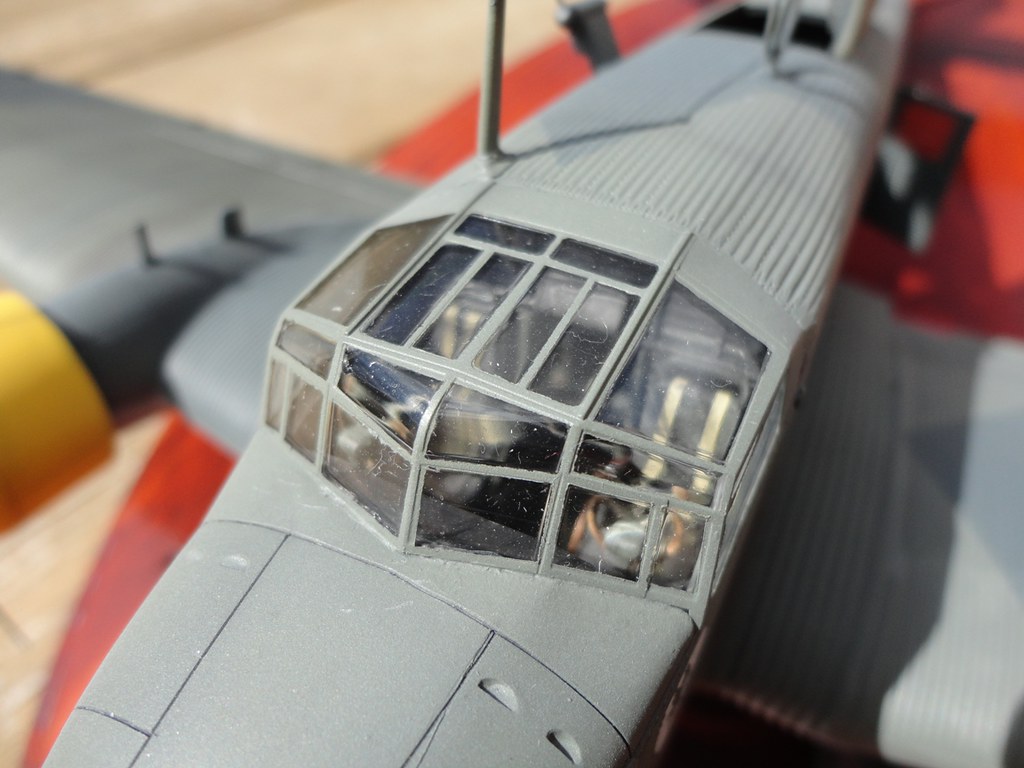
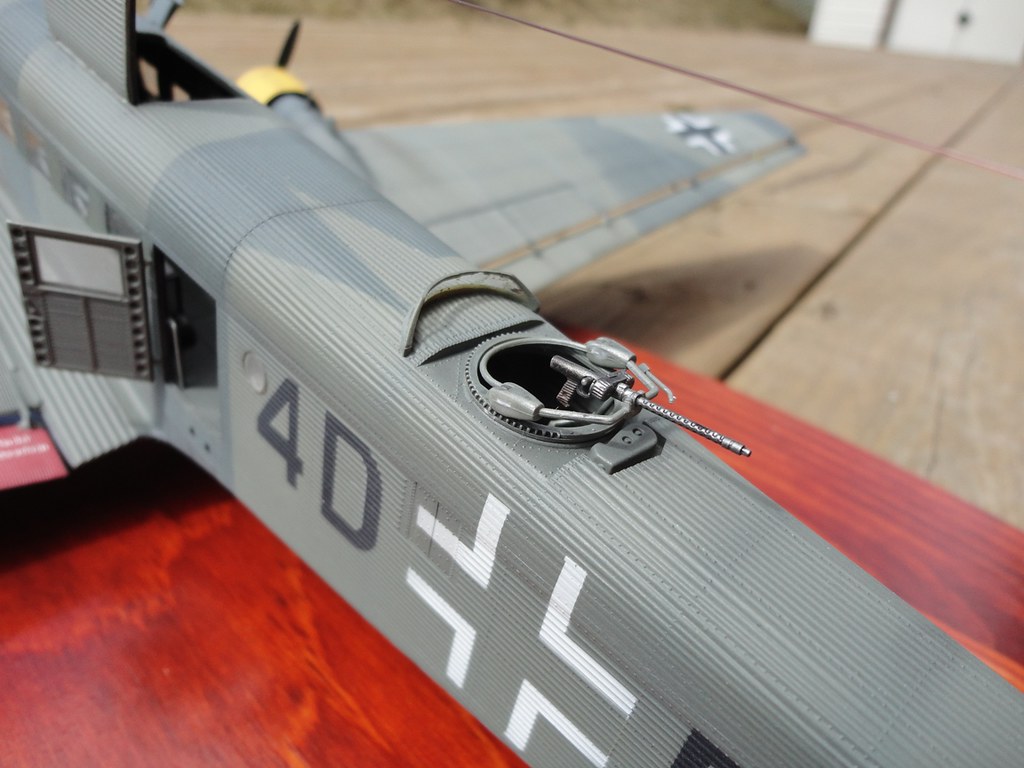
Hi everyone,
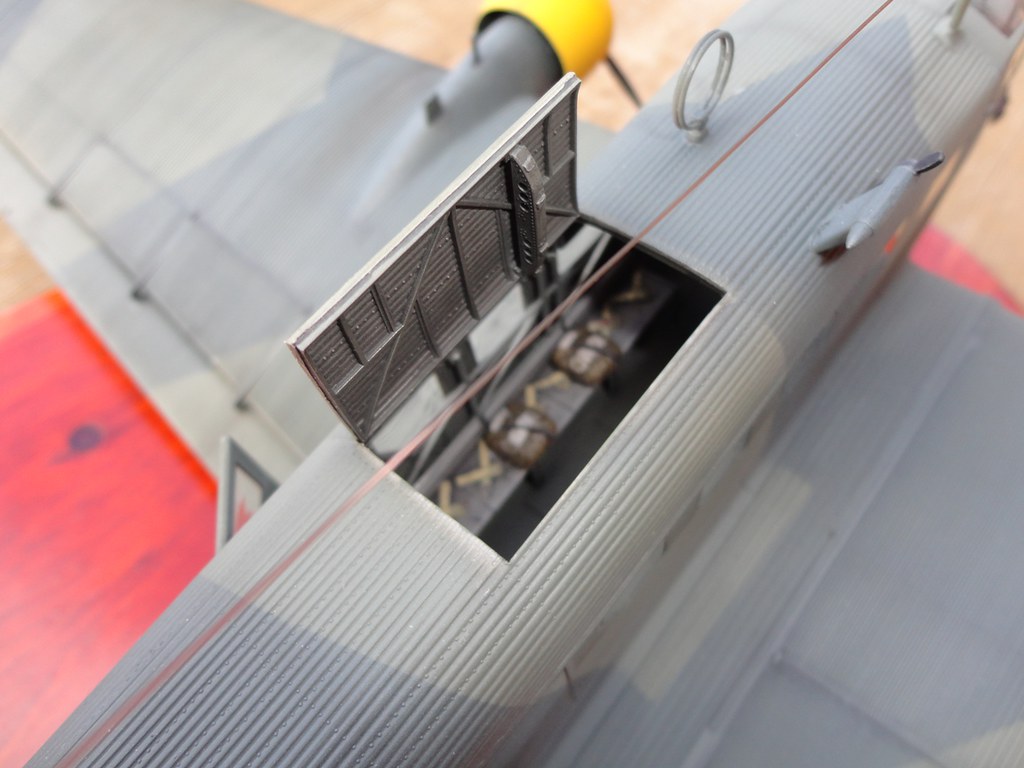
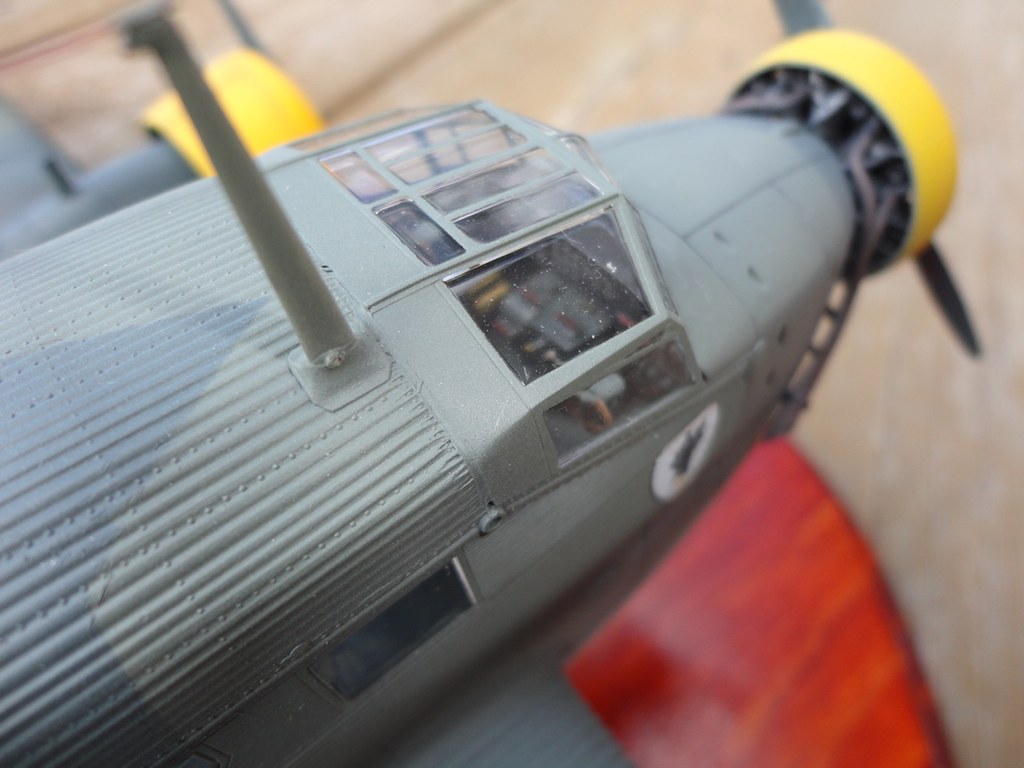
I've been pretty quiet for a while so thought I'd post some piccies of my latest finished model, the venerable old Revell 1/48 JU-52. This is an awsome kit with a very, very detailed full interior & well engineered construction throughout & a thoroughly enjoyable build from start to finish. I only added Eduard seatbelts & instrument decals...............if you get a chance buy this kit.
All markings were masked off & painted on.
I entered it into the HeritageCon 2013 model show here in Ontario whee it took 1st place in its class & there were some fantastic looking models entered so I was mightily pleased

Anyways hope you like the piccies
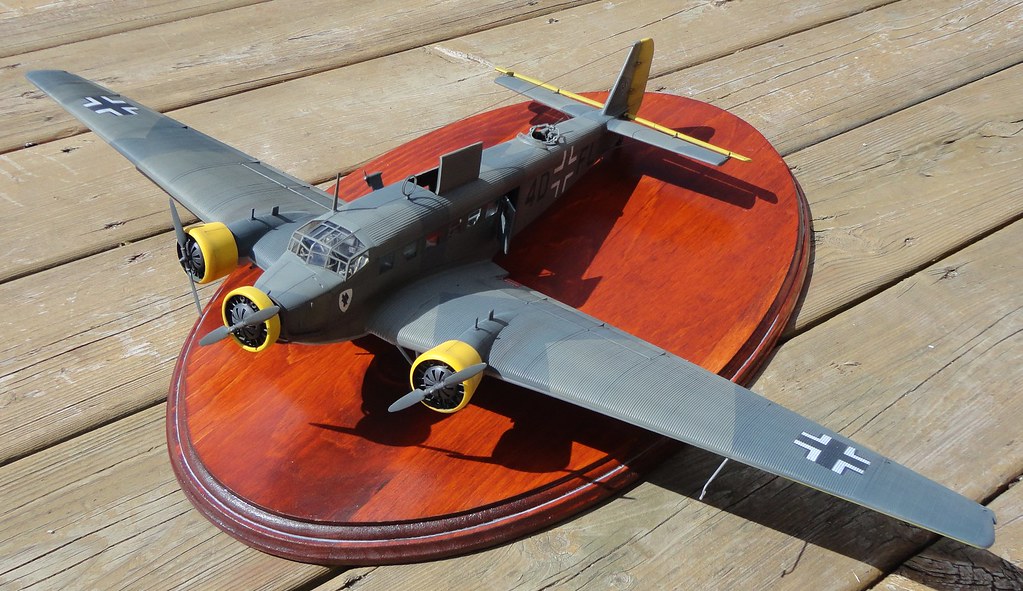
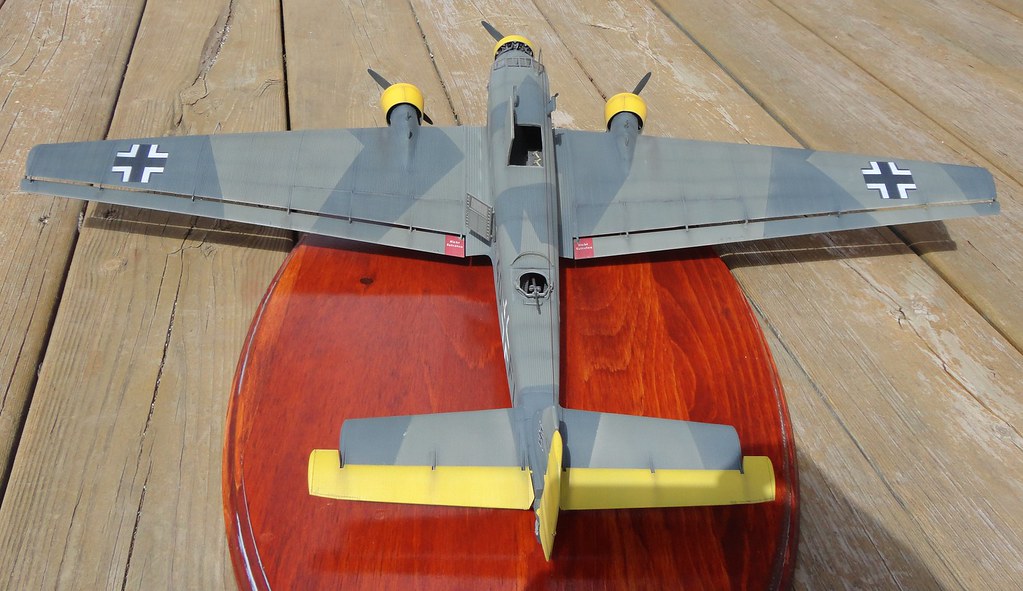
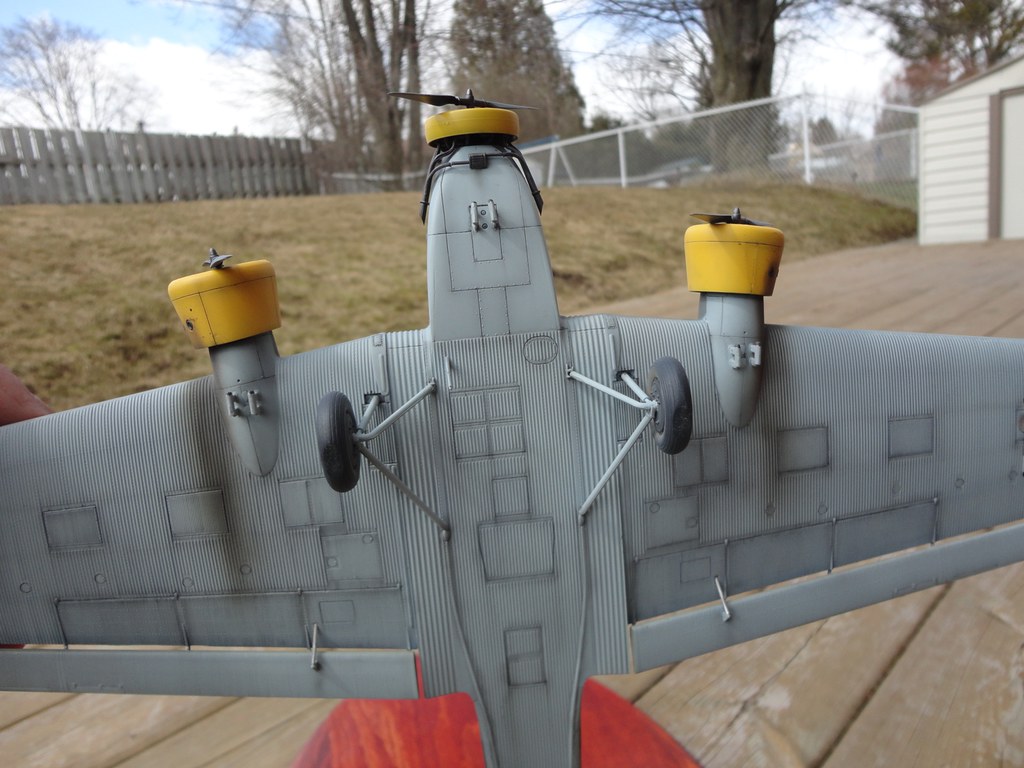
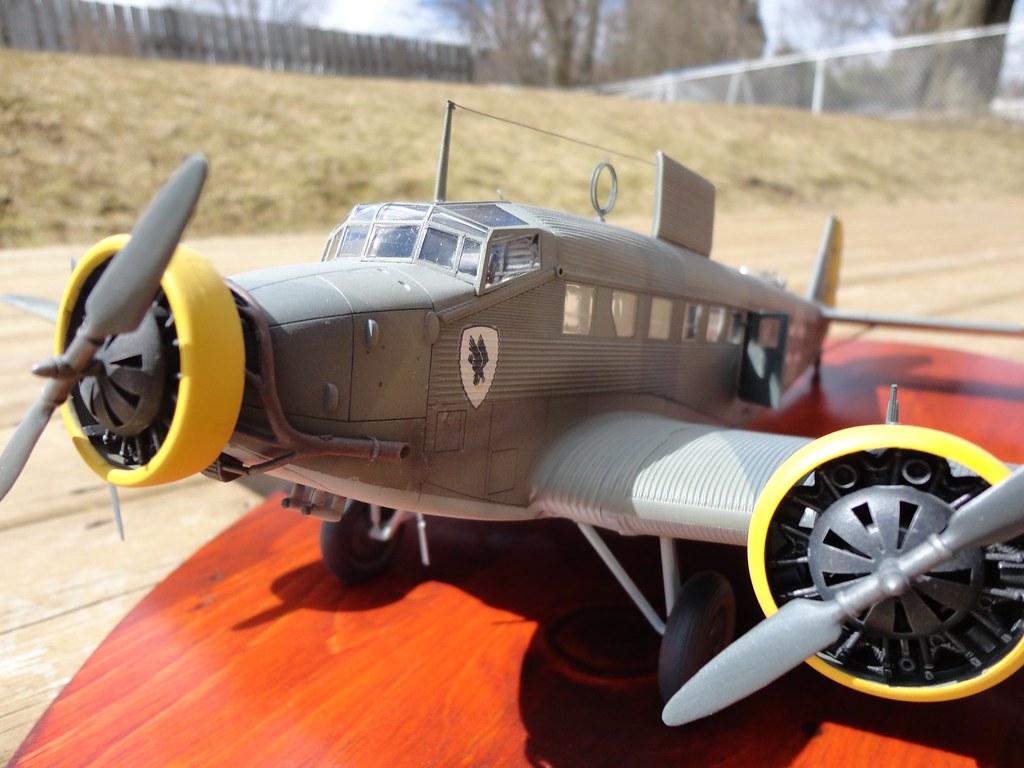
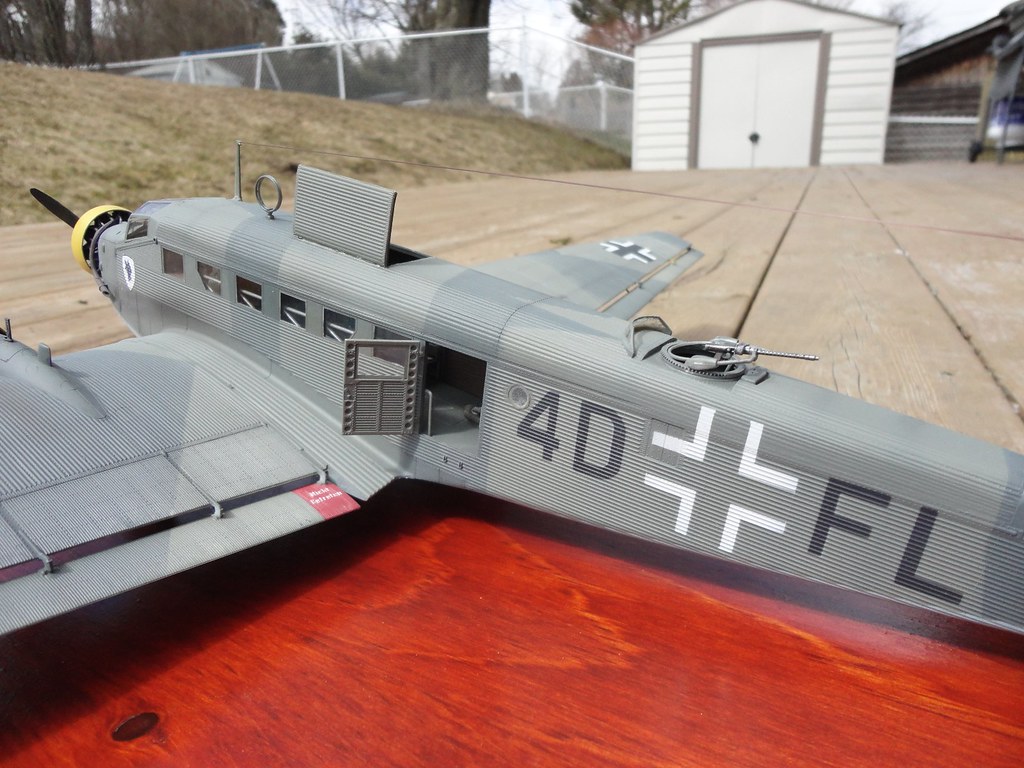
Thanks for looking & happy modelling.
Martin
-
Trumpeter have a trio of Jags on the way.
Yeeeeeea, can't wait, then let's have a Buccaneer as well to go with my Lightning and Hunter
Happy modelling, Martin
-
Okay, ZM or Trumpy if you are reading this please ignore all the requests A1's & all others & please release the Buccaneer & Jaguar..........................pleeeeeeeeeeze :-)
Happy modelling, Martin
-
Same here Kev, as soon as I get it I'll let everyone know hat its like & post a few piccies
Happy modelling, Martin
-
Well, am so glad I saw this string, I've just ordered the A2zee one as all the talk about the canopy on this kit has stopped me starting it but now its a go.
Happy modelling, Martin
-
Fantastic build & I'm always surprised how just how realistically people can paint the figures.....................I totally suck at painting figures.
Well done, great model & display
Happy modelling, Martin
-
Hi all,
Just dug this partially started kit from the stash to have a go at finishing but the decals, understandably when they are sooo old, are completely pooched.
Does anyone know of any company prfoducing AM decals or preferably a full AM masking set for the GR.Mk.1a version of the kit I have?
Serious lack of AM out there for this kit.....................I'll be scratching the cockpit & wheelbays though.
Also, has anyone got any decent detail drawings of the cockpit & wheelbays, I have the Datafile book but its really not as good as others in that series.
Many thanks & happy modelling, Martin
-
Hey Derek,
Heres what I do:
a. I initially blow clean water through before I then blowing 70% alcohol through the airbrush.I have an old toothbrush (I dip it in alcohol before using it)which I use to gently scrub the nozzle needle area with to remove any dried on paint. If I'm finished with the airbrush for a while I'll also pull the needle out & clean it with alcohol before adding a drop of lube & re-assembling. I use a Badger Crescendo 175 generally with an Air Pro tool PS900 for very fine work & have had no issues with seals at all.
b. I try to avoid hand painting acrylics apart from switchs, knobs etc etc although I have no issues dry brushing with Tamita acrylics.
c. Never used Xtracrylic's, not even sure if they are available here in Canada
d. I do not use primer & have never had any issues with lifting paint when masking but maybe I should try using a primer.
Happy modelling, Martin
-
I have only ever used acrylics, mainly Tamiya & MM.
I use 70% Rubbing Alcohol (of no particular make) to thin the Tamiya & MM & find that the MM paints need more thinning than Tamiya but I have never had any issues at all.
I do n ot use retarders at all.
Tamiya paints seem to be getting thinner with every new pot I buy so I'm only thinnning Tamiya 70% paint to 30% thinner as a rough guide & maybe 50/50 on the MM.
It may sound odd but I can tell from how the thinned paint "drips" off my stirring tool if its thinned correctly :-)
Lots of my builds are on these forums somewhere & all were painted using Tamiya & MM acrylic paints thinned with alcohol, dont be worried.
For very fine airbrush work such as post shading etc I thin the the paint 10% paint/90% alcohol & keep a tissue dipped in alcohol at the ready to clean the needle/nozzle if it starts clogging.
Hope this helps.
Happy modelling, Martin
-
1st purchase in 2013 was Revell 1/32 Mosquito for me off EBay
Happy modelling, Martin
-
Smoked since I was 11 until I finally gave up in Sept 2007.
Started with the patch for about 2 weeks & then couldnt figure out why I was still putting nicotine in my body when I wanted to quit so I stopped the patch as well & never looked back BUT you have to be READY to quit & READY to cope with the symptoms of quitting....................prepare yourself & YOU WILL DO IT.
As an after thought I had 3 heart attacks in a week in Oct 2010, if I had still been smoking my pack a day I wouldnt be here typing this now..............major benefit of quitting I'd say.
Just do it, you'll never loook back & think of all the models you can buy from the $300+ a month you'll no longer be spending on smokes
Happy modelling everyone, Martin
-
Heres a build I'll be keenly watching. I built one of these a while ago, basically OOB & gave it to my freinds grandad, a navigator on lancs in. WW2 but I have another in the stash which will get the works.
It is a very impressive model when built & painted.
Looking forward to this build my freind :-)
Happy modelling, Martin

TRUMPETER 1/35 HIND
in Works in Progress
Posted
Will be watching this one closely mate, picked up this kit at a model show a while back & it really is an impressive looking kit, cant wait to see what you'll do with this Shepard.
Happy modelling, Martin