

miamiangler
-
Posts
484 -
Joined
-
Last visited
-
Days Won
5
Content Type
Profiles
Forums
Events
Posts posted by miamiangler
-
-
Very nice Peter the Fokker looks awesome !
-
The metal work looks great . I heard of using a silver sharpie for doing that effect . Waiting to see how you do the linen .
-
Thanks Peter,
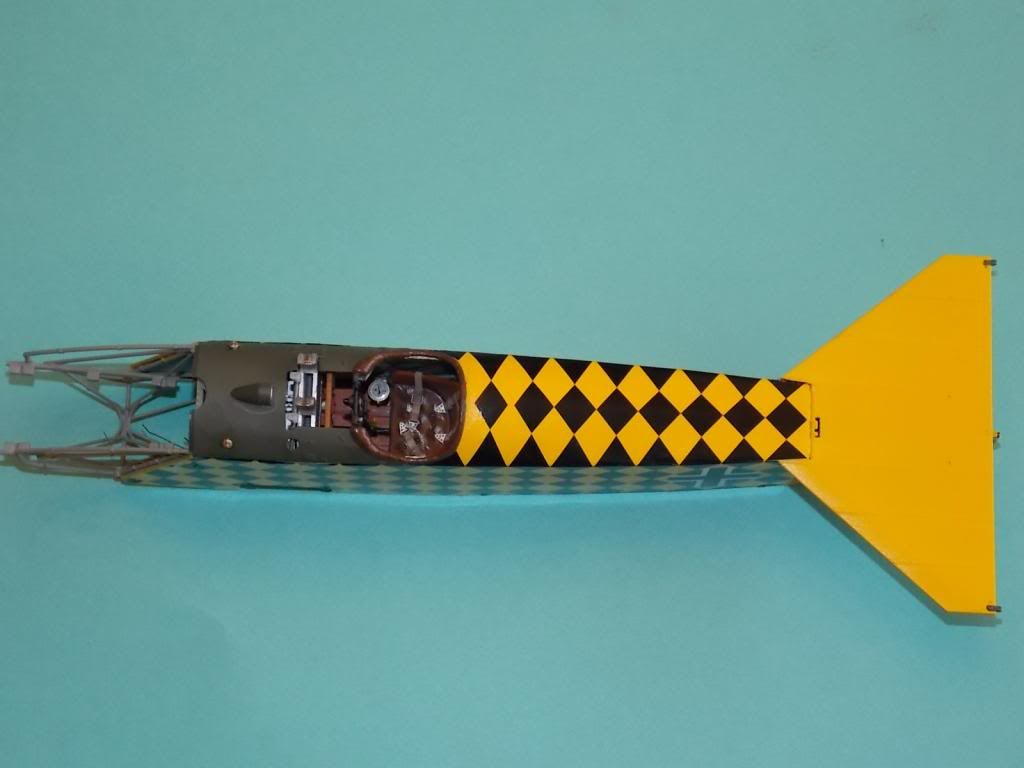
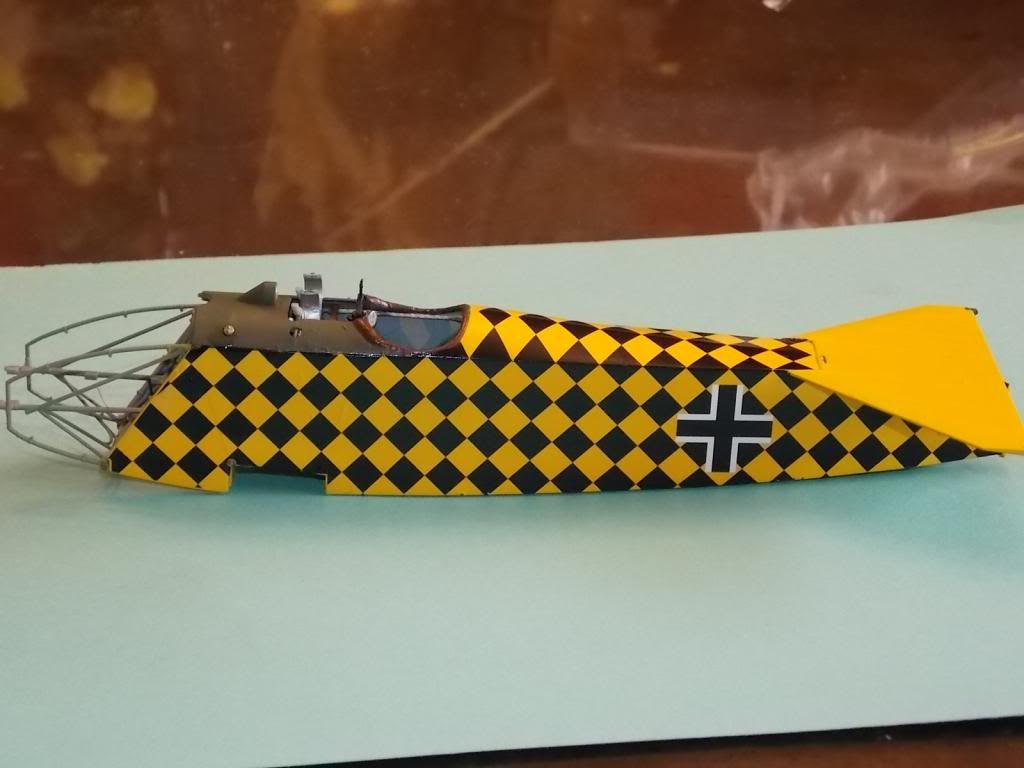
All this week I have been trying to do all the yellow painting . It`s not an easy color to get uniform ! Today after two day`s of getting the fuselage smooth for decaling I started on the checkered pattern . Here`s what I have finished so far . I have to admit the decals went on very well.
More to come very soon!
Willi
-
Hi Ron ,
Thanks ! yes I usually put a white base coat . I`m trying to get the thinnest coats of paint on the fuselage since a decal goes over the yellow .I know how tight everything fits ! You can`t see much difference in the photo of the wing but there are two different colors of yellow !
-
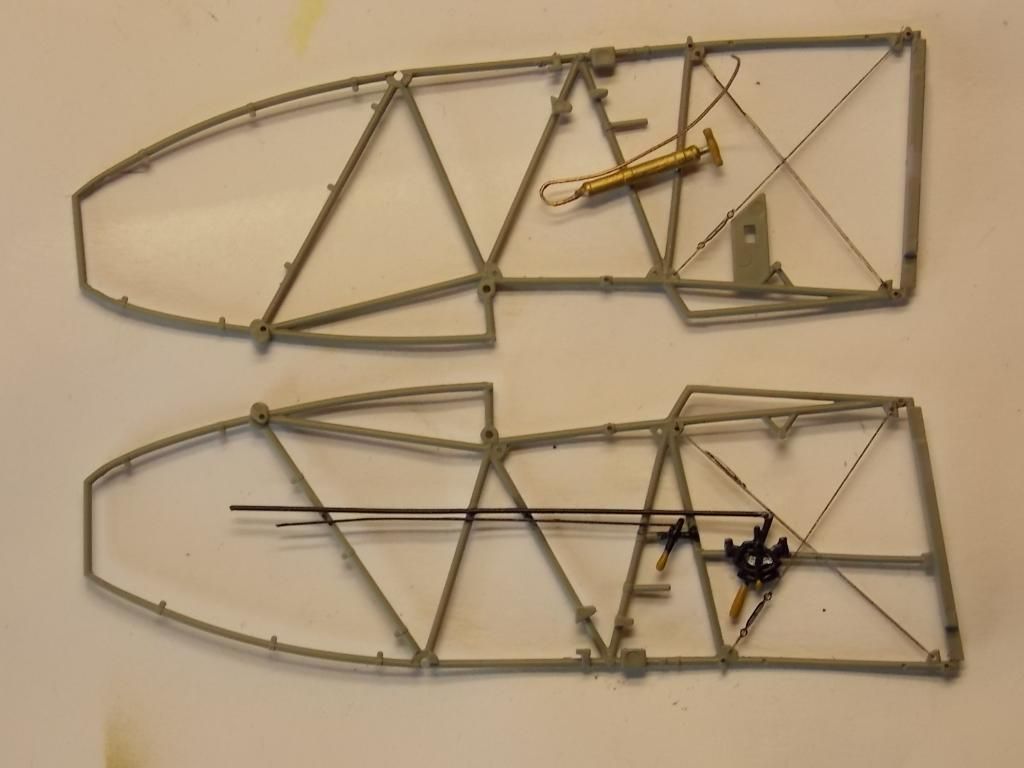
Hi Everyone ,
This week I started with the painting of the exterior color YELLOW
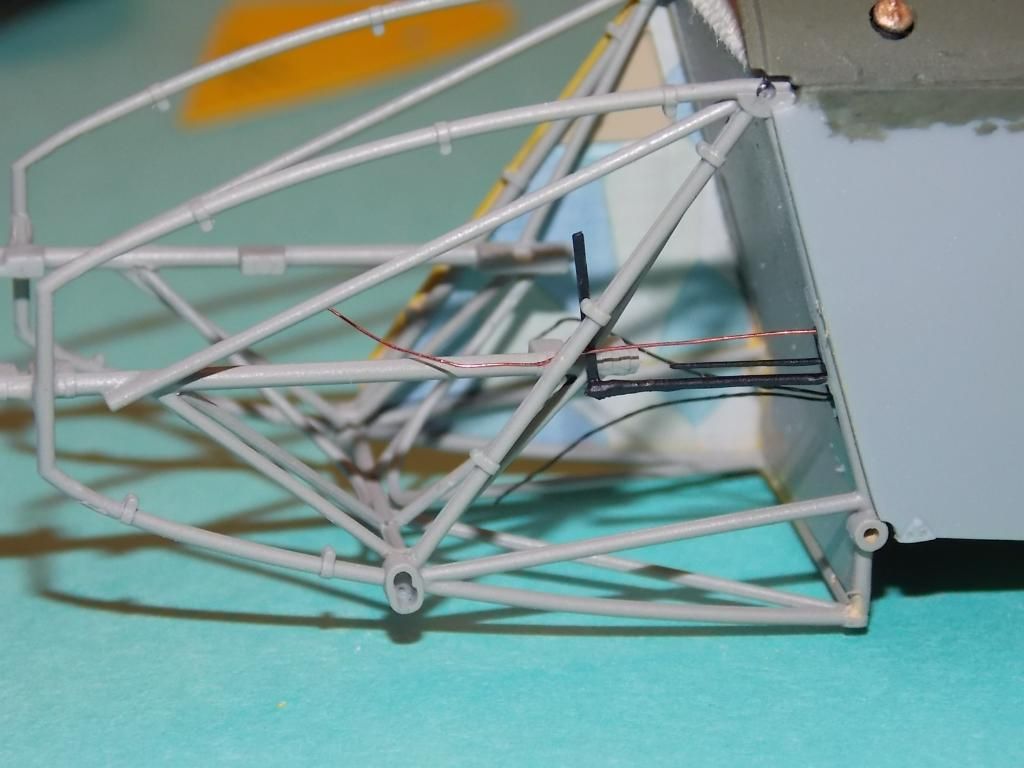
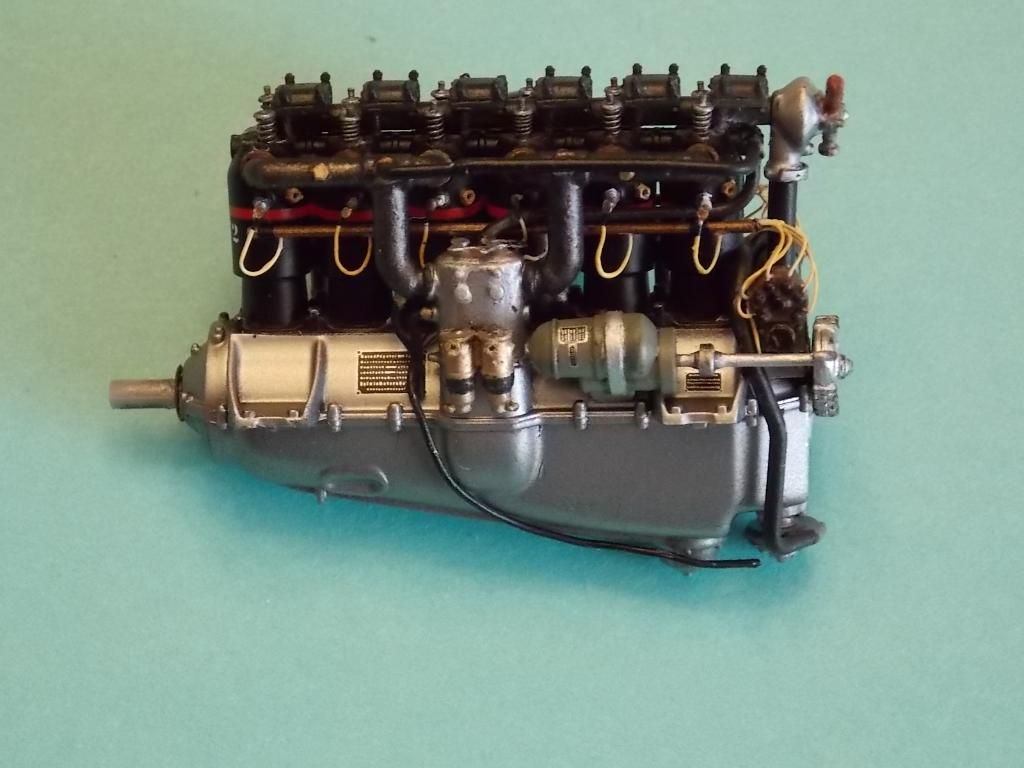
 .It is a color you have to do with lots of patience and many very light coats ! I am using Tamyia Lemon yellow and flat yellow . To give some contrast so it wont be mono-toned . I also added the fuel line in copper and some black wiring ,The throttle links were added now and will be attached to the engine carb. later . Most wont be seen because of the engine covers
  .
.

Thanks more to come soon ,
Willi
-
Very nice . love the way the Fokker looks .
-
Very nice interior work! I like this A/C but too much rigging for me ! I`ll have to watch this one .
Willi
-
Very nice ! where did you get the grass mat?
-
Hi Steve,
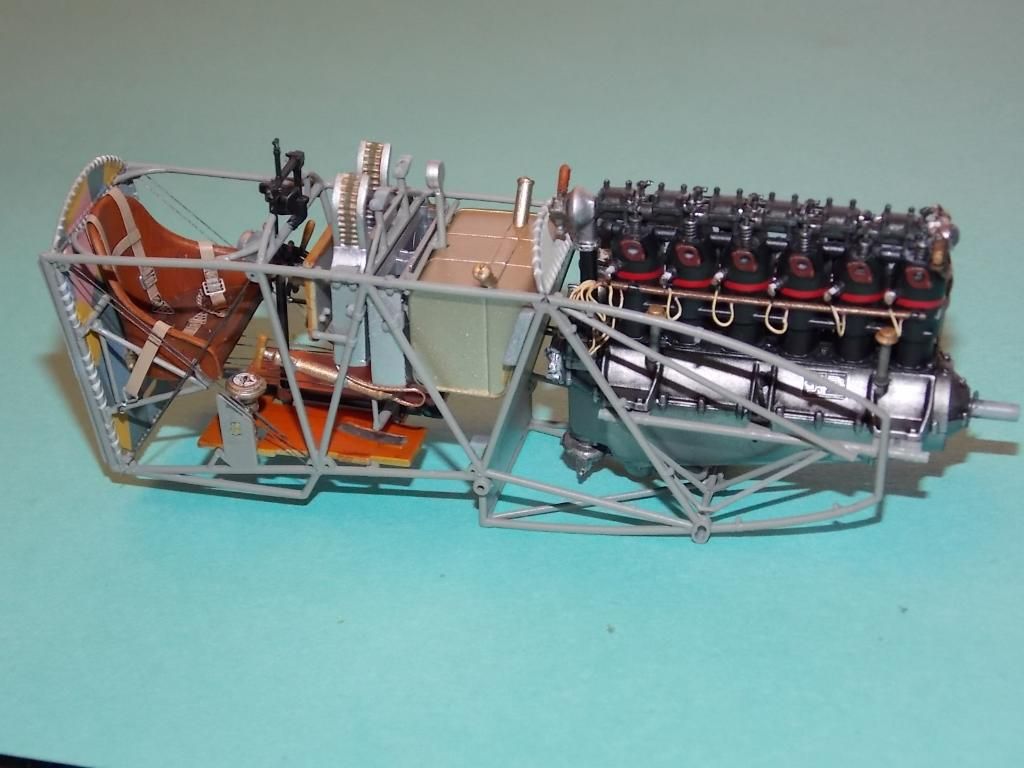
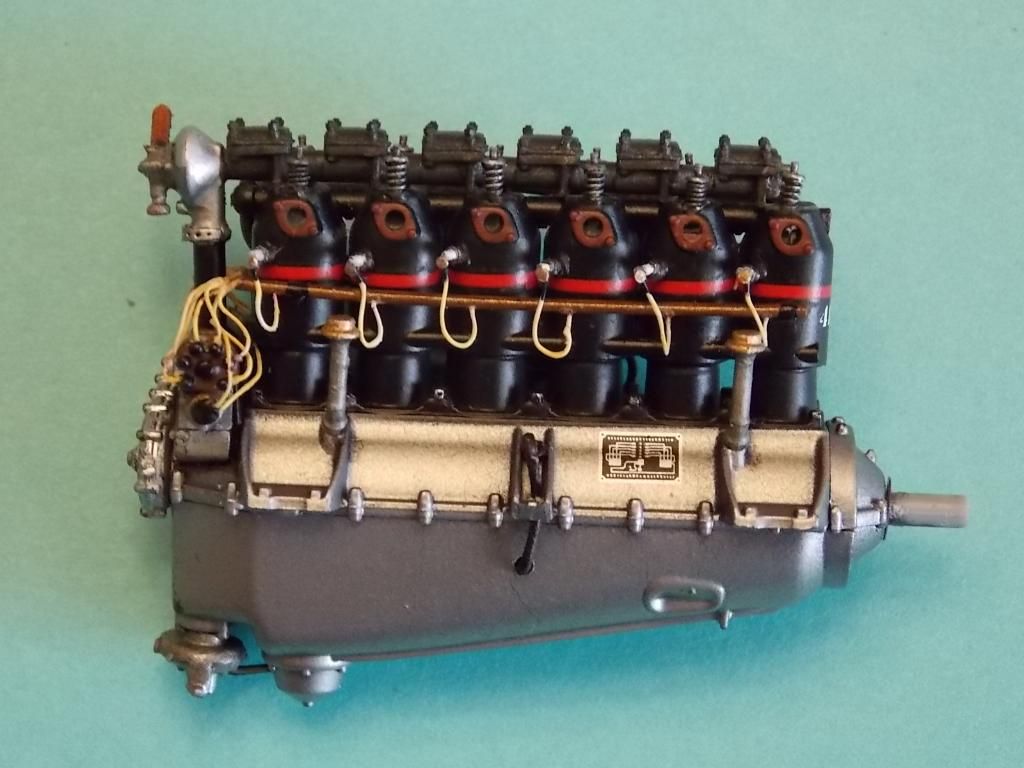
I used copper wire from a small motor Dia..005 (Model trains). The valve springs are from TaurusModels . He is a master with the resin parts.
Well I got an E-mail from WNW .the decals are correct ,but the 2 D pic is an artist drawing .
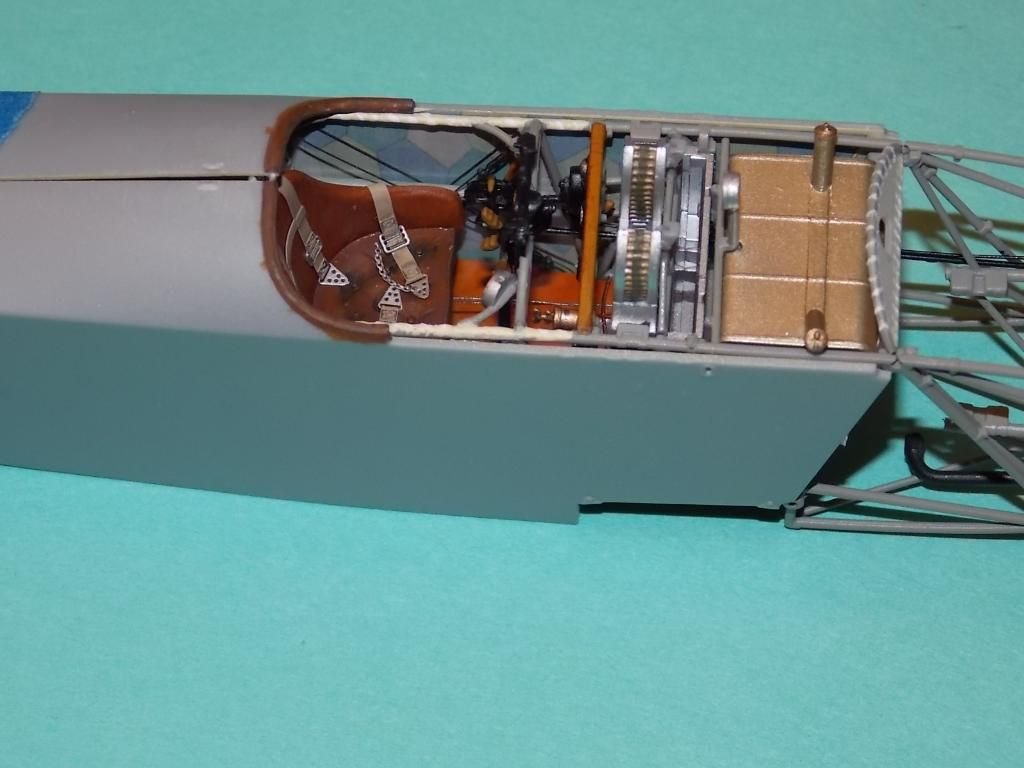
I painted the cloth around the top rail in the cockpit .I used Floquil Aged White with Off White for the cord wraps. A few coats to get the wrinkled look.
Thanks ,
Willi
-
The Hannover is a very nice kit and interesting subject. Pheon Models has a decal set due out in Feb. Decal set 3204 this might get you started on a WNW build
 .
. -
Well on the decal where the stitching pattern is would be yellow instead of black and it looks like it wont line up with the rest of the side panels . I`m not that far yet . Just want to make sure before I start decaling .Still have not heard back from WNW. Too bad they don't give spare diamond decals in the kit .
-
Thanks guy`s for your comments .Very much appreciated .
I don't know if my eyes are playing tricks on me , but Decal #26 does not match the picture on Page #27 . What do you think ? I did e-mail Wingnutwings about this .
-
Thanks Larsa,
Come on join the party:).
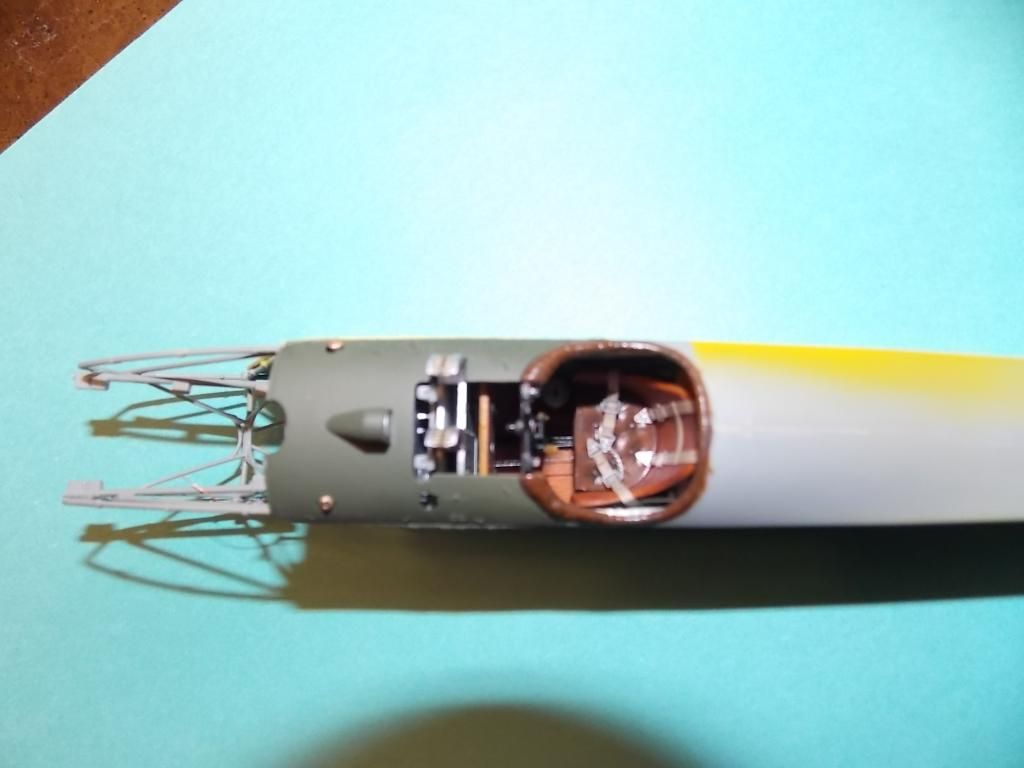
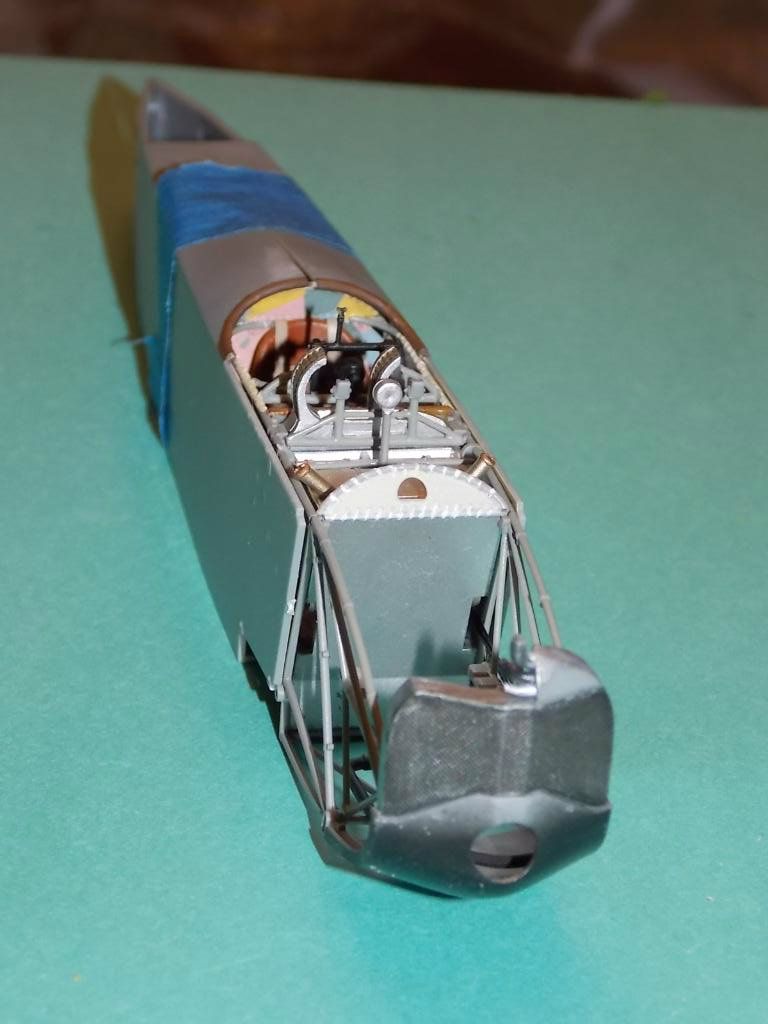
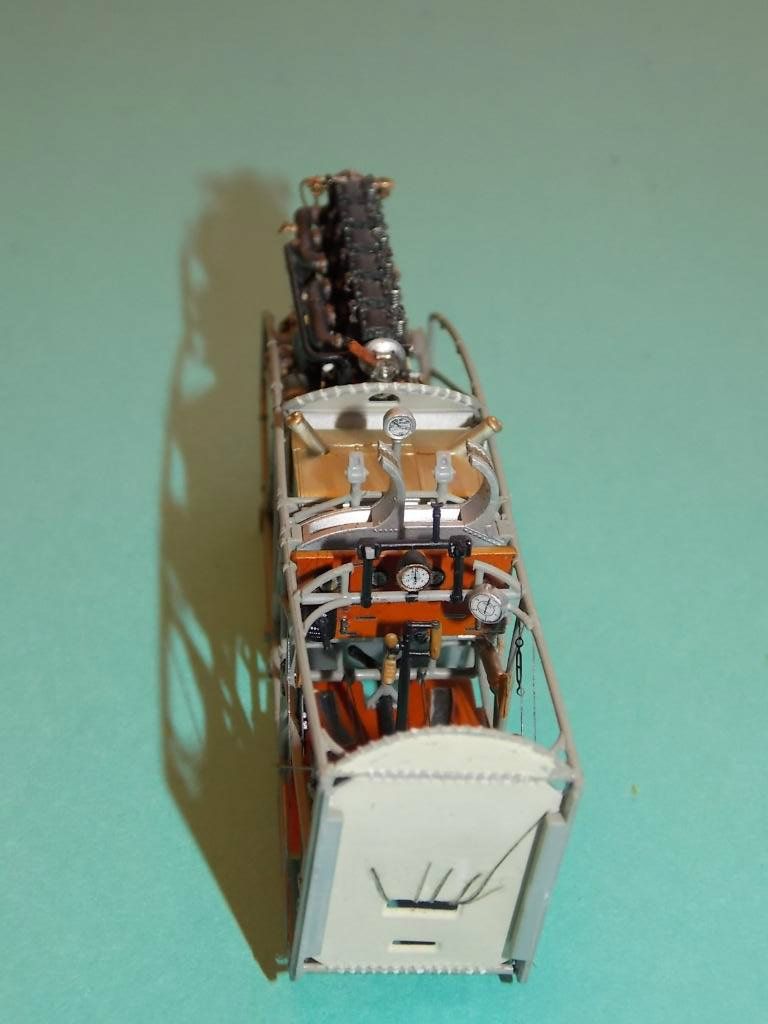
Well this is what I got done over the weekend . still have some work to do in the pit.I just put the engine in place for the photo shoot.I will still add some wiring and plumbing .It looks like most wont be seen . I decaled the Fuselage and will soon be ready add the pit . Next on the build is the radiator .
-
Thanks Peter,
The pit went together rather fast .Just lots of small fiddly parts to deal with . I,m hoping to get it done over the weekend.
Willi
-
Thanks Kevin for fixing the post above .I tried a few times but gave up when nothing I did worked .
I only got to do a few things on the pit . Everything is painted so it is waiting to be put together . I did notice that some parts had a small space and would not fit tight together . After some drilling the holes and light sanding I had a much better fit of the parts. I added the pipe to the hand pump which most likely wont be seen ,but it`s there anyway. I also added some of the lines to the throttle and spark advance lever. I use the 1/48th turnbuckles to the rigging which seemed to match the size of the ones in the photo on page 7 in the booklet . I added the belt to the bullets on the ammo box using a small strip of paper that was painted Today I will start putting together some of the pit .I still have to do the rigging for the foot peddles and control stick . I hope to have most of the pit finished by this weekend .
That`s all for now .Thank for all the comments .
Willi
-
Looking good Willi. Working on the same stuff right now. Isn't painting the cord that secures the fabric behind the seat to the framework fun. Fiddly stuff for sure. Also waiting for the rocker arm, valve springs, and manifold lock nuts from Taurus after seeing how nice they looked on your engine. Thanks for the inspiration Willi!
Cheers,
Wolf
Hi Wolf,
Yes that part took some doing and redoing .I cut tiny tape strips and took about two hours of work ,but it was well worth it !. Mr.Lukasz is a master craftsman with his resin parts .Well worth the wait .I`m hoping he will make a BMW engine so I can do a Fokker D VII F
Thanks ,
Willi
-
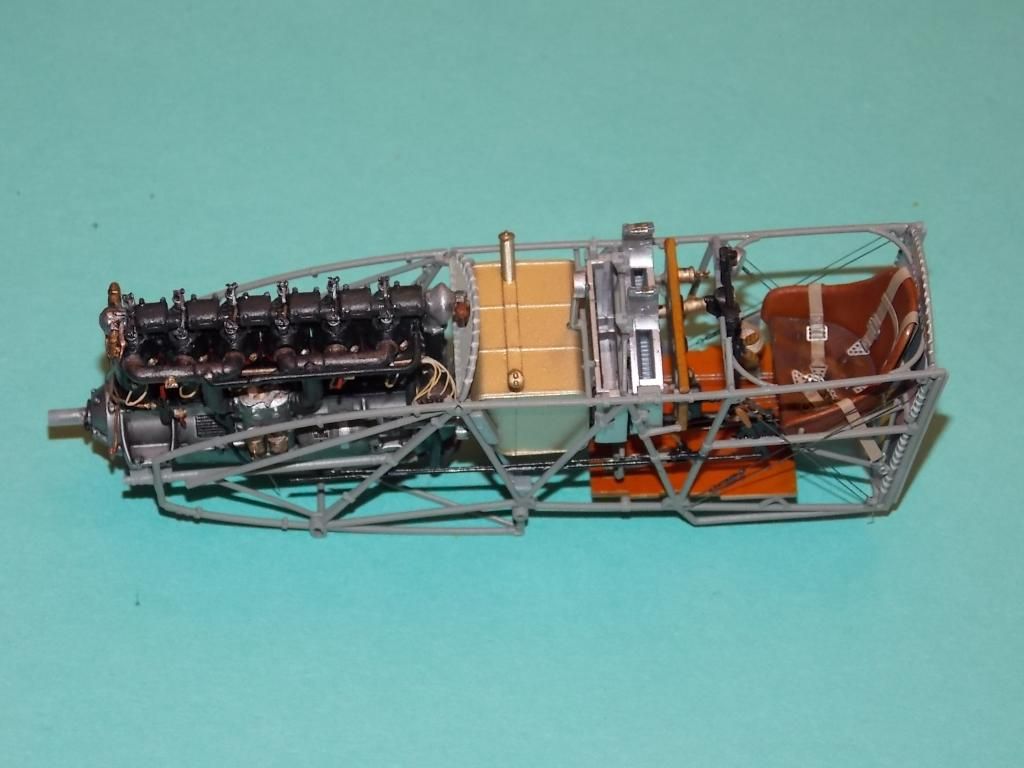
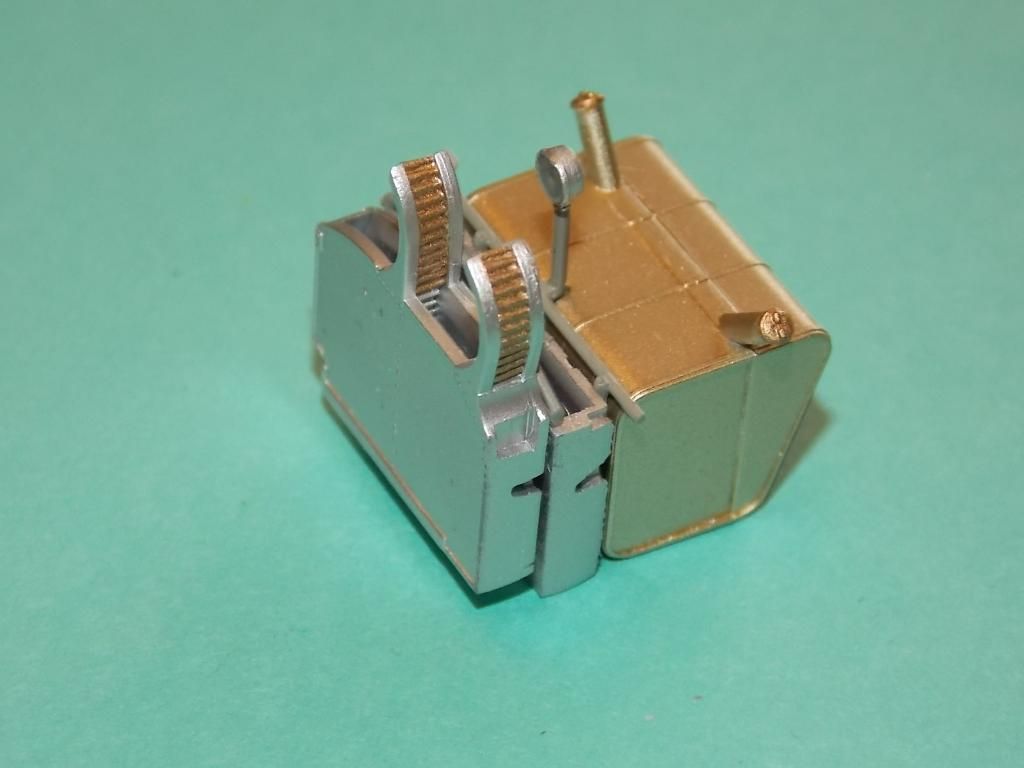
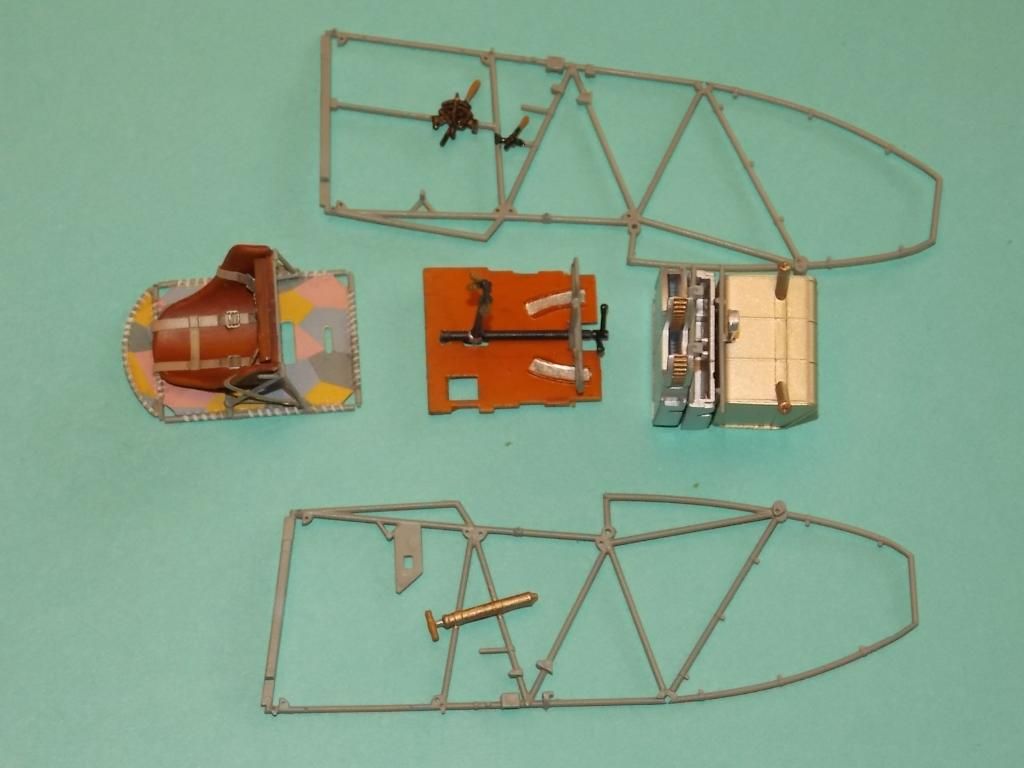
Today`s Update,
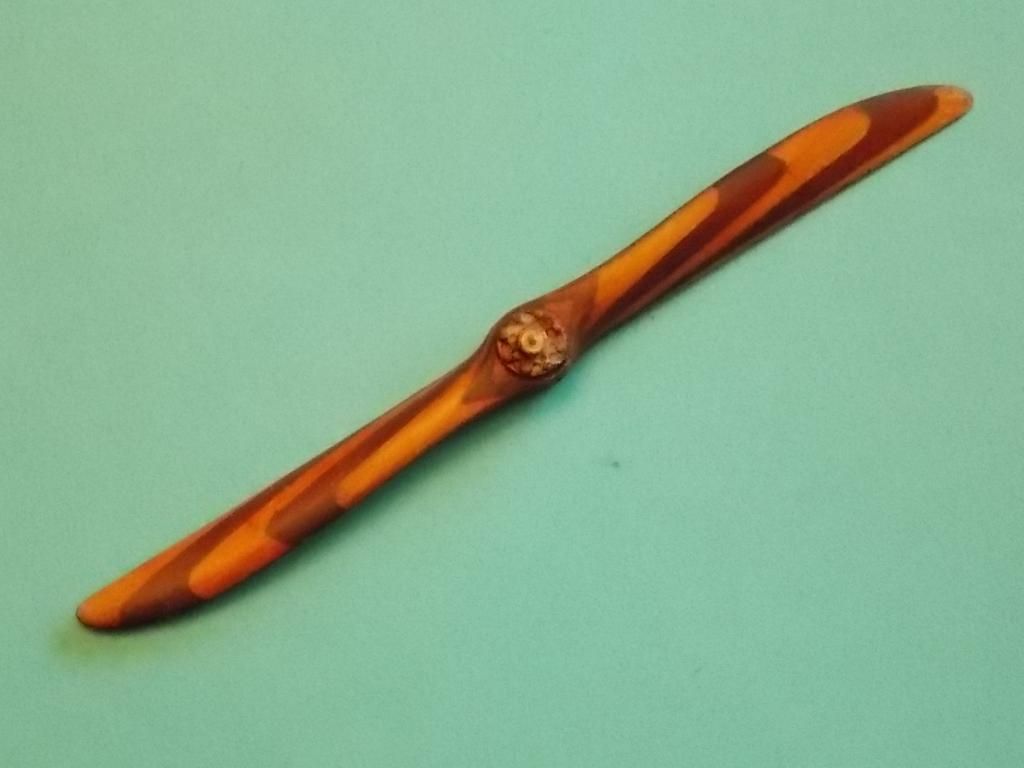
I started work on the interior. The seat went together with no problems .I was going to leave the back fabric natural linen , but liked to add some color .The seat was painted with oils to make it look like wood. The control stick was mounted to it`s base . The wood color was from AirModel Vallejo and used on the handle. The ammo box and fuel tank are painted with a mix of Tamyia and Vallejo paints . This is my first try on doing a 1/32nd prop in wood . The 1/48th props are a lot easier to do . I used a base color of aged white then a mix of burnt sienna and raw umber artist oils. Then masked of the sections and sprayed off white and flesh as a base color . When dry I used burnt sienna artist oil.I still have to add the gloss coats and do the prop hub,
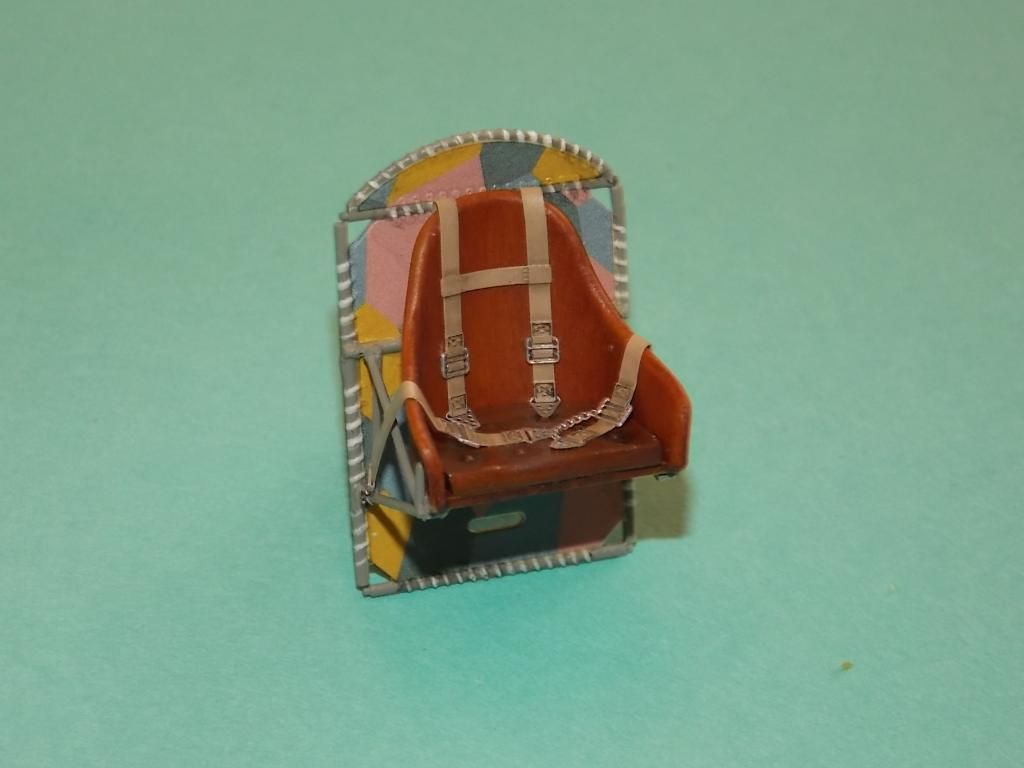
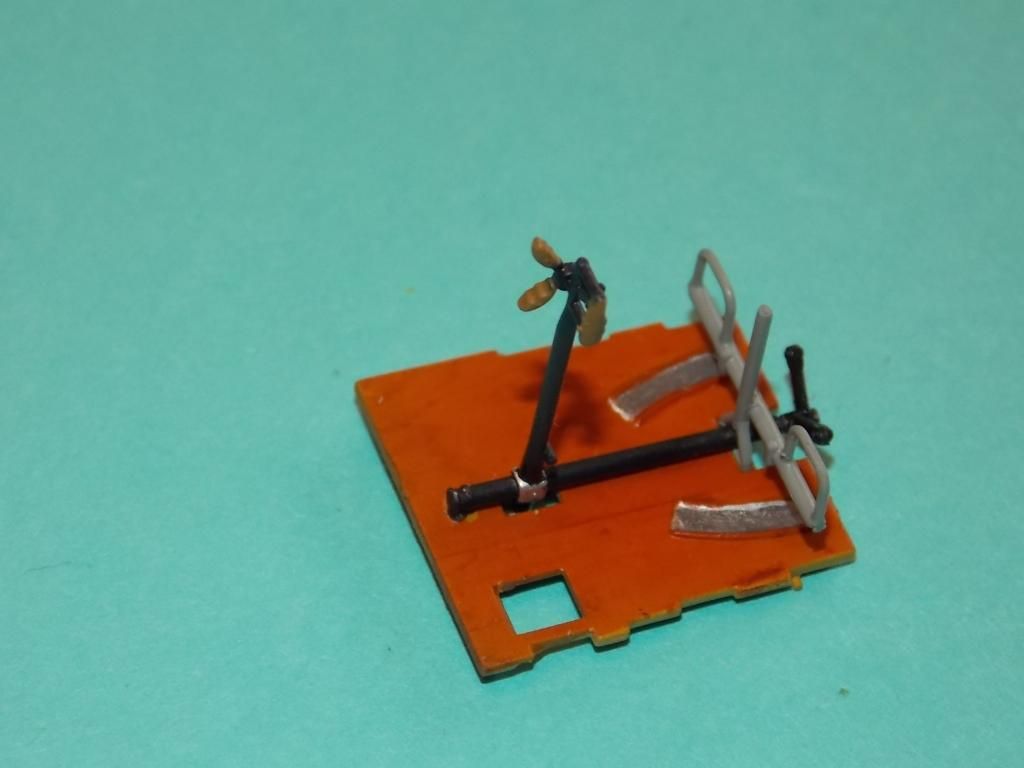
Thanks,
Willi
-
Very nice A/C . looks great and nice job on the black and white stripes. Not sure about the spacer ? Haven`t gotten that far in my build .
Willi
-
I also have a few kits on hold ,my AR196 and He 162. I should also start up on them again .Now I am on the ww1 Kick:). I got my SW Gloster Gladiator from watching your build so I had to get one
 . That`s another cool project I`d like to start!
 -
Just love that engine my freind and it's a sad thing to covered it up in the fuselage.Looking forward for the rest of the build,
Cheers LarsaQ
Hi Larsa,
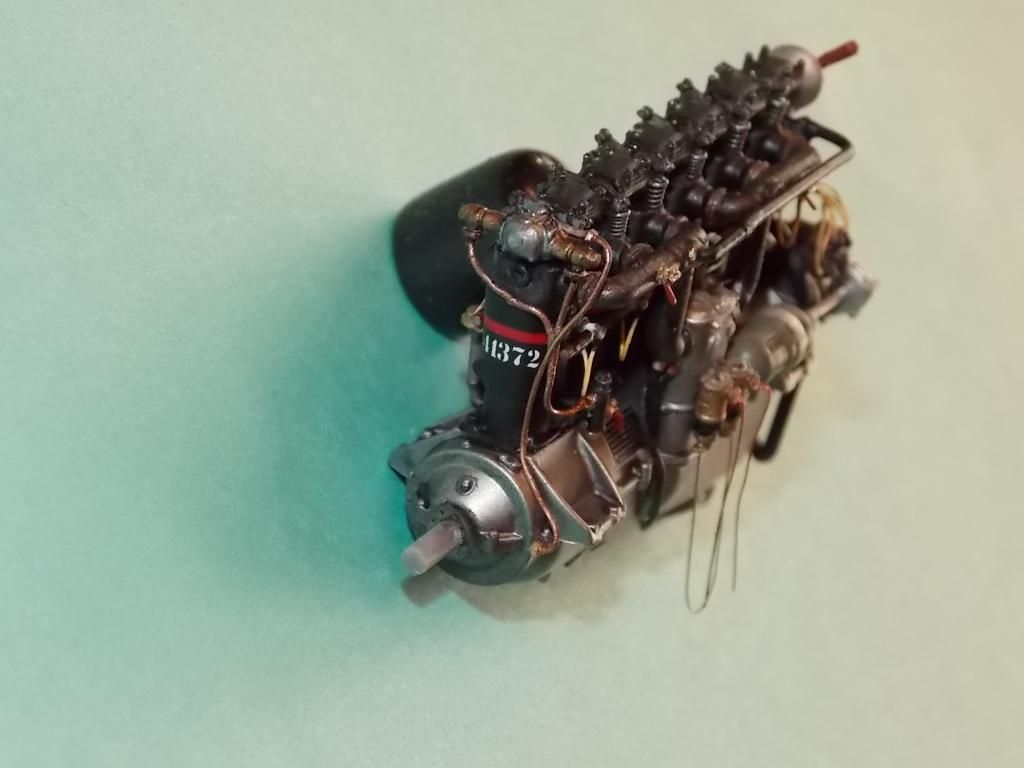
Thanks,The top covers are not used so most will be seen,but I like detailing as much as I can . I can`t do out of box
. How is your Gloster Galdiator coming along?Willi
-
-
Thanks Peter,
I have to go to work so hope to get more done Tomorrow. This time I will be more careful when working the pit area . The valve springs from Taurus are nice. The little detail of the spring released and stressed makes a difference . I got enough Taurus parts to do 5 more engines .
Thanks,
Willi
-
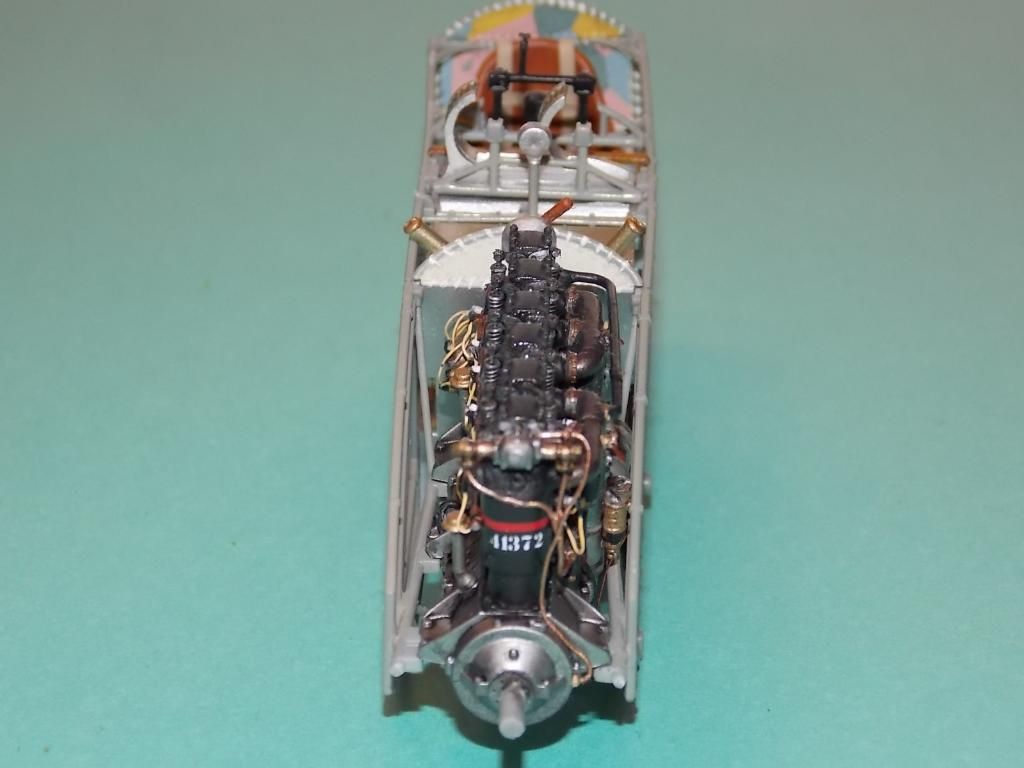
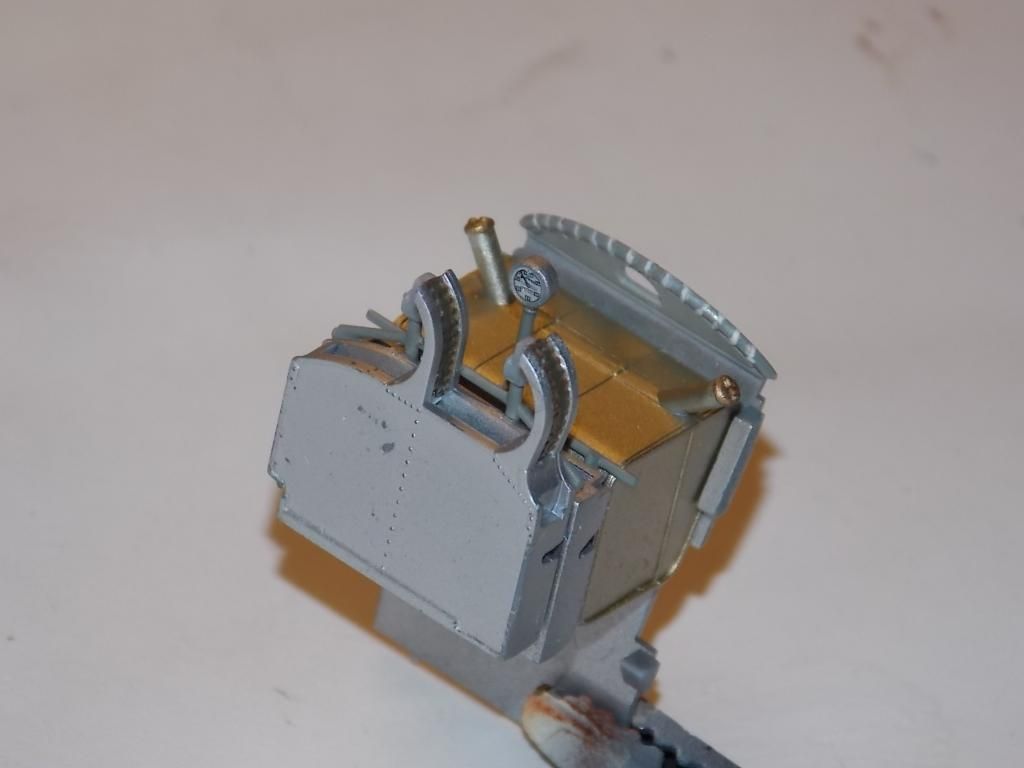
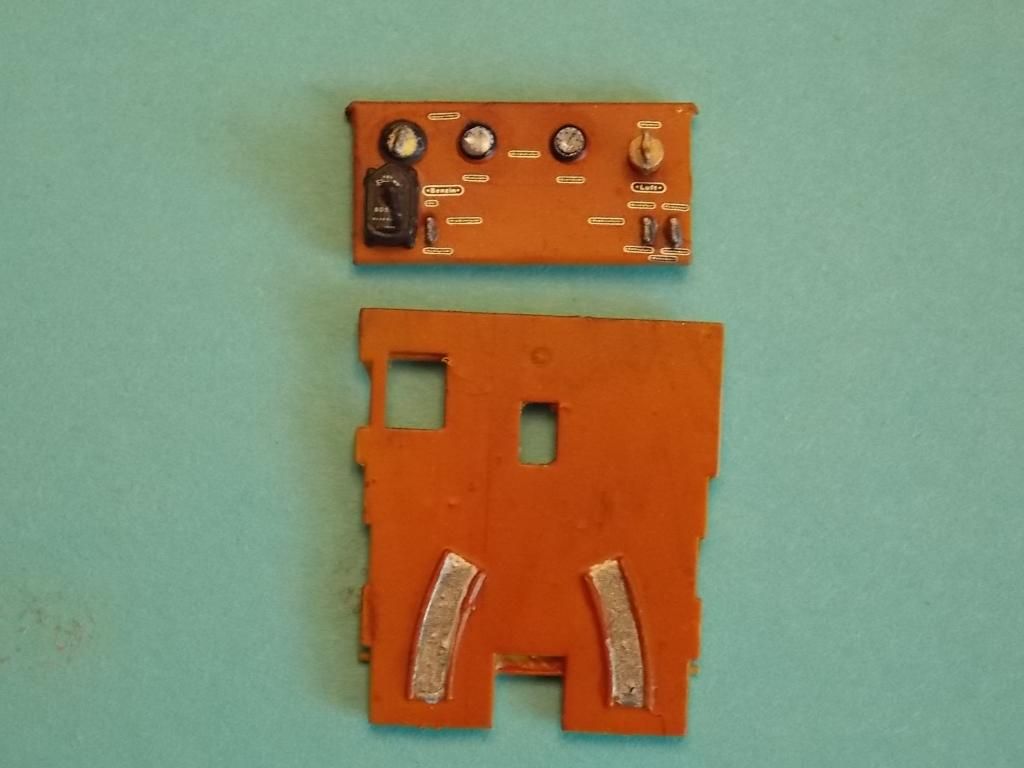
Todays update :
I added the springs and timing gear . I should have looked at the photo`s of the real engine because I mounted the valve springs a little to strait . I`m hoping that the rocker arms will still fit ! since this is one of many engines of the Mercedes I will build that mistake wont happen again . I also began with the dash board and floor .I added 1/48th HGW decals of the wood grain, but in the photo the grain effect does not show .
thanks,
Willi
-
Thanks Peter ,
The only reason I went this far is because the A/C has the top covers off . Not sure how much will be seen . I`ll have some photo`s of the valve springs I put on the engine today I will post them tomorrow morning.I just got home from work and too tired to do any more tonight .
Dr Dave , not sure yet which yellow , probably the Tamyia one. Yellow is a fun color the spray

Willi


WNW FokkerDVII MFGR1 ,Gotthard Sachsenberg
in Works in Progress
Posted · Edited by miamiangler
Thanks to all who have replied .It is very much appreciated !
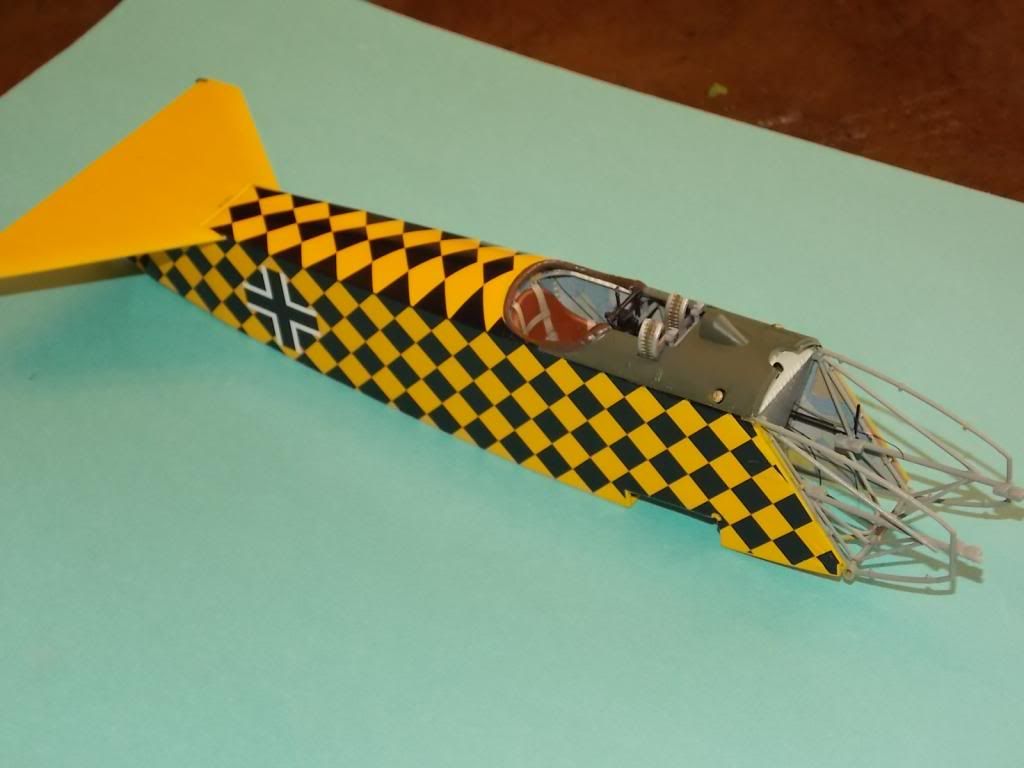
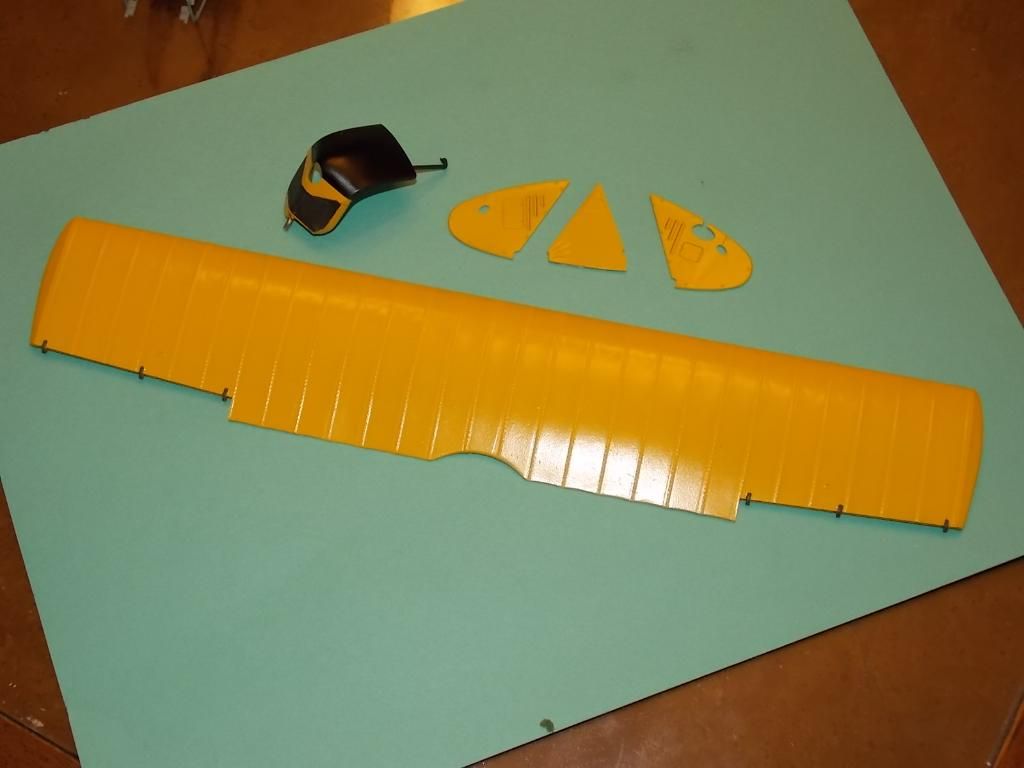
Yellow is a tuff color ! every part I have painted looked different ! I had to do some blending of colors to get it to look uniform ! On the photo`s it is hard to see the shading of the wings but that`s where I used the two different colors .The rib tapes are a much lighter shade of yellow. Since the last post I have been working on the wings and they are done except for the rigging . I am surprised how easy it was to decal ! WNW really make it easy to build these kits . Anyone wanting to do WW1 A/C this would be one of the first kits to try. I think the Fokker DVII is one of the more colorful of the WW1 aircraft. I probably will get more of these kits in the future.
Here`s what I have finished in the last few days .Most of the yellow parts are done , I redid the radiator and I think it looks much better . For the rubber wheels I used dark gull gray .