

miamiangler
-
Posts
484 -
Joined
-
Last visited
-
Days Won
5
Content Type
Profiles
Forums
Events
Posts posted by miamiangler
-
-
Thanks for every ones kind remarks ,It`s very much Appreciated ! Yes Kevin you can publish my photo`s .
Many Thanks ,
Willi
-
-
Here`s part TWO:
-
-
Thanks Tom and Kevin ,
Andrew I think the kit you have has the most colorful Fokker DVII the OAW kit is my favorite !
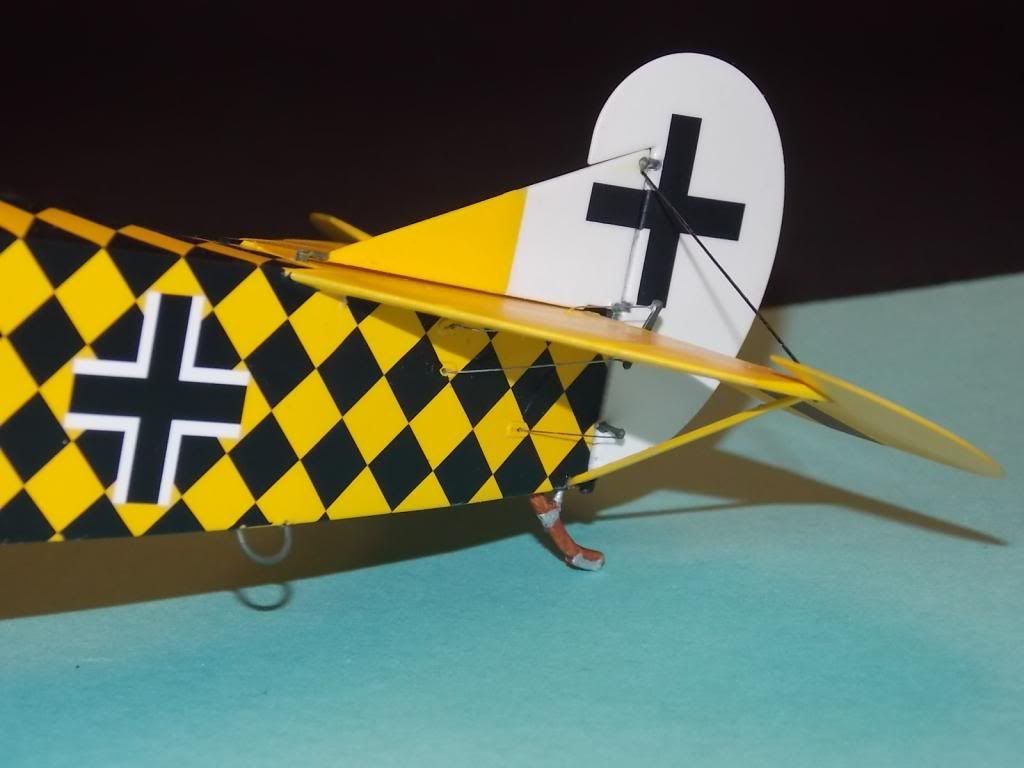
Ron the tail rigging took me the longest to do . I hope you have it squared away !
Peter this is the end of the road for this build I hope everyone enjoyed this build as I did .I learned a lot about WNW kits wish I would have started years ago with these kits .I`m hooked on these kits the fit of parts are awesome and build into museum quality models .
The photo`s will be I the RFI .
Many thanks to all who posted their comments,
Willi
-
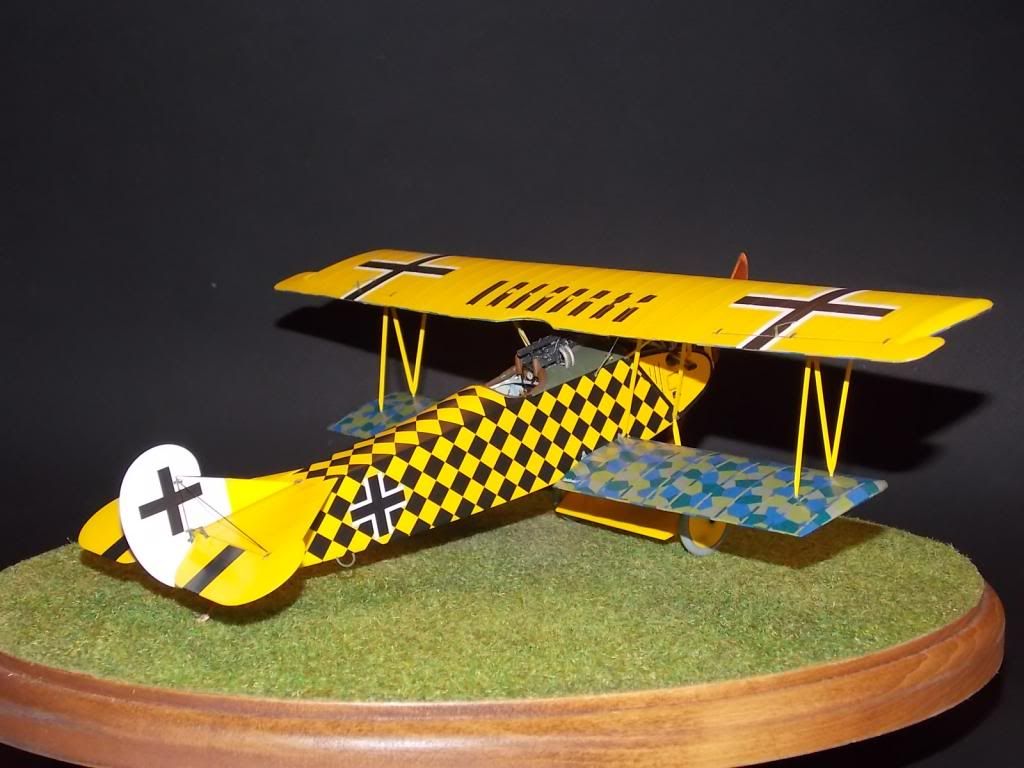
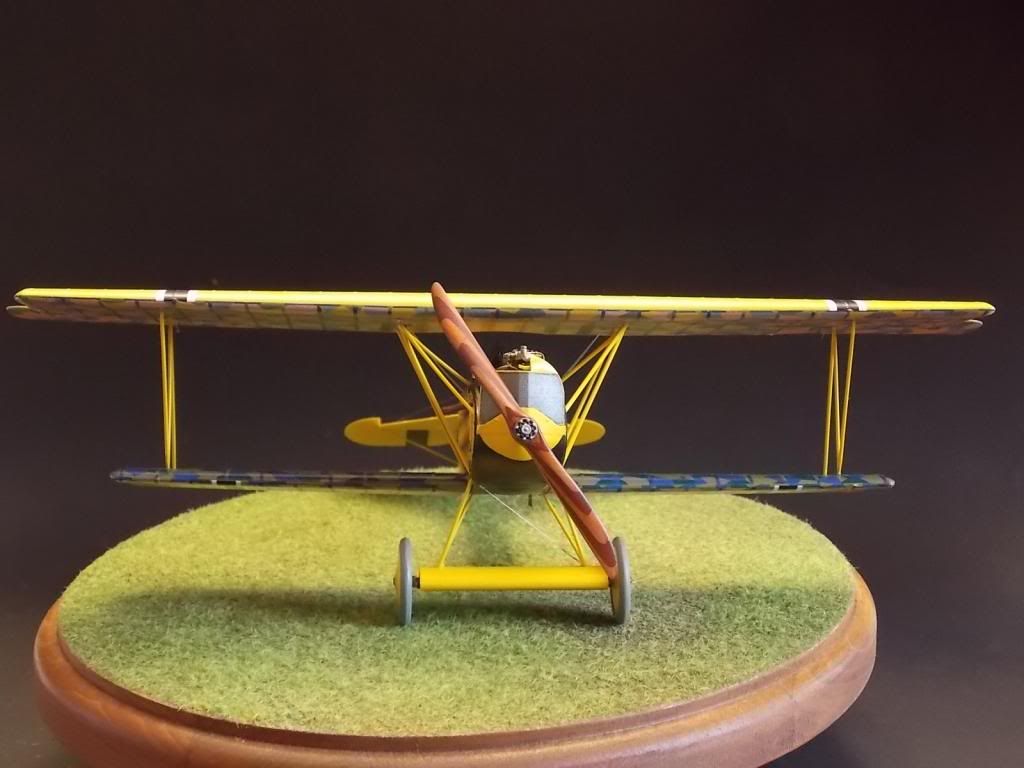
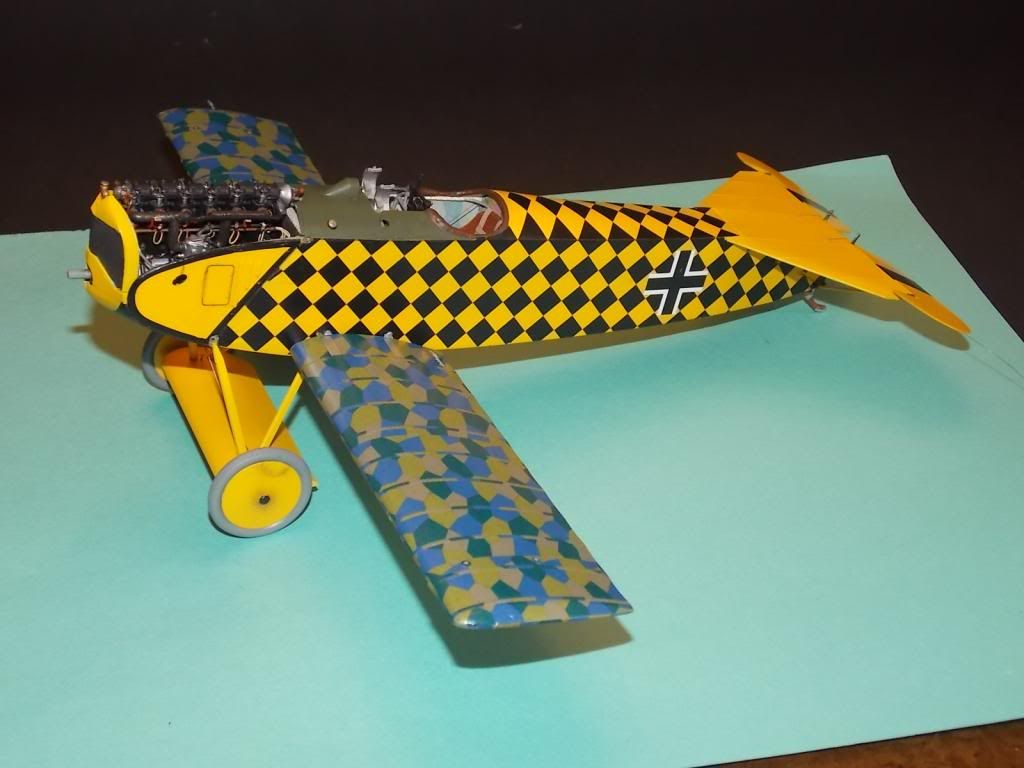
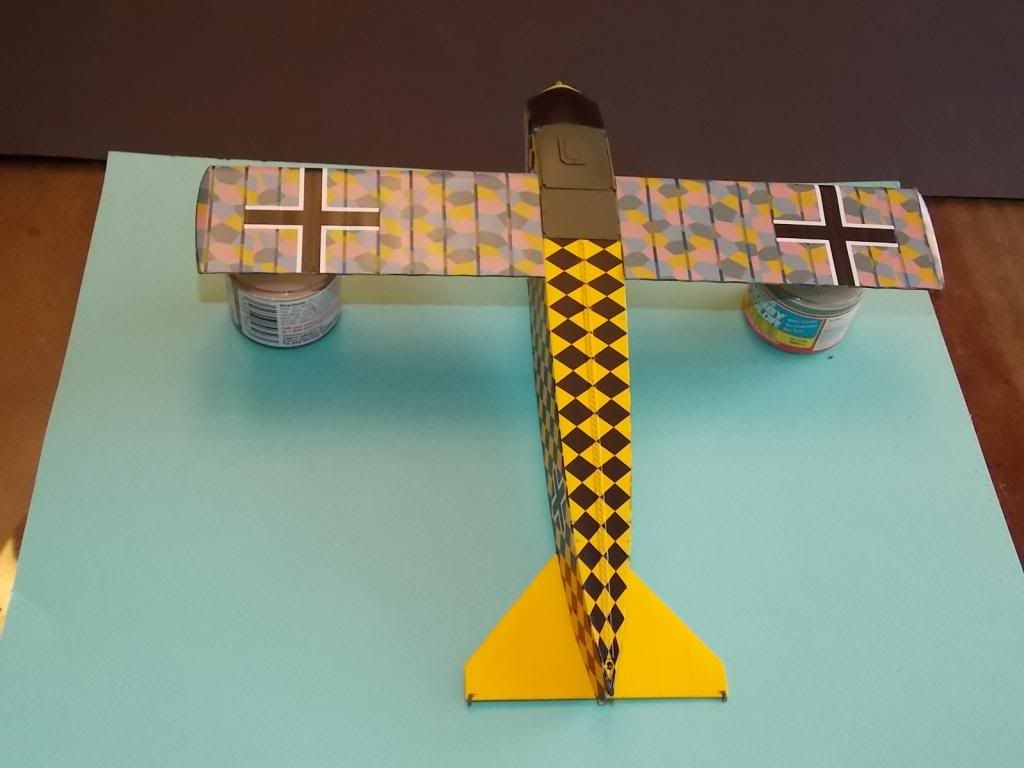
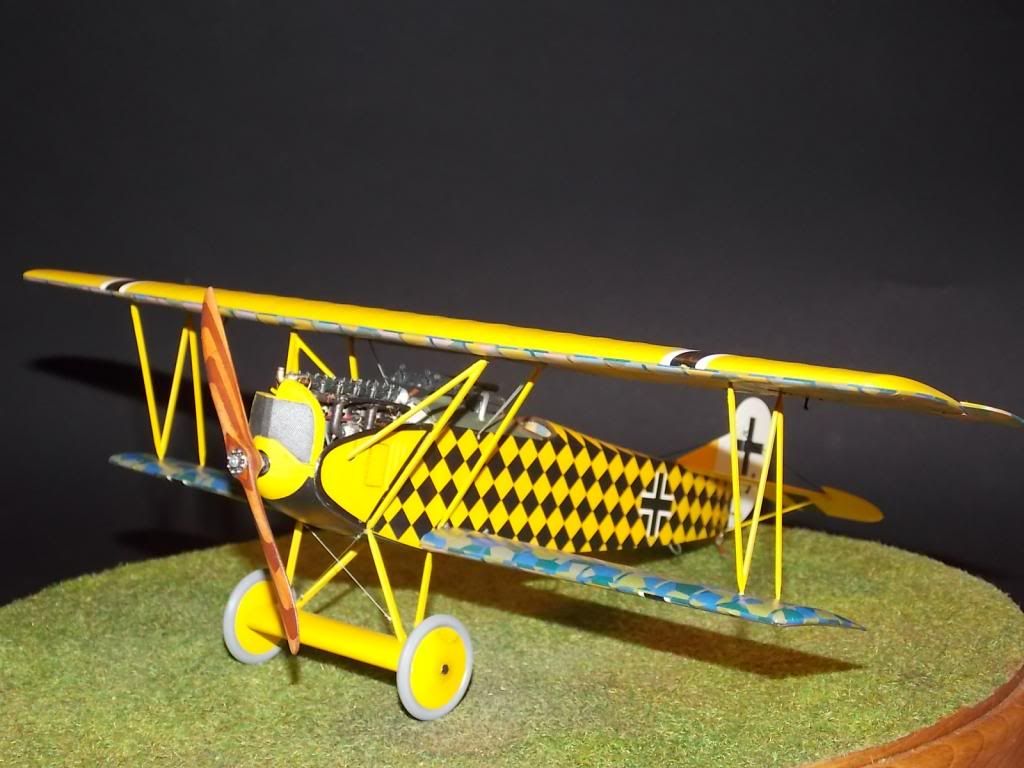
Thanks ringleheim, Today I am putting on the struts and once the glue is dry all left is putting on the top wing. The guns and telescopic gun site are in place. I just have some touching up with paint then this bird should be done . I`m not going to weather it much I like it as if it was just finished with a new paint job .I am late in checking up on this build, but I can see it is fantastic! What a striking color scheme and you have really nailed it Willi! Not too much further to the finish line now. Can't wait to see this baby all finished.

Update is coming very soon ! Willi
- geedubelyer and Uncarina
-
 2
2
-
I want one on my shelf too! That would be so cool model to ogle. Can't wait for the finish...
Glad to see you busy at the bench, Willi!!!
Hi Tomek,
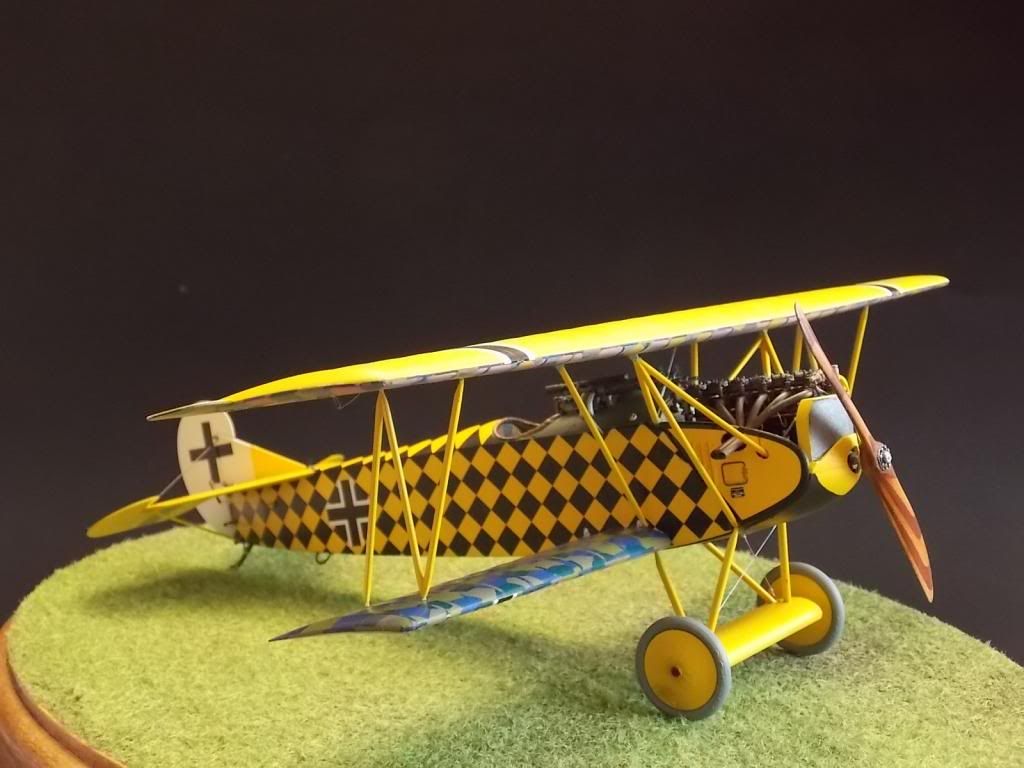
It`s My new favorate model! I ogle at it every day:). Should have the yellow bird done over the weekend .
Today`s update:
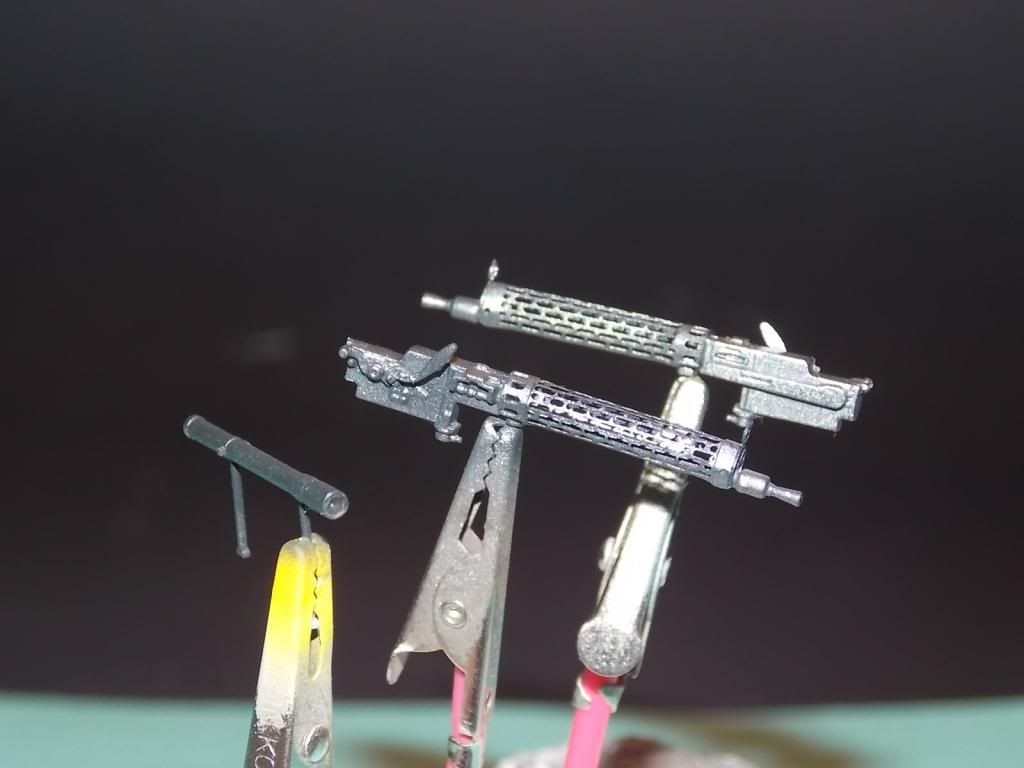
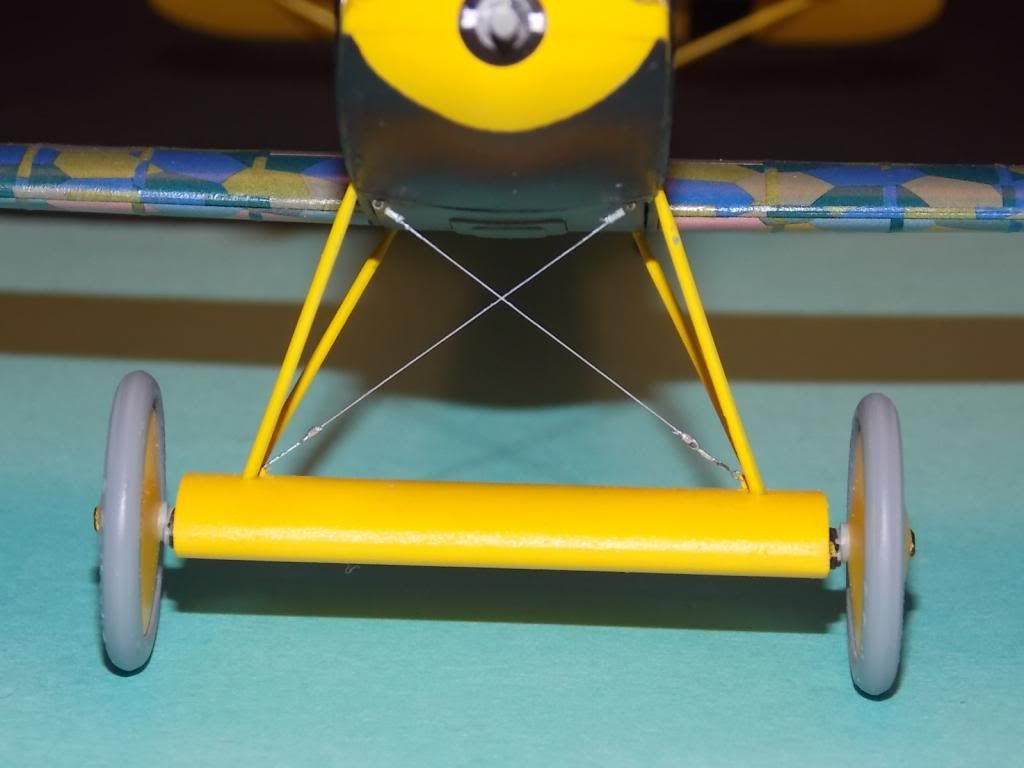
I used the PE set from WNW`s to do the gun barrels. The telescopic gun site was drilled out and a clear plastic dicks were set in place , I also redid the rigging on the landing struts. I used PE turnbuckles since that`s all I had at the moment.
Thanks ,
Willi
-
Willi
Looking simply fantastic sitting on her gear. We're up to the same portion of the build now, so keep me posted on the wing and fuselage strut assembly, as it's what I'm hoping to do this weekend.
Keep 'em coming
Thanks Peter,
I`m hoping to wrap this bird up this weekend also. I`m just going over everything carefully and doing touchups as I go .
Thanks JRutman and Mark,
Your comments are much appreciated
Willi
-
I am very familiar with this kit now that I've built two. The decaling and overall finish you've done is simply brilliant
Ron
Thanks Ron ,
I have watched both of your builds .Both look awesome ! I think it would be cool if all Fokker DVII`s built on this forum could have their own post .There are quite a few different Fokkers being built right now . Everyone who finishes a Fokker DVII can post the photo`s there .That way everyone can view all the A/C in one place .
Willi
-
Willi,
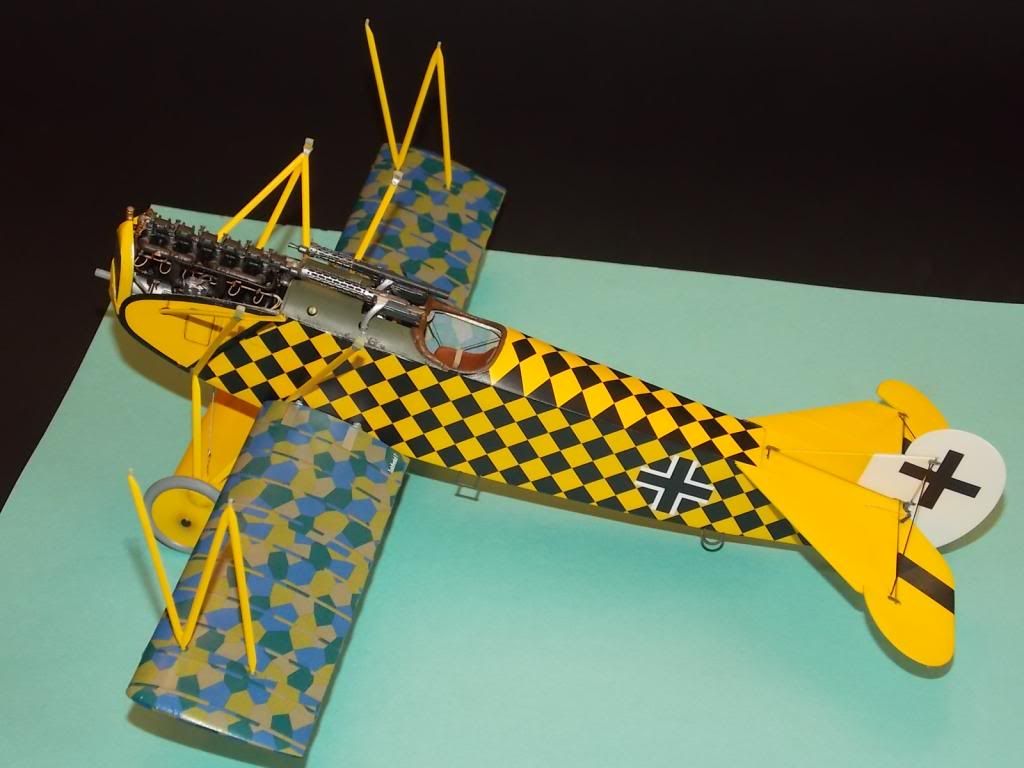
I think that's got to be the coolest paint job I've seen on a WWI fighter, it reminds me of an air show or barnstormer scheme aircraft, but it's obvious that this guy was "in the mood" to try his luck in the air with other "tricks"

Looking forward to more rigging etc.. Keep up the Excellent work!
Paul
Hi Paul,
There`s not much rigging on the DVII which makes it kind of easy . I like building colorful A/C so there`s going to be a few more Fokkers in my WW1 collecton.
Willi
-
-
I `d say bottom right, Remember the top wing is giving an shadow effect . The back of the gun chute should be the color to look at . It looks like this engine does not have the covers . If it is the Mercedes DIIIau heres the link I used for my engine . www.rcgroups.com/forums/showthread.php?t=519353
-
I`m not sure black . Most Fokker DVII had the top decking Fokker green . It`s a shade lighter then RLM 82 dark green . That`s my two cents
-
Hi Wolf,
Looking very nice, Great Ideas For attaching the Taurus parts. I like the clamps you made ,I noticed they were missing after I had My engine already painted so that`s a detail I didn't add. .The more FokkerDVII`s built here and all the details everyone does the better they get ! Keep posting your Ideas ,I`ll be watching .
Willi
-
Hi Wolf,
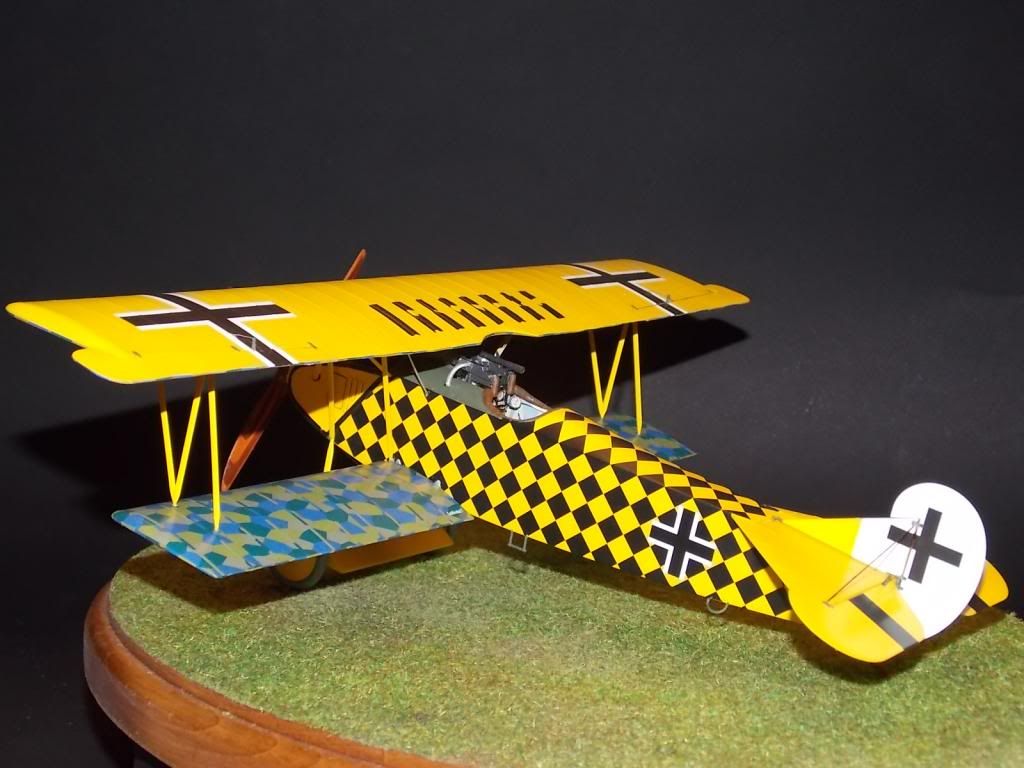
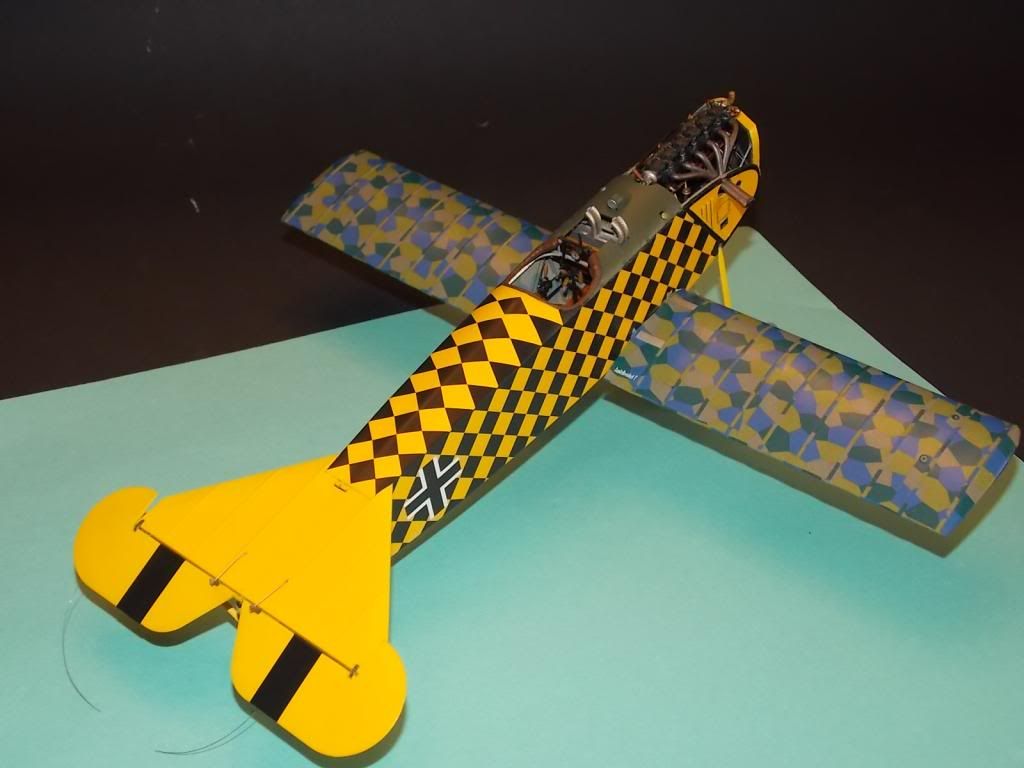
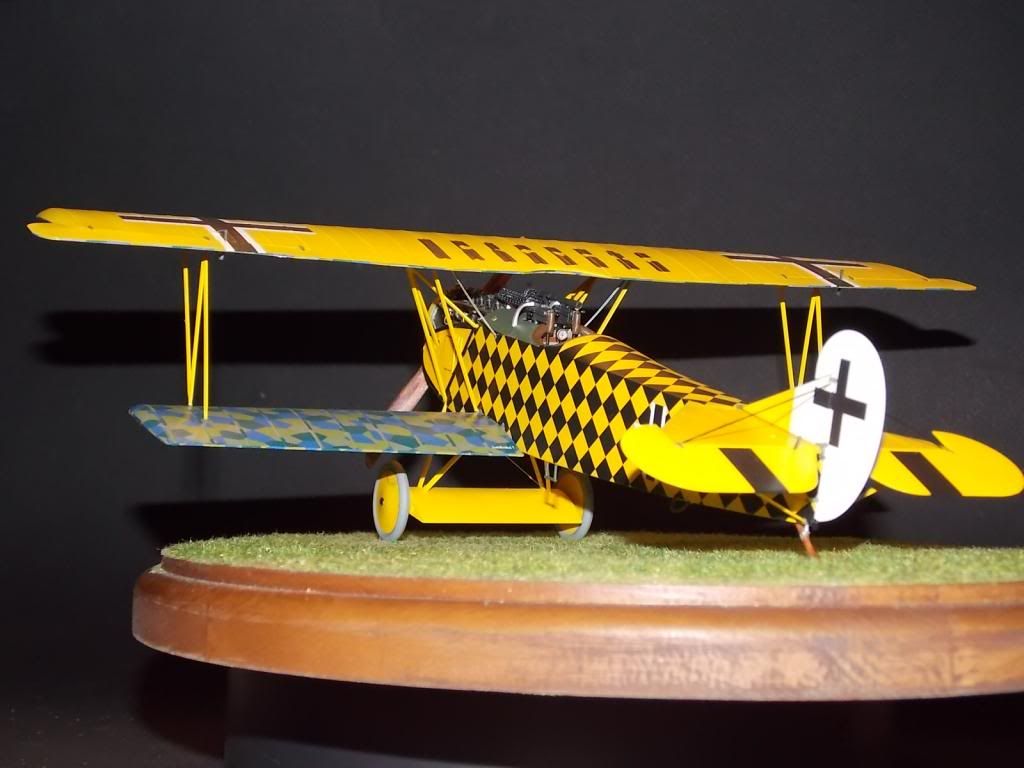
Thanks , I was thinking the same It just screams out SHOOT AT ME , it must have taken some time to paint this scheme .
Willi
-
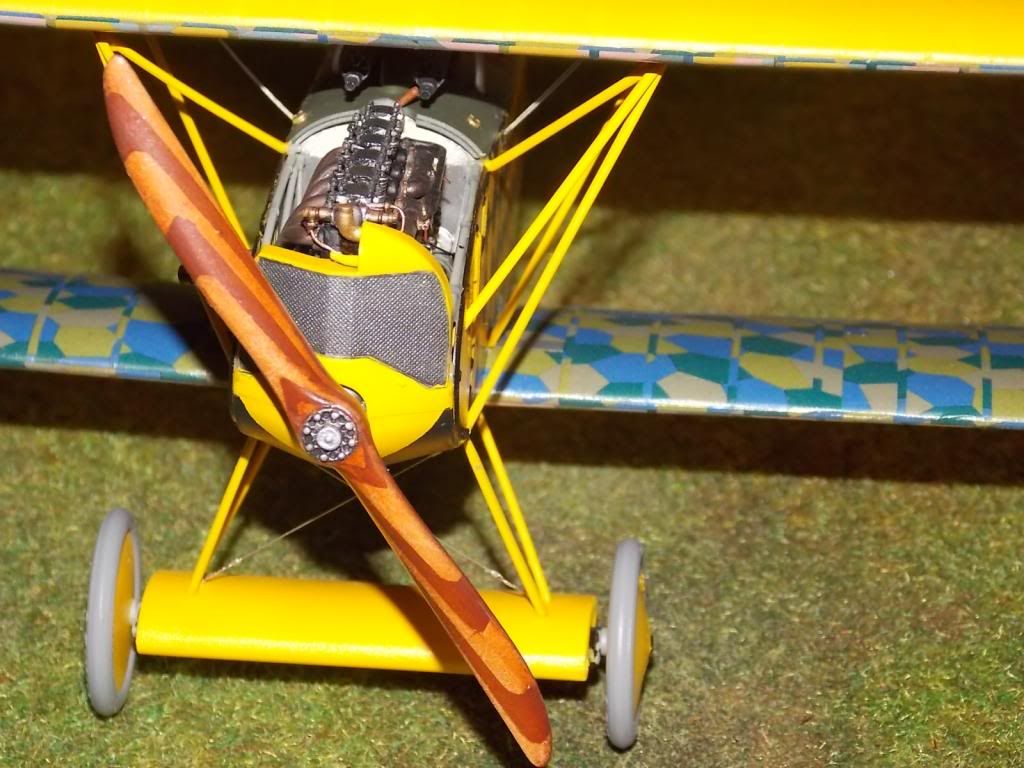
Thanks Ron ,O.K . Peter and Tom I`ll keep it coming ,but it`s getting close to being done ! So Far I have had fun with this kit .I really haven`t found many pitfalls . Just be careful with fitting the engine. The landing gear went on without any problems. So here she is on her landing struts
.
More to come soon !
Willi
-
Your figure looks very nice , I just cant get the shadow effect and skin tones right. I usually do the base colors then my friend does his magic to bring the figures to life .
-
Hi Peter,
I know what you mean , I have a friend that paints my figures ,I just cant get the hang of it !
Willi
-
Peter Update please
. -
Thanks Kev, Peter and Tom ,
Peter I like your build ! Nothing wrong with it .
Well last night I spent time doing the finishing touches to the engine before the covers go on . I just use white glue to hold the pieces in place just incase I decide to remove them in the future .
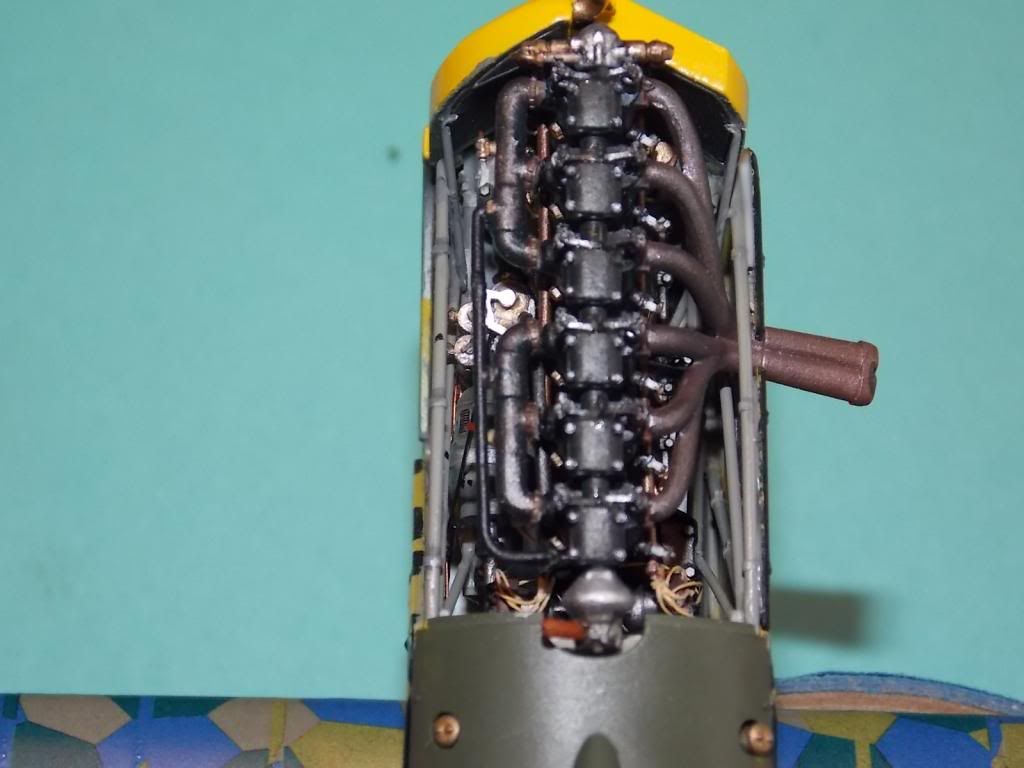
That's all for today Thanks for stopping by!
Willi
-
Wow Nice ! the Fokker`s look awesome
-
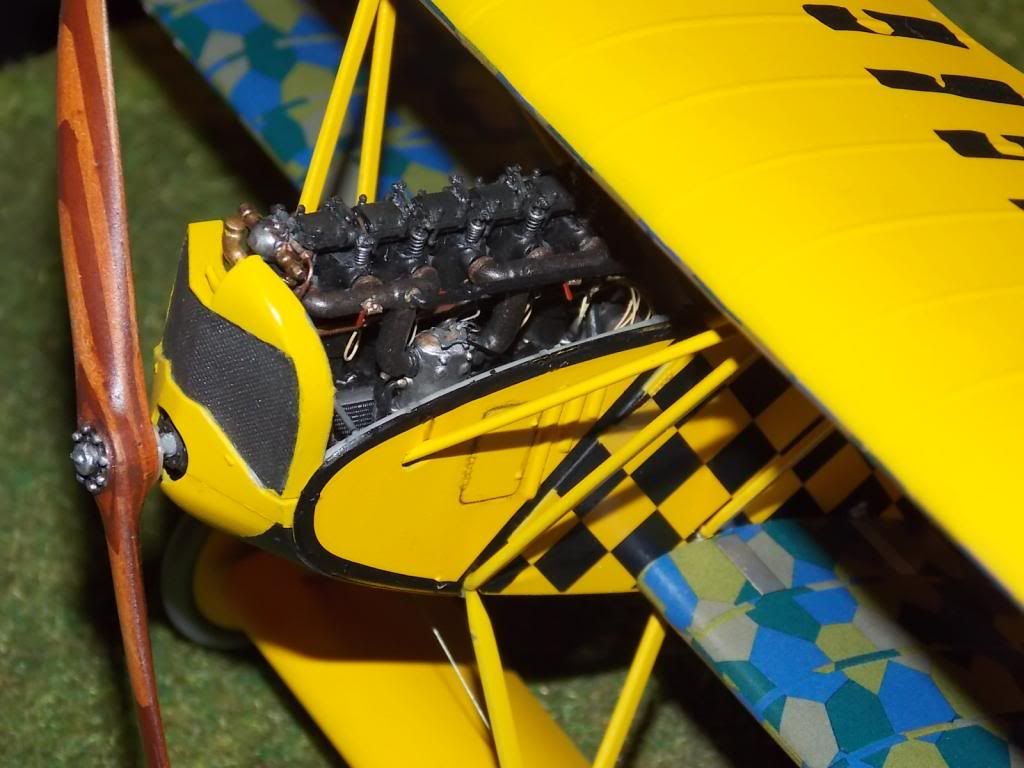
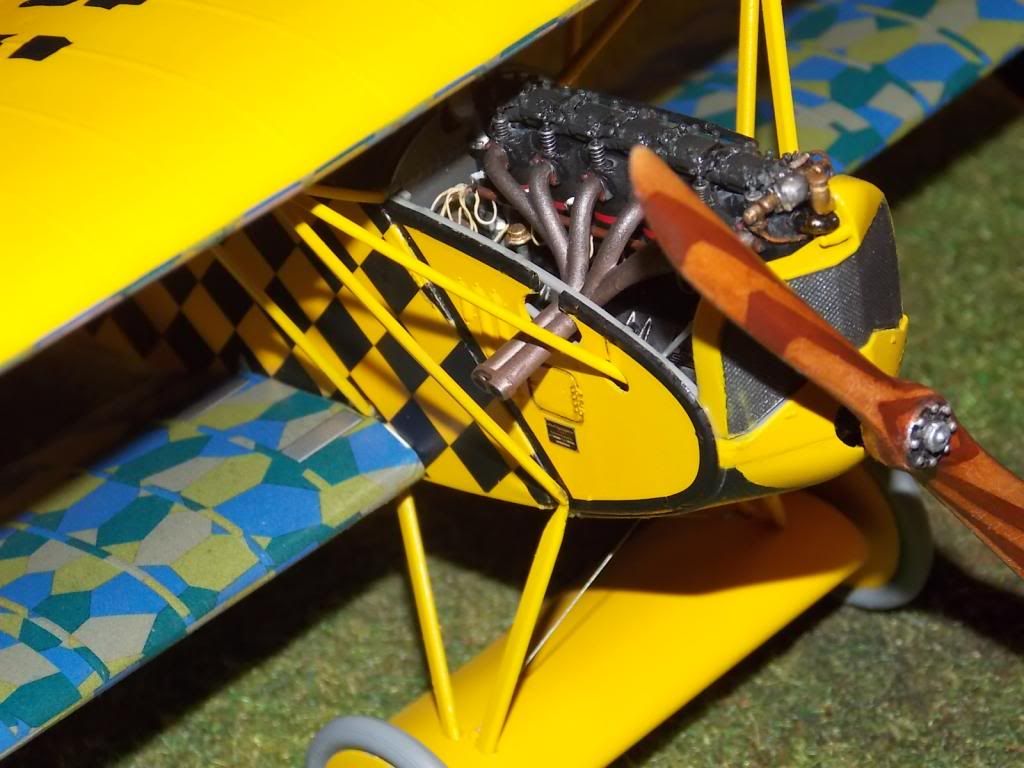
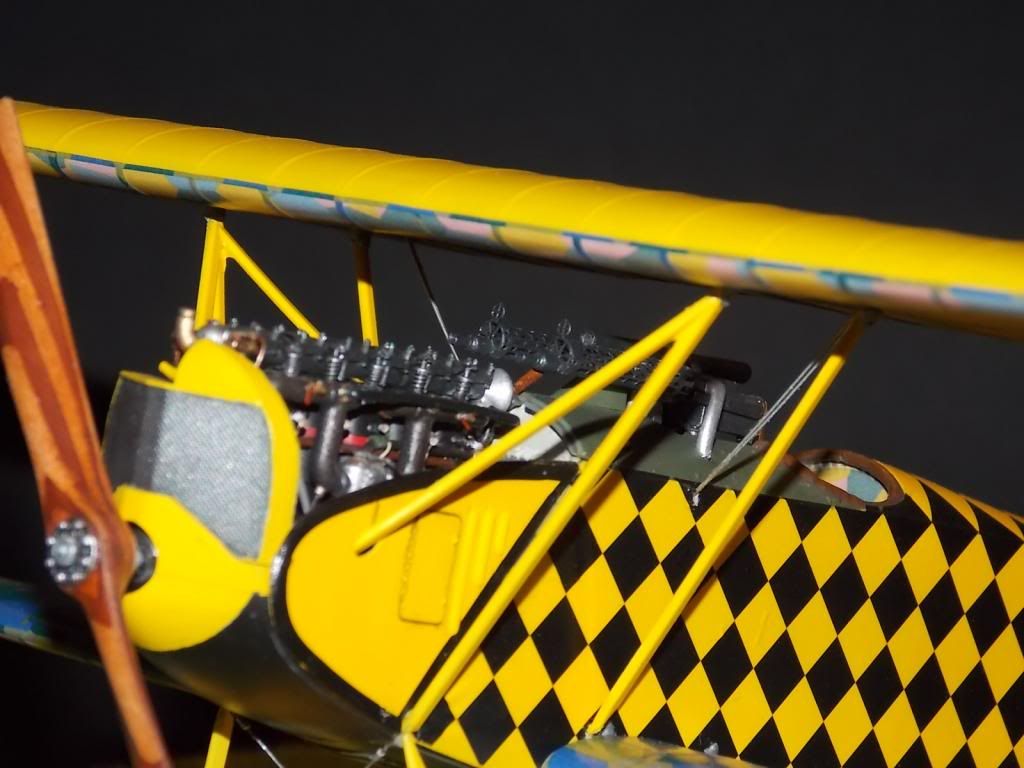
Here are the photo`s from yesterday`s work done . I still have to connect the fuel lines to the gold filter , connect the throttle to the carb., make the two supports for the radiator . Most will be covered .
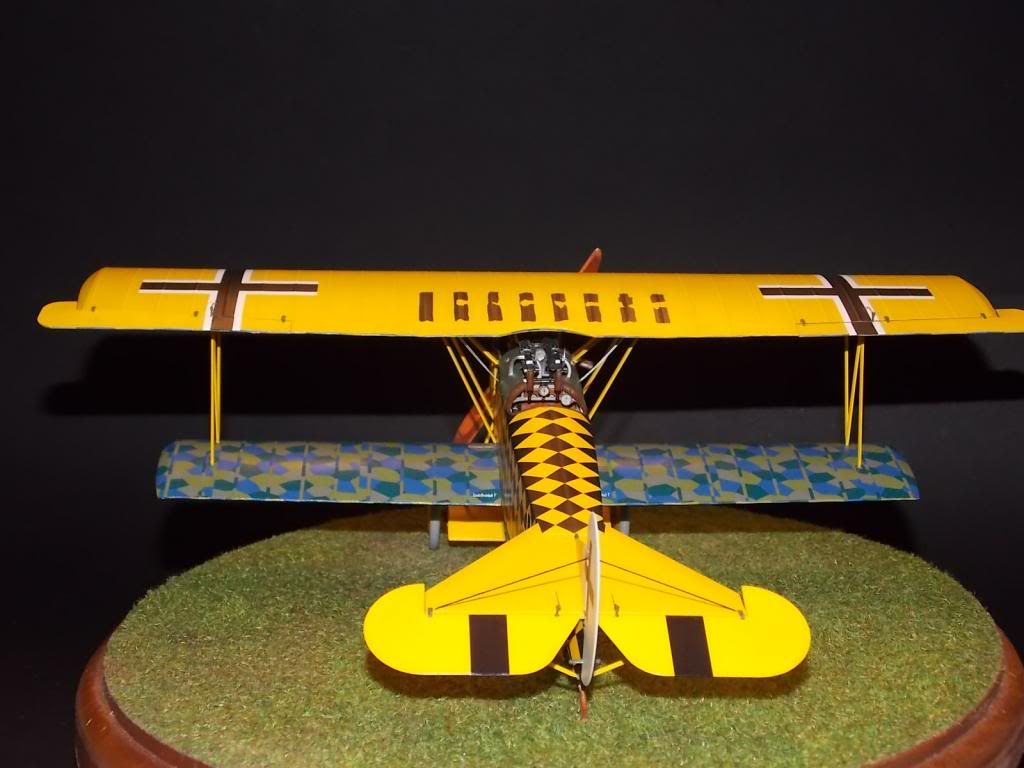
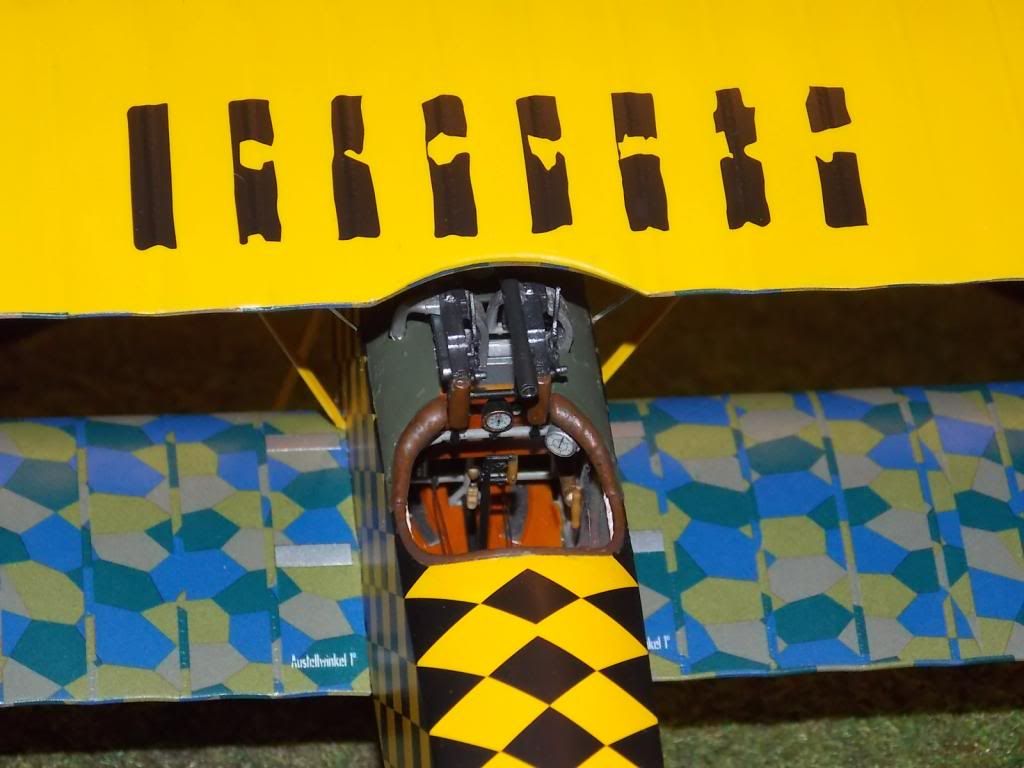
Here`s the detail I missed on the bottom of the wing ,

Engine detail
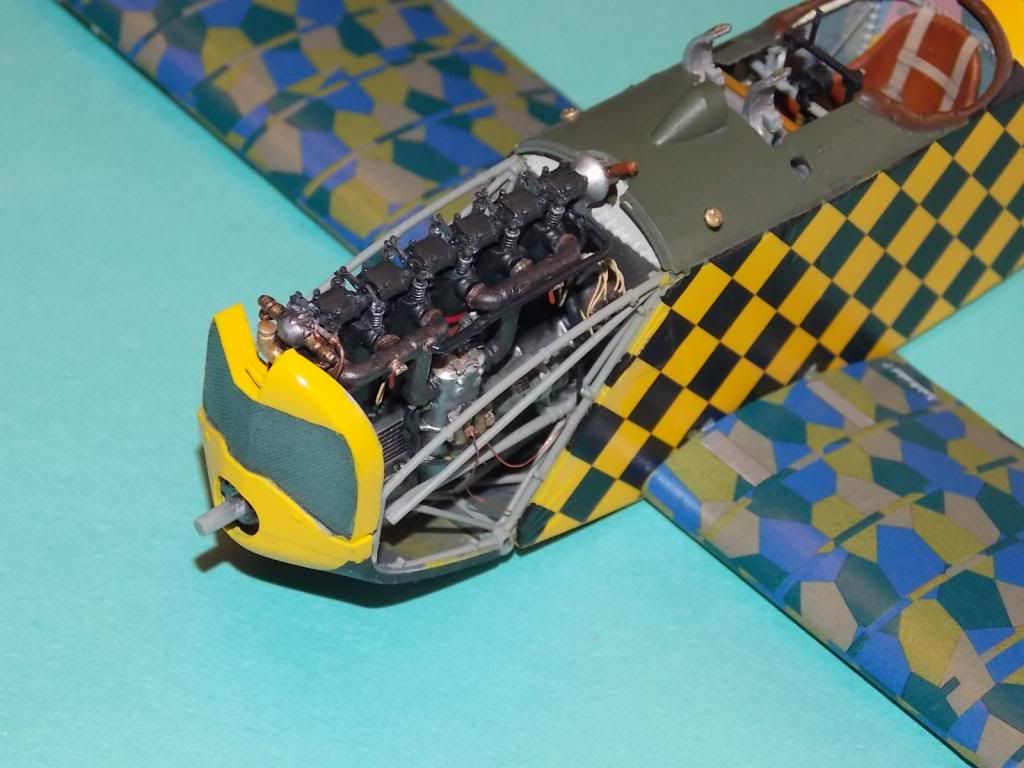
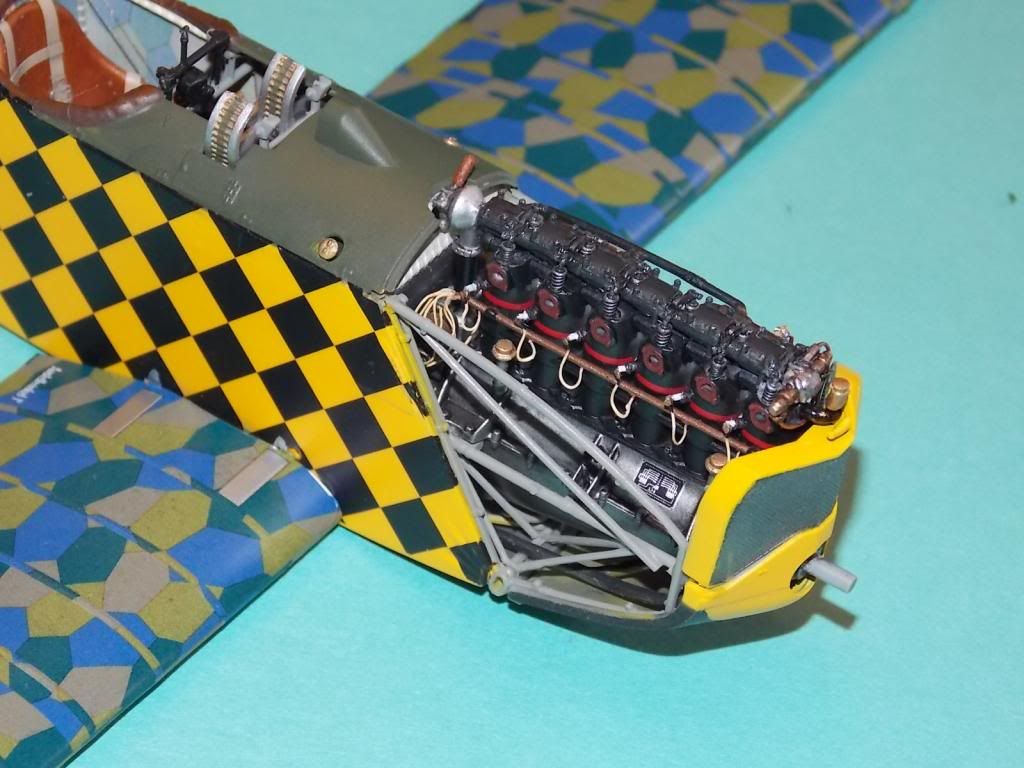
More to come soon,
Willi
-
I`m hoping for the Polish markings , the cuppi doll Fokker DVII
-
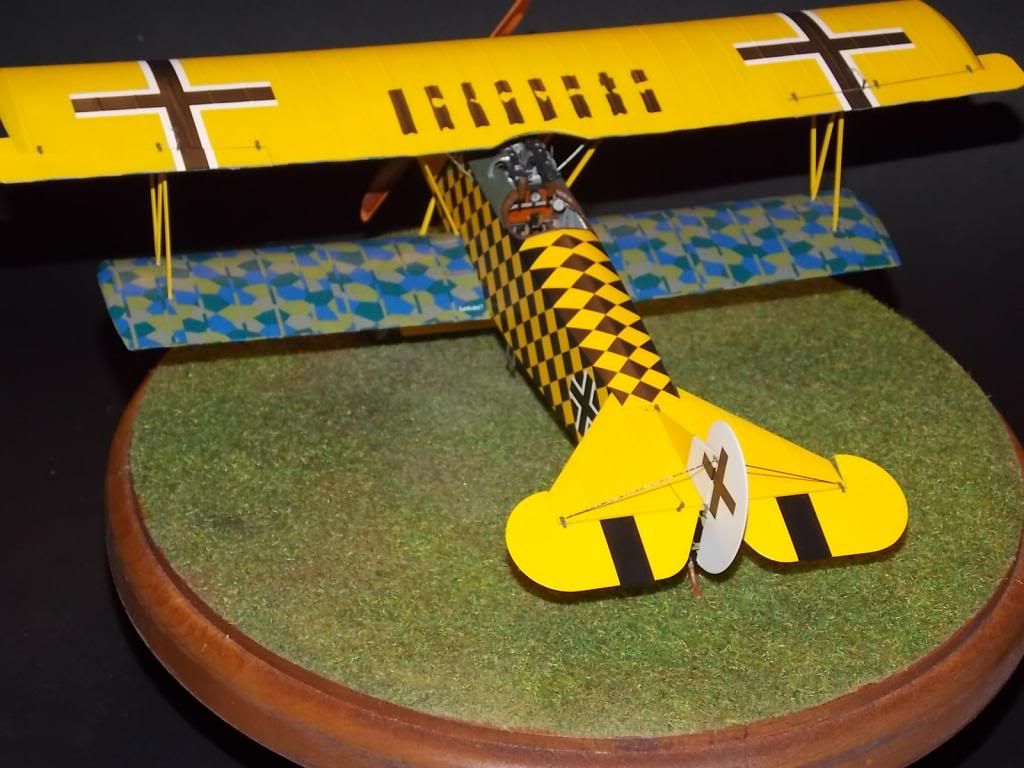
Did you see that those black strips go on the lower surface of the upper wing as well? It's easy to miss this in the instructions: note the caption and right photo at the bottom of page 27. Cheers, Tom
Thanks Tom ,
I missed that one . I was wondering why they gave two of those decals
 Thanks again !
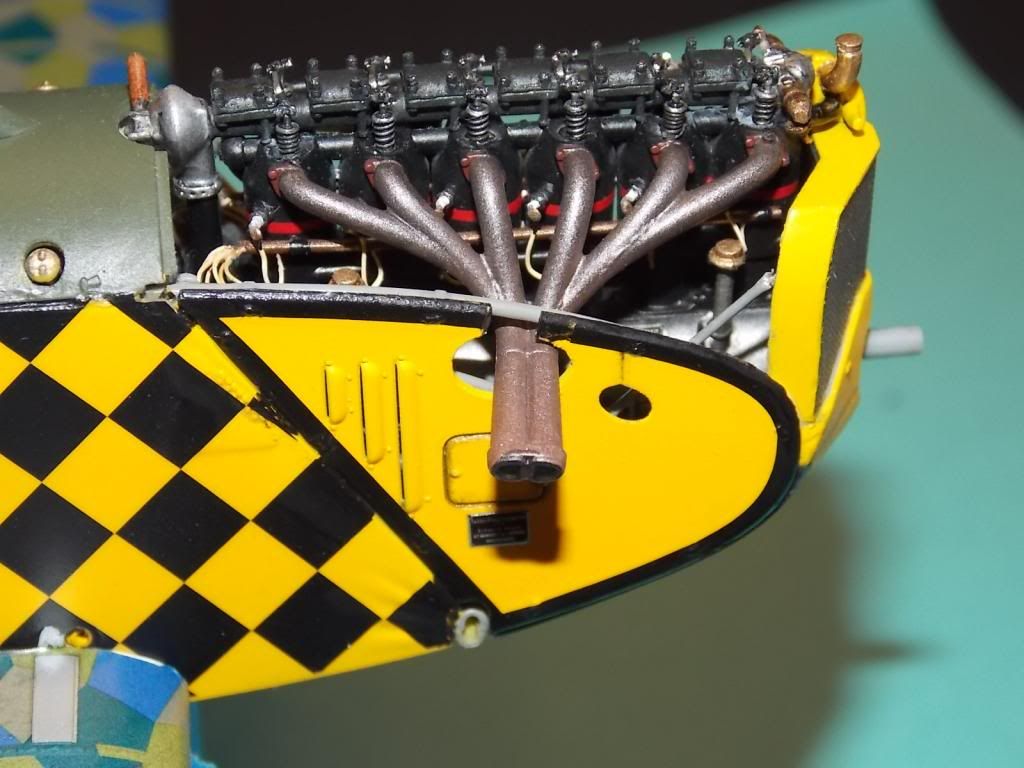
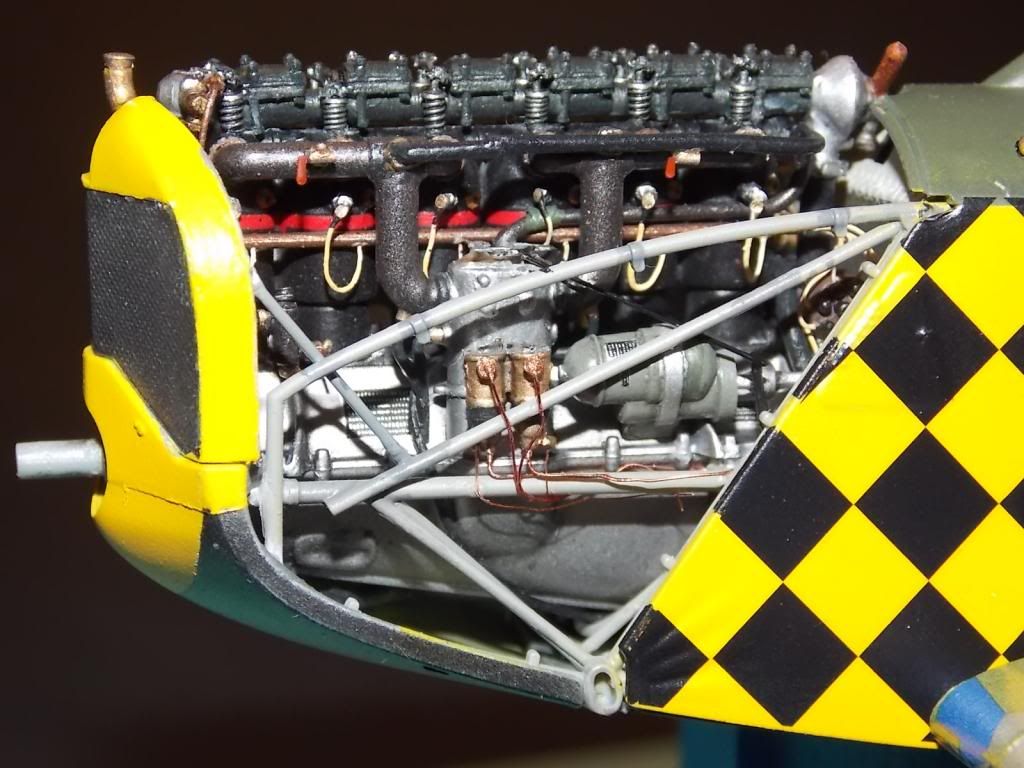
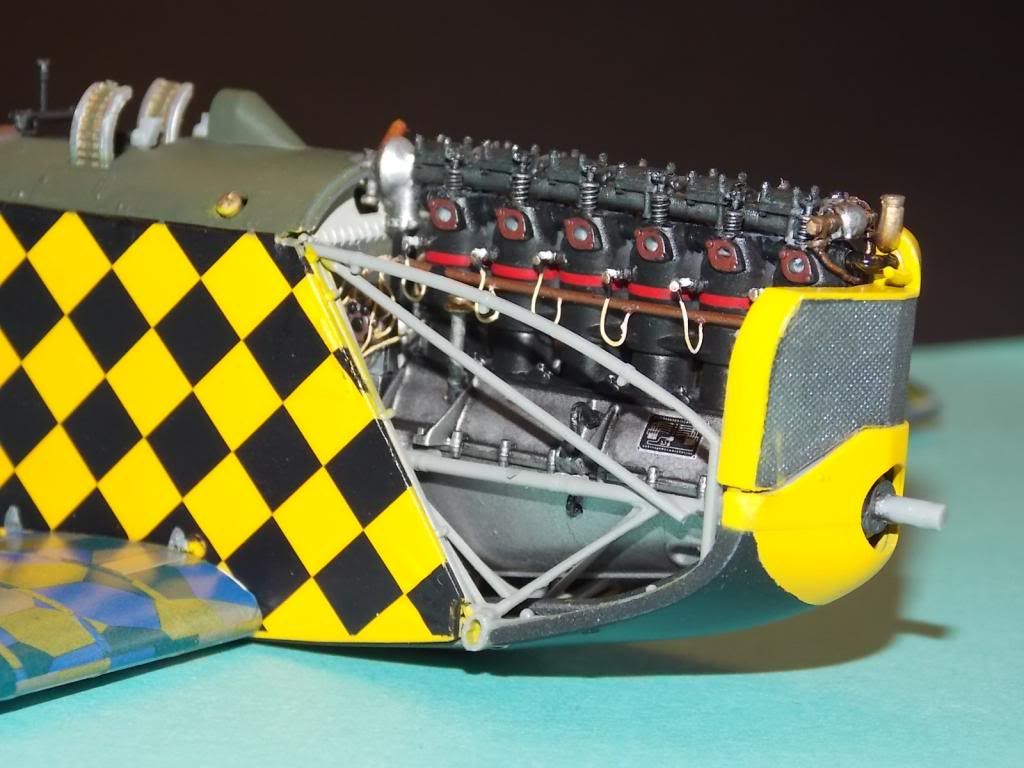
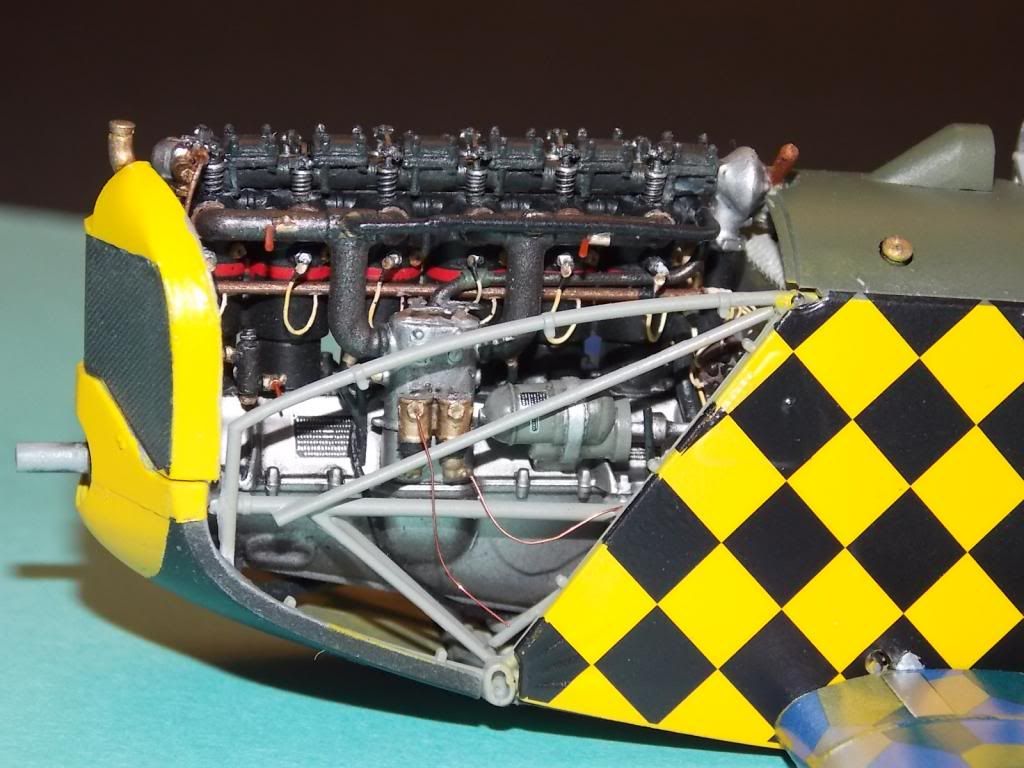
Today I mounted the engine and radiator . I think that was the hardest part I had so far . It is important to dry fit a few times before gluing . I started with tack gluing the back of the engine supports first . Then dry fit the radiator until you get a good joint on the bottom of the chin cowl.
There are two supports missing that hold the radiator in place . One on each side ,I still have to make those parts but you can see them in the picture on page 27 same one Tom was talking about.
Thanks Willi

Another Fokker Finished!
in Wings of the Great War
Posted
Hi Wolf ,
Your work on the engine is awesome .As for the valve spring stems ! they are there on the real one .They should not be cut on the top ! Just letting you know .
Willi