

Phartycr0c
-
Posts
1,728 -
Joined
-
Last visited
-
Days Won
3
Content Type
Profiles
Forums
Events
Posts posted by Phartycr0c
-
-
Have to agree, superb work. Iv'e got one of these great little kits to do at some stage. seeing what youve done, im looking forward to it. keep it up.
-
Just stumbled across this thread. I must say I enjoyed your P51 thread and this has all the signs as being just as interesting, moreover as the P40 isnt anywhere near a commonly built as the P51, it is an unusual subject to say the least. In addition I think its fair to say bare metal ones are hardly ever executed.
Keep up the good work. Foiling is something well beyond me.
-
Ok still plodding along with my F3. Shed loads of rubbing down and a couple of coats of mr surfacer and I think I may have this somewhere near.
There are a couple of "wounds" still to do but its getting there.
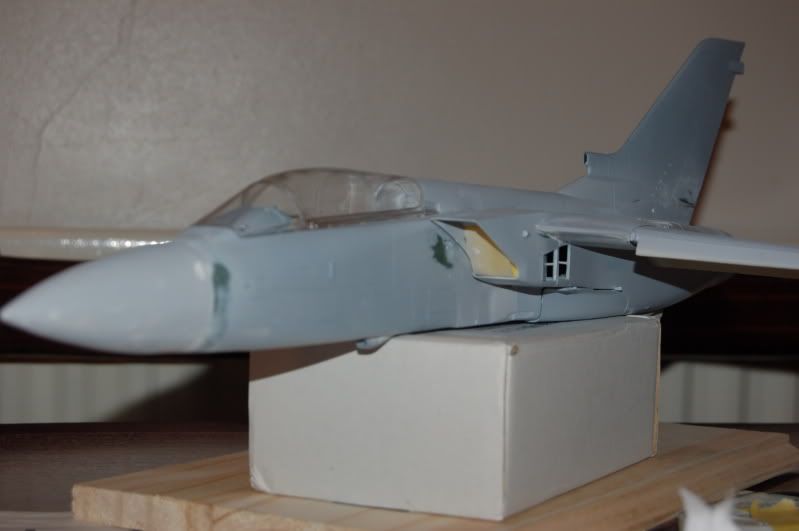
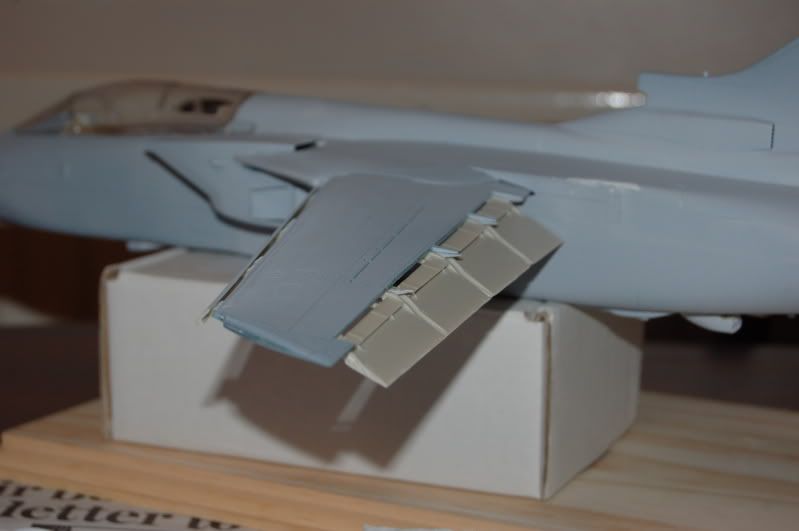
As you can see, the Paragon Flaps and slats have been completed. Once Im happy with her overall, Its some re scribing (never my strongest point) then orf to the paint shap.
TTFN
-
i think i decided on another paint sheme
i do have the iraqi decals, but they are a little too boring. i can use these on other planes, maybe on a mig 23
so i ordered a book from india about the 47th squadron, the archerrs and found this drawing on wings palette.
whaddaya think?
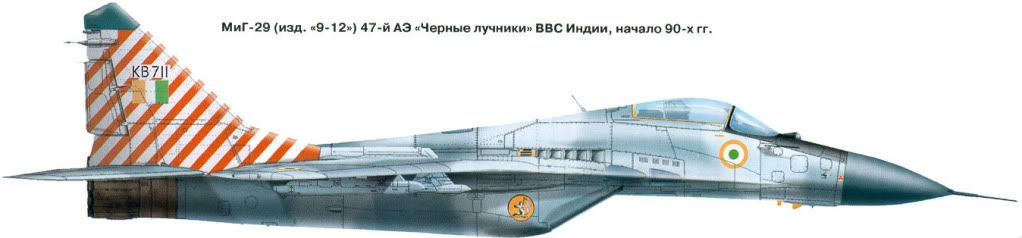
You HAVE to fill your boots with that colour scheme, it is outstanding and will compliment your detail work superbly
-
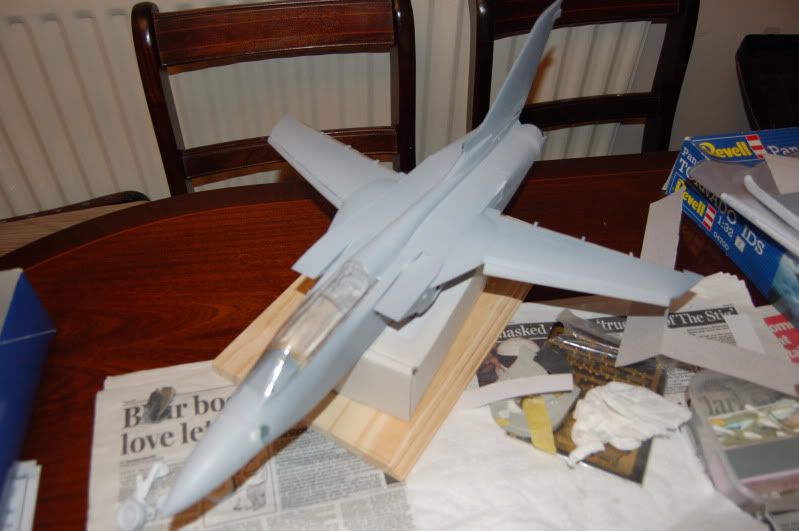
Ok a quick update while i wait for the filler to dry on the wing extensions!
The now correctly seated wing gloves
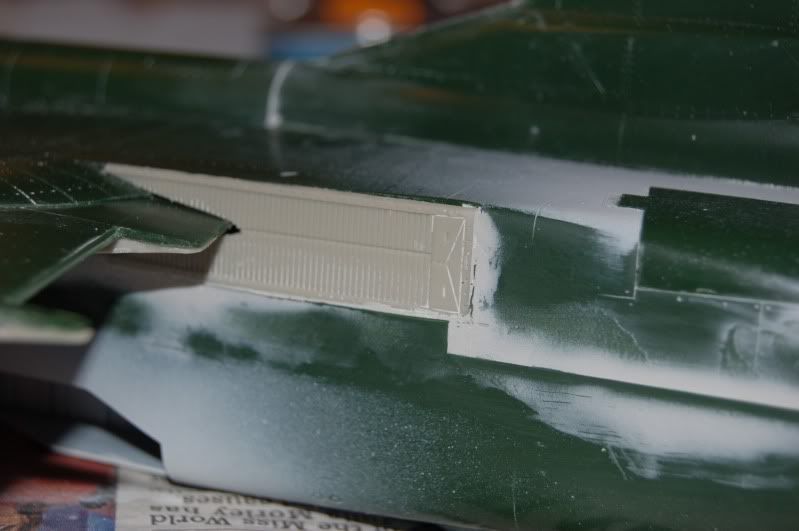
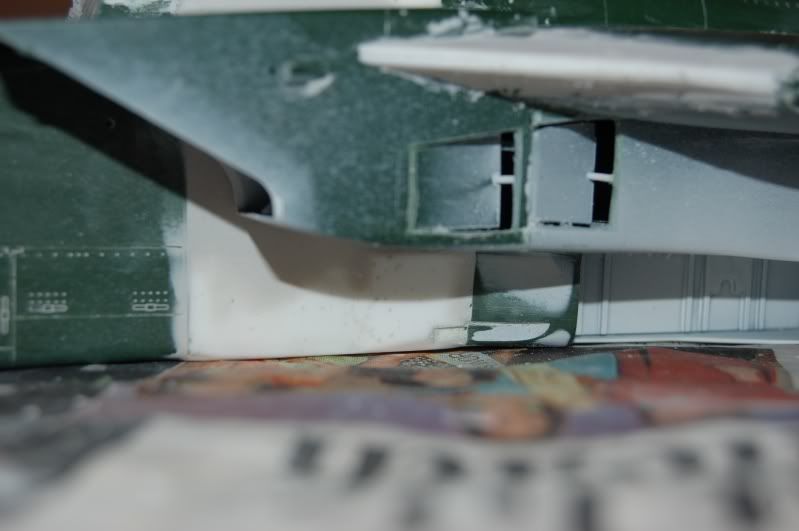
and open auxillary doors
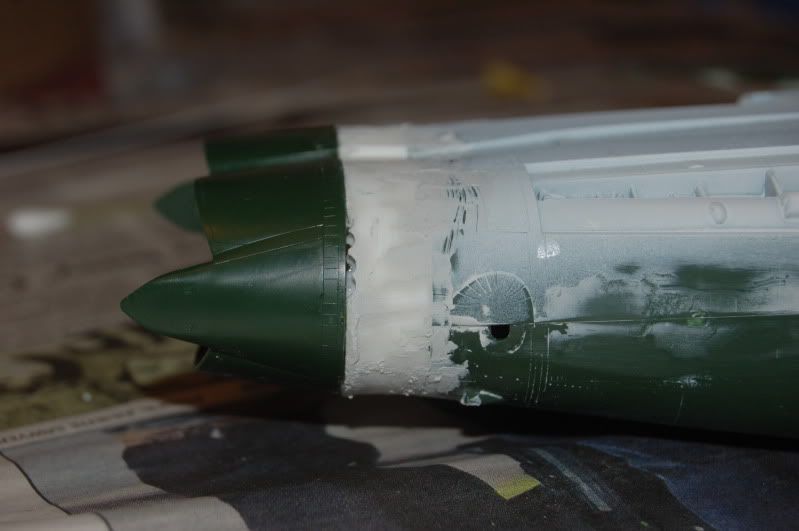
Plug was a little out on top so Iv'e had to blend it in a little, and the attempt to reshape the fuel tank area. Don't know if it's anywhere near right.
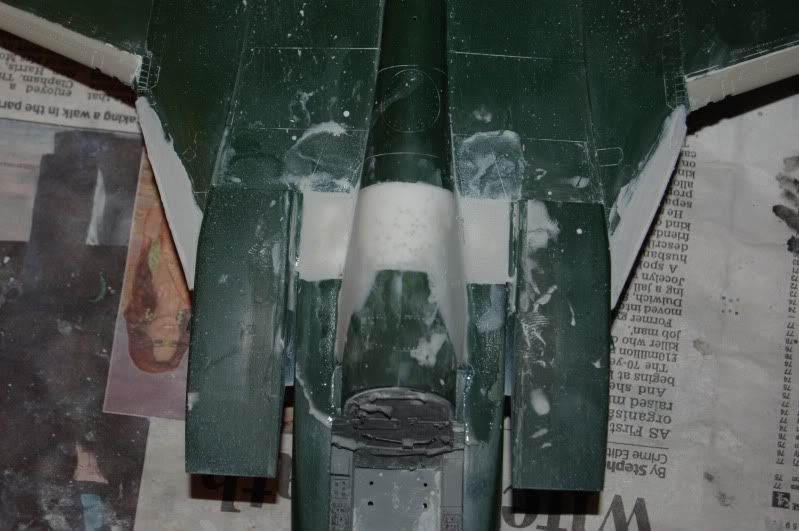
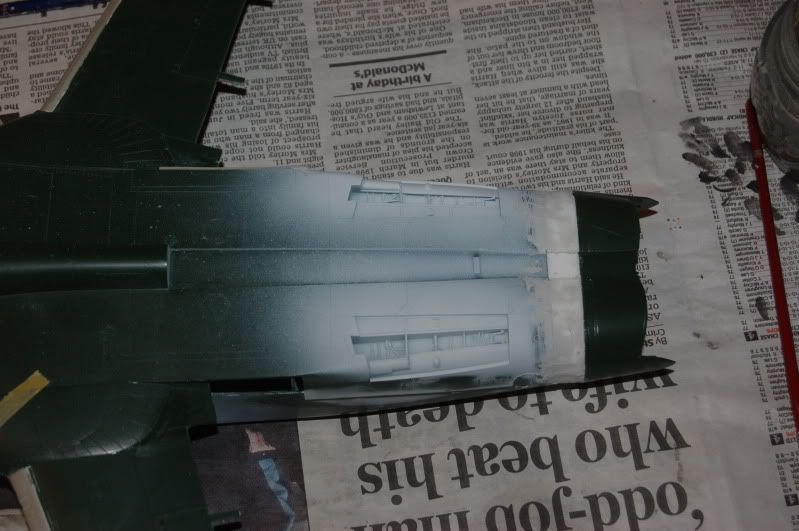
Overall, underside
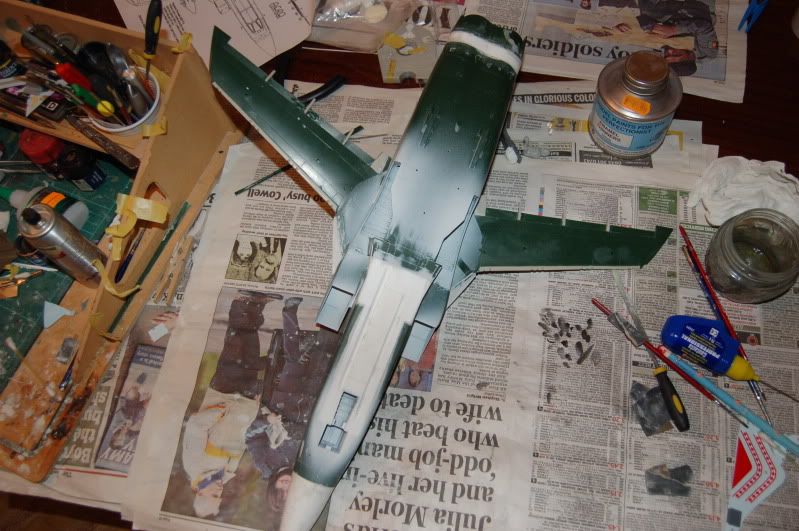
Overall topside.
Some rescribing needed then a through wash before blowing over with Mr surfacer to pick out any imperfections.
-
Ok not really much to update as todays wet weather modelling fest turned into more time spent assisting my two lads with their respective builds i.e this
and this
meaning bits and bobs got done on the Tornado.
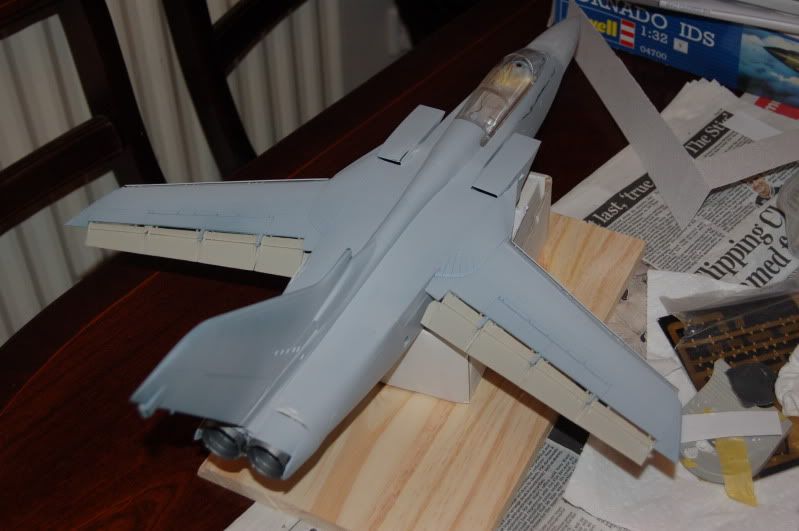
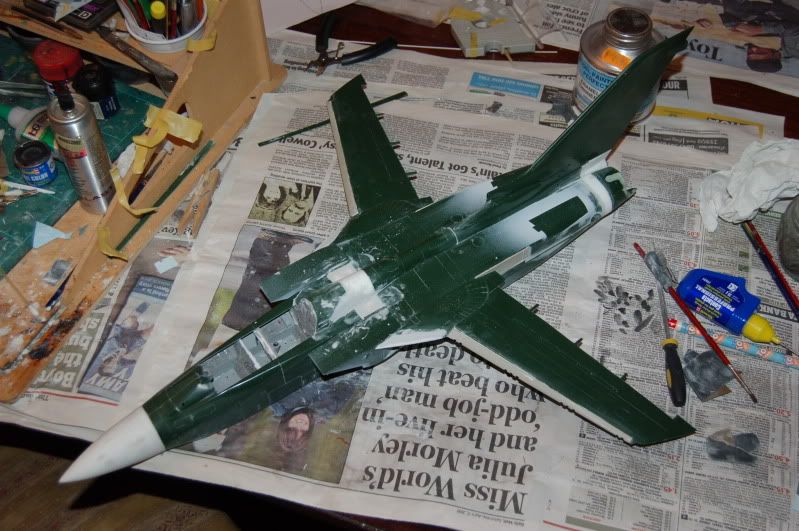
Since my last update I have mainly built the main structures of the aircraft i.e wings tail elevons and fuselage,
The lh gun port is filled and sanded and the refuelling door has been scribed
wings have been cut and prepped ready for the Paragon flaps and the "tarse" end has been extended and filled (yet to be rubbed down)
Ive also included one of the Paragon wing gloves, although im not too sure about this as it sits proud of the fuselage although it is far better than the kit one. Ive also opened up the APU vent, this will be painted at the relevant point.
Finally, Iv'e opened up the auxillary air doors on the intakes
A little work required on the tail methinks.
Under carriage is also done. Im using the white metal Scale Model conversions set due to the weight of the bird. The front strut is thankfully modeled with the oleo extended which will fit in great with my indented display.
Next up is the "joining together" ceremony which will allow me then to get her "mr surfacer" prepped and into the paintshop.
She will be carrying the large hindenburg tanks, four "skyflash" (sparrows) and four Aims, hence the requirement for metal legs. TTFN
-
Gorgeous, simply gorgeous.
-
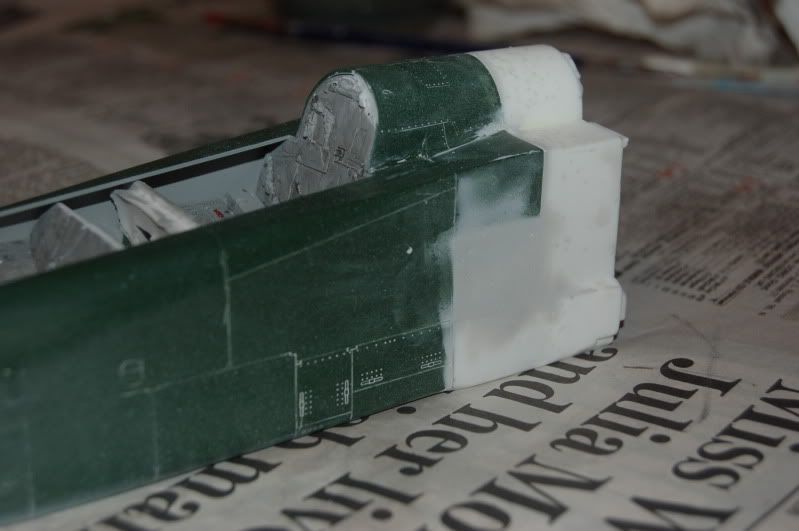
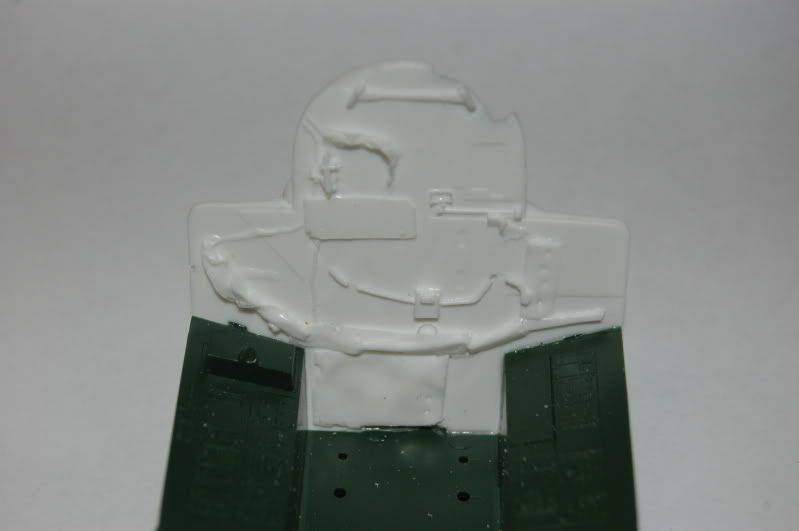
ITS IN! so to speak, the cockpit, the wheel well and the extension plug.
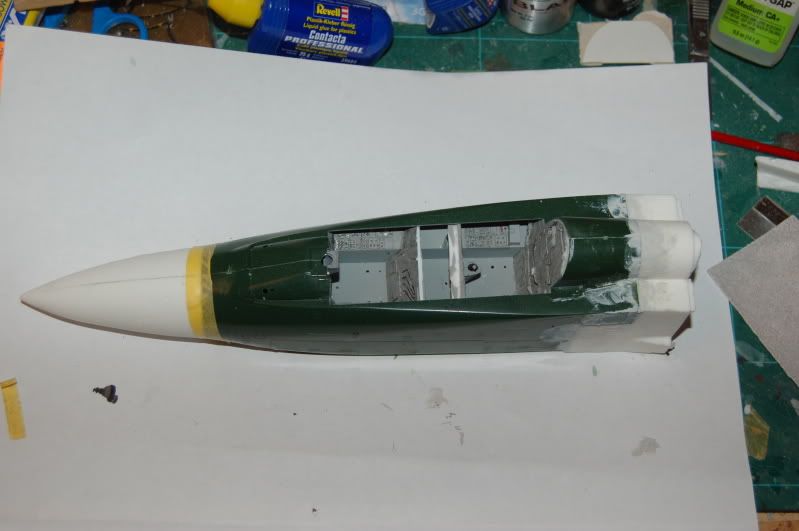
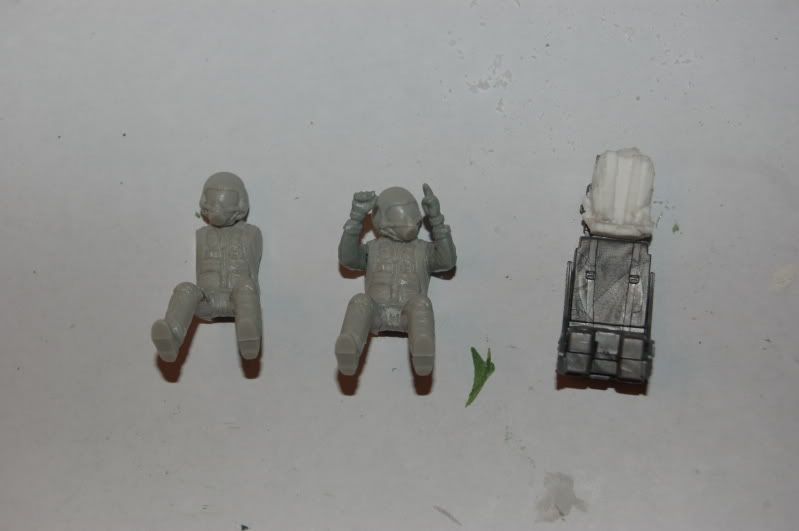
All in all it went in nicely however, there was a lot of hacking and filing to be done. The cockpit itself, I have kept to a minimum as most of the detail will be lost as the cockpit, I have decided, will be closed. The project itself will be my attempt at this scene
The cockpit was sprayed, washed and drybrushed.
and introducing the staff members, but they are for later.
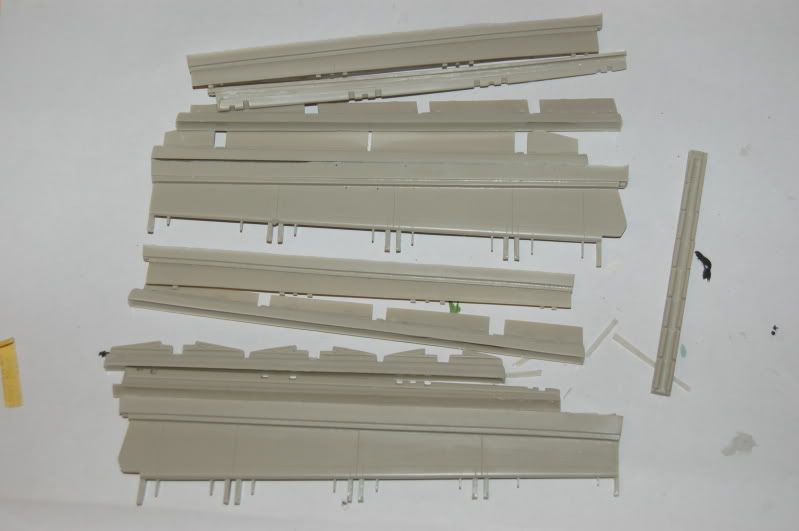
Next the wings got a bit of a hack, in preparation for all that lovely ? Paragon resin!
Before
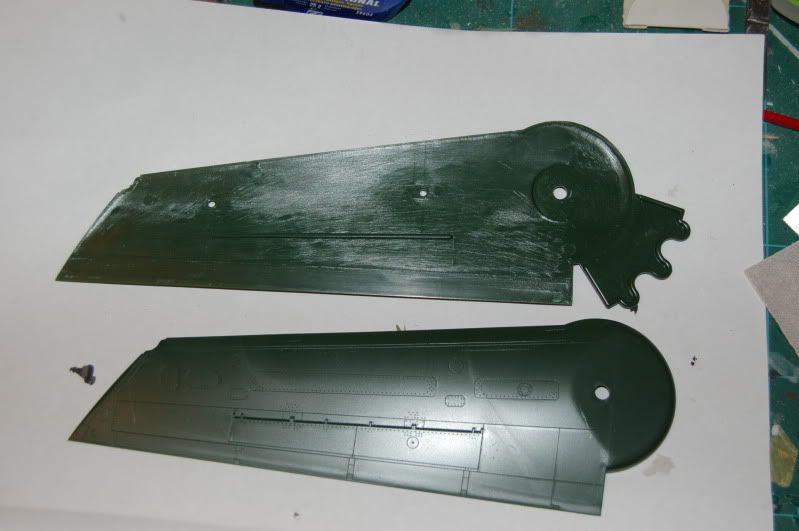
After

lying in a pile!
TTFN
-
Fastest off the blocks then Ollie!
Ill be getting one of these for my stash, but I might just wait to see if a grey un comes out....
As a matter of interest, what are the decal options for the red devil? Is there a black one in there ?
Keep up the good work.
-
Ok for all the Tornado followers, Can anyone tell me why when at rest and powered down with wings extended, the GR4 sits with the wings "all together" yet the F3 sits flaps and slats out. Is this config chosen by design on both ac or is it something that occurs when power is absent from the relevant jacks.
The reason I ask is that iv'e found a couple of photos which tends to display this anomaly. I have ony seen one GR4 at rest with the flaps down.
-
Ok, not so much an update, more a statement of intent ish.
Iv'e had a think. Because I have a Paragon Flaps and slats set for the big Tornado I am thinking of popping some staff into the cockpit and presenting the aircraft on a base at an angle as if just touched down.
That means everything can hang loose and I can have the airbrakes and such out. what do we think?
-
Take a quick look hereIt gives a short run down of all the 1/32 "new tool" boxings up until the recent re release. Anything earlier than these are the older, slightly more inaccurate releases.
-
Really interesting conversion (that is pretty much the way I would do it as well, as it more or less replicates the full sized conversion)...I assume that there is also a rear extended fuselage plug and wing glove extensions included in the conversion kit as well?
Derek
Yup, both the rear extension and wing gloves are indeed there. Again will need a little cleaning up.
-
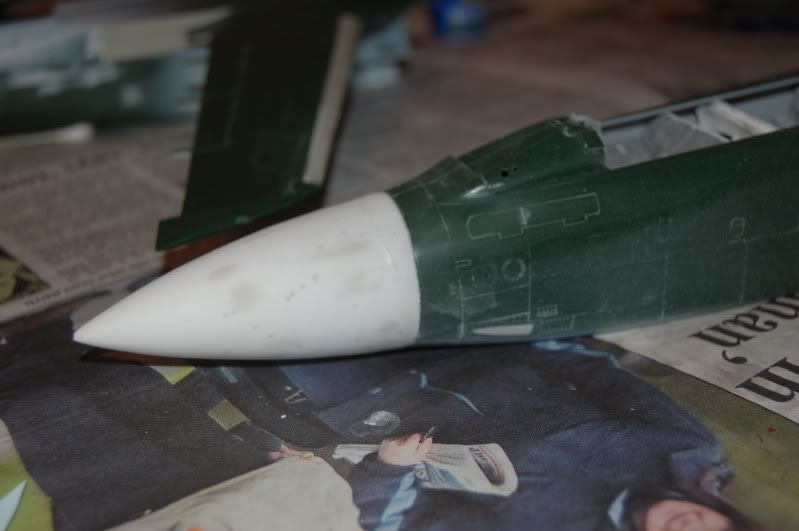
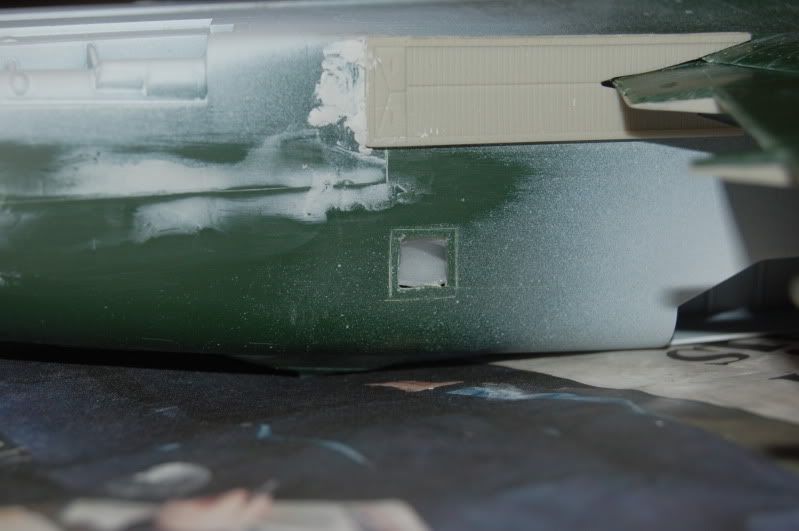
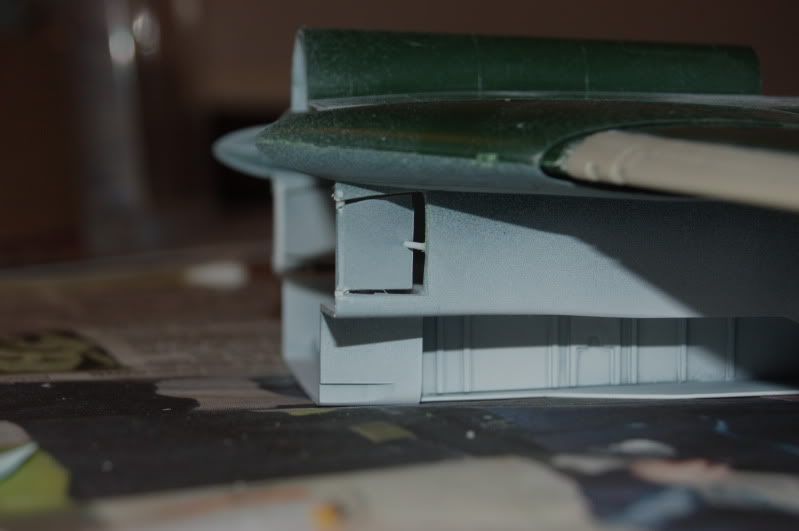
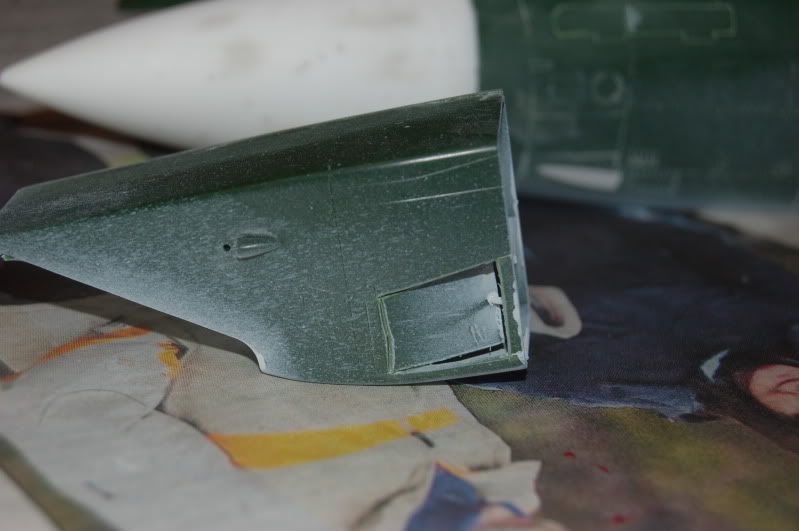
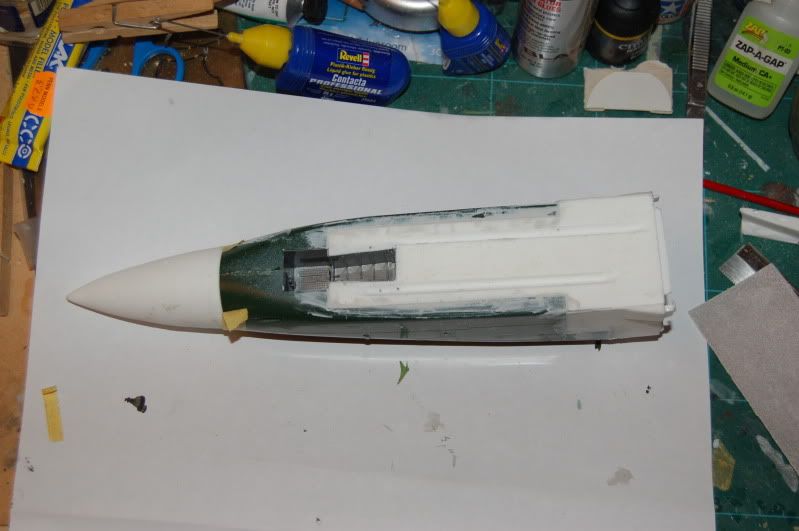
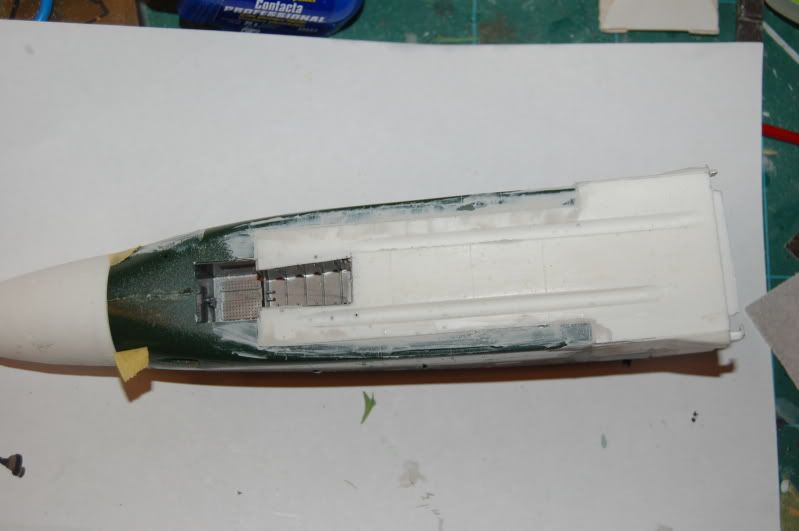
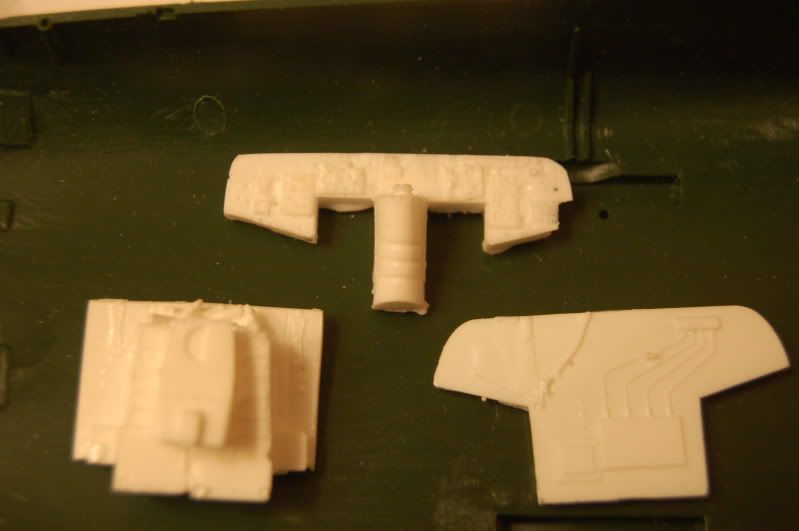
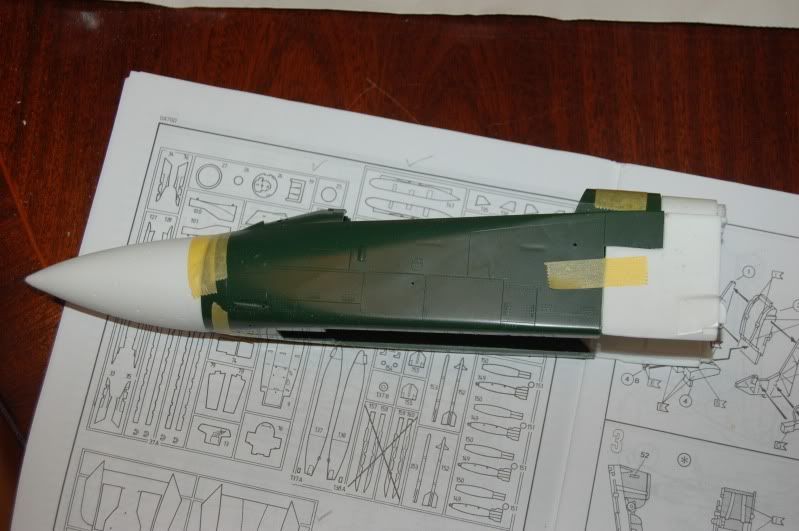
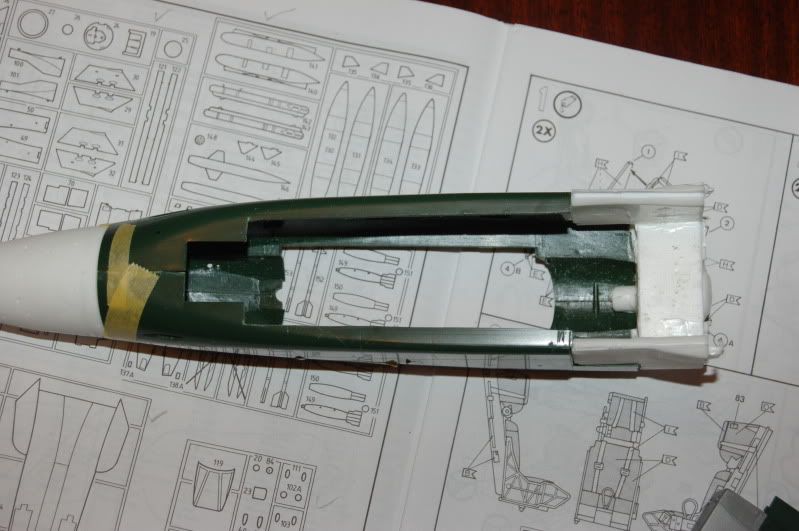
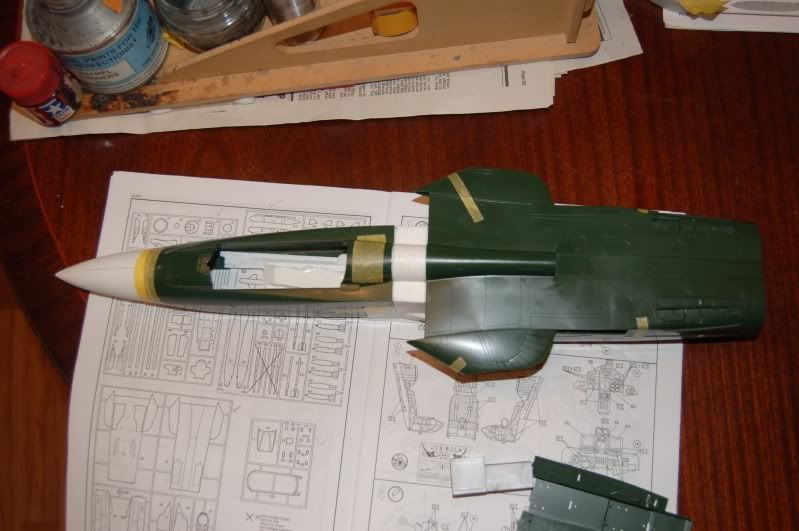
Not really much of an update, just to say that after what seemed like an age of cutting, sawing filing and sanding, im left with this
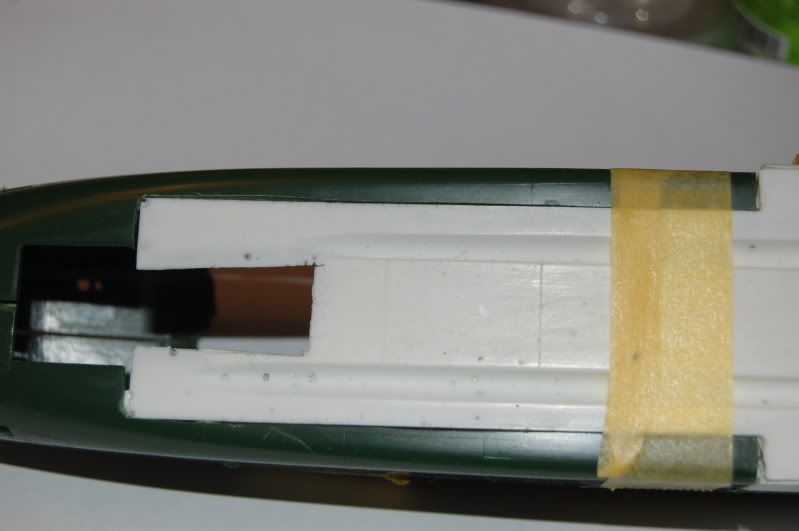
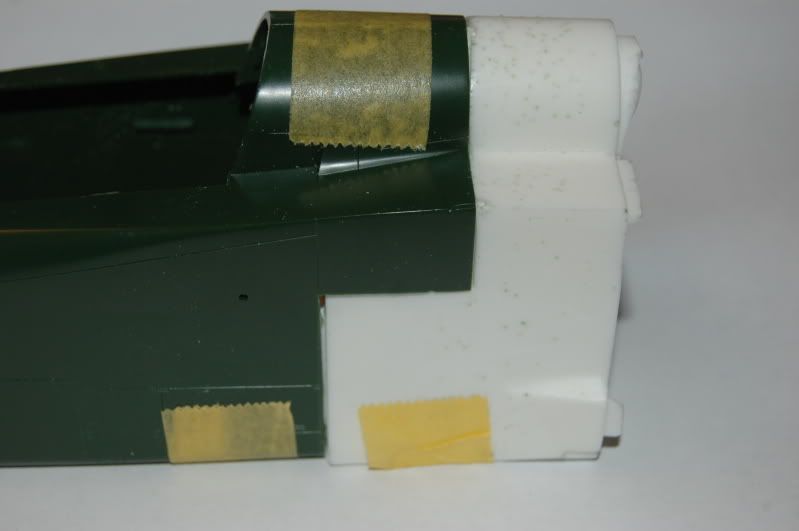
What you are looking at is the replacement fuselage underside with the recesses for the skyflash missiles (adapted aim120's in this build btw). In addition the fuselage extension plug was made to fit.
This is all obviously before filler and is as close as i can make it given the state of the resin, which brings me on to the next point.
When I bought this kit off Meidert some two years or more ago, he was at pains to point out that the rubber moulds had reached the end of their life and as such he wasn't prepared to guarantee the quality of the resin parts. With that caviat, I knew possibly what iIwas getting in to until now.
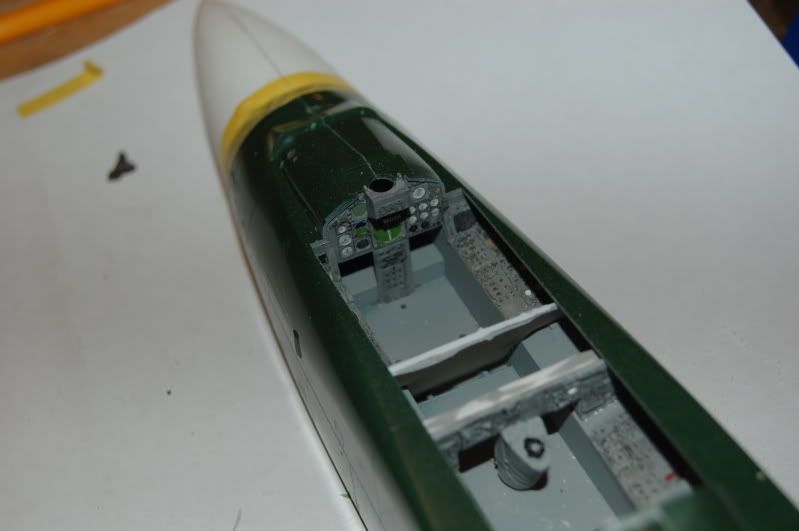
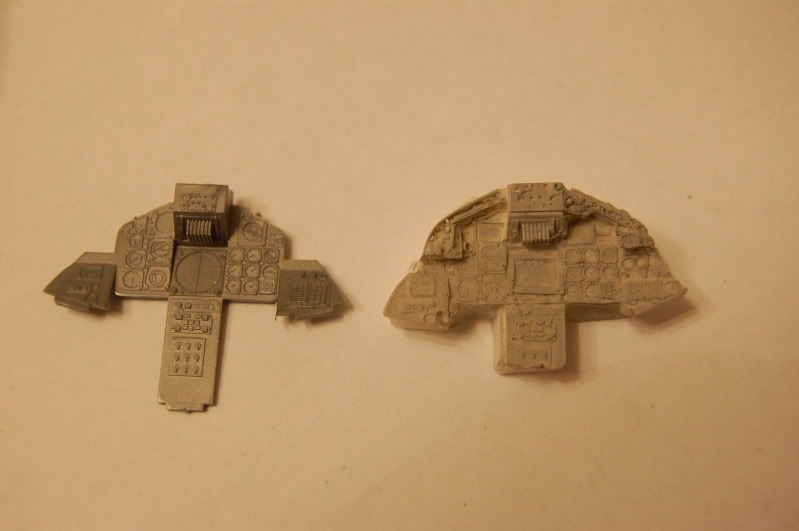
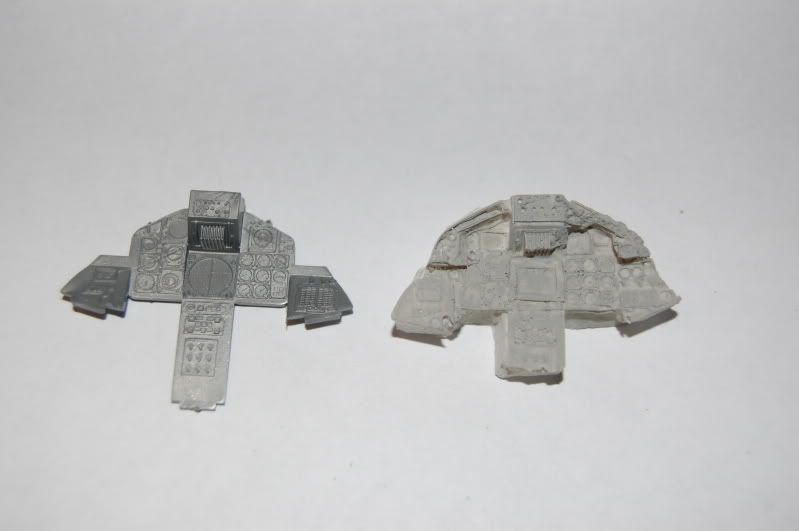
Having completed the fuselage cutting it was time to start on the cockpit. The kit provided new panels bulkheads and ejection seat heads. On close inspection, my eyesight allowing, I noted the following.
rear cockpit bulkhead has a chunk missing out of the top curve of the panel.
there are a few pits where they shouldn't be on the centre bulkhead and crt panels. nothing major though,
the big problem in my opinion is the front panel I feel it is unuseable and but for the tiny difference between the GR and the F3 I think I will be using the Kit part.
It sounds like Im having a go at Meinderts work, Far from it! he was brave nough to put the work into this conversion and by heck I will do my utmost to get the best out of what I have got, as, lets face it , it is the only game in town.
I want to complete the build as a tribute to the F3 which is finished finally in March this year.
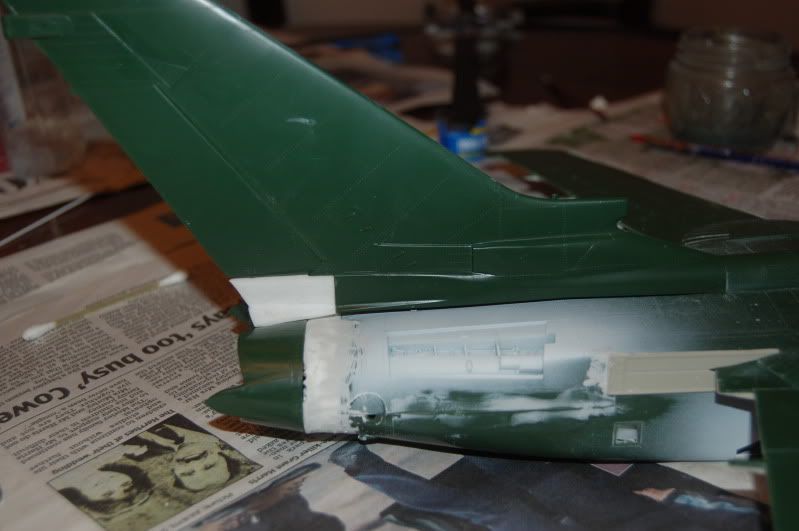
Oh and I stuck the huge fin together.!
-
Sublime building. The Engine detailing is superb, the pit is outstanding and the paintwork in my book is beautiful .
well done
-
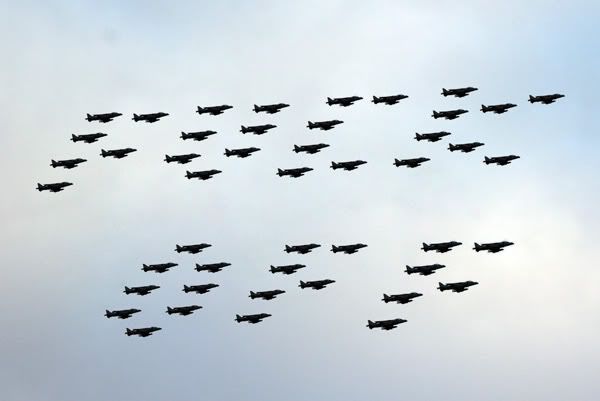
It is indeed! I would love to take credit for the shot but the tome is my own. Dont think we've ever had had that many serviceable Harriers in recent years.
-
Due to the weather blighted planned last flights of the Harrier from Cottesmore, the aircraft were given one last swansong in late December when 800 Naval Air Squadron and IV ® Squadron at RAF Cottesmore flew an approved route over several Lincolnshire and Suffolk airfields, then on for a flypast over the MOD and Parliament to entertain a number of UK and foreign dignitaries and massed MP's.
The disgruntled yet highly professional former Harrier pilots were specially recalled for this event, laid on by the RAF top brass in an effort to demonstrate that despite the cuts, the good old British stiff upper lip will eventually see us through.
This event wasn't well publicised and unusually escaped the attentions of most of the Aviation enthusiast sites.
Fortunately an image of the London leg of the flypast was captured for prosperity.
-
That is a lovely build and VERY well presented. Gives the impression that the engineers are on a brew break and left everything as is.
Superb stuff.
-
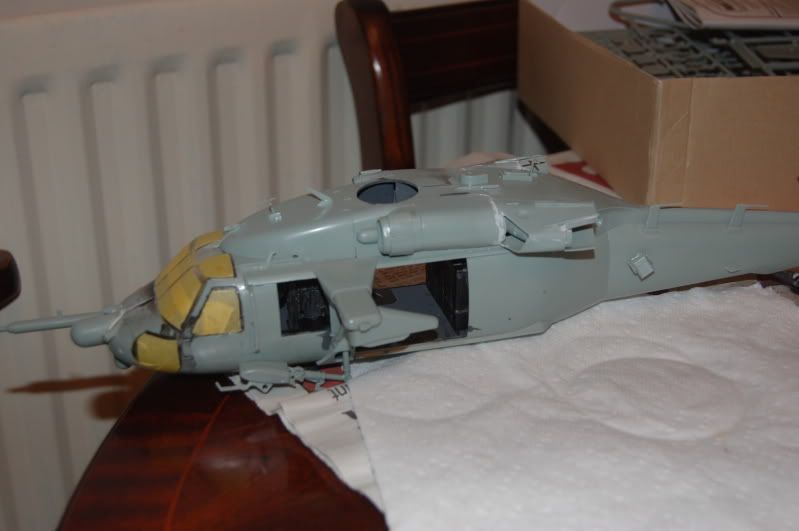
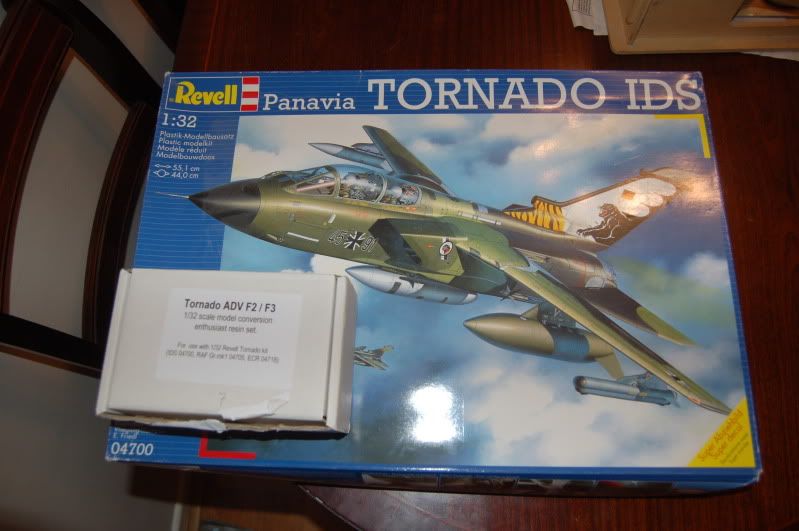
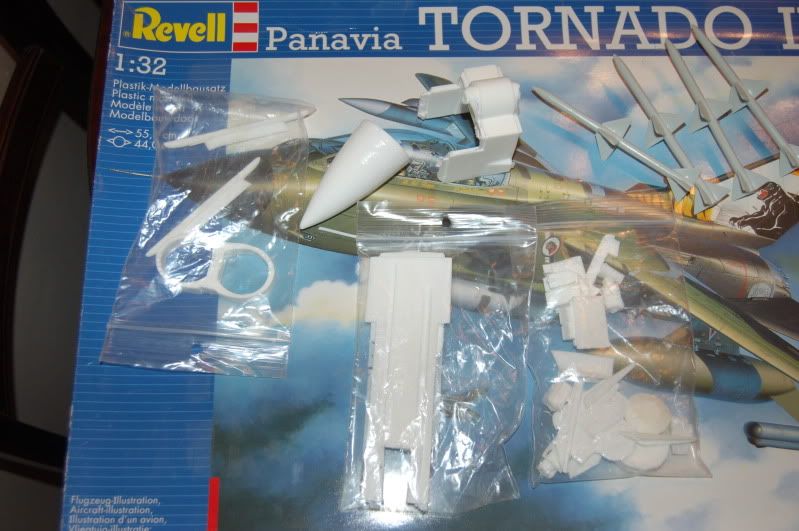
I was fortunate enough to lay my hands on one of Meindert de Vreeze's resin conversion kits. It was a limited run and has been sat in my stash for a good couple of years.
A little bit of hacking and filing of the relatively soft plastic later and this emerges.
one gets the impression of what this bird will look like.
one decision I do have to make is wether to smack in the paragon Flaps and slats set. If I do Ill aim at doing a "touch down" dio where the aircraft has literally just landed.
If not just having the aircraft at rest, in which nothing hangs loose and the rbf tags will be in place with the cockpit open.
Decisions decisions.
-
I'm looking forward to this one. The other two sound like fun too...
Are you going to be using an AM cockpit?
Of sorts, there are some resin bits and pieces in the kit which provides for the cockpit conversion to F3 standard so i will be utilising these but the actual pit will be the kits.
-
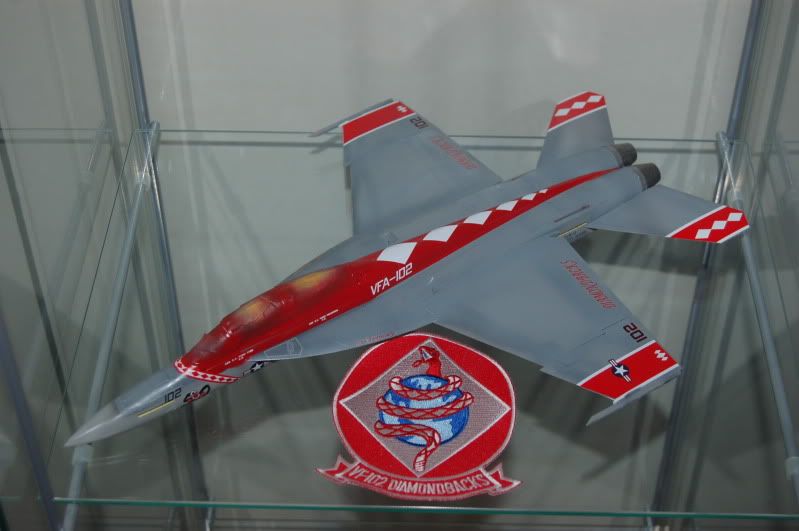
I will be mostly converting one of these
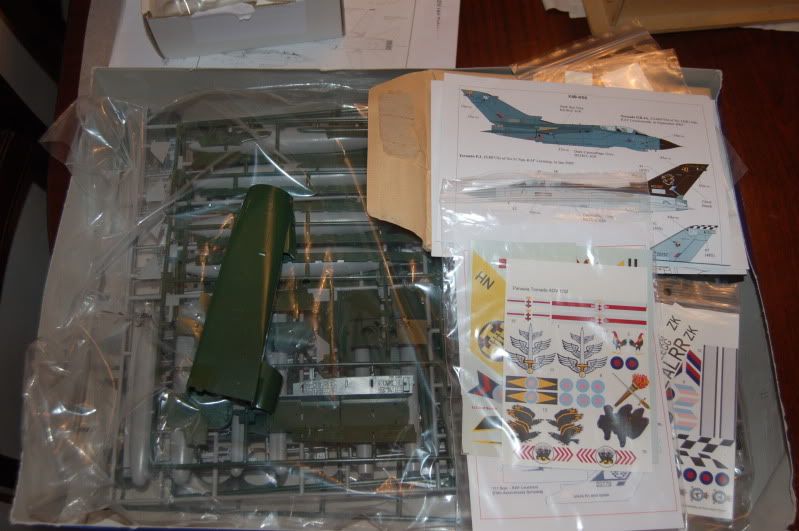
to one of these

Probably somewhat predictably she will be finished as ZE887 of 11 sqdn in 2005 90th anniversary scheme. She will be the first of my 11 sqdn jet project which will consist of an F6 Lightning, this F3 Tornado and a current Typhoon all 1/32.
anyhow, I promise I will be a bit more regular with the updates.
-
Folks, I know I need shooting when it comes to this Work In Progress, Iv'e hardly been giving regular updates purely because I cant balance exactly how much you guys and gals would be interested in.
For starters, the purists would be able to drive the proverbial coach and horses through this build in terms of accuracy and dare I say it, scale. For example things like the IR receivers, flare dispensers various lumps bumps and bulges, are very much "Guesstimated" from photos Iv'e collected and roughly scaled up / down as needed.
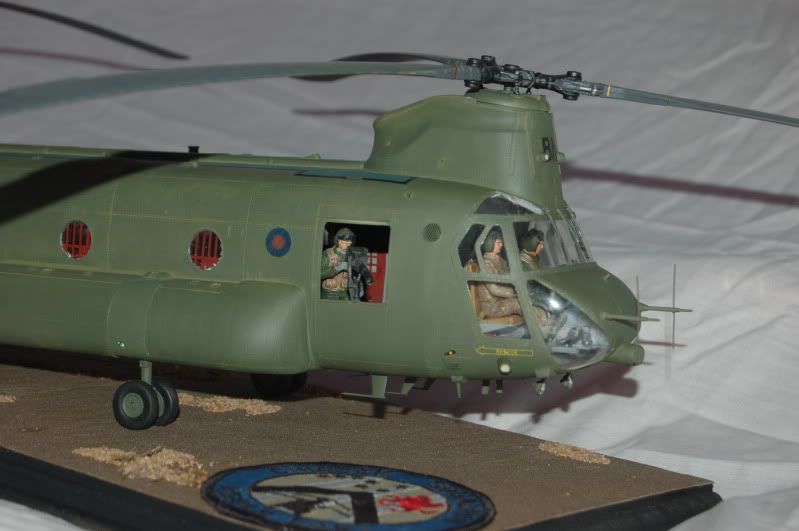
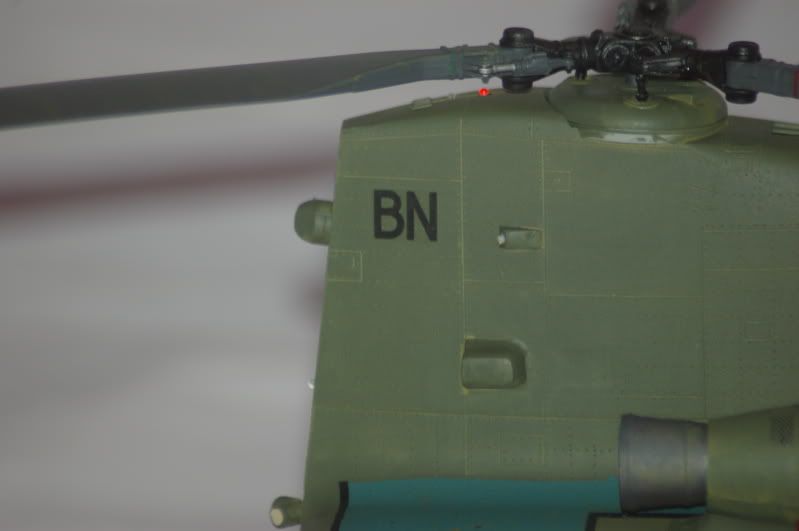
The actual equipment hanging off the sides may not be totally accurate and iv'e totally omitted the external winch, However I do know that when BN was initially deployed to Iraq this wasn't fitted, neither were the Massive dust filters on the engines.
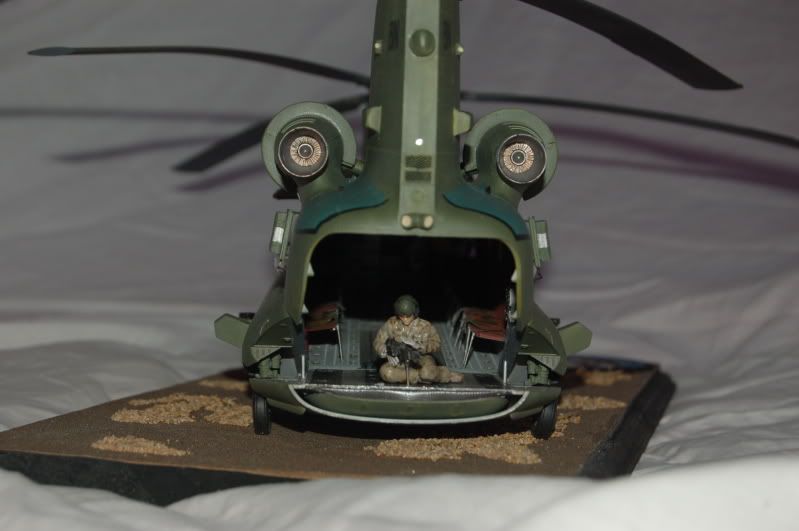
To bring everyone up to date, I have scratch built the bumps and bulges using Miliput, plastic card, copper wire and leftover resin offcuts.
She was painted with Humbrol 86 then washed with a mix of Humbrol 86 and revell 16 a, light yellow brown. I was aiming for a dusty work worn look and believe me that is exactly what I had up to the point of sealing her with Citadel Purity seal which dumbed down the dusty look a little too much for my liking.
Superb decals were supplied by Paul at Parkes682Decals. they went on well and settled down beautifully considering im using Klear as a setting agent.
Anyhow on with the show.
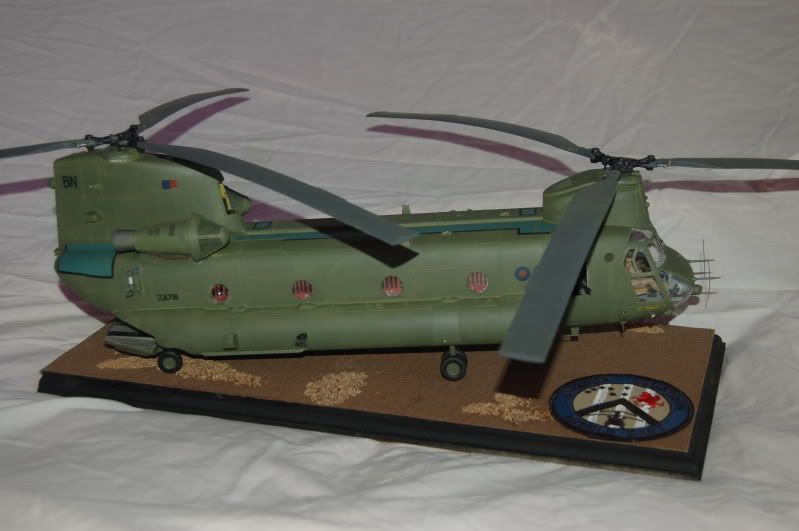
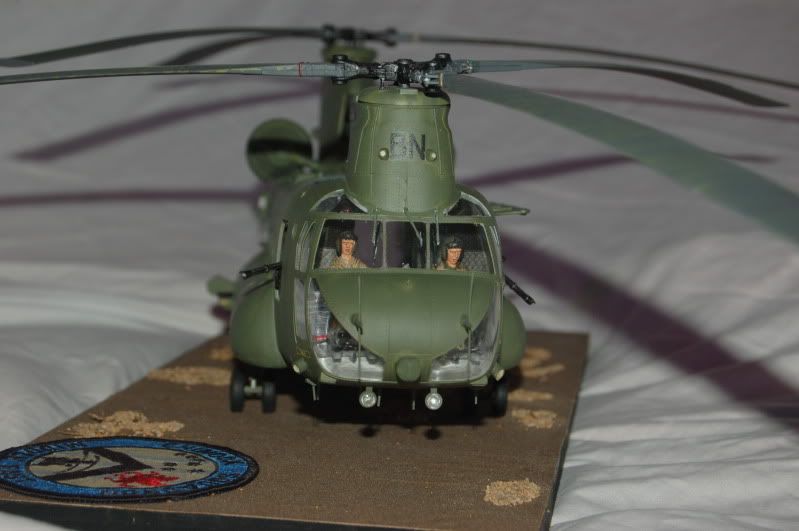
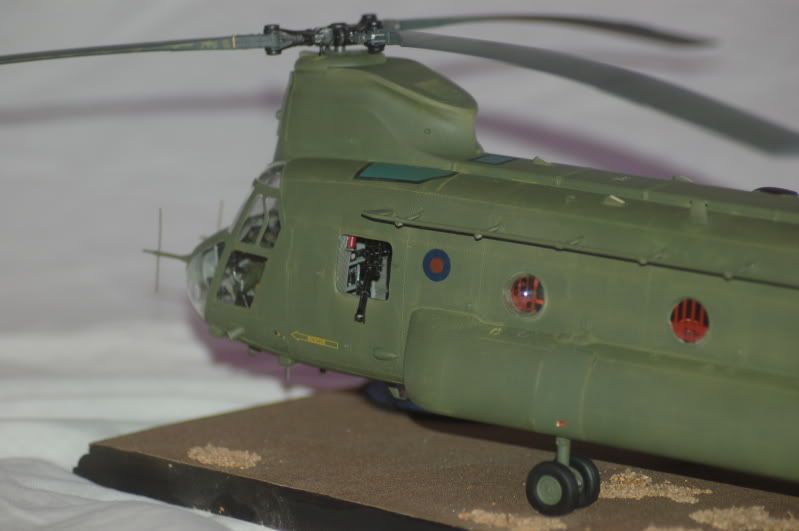
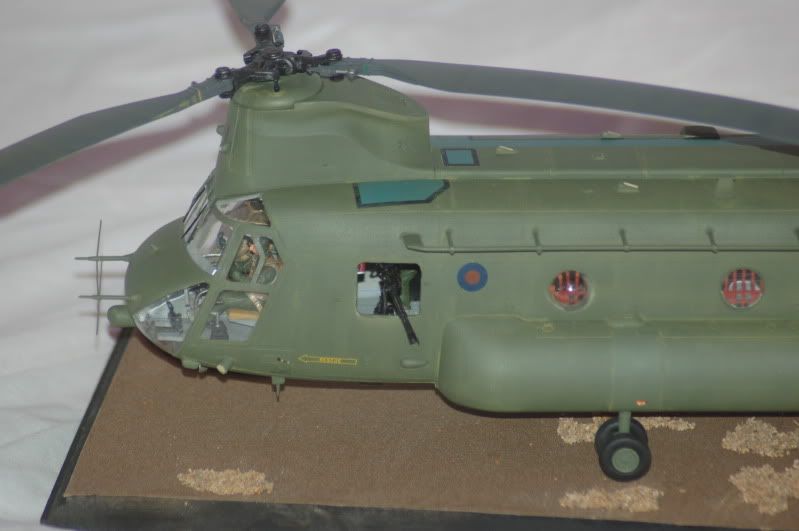
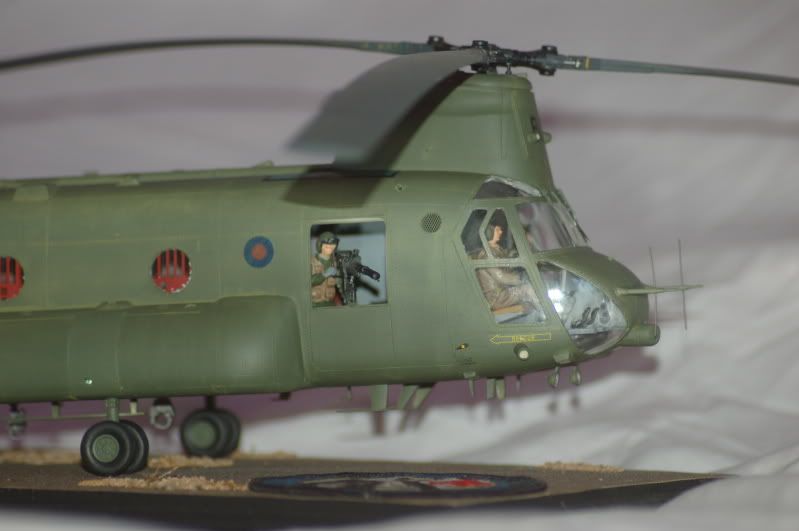
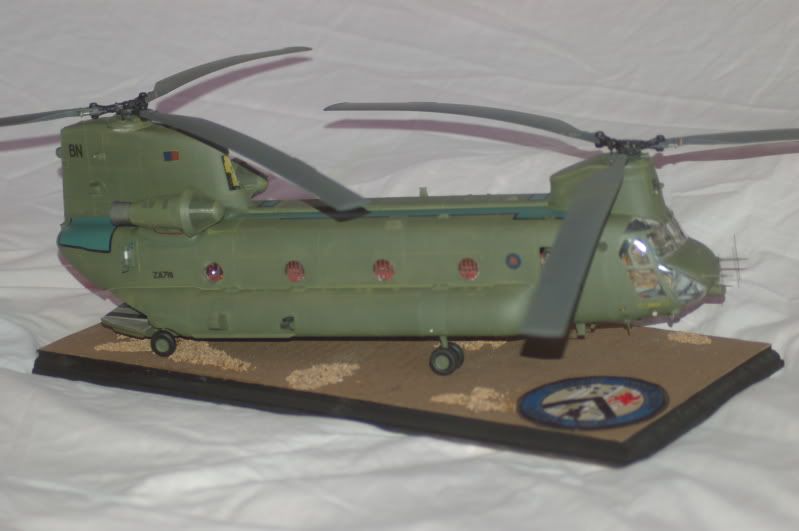
Oh and the walkway decals are far too bright. If there is a next time I will be spraying them!!!!
Overall I just hope you folks think I have done such a historic bird as Bravo November the justice she deserves.
-
That is a beautiful bird! Very well executed. Im looking for one of these to go with my single seater! Stunning stuff!
-
Absolutely right, the best Lightning build out there by far!
Foiled Has Royal Australian Air Force P-40E
in Works in Progress
Posted
Truly an artist at work... Great stuff. those inlet trumpets look great as does the cockpit weathering.
This is why I love loitering on forums, Whilst I know de bonder knackers plastic, directly proportional to how much is used, I never knew about the de bonding properties of my wifes nail varnish remover! How long will it take before she realises