

smudger
-
Posts
403 -
Joined
-
Last visited
-
Days Won
3
Content Type
Profiles
Forums
Events
Posts posted by smudger
-
-
That is truly inspirational. I think its the most realistic weathering finish I have ever seen. Could you post a Tutorial?
There are real Spits that look even more beat up than this, but I think yours is superb. I love the faded roundels.
I have to agree with Dave in that you have topost a "how to tutorial", absolutely stunning & the best weathering I have seen..........ever.
I wish I could do half of what you have acheived here.
Martin.
-
Thats perfect Guy, much appreciated.
Onwards & upwards then............................
Martin
-
I also have finished the nosewheel bay.
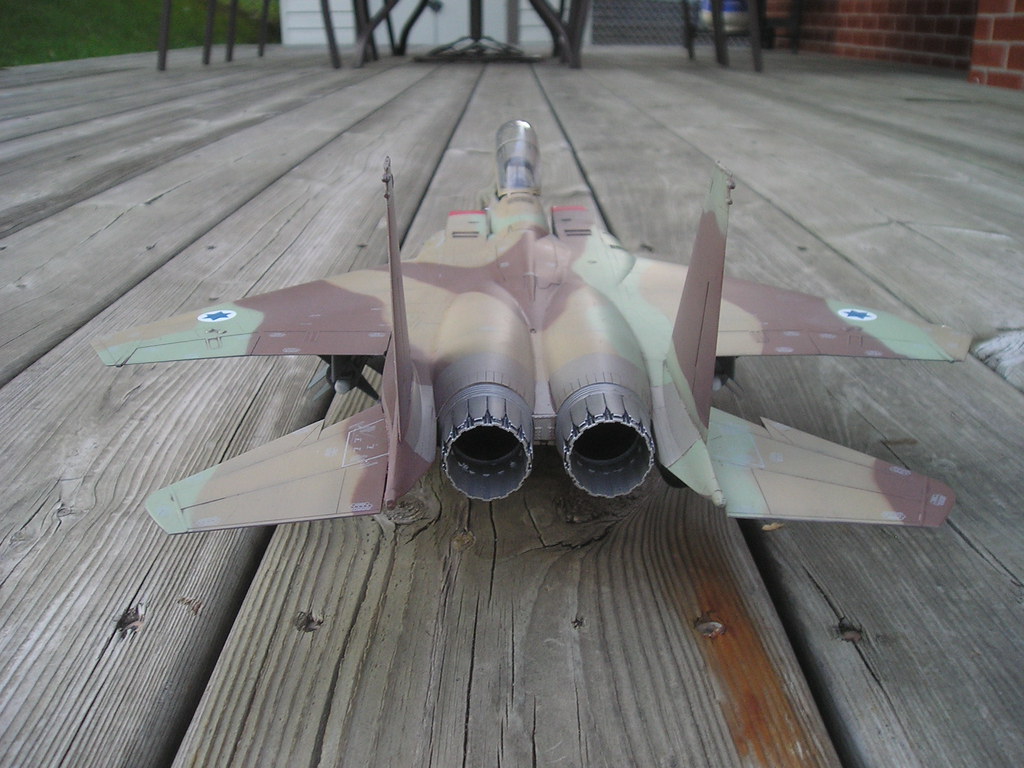
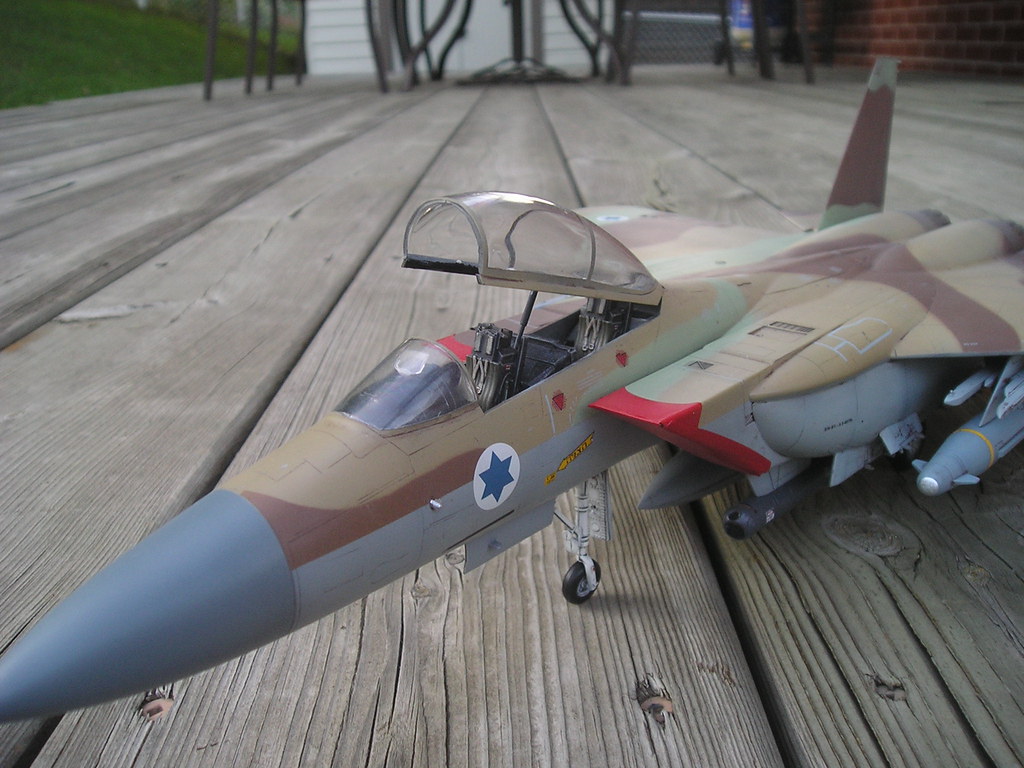
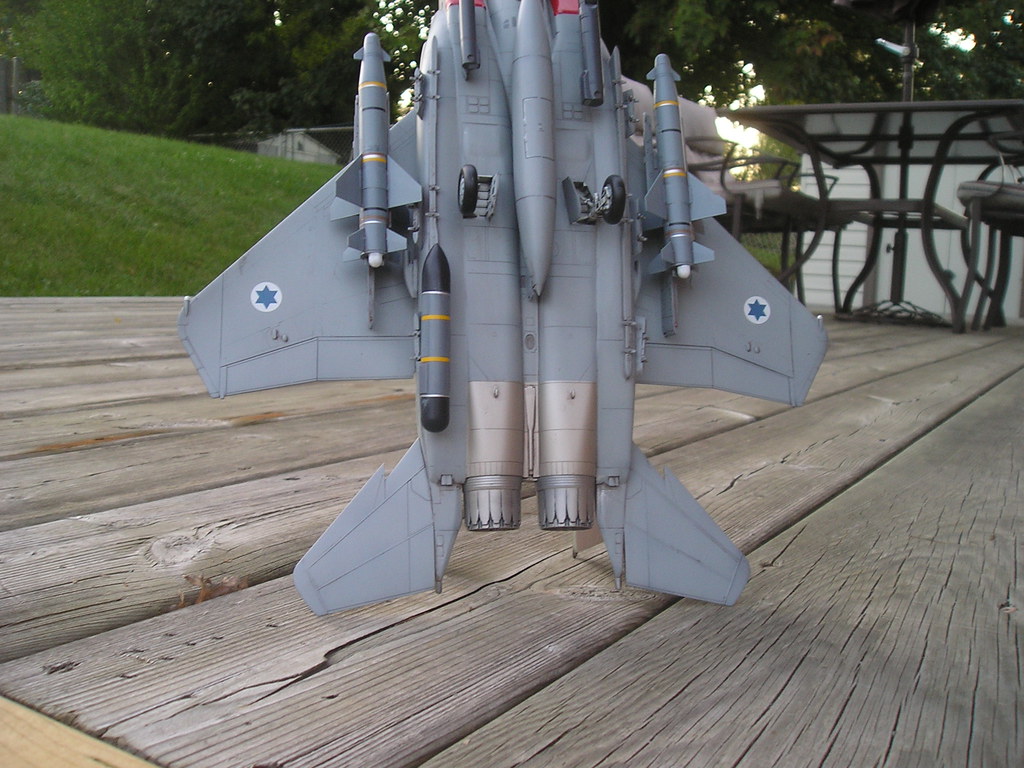
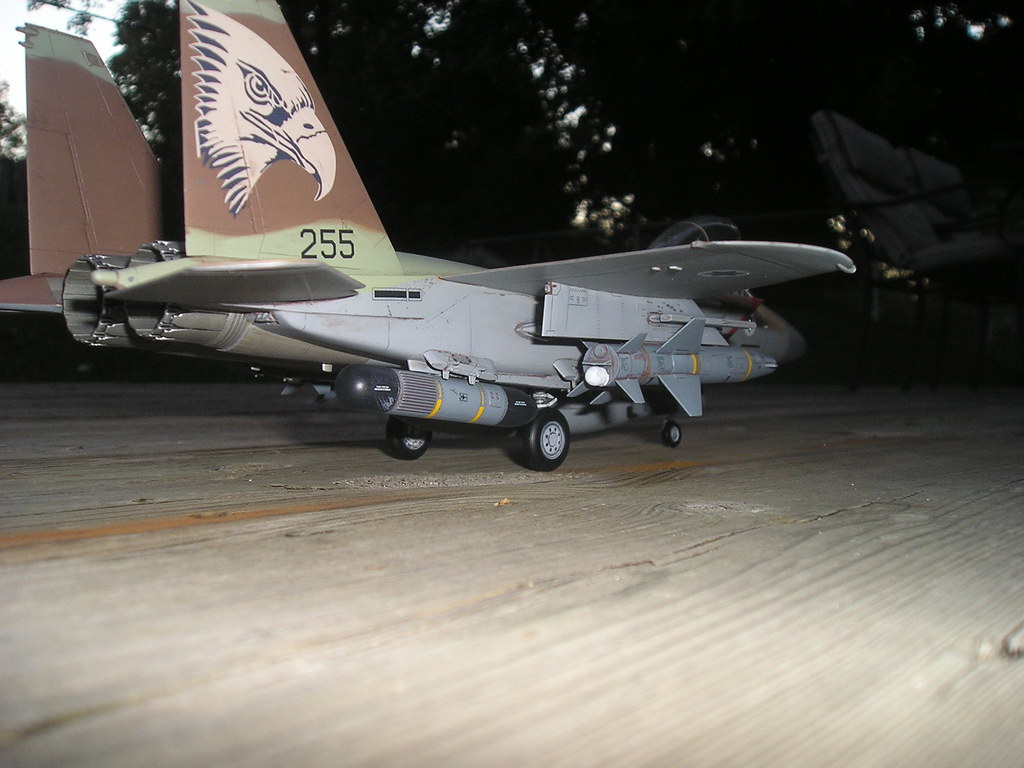
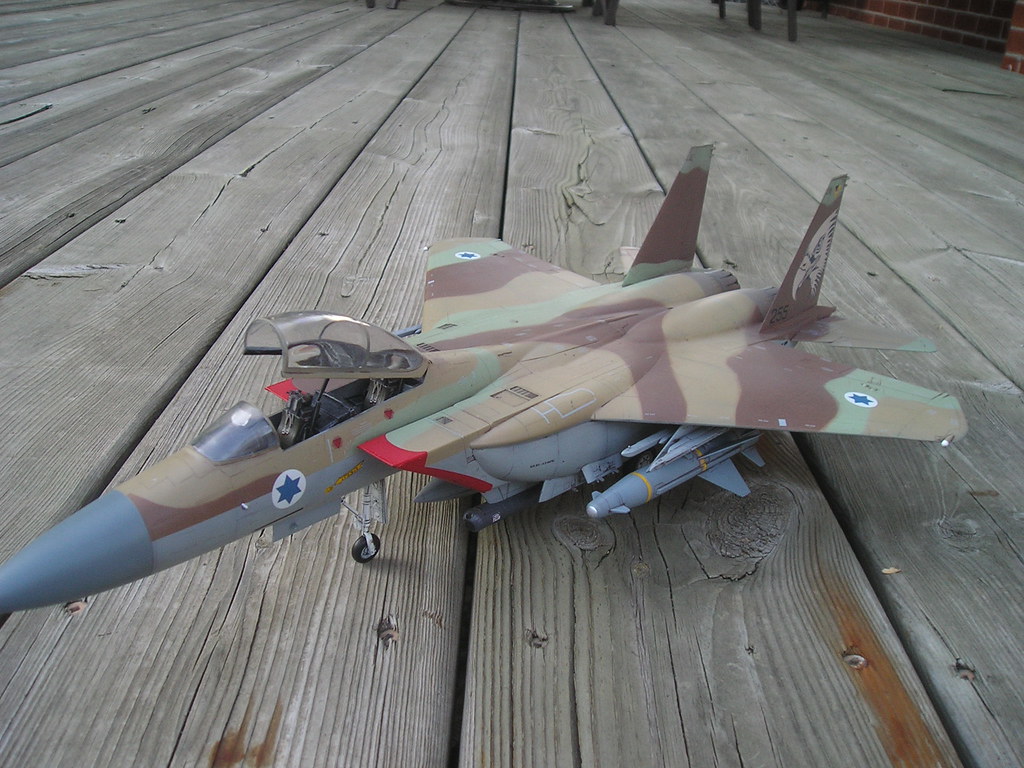
As the title states & I'm going for the camo version & I'm thinking the camo versions were not kept as immaculately clean as the black & red arrow planes so I'm weathering a reasonable amount:


I now have a question: there a 2 holes in the fuselage side as in the picture below & the instructions call for some clear plastic parts to be fitted in there: why clear plastic, are these suposed to be lights or painted in the same colour as the fuselage?

More soon..........
Martin
-
I decided to paint the fuselage interior black, along with any internal structures just in case the interior may be visible through air vents etc:

As regards the actual intakes & the "shroud" around them I decided to go against the Revell instructions & glue the shroud to the intake front before fitting to the fuselage:

I decided on this approach after lots of dry fitting & in the below pictures you can see the good fit & this is still without any glue:


Happy modelling, Martin
-
So, the cockpit sidewalls are painted & waethered. The weathering looks a little severe in the picture but its not that
bad in "real life".

& a quick shot giving you an idea of the finished cockpit area when I finally get round to joining the fuselage halves together & yes I know I havent filled the ejector pin marks but look at the picture below, none are visible in the finished cockpit & I dont believe in doing work I dont have to


Next up, the nose wheel bay once I'm sure of the colour & ca get hold of some detail shots showing the wiring & plumbing etc.
Take care, Martin
-
Hi Brian,
These are the decals I'll be using:

I've only just noticed the cannon versions on the decal sheet, cool.
I'll definately be doing the cannon version then

Martin
-
Thx Kevin.
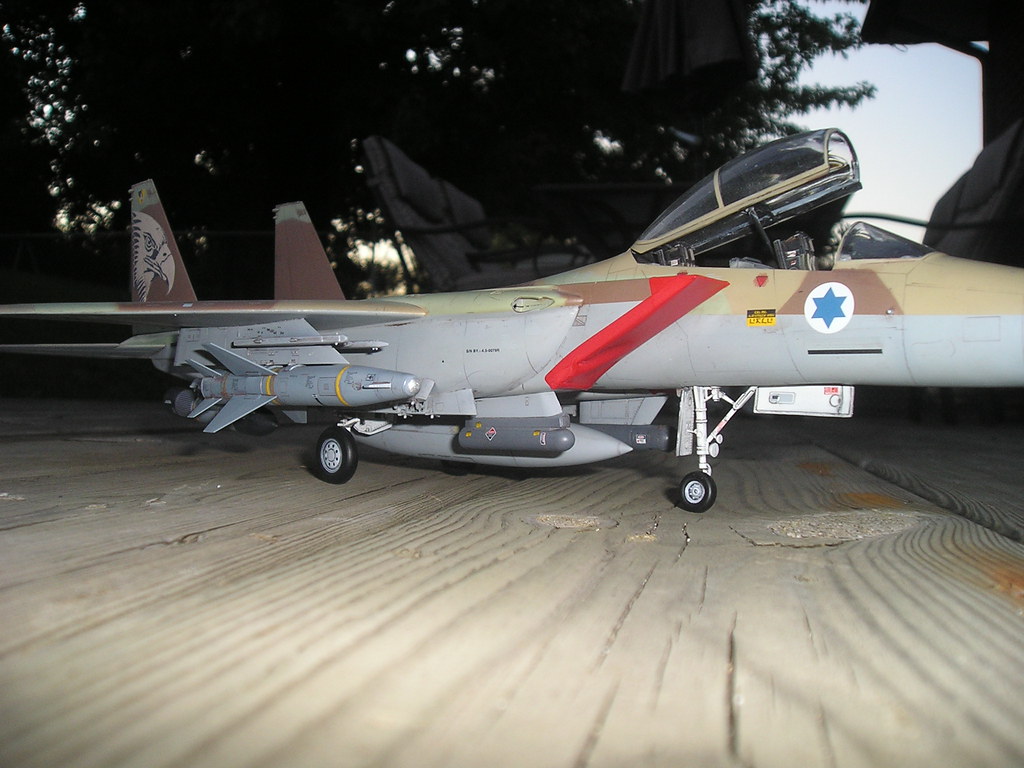
Quick question for the experts: the wheelbays & UC legs, are they white or a very light gray, I'm finding it difficult to tell from the images I have.
Thanks in advnace for any help here.
Martin
-
Unfortunately Revell didnt supply any cockpit sidewall deatils so I decided to scratch it.
I dont pretend its accurate but it will look a lot better than bare flat plastic when painted up.
Please excuse the photography as my camera is only 2 mega pixels.
I know I'll make detailing mistakes when building this kit but its the overall effect I'm after.
Heres a piccie of the sidewall detail before painting:

& heres one with tub in place:

Thats all for now but I promise to try & complete this WIP build,
Have fun everyone
Martin
-
I decided not to use the Revell kit seats & I will use some Paragon Martin Baker Mk10 seats that I originally purcahsed for the Tornado but now having the full Aries cockpit set for the Tornado these were just lying around. I know the MB10 is not 100% accurate but they look a lot better than the kit seats
I gave a coat of black first:

I then painted with XF66 light grey & then hand painted the details with various Tamiya acrylics.
Here are some pics of the finished seats;


Martin
-
Revell supplies decals for the IP's & cockpit tub switches & controls so I used the decals as provided.
Here are some pictures of the finished tub & IP's:


-
I then pre shaded the tub with some Tamiya XF24:

& then a thin coat of XF66 light grey for the tub:


There is a big gap between the front & rear pilot below the rear IP shroud so I added a bit of plasticard to close this gap, artistic license req'd :-)

-
OK, here we go with a WIP build. Never really tried to photgraph & record a build before, started a few but never finished one, so here goes...........
Lets start with some pictures of the basic cockpit tub construction:


Gave the tub & the IP's a quick coat of very thin Tamiya Sky Grey (XF19) as a base or primer to help cover the red plastic:


-
Great build Scotsman, love it.
Am half way through the same build & I'm just waiting on the decals I ordered from Model Hobbies in the UK.
Definately inspiration to get mine finished.
Well done.
Martin
-
Amazing cockpit, well done.
I have been trying to start my Tornado but have been concentrating on finishing my started builds.........nearly all done now though

I have the Aries cockpit for mine & the detail is amazing but your superb painting has really brougt it to life.
I'll be watching this build closely, great start!!!!!!!!!!!!
Martin
-
Hey Jamie,
Awesome build. I've just started playing around with armour myself but not in your class, thats for sure.
Do you have a blow by blow of how you did the fantastic weathering job?
Martin
-
Thx for all the positive comments guys.
@Tim W: Yes, its the original one in black plastic with decals "borrowed" from my more modern kit.
Martin
-
A couple more:


-
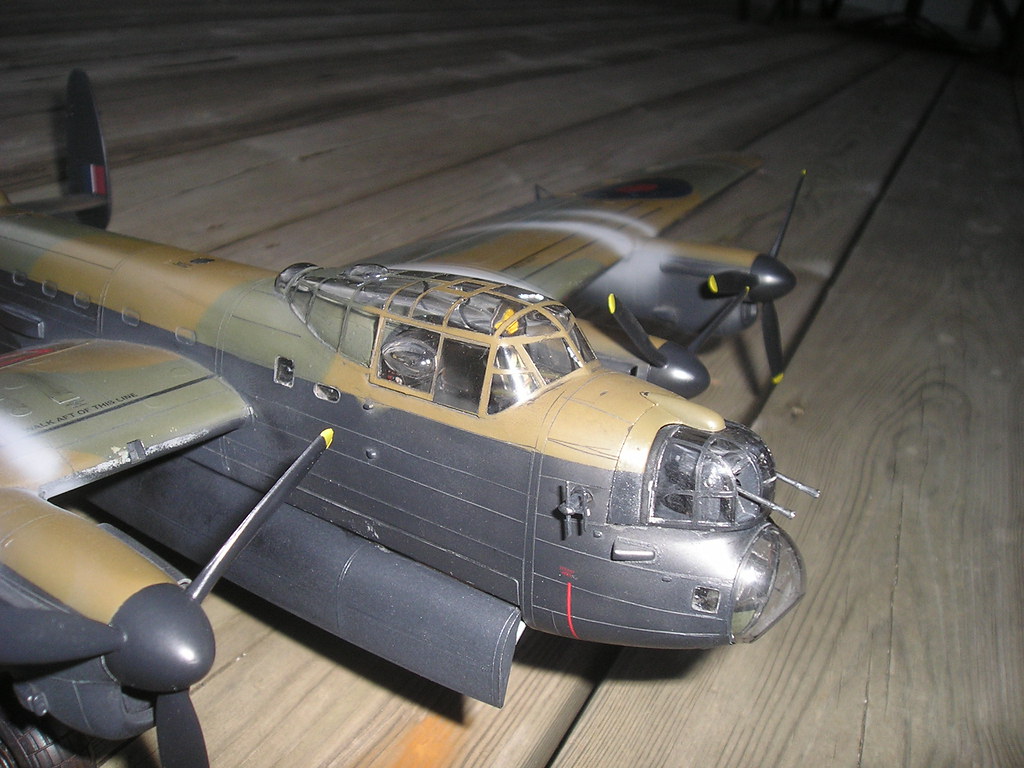
Wanted to get this finished pretty quickly just to see how this kit builds. I rescribed the whole thing, added the small Eduard Zoom interior set & drilled out the gun barrels & yes, the kit is a lot of hardwork but the finished model is impressive in stature & well worth it.
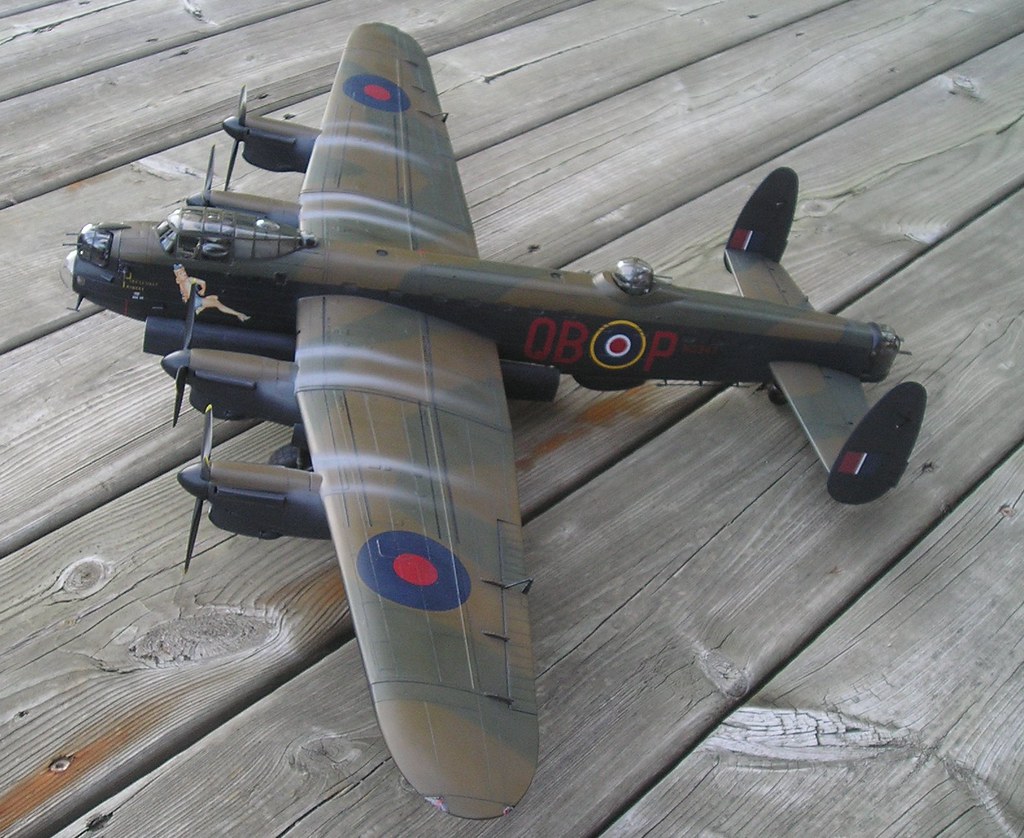
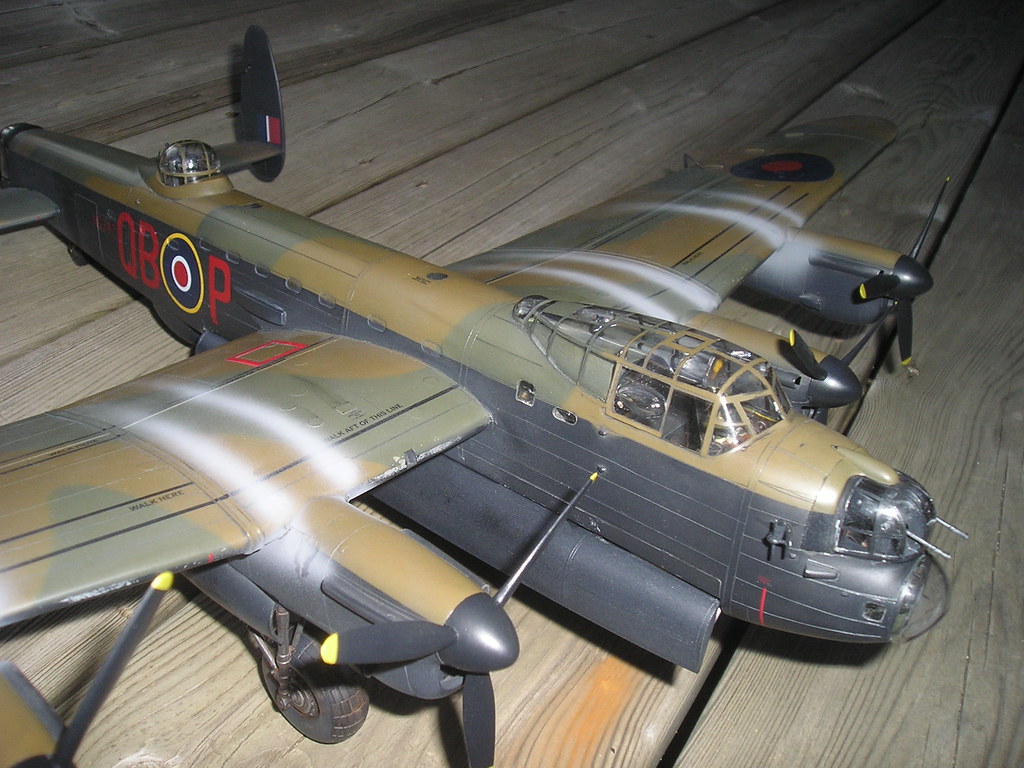
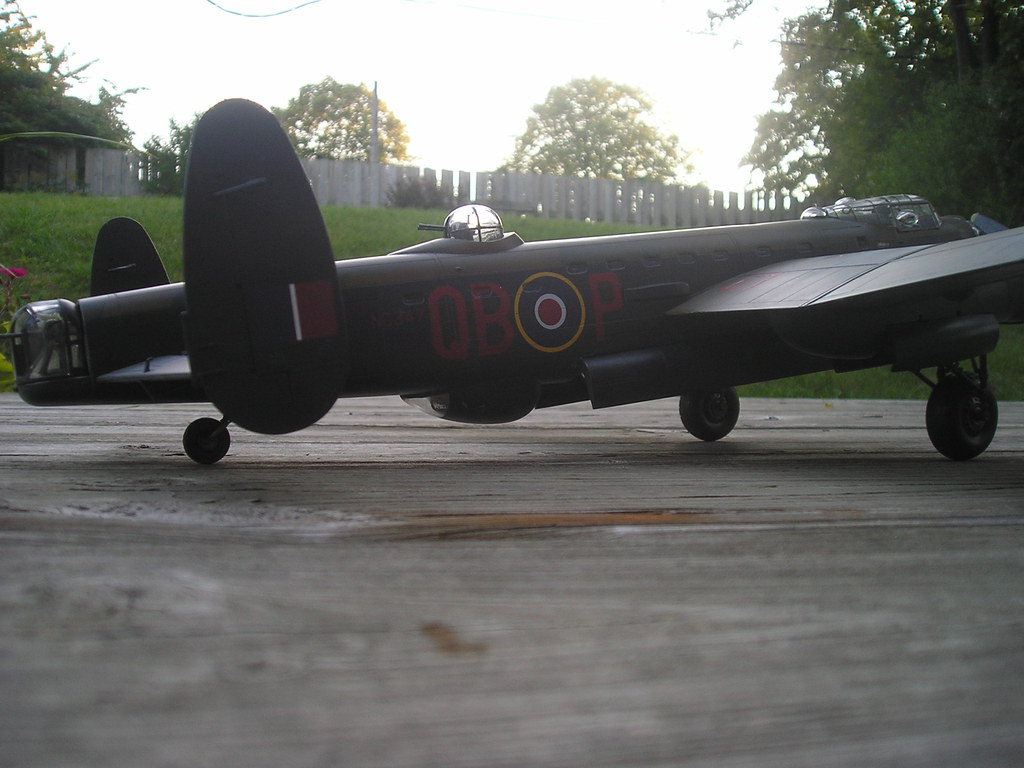
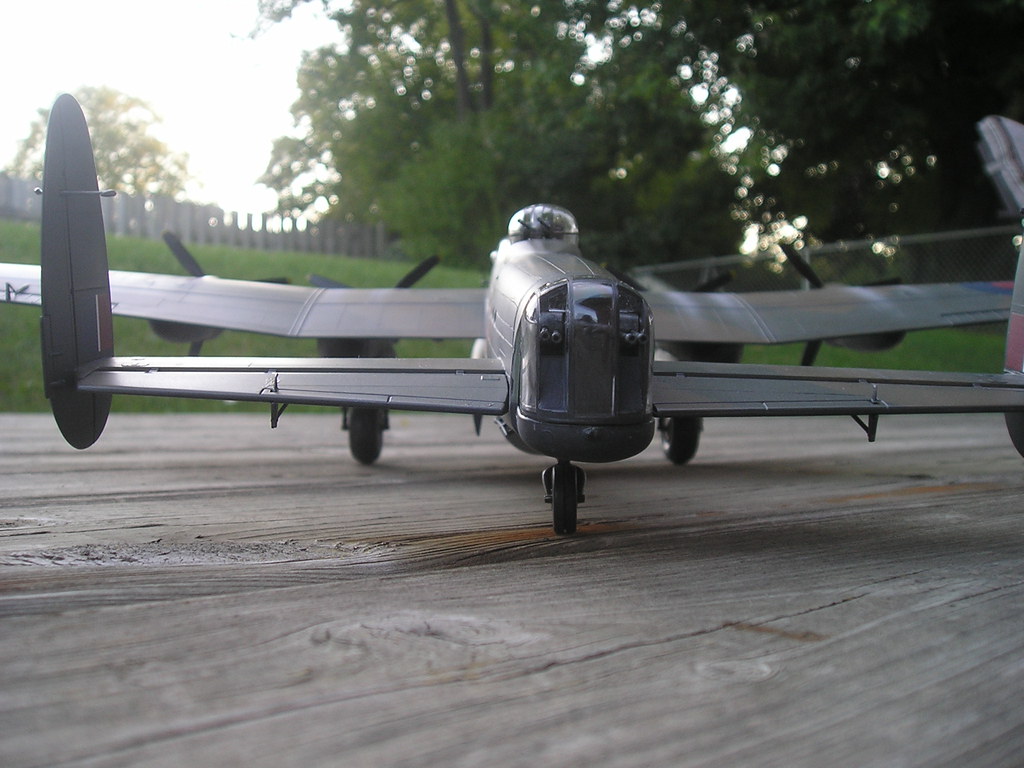
I have one in the stash which has ALL the AM with it, should be a real challenge.
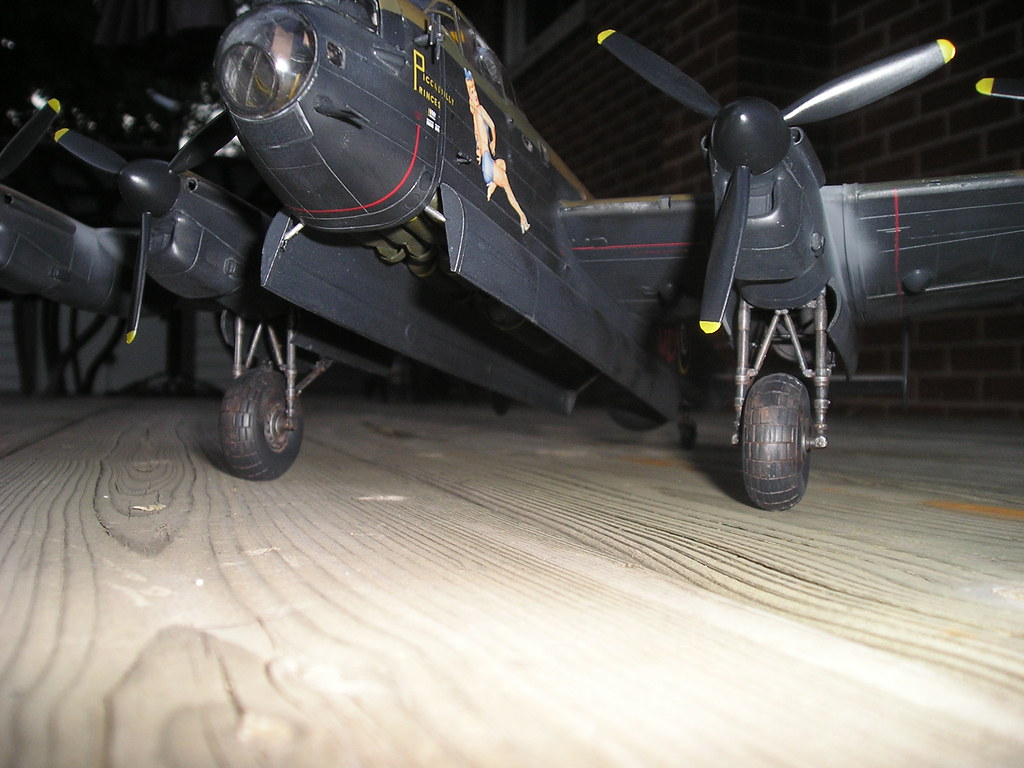
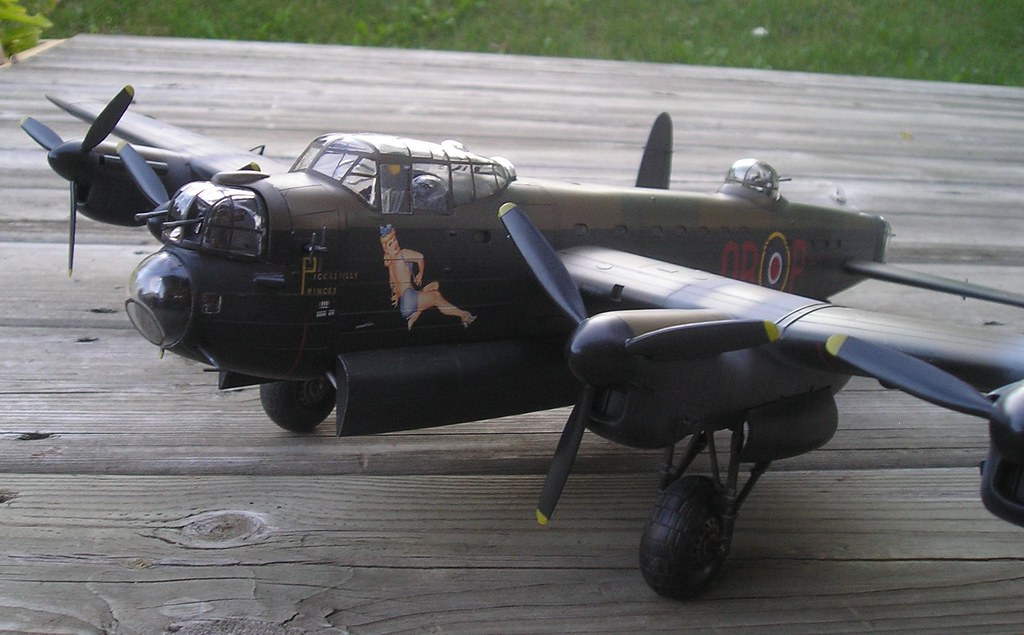
I'll give this one to freinds Grandpa who was a navigator in a Lanc in the war (I dont really keep any of my models, either sell em on EBay for a few bucks towards another kit or juts give en away).
-
& a few more guys & gals:
-
I got this kit cheap off a friend for $10.00 so I just made it an OOB build as I dont do much building during the summer months.
Cant wait to get started now on my 1/32 Tamiya F-15E.
Martin

-
Agree with everything. It looks really good. Ive had about 3 of these now and they have all been sold on due to me getting burned out on the details and inaccuracies. You have proved that a really nice Lightning can be built without any of the correcting. Ive just started building this way , with no major changes to inaccuracies and its much more fun.
I've always been basically an OOB builder (apart from some of the older Revell stuff that needs rescribing etc) & that keeps it fun for me & also limit's the time to build as I like to see finished models & this can also be my downfall at times as I have a tendency to rush to finish after a certain stage

Thx to everyone for all the comments: next up is the Academy SUFA.
-
That looks really nice & I really like the base, well done.
I'm just debating whether to start mine from stash.
If you contact your Tamiya distributor they'll replace the clear palstic sprue for a small fee.
Once again, well done,
Martin
-
Thx for all the positive comments guys.
-
Looks great mate! I've just adjusted your image links so that they display in the post.
Kev
Thx Kev, much appreciated.
1/32 Hasegawa Spitfire Vb
in Ready for Inspection
Posted
Here is another of my started models that I have finally finished this year - which was my aim all along.
Its not in the same class as some of the Tamiya builds I've seen here but still not too bad.
I fitted the Aries cockpit & rescribed completely.
Hope you like
Martin
Thx for looking everyone, Martin