-
Posts
18 -
Joined
-
Last visited
Content Type
Profiles
Forums
Events
Posts posted by sitzkrieg
-
-
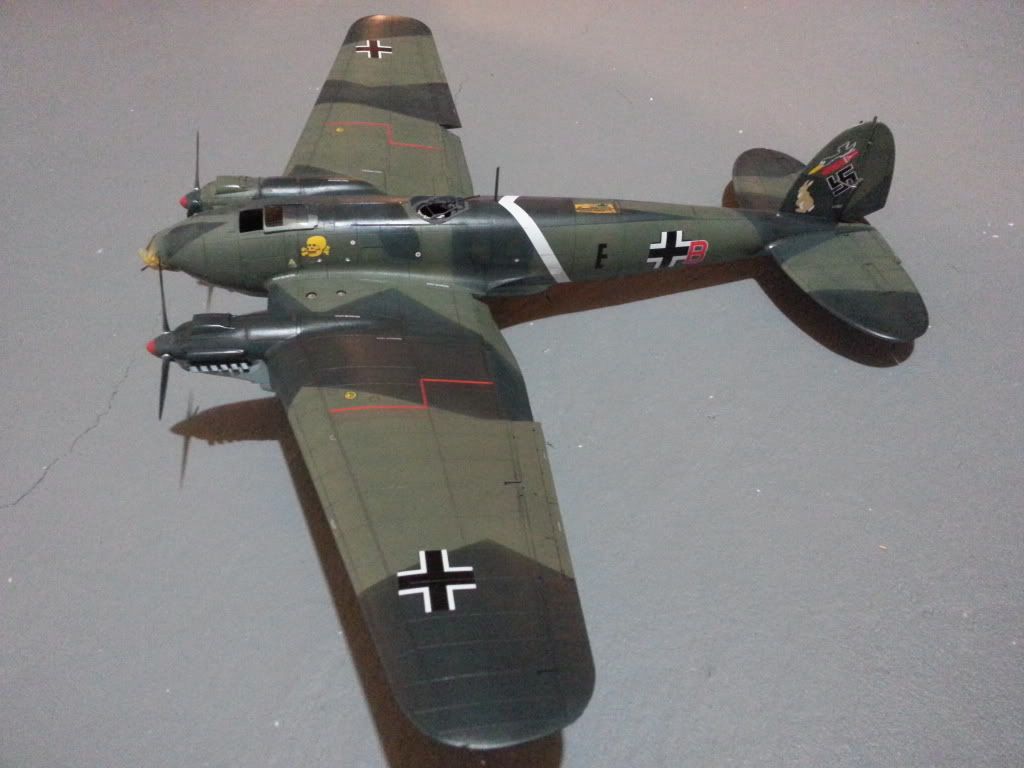
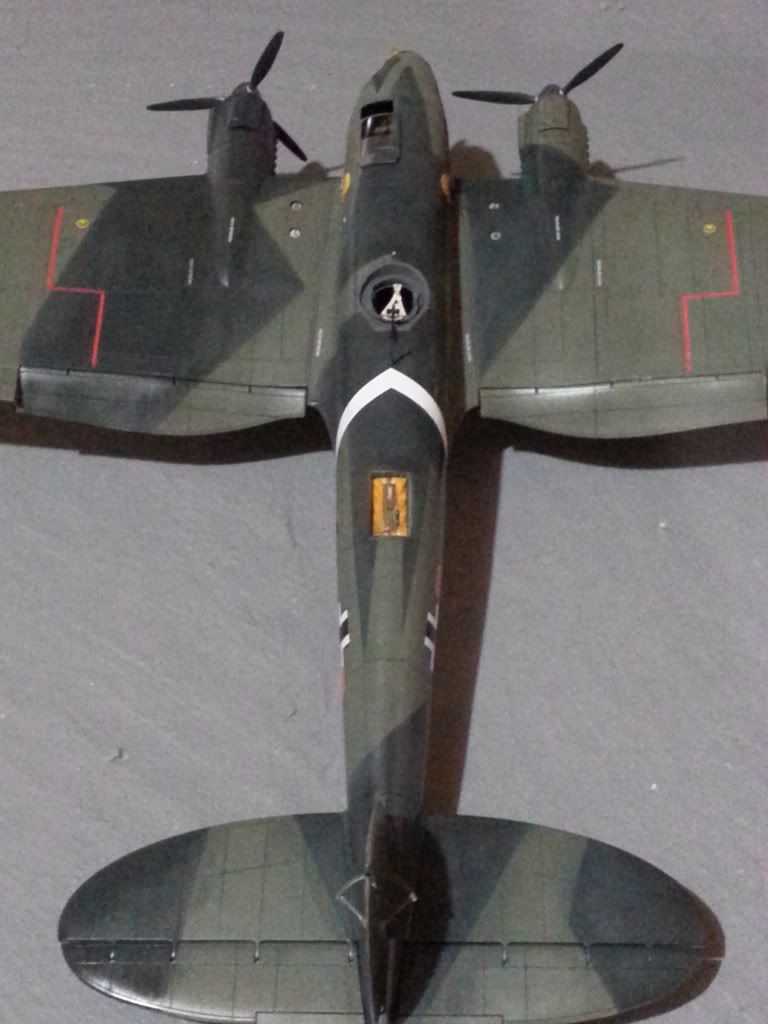
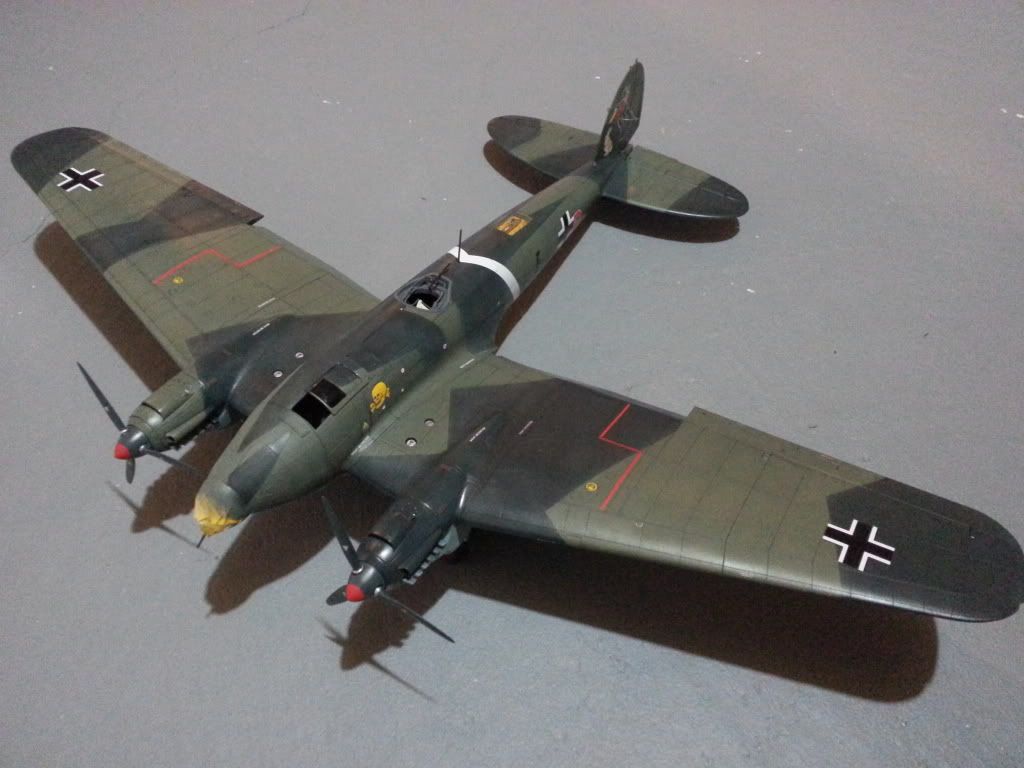
Decals are on. Wash has been applied. Entering the home stretch. Any thoughts on toning down the decal contrast? I have been considering a few passes with some filters.
-
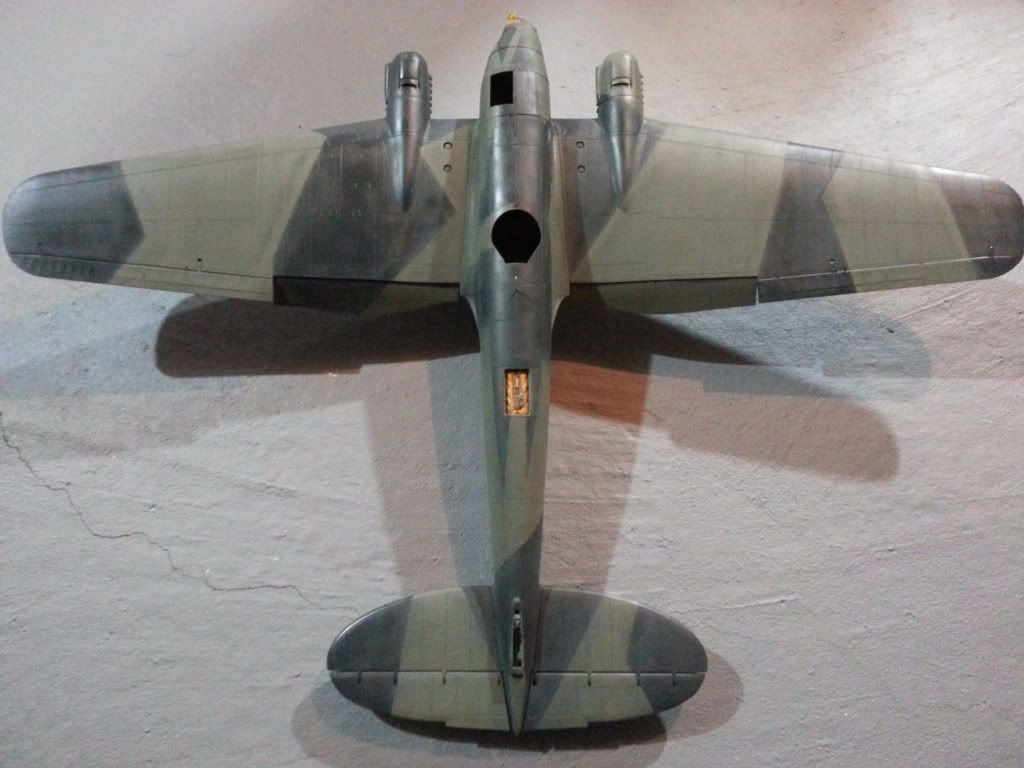
Fixed!!! As you can see from this grainy photo the wet paper technique worked perfectly!! She's ready for a coat of future to seal it all up.
-
Wow! Thanks for the responses guys. The wet paper idea is awesome and I'm going to try it. These were MM acrylics which I've never had this problem with before (at least not to this extent). This was my first Revell kit in many years so it could be the texture of their plastic these days. I usually only shoot primer onto my resin kits but it may be best to employ it full time!
-
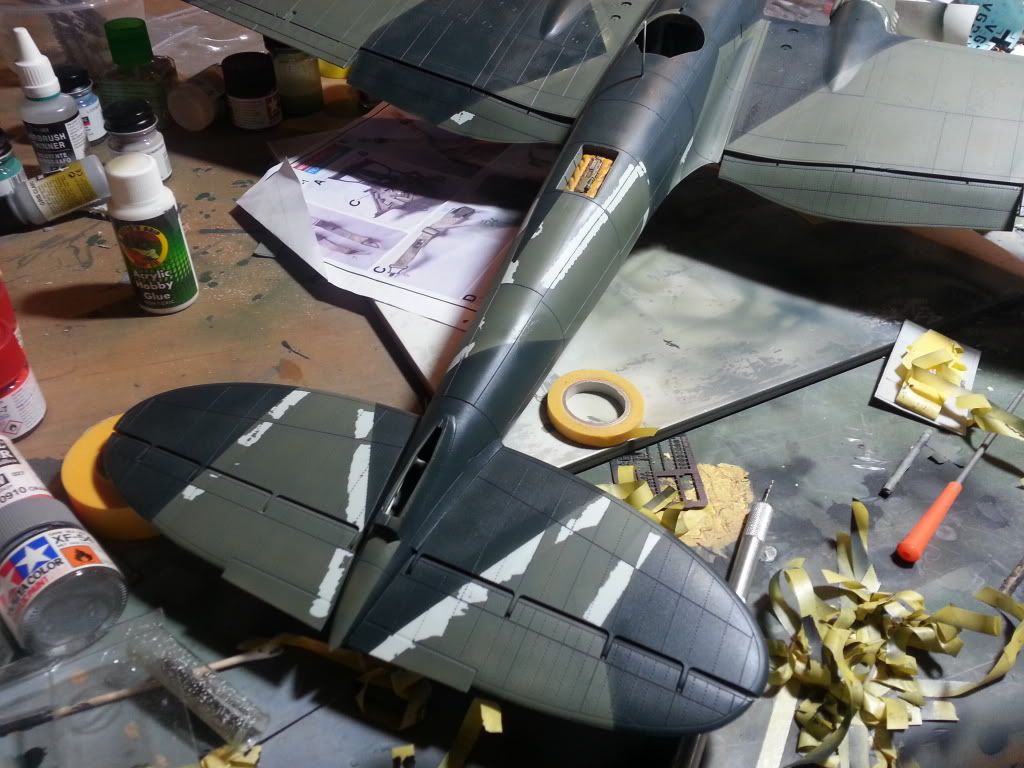
Camo has been applied..... the tamiya tape and the paint did not get along.
About ten seconds away from binning this project!!!!!
Let this be a lesson to all the cool kids who don't think washing their fuselage is worth the effort.
-
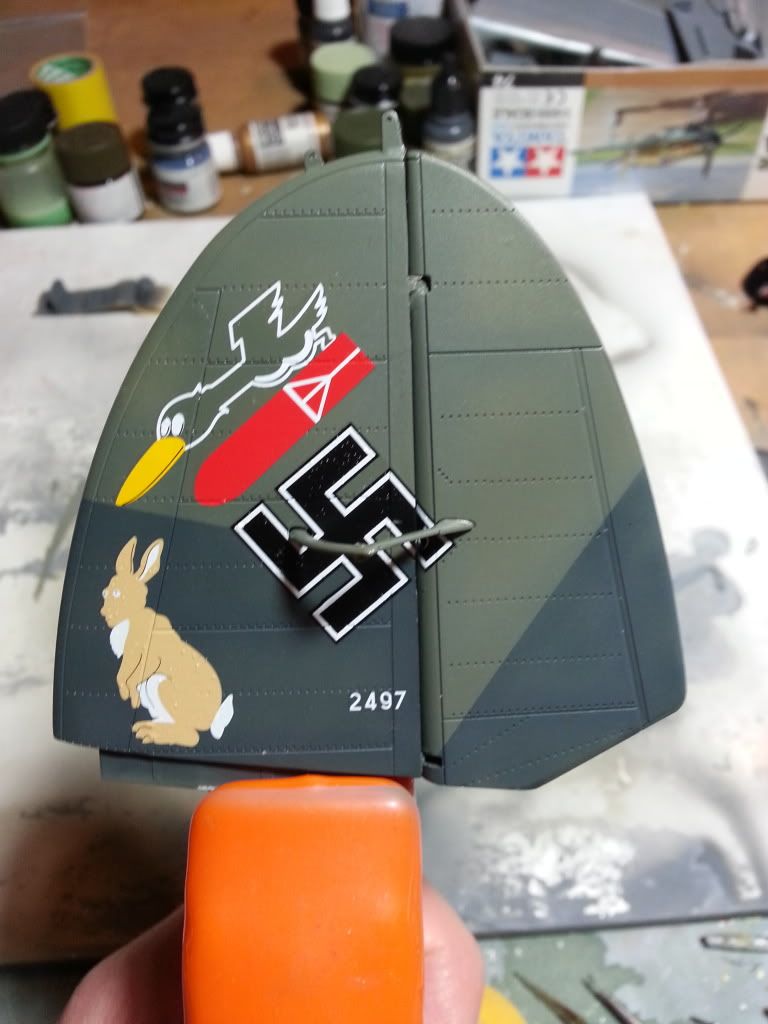
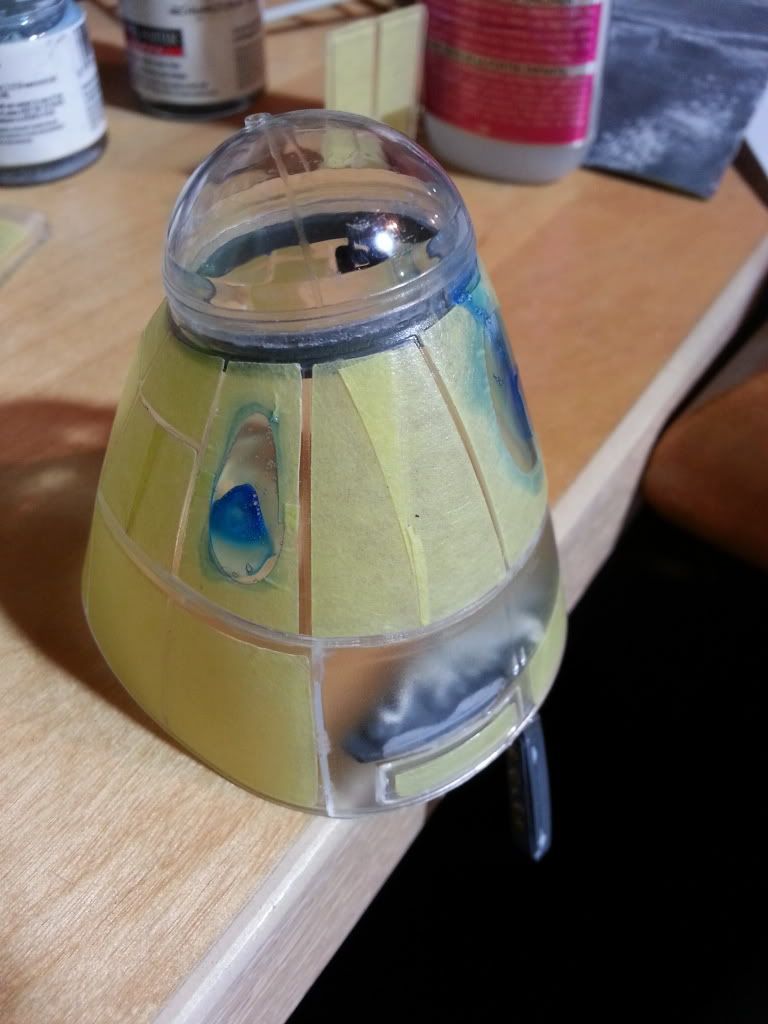
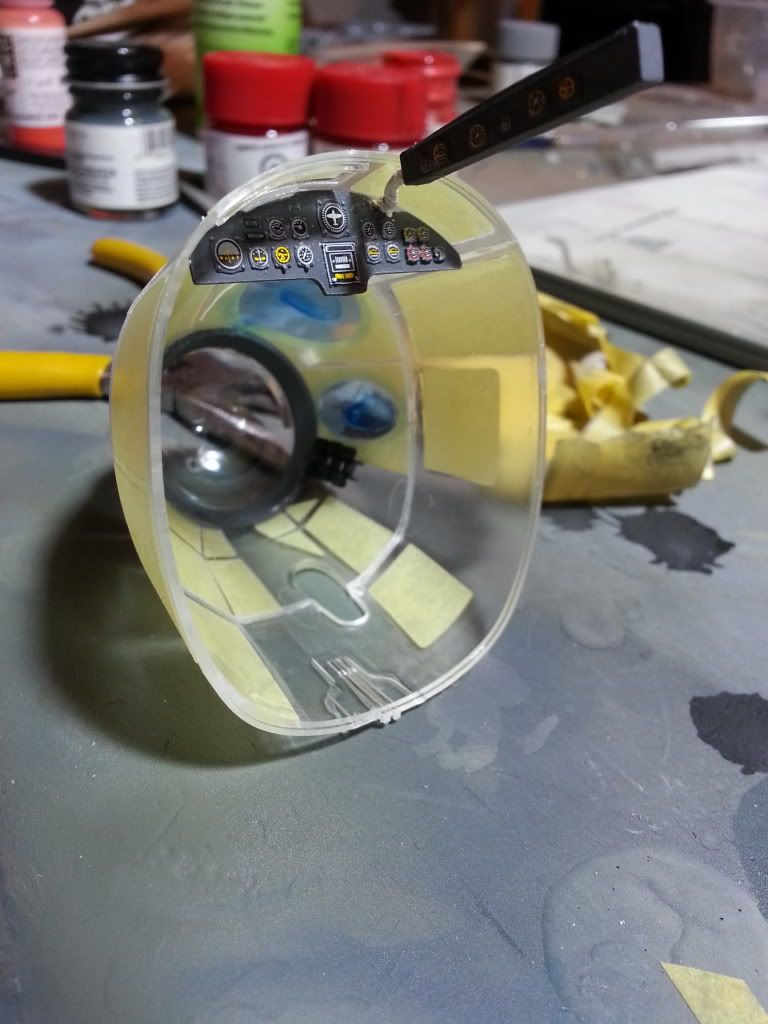
I'm just about finished with the tail and the awesomely goofy marking scheme. I also completed some masking and assorted wiring in the greenhouse. It's almost time to start painting this beast in earnest...
-
Yeah... strange that they omitted the chain/pulley arrangement. To be honest I don't really see a lot here that makes me regret sticking with the stock pit. You are totally right about the sidewalls though... even though they are mostly hidden. The control yoke looks a little nicer too.
Thanks for the review!!!!!
-
Best of luck kicking this project off again!
I myself agonized for quite a while over the Master Details pit, but in the end couldn't find the stomach to drop that much money on it. I'll be very interested to see the CMK offering installed as it has always looked like a strong alternative to me.
-
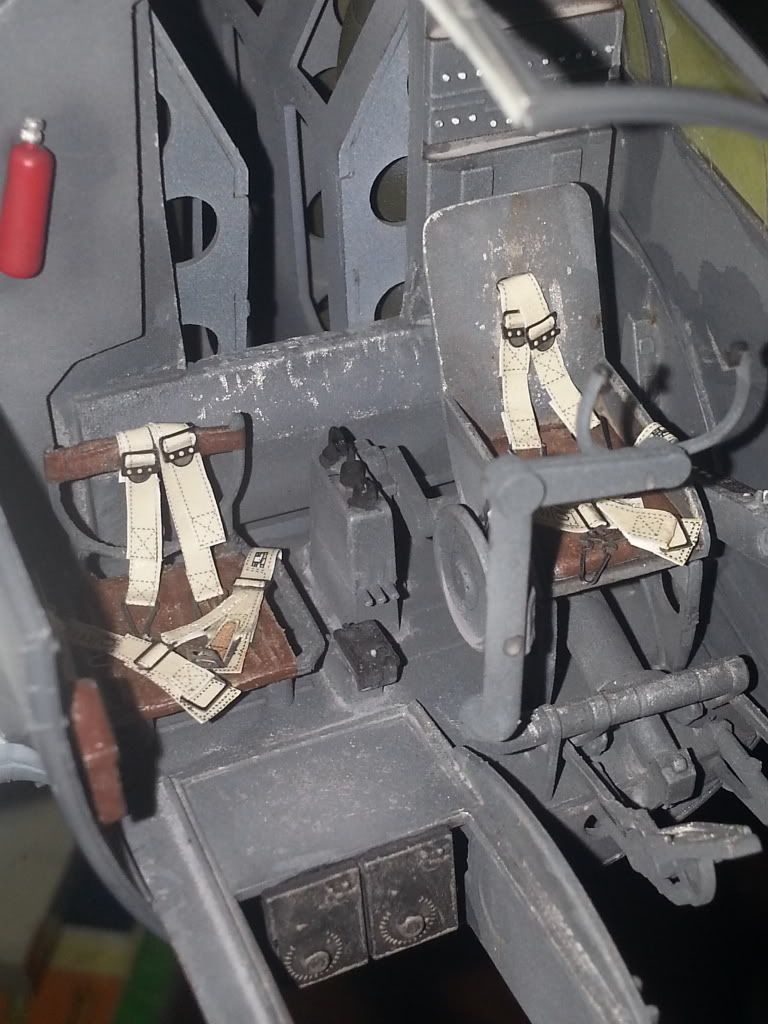
In the instruction manual, they tell you to crease the material up into a ball before making them?
perhaps this would give them some "character"???????????
My example didn't really hold creases that well, and it made the belts harder to thread through the buckles when it did. In the end I opted for the path of least resistance!! After some pastels or a wash I think they'll look okay under glass. The resin seats that came with them are a nice improvement over the revell ones (even if more fragile, but no surprise there).
I'm still just completely blown away at the fact that HGW can produce functional belts in this scale!!! It's a very cool time for our hobby indeed, and a fun little mini-project.
-
The HGW microfabric seatbelts. I'm thinking they need a wash, or at the very least a filter spray. Thoughts anyone?
-
Woooo!!! definitely will build the "e" whenever it comes along.... hehe that sounds so weak, given how long we've waited for ANY a-6.
-
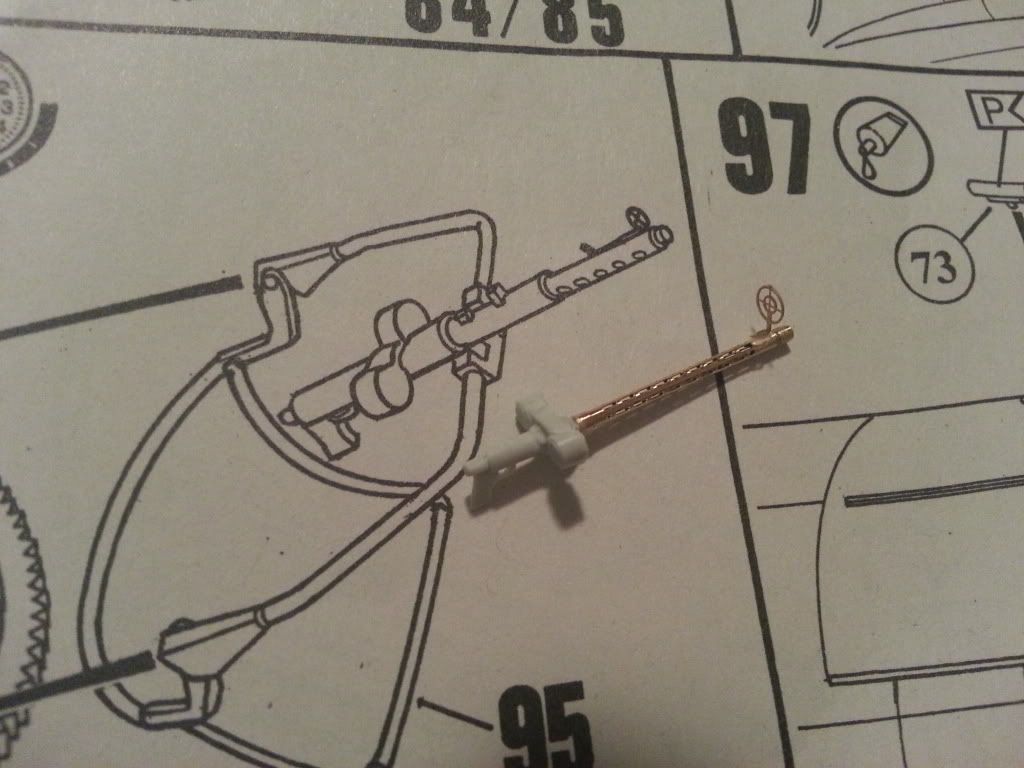
Quick shot of one MG with the amazing aftermarket brass barrels.
-
Not surprising that those guns were notorious for jamming. Look at the angle on the ammo feed!
-
-
The thing that really surprises me is just how small this aircraft is. I had to actually hold the 1/32 fuselage of mine up to some 1/48 plans to believe that the scale was correct.
-
Well done! Glad to see you're back on this. I just received my B-3 from Grey Matter a week ago and can't wait to get cracking on this.
The attachment points for the cable on the seat-back are soooo small. Congrats on not breaking them.
-
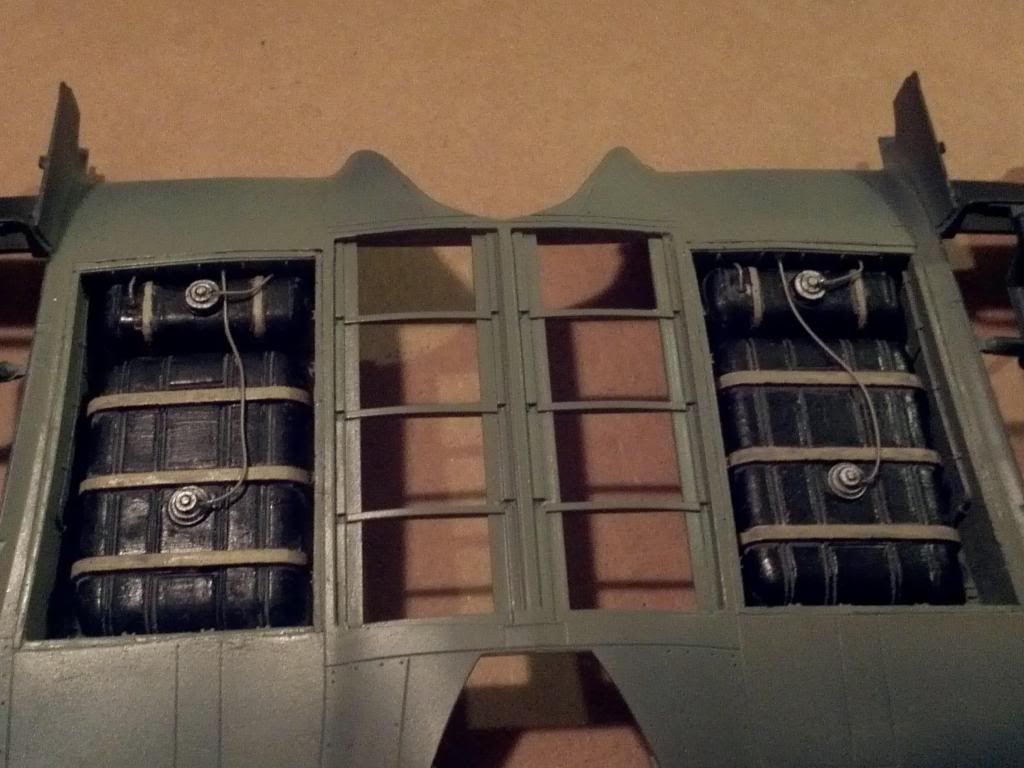
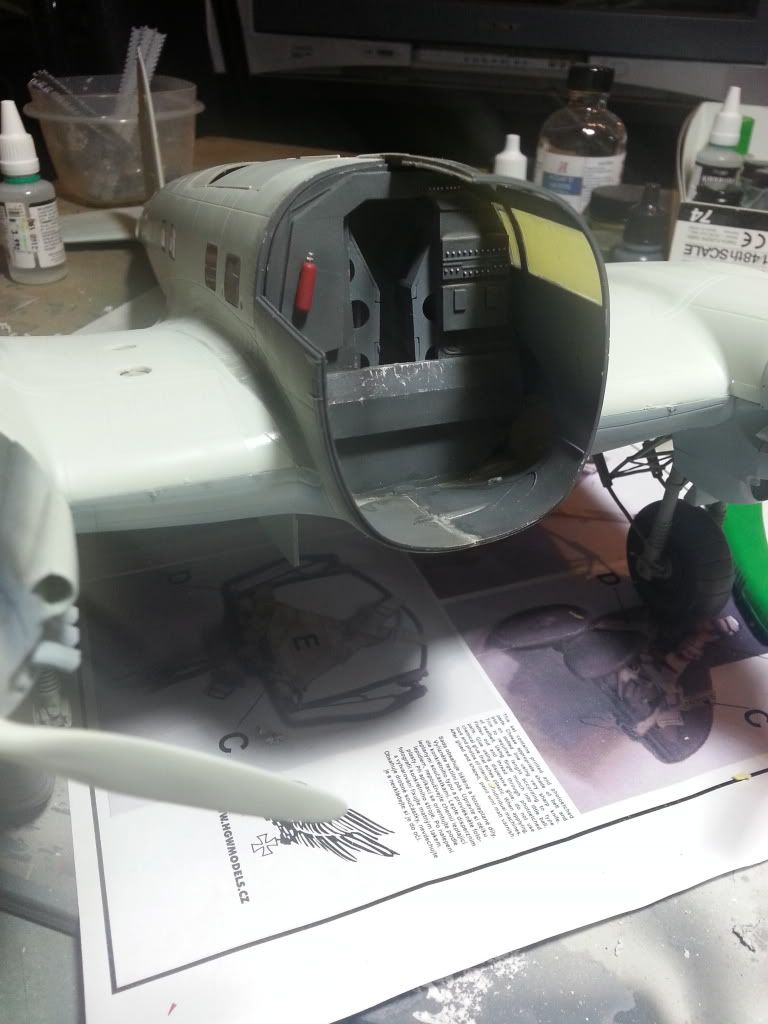
Alright, so I followed Jeroen's advice and went with a semi-gloss black for the tanks, tan for the bands, and added some plumbing. I'll likely scratch some retaining bars (there is one per bay running diagonally) since I smashed the spindly resin ones to pieces in a ham-fisted attempt at removing them from their casting blocks. Not sure I'm loving it just yet... I might make a few more tweaks like re-applying the questionable acrylic wash I used.
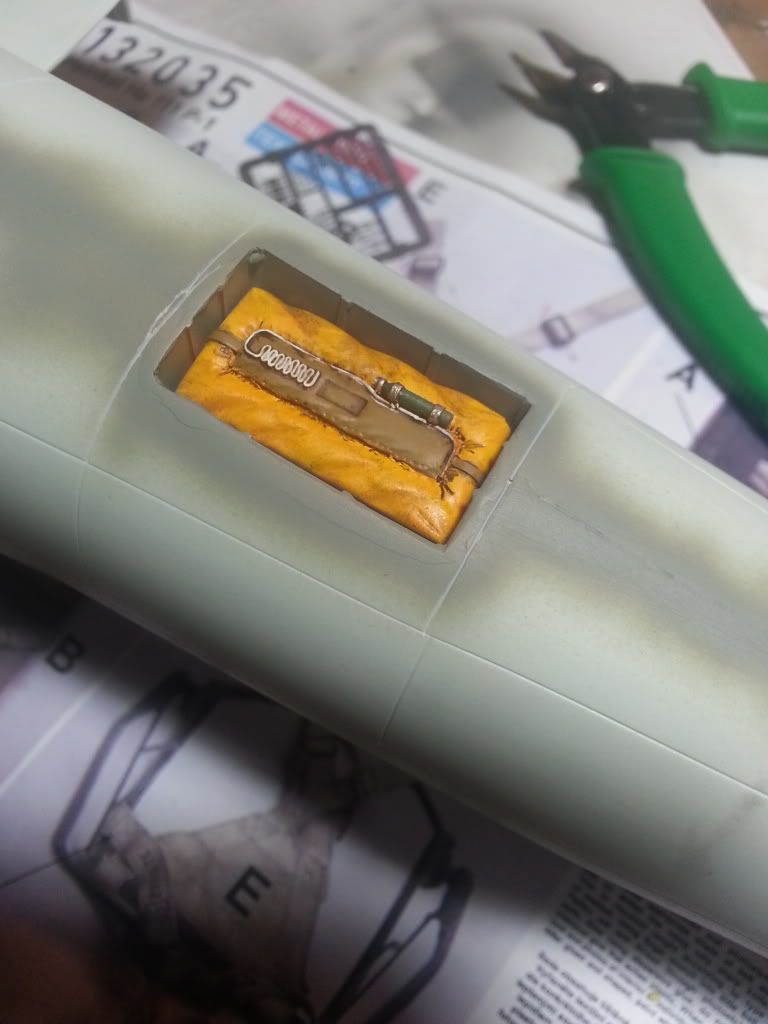
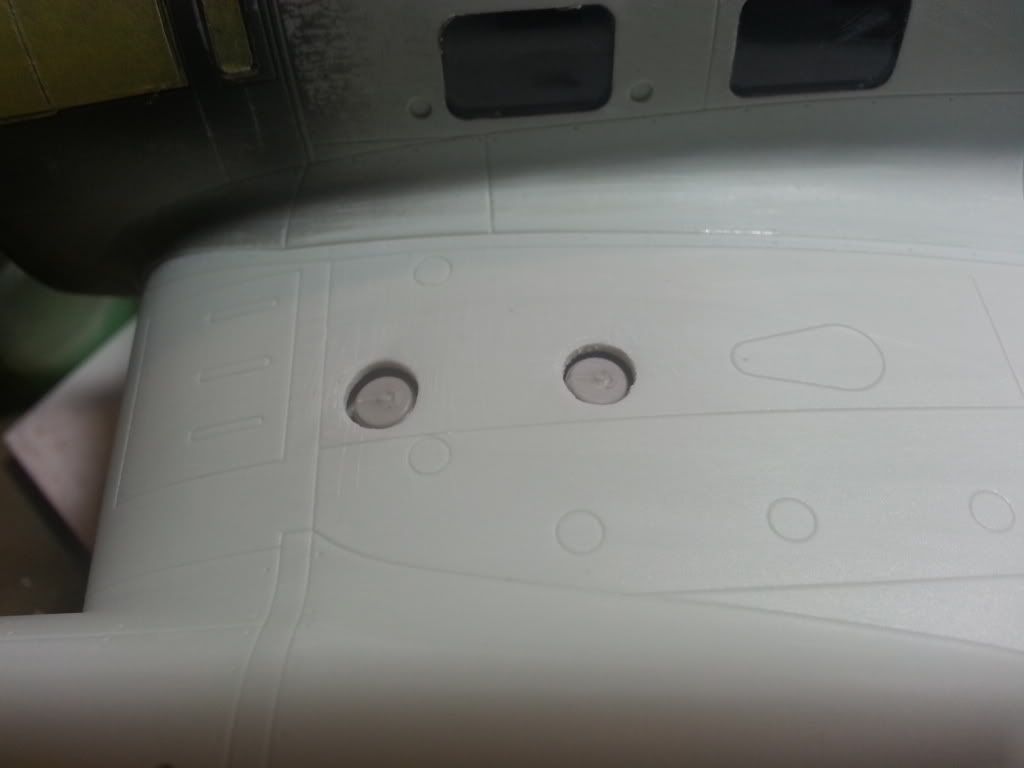
I just received HGW Models micro-fabric harness set with resin seats and also ordered up some CMK fuel filler caps and life raft compartment for the topside of this beast. So I'll likely start into them next.
-
Greetings!
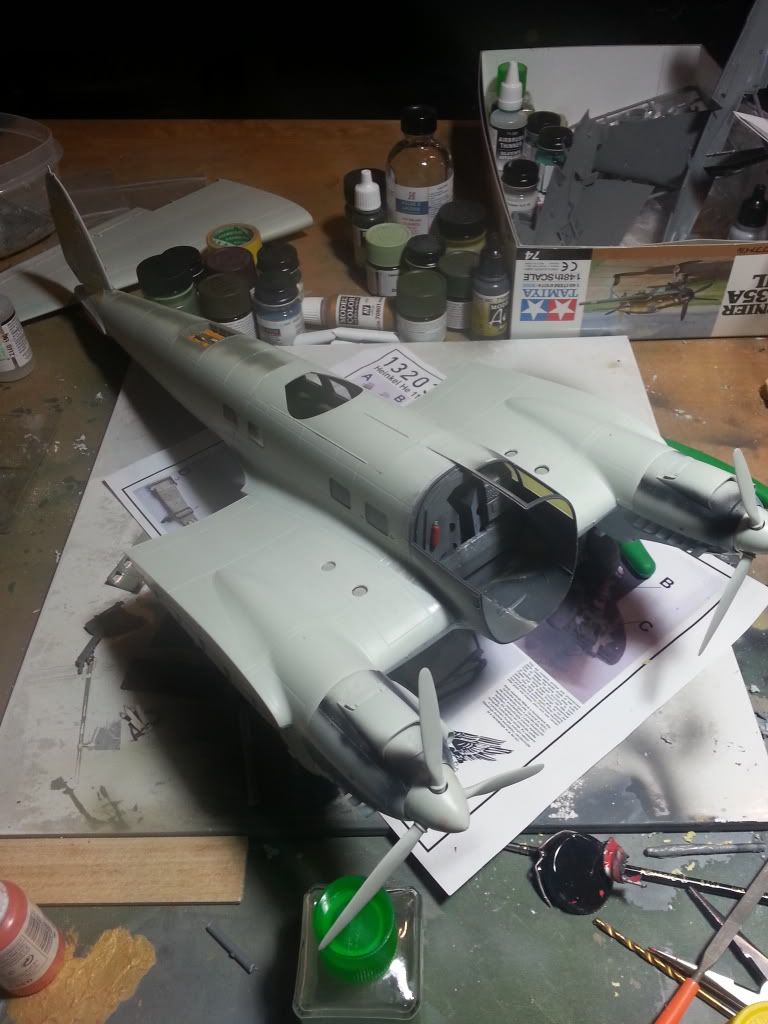
I'm a longtime lurker and have decided to put up my first WIP thread. I'm currently working on the big HE-111 and have bought a few "standard" extras for it: Master gun barrels, Scale Aircraft Conversions landing gear, Eduard masks, AIMS decals... but the one interesting thing I decided to shell out for was the CMK in-wing fuel tanks. I haven't seen an example of this kit built up with them yet so I figured I would share. Ignoring, for the moment, all the seams I have to clean up, I'd like some opinions on colours for the tanks, hoses, etc.beyond the RLM02 interior.




Revell 1/32 HE-111 P-1
in Works in Progress
Posted
111 is nearly done. Just have to string some wire and attach the gear doors. And of course post some pics. In the meantime I figured I would put the selection of my next build into the hands of the community here... since this is where I will be posting it. So what will it be: Typhoon, HS-129 B3, or AR-234?