Ironwing
-
Posts
3,872 -
Joined
-
Last visited
-
Days Won
18
Content Type
Profiles
Forums
Events
Everything posted by Ironwing
-
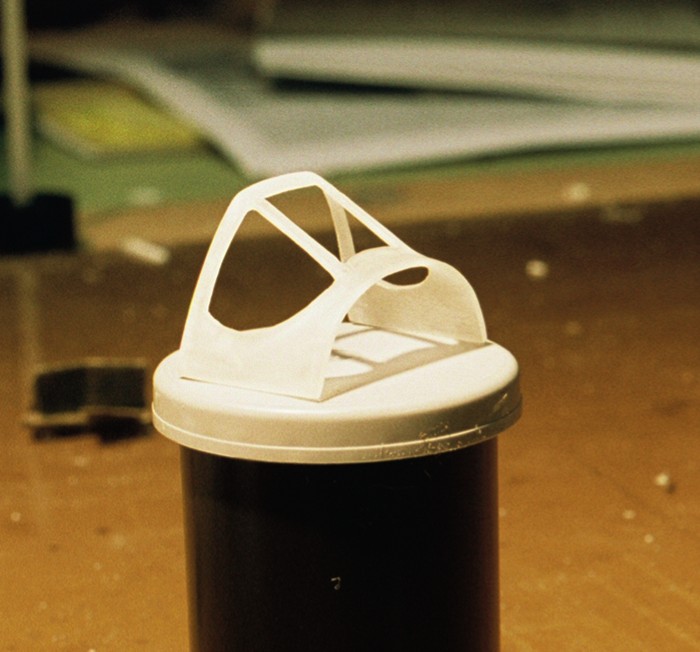
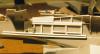
Internal canopy framing. This is the kit part with the windscreen areas removed then sanded and thinned. I tried to make the part myself by first using the kit part as a mold and pouring an epoxy plug of the inside. The plug came out fine but attempts at vacuforming left me with parts that were terribly weak and tended to break. I purchased a canopy from Squadron which is an exact match for the Hasegawa wind screen. After a a good amount of sanding (on the inside of the frame only!) to thin it, it drpped right into the Squadron part with good results. BTW, the Squadron part is extremely clear and well molded and much better than anything I could ever hope to make.

-
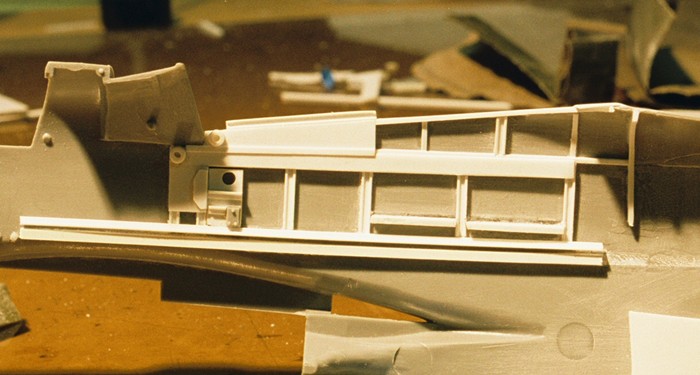
Starboard side beginning. Besides the structural members, the foundations for the oxygen regulator, canopy crank are in. Beginnings of the comm equipment started.
-
Another shot of the port side - normal incidence.

-
Another shot of the port side - normal incidence.
-
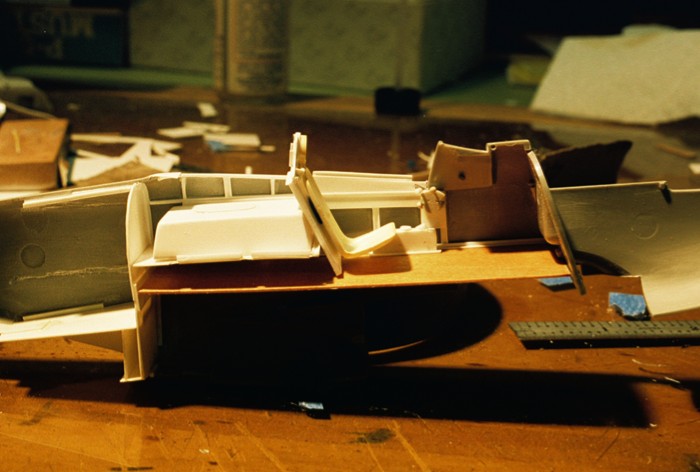
Beginings of the port side of the pit. Seat assembly isnt done yet but Im sure you get the idea. There is alot of building and fitting in there to bring it up to standard. Still havent resolved that natural wood - vs - green floor argument. The floor is 1 mm (.030") stained Birch veneer. The rest is for the most part self evident.
-
PS: where on the Bud Anderson Web site did you fine the decals? I cant seem to find them
-
Hi Chris, I dont think i can send an email with the error. It appeared after I attempted to post the last pic I put up. What ever the problem was...it's gone and there is no harm done. Ill have a good long look at your stang. Im really enjoying my return to building and for sure LSP. Its simply an awesome site and the talent here is amazing. I hope all is well with you and yours, Geoff
-
Chris, Are you working on a 51 as well?
-
Guess it would help if I attach the pic.
-
remanufactured gear...
-
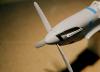
The kit supplied gear while functional is a bit mishapen, this problem being in the lower section. To correct it, the original was rebuilt, molded in latex then recast using Armalite resin. The shafts are fashion from aluminum tube, the oleos from polished stainless and the lower flange, to which the oleo scissor attaches, is lead foil secured to the aluminum then burnished.
-
Chris, I have tried to post. the system message I receive states: I have reached the limit set by the system administrator...sir
-
To all that have commented - thanks, you are all very kind. I would love to post more but it seems Ive reached my limit and the system has been set to deny any further posts. Geoff
-
Matty and Klaus, Many thanks for the kind words. Youre right Matty, I should have resized the nose pic after I cropped it. Next time mate. Klaus, I planned on shooting some interior stuff within the next couple of days. Again, many thanks for your comments. Please, if someone sees something wrong let me know. Be well all, Geoff
-
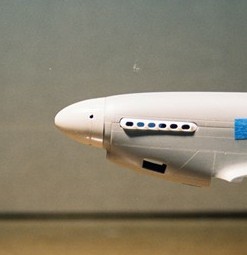
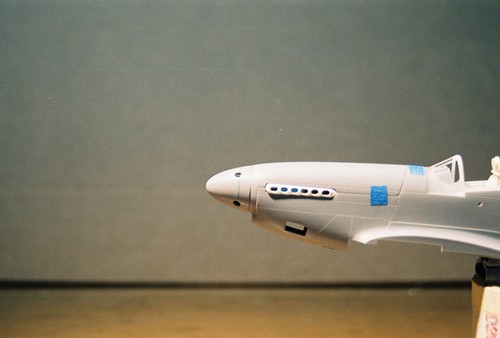
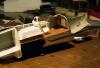
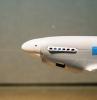
While the kit nose is close it still misses the flat slightly buldged appearance of the prototype. Even with its short comings, it's still the best available and for those that like to build, this kit offers many challenges and a sufficiently accurate shape. Nose with reworked spinner and prop blades. he blades have aluminum shafts attached to the bottom where they eneter the spinner. Embedded in the reworked spinner are aluminum tubes, into which, the prop shafts are inserted. The exhaust shrouds are vacu-formed dupilicates of the original kit parts after the stacks were removed. The new stack openings are then cut in. The stacks will be added later. I know the one in the pic is crooked, it hasnt been fixed in place permanently yet
-
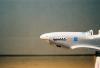
Kit original prior to reshaping. Note how the spinner goes flat in cross section rather than continuing the parabola which starts atop the cowling.
-
reworked spinner assembly...croped
-
another try at croping.

-
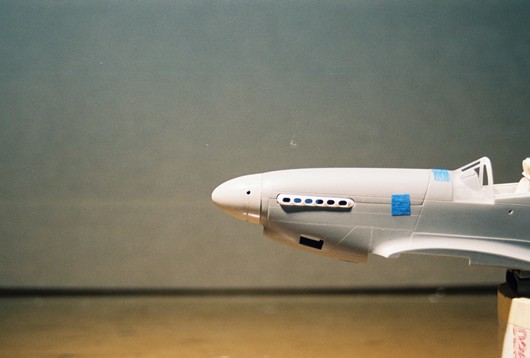
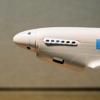
another shot of the reworked spinner. Hopefully with better resolution.

-
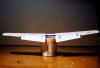
The Hasegawa original - note the difference in cross section
-
Reworked/reshaped Hasegawa spinner. The kit spinner, as it is, is a bit too "pudgy" and should follow the parabola of the upper fuselage center line. The Hasegawa spinner, while it follows it somewhat, never the less has a step in it; no doubt to compensate for the front of the fuselage. There is a comparison shot of the reworked -vs- the kit supplied part for comparison. In order to effect the rework, the spinner and its backing plate were welded together using Tenax. Next,a round toothpic was driven into the backing plate flange which is located on the back of the backing plate. This was then inserted into a Dremel Tool, spun and shaved to the new shape.

-
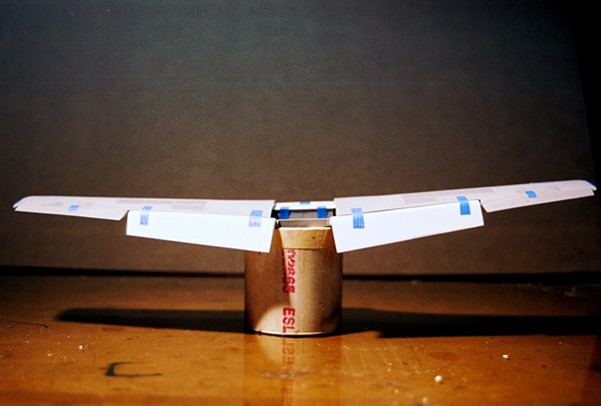
Beginnings of the flap rework. The kit originals are removed from the wing, assembled and then used as a form to heat form new flaps. This isnt really required. The originals can be used failrly convincingly. However, on both the port and starboard flap leading edge are two openings which are quite obvious when the flaps are at full extention. This full extention position is always the case while the aircraft is on the ground and the hydralic system has bled off pressure. If the kit parts are used, adding these two openings could be near if not completely impossible. By heat forming the flap, the flap remains hollow and allows the two adjustment openings to be added without a great deal of difficulty.
-
Thanks for your help resolving the pic posting thing. Your solution was correct. It was all in the sizing. And to you that have given advice and tech data - here is what is coming out of it...many thanks. Geoff
-
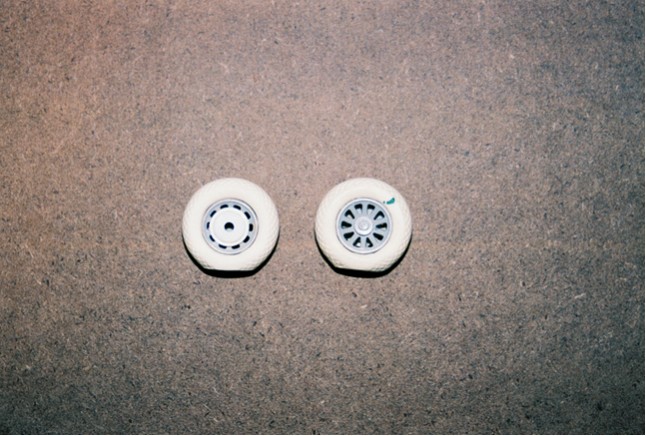
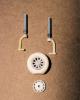
opposite sides of the reworked tire/rim. Hasegawa molds then the same. They arent and should appear thus.
-
the pics dont look as good here as they do on my screen...how do I fix this?