

Akondo
-
Posts
44 -
Joined
-
Last visited
Content Type
Profiles
Forums
Events
Posts posted by Akondo
-
-
Thanks.
Since this bird is German Iron I went with the song Prussian Glory to set the tone. You can have sound sets designed to fit your needs.
DSM has a great web site. His work is incredible.
Again thanks for everyones input.
Akondo
-
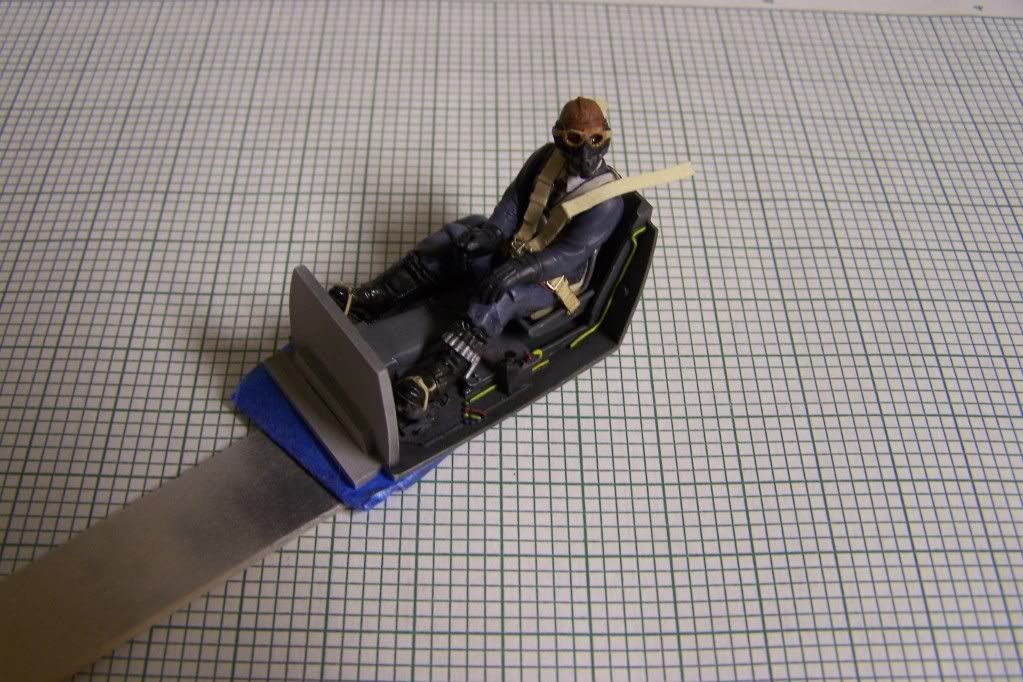
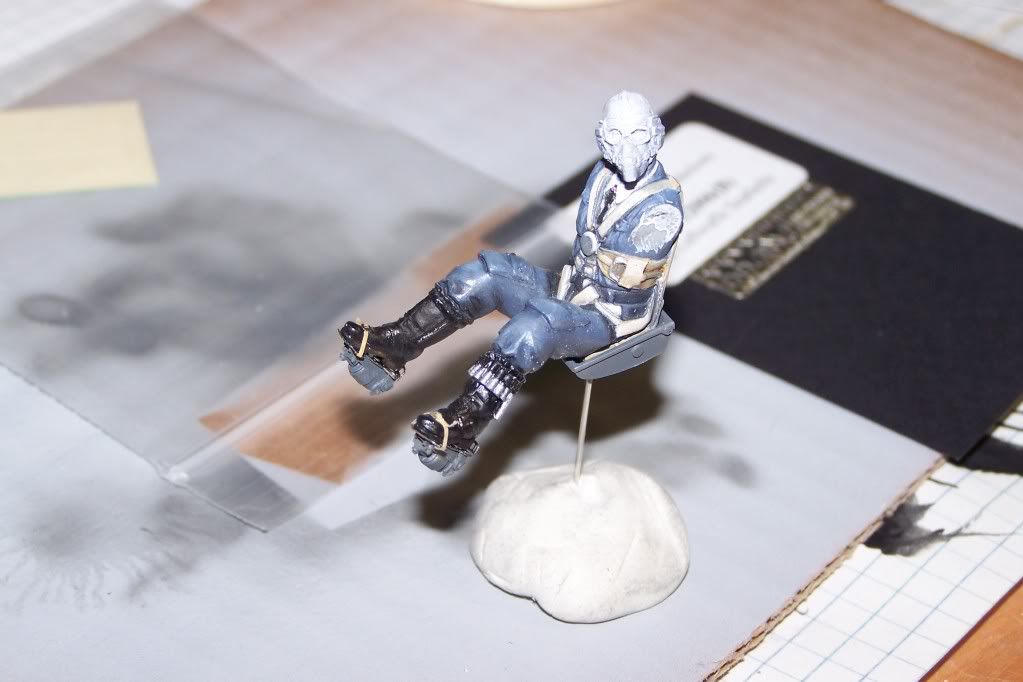
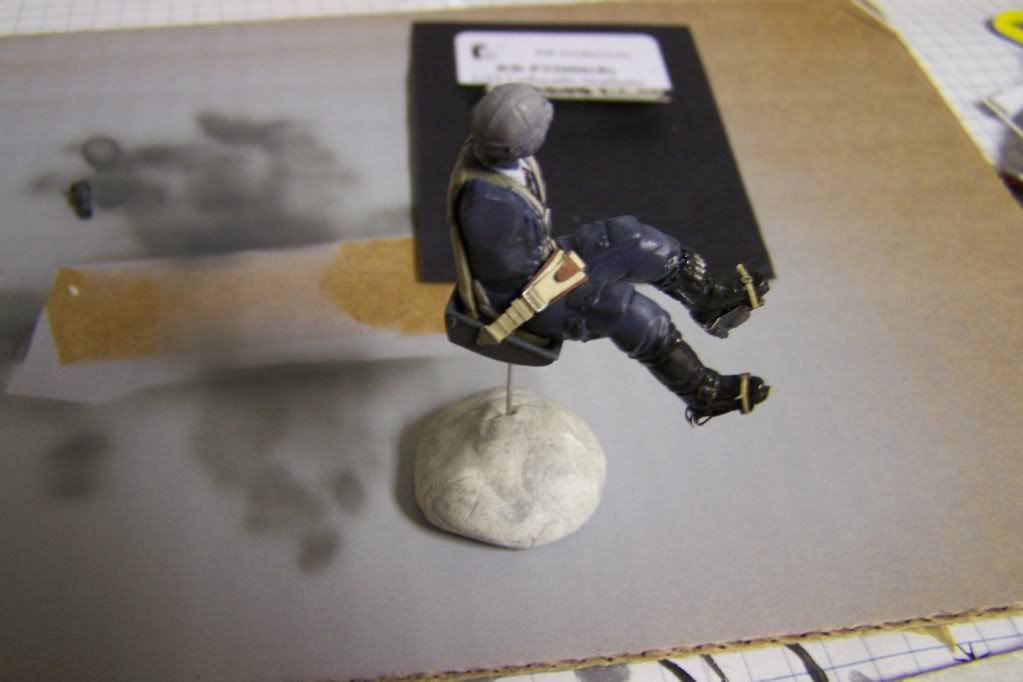
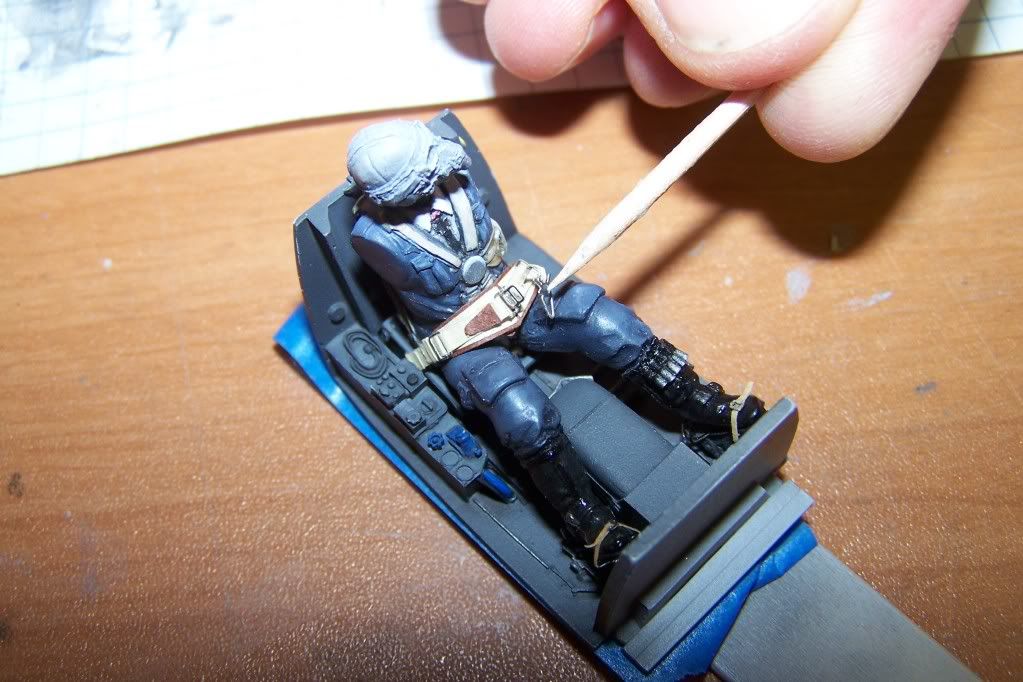
I still need to finish up the upper seat belts and their attachment points.
Dynamic Scale Modeling has set me up with a sound/light set!!
-
Rudder pedals and the seat pan are in position.
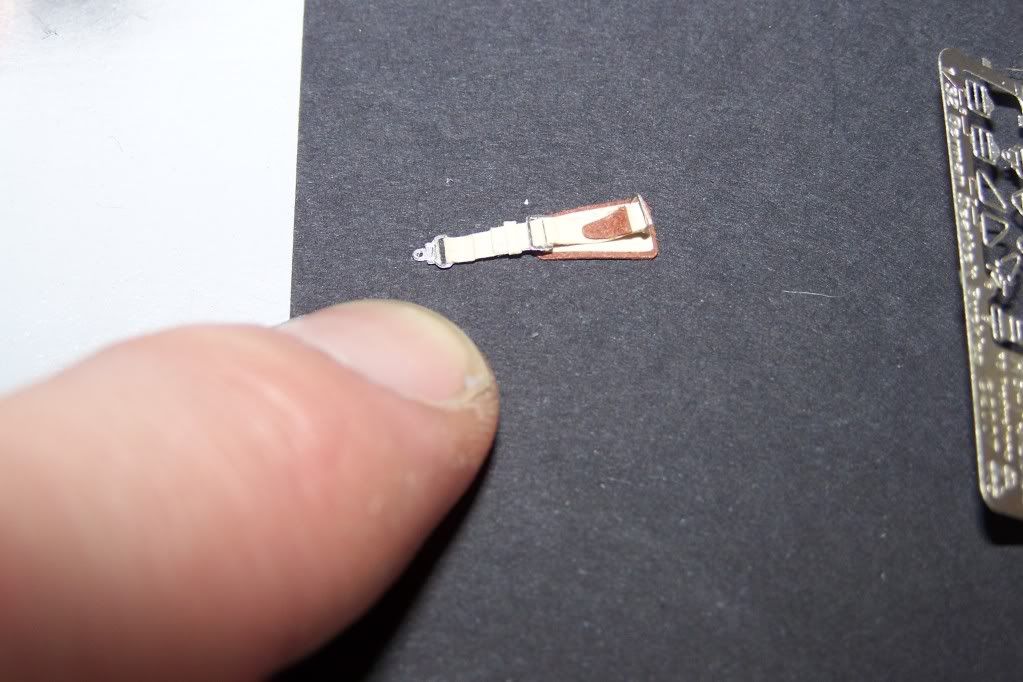
RB Productions Luftwaffe seat belts. High quality product with detailed instructions.
-
Finally aligned the legs. I used just the lower part (boots) of the resin kit.
I turned the figures head slightly...I think it gives it a more natural look.
My first try of Vallejo paints.
-
Your build has sold me on buying the conversion kit....as soon as I finish my K4 project. Keep up the good work.
Akondo
-

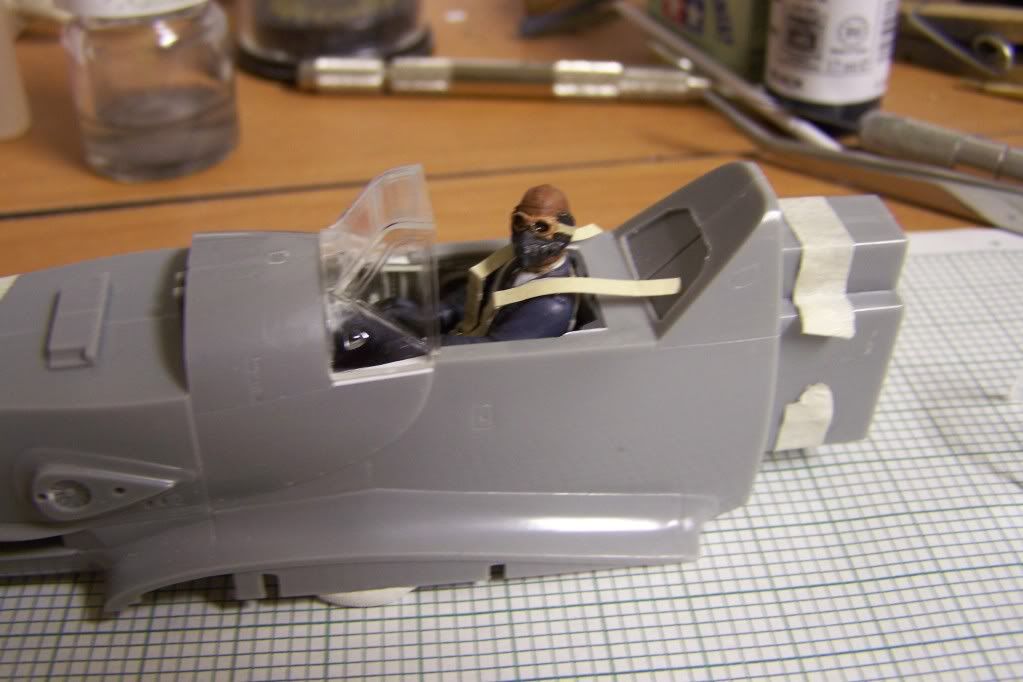
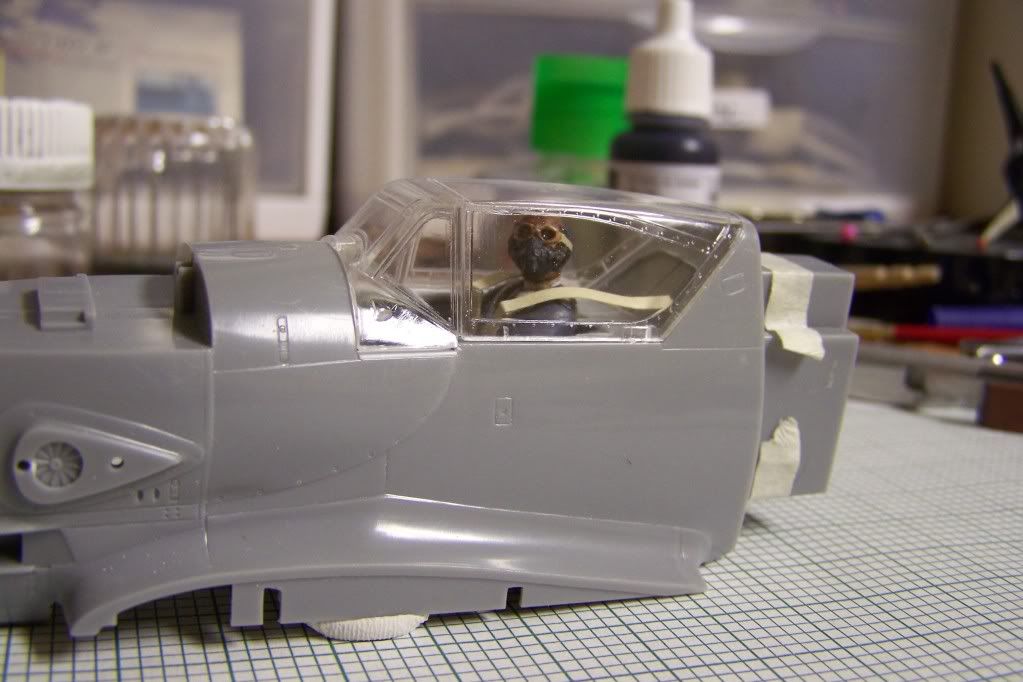
To make it easier to get the placement of the legs right I drilled holes for metal pins.

This also allows me to place the figure in the cockpit to check clearances.

-
Does future protect the clear from frosting?
Very nice work. Love the canopy
-

My replacement radio cable

installed the floor foot plate with some weathering

Surgery about to start


So far so good.
Its slow going, but I'm having fun. With work and my family , time is precious. Thanks all for looking
Akondo
-
Impressive work. Like how you worked the interior. I'm looking forward to some pictures with paint.
-
Ok I'm starting to pick out some detail

I have a question about the radio helmet connection...Where does it go to exactly?
I'm a little nervous about carving up the cable on the resin piece. I just want to make sure everything will fit and look right before I start scrapping.

-
No matter where in the world a model builder lives all sanctuaries are very much alike.

Nice work!
-
Thanks! I am going to use the goggles down with the oxygen mask on head. Does anyone know if Luftwaffe pilots had tinted goggles or were they just clear lenses?
-
Its a slow progress, but it is progress

Wheel trim test fit

I have added some wire detail and fixed the area where the trim wheels will sit. Too bad it will all be hidden...especially if I can fit the figure.

RLM 66


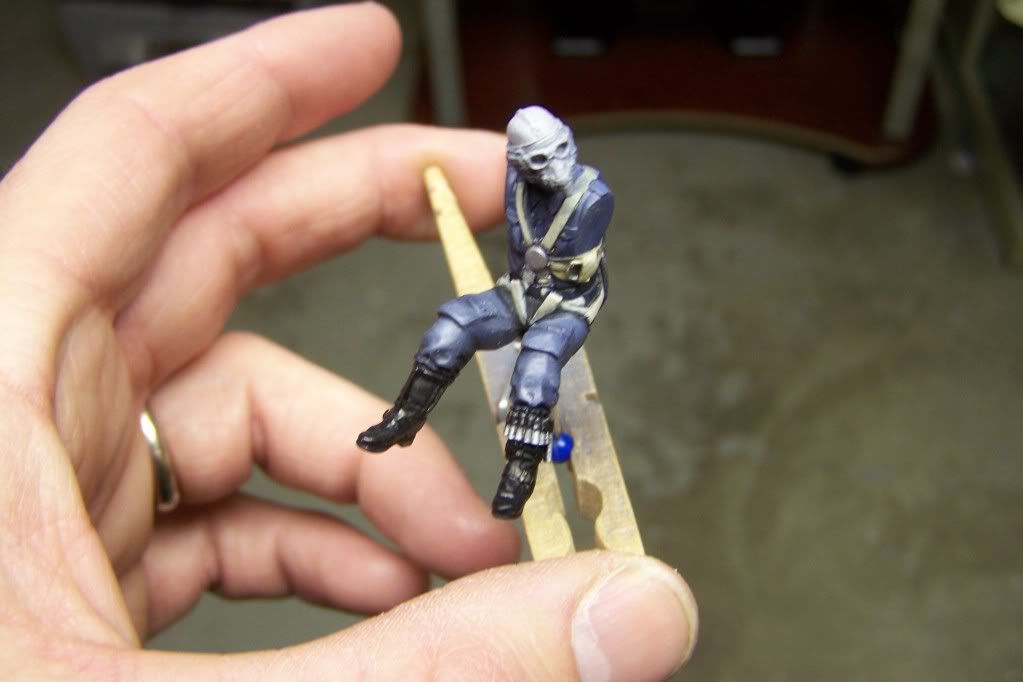
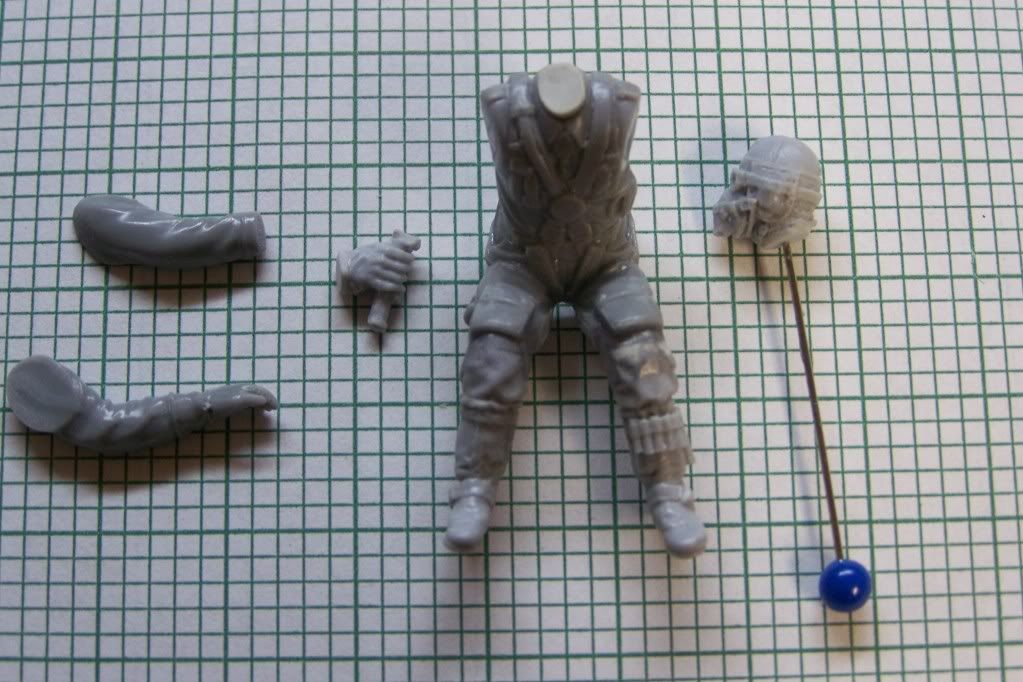
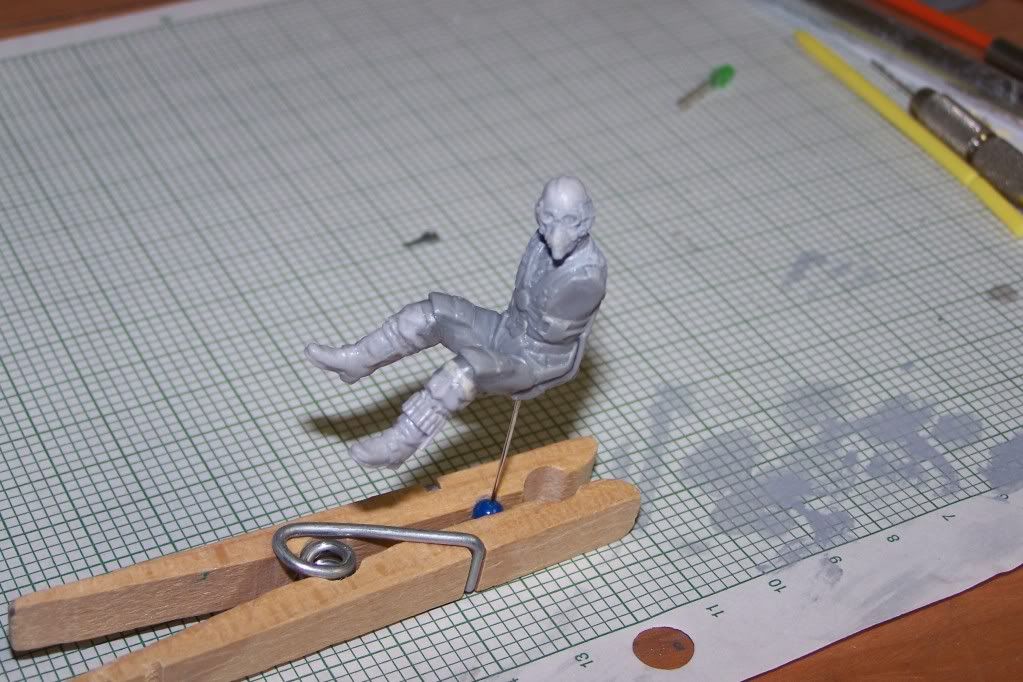
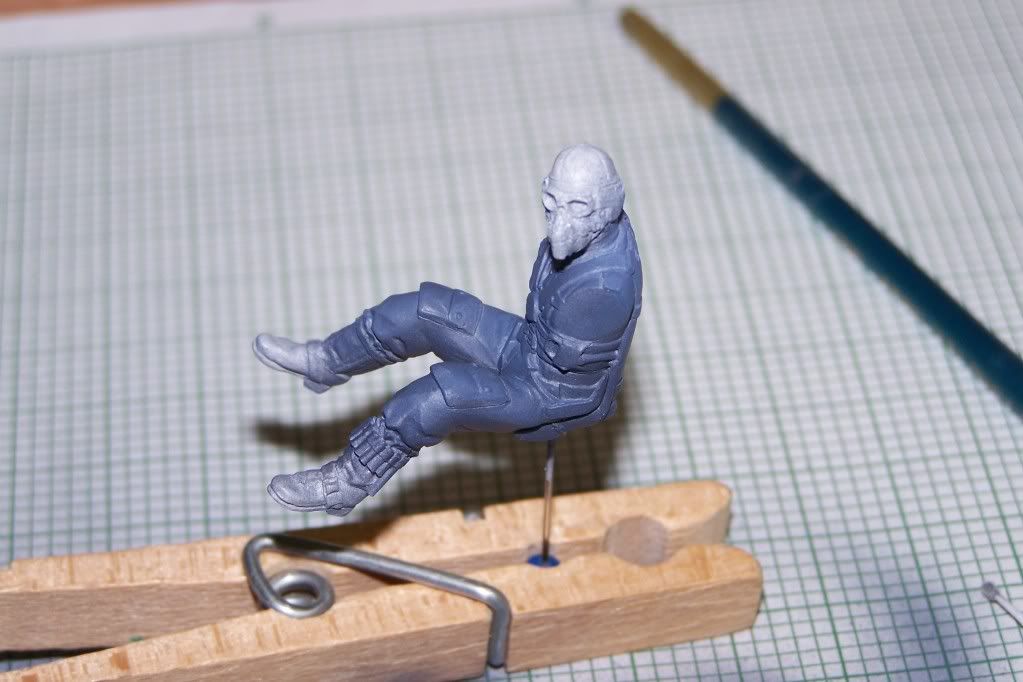
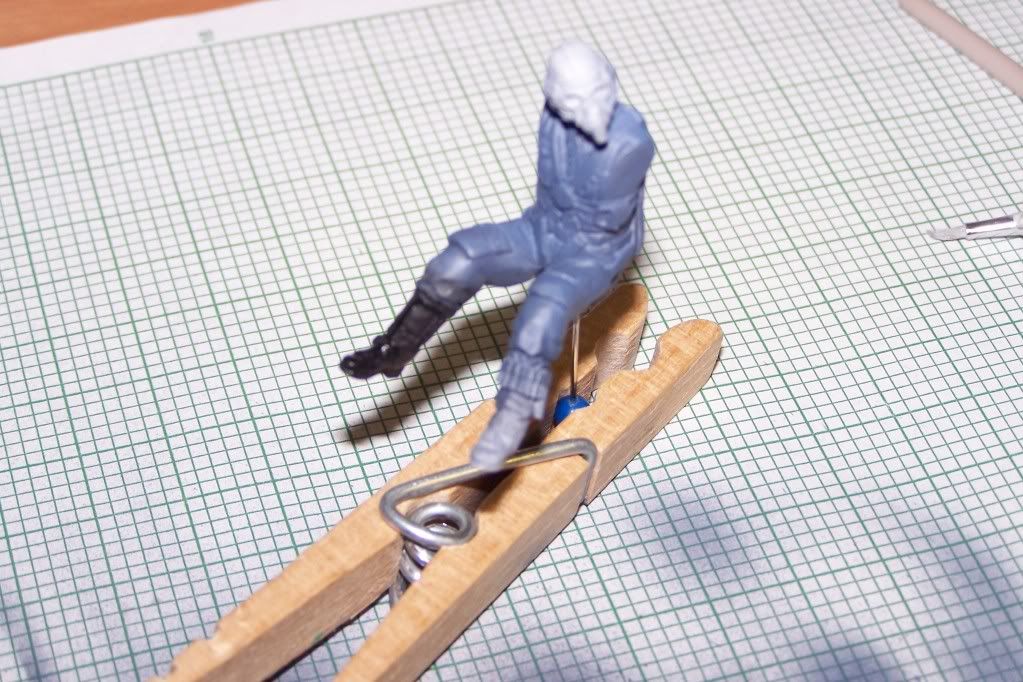
My initial test fits have shown me that the resin figure will need to go on a diet to fit the cockpit.
So I'm now planning on using a combination of the kit figure and the resin one to come up with a lean (in shape) pilot.
Akondo
-
Thanks for the help.

Here is the bracket for the radiator flap control and external tank release. Its an Eduard bracket since the MDC kit only gives just one handle.

Im also using a combination of Eduard, MDC, Hasagawa, scratch pieces for the trim wheels.

I'll put them on after the painting of the sidewall. It lines up nice this way since the floor and wall dont match up too well.
-
I have a question on the starboard sidewall.

What are the controls for at the lower left hand of the fuse panel?
Thanks for any help in advance.
Akondo
-

First I need to remove the molded on detail from the inside of the fuselage halves.

I was a little heavy handed and removed a little too much from the window sill ( file is pointing to the area)

Not a problem I fixed the error with some plastic sheet.

The panels were a little tricky to line up. They need to be exact so that once the halves are together the floor piece will fit.
The port side doesn't meet the floor and leaves a slight gap. In order to get the placement right I removed the trim wheels from the floor piece and will add them to the port wall separate.
As for the gap I don't think it will be visible once she is closed up.
Akondo
-

Well here I go. I've had this kit for a couple of years and its time to crack her open.

I also have collected a small mountain of aftermarket parts. Probably wont use half of it


I plan on displaying this bird in flight and I may use this pilot figure. It has very crisp detail.

MDCs cockpit verses the kit part. MDCs set has some of the nicest detail I have seen....just hope I can do it justice.
-
I thought the same thing with the Hobbycraft kit. I am wanting to do a 109 V7 from the 1937 Zurich air meet. What ever happened to hobbycraft...did they go belly up?
Akondo
My first 1/32
in Works in Progress
Posted
Does the oxygen hose hook up to the blue arrow or the red arrow.
Never seen a picture of how the pilot is all hooked up.
Thanks for any help in advance
Shawn