
Derek B
-
Posts
11,081 -
Joined
-
Last visited
-
Days Won
25
Content Type
Profiles
Forums
Events
Posts posted by Derek B
-
-
-
2 hours ago, jenshb said:
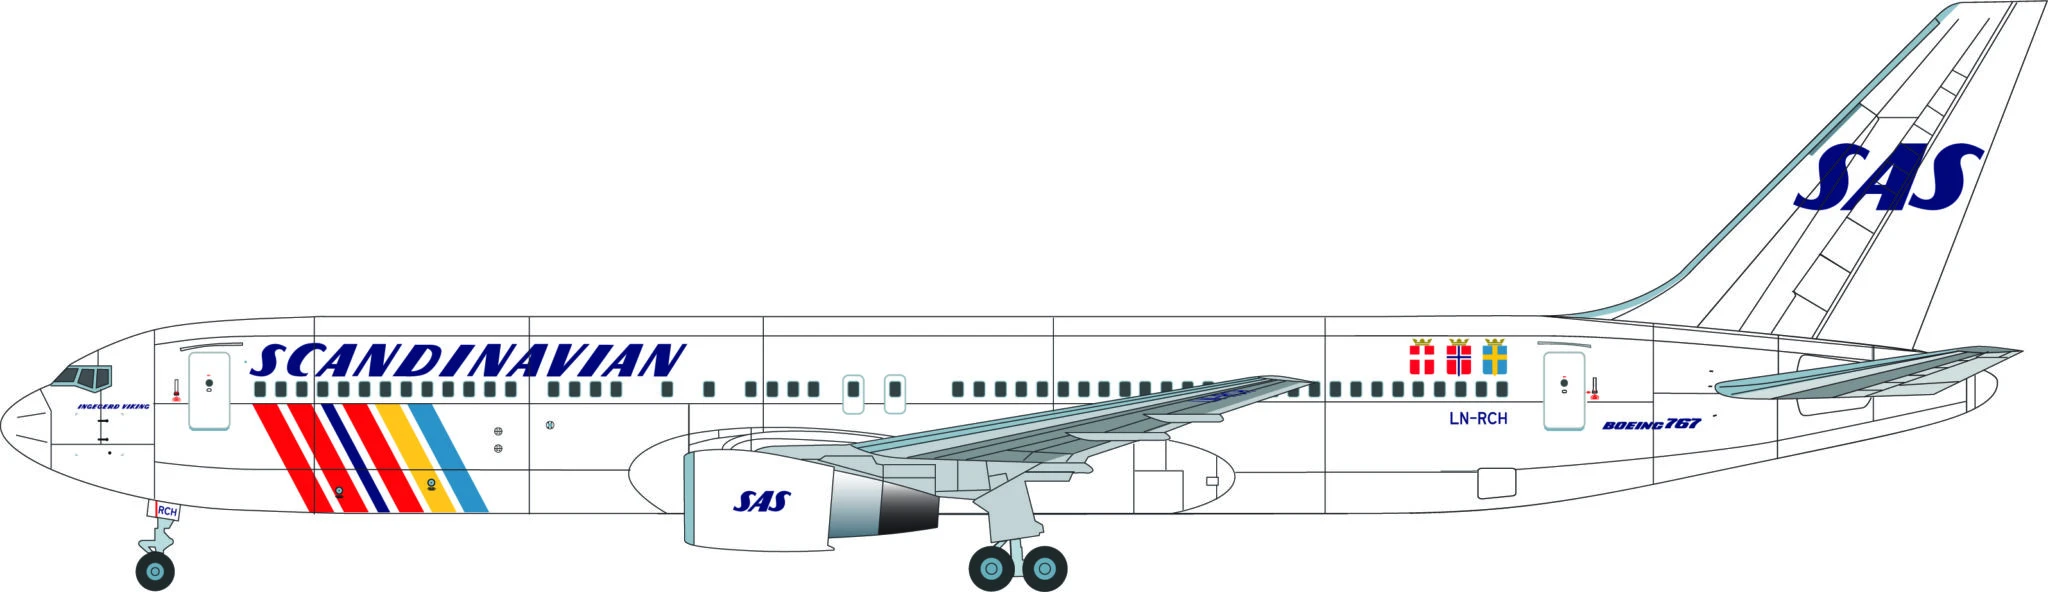
Like this! I don't know how far down the rabbit hole you want to go, but I an faairly certain the SAS 767s had P&W engines, whereas the Zvezda kit comes with GE engines only. The differences are subtle however. (shorter and more rounded hot exhaust cowling). Sergey Druz makes the correct P&Ws, but they are expensive.
Thanks Jens, I haven't considered or even looked at that aspect yet, so that is a useful observation! The Lima November SAS decals provide markings for both -200 and -300 versions of the aircraft. The kit is a -300 version, so I would need to see if both variants have the same engine types? (my intention is to make the B767-300 version).
I am not ready to start making it yet, so there is time for me to check this out - thank you.
Derek
-
Had a quick 'in the box' visual of it last evening. Generally, a very nice looking kit with extremely fine engraving detail. It has good old fashioned moulded window apertures and windscreen transparencies, but no internal bulkheads or cockpit detail! My example does exhibit some fairly severe warpage on the right wing and a more minor one on the right upper fuselage half, but otherwise, is good (my understanding is that most of these kits are OK, but that some do occasionally suffer from this problem).
Derek
-
8 minutes ago, LSP_K2 said:
Nice! I have an SAS MD-80 underway that I need to finish, a gift for a good pal.
That should be nice - Good luck Kev.
I think that I may still have an old Welsh Models vacform SAS MD-80 or 90 somewhere, but I suspect that the decals will all be cracked due to aging!
Derek
-
Must be something in the air (or to do with people named Kevin!)

These came through the post today, so this is a placeholder for now.

Derek
- scvrobeson, LSP_Kevin, Alex and 7 others
-
 10
10
-
-
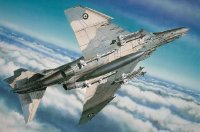
Fantastic work from you Anthony (and, I assume, Kerry as well). That nose leg is gorgeous and looks so detailed - very definitely (and visually obvious) FG.1 nose leg! The auxiliary intake door modifications also look spot-on.
Thanks for the update.
Derek
- Anthony in NZ and scvrobeson
-
2
-
-
5 minutes ago, LSP_Kevin said:
Column A is "modify the tail" and Column B is "modify the decal". I've already done the latter so that it fits the tail exactly, but to manipulate it any further would introduce noticeable distortions to the image, since the original decal is not only larger than the tail, but a different shape. Instead, I'm in the process of adding some 60 thou half-round stryrene stock to the leading edge of the fin as a compromise. Once it's shaped and faired in, it should do the job nicely, with a lot less work that anything I was planning previously! The bare metal leading edge on the fin is very narrow, so the fin only needed the smallest of extensions to accommodate it, whereas, I think I've taken the decal manipulations as far as they can reasonably go.
Kev

Derek
-
-
I am not quite understanding exactly what Columns A and B are Kev? Obviously, if the decal print can be further adjusted/manipulated/skewed to fit the kit tail correctly, it would still be the easier option than modifying the kit fin to match the decal. You may already have done this, but using tracing paper or clear film to accurately map out the true shape and size of the kit fin and rudder assembly and transferring that on to your desktop drawing package/tool may help you to decide exactly how much further you can modify the decal design and still have it looking satisfactory? (As it already looks reasonably close, I think that I would personally go for compromise here rather than 100% accuracy?).
Derek
-
On 4/4/2024 at 9:16 AM, geedubelyer said:
Simply stupendous!

There are a number of you guys on here building large scale, metal skinned models that are uber inspirational.
Keep at it Pete, this is another wonderful work of art.
 On 4/4/2024 at 12:52 PM, airscale said:
Looks absolutely fantastic Pete
")
It is addictive once you start skinning - there is nothing like it for that realistic metal look

Peter
Maybe there is some kind of secret society where you can only enter if your name is Pete or Peter!

Honestly, you guys are making it almost impossible for me to resist joining you, although I have no idea which subject I would choose?Awesome work is such an understatement Pete, and Timmy is also up there with you as wing man...keep the inspiration and exemplary work going man!
Derek- geedubelyer, themongoose, D.B. Andrus and 2 others
-
3
-
 1
1
-
 1
1
-
47 minutes ago, Dandiego said:
After a lot of contemplation I have decided to ditch the vac wings. SC's fuselage is so gorgeous I didn't want to graft on some very suspect vac wings. And I also didn't want to face the hassle of finding a way to attach them, install the wheel wheels and flap bays.
So I sent an email to SC and asked if he would send me his 3d printed wings. He said yes.
Now, he is still in the final design phase and these are not the finished product, but in my opinion will be much easier to work with.

Anyway, this is just the first look. Much work still lies ahead.
Dan
Lovely work Dan...looking very much like a Voodoo now! (I am also loving those Greek air Force decals in the background as well!)
Derek
-
3 hours ago, Pete Fleischmann said:
This thread itself dates back to March 2010!
Kev
3 hours ago, Pete Fleischmann said:hi Kev-
yep. And even back then, the plan was to skin the model in aluminum..which is en vogue around here lately..but you really need to go back even further in time to Timmy’s! 1/24 OV-10D for the genesis of aluminum skinning.
But also, this build certainly started before 3D printing was even a thing. Now it is really helping get this across the finish line.
hopefully it won’t be on my bench another 14 years!
P
Indeed, this post is living proof that (in modelling terms) reincarnation does exist!
Great work Pete.
Derek
- Pete Fleischmann and Uilleann
-
1
-
1
-
2 hours ago, LSP_Kevin said:
Still has to be sanded to shape. By the time I'm done, this model will be more Milliput than plastic!
Sounds very much like one of my old Welsh Models master patterns Kev!
The way you have tackled the individual engine fits is exactly the approach I took when I made master patterns which required identical handed engine fits (for four engined aircraft, I went for the modular approach).
As for the fin, using a razor saw or careful multiple scalpel cuts to remove it from the fuselage should not be too stressful. The height and width of the fin can then be adjusted with plastic card inserts (stepped for strength) and Milliput as required. Once sanded and re-scribed, it can be re-installed back onto the fuselage by whatever method you see as appropriate. Good luck.
Derek
-
1 hour ago, airscale said:
still lots to do, but a great canvas, even if it is
cheatingcreating a bit
Peter, I corrected it for you!
I can see that you have really got the bit between your teeth on this one and you have undoubtedly nailed the 3D printing stuff - awesome work!
Derek
- Shoggz, monthebiff, geedubelyer and 1 other
-
4
-
7 hours ago, LSP_Kevin said:
Thanks, Derek. I'm not overly concerned with the result on this one, and just doing what I can, where I can. Already the dihedral is too flat, the wing incidence too high, and the engine pylons will most likely be too long. And in the end, it will probably look more like a caricature of the 757. But it's a great learning experience, and I'm sure I'll be able to take that to my next vac airliner builds.
That said, if I could find a Zvezda 757-200 kit, I'd definitely hold the Ed Force One decals over for that! Then I wouldn't feel I was forced to "waste" them on a sub-standard model. I'd still finish this one, but using any old airliner livery I had to hand.
Kev
Sounds like a good plan Kev (I have noticed that Amazon.co.au have one Zvezda B757-200 kit left for £69.59 if anyone is throwing any Amazon vouchers your way!).
Derek
-
It is encouraging to see that you are still sticking with this Kev - ultimately, all good skills learning stuff! This is one of the issues with very old vacform kits that have been turned into multi-media kits without major rework of the original parts to account for such issues (something which I always accounted for with my master patterns - particularly wing incidence and scale finesse (wing thickness) and engine alignment!).
You are doing a great job Kev - keep going!
Derek
-

Derek
-
-
16 minutes ago, crobinsonh said:
I might be missing something but isn't Master covering this as well?
https://www.hannants.co.uk/product/MR32-057?result-token=vwEMg
Good spot Colin! As I am making this build (almost) entirely without the aid of any AM parts, I have not been searching the internet for such parts (so thank you Colin - and Karl - for pointing out such items). However, now That Trumpeter has re-released this kit, I can imagine that there are currently many AM accessories available which will correct or improve the appearance of this model.
Cheers
Derek
-
4 hours ago, blackbetty said:
Thanks Karl - it looks very nice!
(I notice that it is exactly 3 mm longer than mine!).
Cheers
Derek
-
38 minutes ago, Lee in Texas said:
What is the cargo net made of? It looks really good.
I have no idea Lee! It was just a piece of rubbery plastic matt material that I decided to keep probably 40 or more years ago because I thought that 'it might come in handy one day'!
Derek
-


Minicraft 1/144 Iron Maiden 757
in Non-LSP Works
Posted
Thanks Kev, this is exactly the type of feedback I was looking for. I have used Tamiya X-22 (thinned with MLT) on my Lightning, which has been sprayed with both lacquer paint (silver undersides) and Humbrol enamels (top camouflage colours). I find that it is not durable when cleaned with white spirit, which softens/removes it, hence my question.
Derek