ruzlkampf
-
Posts
3,126 -
Joined
-
Last visited
-
Days Won
4
Content Type
Profiles
Forums
Events
Everything posted by ruzlkampf
-
Whuh oh, spaghettios.....this project has been terminated. All projects went into the trash about 3 weeks ago. Meh, I can always build another one if the fit takes me. Sorry I've been remiss in posting lately, but I've been off on another tangent. Decided I needed a bit of fresh air....so I moved back on a sailboat, bought a motorcycle,new towels, and wardrobe...and decided that I needed to not only run a car at the Bonneville salt lakes this autumn(36hp 1956 VW beetle in the H/Pro(duction) class), but also have it and my 'chase vehicle' shipped to Australia to run it on the salt flats at Lake Grainger in March next year. Kind of like that movie 'World's Fastest Indian', only in reverse? I'm hoping to go 78mph.....or bust! Whoohoo! I've already blown 2 motors on the dyno trying to get almost 40hp squeezed outta a stock motor/manual choke carb/vacuum advance ignition system. Be still my beating heart. I'm not leaving LSP by any means Dave, this is my 2nd home! Just blowing some of the cobwebs out of this stump I call a head and broadening my horizons a bit. Keeps things fresh and interesting. Be back in a few weeks after all the dust settles, and everything is just a dull roar again. Again, sorry if I've disappointed anybody by not finishing this build....but I got everything out of it that I set out to do, the 'mystery' was just gone and finishing it would've been anti-climatic and just plain boring for me. Sometimes it's just OK to walk away. Still have a few interesting projects up my sleeve scheduled for the near future, so I'll see everybody in a few weeks after I've sojourned in Mexican waters and eaten a few fish tacos down in Baja. Later dudes!, Russ
-

Is anyone planning to convert the PAC Fw190
ruzlkampf replied to Kagemusha's topic in LSP Discussion
Hmmmmmmm; Did somebody mention putty? -
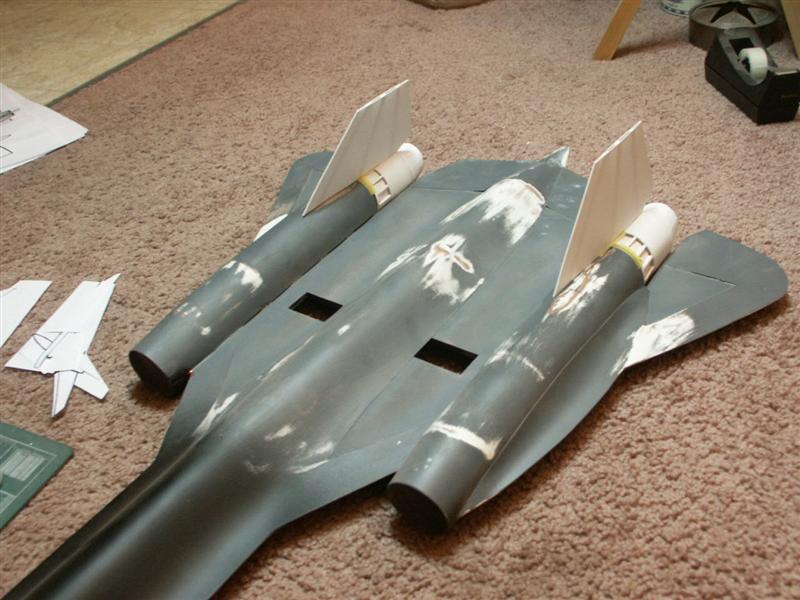
Think the next step on this monster will be cutting out all those by-pass holes in the nacelles and inserting all the details back into them. Then I can finish smoothing out the airframe and add the corrugations to the tops of the wing so I can install the landing gear. More pics soon! Later, Russ
-
-
-
Both chopped up and re-installed;
-
Whoohoo! Thanks for the compliments dudes! Tis the season for all the Volkswagen shows here in SoCal, and my restoration shop is going to have a few vendor booths to set up in the next few months. Soooo....,dividing my time is going to be tough for awhile. After missplacing my 'closed burners' yet again, I just went ahead and chopped up the open ones I already had on the model. Nothing really new to show, just a mod of what I already had. Here's a comparison of the open versus closed nozzle;

-
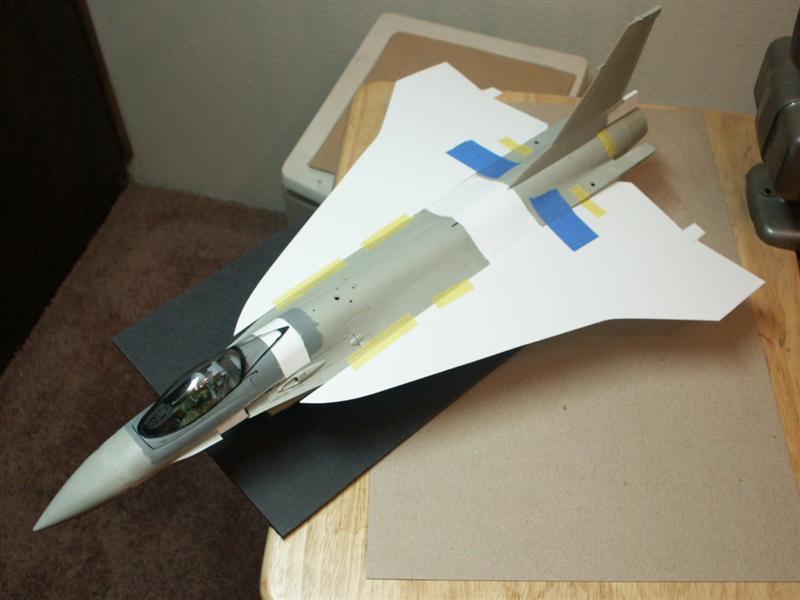
Next step is to add another thin lamination of styrene to the wings, working on the wing fences and those actuating arm mechanism 'pods' for the control surfaces. I'll be doing this in the panels exactly like they are drawn on my plans. Save me from having to engrave any panel lines, make the wing sheets a manageable size, and allow me 'twist' the wing edges to their swoopy contours easier. Even though I can pick this model up by the wings,...another layer will seriously strengthen everything up. Probably get some putty on this tonight too, as it won't take long to get the wing sheeted again. I've had a bit of practice now. heh heh. More pics as things progress; Later, Russ

-
-
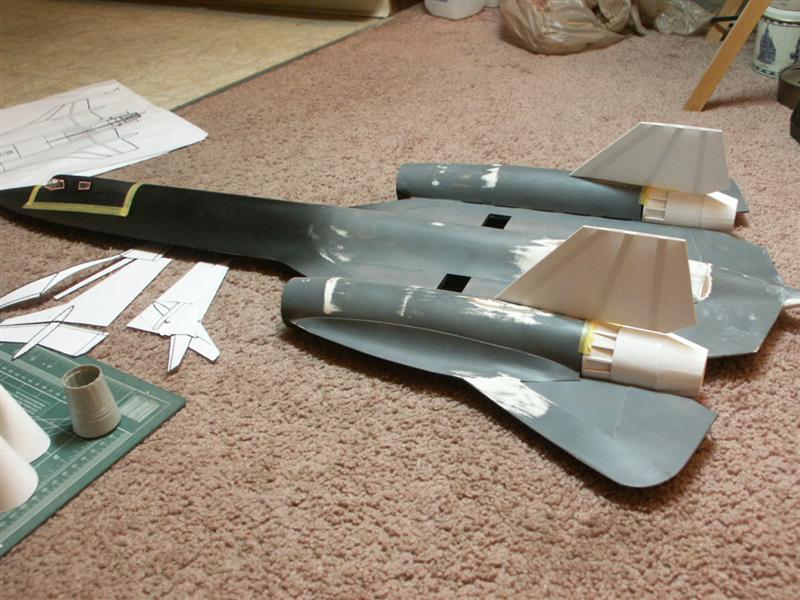
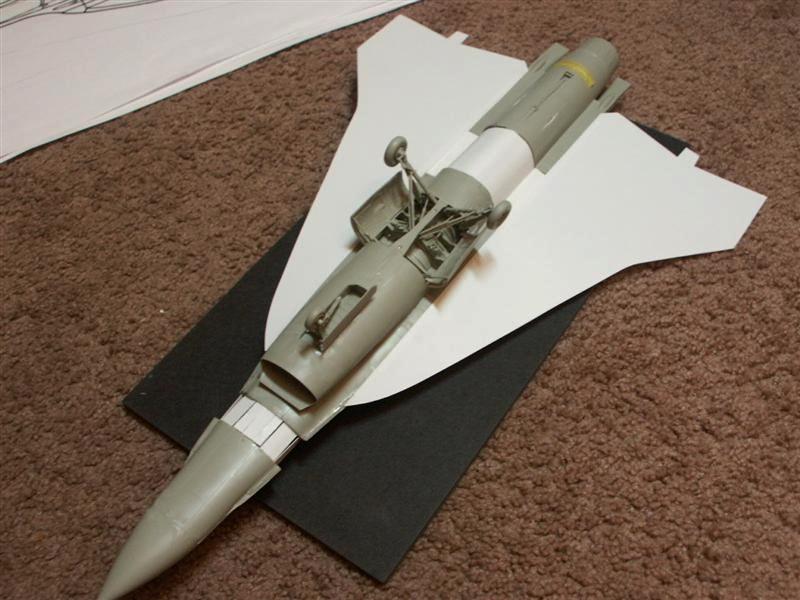
Finally buzzed off those bits of leading edge extensions from the fuse front left over from the extension I did there, and got everything mocked up once more. Went ahead and put the sidewinder rails on so I can zero in the amount of washout on the wingtips when it comes time to add the top lamination.
-
Wasn't able to get any pics of the structure inside the wing, because I was building it from the outside in. All this got stuffed in after I had glued the wings to the fuse, but before I glued around the outside of the wing itself. Testy little business for sure.

-
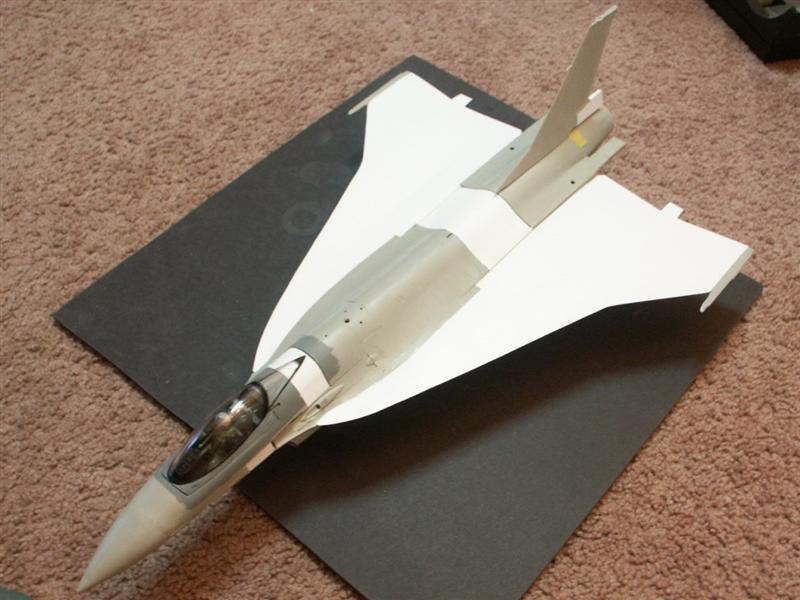
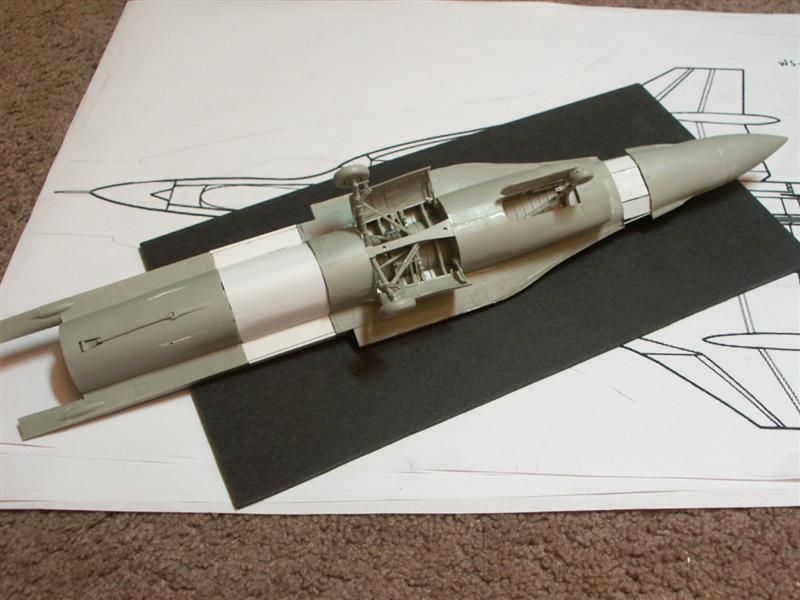
Whoooooohh, Ended up sleeping like a bear in hibernation so I didn't get my update on last night. Got the first layer on both sides of the wing now, and everything trimmed off so the outline is visible once again. Got the future Norwegian F-104 out of it's box so I can start giving it a looksy while things were drying. Hmmmm, these are almost exactly the same length,...interesting.

-
And the other top sheet cut out and placed for a look-see. After I go line up at the trough and get something to eat, I'll get back on tonight and show where I'm at presently. Actually didn't turn out half bad. Easier to show pics of what I did than explain, so I'll see everybody in a bit. Later, Russ
-
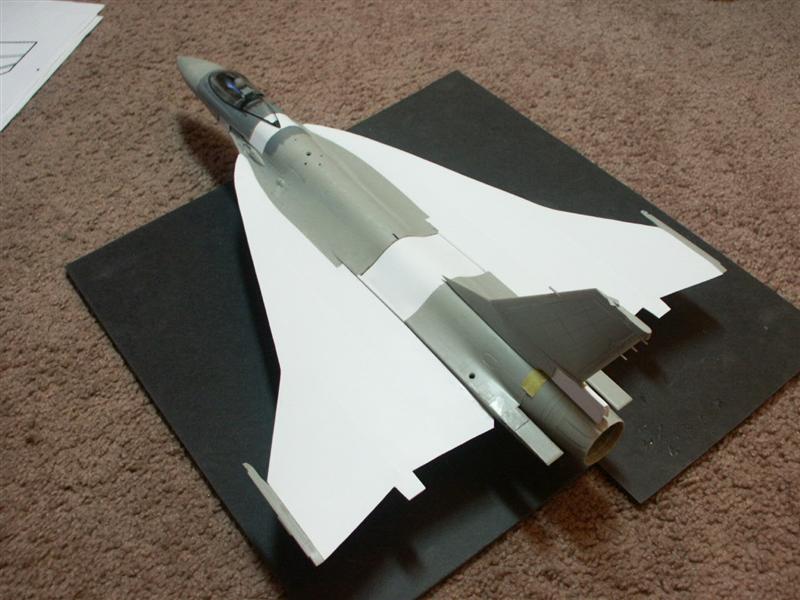
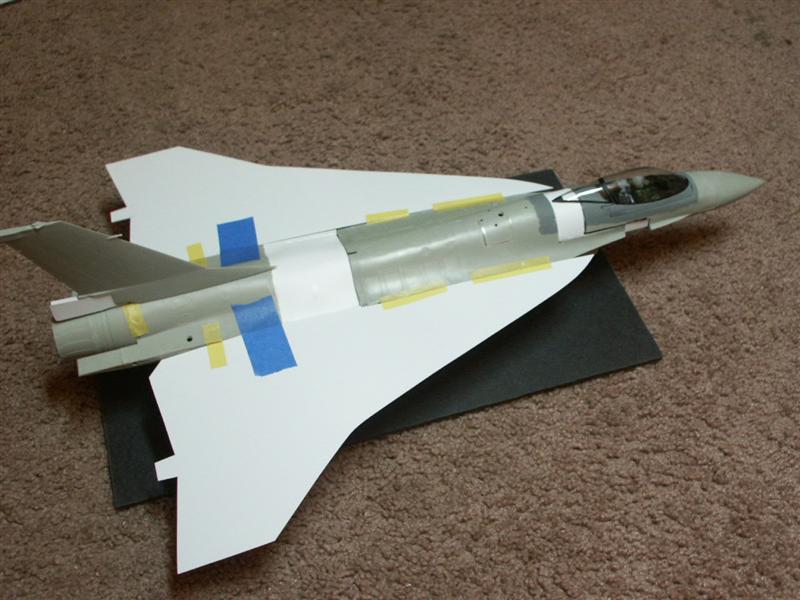
Pic of my strategically placed attachment points of the side fuse. Top sheet butts up against the fuse in the rear, then will transition over the leading edge of the chines that are already on the kit. Top of the wing isn't quite 'blended' into the fuse for it's entire length on the real aircraft. Test fit of the upper wing sheet. See the transition I was talking about? There's another built-up area close to the fuse as it goes rearward for actuating mechanisms (I guess) for the control surfaces, but that will be another lamination after I get all my contours down. Hard to explain, but ya'll will see.
-
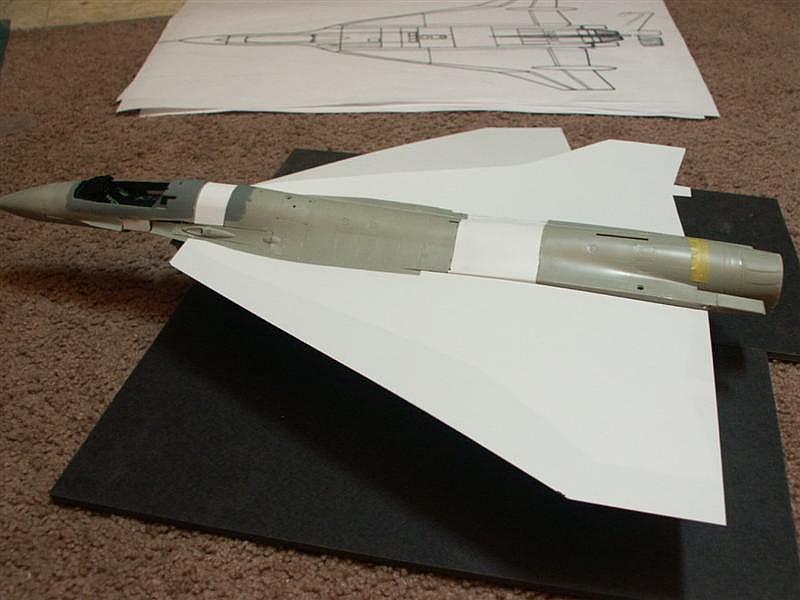
Wings are no more than 4-5mm's at their thickest point next to the fuse, so they're thin. They've also got some really cool convoluted shapes out to the tips (must've been made out of carbon-fiber?) so some deft gluing and shaping is going to be required. This is the oversized top sheet after I made a pattern to hug the fuse sides.

-
-

-
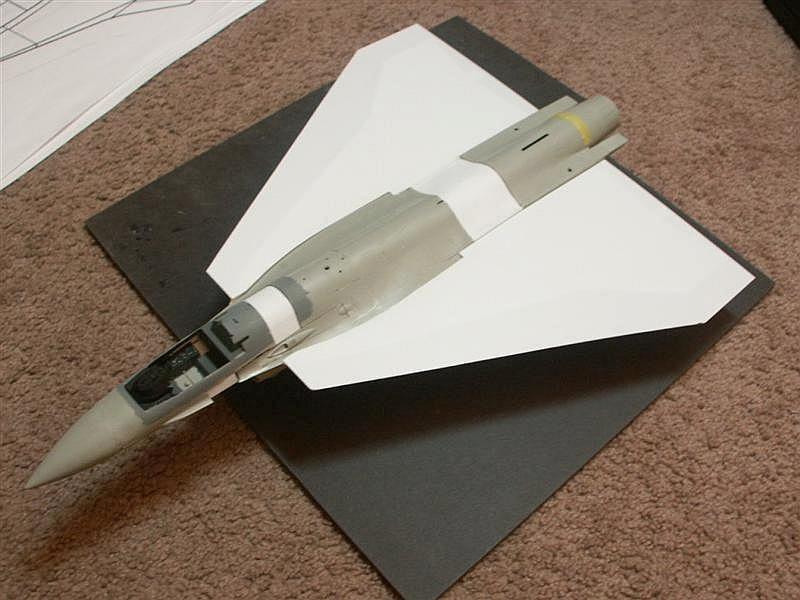
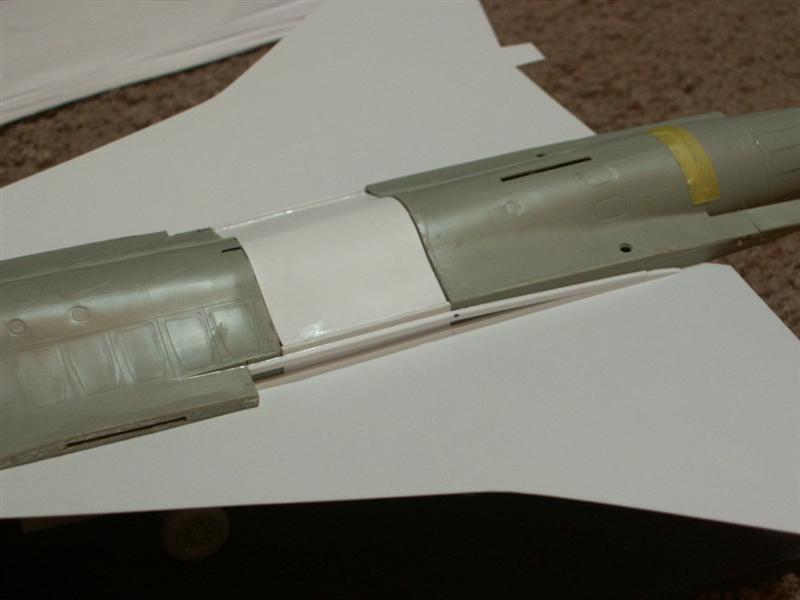
Bahahahaha! You ARE incorrigible Phi. Of course, if that WAS me....I woulda had my sombrero afixed at a jaunty angle with the mower turned on it's side to trim the sides too! A low level pass with an F-4U Corsair woulda been quicker for that top part,...but the neighbors would've called the bobbies if I'd of landed, folded the wings and taxied around the sides to get the edges trimmed? Yeah, I was going to try for a mail-order Russian bride for a secretary, but figured after her first week in the U.S. she'd watch 'Oprah' and decide her new station in life was beneath her. I'm holdng out for one of those Bolivian lucha-libre wrestler women with the ruffled skirts and cool bowler hats. Now THAT'S the ticket! Uhhhh, where wuz I? Aaaaaah yes.....figuring out a way to slap some wings on this dung-heap. Have to admit I didn't have a clue on how I was going to do this. Figured it'd just come to me eventually if I started tacking pieces together. Heh heh, it worked! So far anyway. These wings are sorta convoluted in shape thru their entire span, with (I believe) an under-camber on the bottom on their leading edge and a droop towards the outside tips like the SR-71 with a subtle upsweep on the rear edges. Hmmmmm, so I've devised a new (for me) technique of 'free-forming' this wing from the outside in. Yeah, I'm on thin ice here. Had to spend another $2.50 for some sheets of .015 styrene, GAAAAAAHHH!, to try and pull this off. Little bit of warping, twisting, and some slight laminations should get me close to what I'm looking for. Here's where I was last night; Started from the bottom and going to work my way up....then around the edges. Bottom sheets on, with a weird airfoil shape boxed shape 'thingy' into the side of the fuse to attach my top sheets.

-
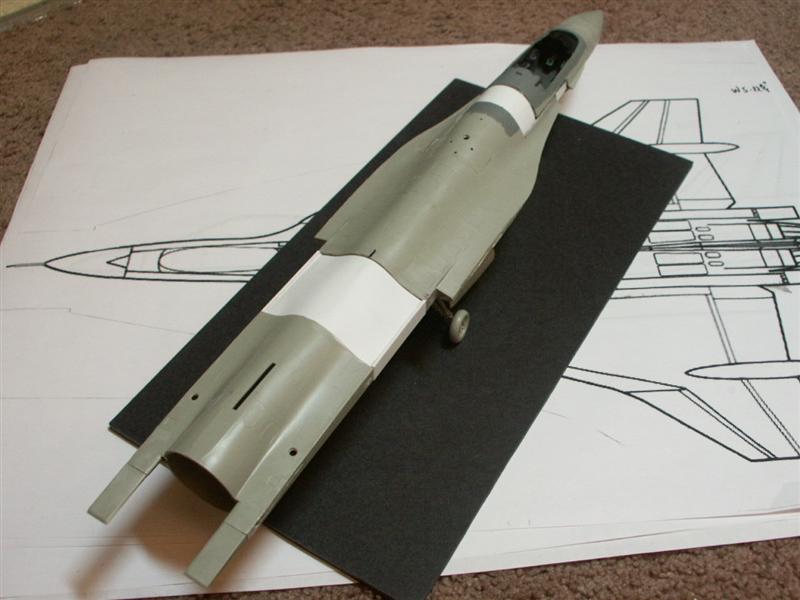
Whew! I've gotta go to bed and rest up for whacking on the wings tomorrow. It'll be FRIDAY!!!! Got the weekend to do some more damage to this thing,....so I'd better split and ponder my next moves. More pics on this as things progress. Oh yeah, this one's for Derek. Just had to get the F-5 out and lay it over my newest X-29 plans with the wings and elevators swapped,....just as an experiment mind you....to see what it'd look like. Glad I did, as I found my SR-71 closed lid afterburner cans in the box! Thanks Derek! I really need to get a secretary to keep track of all my junk. Now if I can only find that xtra J-79 afterburner I had to put on the back of this thing. Hmmmm. Gota scram, see ya'll tomorow, eh?! Later, Russ

-
Profiles;

-


-
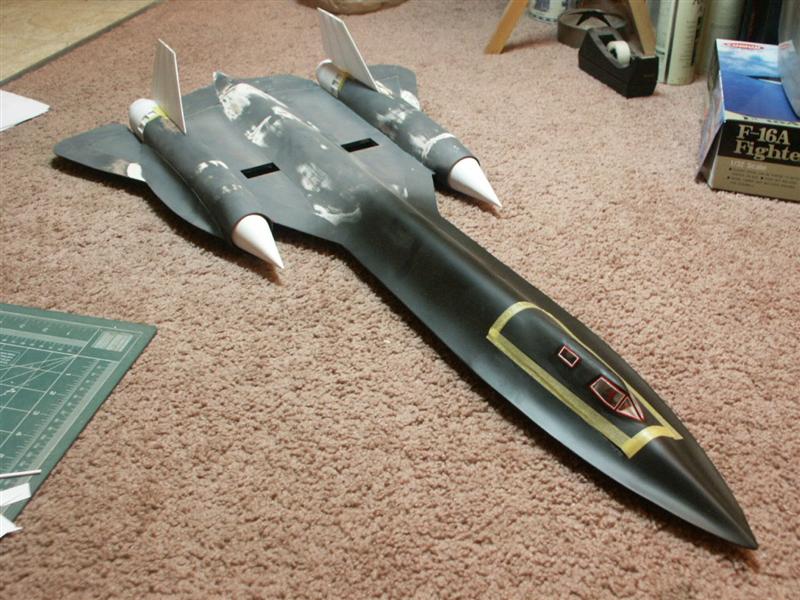
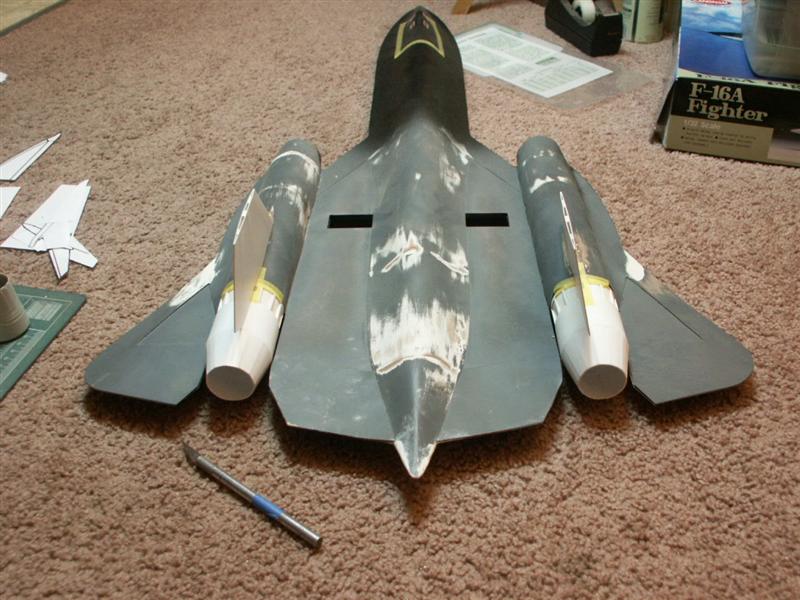
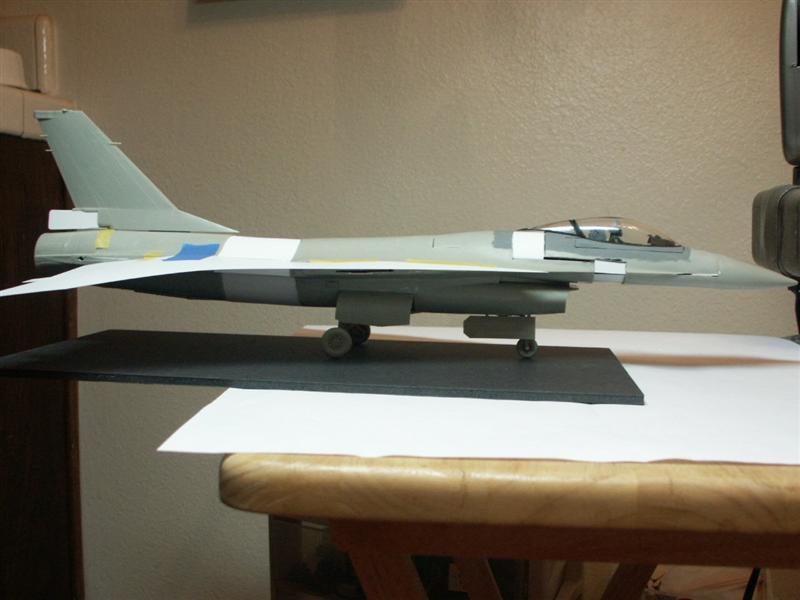
Let me put this putty-queen up on the catwalk so she can strut around and we can check out her lines; Oooooh yes, this has some potential.

-
Mock-up time!!!!
-
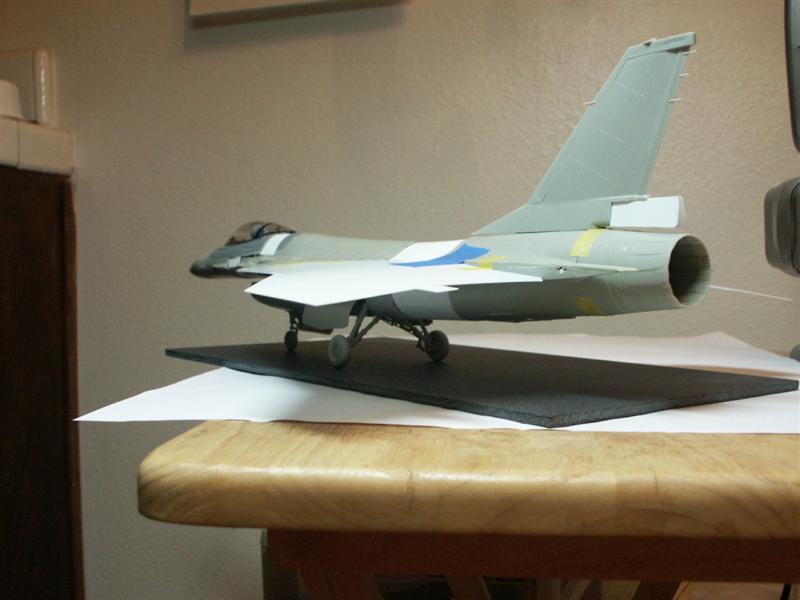
-
Some different views as I wuz gandering at it;