

johng
-
Posts
531 -
Joined
-
Last visited
Content Type
Profiles
Forums
Events
Everything posted by johng
-
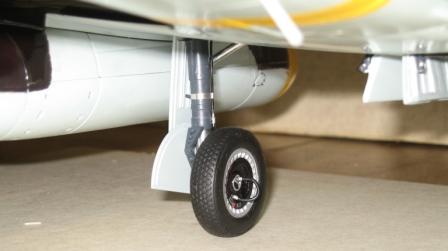
I leave the core wire in. The hose is still flexible and the core prevents kinking or flattening of the coils while bending the hose to shape.
-
Those older HP's are hard to use. My 735 has the same specs and it's a bear trying to take closeup pics with it, not to mention it uses up fully charged batteries in minutes. Much prefer to use my wife's Canon SD500 with 7 mp's and 3X zoom, and a full charge on its single battery will last all day. You might try these suggestions. First, use better lighting. Overhead flourescent light works well for me and doesn't give pics that ugly yellow cast. Definitely use a tripod, especially when not using flash. Take shots with and without flash and use which looks better. Don't rely on the electronic zoom for closeups, if possible. Take your pics at maximum resolution without going into elec. zoom, then use photo editing software to enlarge and crop the areas you want to highlight. There's a lot of free photo ed. software out there and you probably already have some. Most of it is OK but the one I use most is an application included with Microsoft Office, Office Picture Manager. It has all the features needed to enhance, alter, crop, etc., in one handy place.
-
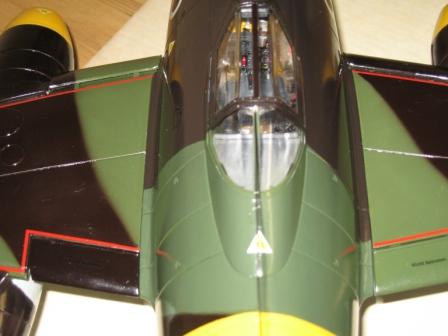
Going great, Geoff! Just took a look at Mustang windscreens on the 'net and the armored glass certainly doesn't stand out the way it does on other types. Was thinking that you could cut a piece of .010 clear styrene to match the shape of the front pane on the kit piece and then laminate it to the inside of that part with future. A few posts back you had pics of the windscreen with internal framing but you took that out. If you put it back, it would frame the added inside glass and further accentuate the additional thickness. Just a thought.
-
Great work on that 'pit, Graham.
-
Not a Windows problem, J. I've been able to see your image just fine from the beginning. I am glad that you've found a use for your overpriced Mac paperweight however.
-
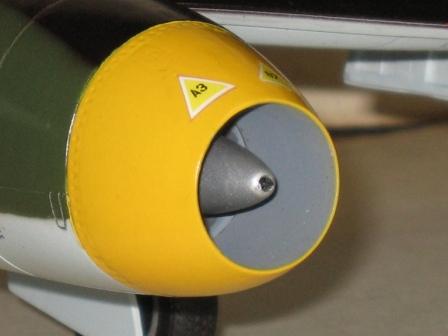
In the photo of the front fan fitted to the engine, it sure looks like those blades are separated. You're doing a helluva job, Brian.
-
You constantly amaze me, Brian. Did you really cut all of those compressor blades apart?
-
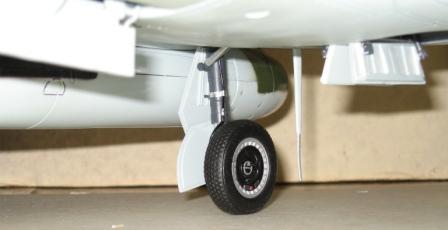
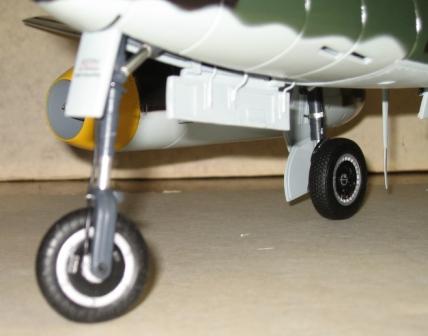
Great work on the wheelbays, Frederick.
-
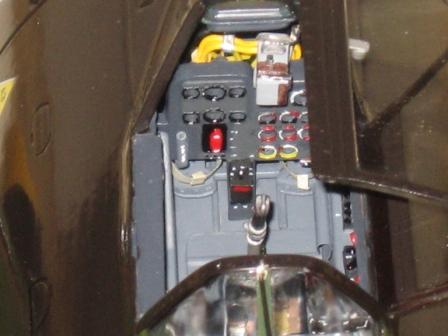
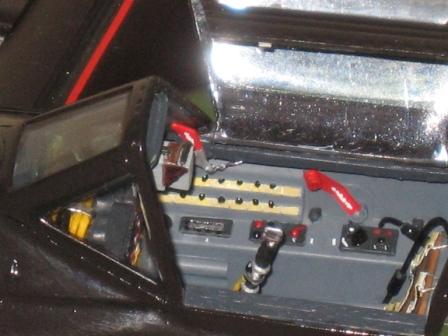
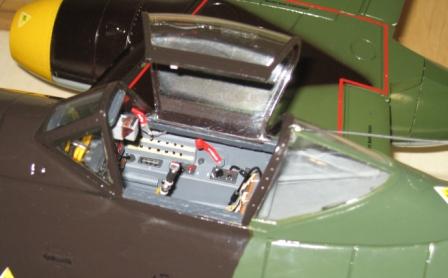
Thanks, Radu. What we modellers need to know is the color of the cable insulation which, in this case, is primeraly yellow. The individual wires inside those cables would, of course, be differently colored. There is a walkaround of the South African museum's Me-262B on the 'net (sorry, I don't have the link) that has many color pics of inside the fuselage under the cockpit This part of the aircraft appears to be completely original and unrestored, just the way the Brits handed it over after they were done picking it apart. Those photos show virtually all electrical cables to have yellow insulation, as do those of the cockpit and weapons bay. This plane is a good subject for study of internal coloring and parts placement even though many parts are missing, especially from the cockpit. When the SA museum did both (?) of their restorations, they restricted them to external paint jobs only, leaving the cockpit and all internals exactly the way they were when they received the plane. We should be grateful that the plane still exists at all, I suppose, but I just wish it had been kept more intact.
-
I've seen pics showing some white and even less red tagged wire but yellow appears to have been used 99% of the time. This must have made wiring up an airplane at the factories an absolute joy!
-
Simply incredible work, Geoff! Almost makes me want to give up drinking Coke from plastic bottles and build up a stock of aluminum raw material instead.
-
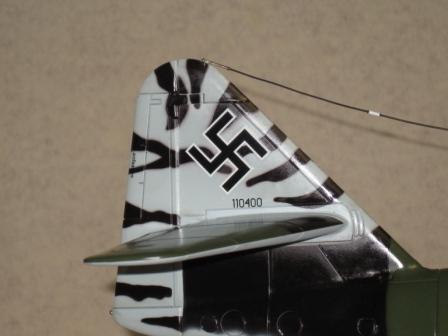
So that's it. This is the nearest I've come to building anything in quite a while. Got to try some new things like printing my own stencils on decal paper. It was easier than expected. Found new (for me) ways to use wire and aluminum tubing and a host of bits and pieces found in the old spares box and the junk drawer. This scale is a real challenge because you're on your own for detail pieces since there is no aftermarket. That adds to the fun, I guess.

-
*

-
*

-
*


-
*
-
*


-
*

-
*

-
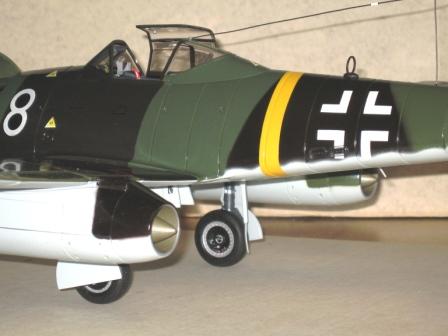
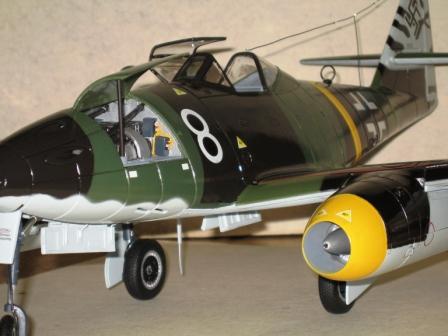
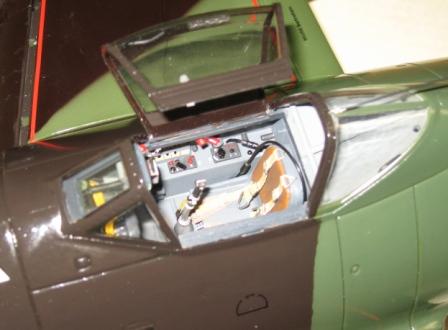
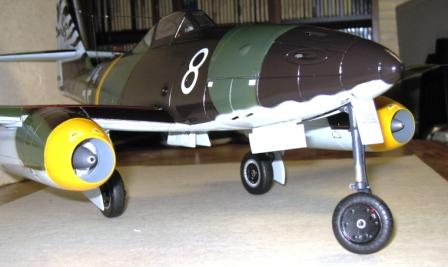
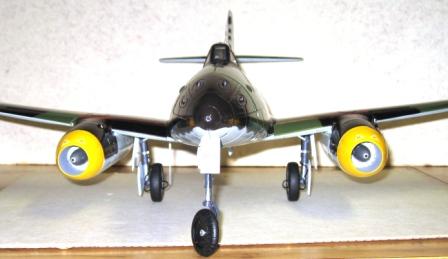
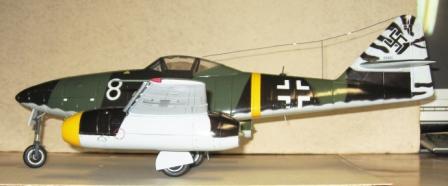
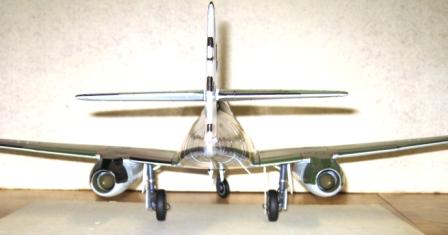
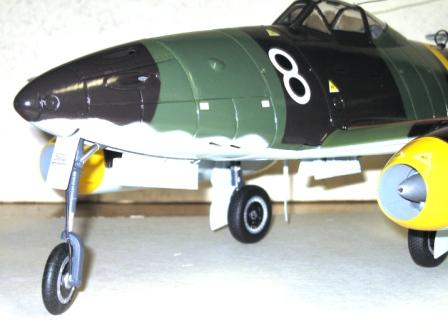
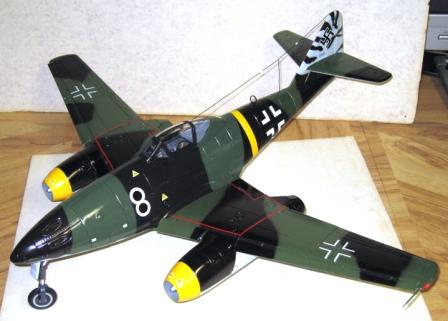
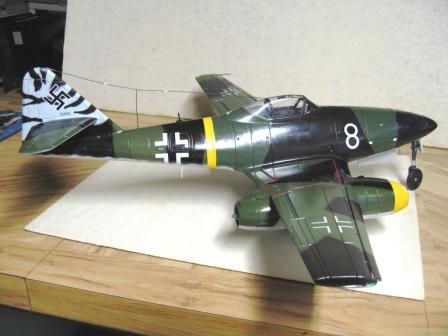
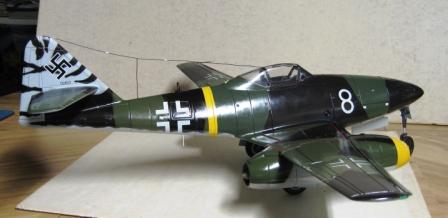
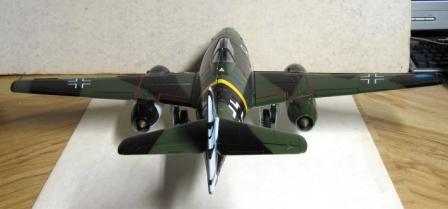
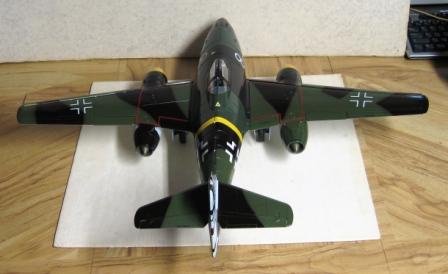
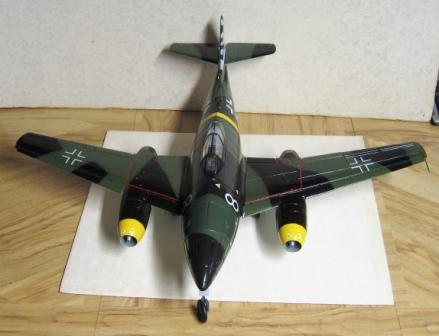
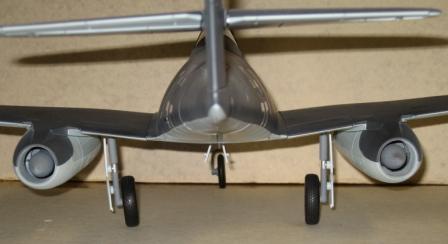
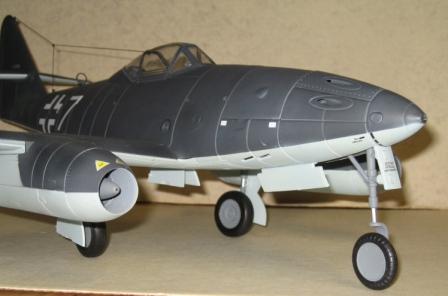
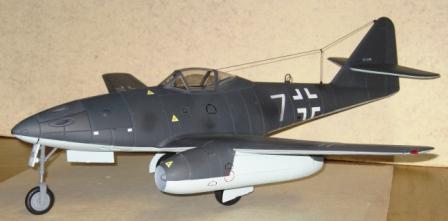
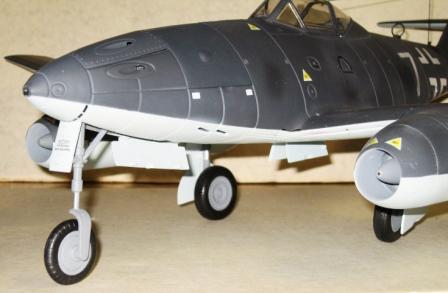
Now for the remodeled plane. Comparing the two, you'll see what has been done to add detail and improve the overall look, eliminating the toylike features of the original. There is still some work to do in the gun bay, and a retaining wire to be made for the canopy. The plane also needs a final matte finish.
-
more:

-
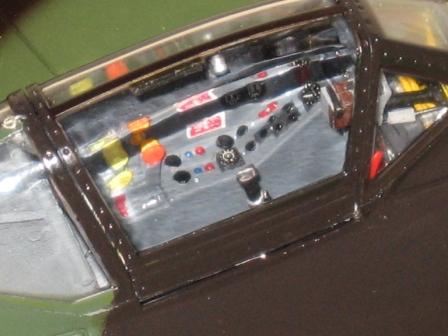
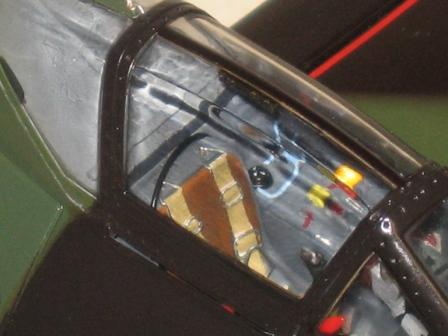
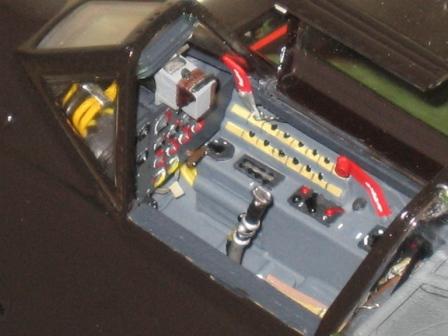
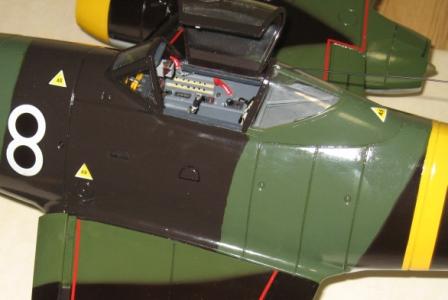
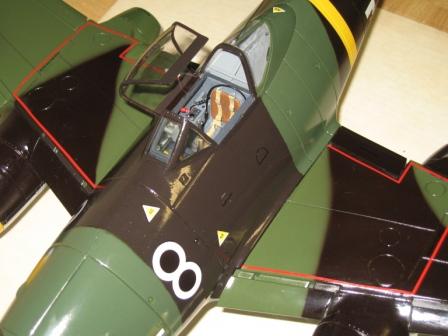
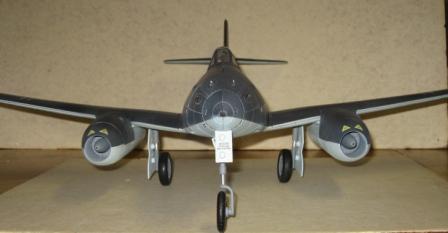
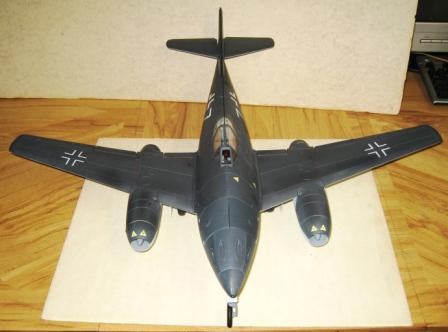
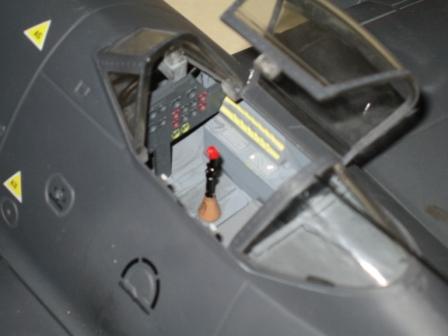
Several months ago, I posted pics of the cockpit that I remodeled for Admiral's big Me-262A as part of an overall improvement rebuild. It's at the point where it can be called 98% finished so I wanted to show it off. First, there are photos of the same model, but with a different camo scheme, so you can see the way it came from Admiral with lacking details the way you would expect a toy to look.


-
Color photo evidence suggests yellow as the color wire used in German WWII aircraft.
-
IIRC, that's exactly what they did. You're doing a great job with this big bird, Texas.
-
Saw this at badcataviation.com for $44.99 but that is still too high for a 1/32nd scale prebuilt in plastic, I think, especially when you consider that BBI is bringing out a 1/18th scale Bf-109G-2 soon that will have a full engine compartment for $59.99 from the same source.