

Emilio
-
Posts
70 -
Joined
-
Last visited
Content Type
Profiles
Forums
Events
Posts posted by Emilio
-
-
Yes, I really can`t wait to paint this beast. I made some progress today and slapped some paint on the cockpit and the seats
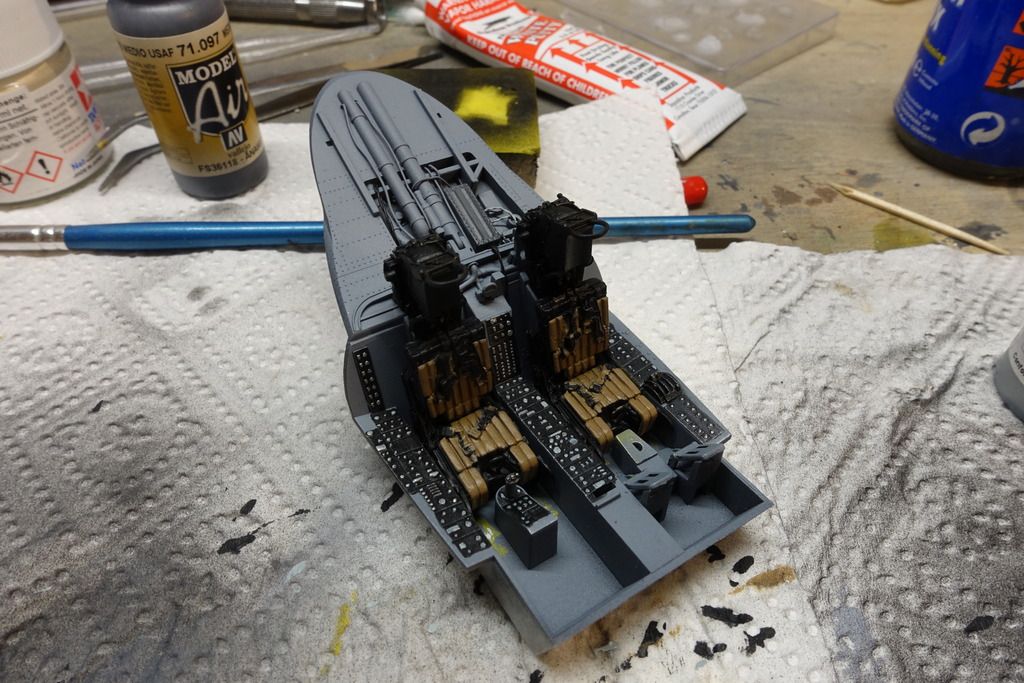
The colour came out a little bit too light but weathering will hopefully darken it. Next steps are finishing the detail painting and then weathering the cockpit up
Emil
- F`s are my favs, mpk, Whitey and 8 others
-
 11
11
-
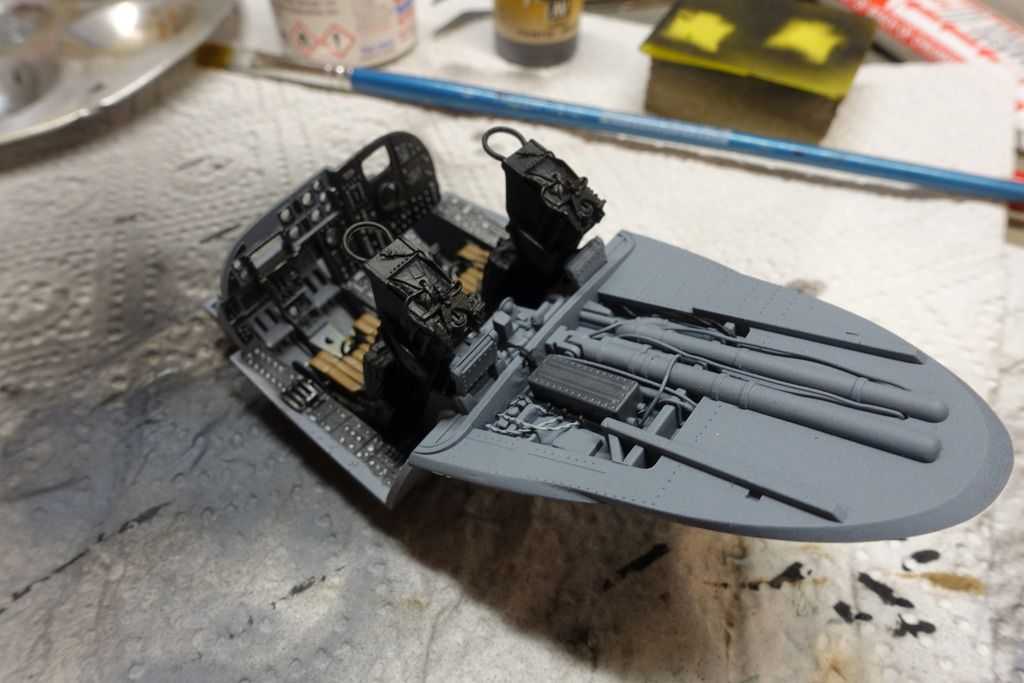
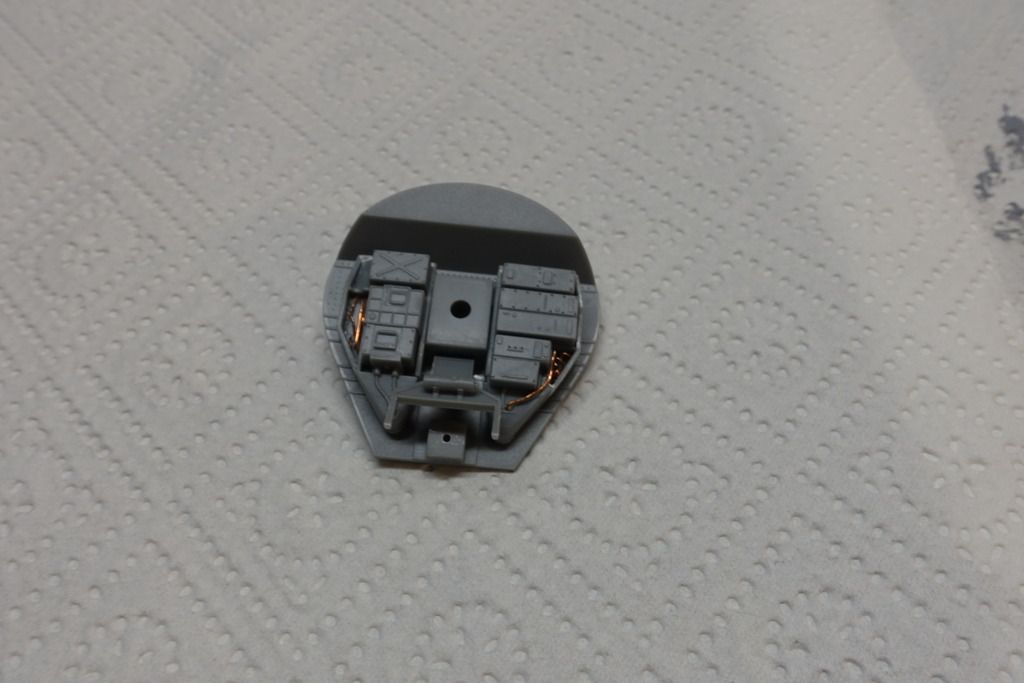
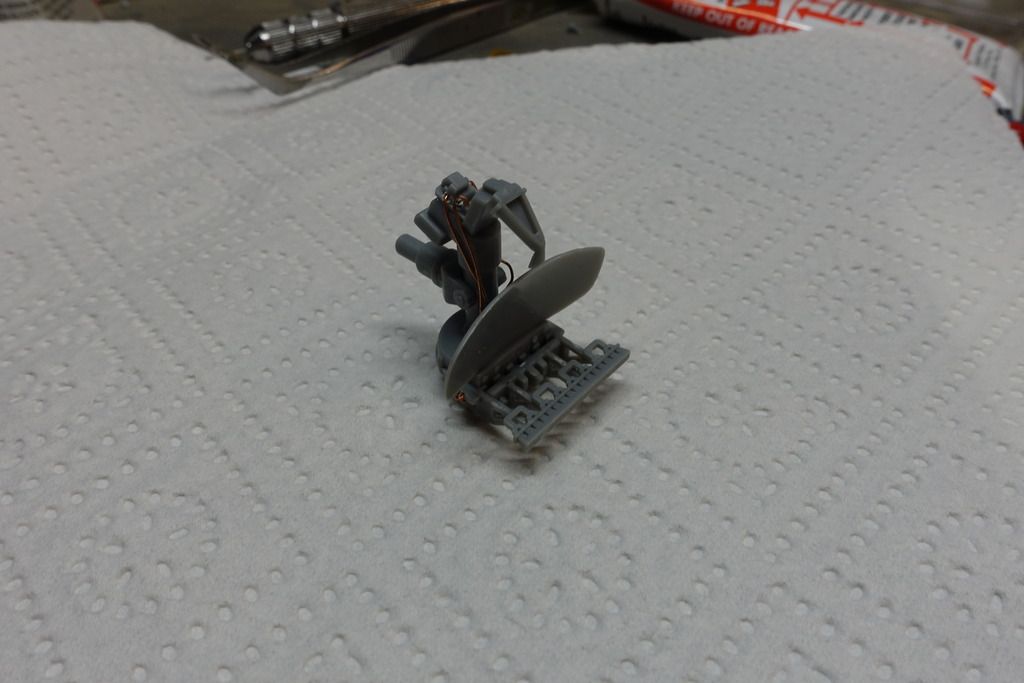
I already started working on the cockpit and the radar with adding some wiring. It is not really like on the real thing but it makes things look busier
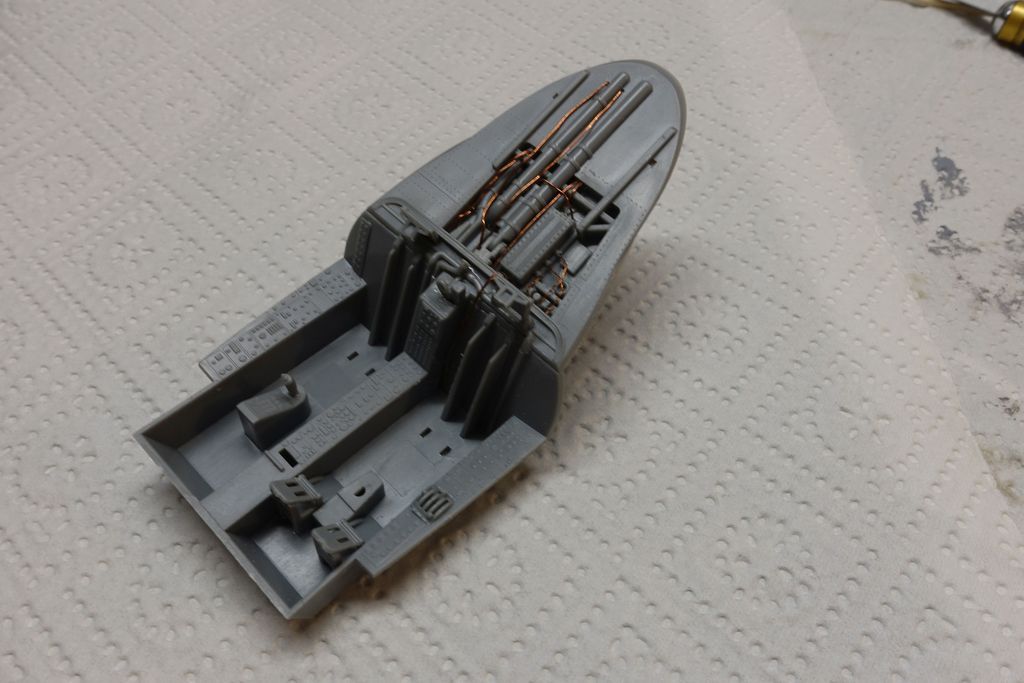
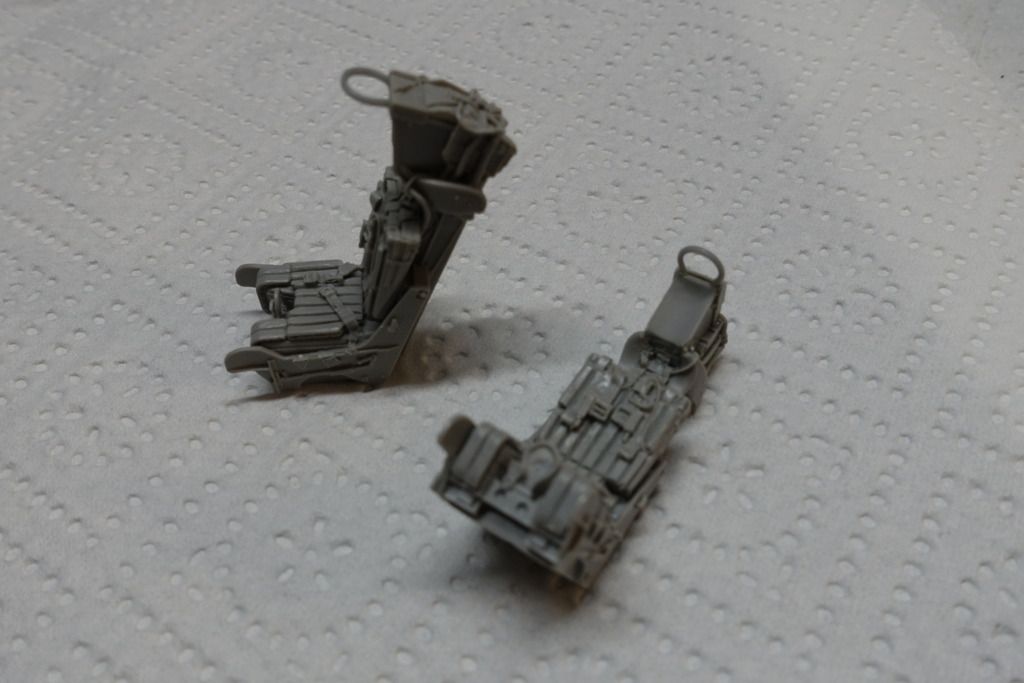
In addition to that I got the seats ready for paint, they are Gru-7 seats for a F-14A, so I just had to modify the ejection pull handle to make them suitable for an A-6E
Emil
- mpk, F`s are my favs, Jan_G and 4 others
-
7
-
Hello everybody,
I`m going to build, as the title obviously suggests Trumpy`s 1/32 A-6E TRAM Intruder:

The aftermarket items which will be used are AMS Resin A-6E wheels, FOD covers, a pitot tube from Profimodeller, Eduards´ exterior PE and Quickboost seats which Lothar very kindly sent to me. For the markings I`m going to use AOA Decals´ "The Intruders´ sandbox" and I will depict exactly this version:


I hope that I can achieve this typical touched up look.
Emil
**** EDIT **** Pictures continue on page 5 ****
-
Thanks everybody

Emil
-
Thanks for all the nice comments.
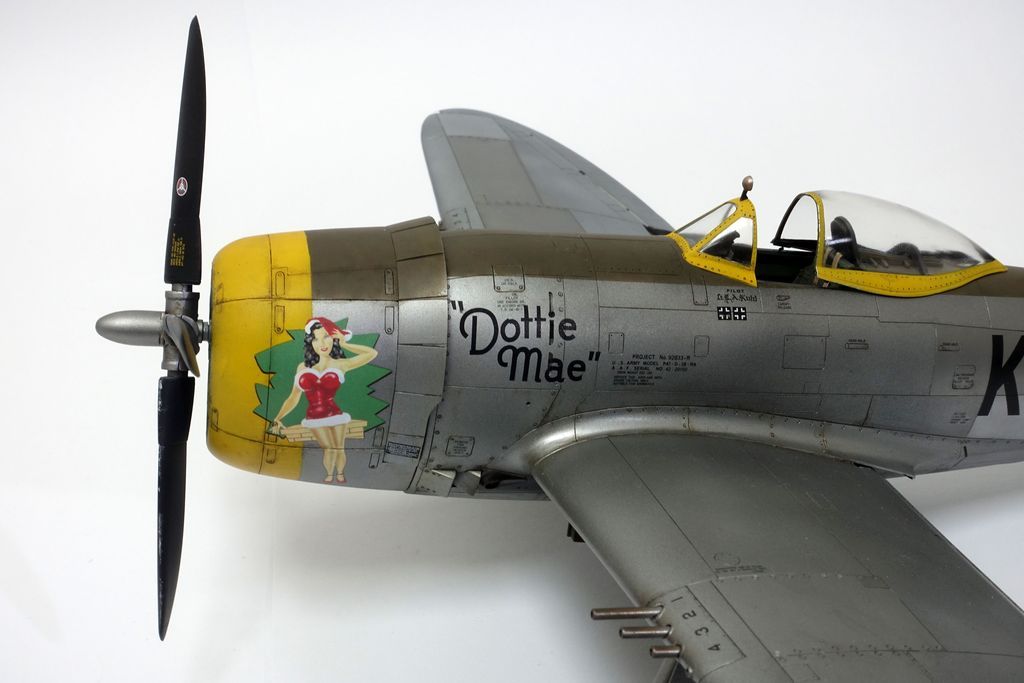
Beautiful build, Emil! It looks fantastic!
I'm not sure if you're aware but the real Dottie Mae has been under restoration to fly and is almost done: https://www.facebook.com/Allied-Fighters-254129241462297/
That is very interesting, I wasn`t aware of the restoration, thanks for posting this.
Emil
-
-
Hello together,
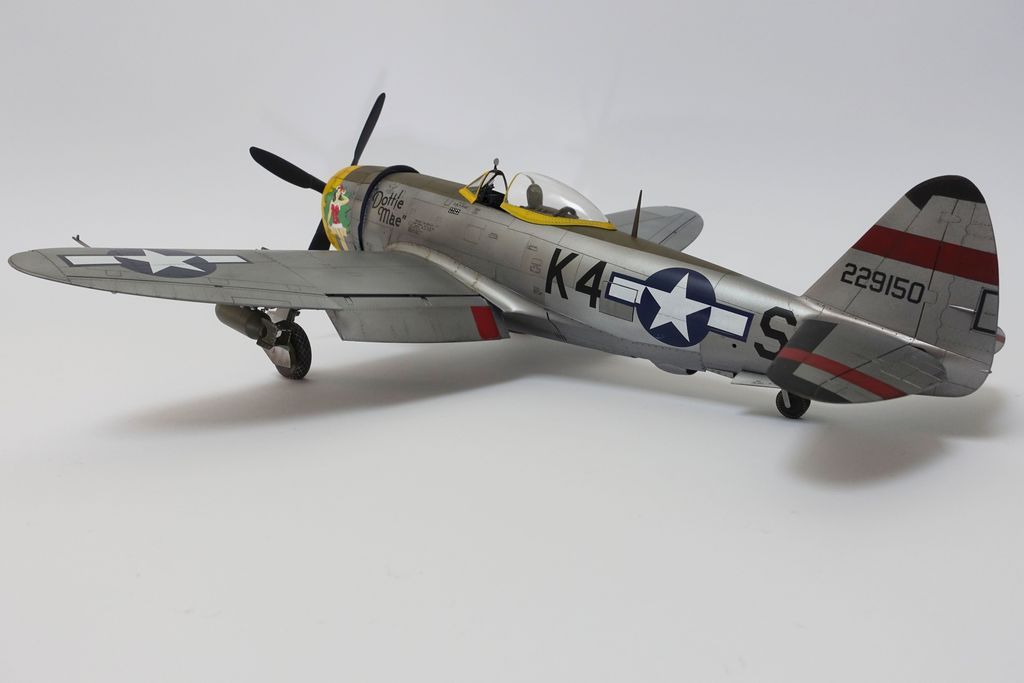
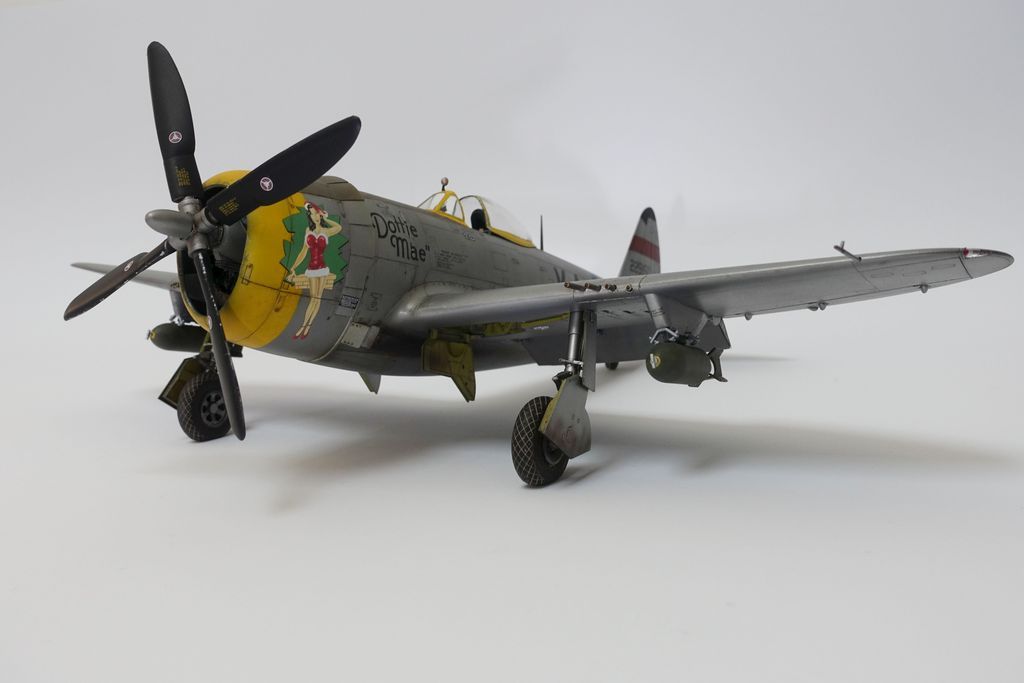
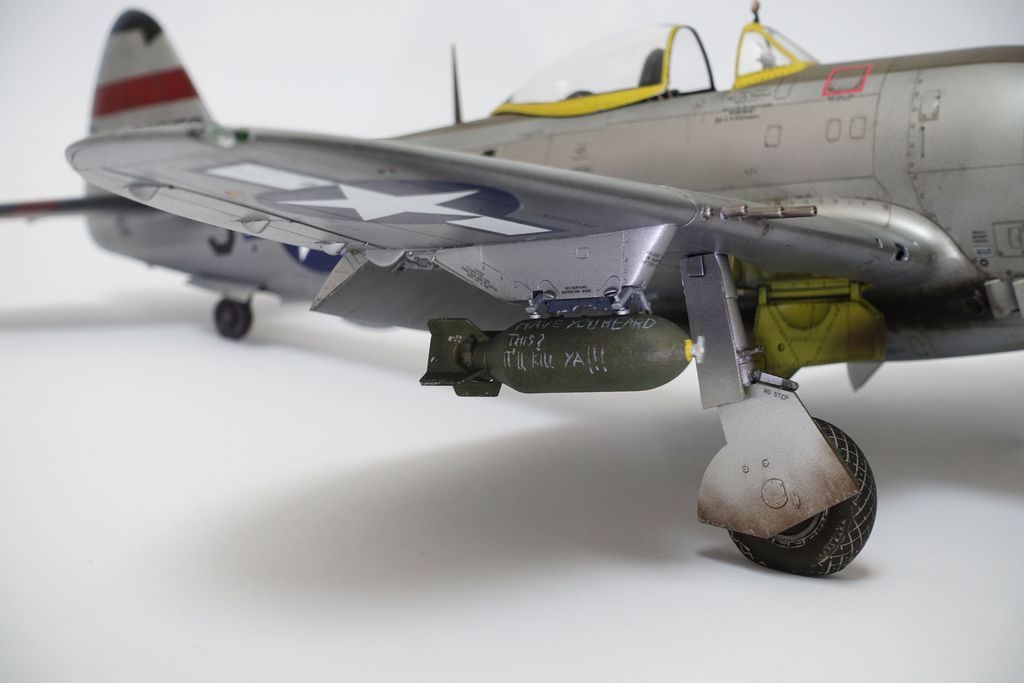
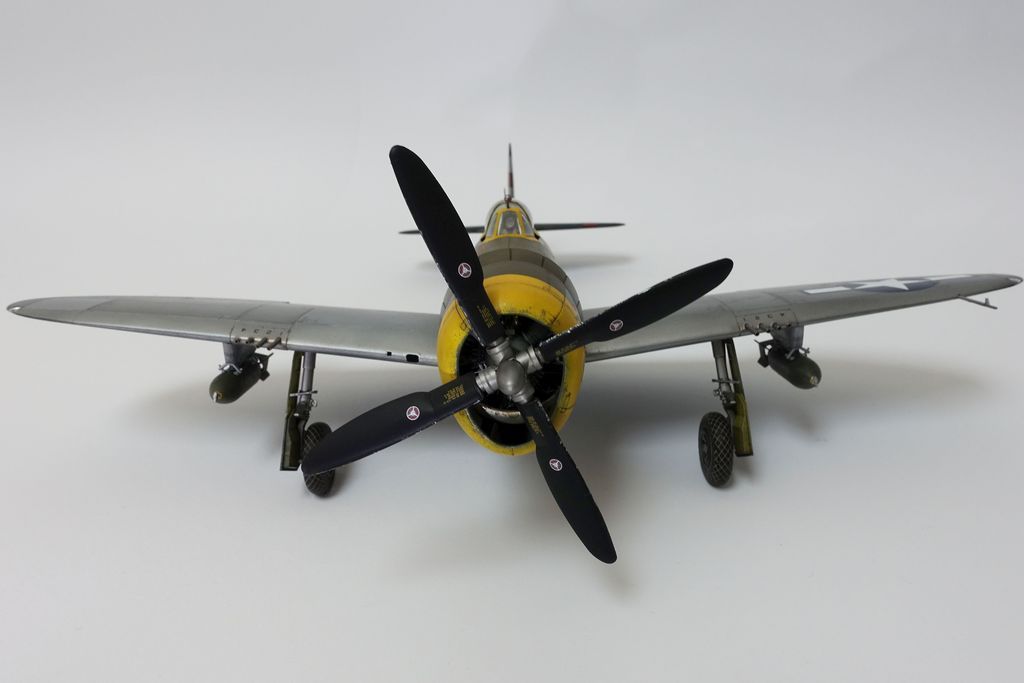
I just finished Eduard`s P-47D, and had great fun building it. It is the reboxing of Hasegawa`s P-47D with some photo etched parts, beautiful resin wheels and decent decals. The construction was pretty straight forward, the fit is really good on this one. The photo etch does improve the kit quite a bit, especially around the flaps and in the cockpit. I just added the Master Models Barrels, but I think Eduard could have added them when charging so much for a kit. This was my first experience with a natural metal finish and boy, it really shows every little surface flaw. I used Ak Interactive`s Xtreme Metal Range for the NMF and Tamiya colours for the anti glare panel etc. The decals are on the thicker side but with some work, they came out beautifully. For the weathering I used oils and Mig`s enamel products. Anyway here are the pictures, I hope you enjoy them.
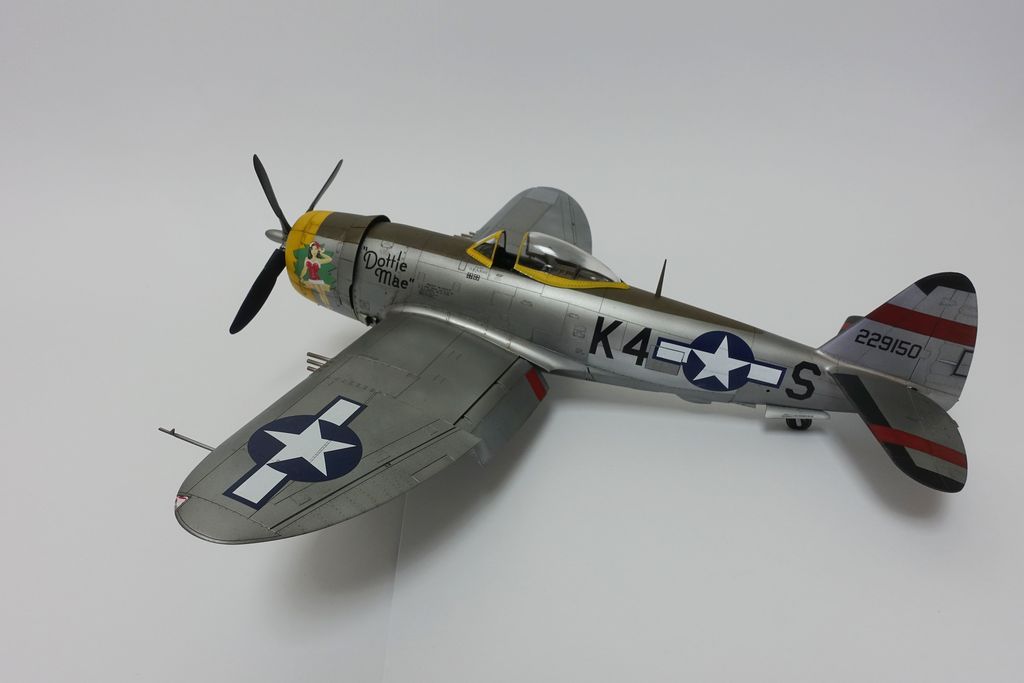
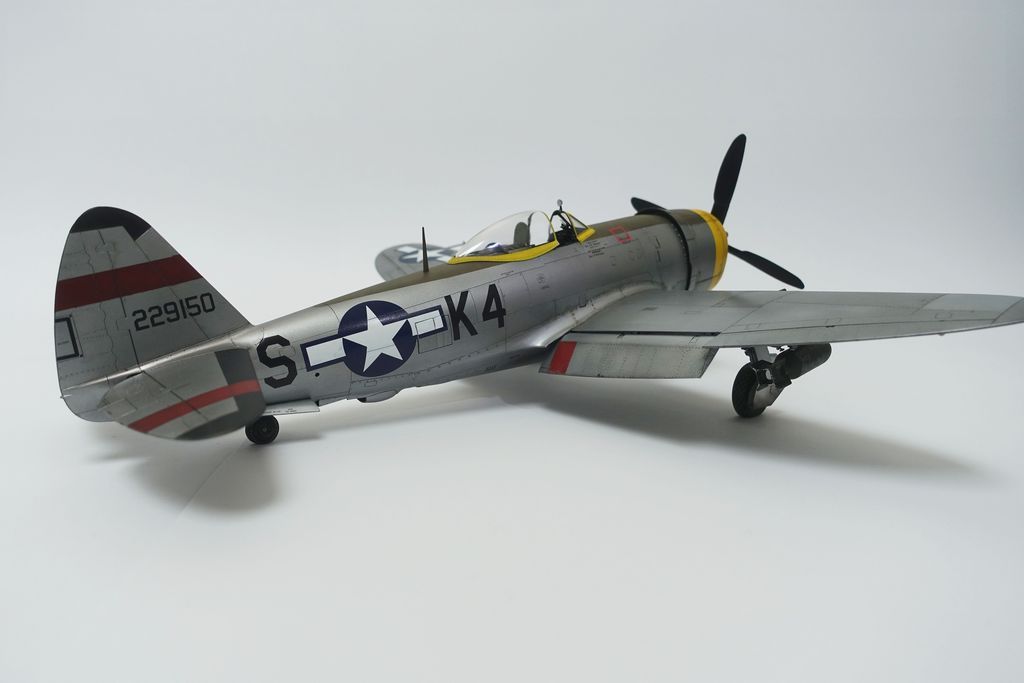

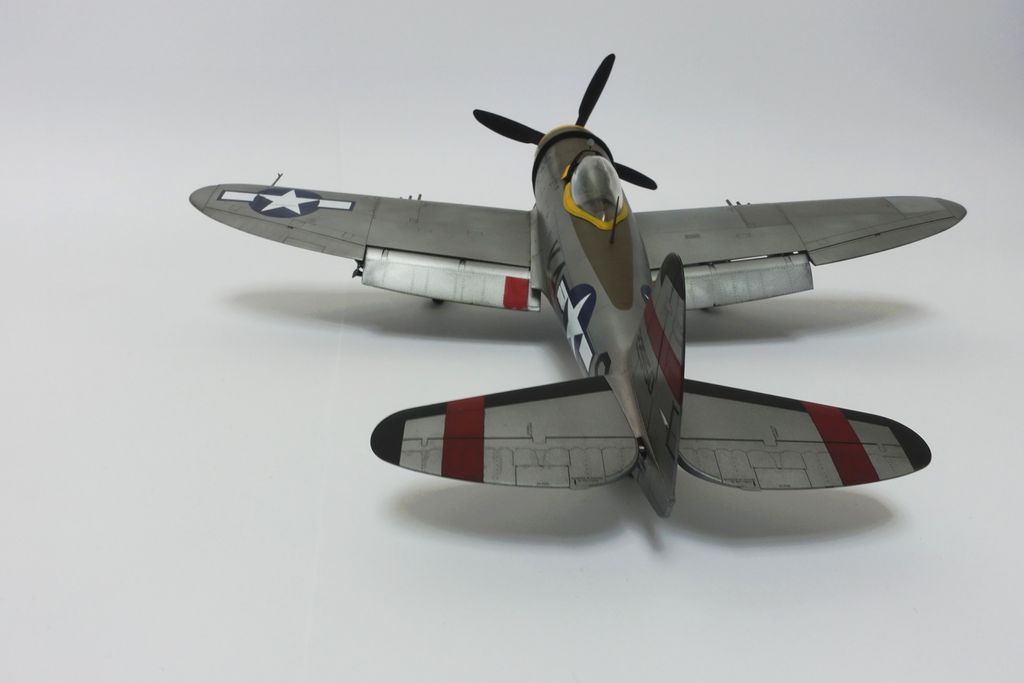
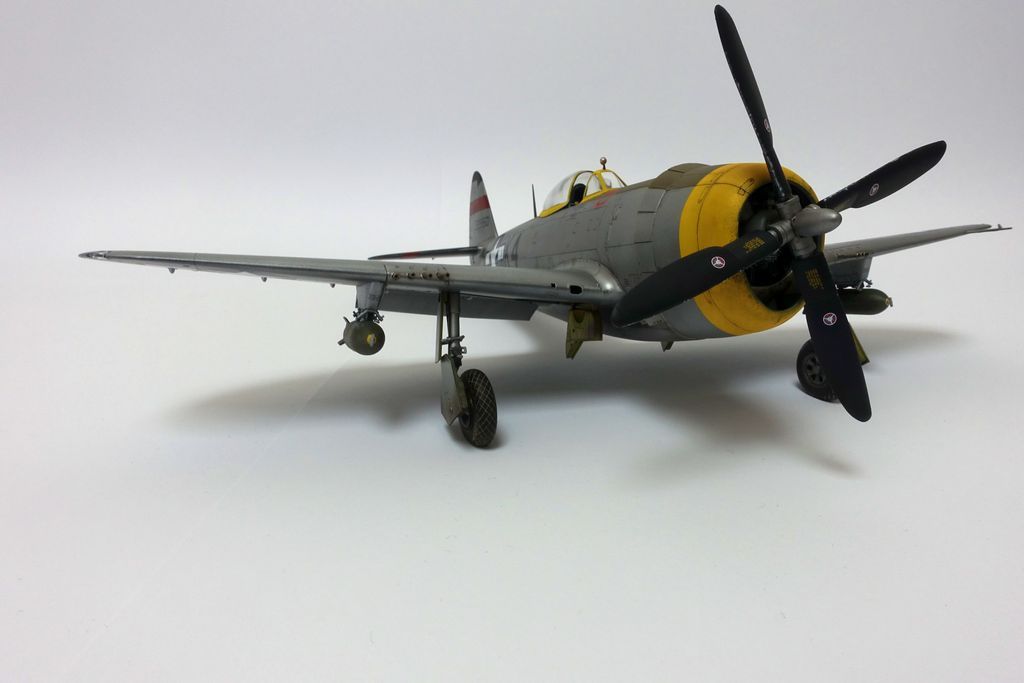
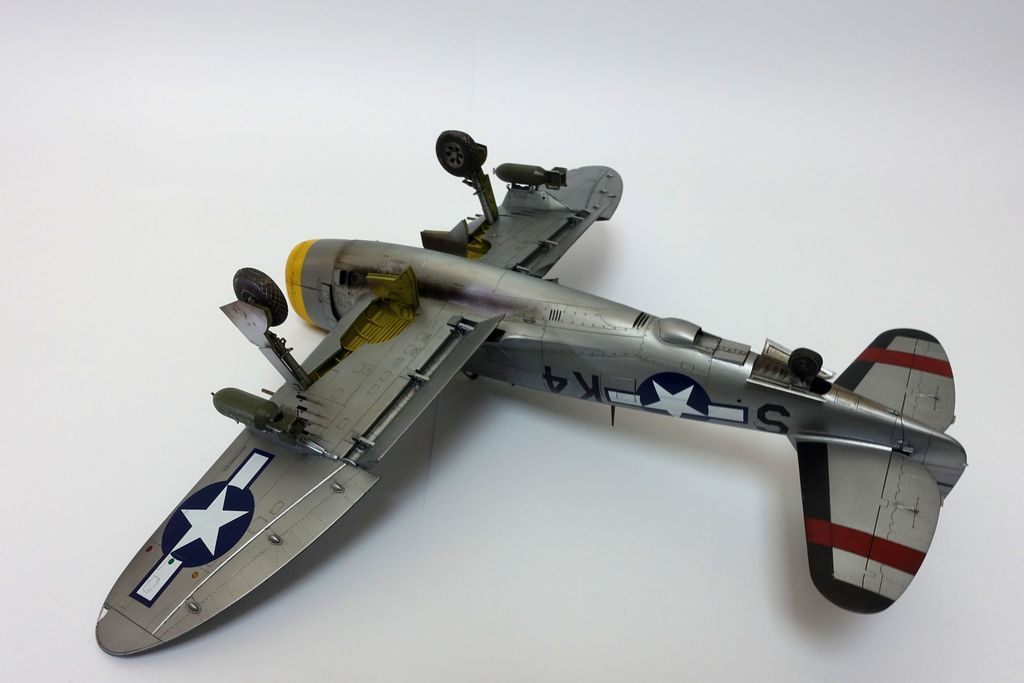
Comments and criticism are appreciated
Emil
-
Really no GRU-7 for an A-6E? Well if I could get away with the Aires seats for the F-14A I guess I could use the Wolfpack ones aswell? I just don`t like dealing with all the fidely Pe belts...
Emil
-
-
Very well done!
Emil
-
Hello Emil and welcome to LSP
That is a smart, artistic representation of a Spitfire.
You have clearly taken alot of time and patience over the application of the weathering.
Are you also an armour modeller by chance?
It is a pleasure to view your model.
Good job.
Cheers.
I am glad you like it, but I only build aircraft
Emil
-
Thanks all for the great comments, I really appreciate it.
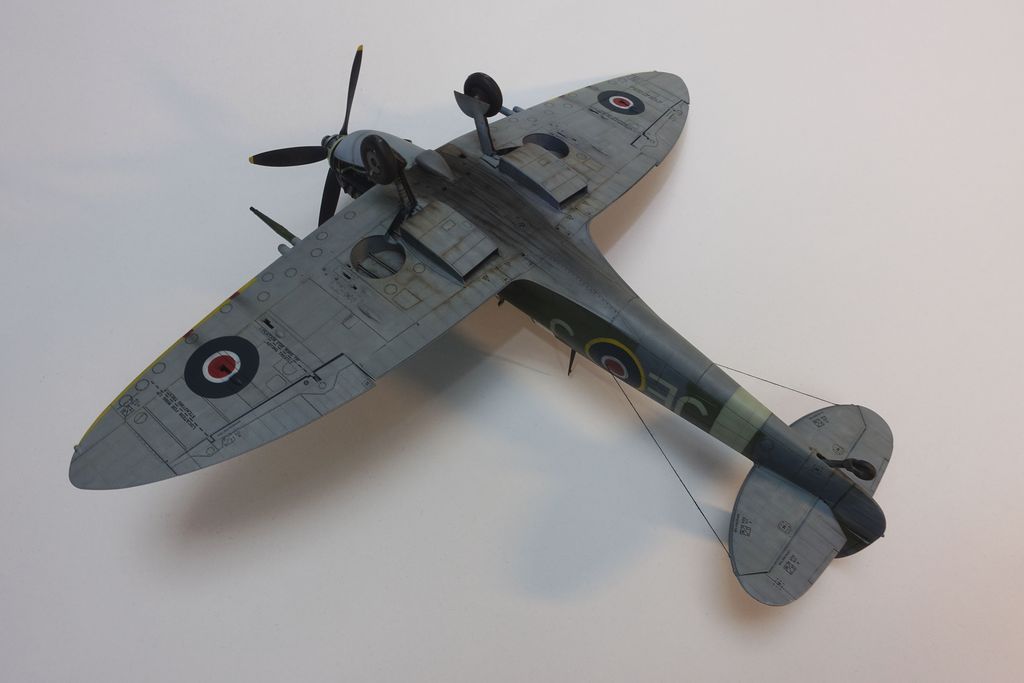
Emil- Really nice looking Spit,and love the weathering all over. I just never knew the Spits were that filthy underneath,but they were! Nicely done! My only comment, other than not knowing if the antenna wires were there or not, is they appear a bit thick. Oftentimes in pictures it is very difficult to see the antenna wires. So maybe just a little bit thinner.
What is your next build?
ChrisI`m right now working on Eduards P-47D.
Emil
-
-
Welcome aboard, Emilio! This is a terrific build, and I was sure I'd already commented on it, but it appears I did not. I'd love to publish it on the website if you'd permit me.
Kev
Yes of course, I would be honored!
Emil
-
First thank you all for your kind words
Lovely Spit build. I love the finish and the overall look.
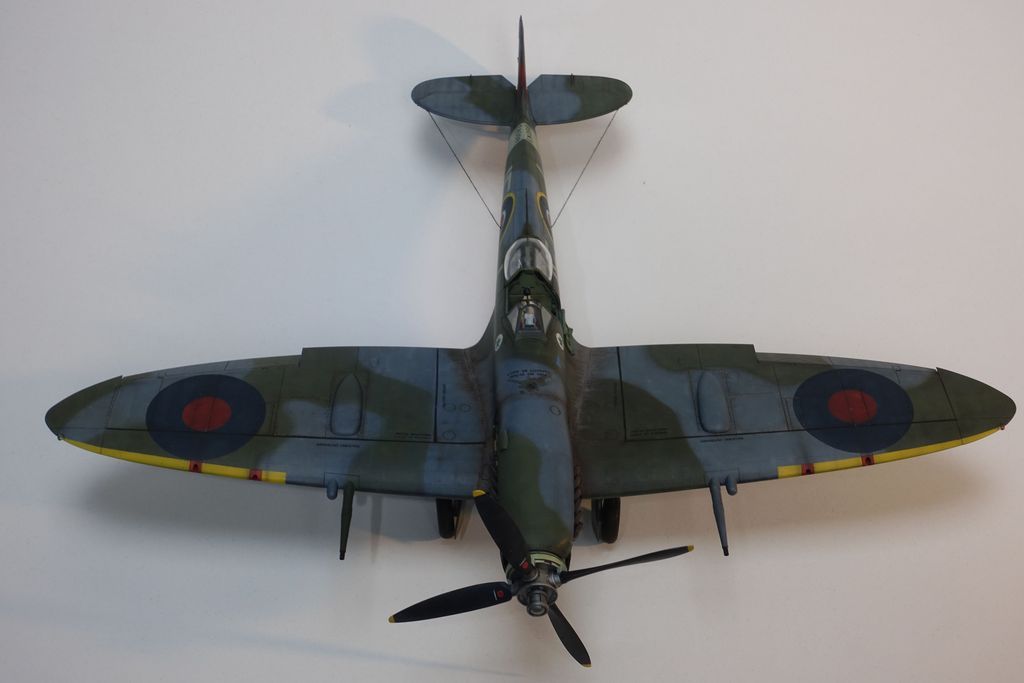
You need to remove the wires between the fuselage and the tailplane. They were not on the MkIX.
Really? They were a pain to install

hi
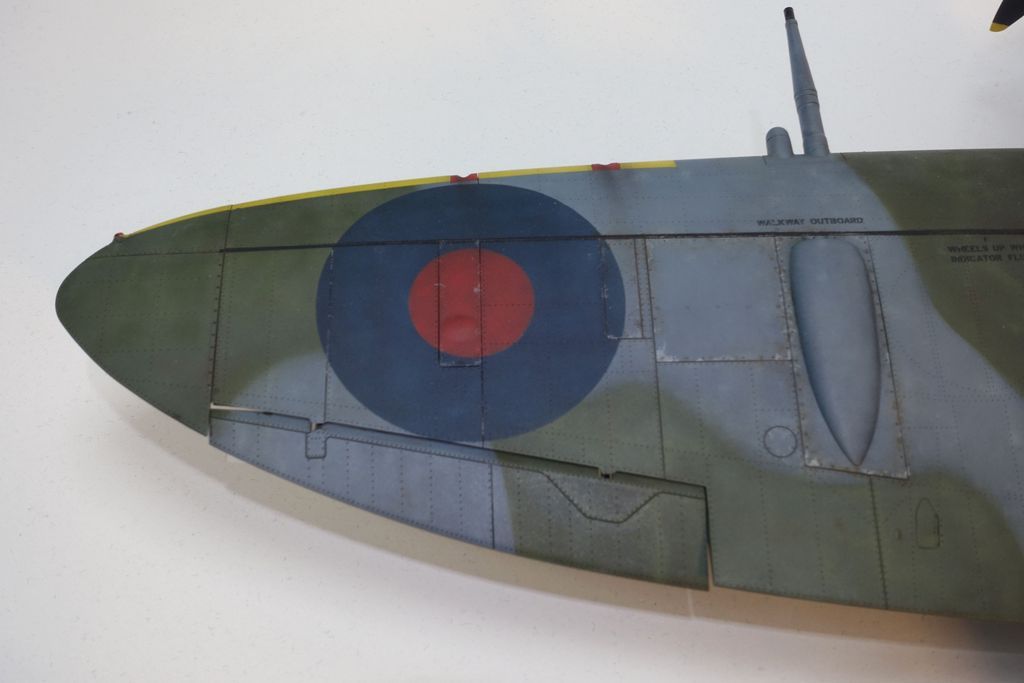
very nice weathering , a little bit " heavy" on the belly ( though..... my opinion) this said , very nice build

Alain
For the weathering I used reference pics like these:
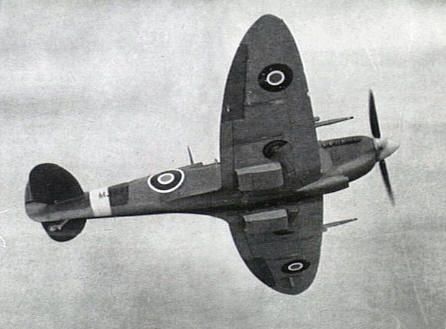
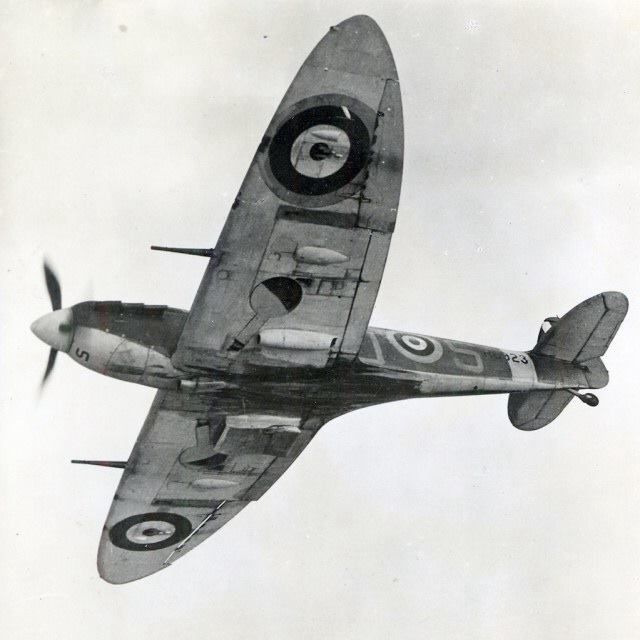
... and I like weathering

Emil
- CANicoll and geedubelyer
-
2
-
I used them once and I found them to work best on a glossy surface and using Microscales Micro Set as decal solvent. I used a cotton bud to make sure they really settled down into all the surface detail. After letting them dry for 5-6 hours I removed transfer foil carefully with a toothpick. But still a few tricky ones, like walk lines didn`t want to stick on the surface, thats why I have mixed feelings about them.
Emil
-
-
Thank you gentlemen for your feedback
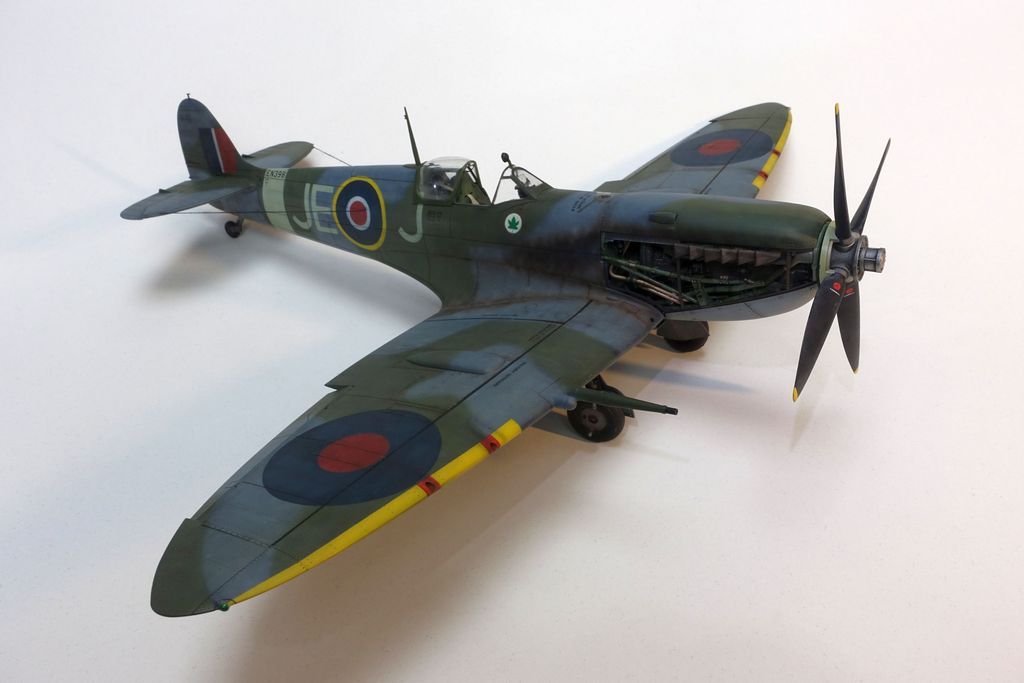
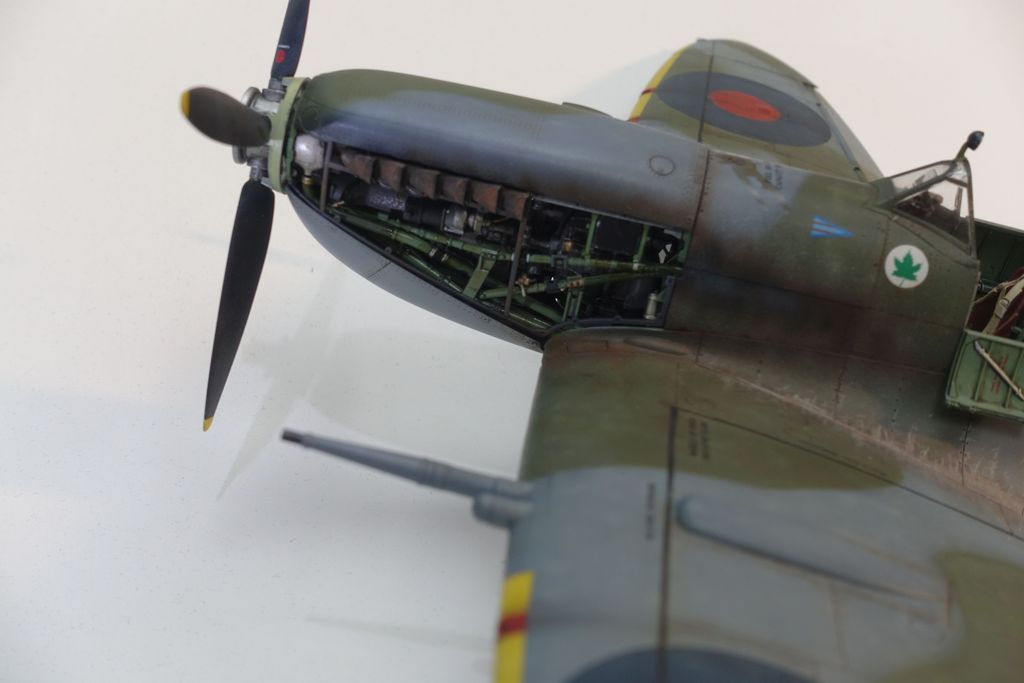
@rafju Yes I still have the prop cone, it is all painted and done I just didn`t made the photos without it
Emil
-
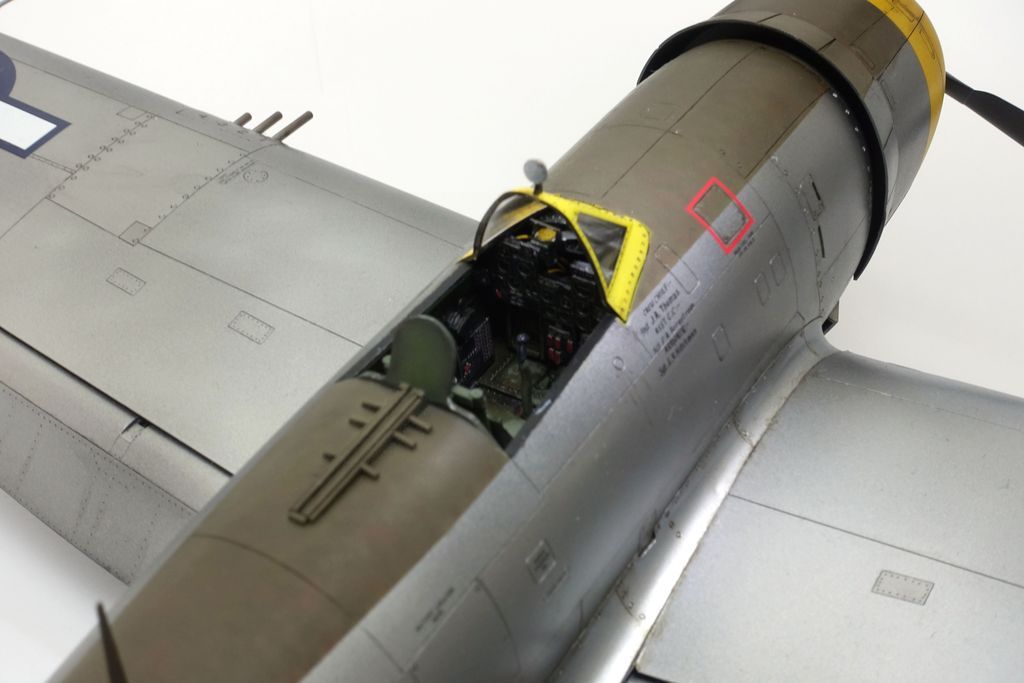
Hello everybody,
After reading for quite some time on this great forum I thought why not share my models. So here is my latest effort, Tamiyas Spitfire which is a great kit. It was built mostly out of the box, the only aftermarket items used were HGW seatbelts, Montex masks and HGW wet transfer stencils which are pretty much hit or miss. The model was painted with Tamiya colours. This is my second LSP so please be gentle

Enough waffling here are the pics, I hope you enjoy them:
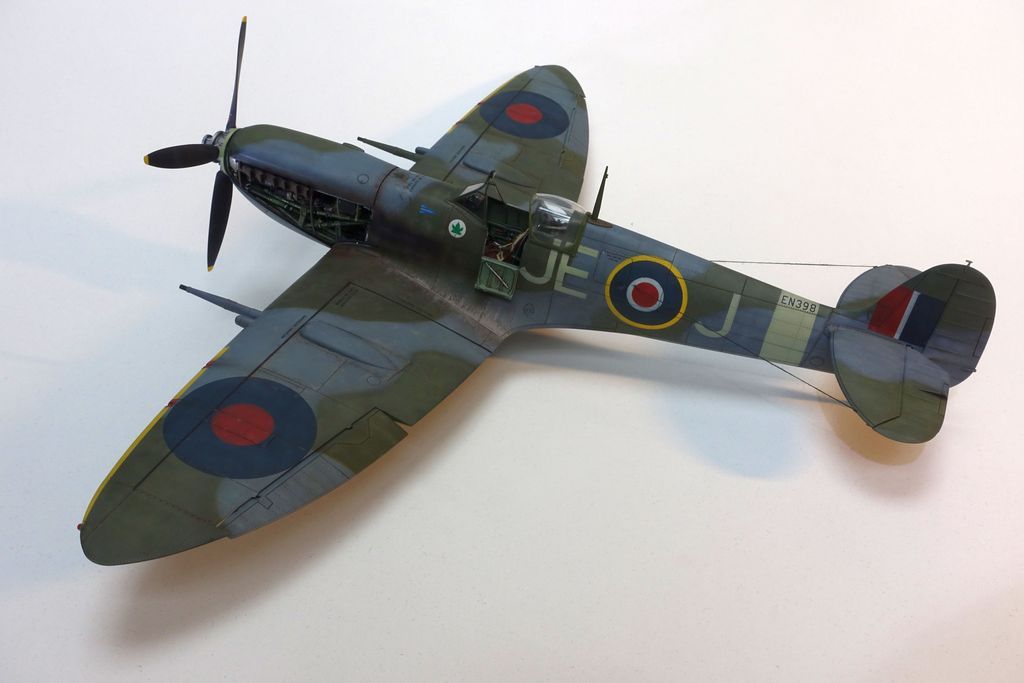
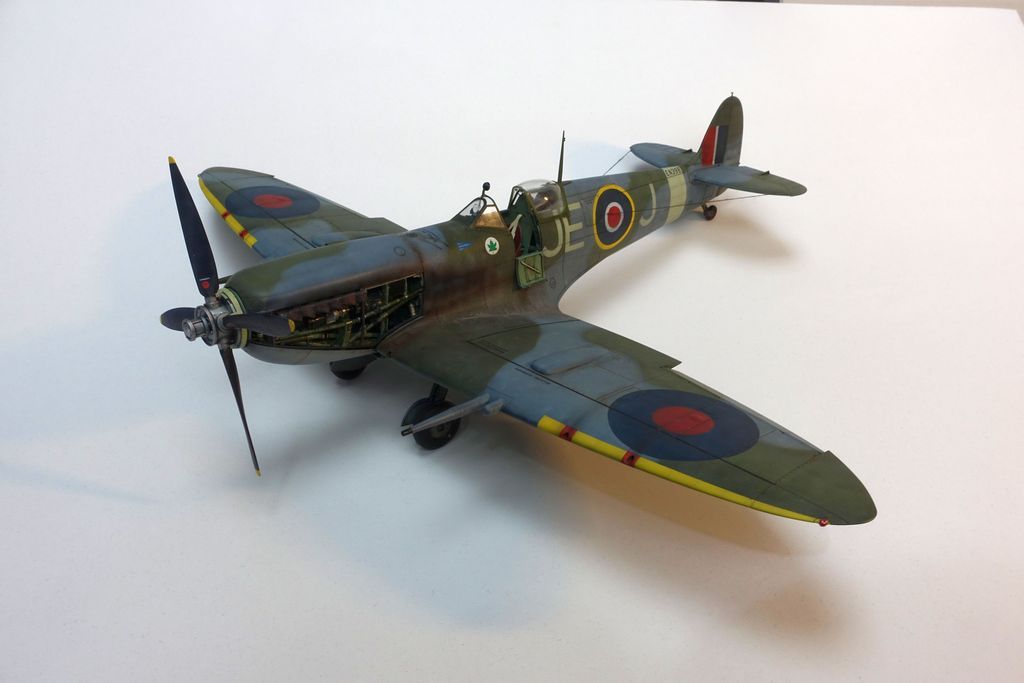
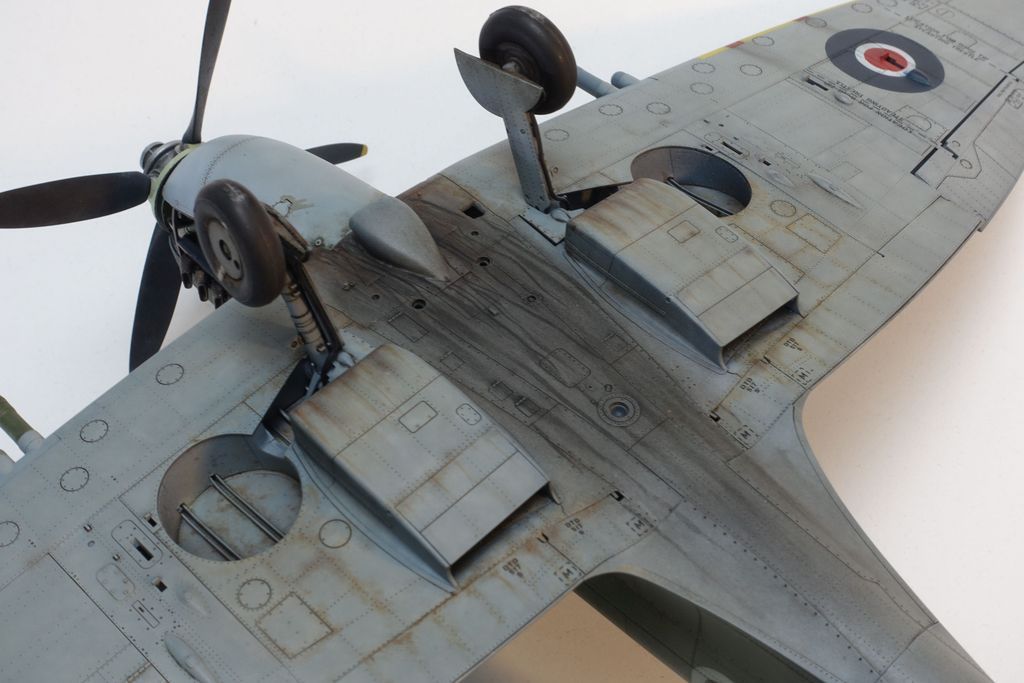
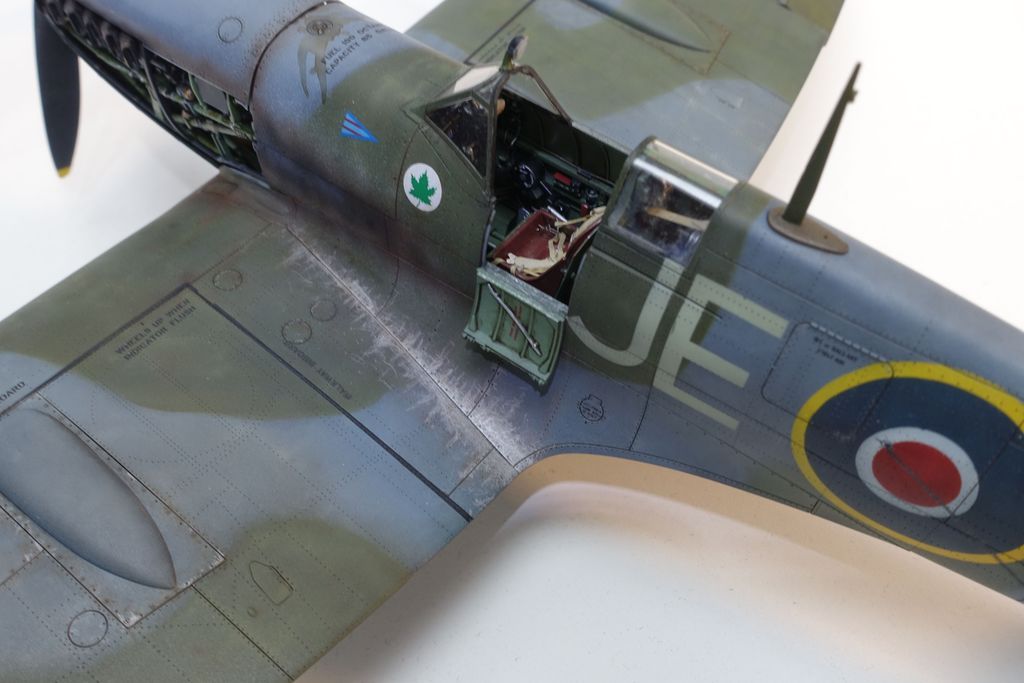
Comments and criticism is appreciated
Emil

Trumpeter 1/32 A-6E Intruder VA-35 AA-501
in Works in Progress
Posted
But nothing compared to your scratch building abilities
Thank you for sharing this, but I already have all of them on my hardrive
Emil