

spyrosjzmichos
-
Posts
1,151 -
Joined
-
Last visited
-
Days Won
2
Content Type
Profiles
Forums
Events
Posts posted by spyrosjzmichos
-
-
Lovely work on the exhaust Chuck!
- chuck540z3 and Derek B
-
 1
1
-
 1
1
-
Beautiful work Mike!
What a lovely build!
-
-
8 hours ago, tomg said:
Looks great!
Thanks Tom!
-
Nice progress Kevin!
Any luck with the clear parts?
-
2 hours ago, Troy Molitor said:
That looks amazing Spyros. Loving your efforts too.
Many thanks Troy!
-
6 hours ago, MikeMaben said:
Looks great Spyros
 I have a good opinion of Eaglecals too.
Thank you Mike!
Yeah, not sure what went wrong with the roundels but not blaming the decals themselves.
-
5 hours ago, chaos07 said:
Progress thus fuar is impressive! I like the tonal variation and chipping thus far, any weathering will only make this so much better! Awesome work.
Many thanks Duane!
I love weathering as it helps tie up all previous steps into one cohesive product.
-
6 hours ago, scvrobeson said:
That looks awesome! The NMF looks especially good as it changes with the light
Matt
Thanks Matt!
I quite like how this variation of black basing turned out and will definitely be doing the same for future builds.
-
-
10 hours ago, dennismcc said:
That looks amazing, those decals look like my own worst nightmare, but you have aced it.
Cheers
Dennis
Thank you Dennis!
It's only the second time ever I used EagleCals decals.
Truth be told, they worked pretty fine with the exception of the roundels.
But don't think I can blame the decals themselves at the moment.
-
Excellent work on the cockpit Richard!

- Martinnfb and R Palimaka
-
1
-
1
-
Excellent work Denis!
Your painting has made all the surface detail beautifully pop out!
-
Exceptional work Andy!
Looking lovely!
-
Hello everyone!
Back with another update.
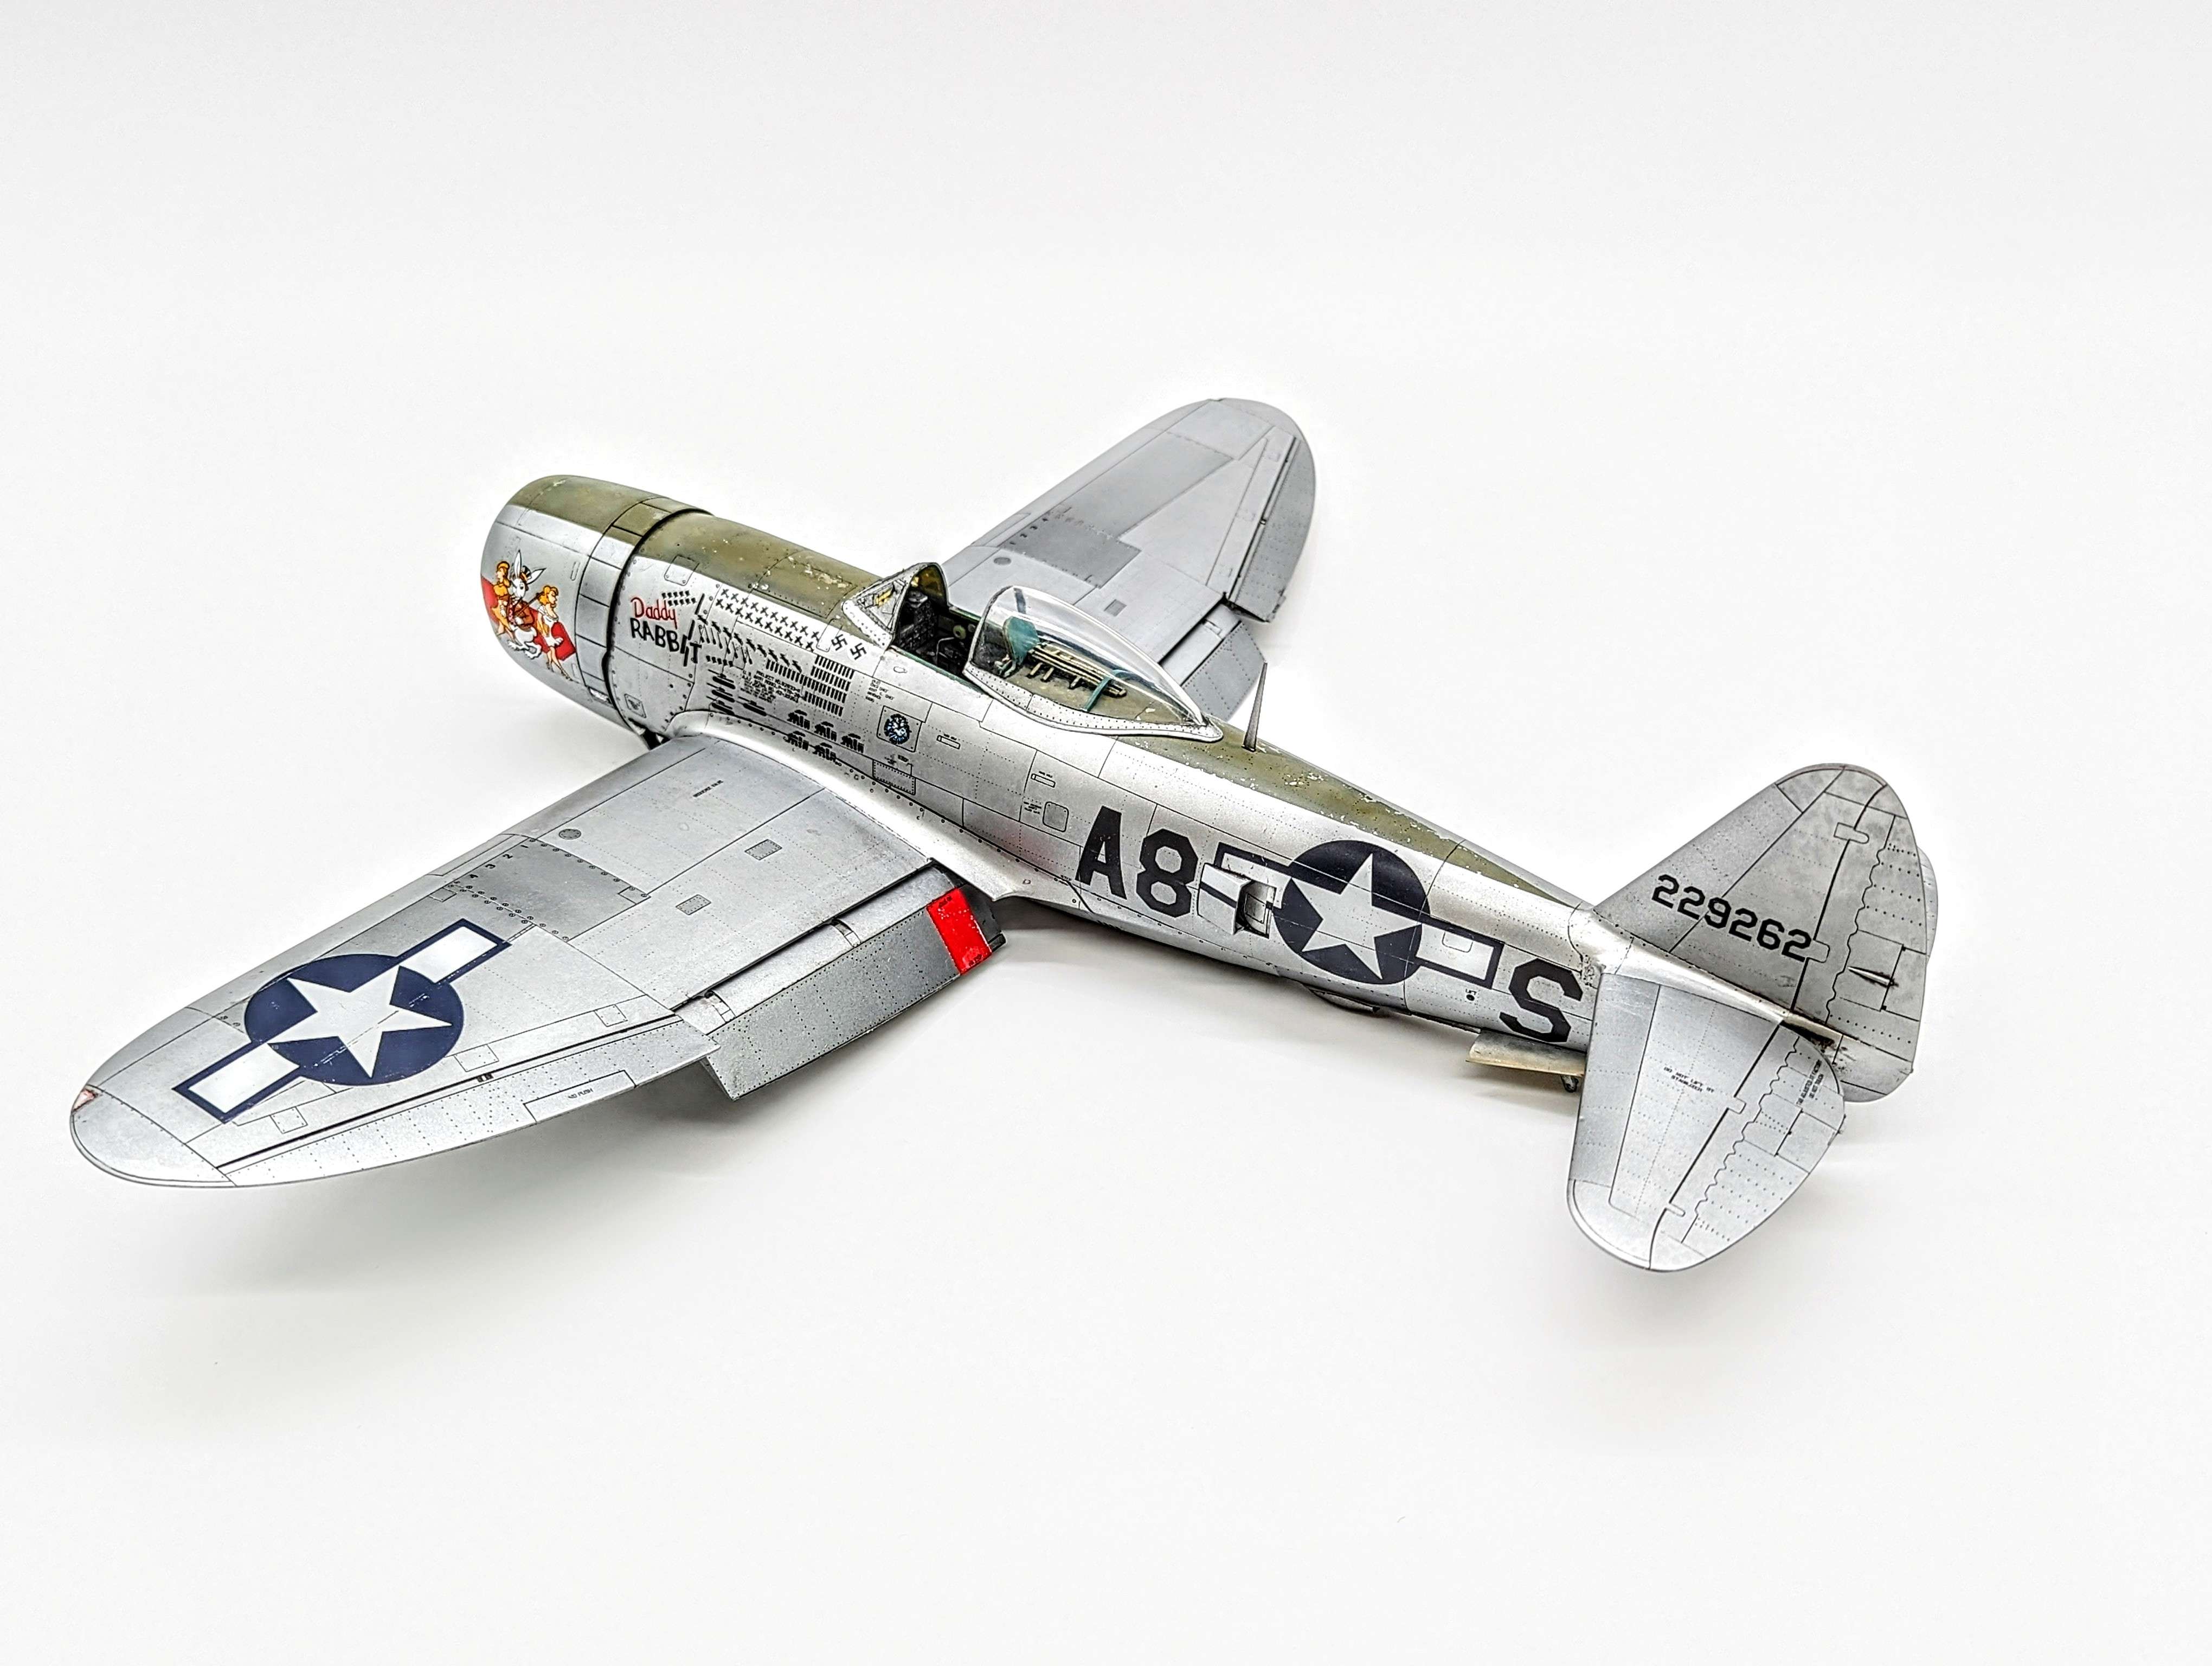
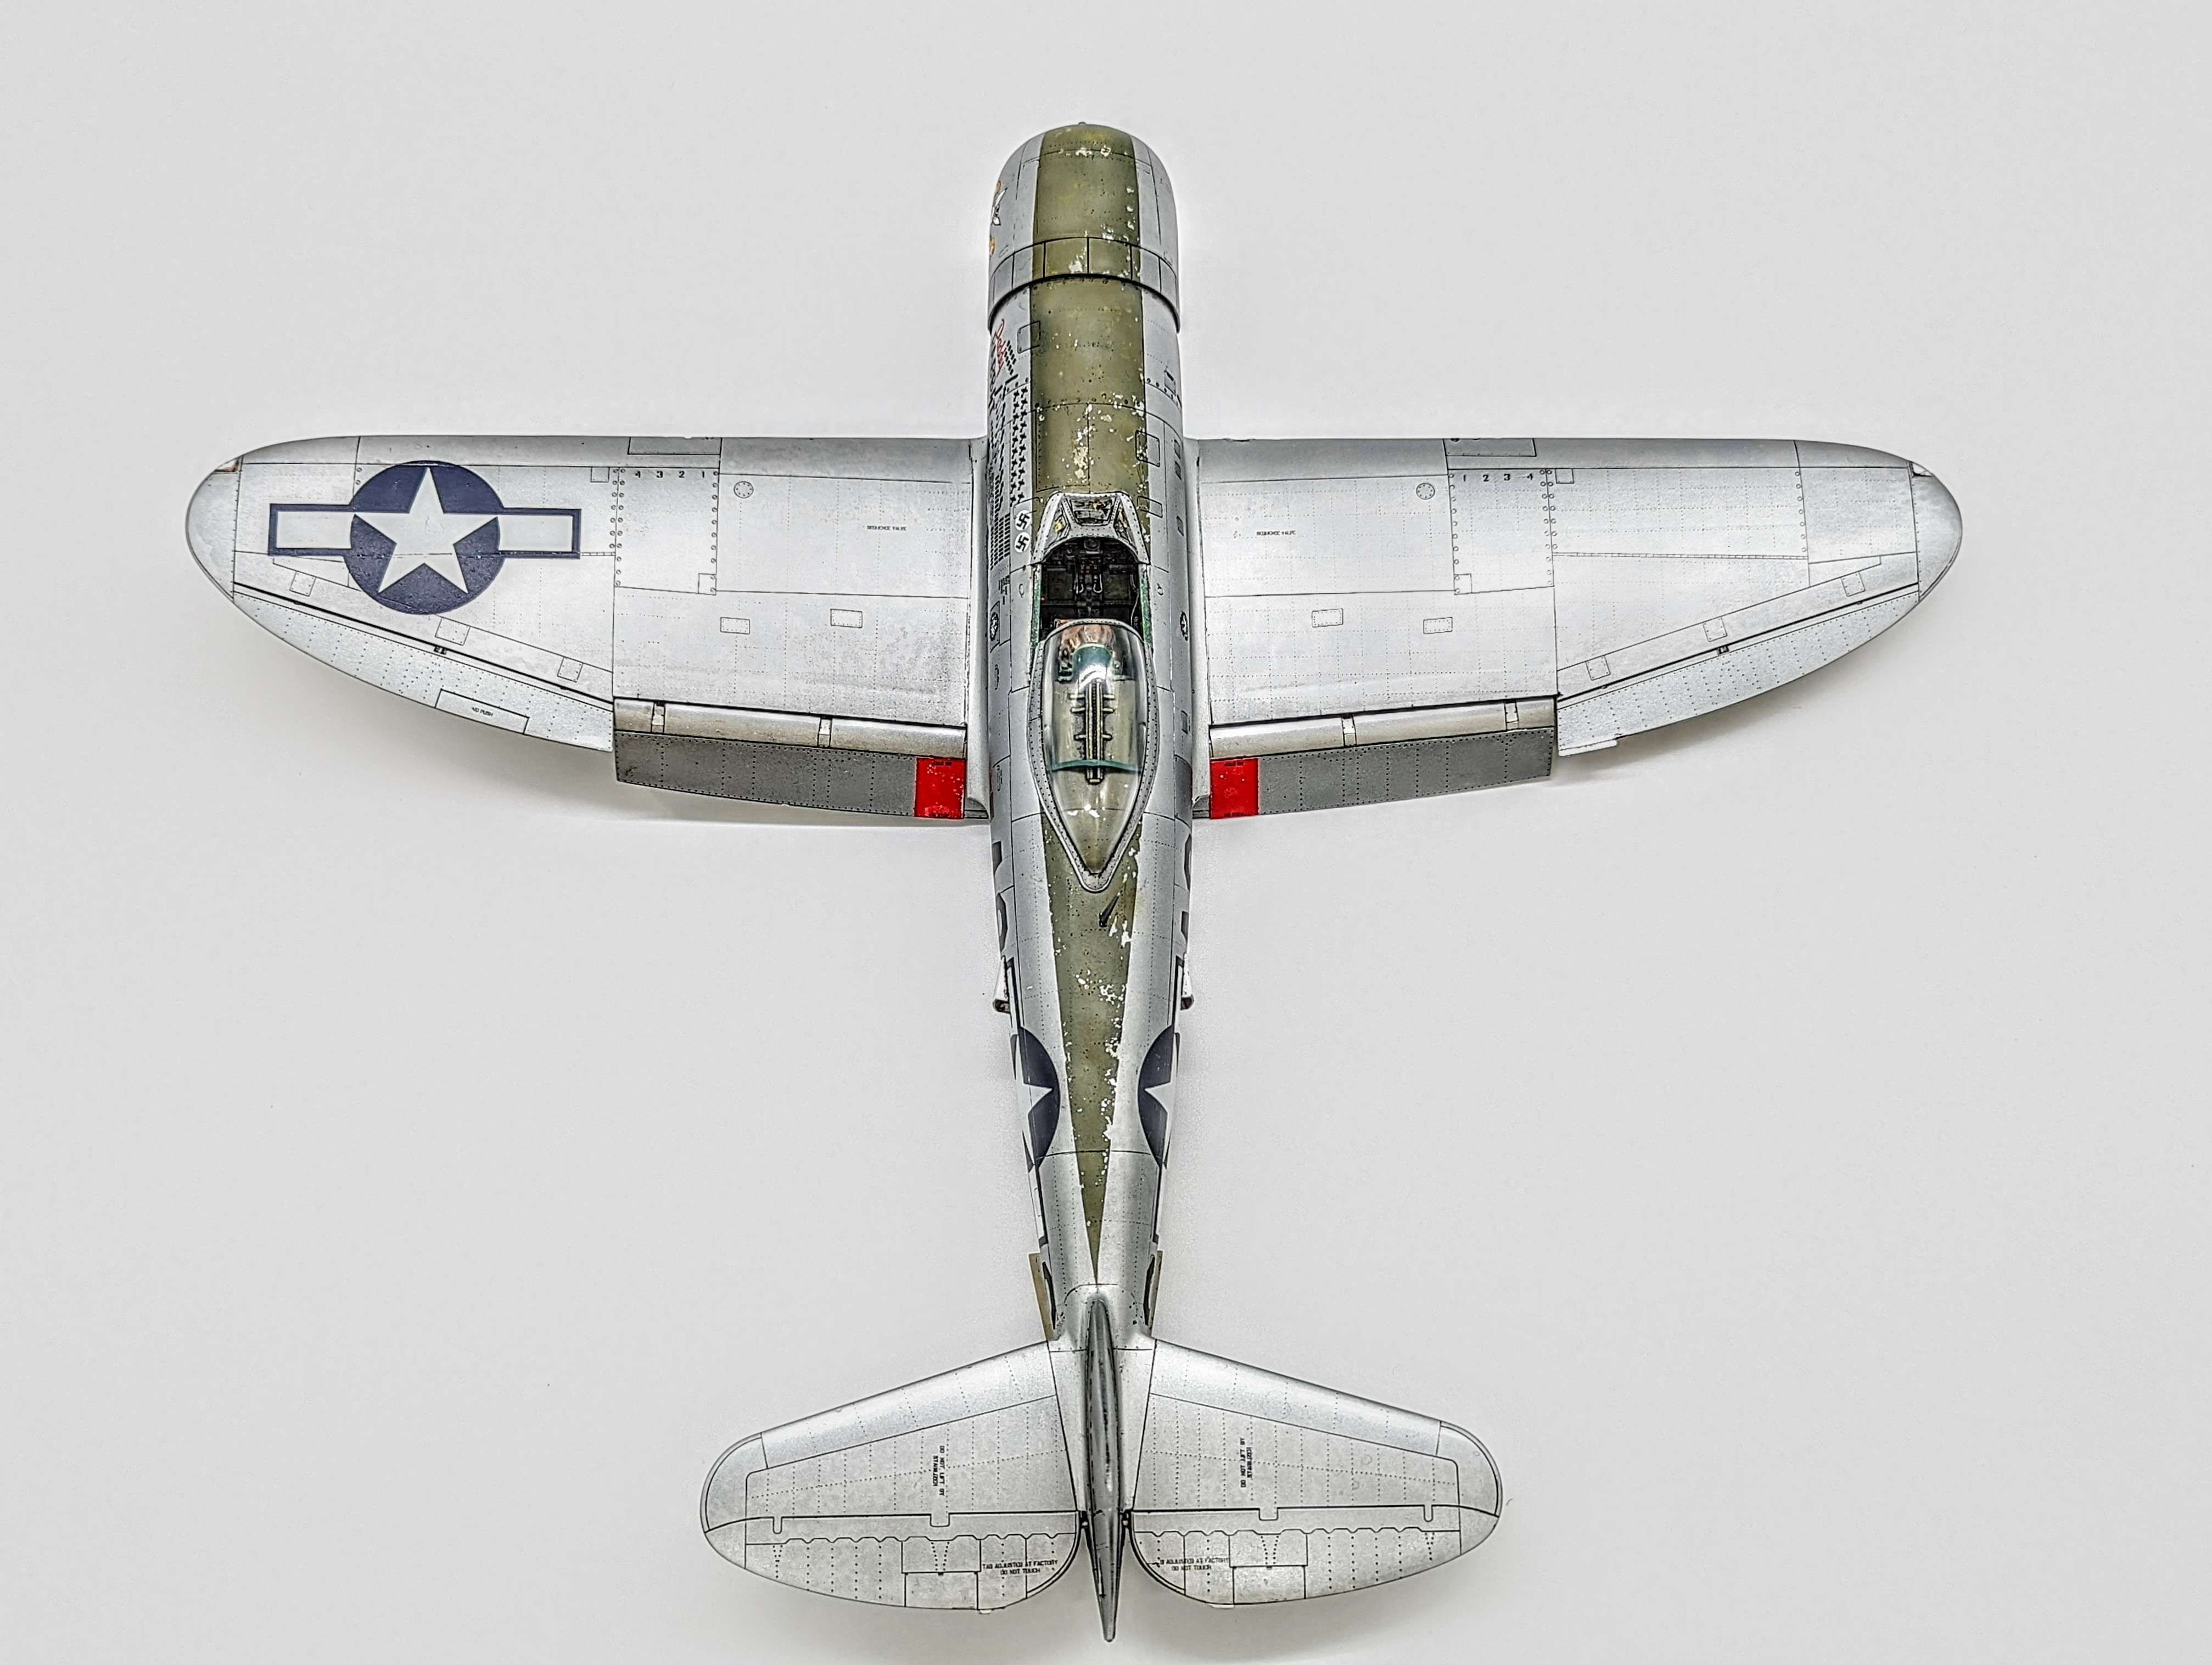
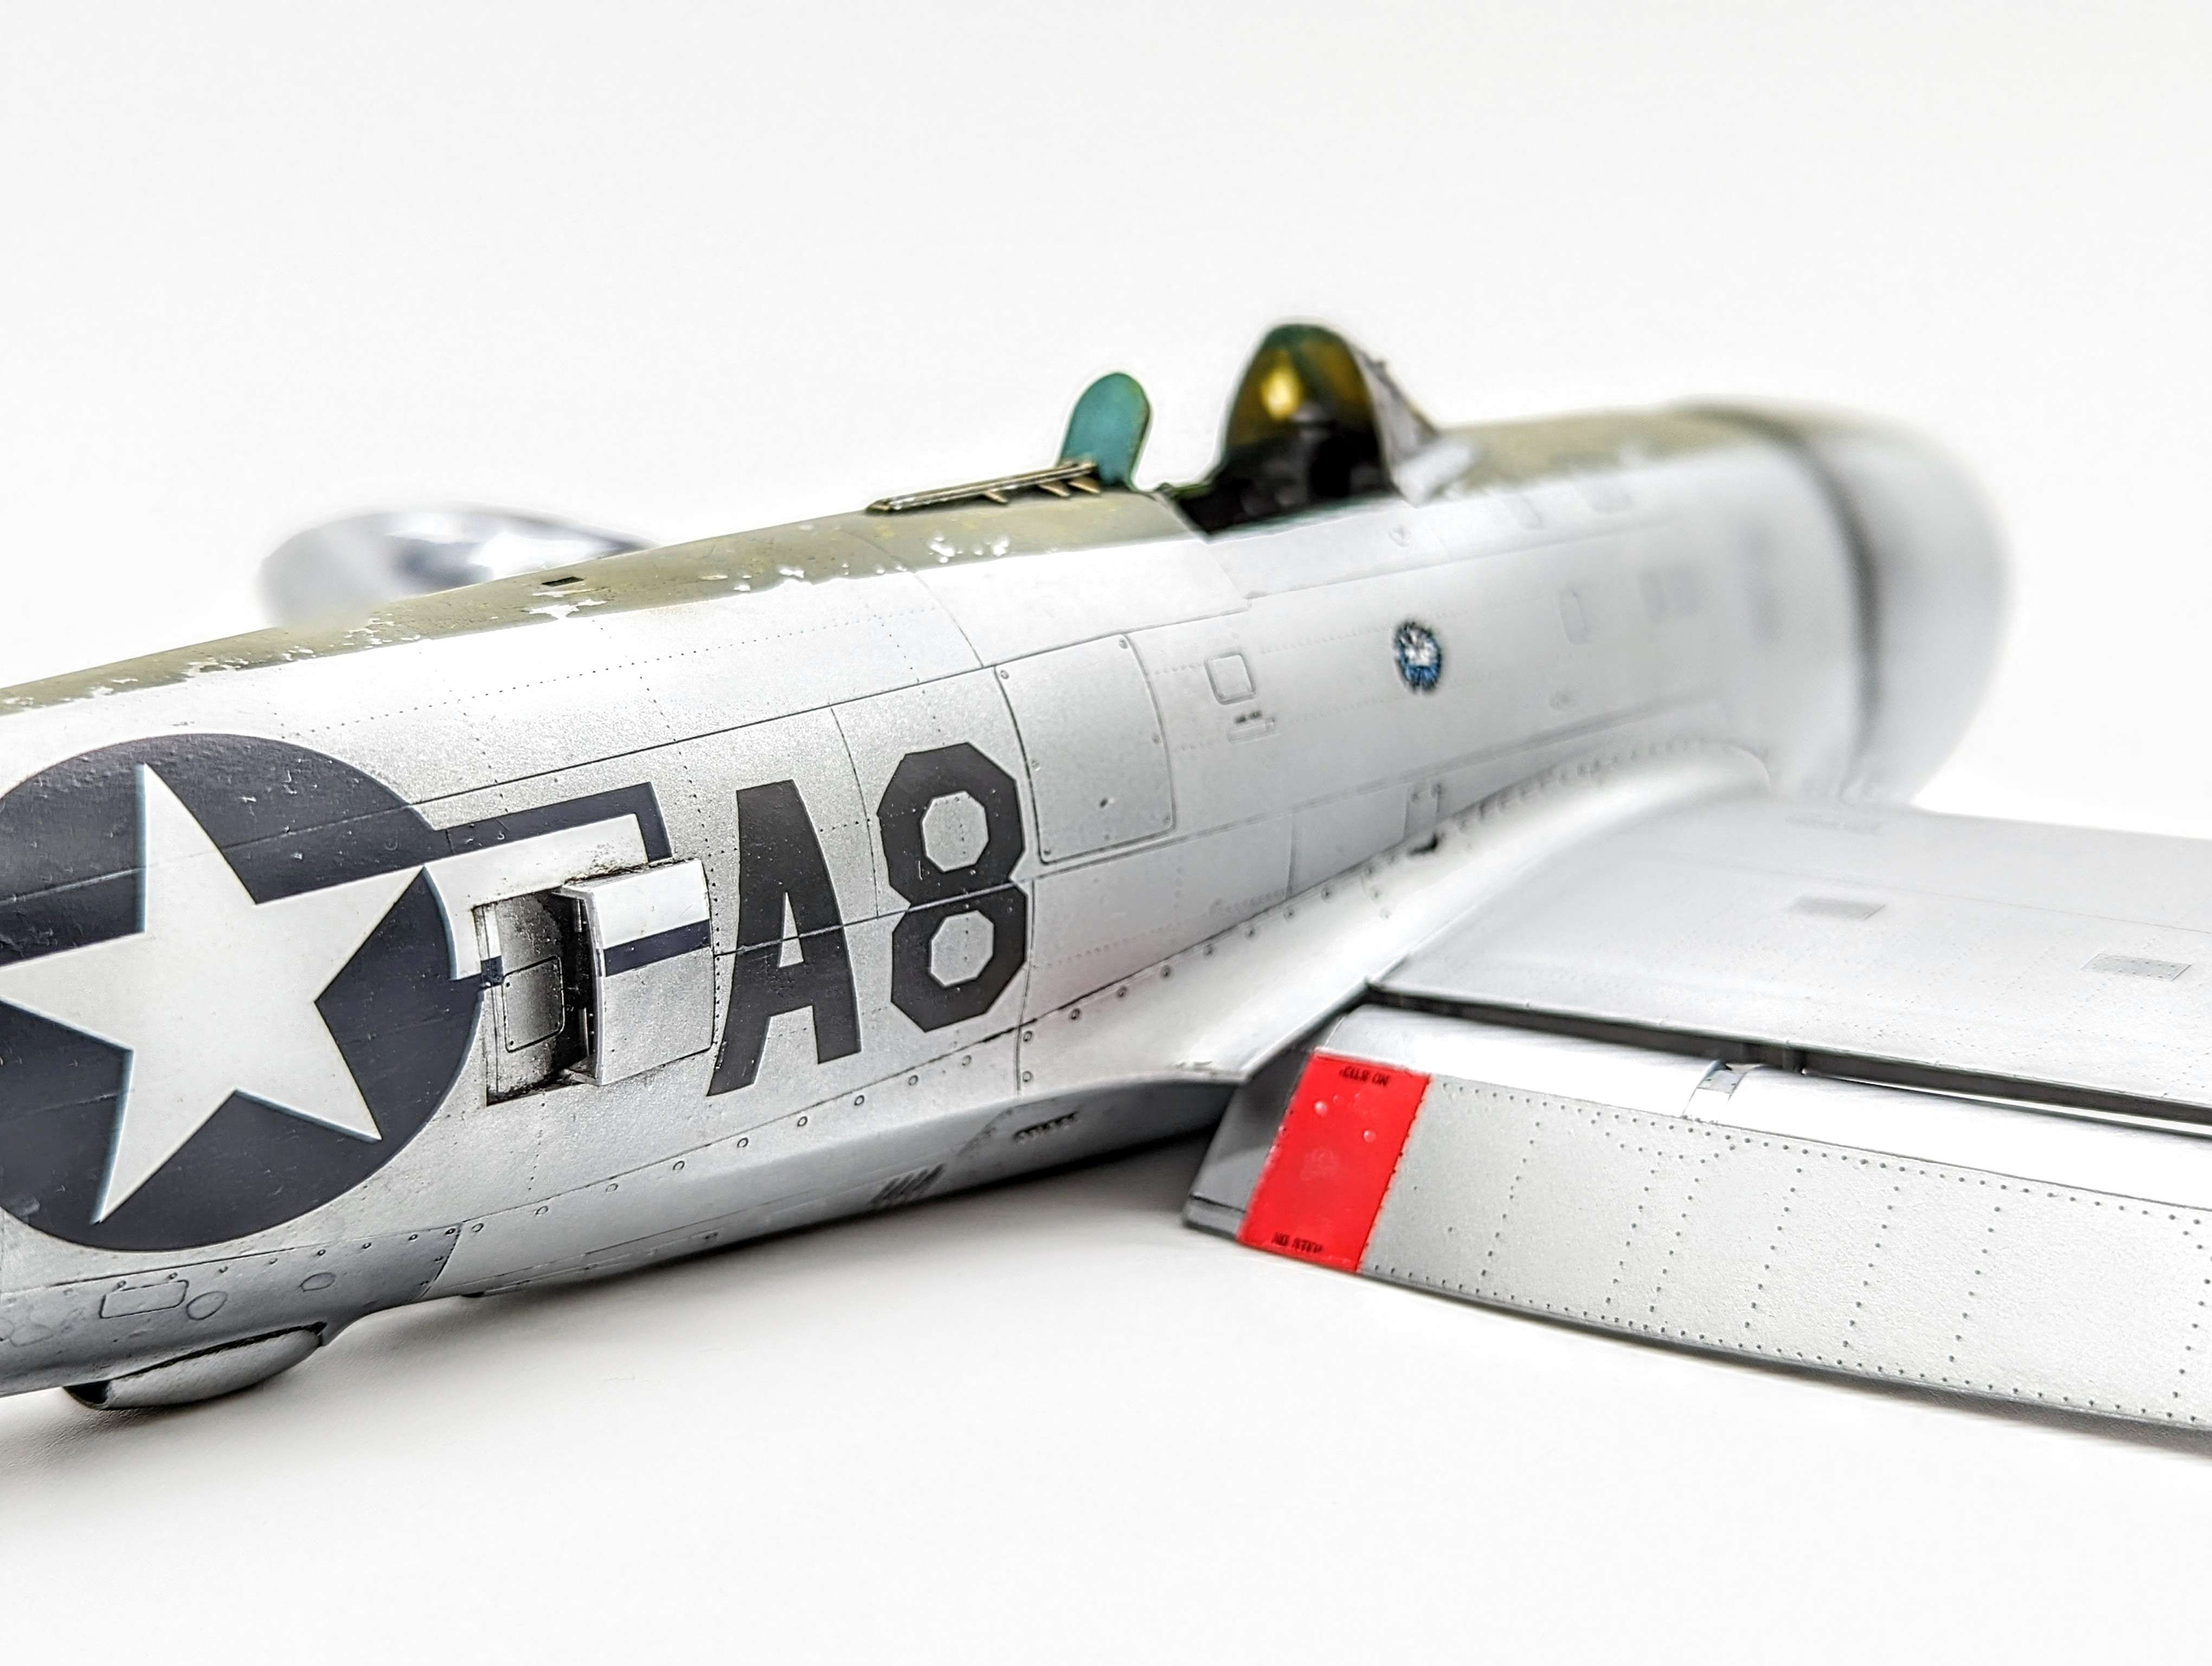
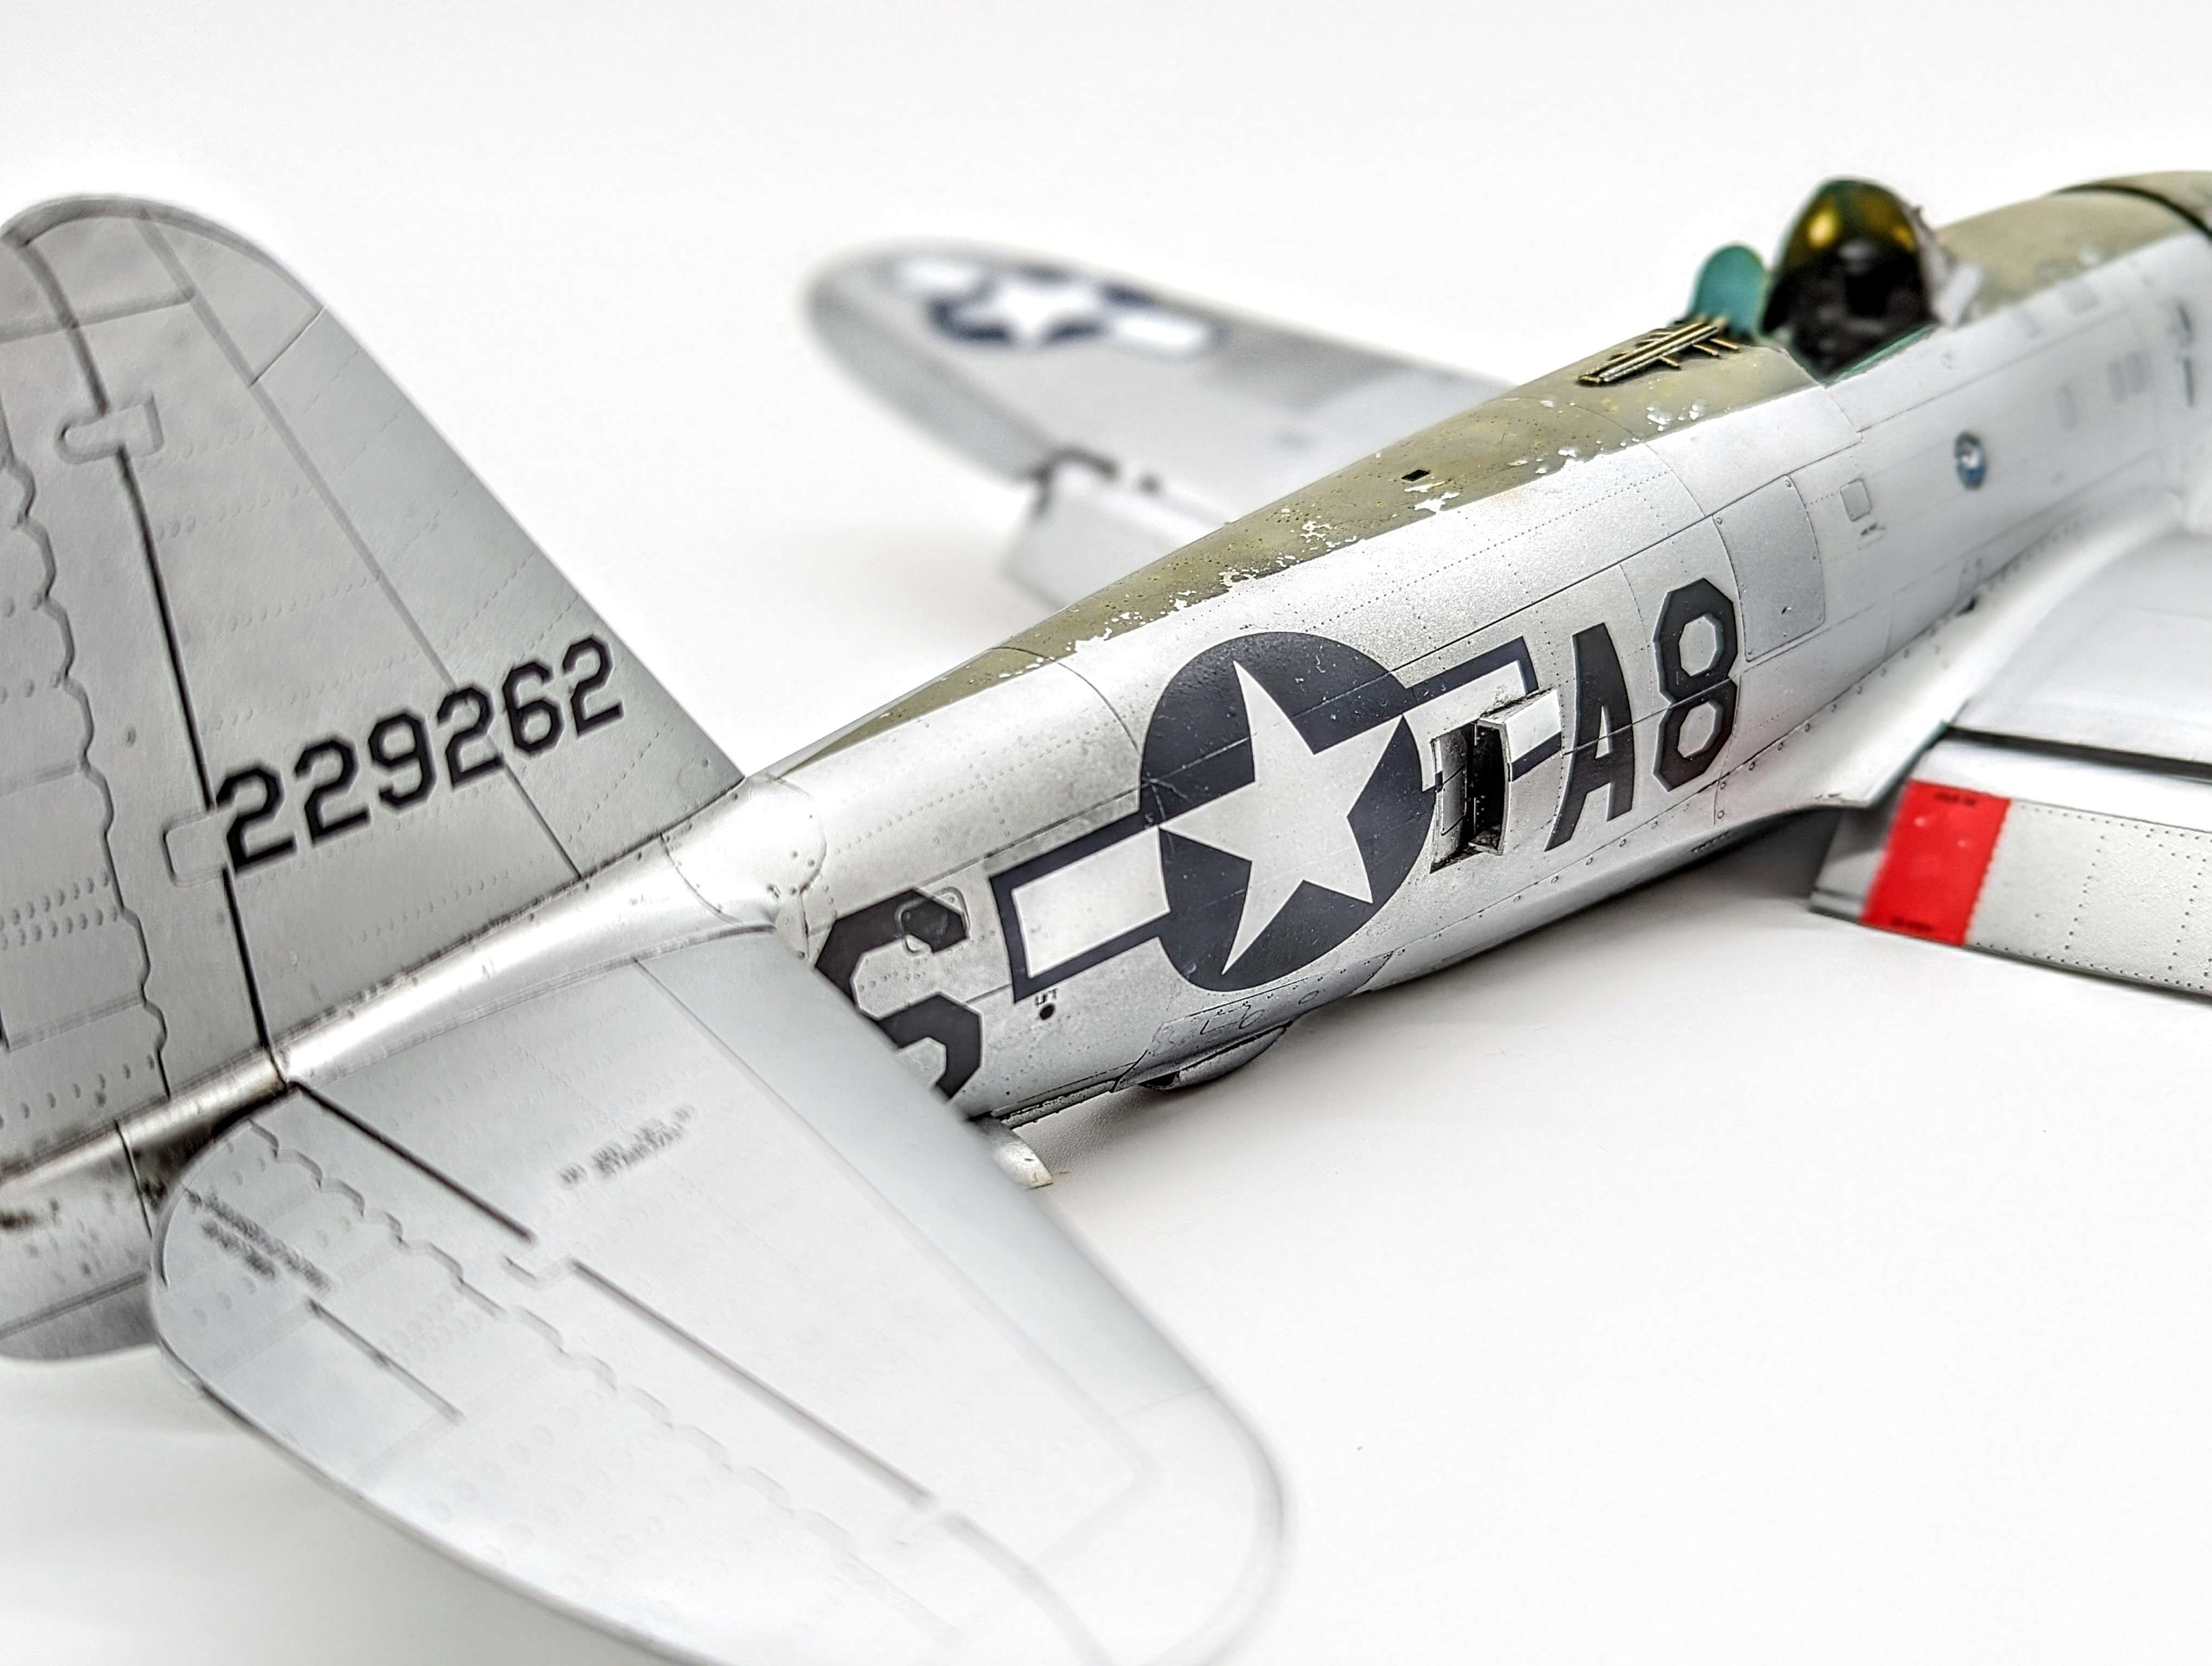
With the painting done I moved on to applying the EagleCals decals.
These were applied directly on the paint without any gloss varnish.
The decals behaved pretty well although some of the roundels did wrinkle in some areas.
Not sure what caused this as this happened both on the flat top surface of the wing as well as on the fuselage sides.
But with a generous application of decal solution, rolling over with a cotton bud and heat from a hair dryer I was able to take care of these.
In hindsight, I should have gone over the recessed panel lines with a scriber as some seemed too shallow under the decals.
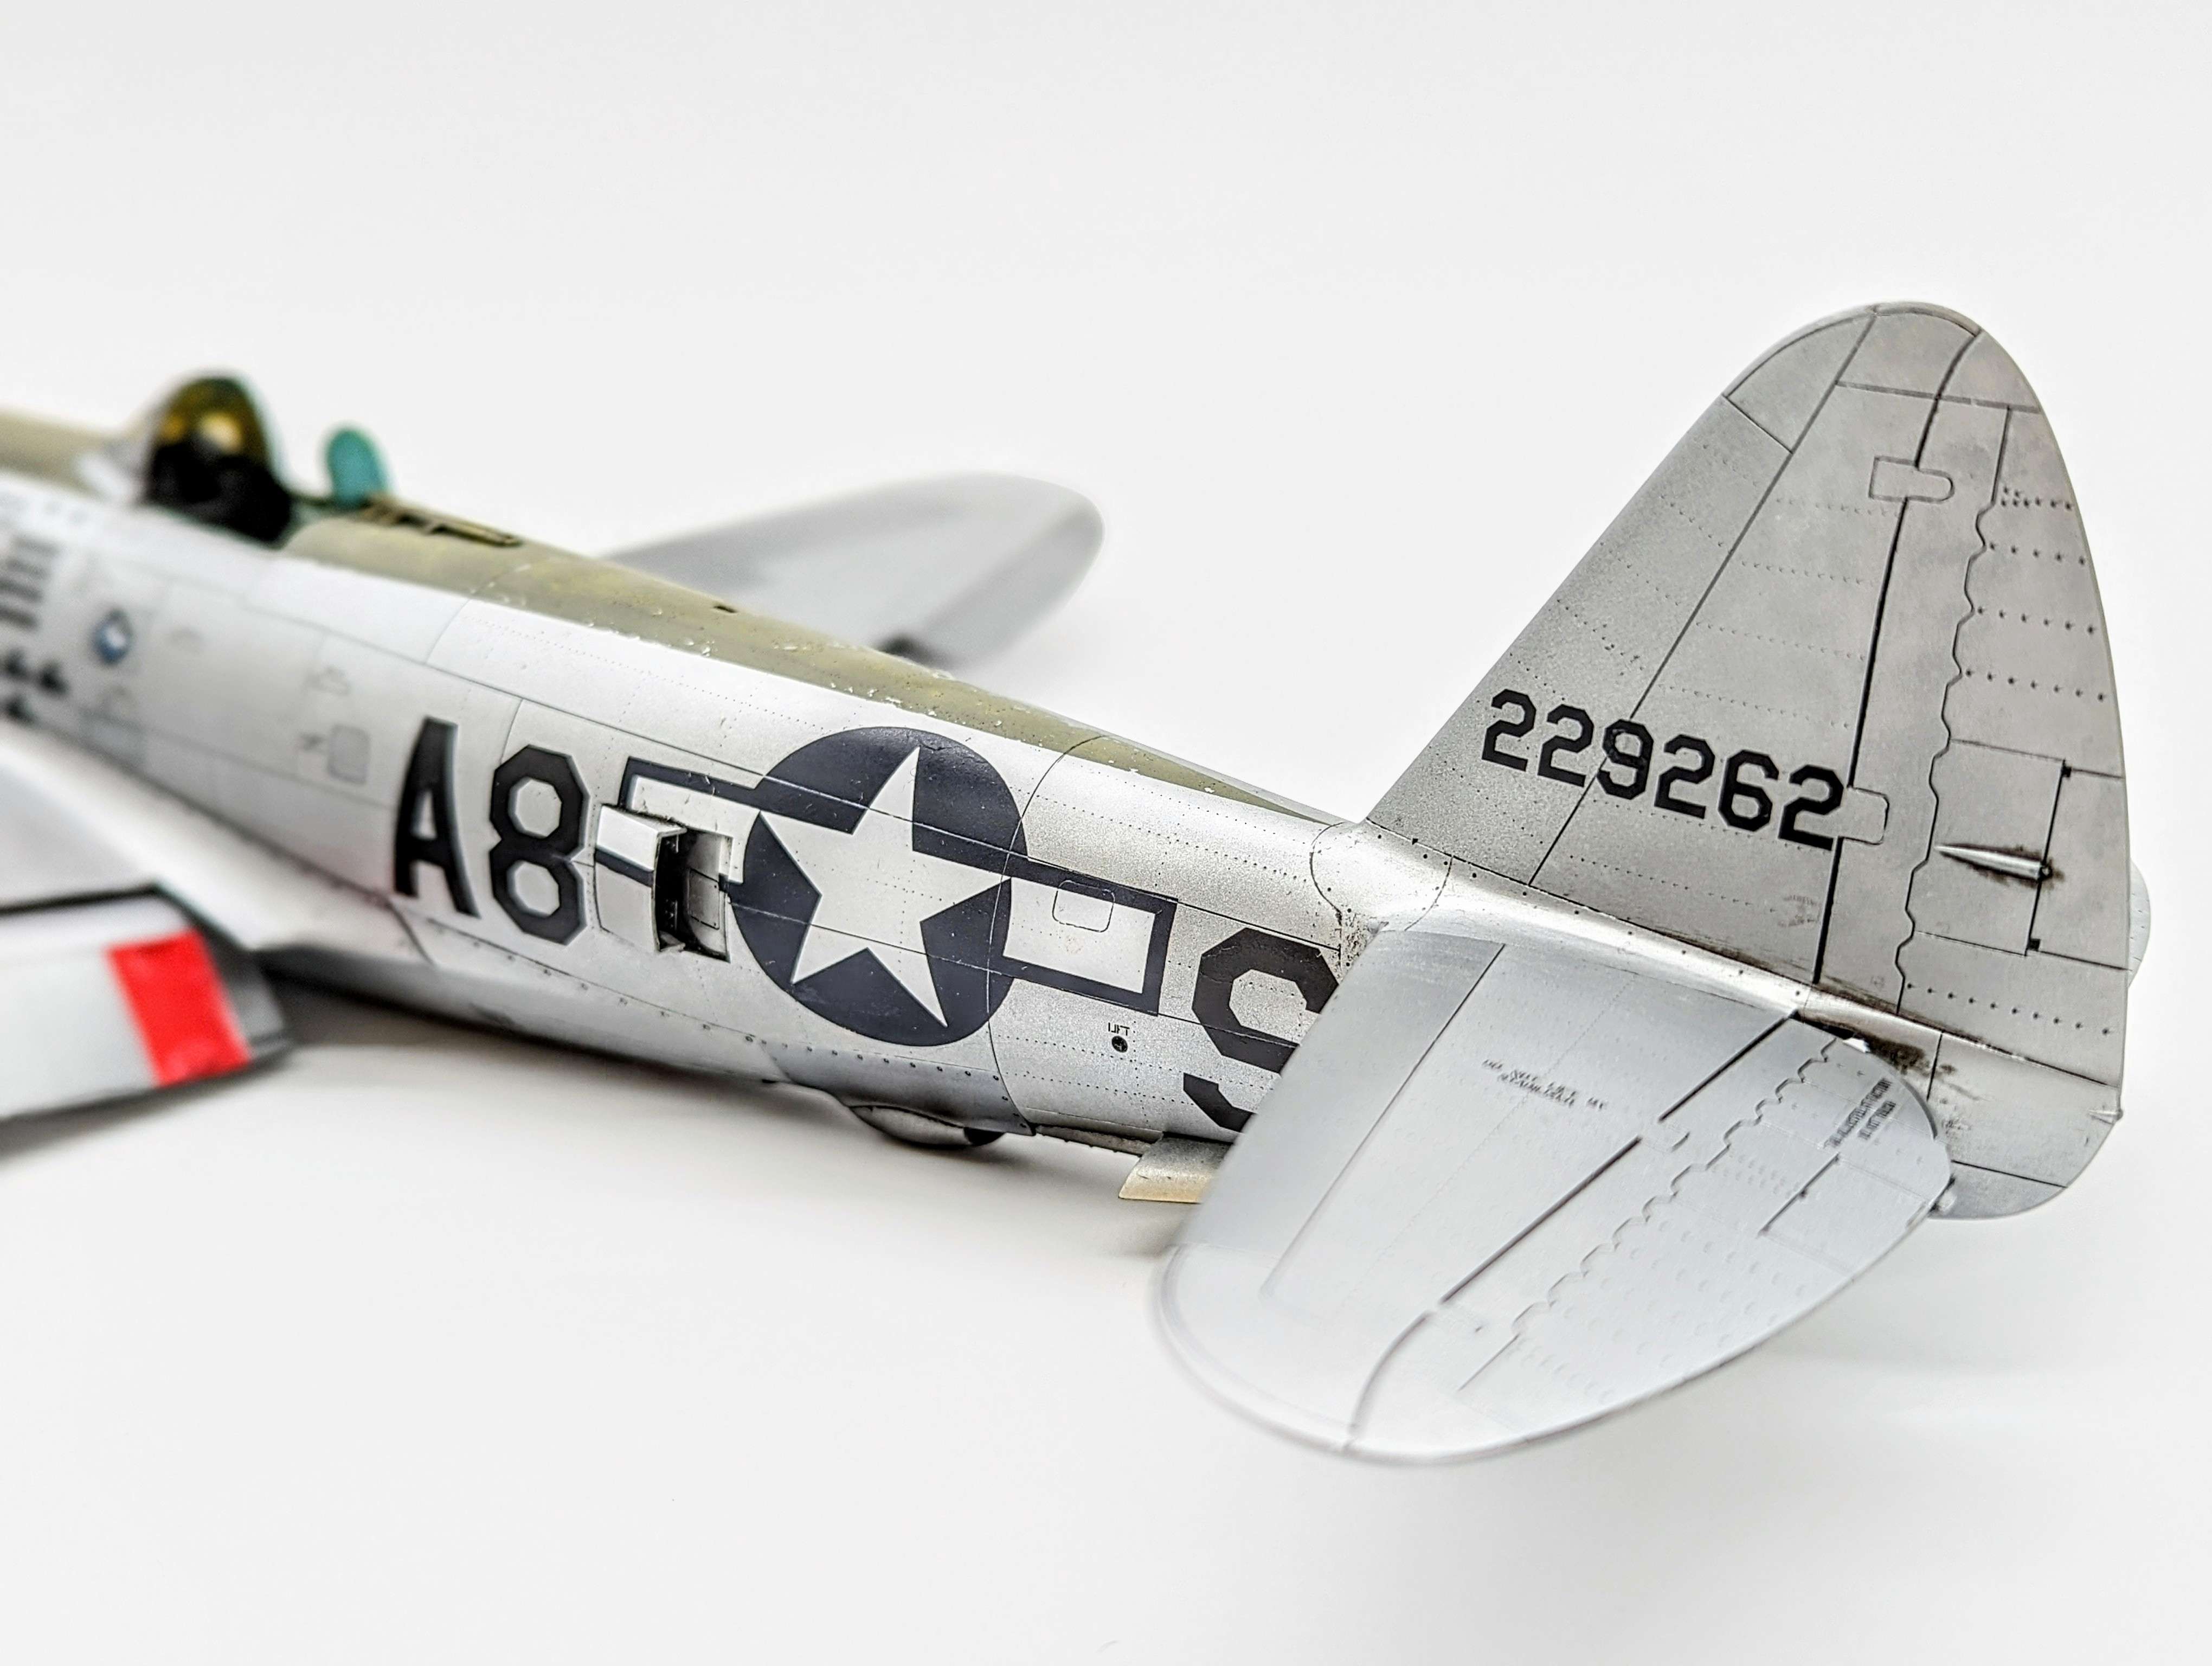
After leaving to dry for two days, the decals were sealed with gloss varnish and all details were highlighted with a black wash.
Finally, the whole model was sprayed with matt varnish.
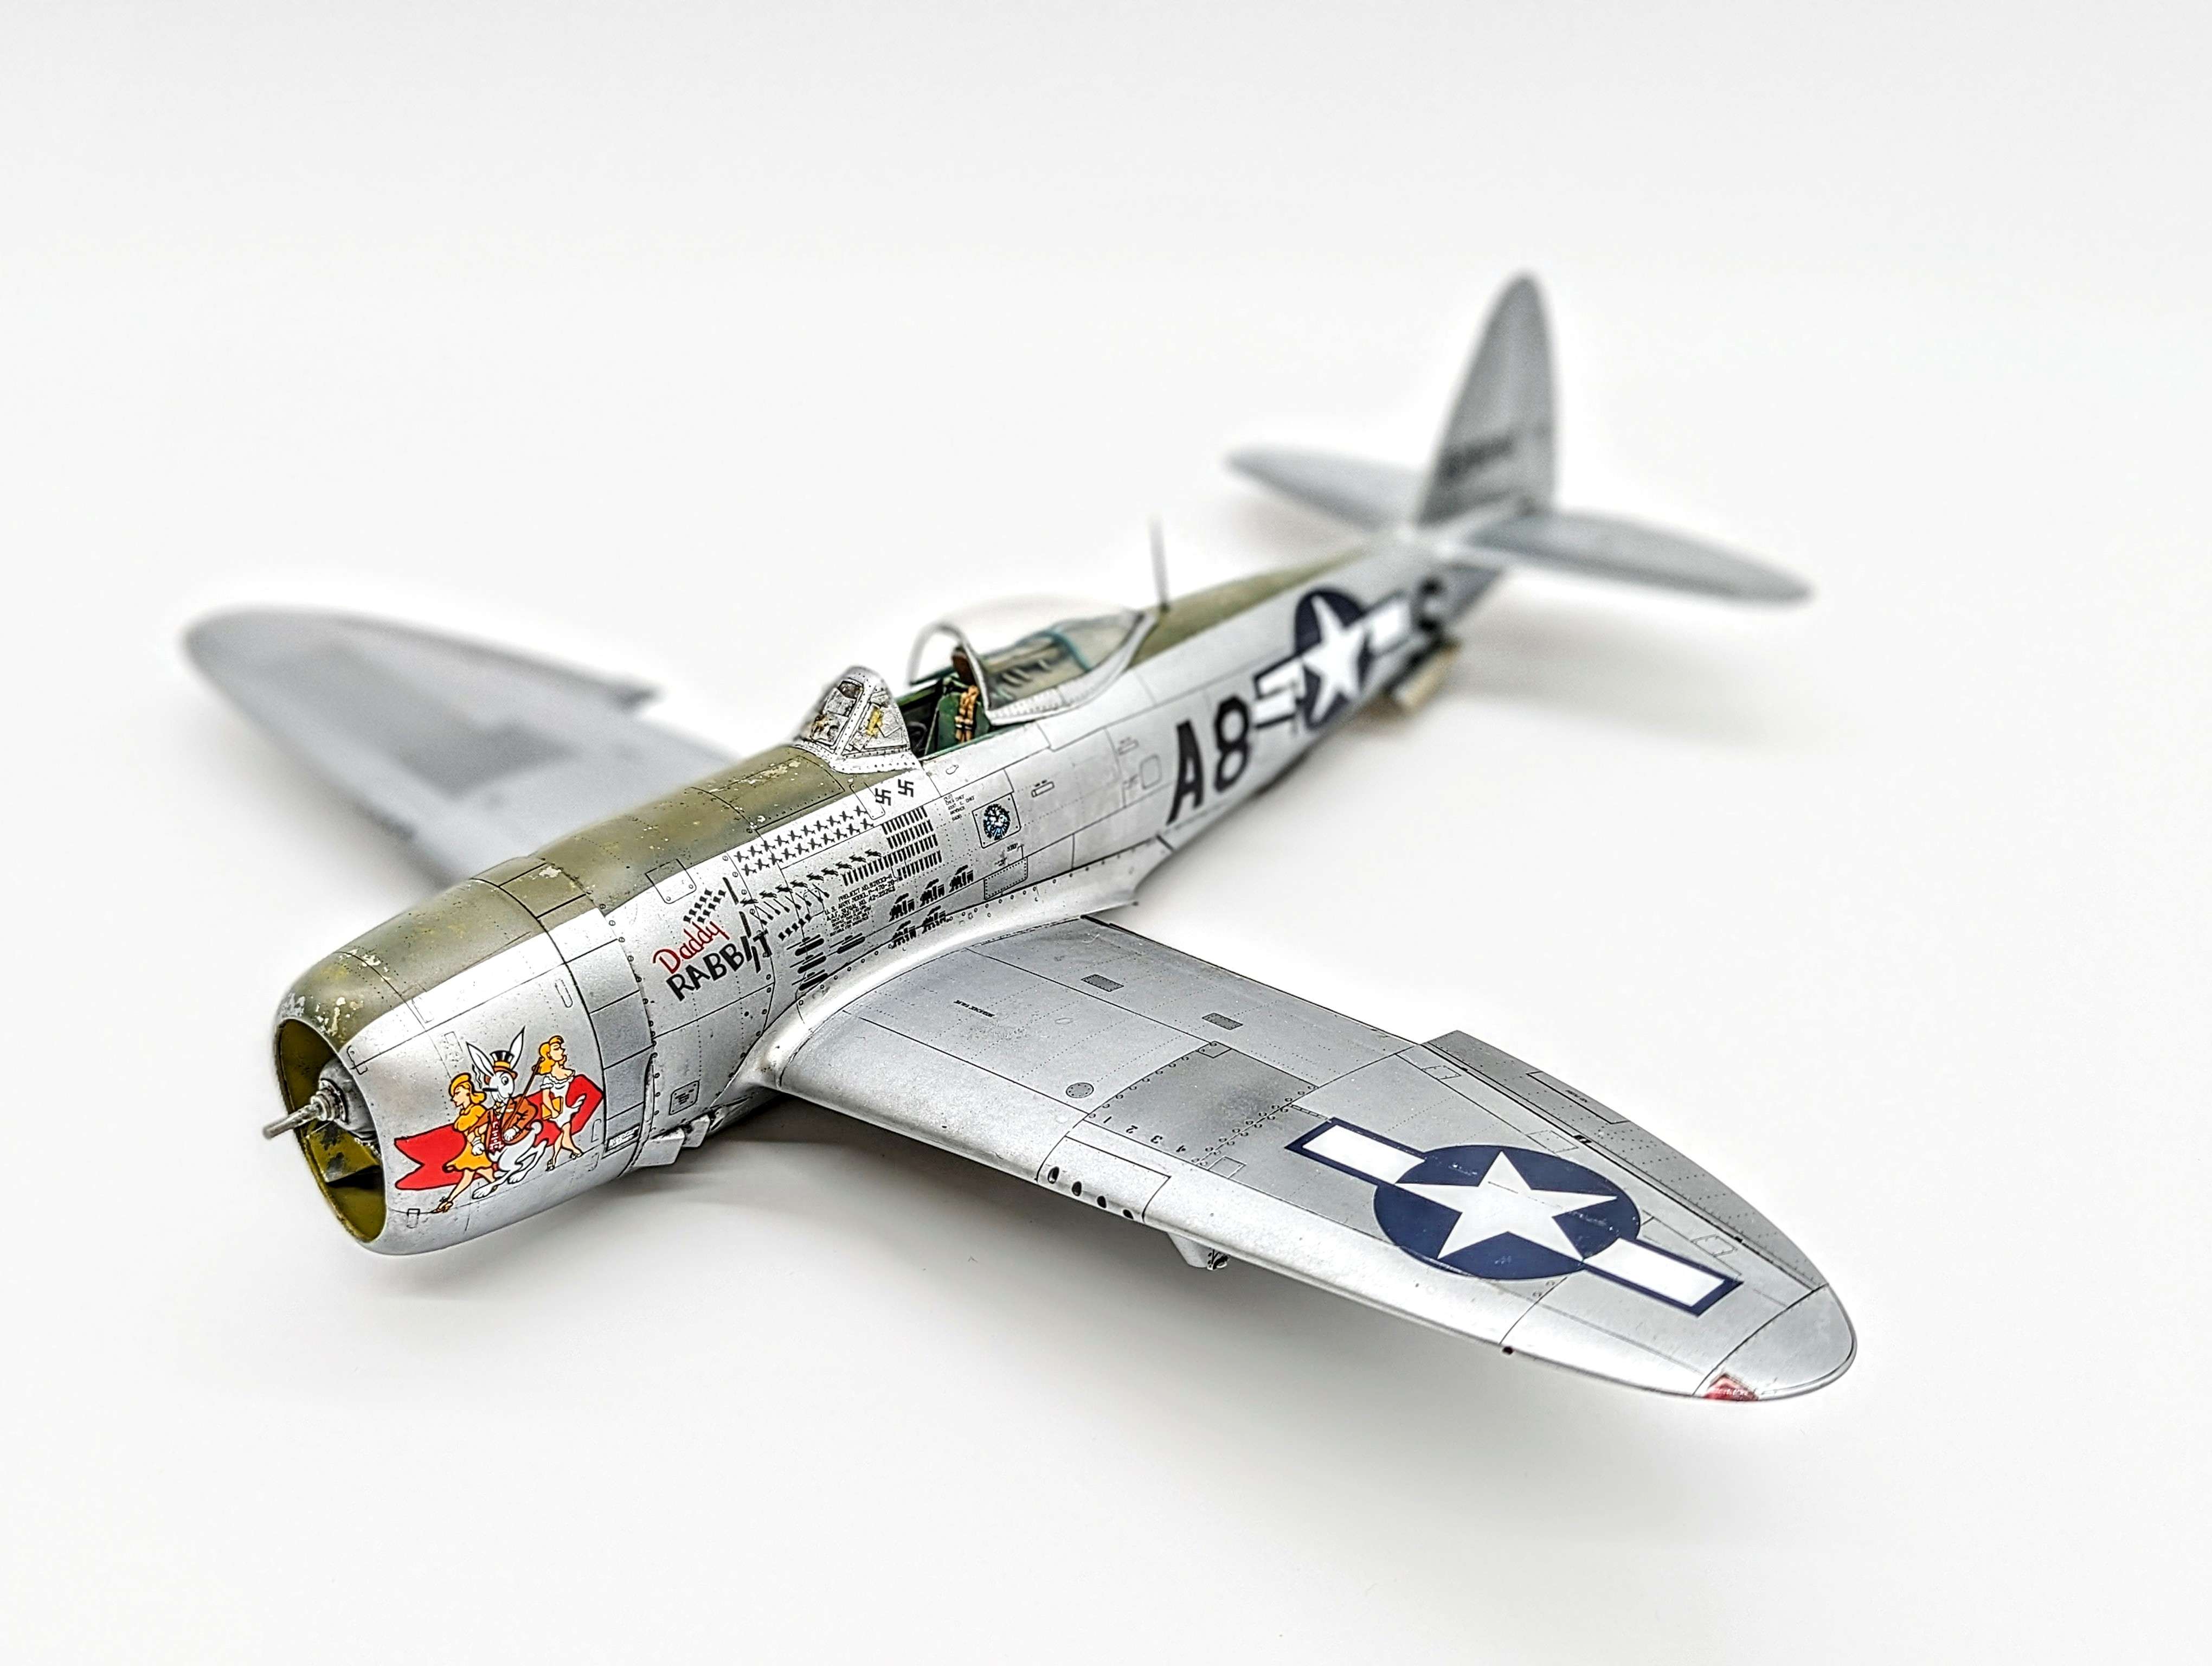
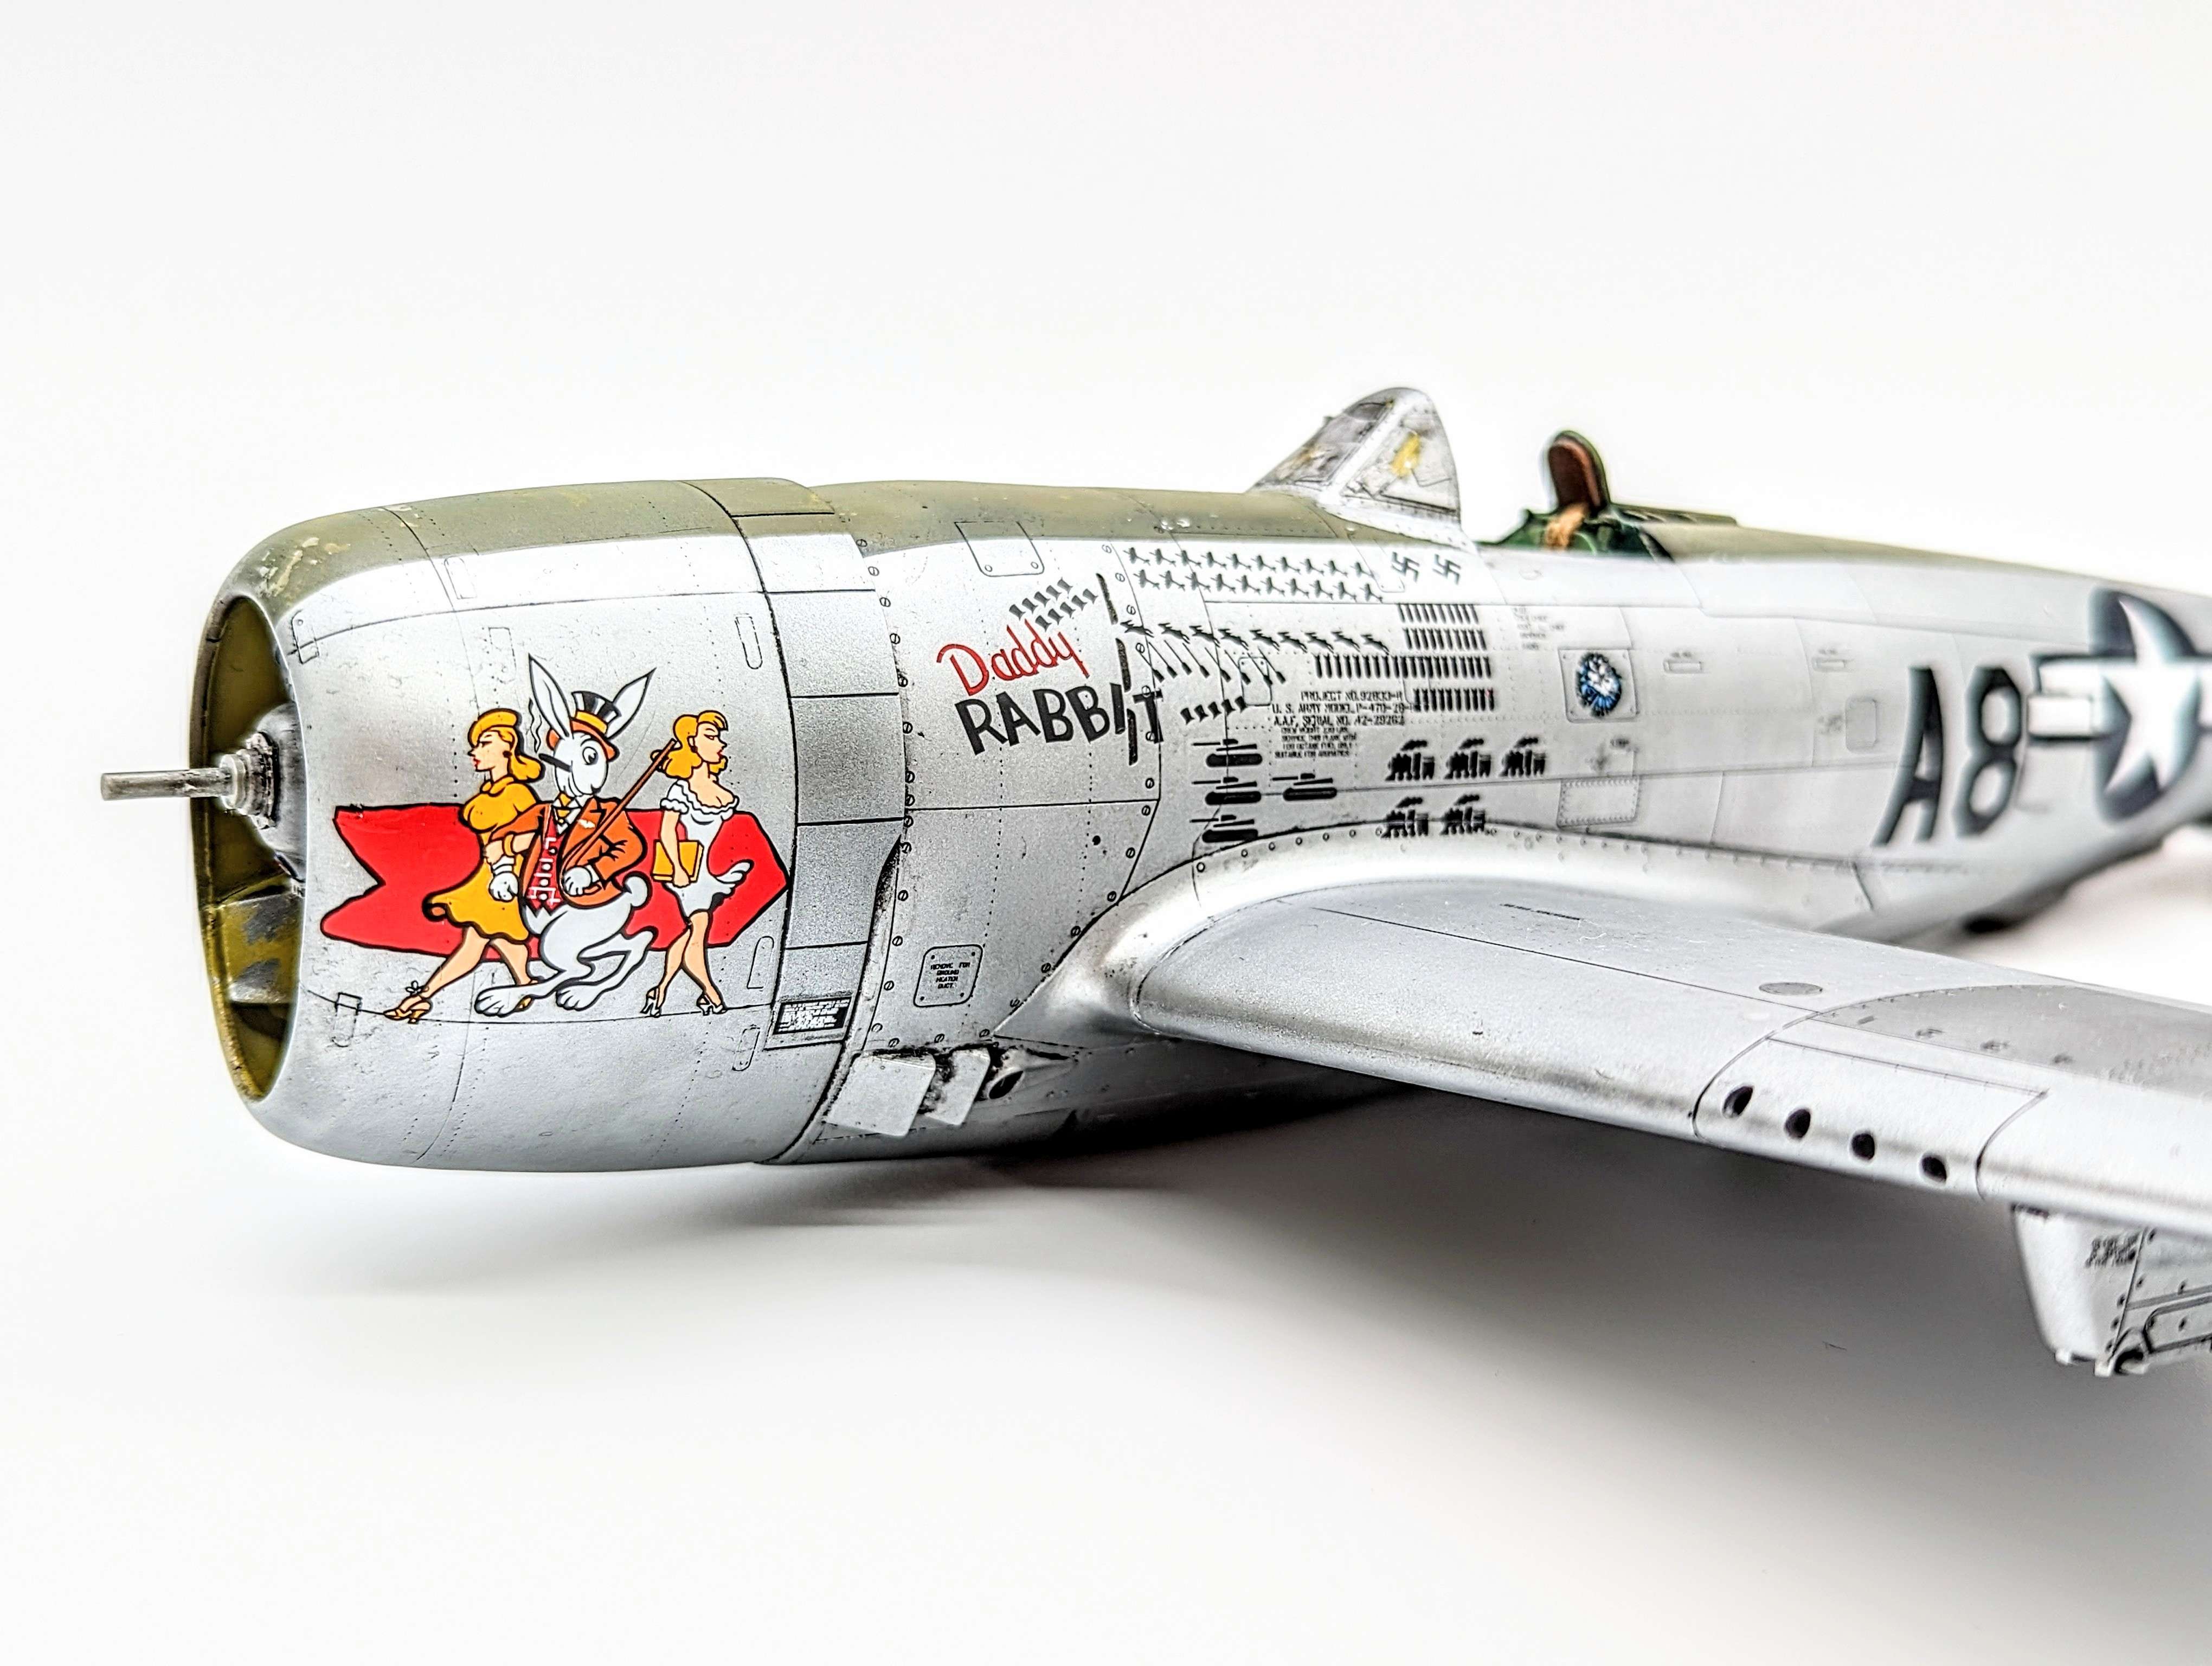
Fun fact, I did some online research on the meaning of Daddy Rabbit's impressive collection of mission symbols and here's what I found:
- Swastikas: 2 air combat kills
- Top aircraft silhouettes: 20 aircraft destroyed on the ground (strafing)
- Bombs: 50 bombing missions
- Trains: 5 locomotives destroyed
- Tanks: 4 tanks destroyed
- Brooms: 8 fighter sweeps
- Top hats: 15 fighter escorts
- Rabbits: 9 wag missions (assessing bomb damage under strict orders to not engage any enemy or target of opportunity)

Next step, weathering!
My favourite part of any project!!!

-
-
-
-
-
-
-
7 hours ago, MikeC said:
Looking very good, and great choice of subject, always good to see the 9th AF getting some attention.
I must give your nmf technique a try, thank you.
I have read somewhere that although the joint sets quickly, it is still curing, and that you should really leave a joint at least 48 hours before cleaning it up and sanding it. Liquid cement only, no CA except as a gap-filler. Yes, it slows things down, but there is usually another part of the model one can be getting on with. Works for me, anyway.
Many thanks Mike!
Actually, whenever I used the CA/talcum powder technique and the ghost seams would release I was told I was sanding too far back. But you may also be right about the curing time. Having said that I find CA to be too difficult to sand if I let it dry too long. But let me try next time.
-
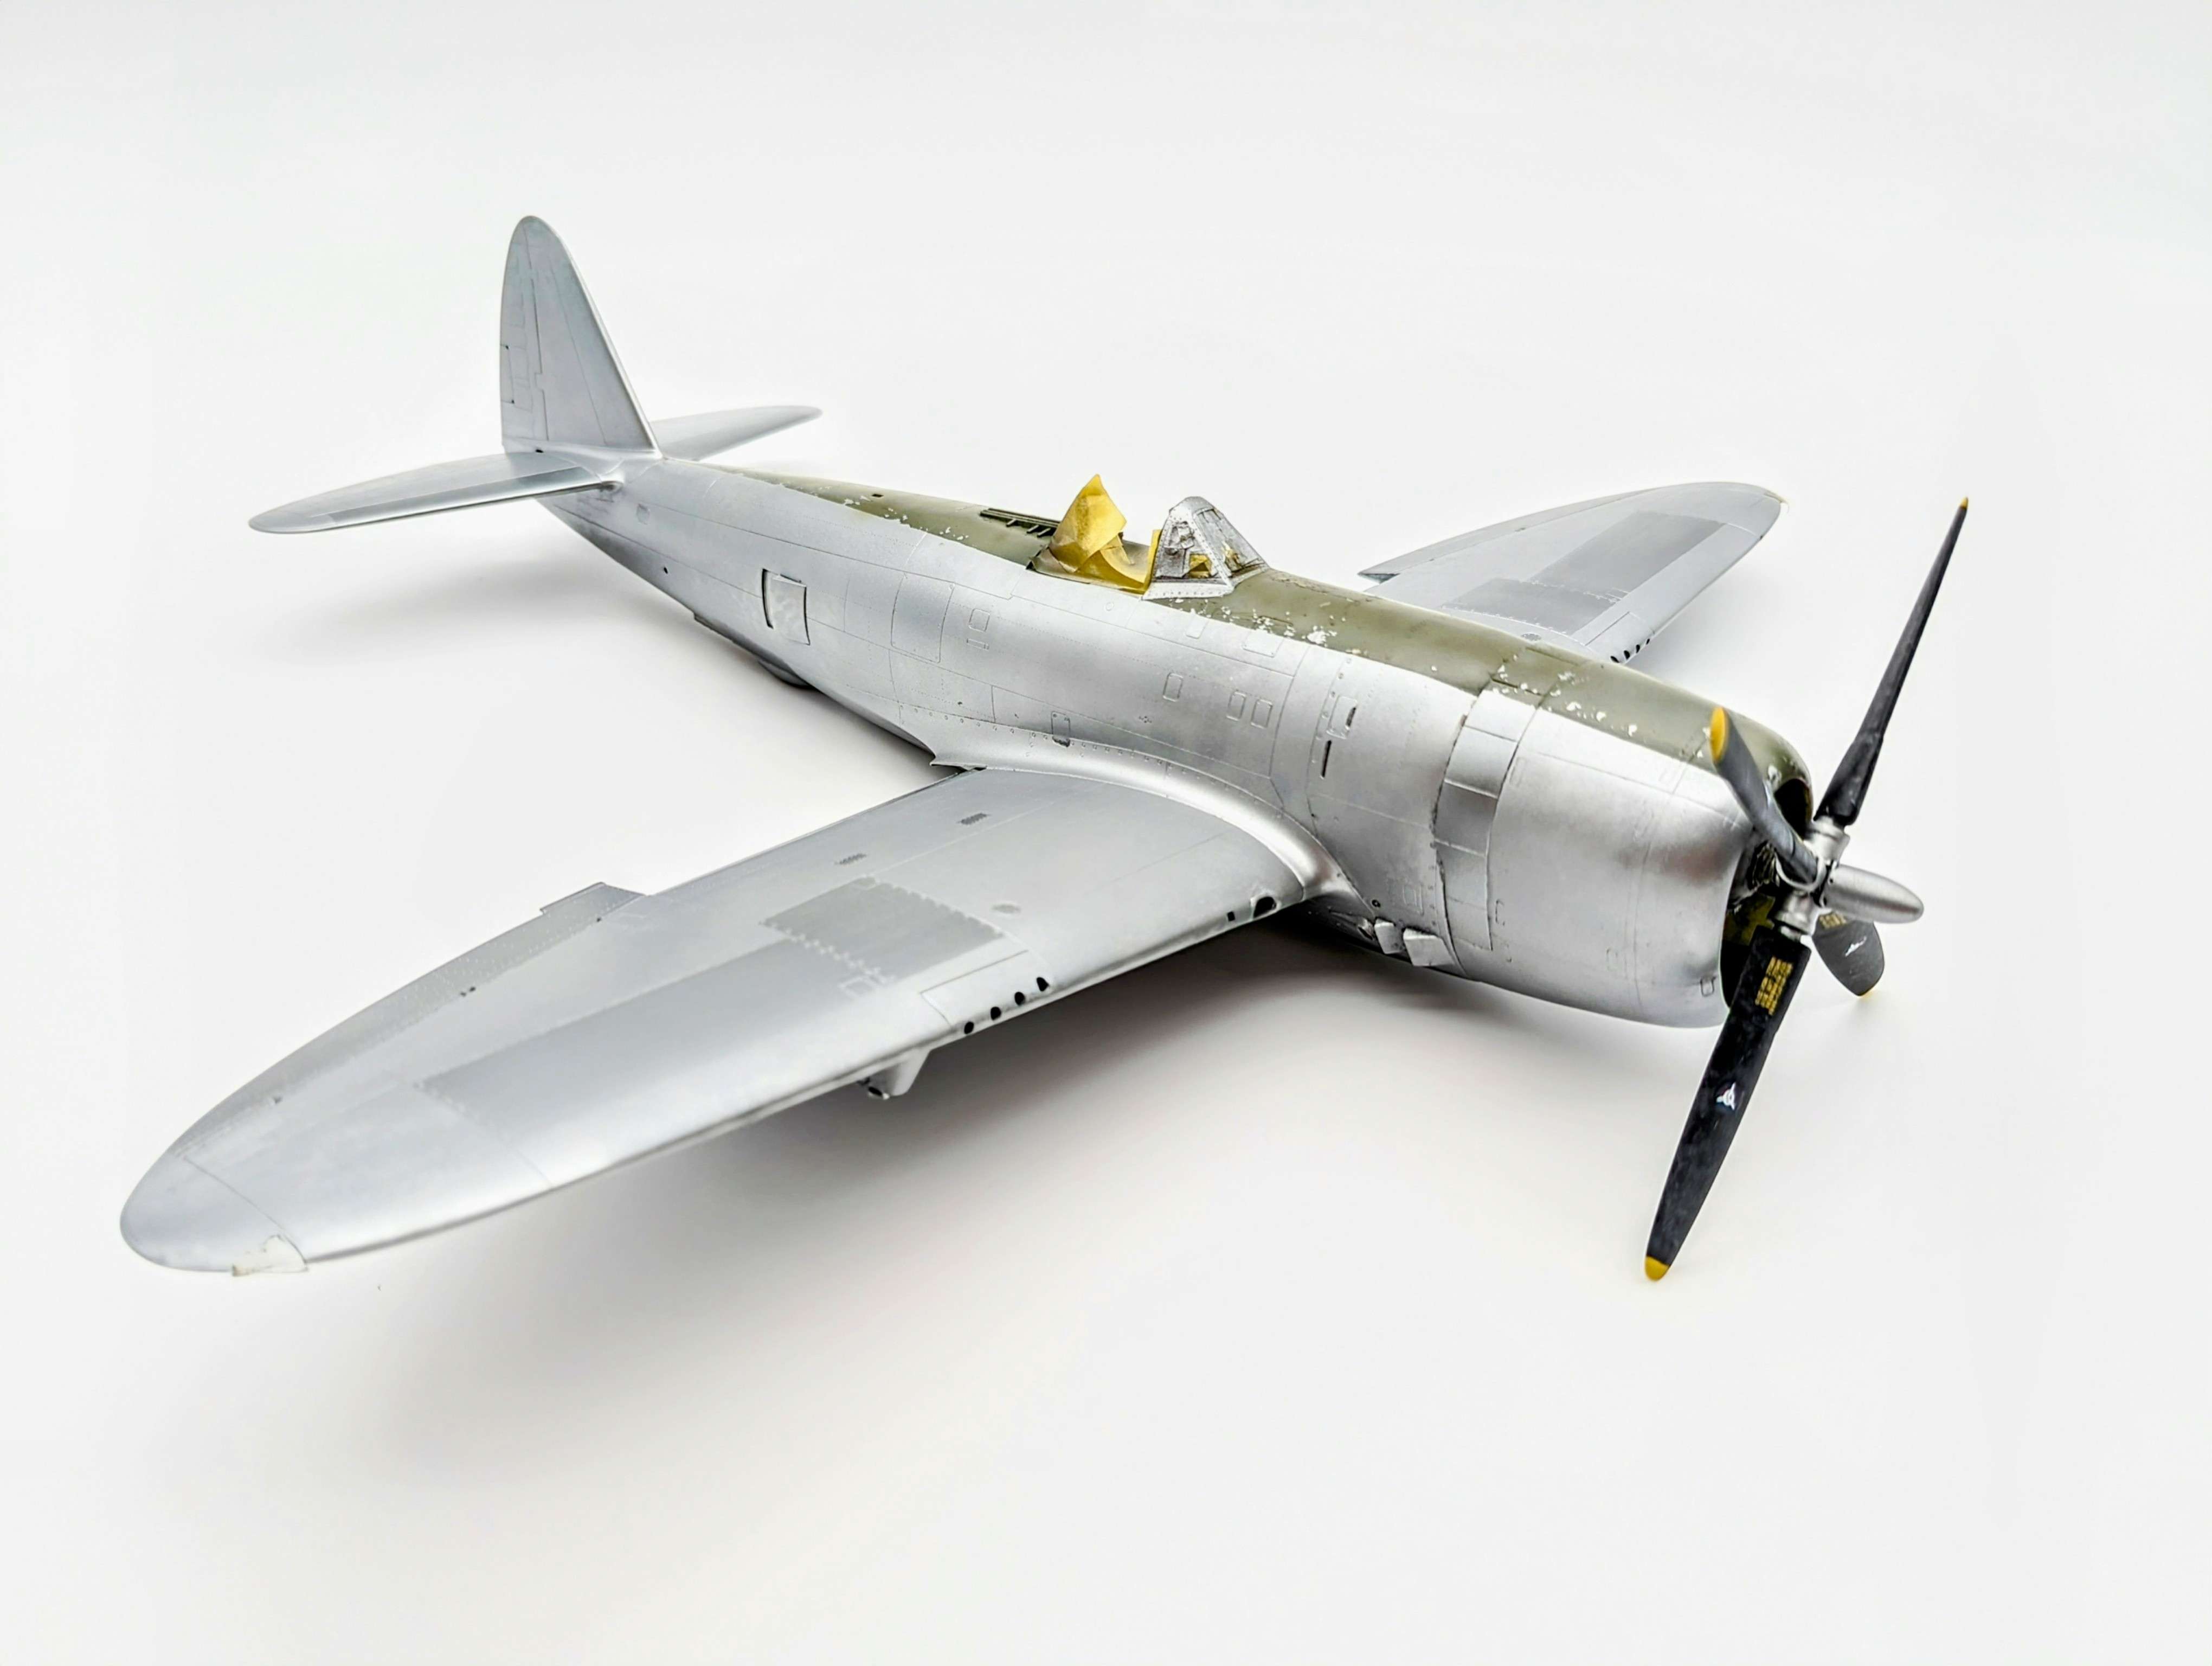
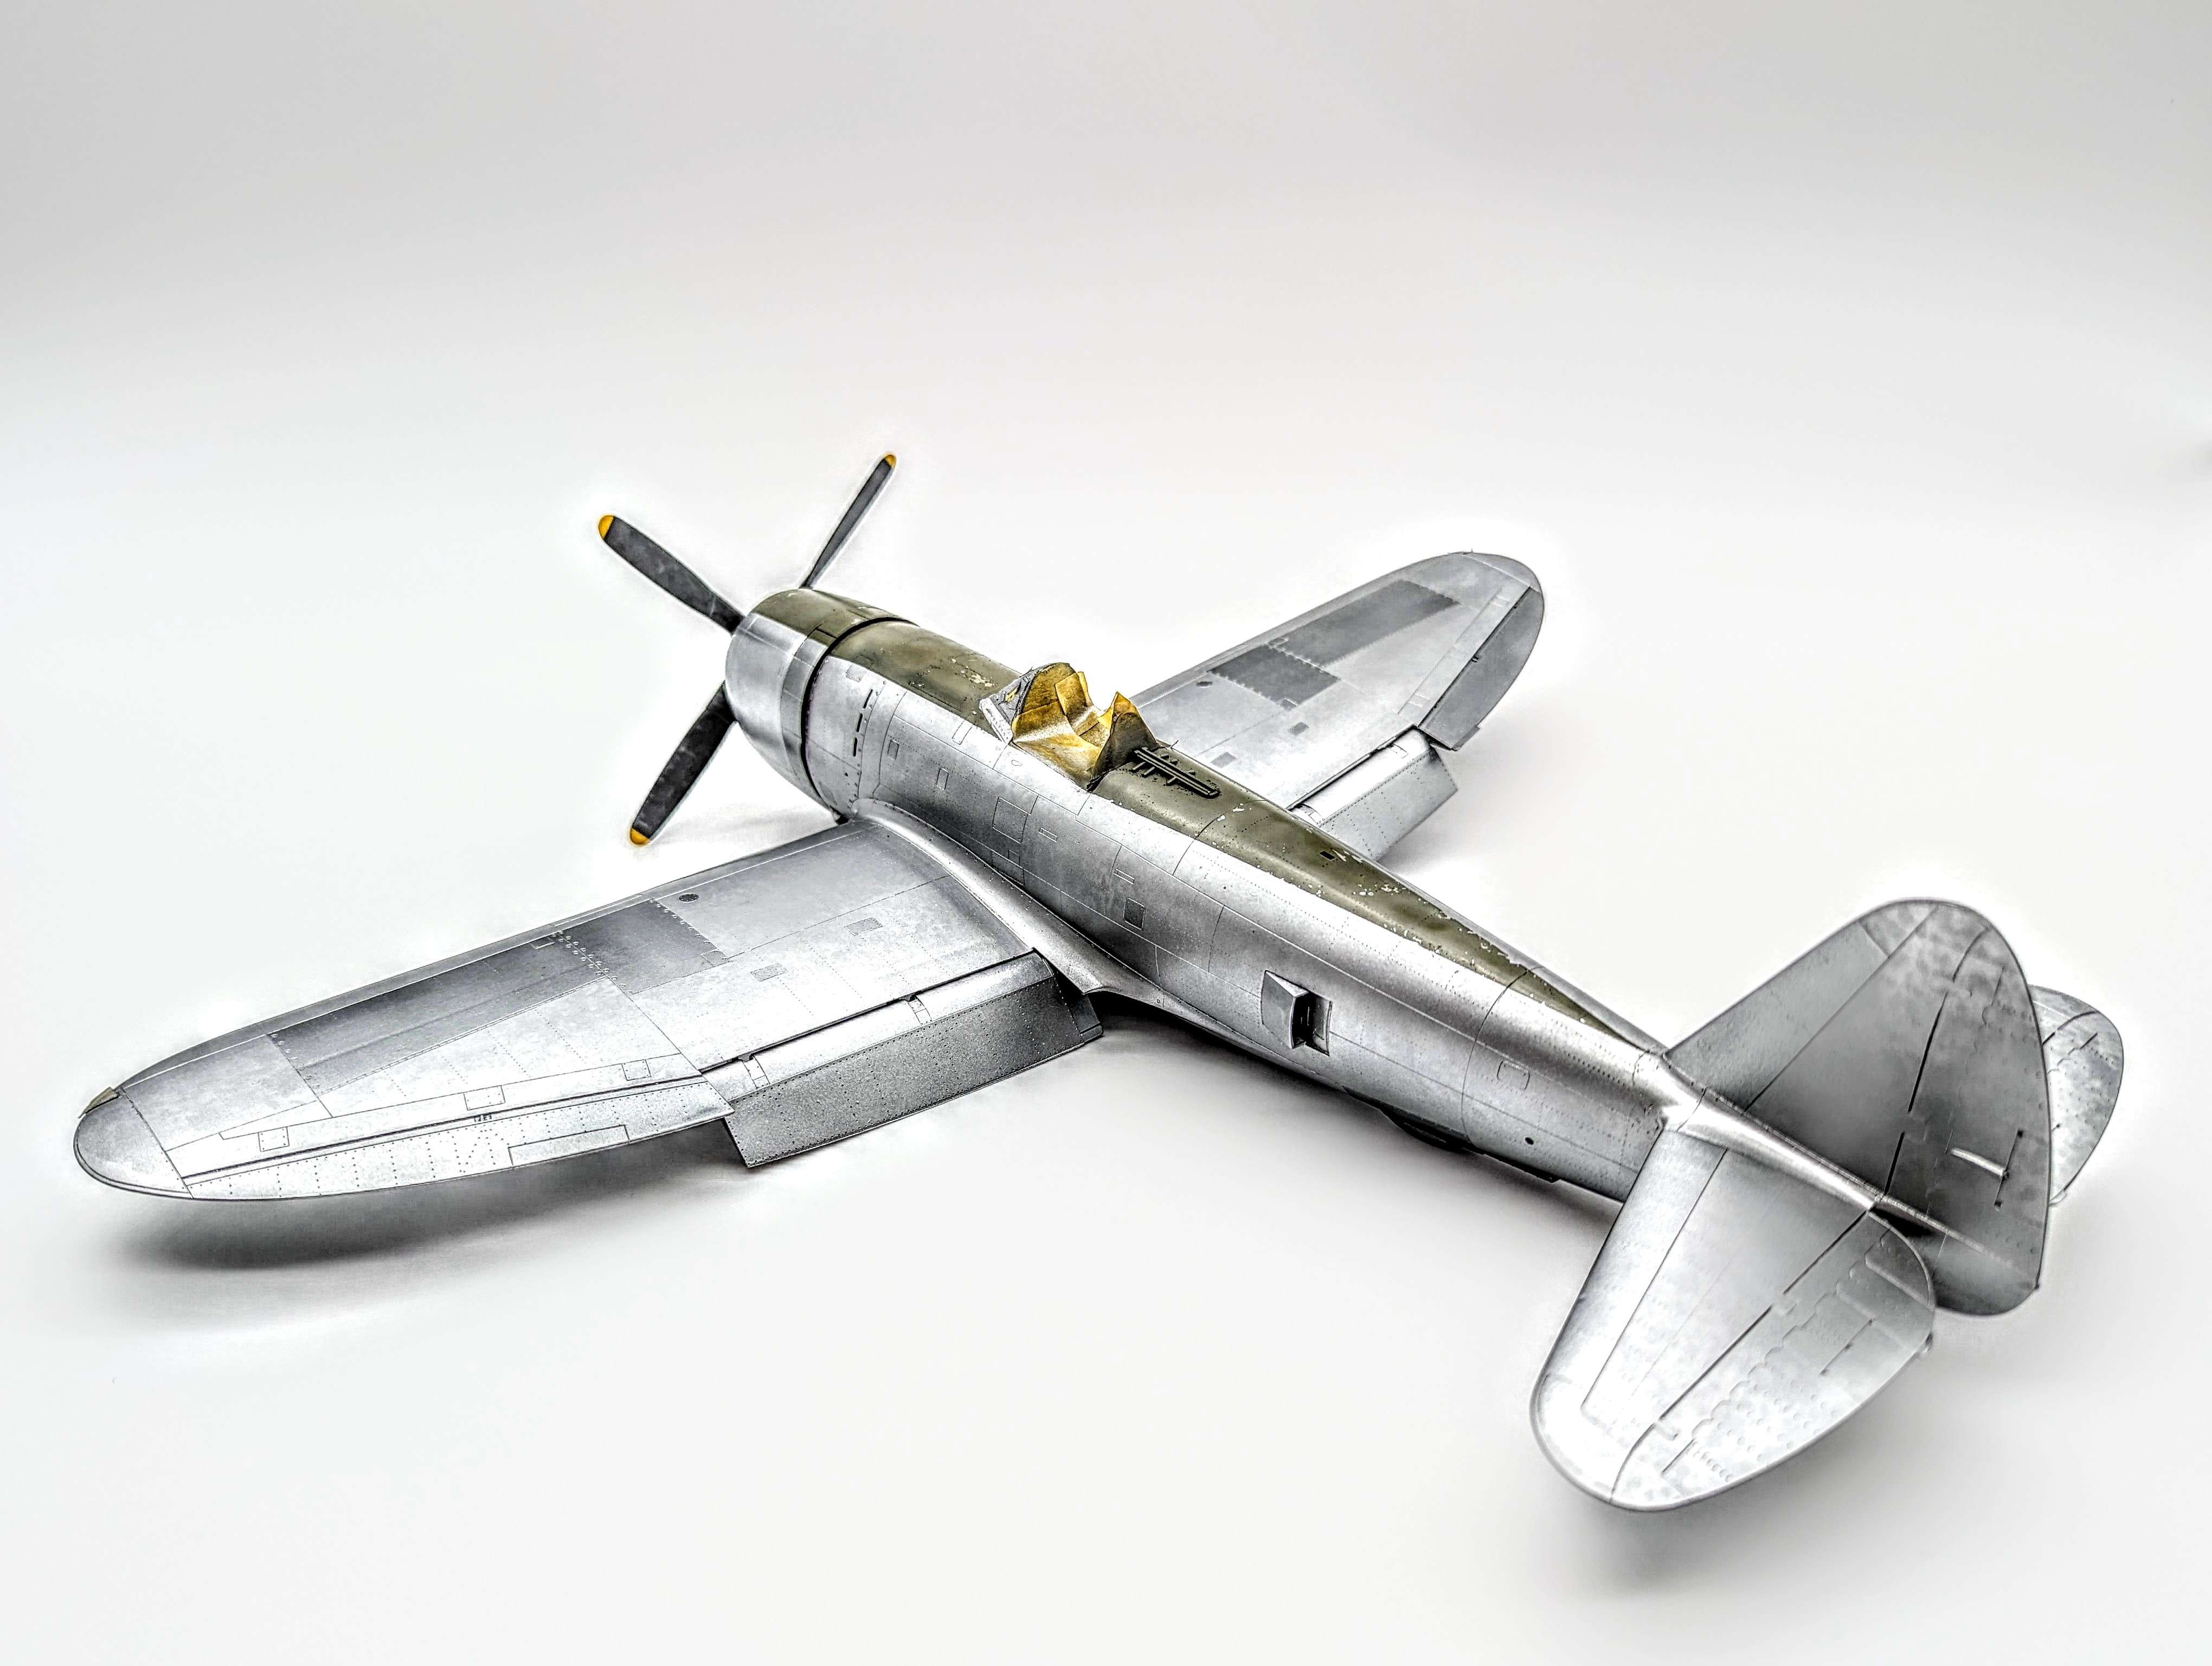
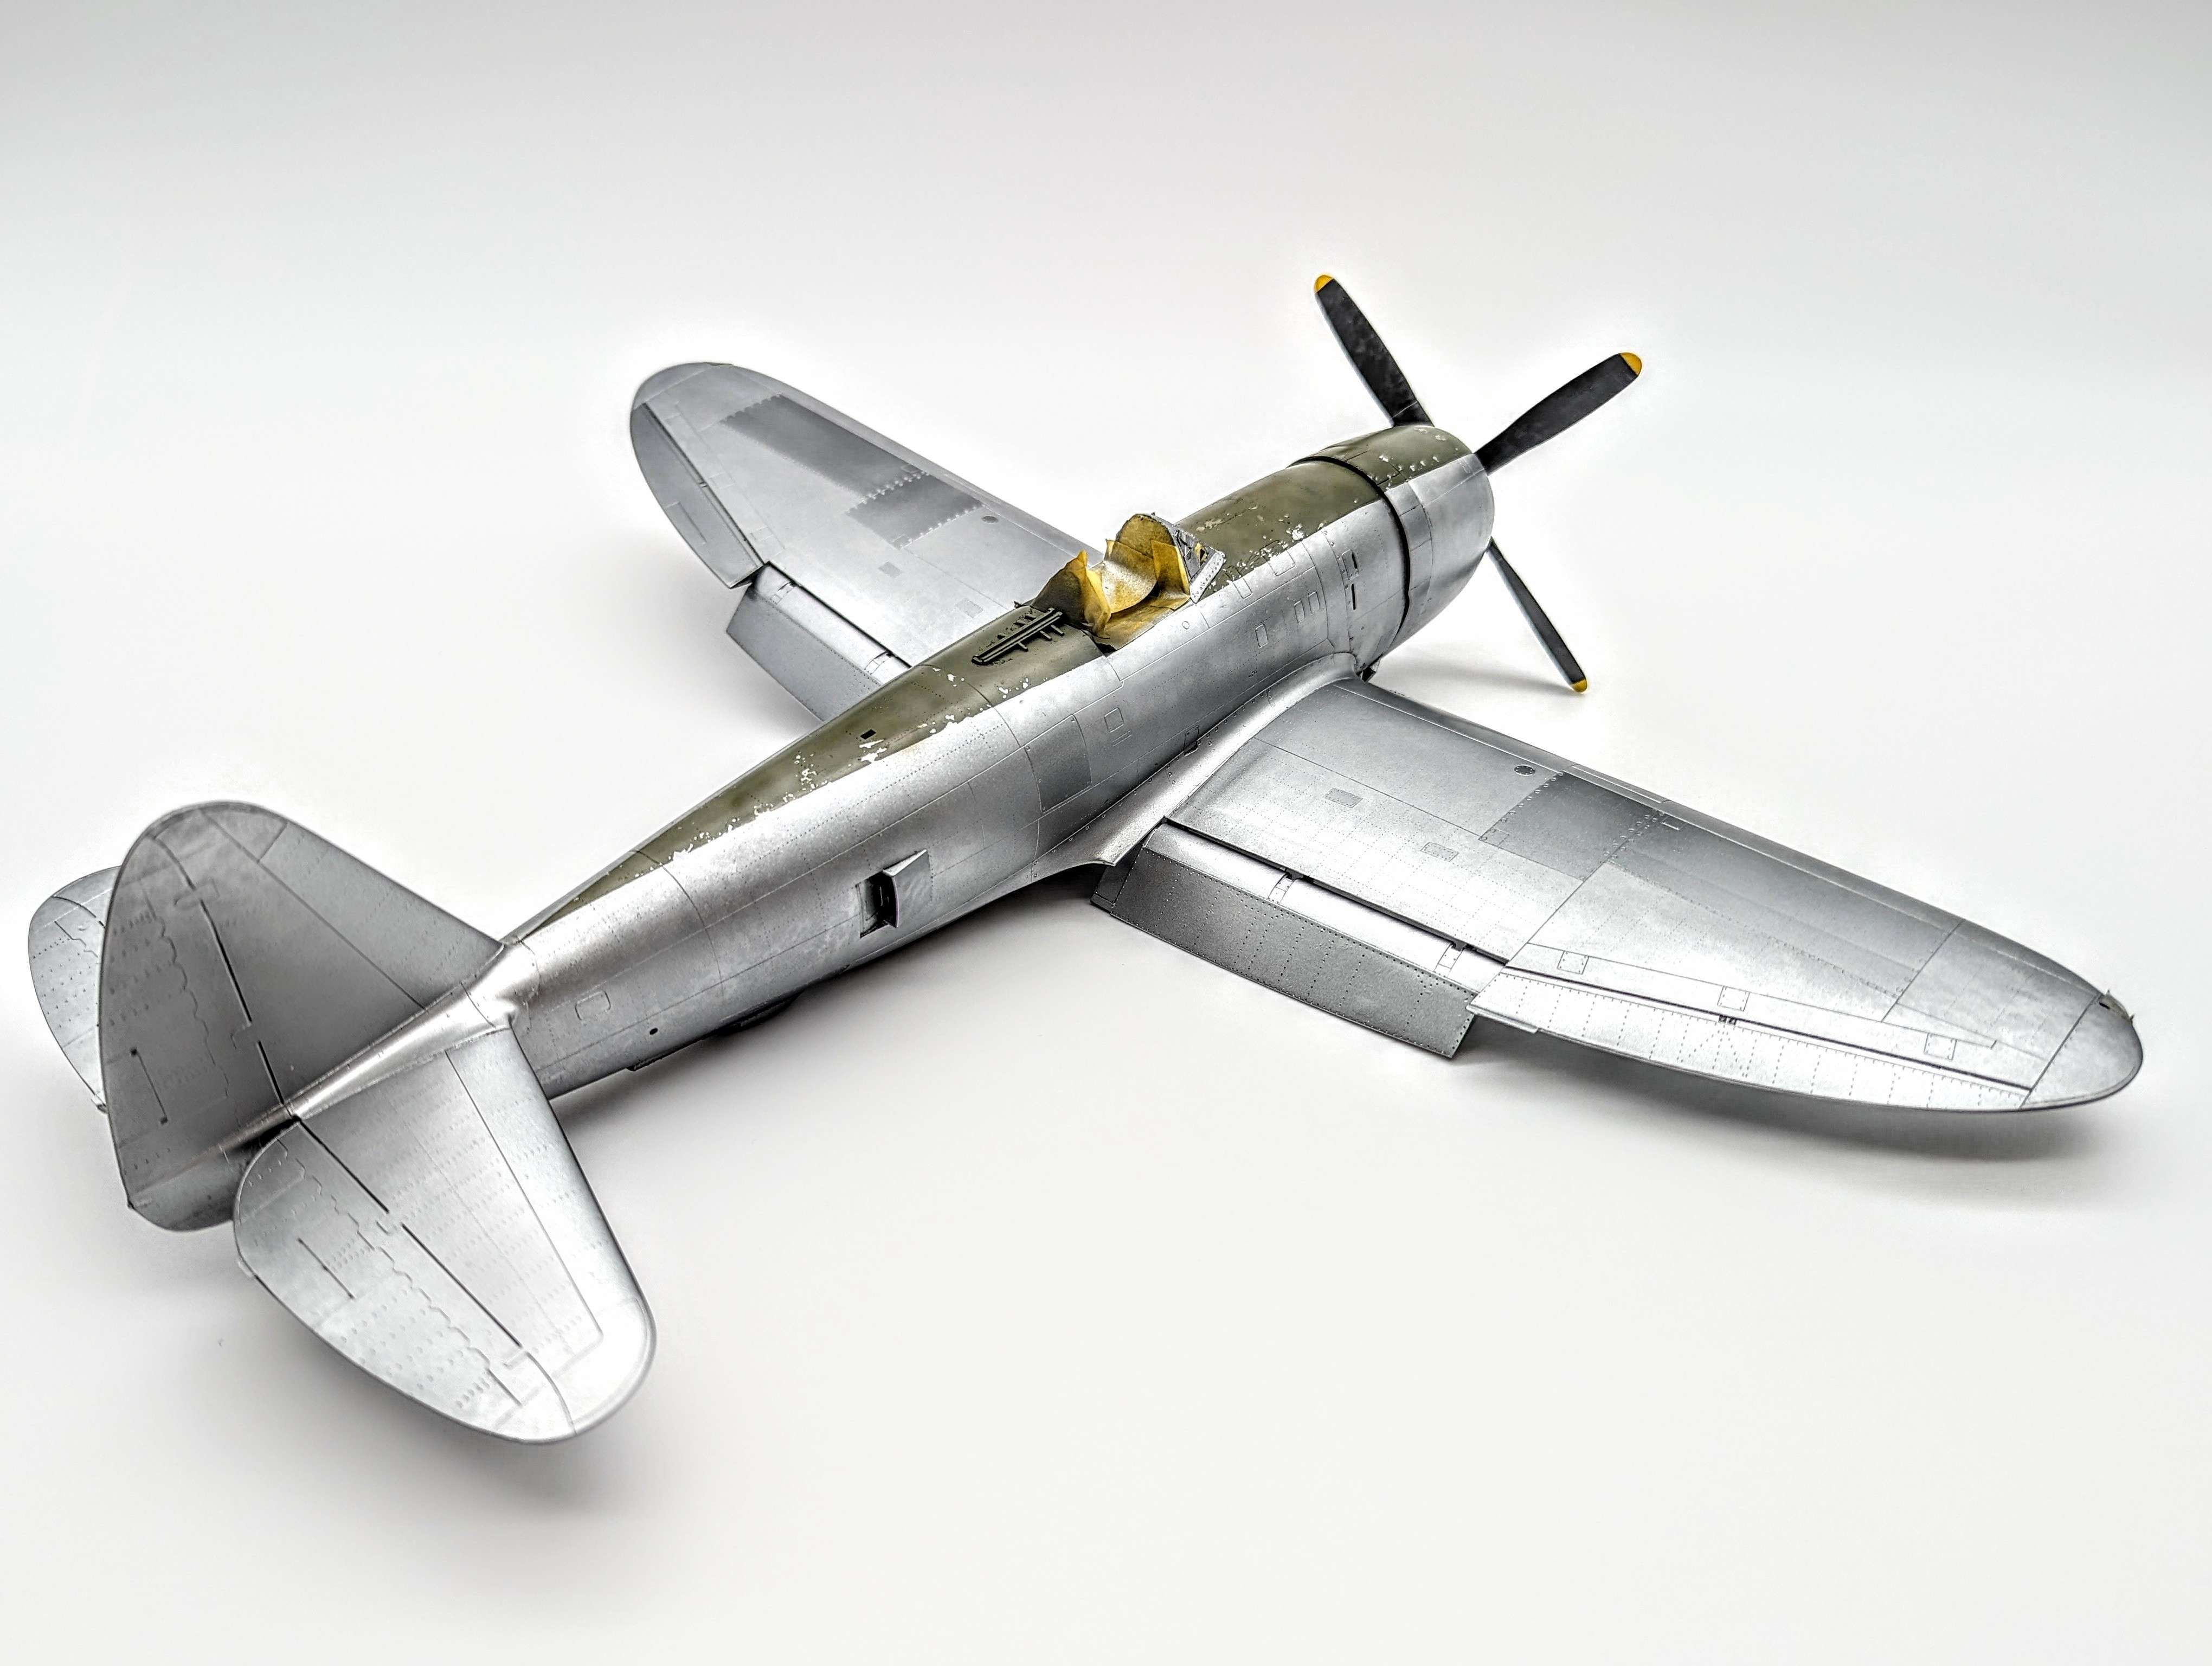
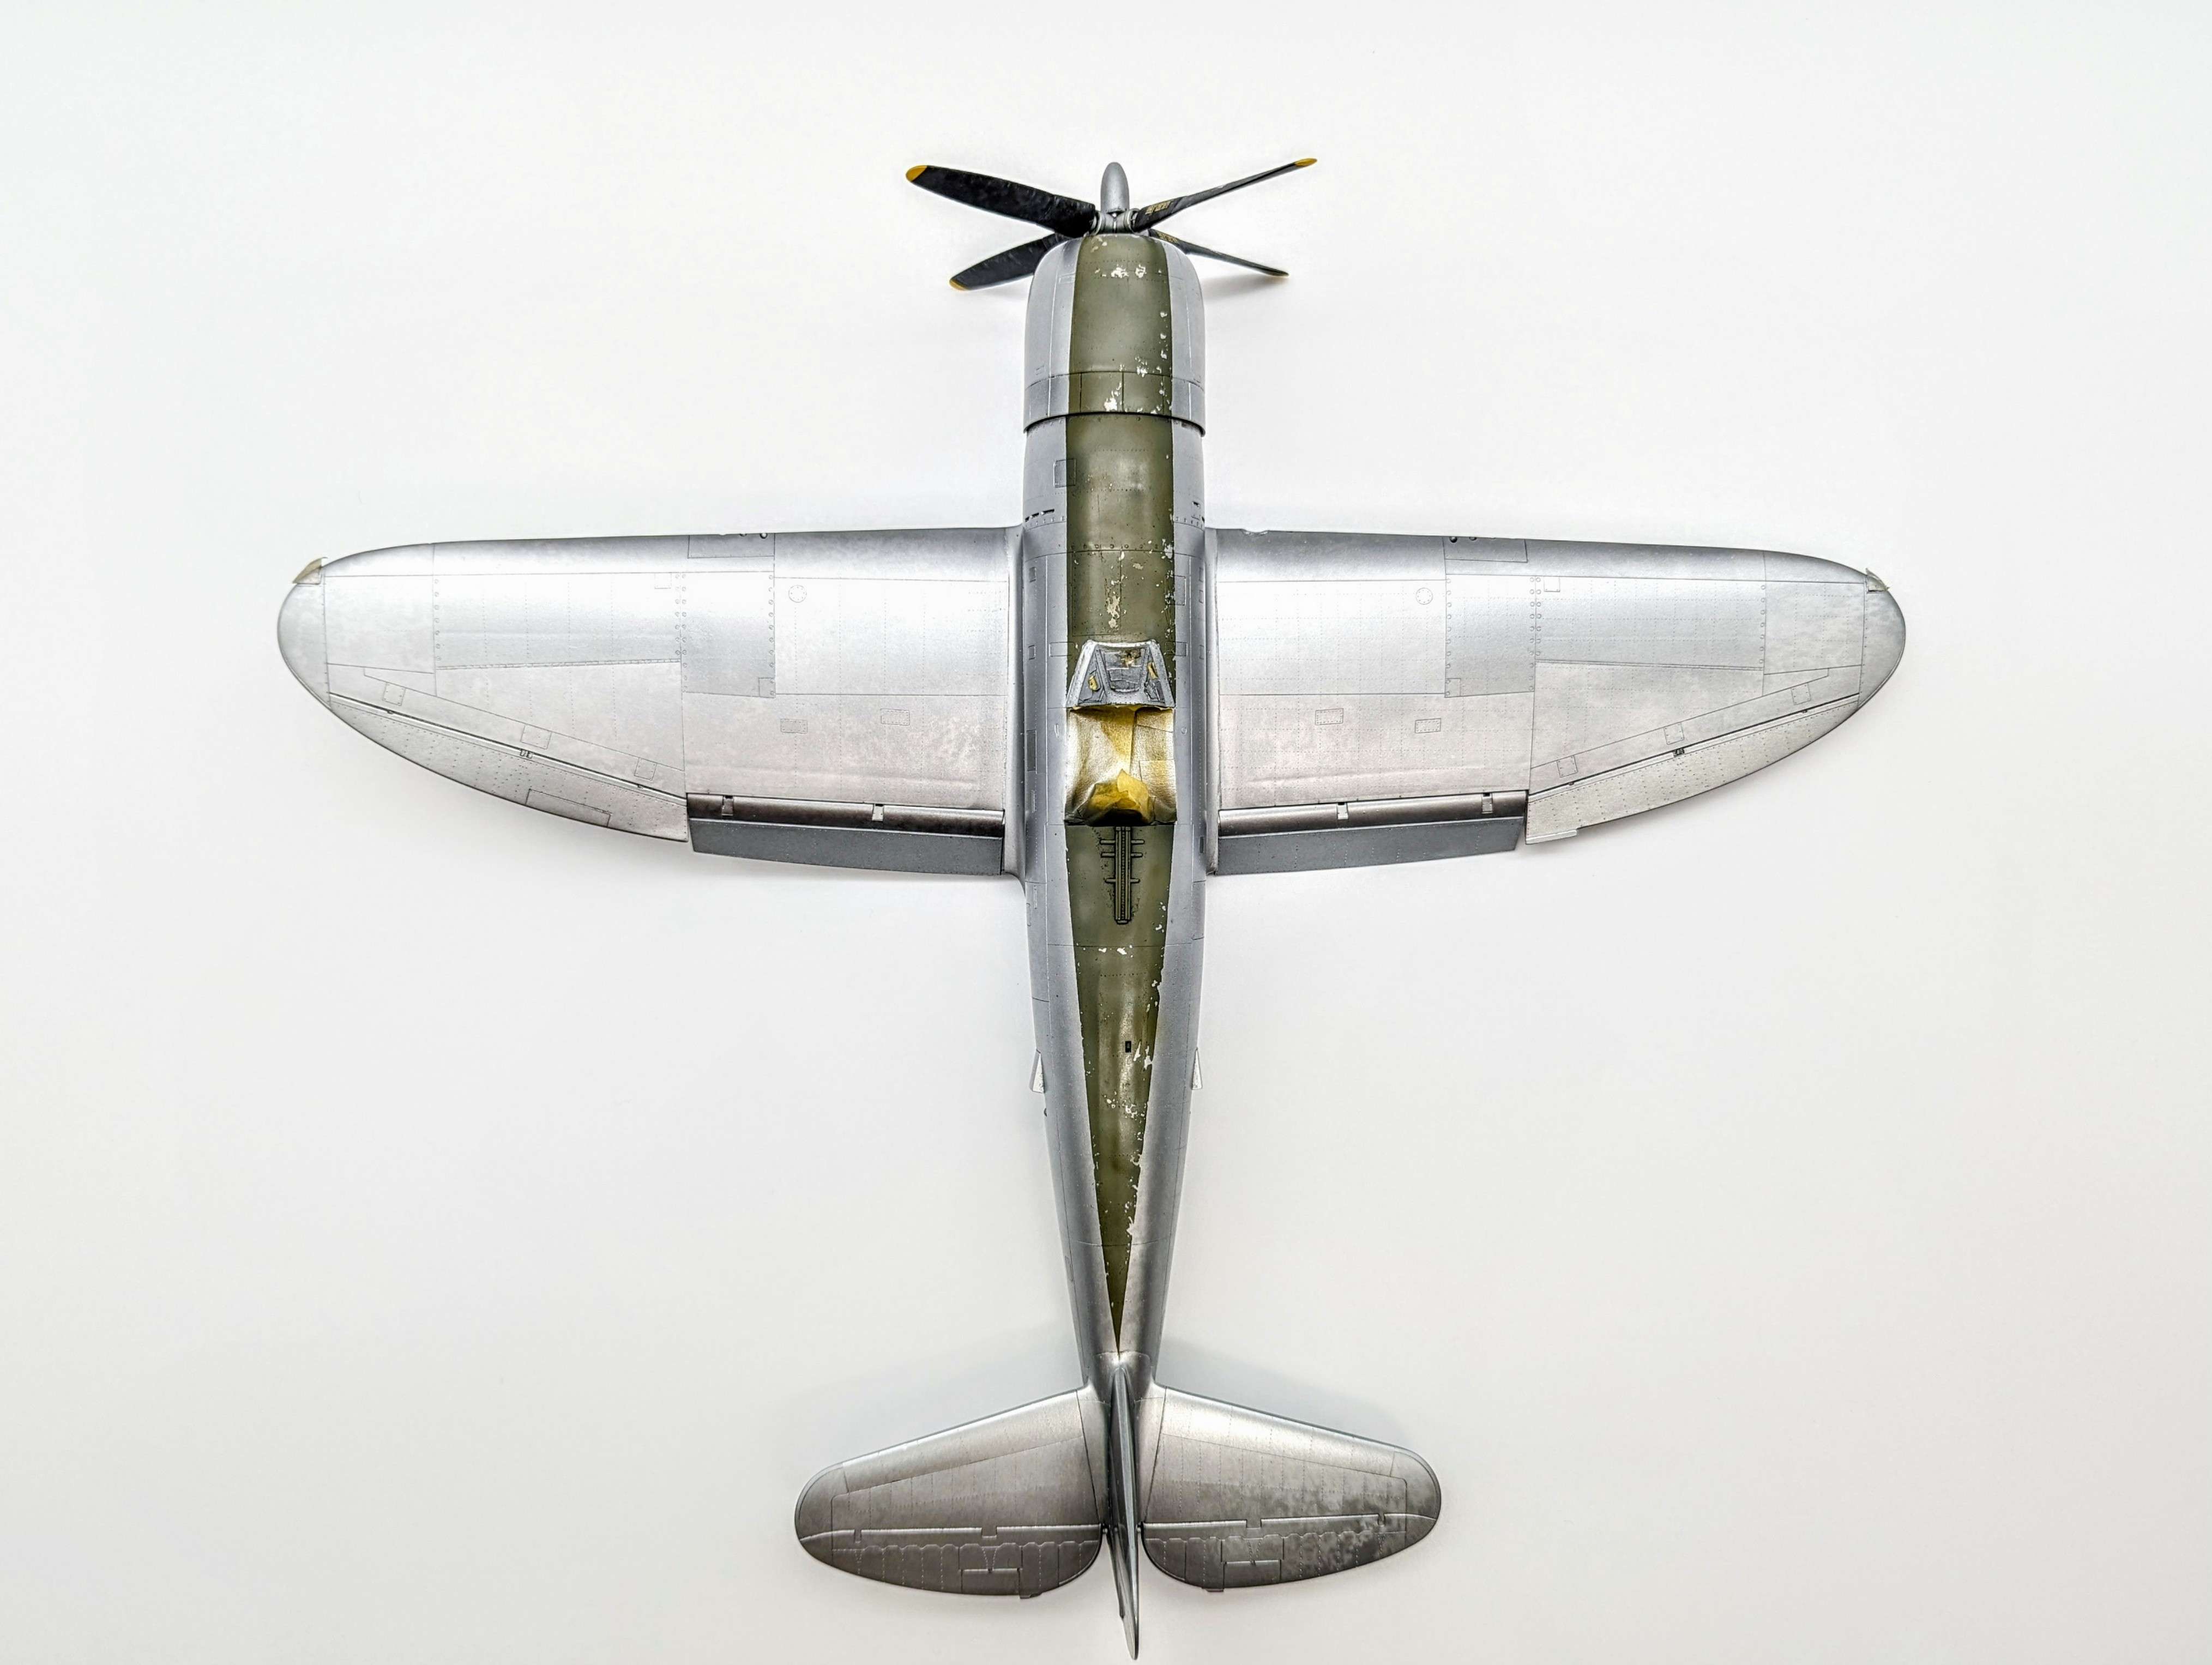
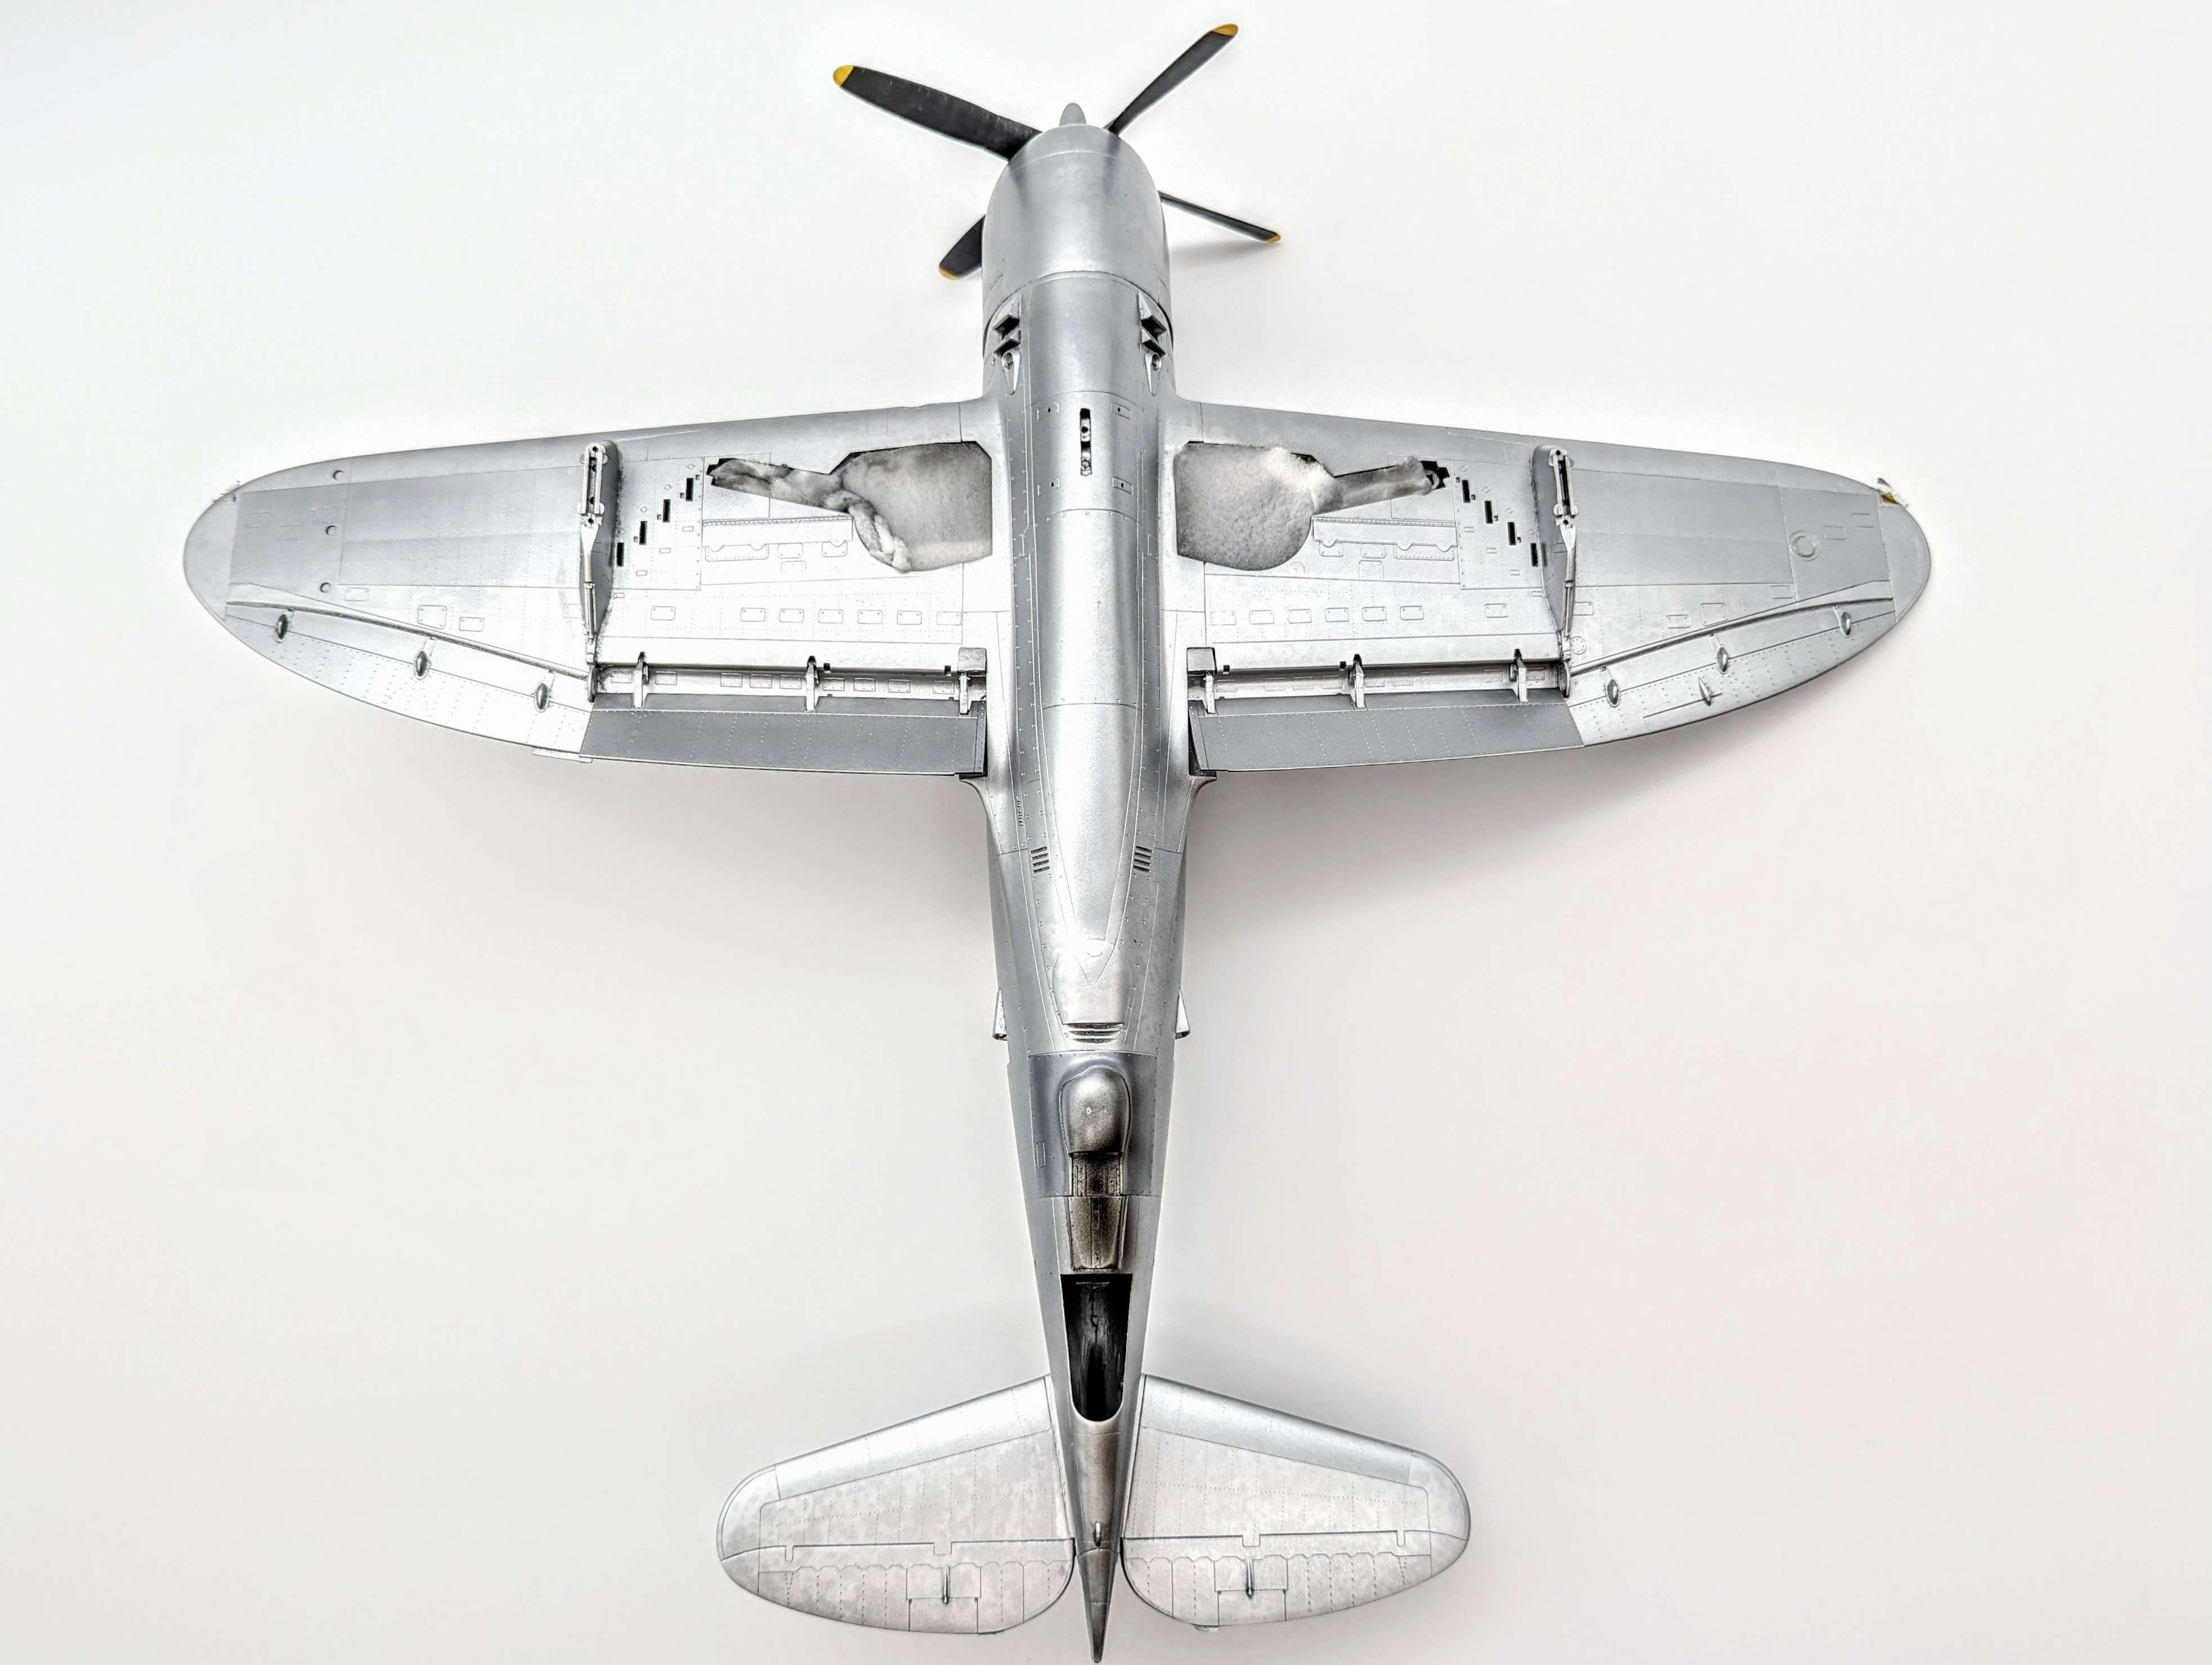
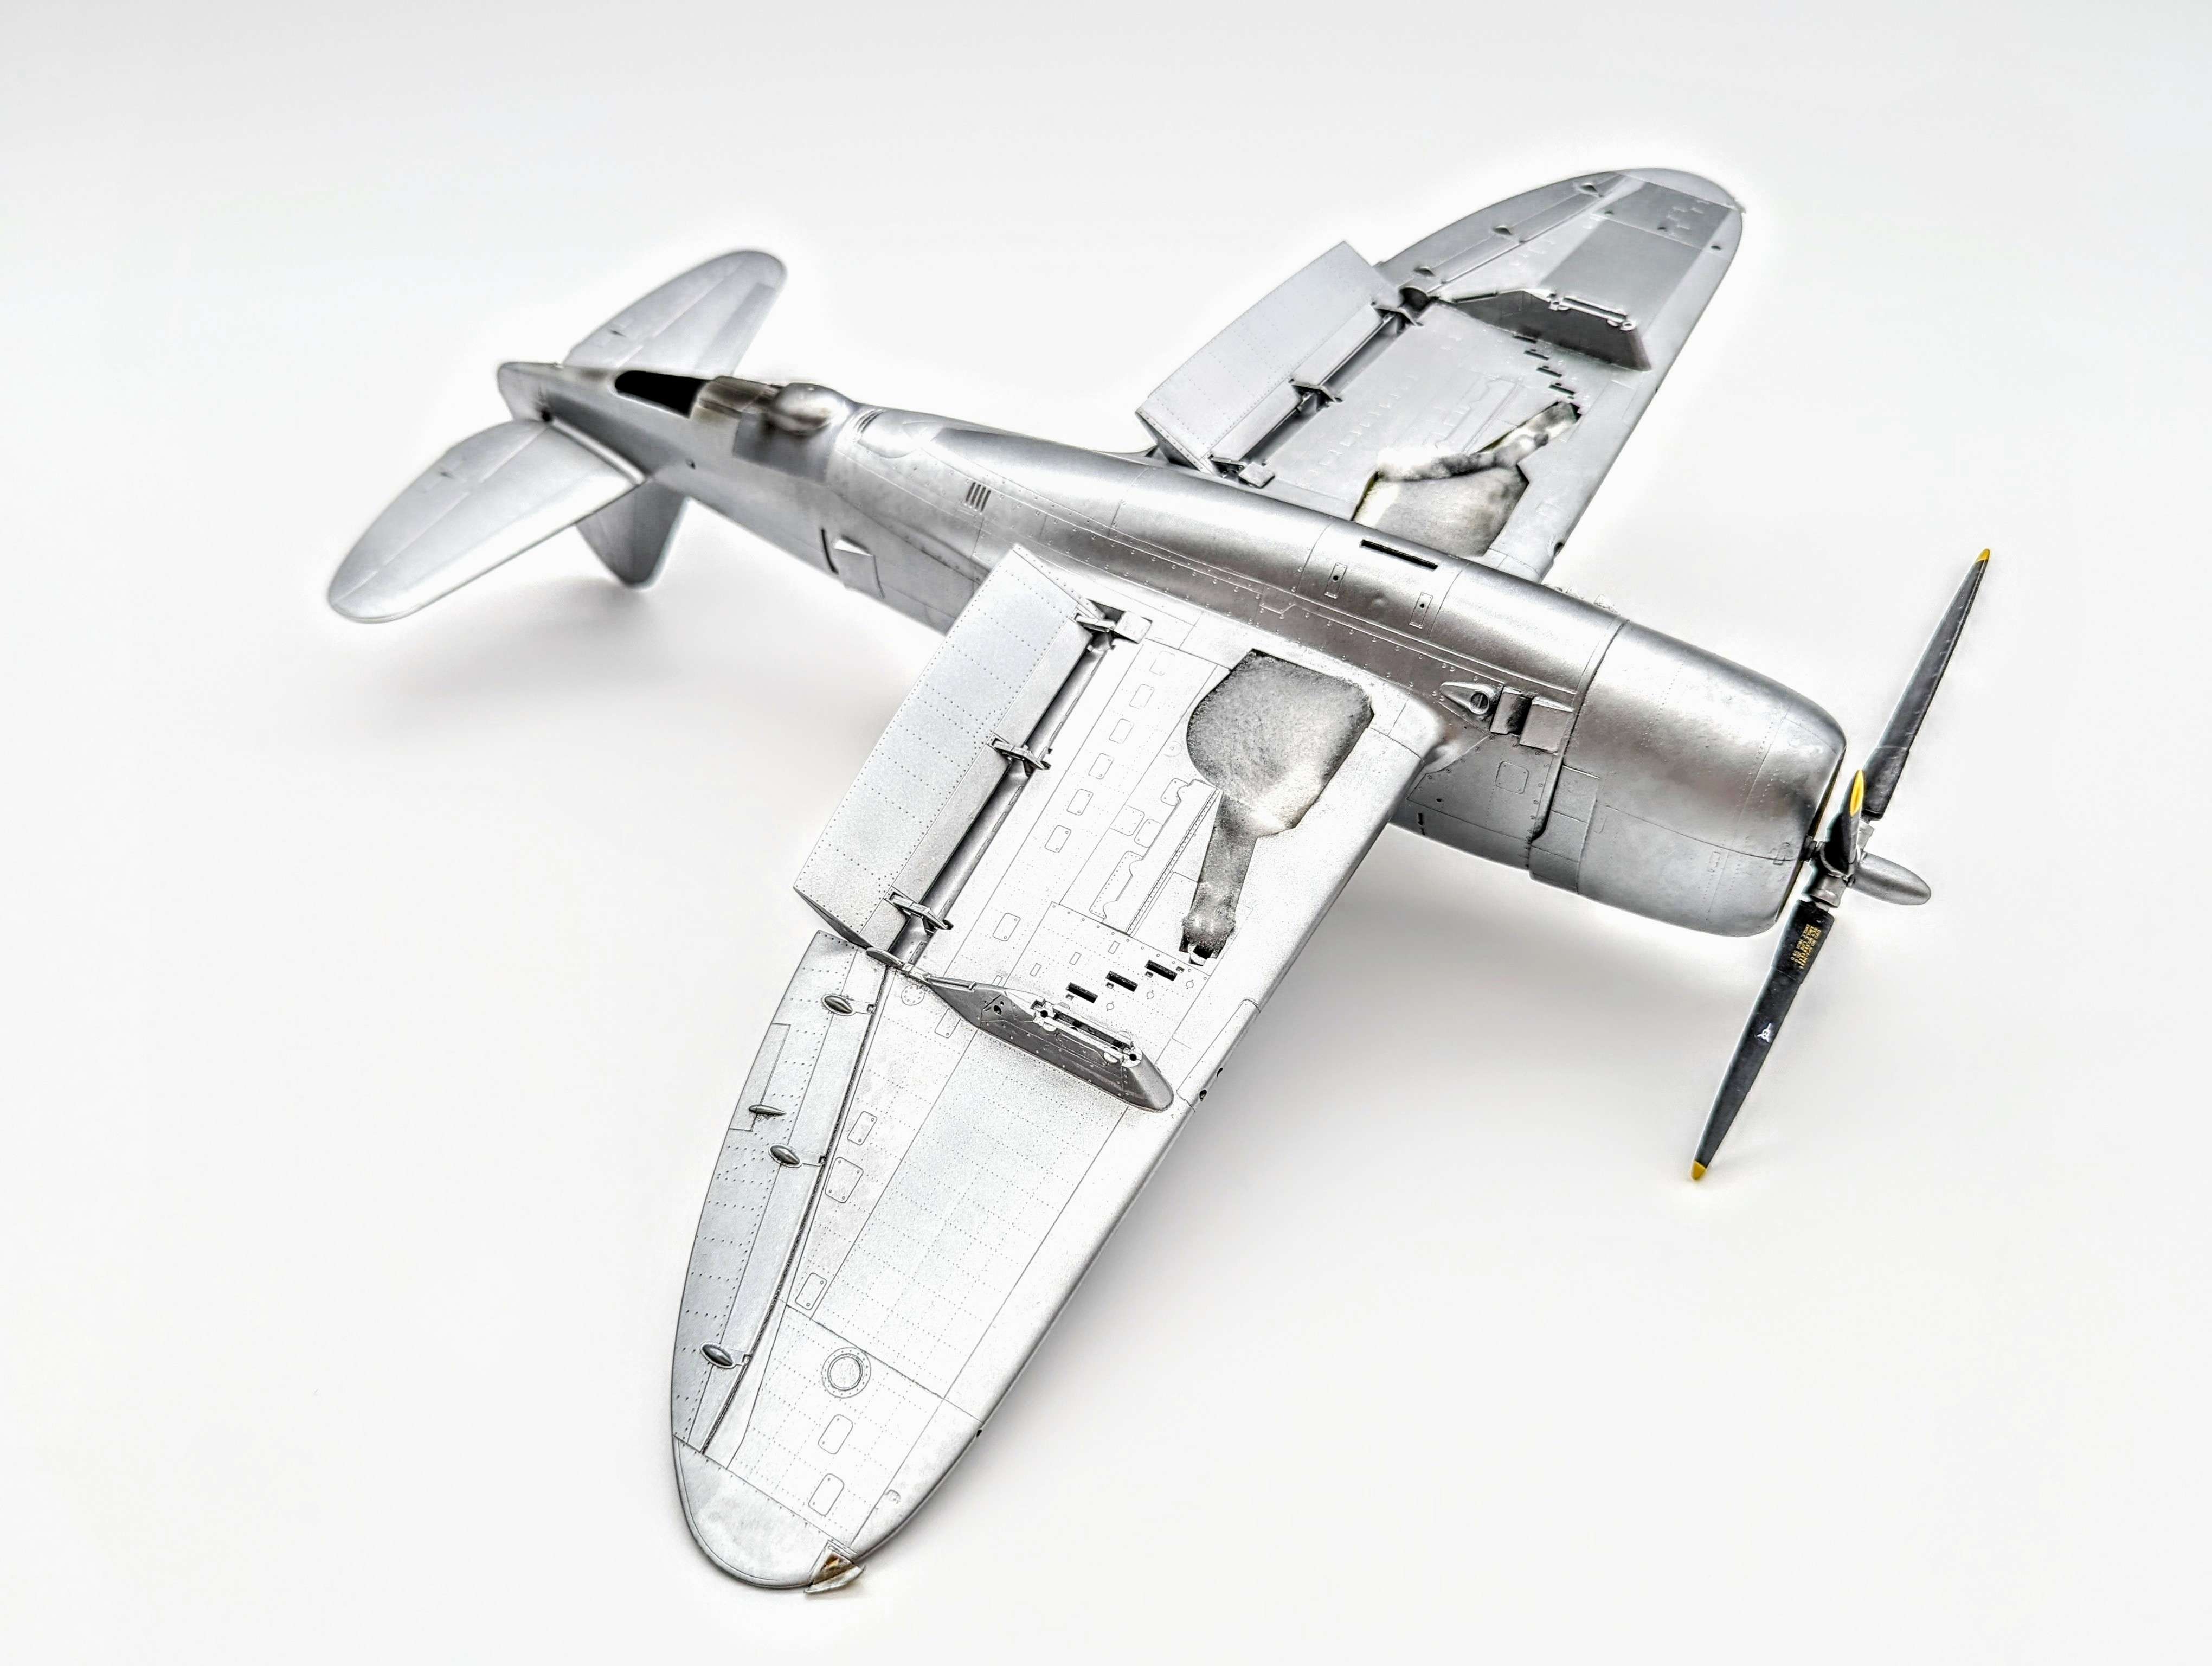
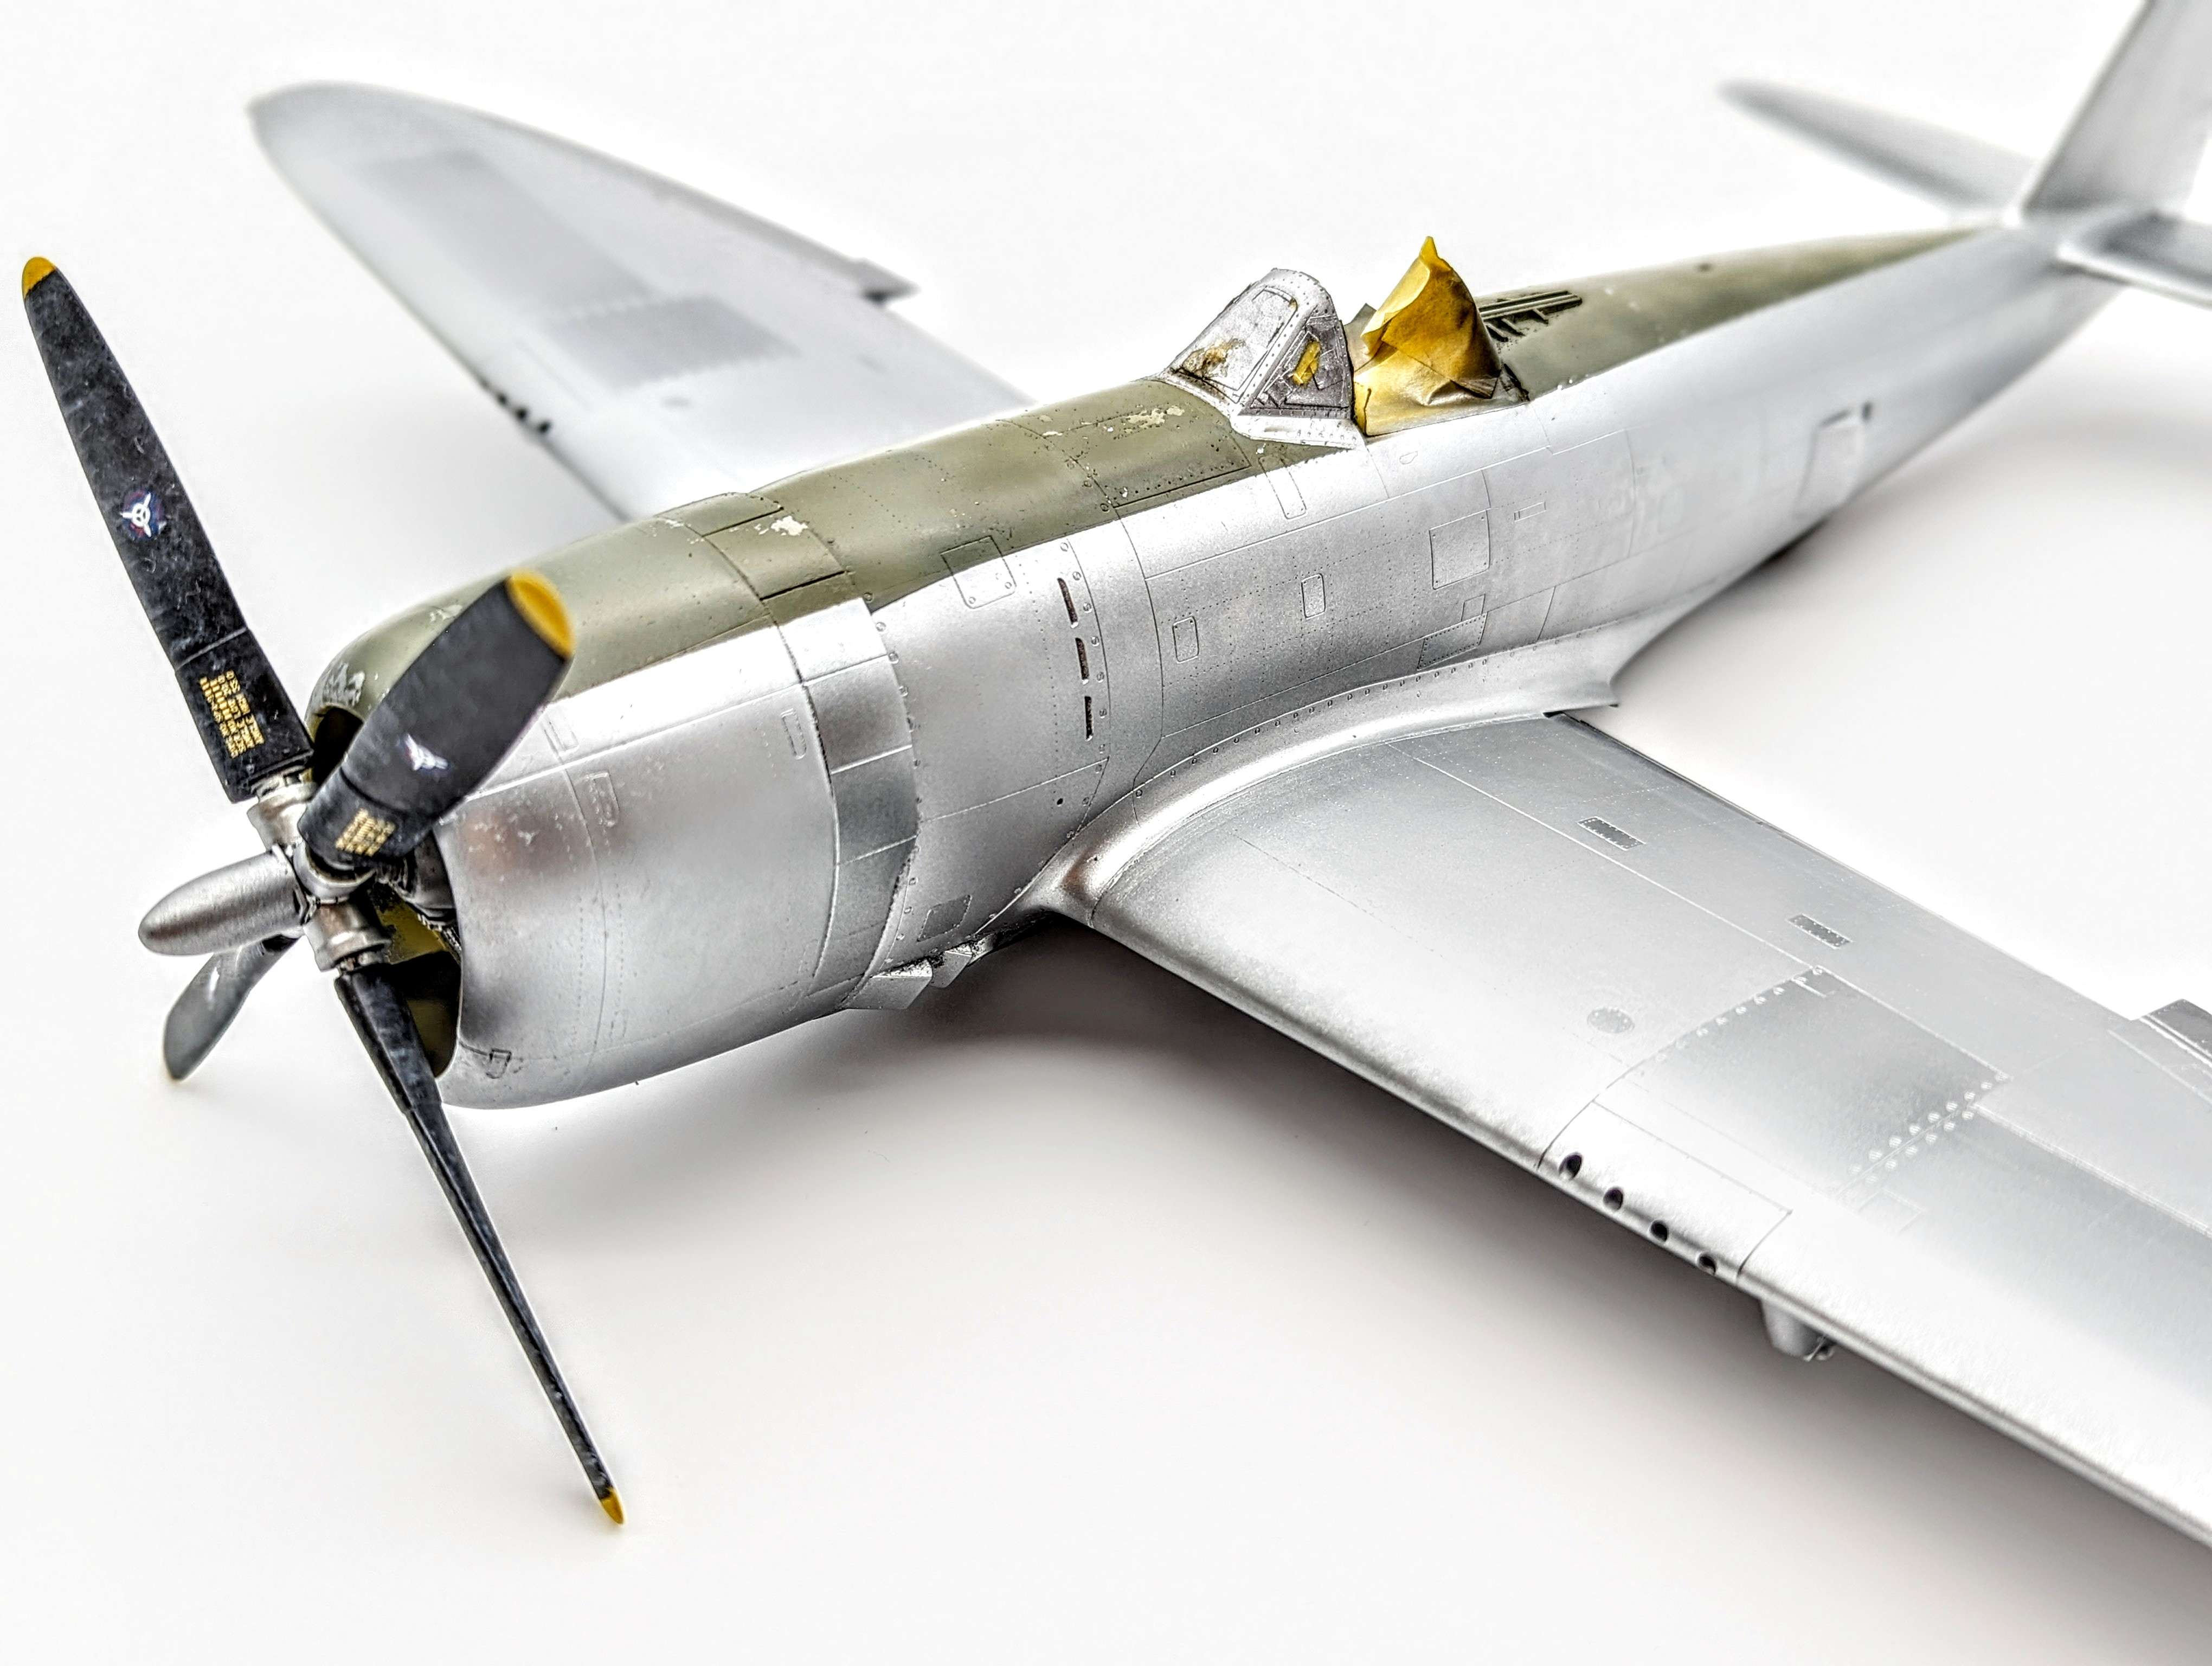
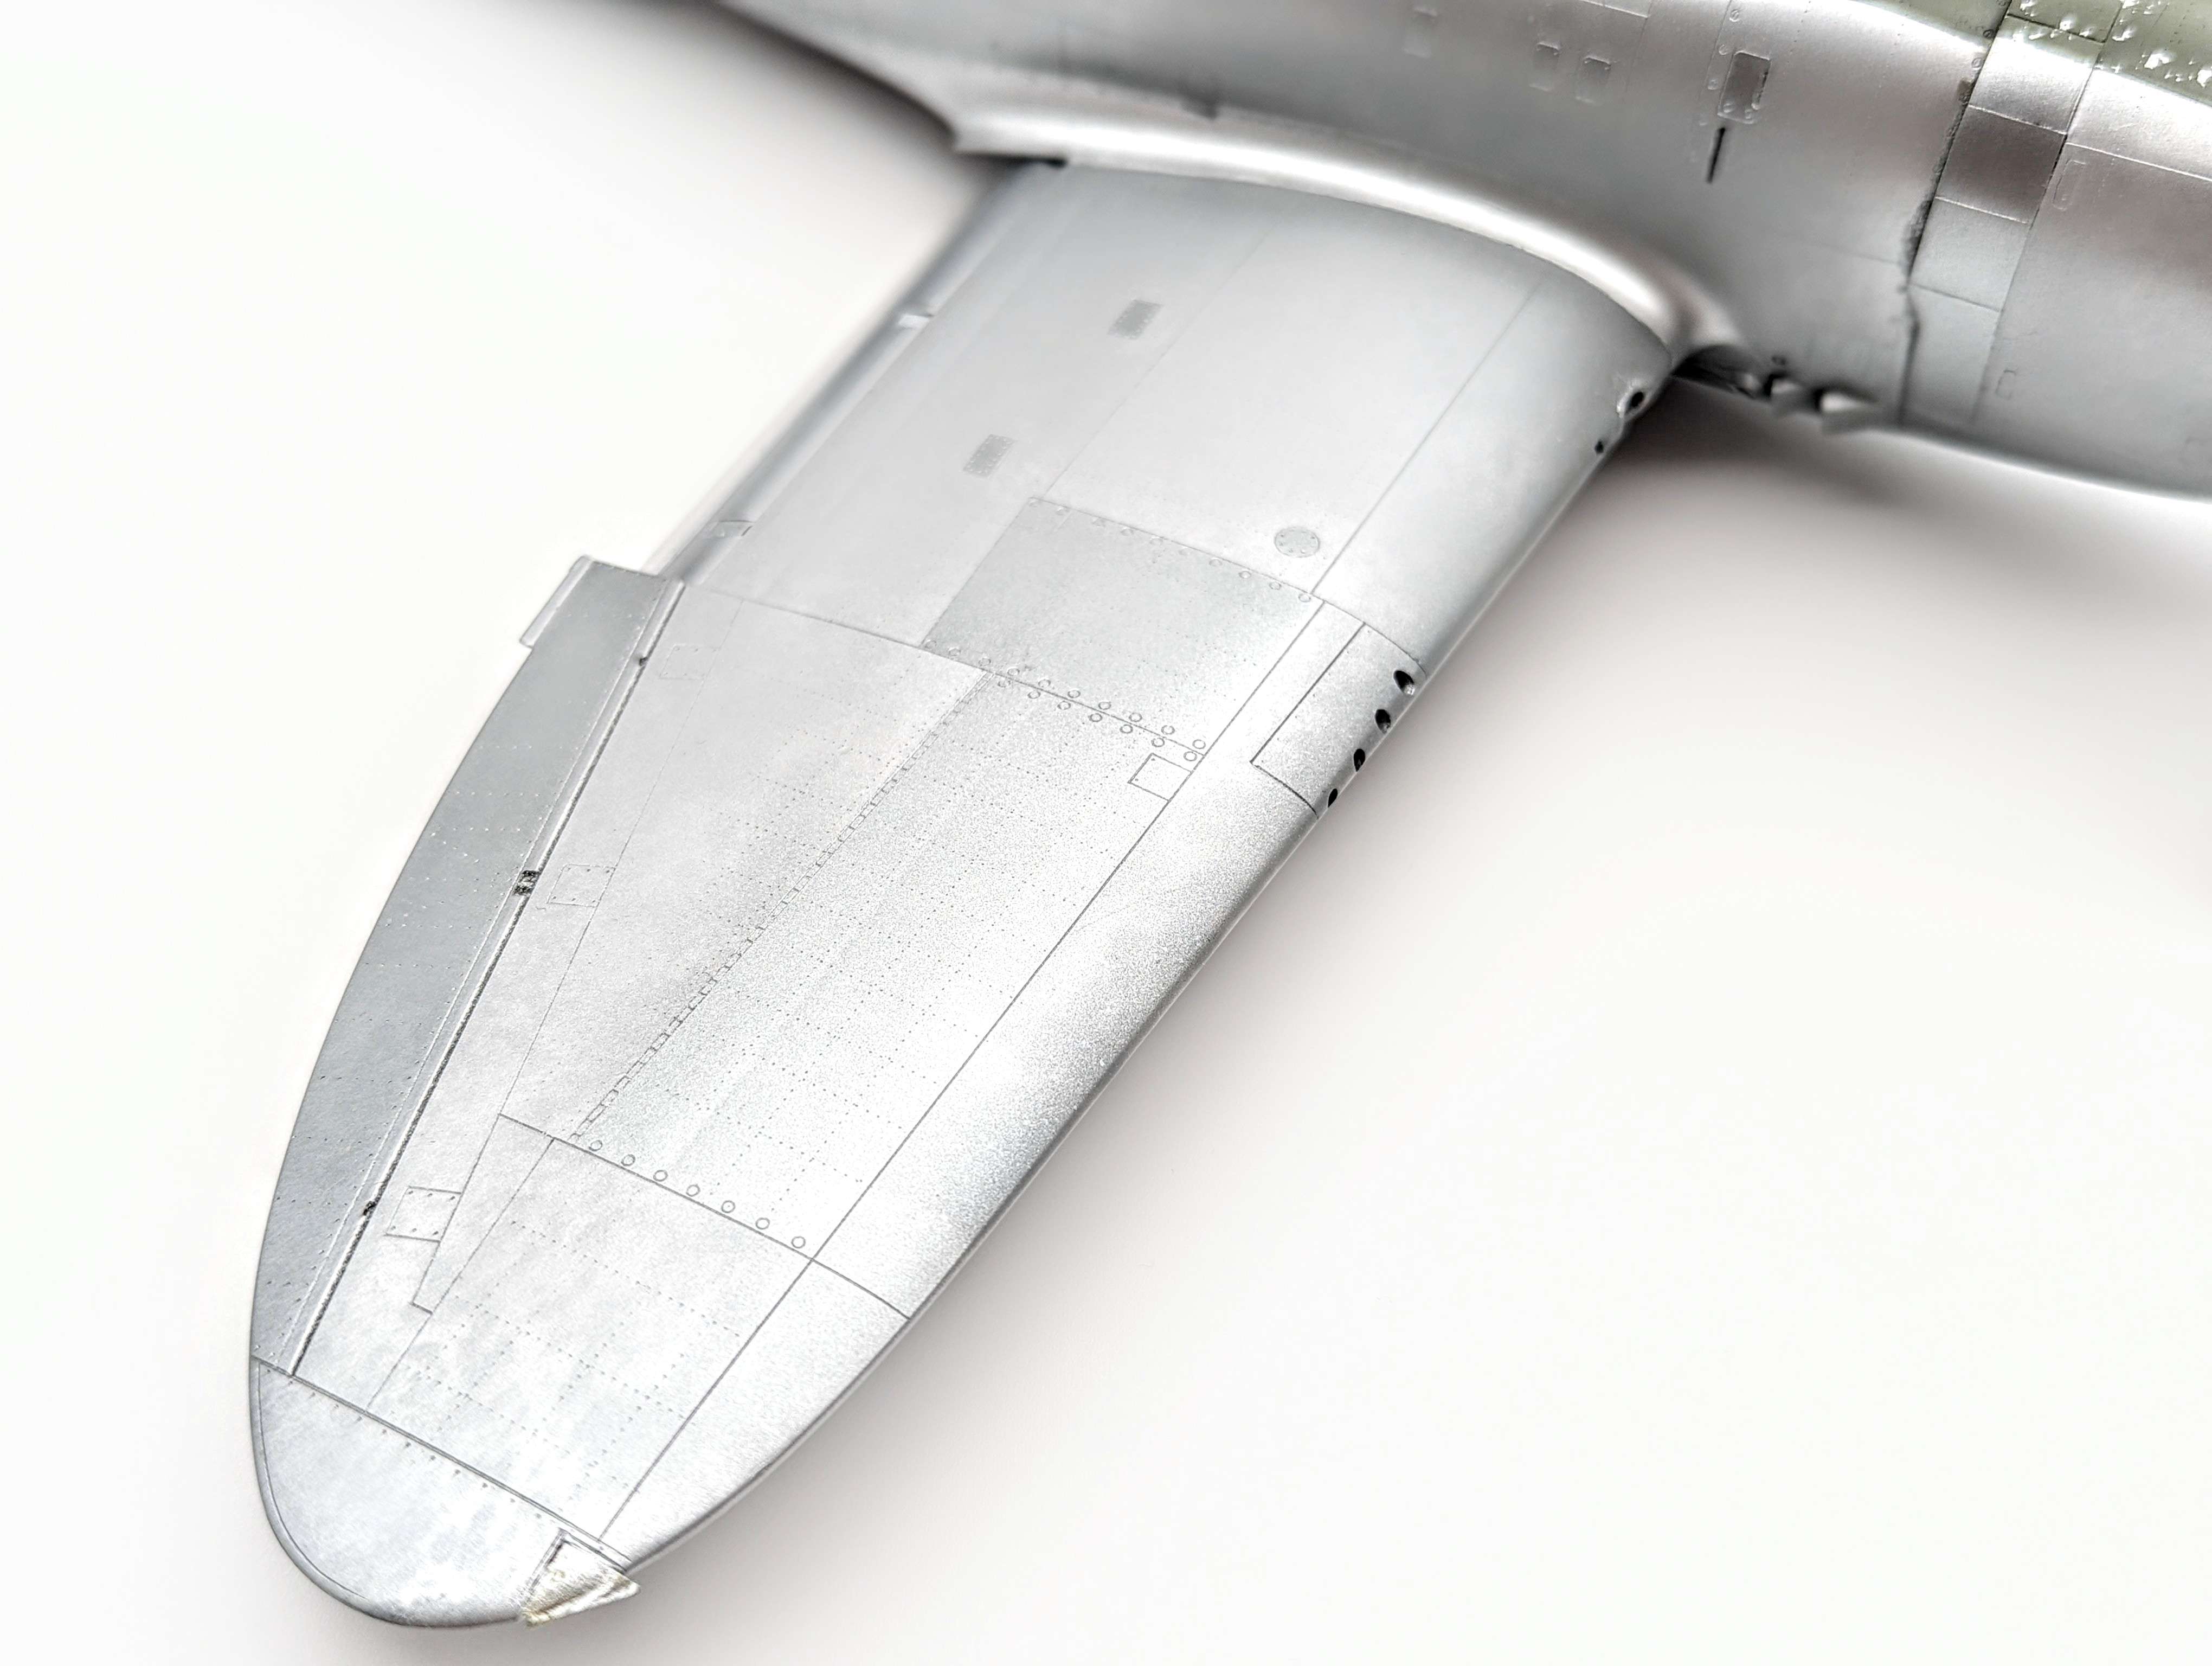
Hello everyone!
Here with another update on the Thunderbolt project.
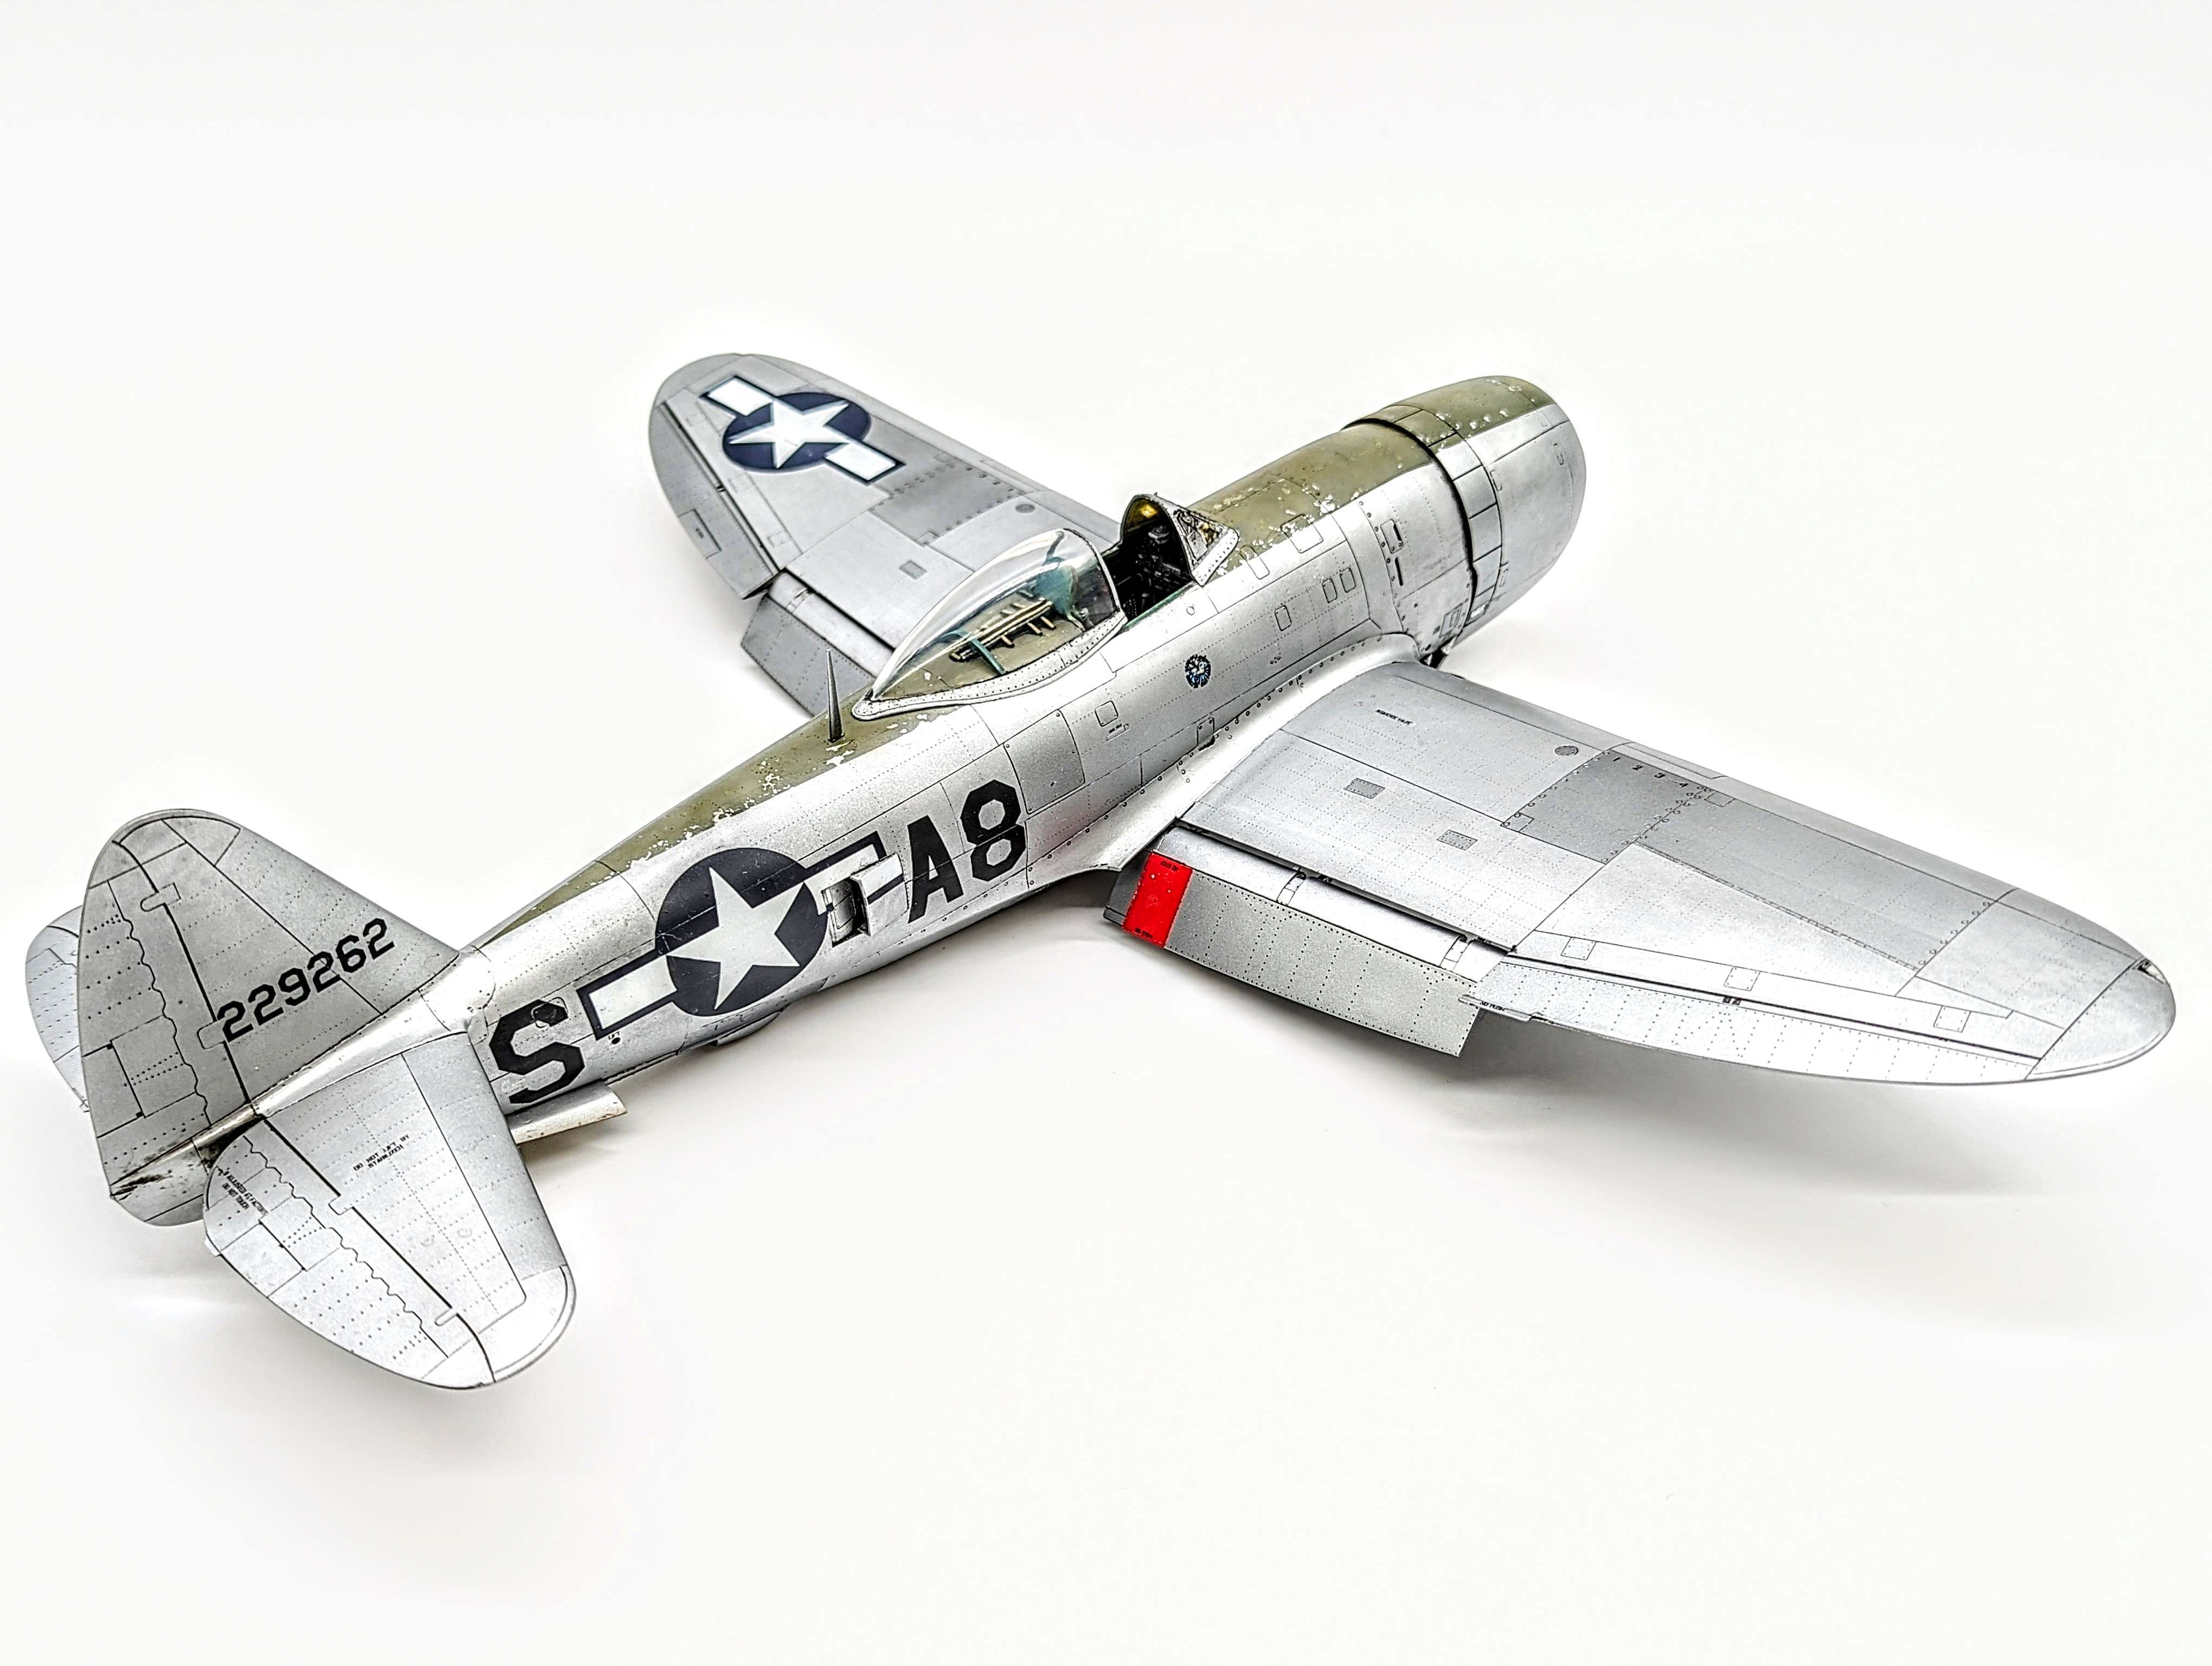
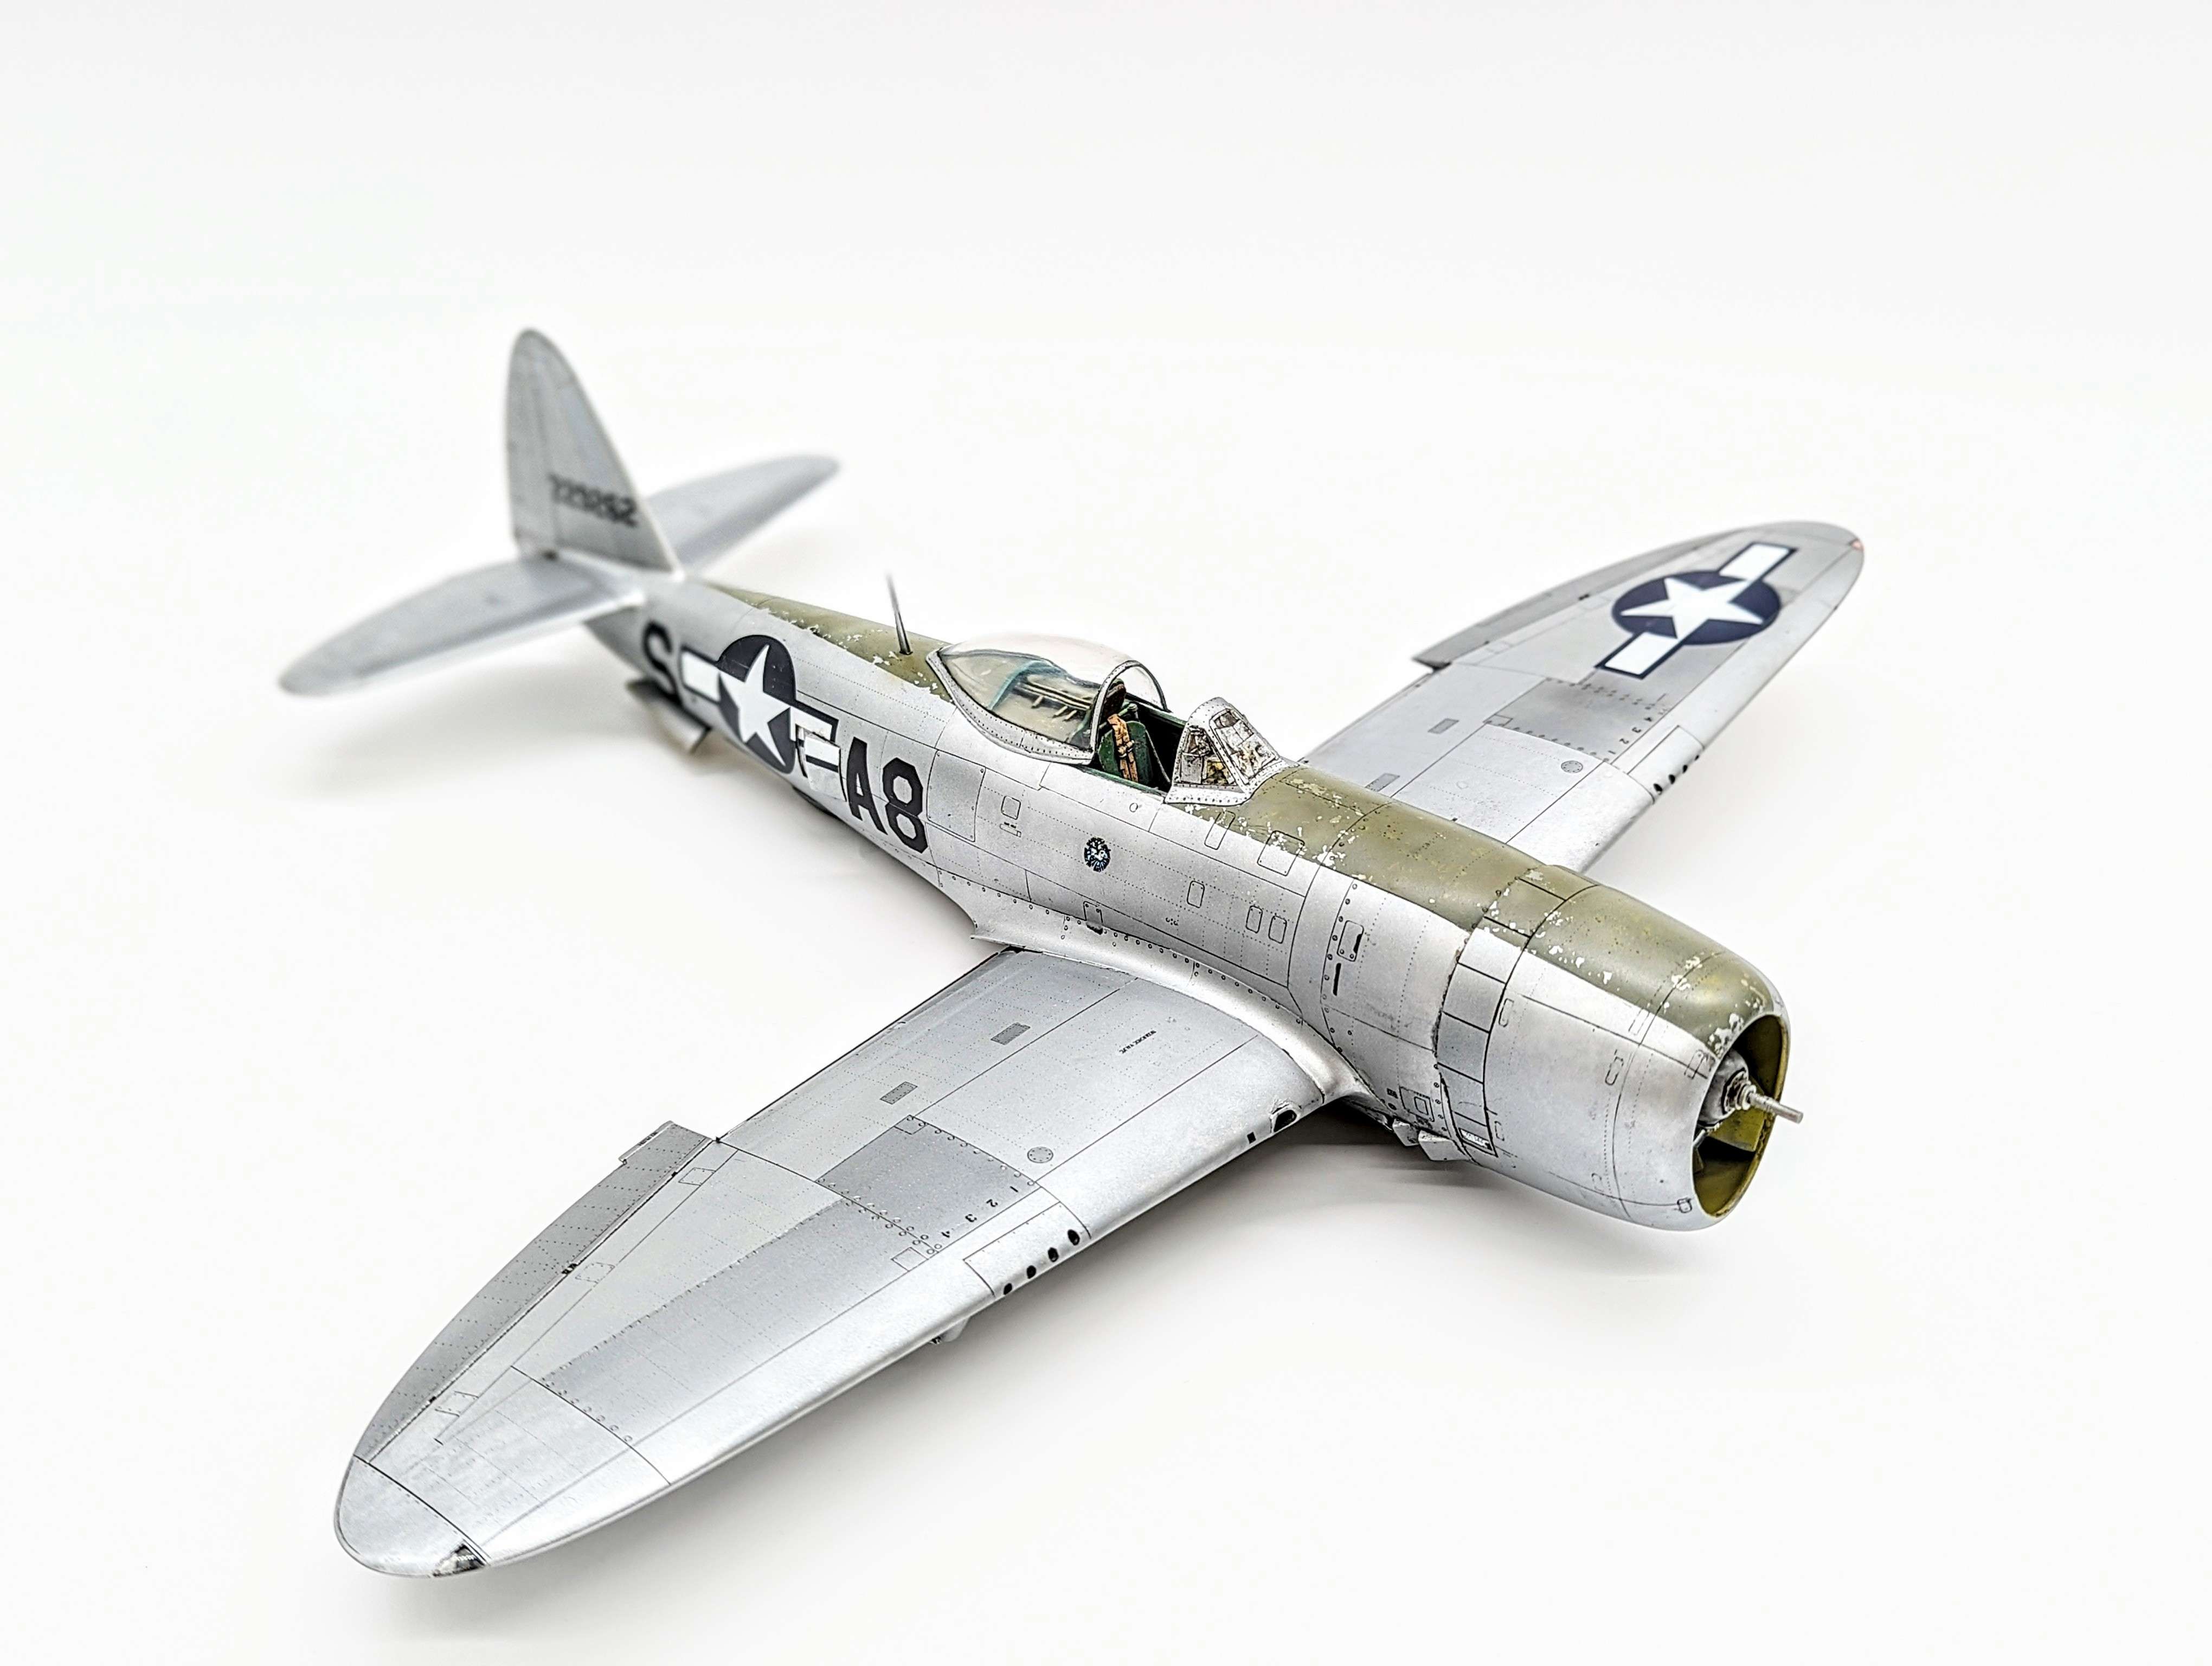
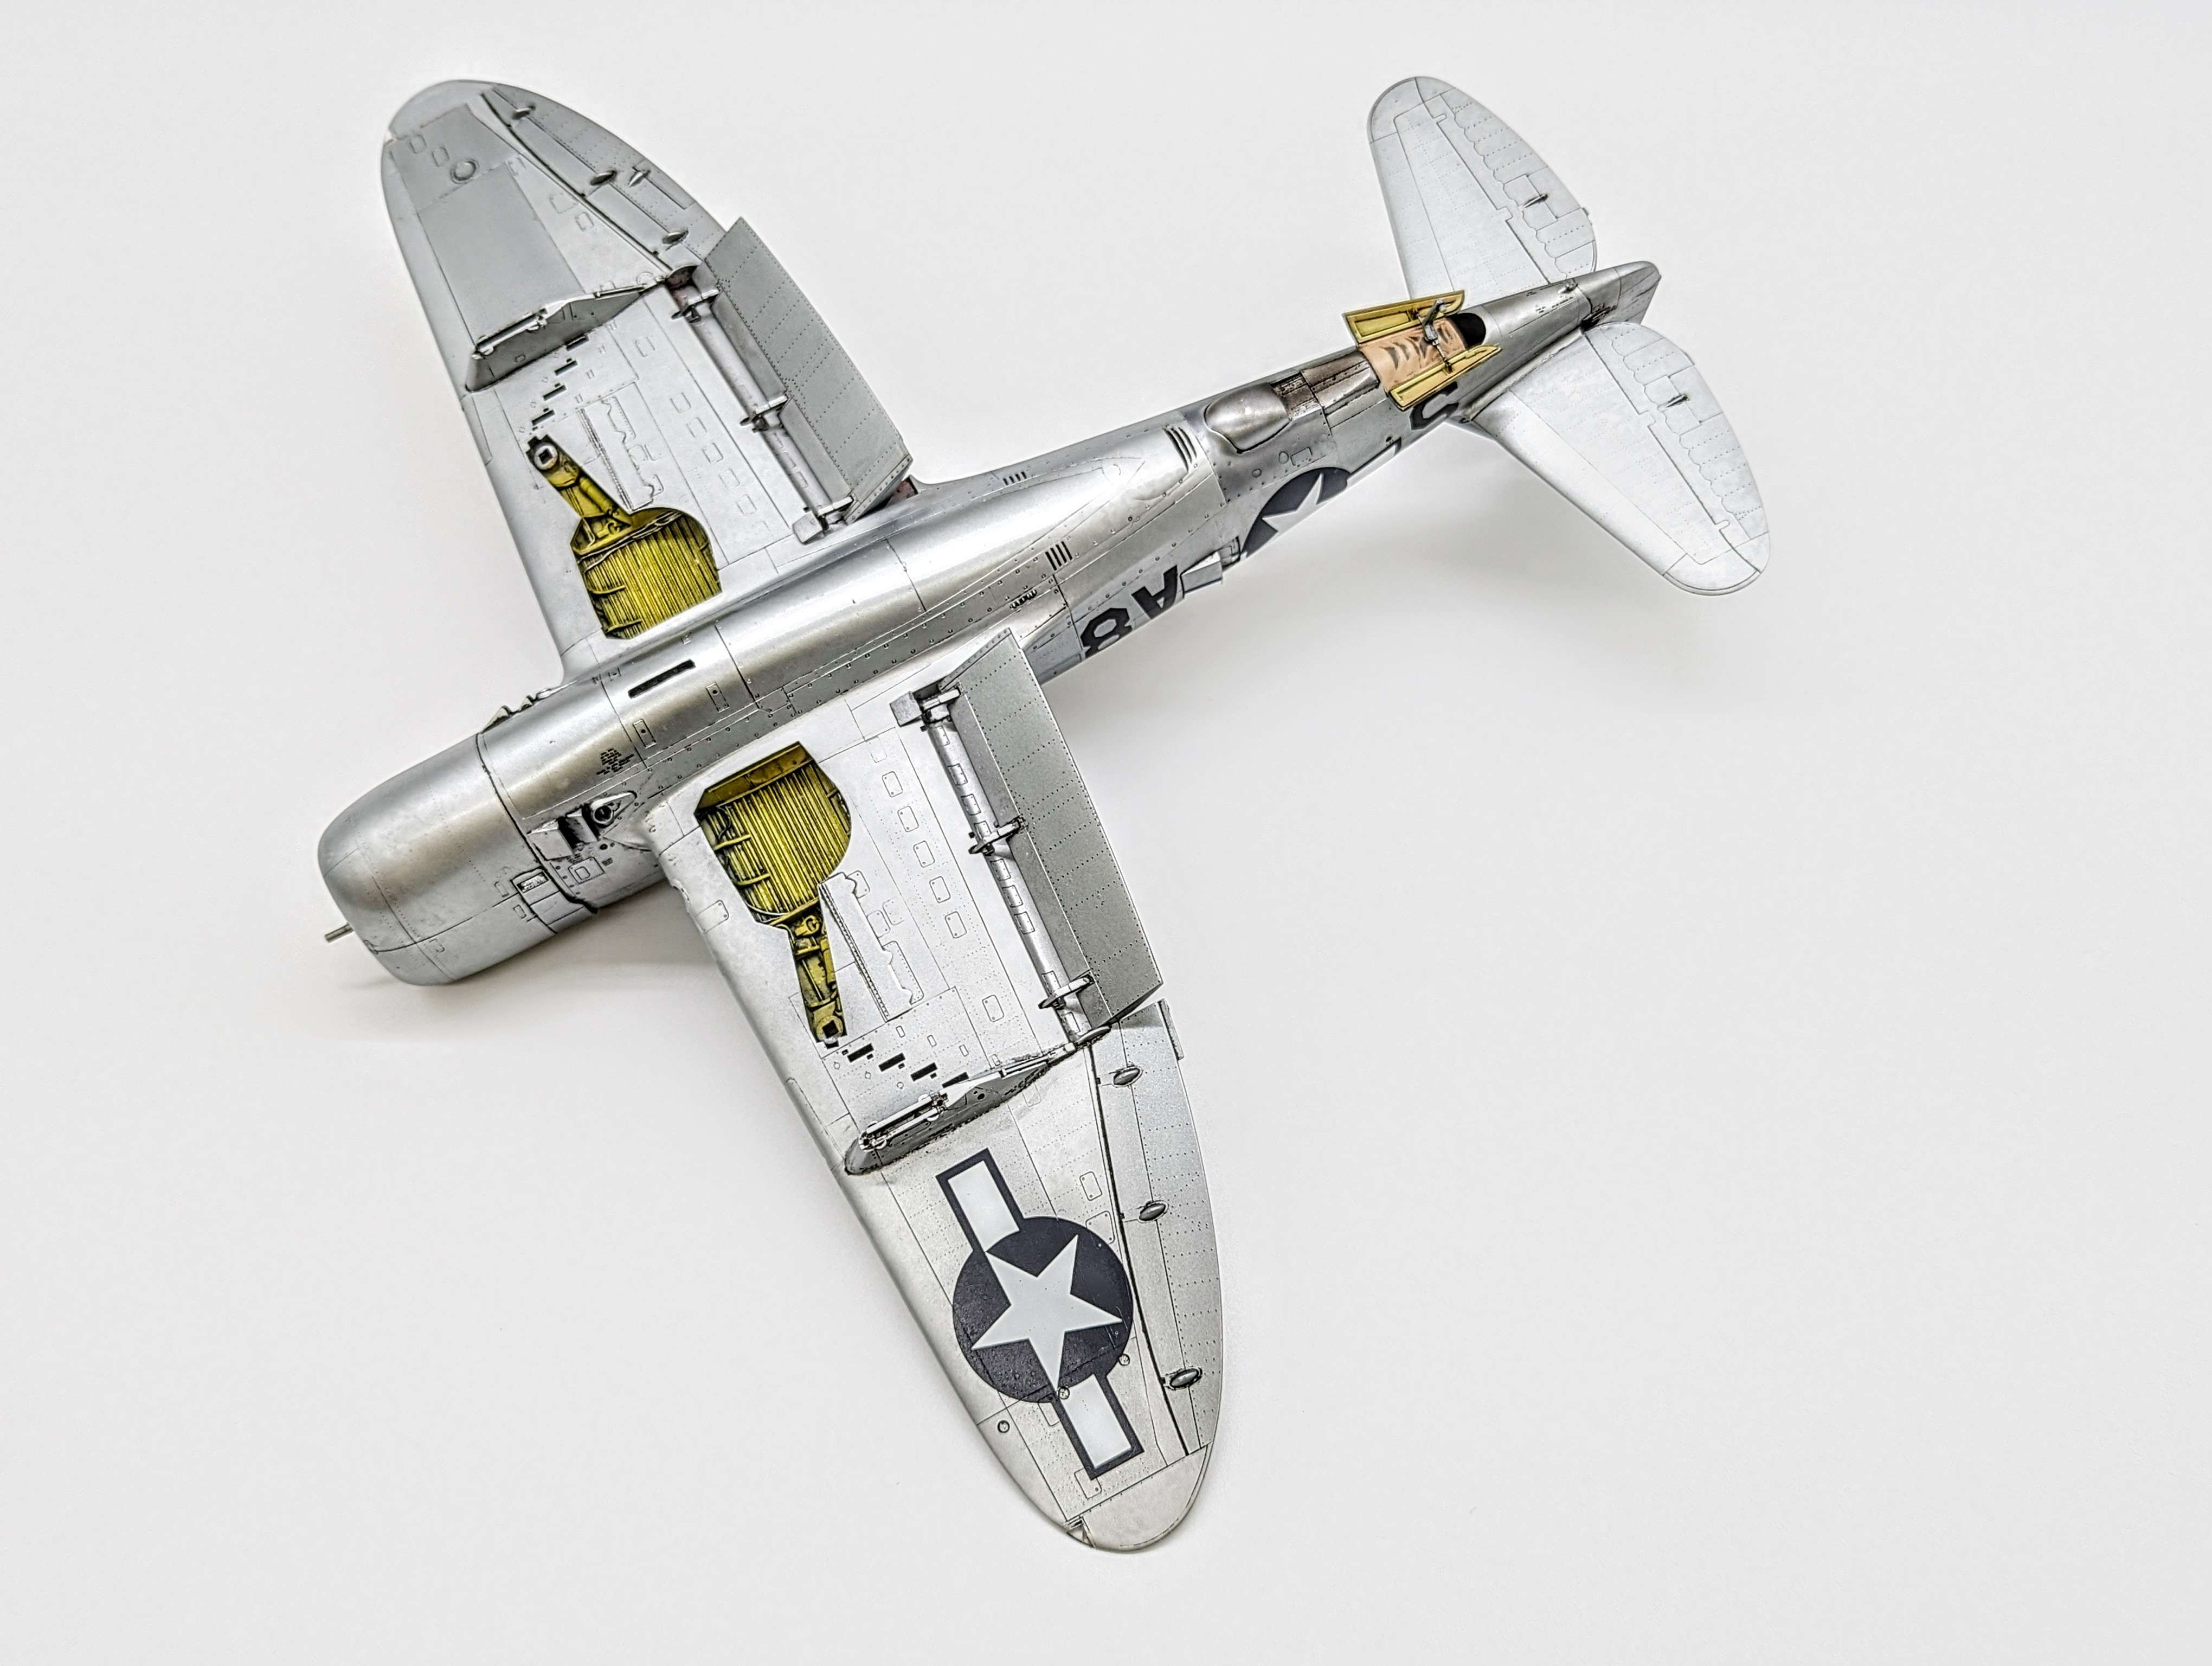
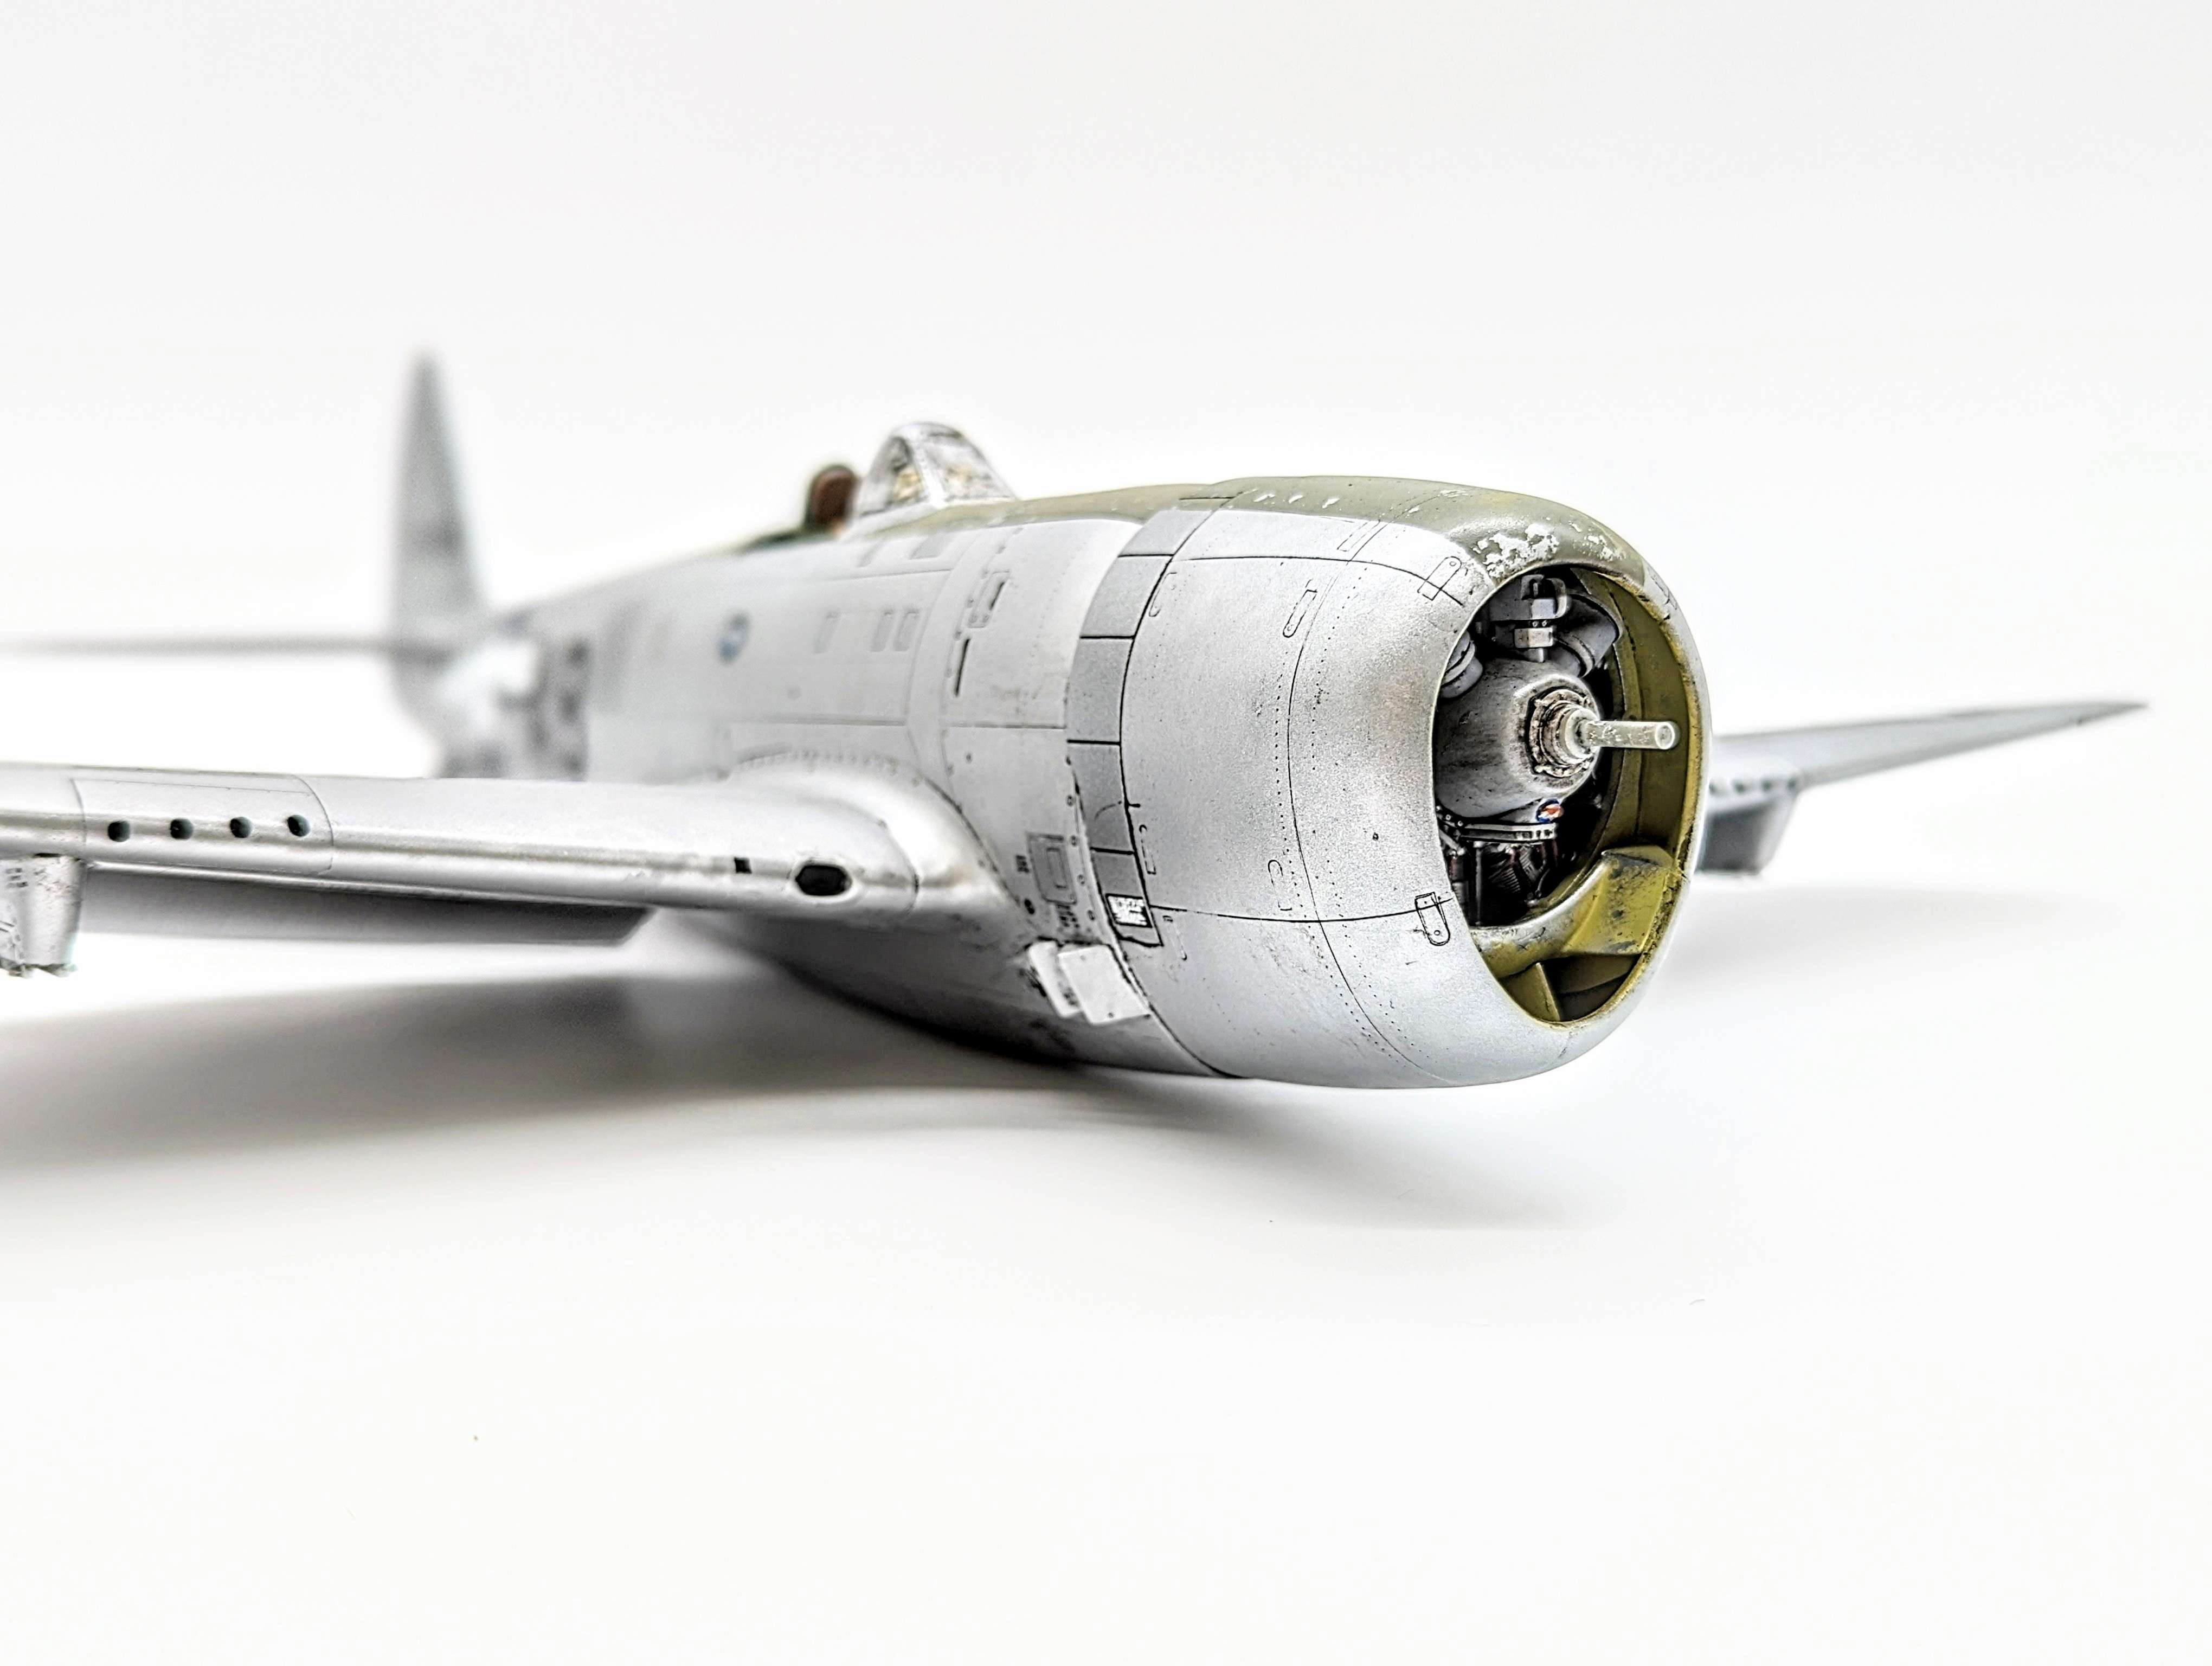
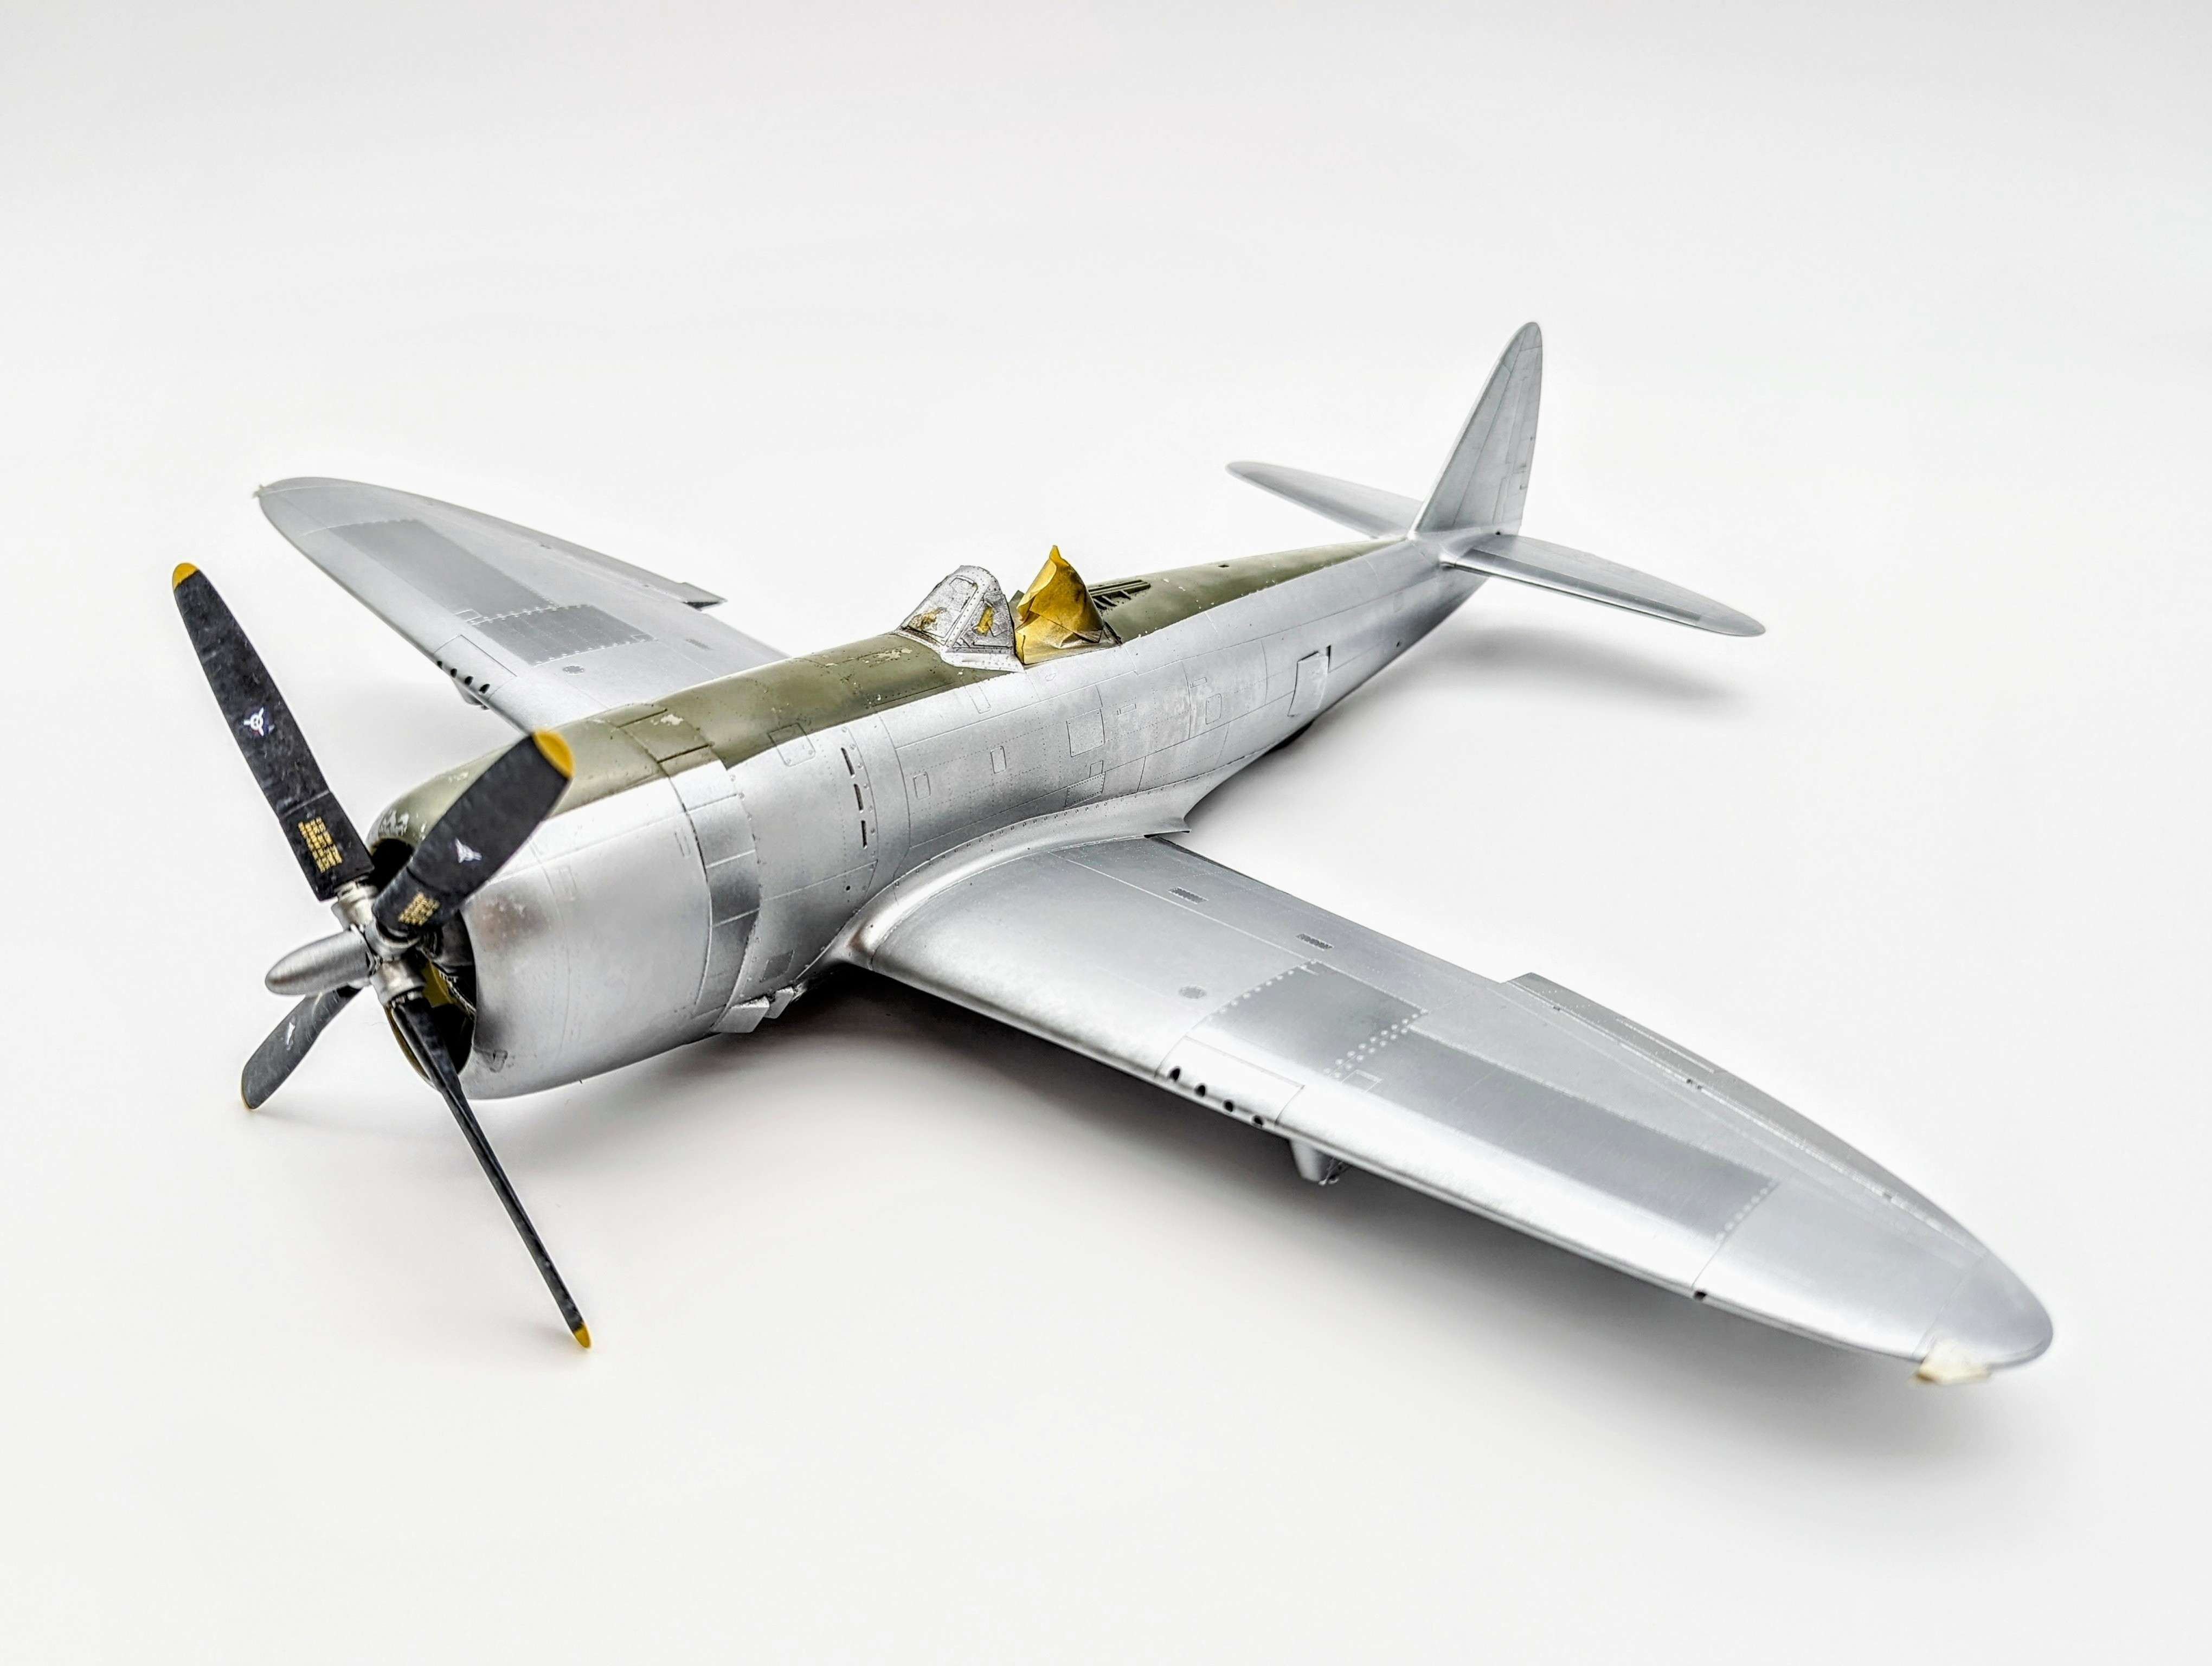
In my previous post I had finished the basic painting of the airframe.
I made an effort of depicting the metal patina by spraying white aluminium over a silver base mottled with dark gull grey.
The next step was to do some panel variation by masking various areas and painting over with dark aluminium.
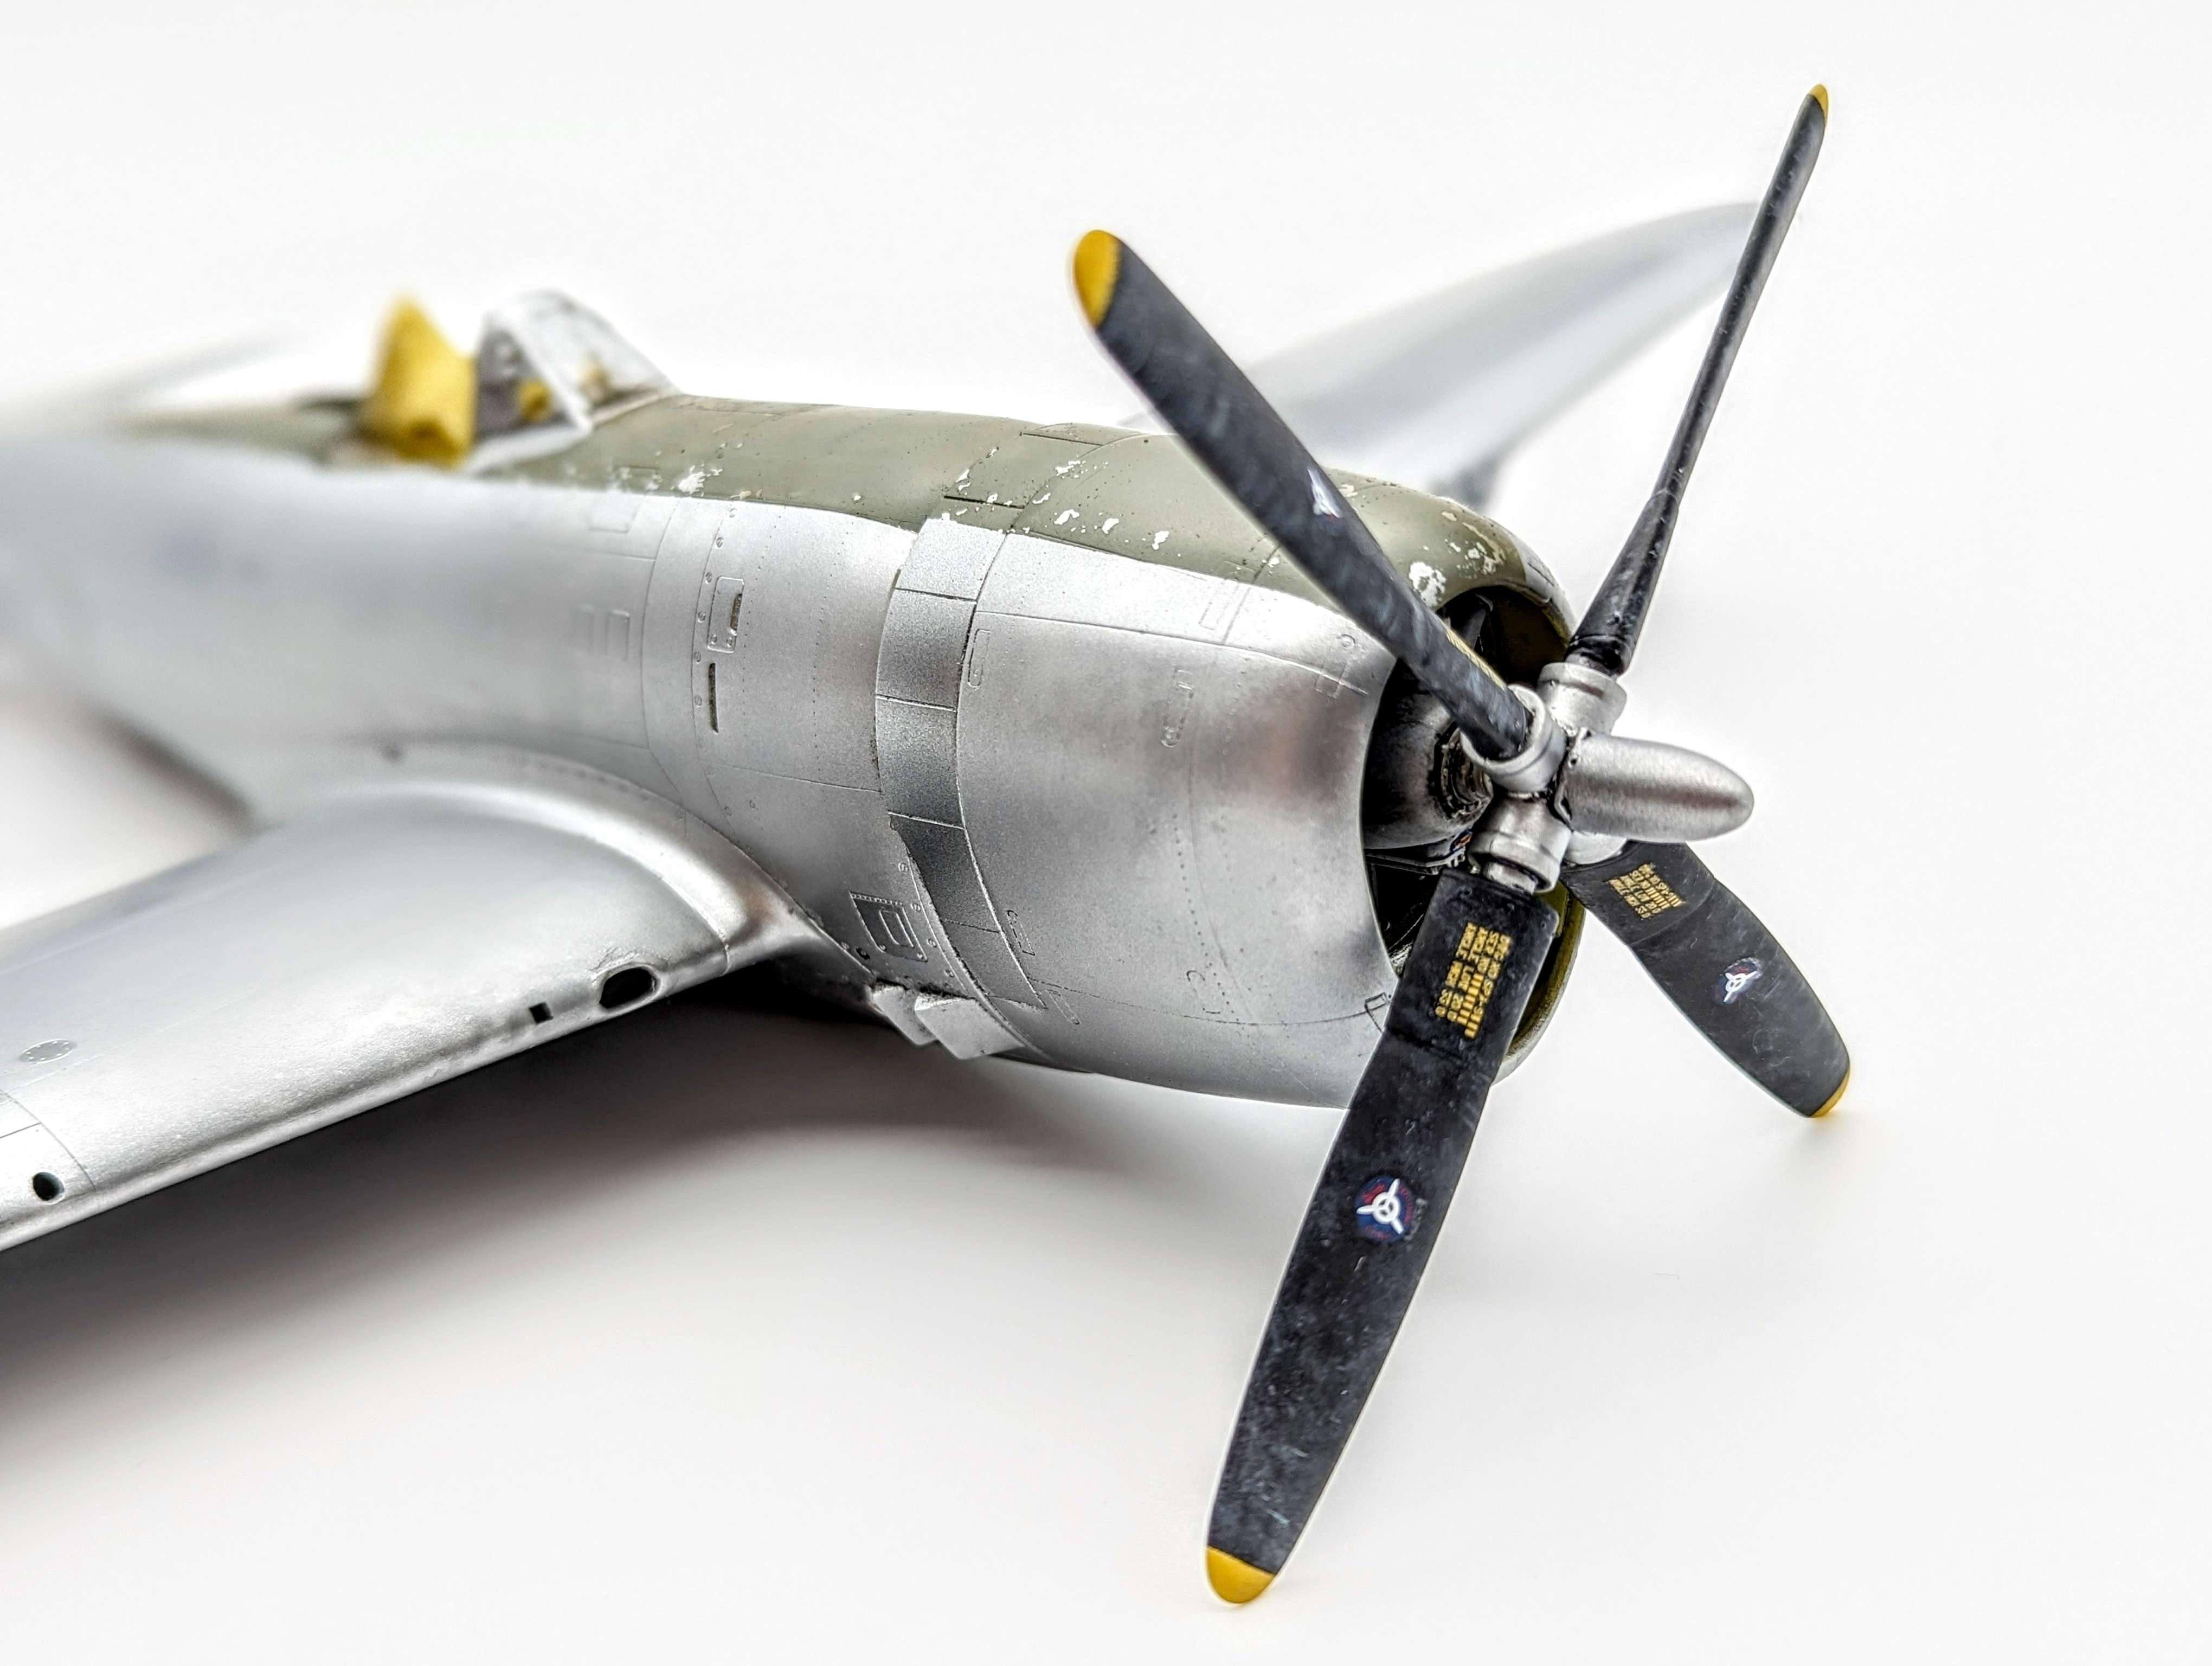
For the exhaust area I used steel.
I admit the masking process wasn't fun but the end result was worth it.
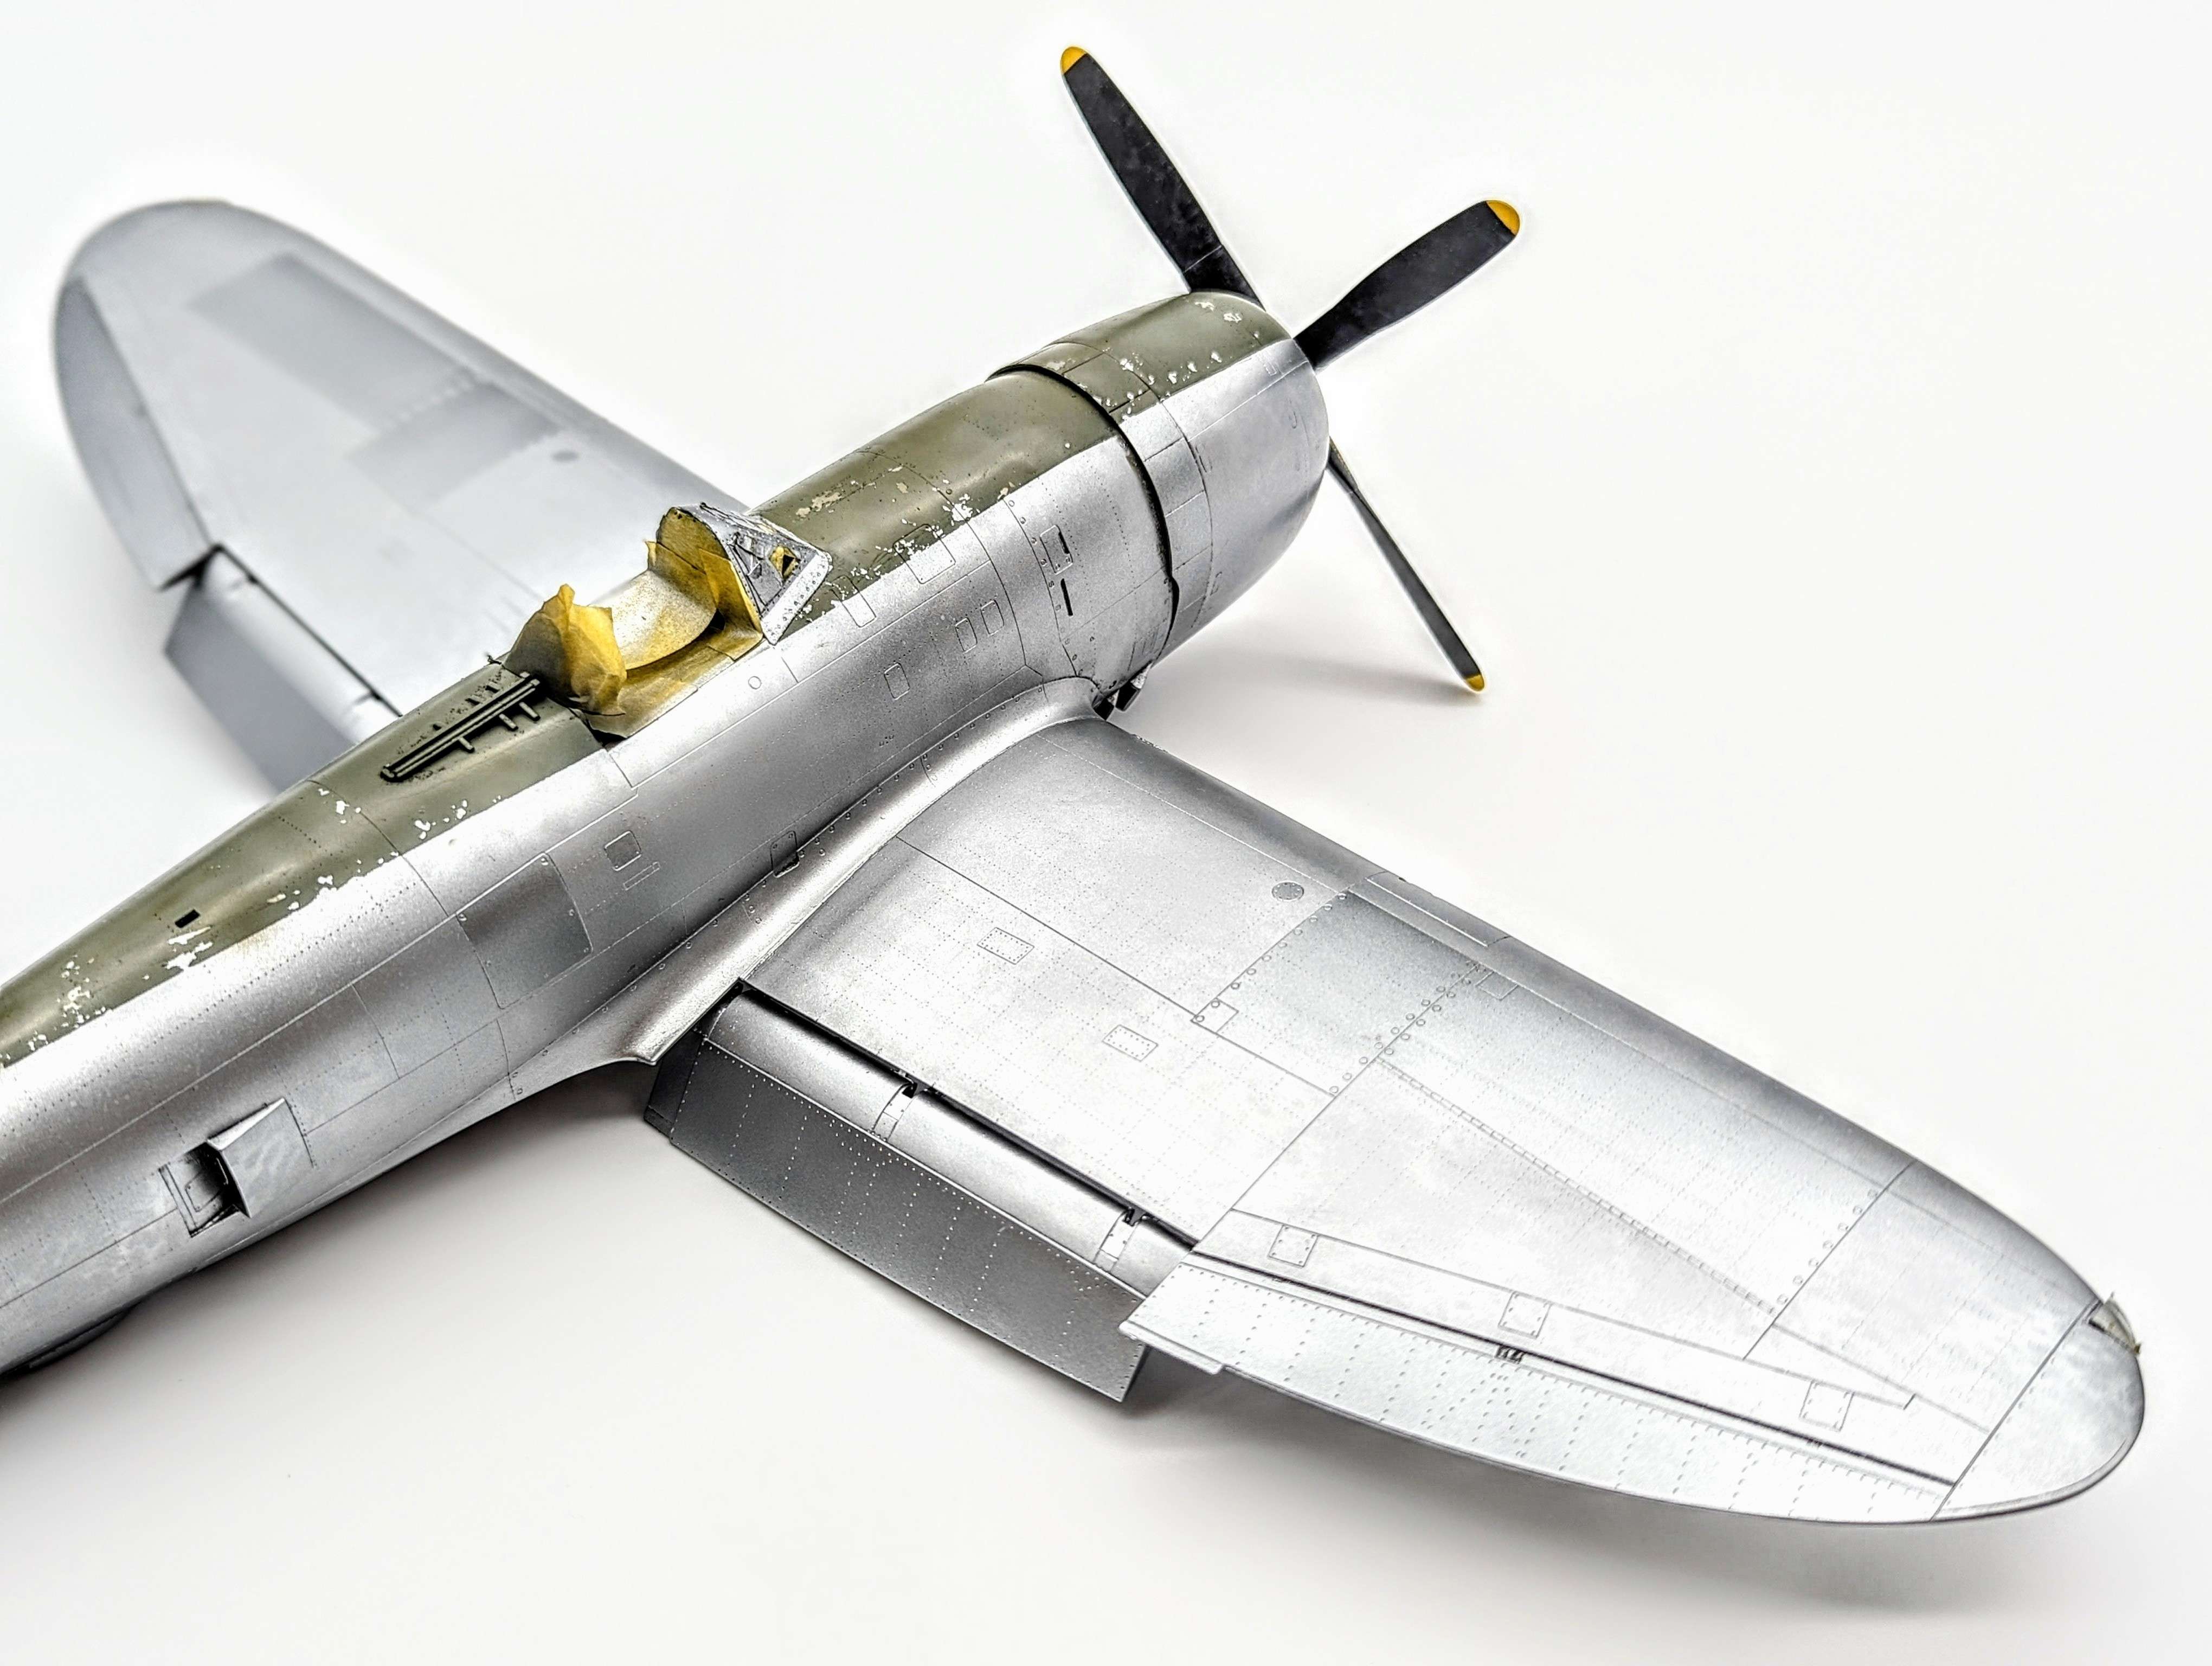
With the overall metal airframe done I then painted the antiglare panel with MRP olive drab using the black basing technique.
Chipping was done by previously applying masking fluid with a torn up piece of sponge over the aluminium paint before applying the black and olive drab colours.
With painting done I will soon be moving on to the application of the decals with the rather cheesy nose art!
-
Great work Tom!
Looking pretty good!

Zoukei-Mura’s 1/32 Bf 109G-14 with Swiss markings
in Works in Progress
Posted
Mighty impressive work so far Phil!