
Sturmbock
-
Posts
116 -
Joined
-
Last visited
Content Type
Profiles
Forums
Events
Posts posted by Sturmbock
-
-
Absolutely fantastic Gilles!
a great level of detailing is showing to us here!

Lutz
-
Very superb painting work on that seat and belts!
Great work!! Also the plywood.
Lutz
-
I really like your weathering and shading! Looks very impressive!
Great work!
Lutz
-
On 12/7/2023 at 9:45 AM, Sturmbock said:
Waiting with patience!

-
-
-
-
-
-
-
On 8/22/2023 at 10:59 PM, Kagemusha said:
TBD-1A

Hawaiian Air Depot have some masks on the way, some very interesting links on this page, and link to vendors post page.
I definitely want one!

-
Hello!
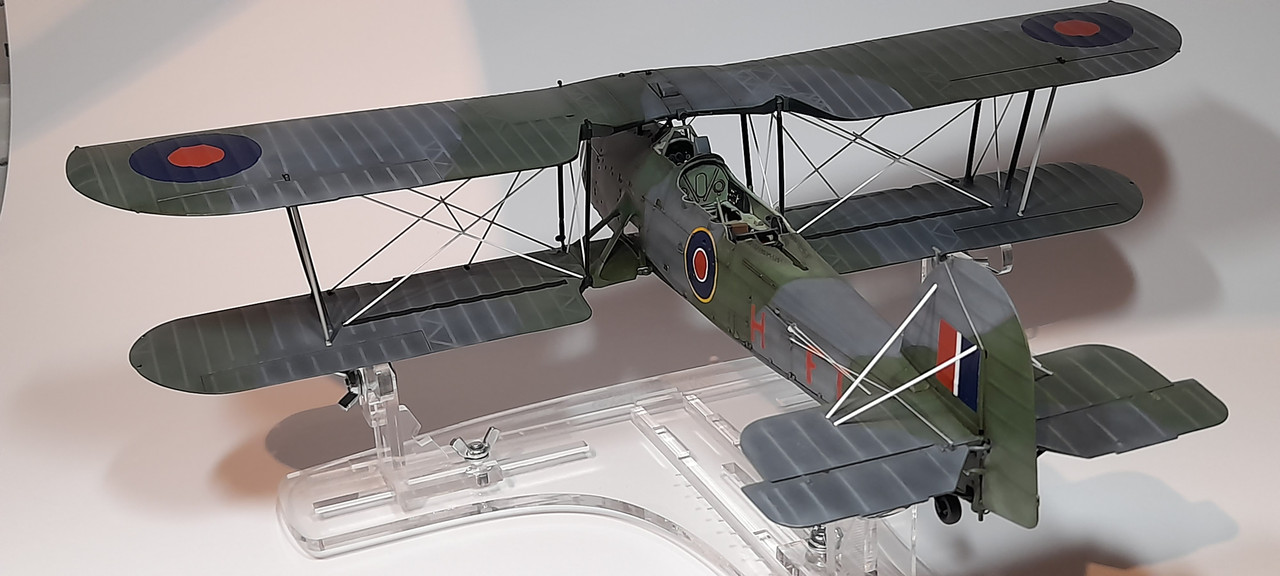
6 hours ago, mozart said:You’ve made a fabulous job of your Stringbag Lutz, the paintwork especially is excellent. To my eyes the plastic rod you’ve used for the rigging is a little over scale but it’s your model and you’re happy with it, which is fine.


You're right, the struts are a bit thicker than they should be in scale! But that is due to the stability, I tried it with thinner round rods in 0.3 and 0.4mm, it was too wobbly and unstable. So I used 0.7mm material. Eduard's photo-etched kit was not available and I definitely didn't want to use the kit etched parts (for good reason)
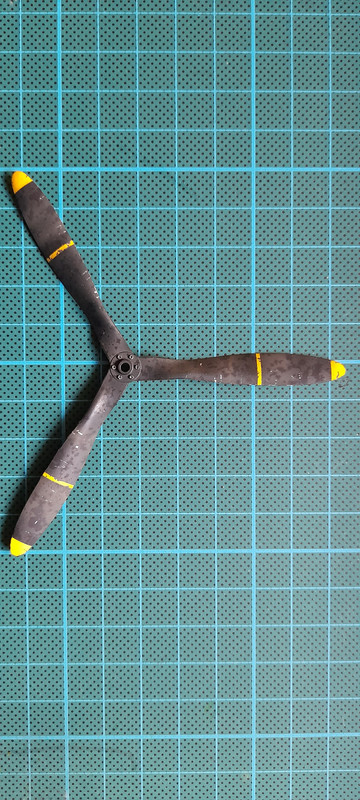
Last steps are done!
Masking the edges of each propeller blade.

Painting the edges

And some chipping...


Cheers
Lutz
-
Hi everybody!
Thank you all so much guy's!
So almost done with my Swordfish! A few small details were painted and a few minor touch-ups here and there but nothing major.
Last but not least is the propeller. For this I would like to use the salt technique that Thunnus has shown us many times. I wanted to try it out, so here we go!
First I painted the propeller completely black matt. I used AK's Flat Black which turns out to be not really flat but more like a satin finish.
So painted over with Tamiya's Flat Black given a little Flat Base X-21 and...we had a real dead flat surface we need!
Then wet the surface with water and spread the Salt over it. I used medium and fine grained Salt.
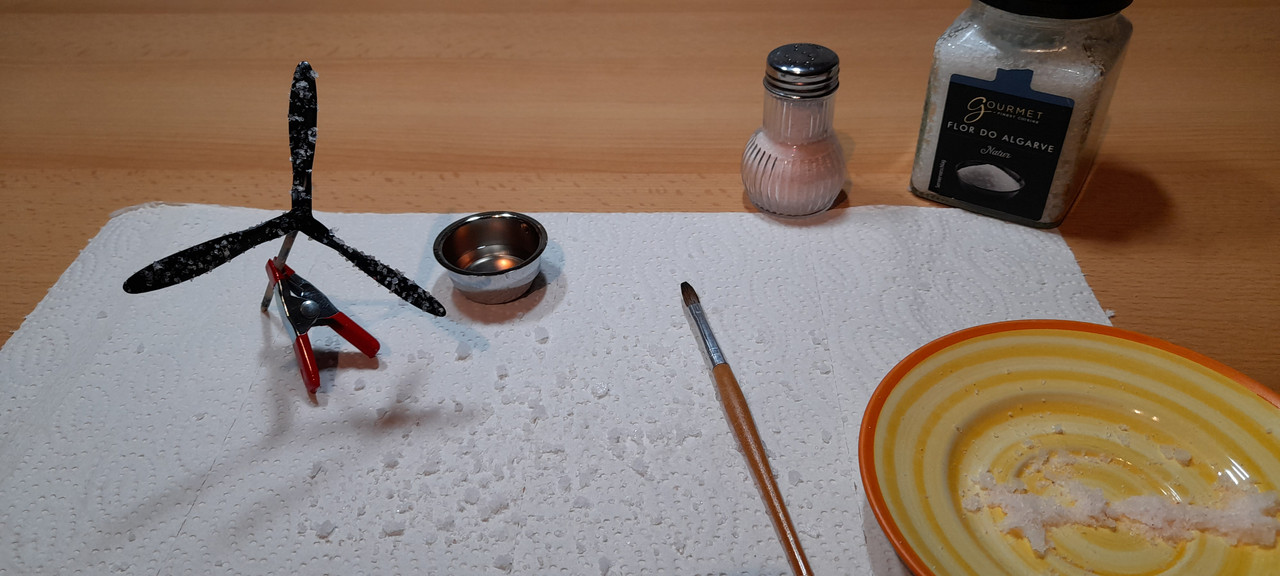

After the water dries, the salt sticks to the surface. Now I painted over everything with a lighter color, heavily diluted Nato Black and let everything dry.
After this you can rub of the salt and this it turns out.

Not perfect but I can life with it!
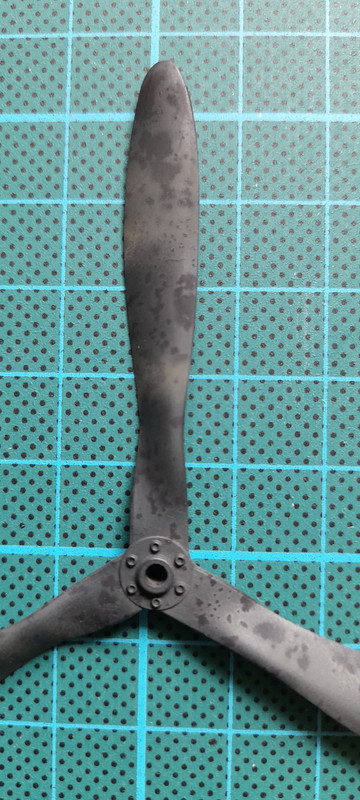
Next will be painting the yellow edges and some weathering. Pictures are not the best, I know..

This is really a great technique for aging propellers and is easy to do. Really pleased with it! Thanks to Thunnus for sharing this with us!!

That's all for now!
Cheers
Lutz
-
Hi everybody!
Thanks Guys!!
Haven't posted anything for a long time, vacation, family and normal everyday life intervened.
But I still managed to spend an hour or two at the workbench.
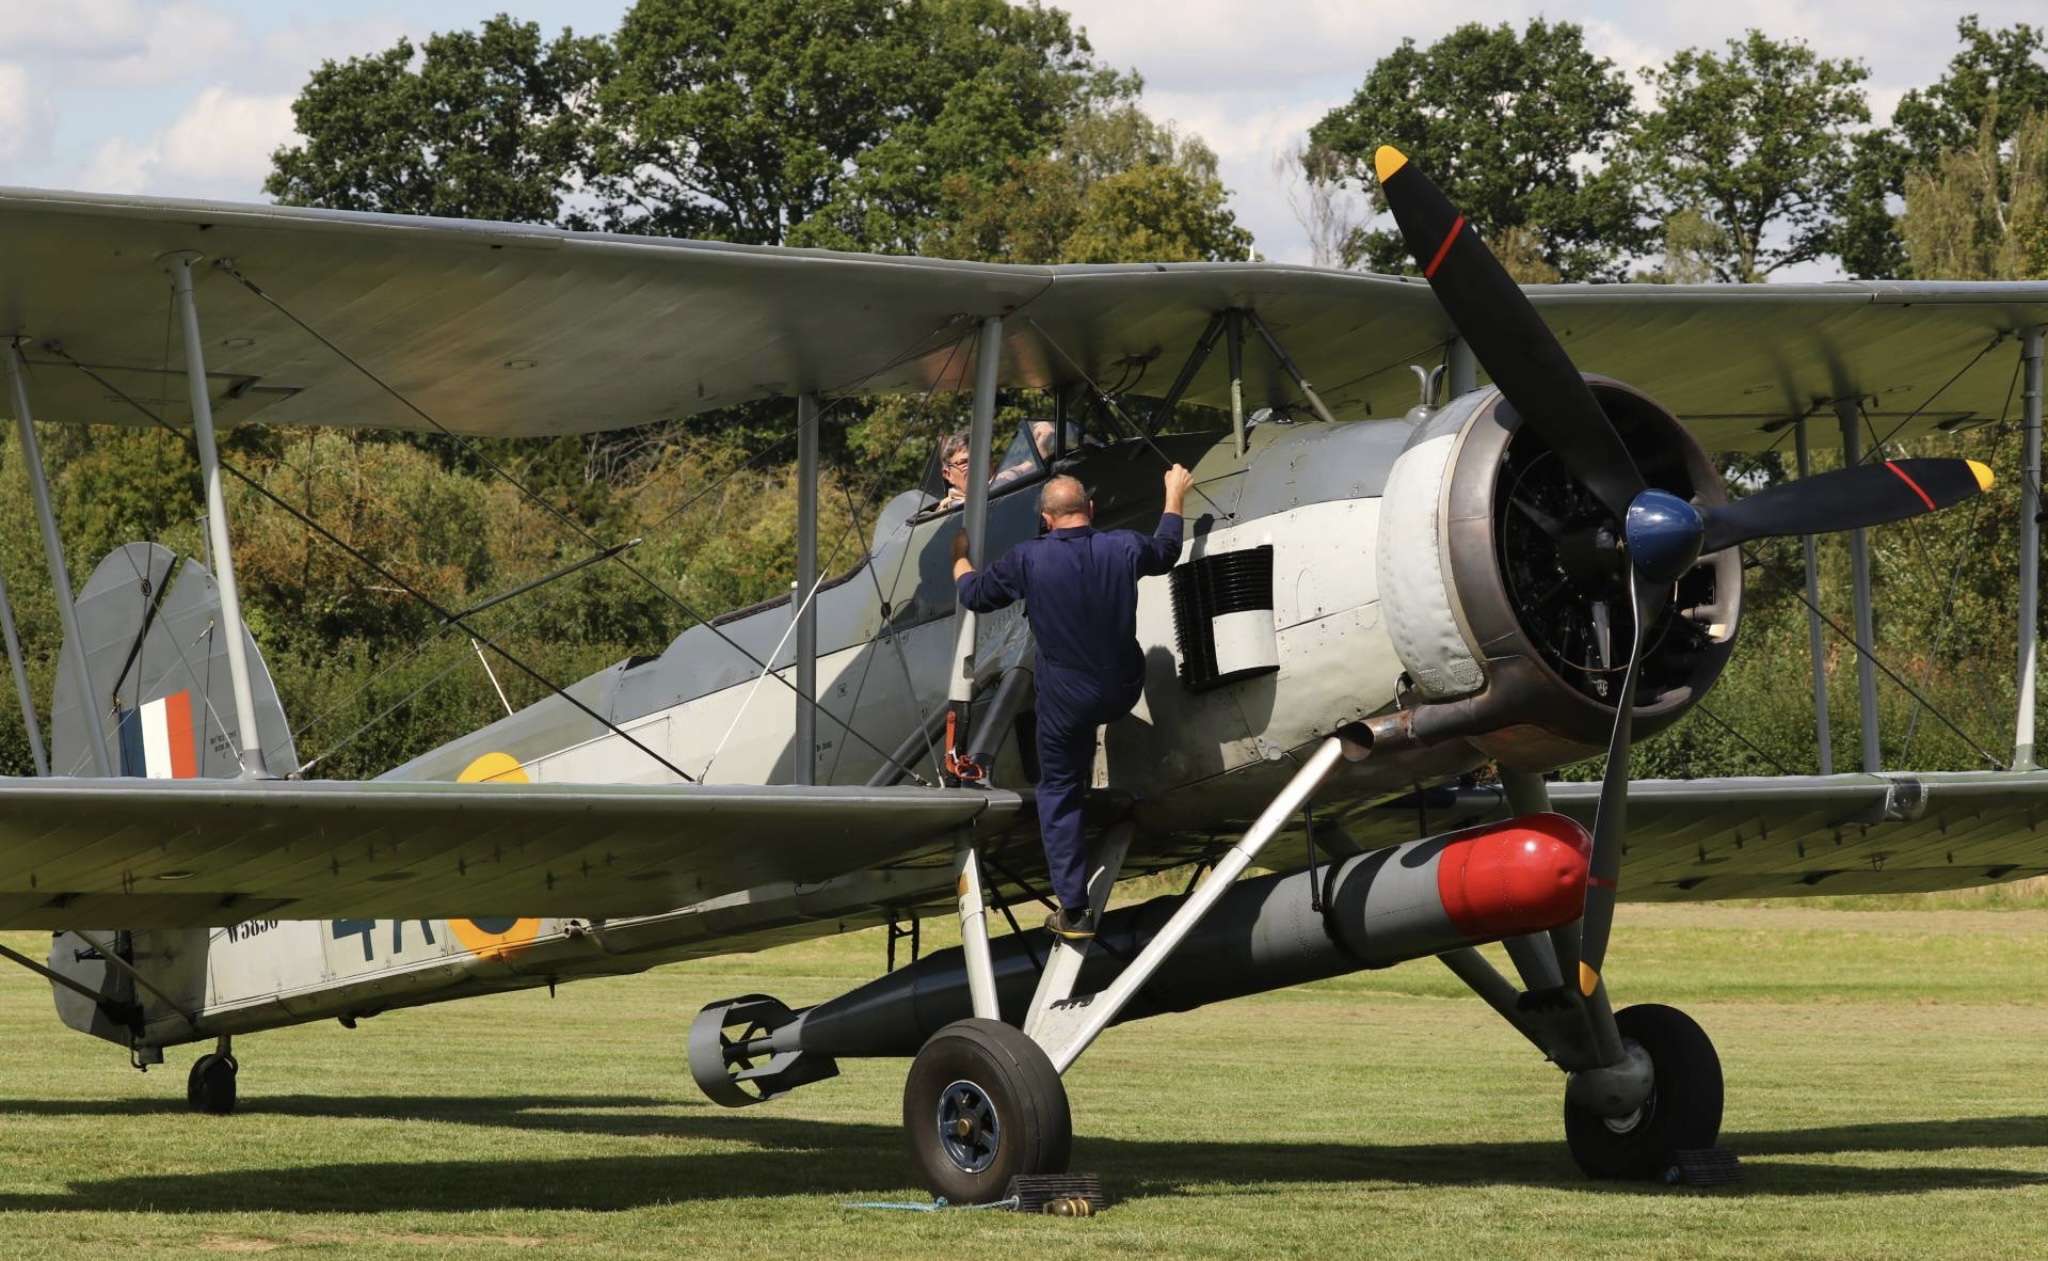
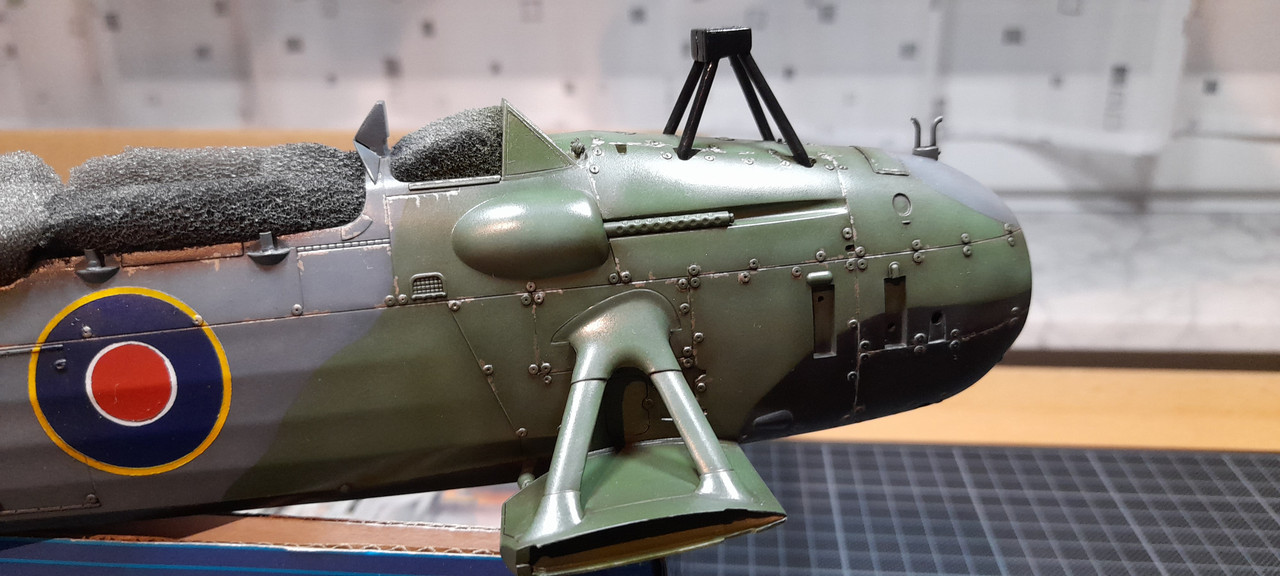
After I had attached the bracing, there are still a few details to be taken care of.
One of them is the rear machine gun, a Vickers "K" I got from Gaspatch!

Gaspatch's stuff isn't really cheap, but it's definitely worth the money.
A difference like day and night!
Above the machine gun from GASPATCH, below that from the kit, that's all there is to say!

Now it's time for the torpedo. A primer coat of black, then painted with AK's "Steel". This was followed by a wash with Van Dyk Brown and Paines Gray oil paints to finish things off.

The machine gun takes its place!
There were still a few smaller details to be painted, such as position lights, etc. I haven't documented that further, I don't want to bore anyone with it!
")
So, close to the finish line, next and last is the propeller. Let's see what's going to happen!
Cheers Guys!
Lutz
- Isar 30/07, patricksparks, mc65 and 11 others
-
 14
14
-
Hi everybody!
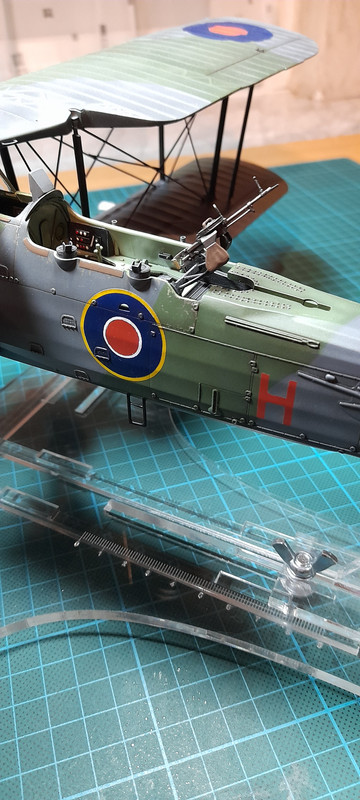
I managed to make some progress. I was now able to apply matt clear coat and joined the wings to the fuselage.
Now it was time for the wing struts, Trumpeter puts them in the form of photo-etched parts, which I didn't want to and couldn't use.
They are too flat and very tight in terms of length. In addition, they have the unpleasant property of bending, although they are very stiff.
So I replace them with plastic rods of the appropriate thickness. In comparison with the original struts, this is not entirely correct either, as these are slightly oval! But this solution still seemed better to me than the PE parts.
The control cables for the rudder system are made of stretched sprue.
And this is the resault:


Finally I mounted the torpedo sight and the small sight in front of the cockpit window and the last two struts from the fuselage to the upper wing.

Now I only have to paint it all.....

That's all for now guys!
Cheers!
Lutz
- Scotsman, private_hell, simmerit and 16 others
-
19
-
I remember watching the Macross anime on TV as a kid, back in the eightees! Really loved the series! Those fighters always remembered me on F-14 Tomcats.
Good to see on of those build.
Go ahead artoor! Follow with interest!
-
Beautyful done! Really great painting and weathering. Love that finish and it's not often seen in this markings!
Lutz
-
4 hours ago, CRAZY IVAN5 said:
Aww come on ,man! Rubber tires?! ya gotta be kiddin' me in this day and age.
It's a usual thing on almost all Trumpeter/Hobbyboss kits in 1/32! No exception to the rule this time
But they are not alone, Tamiya did it, GWH....
And quangs effort looks really good to me...
But I have to agree with you, personally I prefer resin wheels. Honestly!!
-
Absolutely convincing model, paint and finish are really perfect and consistent. With the background I thought it was the original! Really great!
Lutz
-
-
On 6/13/2023 at 6:24 PM, scvrobeson said:
Really nice looking Swordfish!
Matt
On 6/13/2023 at 7:15 AM, MikeMaben said:Shaping up nicely Lutz
 On 6/13/2023 at 10:10 PM, TimW said:
This just gets better and better! Really excellent colors/weathering!
Cheers,
Tim W.
Thank you guy's! Really appreciate it!
")
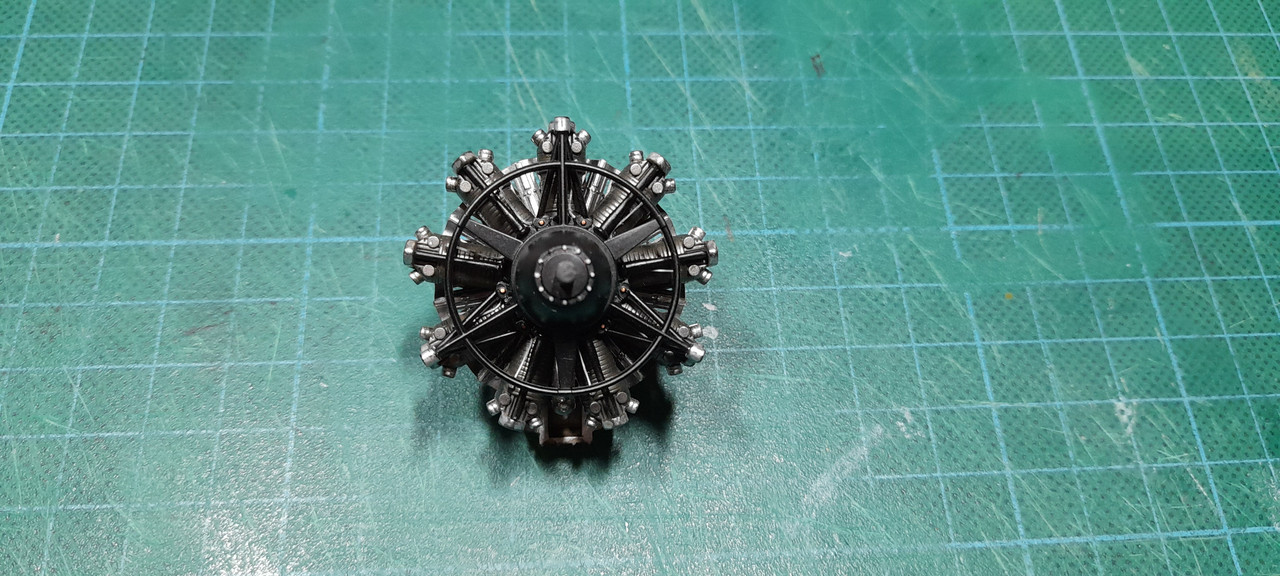
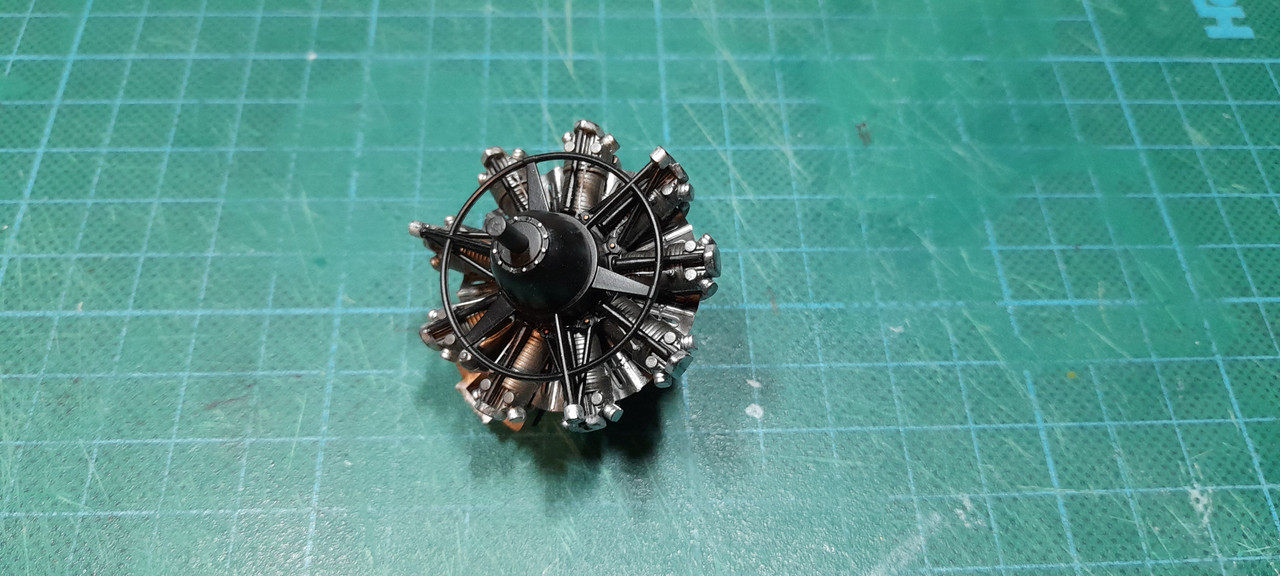
Next stage is paint chipping. Done it with Tamiya Enamel Paint X11 chrome silver, toned down a bit with brown oil paint to break the brightness.
Carefull not to overdo it.

Also weathered the Townend Ring with different hues of brown, purple, blue and brass. Hope I get it right this way...
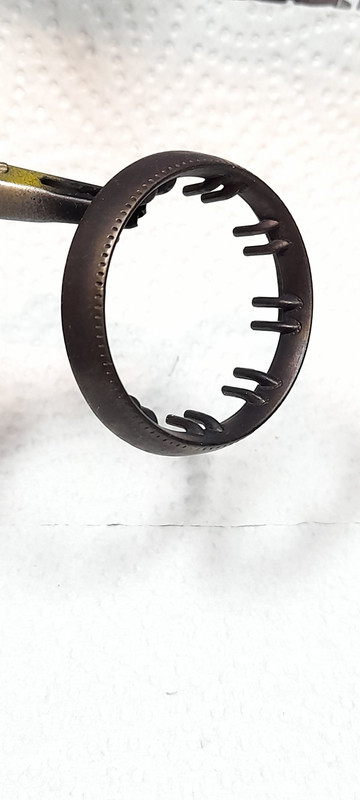

...and get the engine together!
Cheers!
Lutz
- Isar 30/07, Sasha As, scvrobeson and 15 others
-
18
-
-
Beautiful work! Painting and weathering absolutely convincing! She looks really good.
Lutz
- Nikola Topalov and Martinnfb
-
1
-
 1
1
-
Hi Peter!
I will follow your build with much interest!
Lutz
HpH news - 1/32 Kate, Marauder, Ventura and 1/48 B-47
in LSP Discussion
Posted
Me too!