
LSP_Kevin
-
Posts
46,646 -
Joined
-
Last visited
-
Days Won
263
Content Type
Profiles
Forums
Events
Posts posted by LSP_Kevin
-
-
-
-
Wow!
Kev
-
-
-
-
-
I'm finding myself really drawn to this build at the moment, so I figured I'd better take advantage of its organic momentum, even if that means other projects stall for a while. Besides, there's enough glue and putty drying wait time ahead on this one that I can easily rotate back to at least the 757.
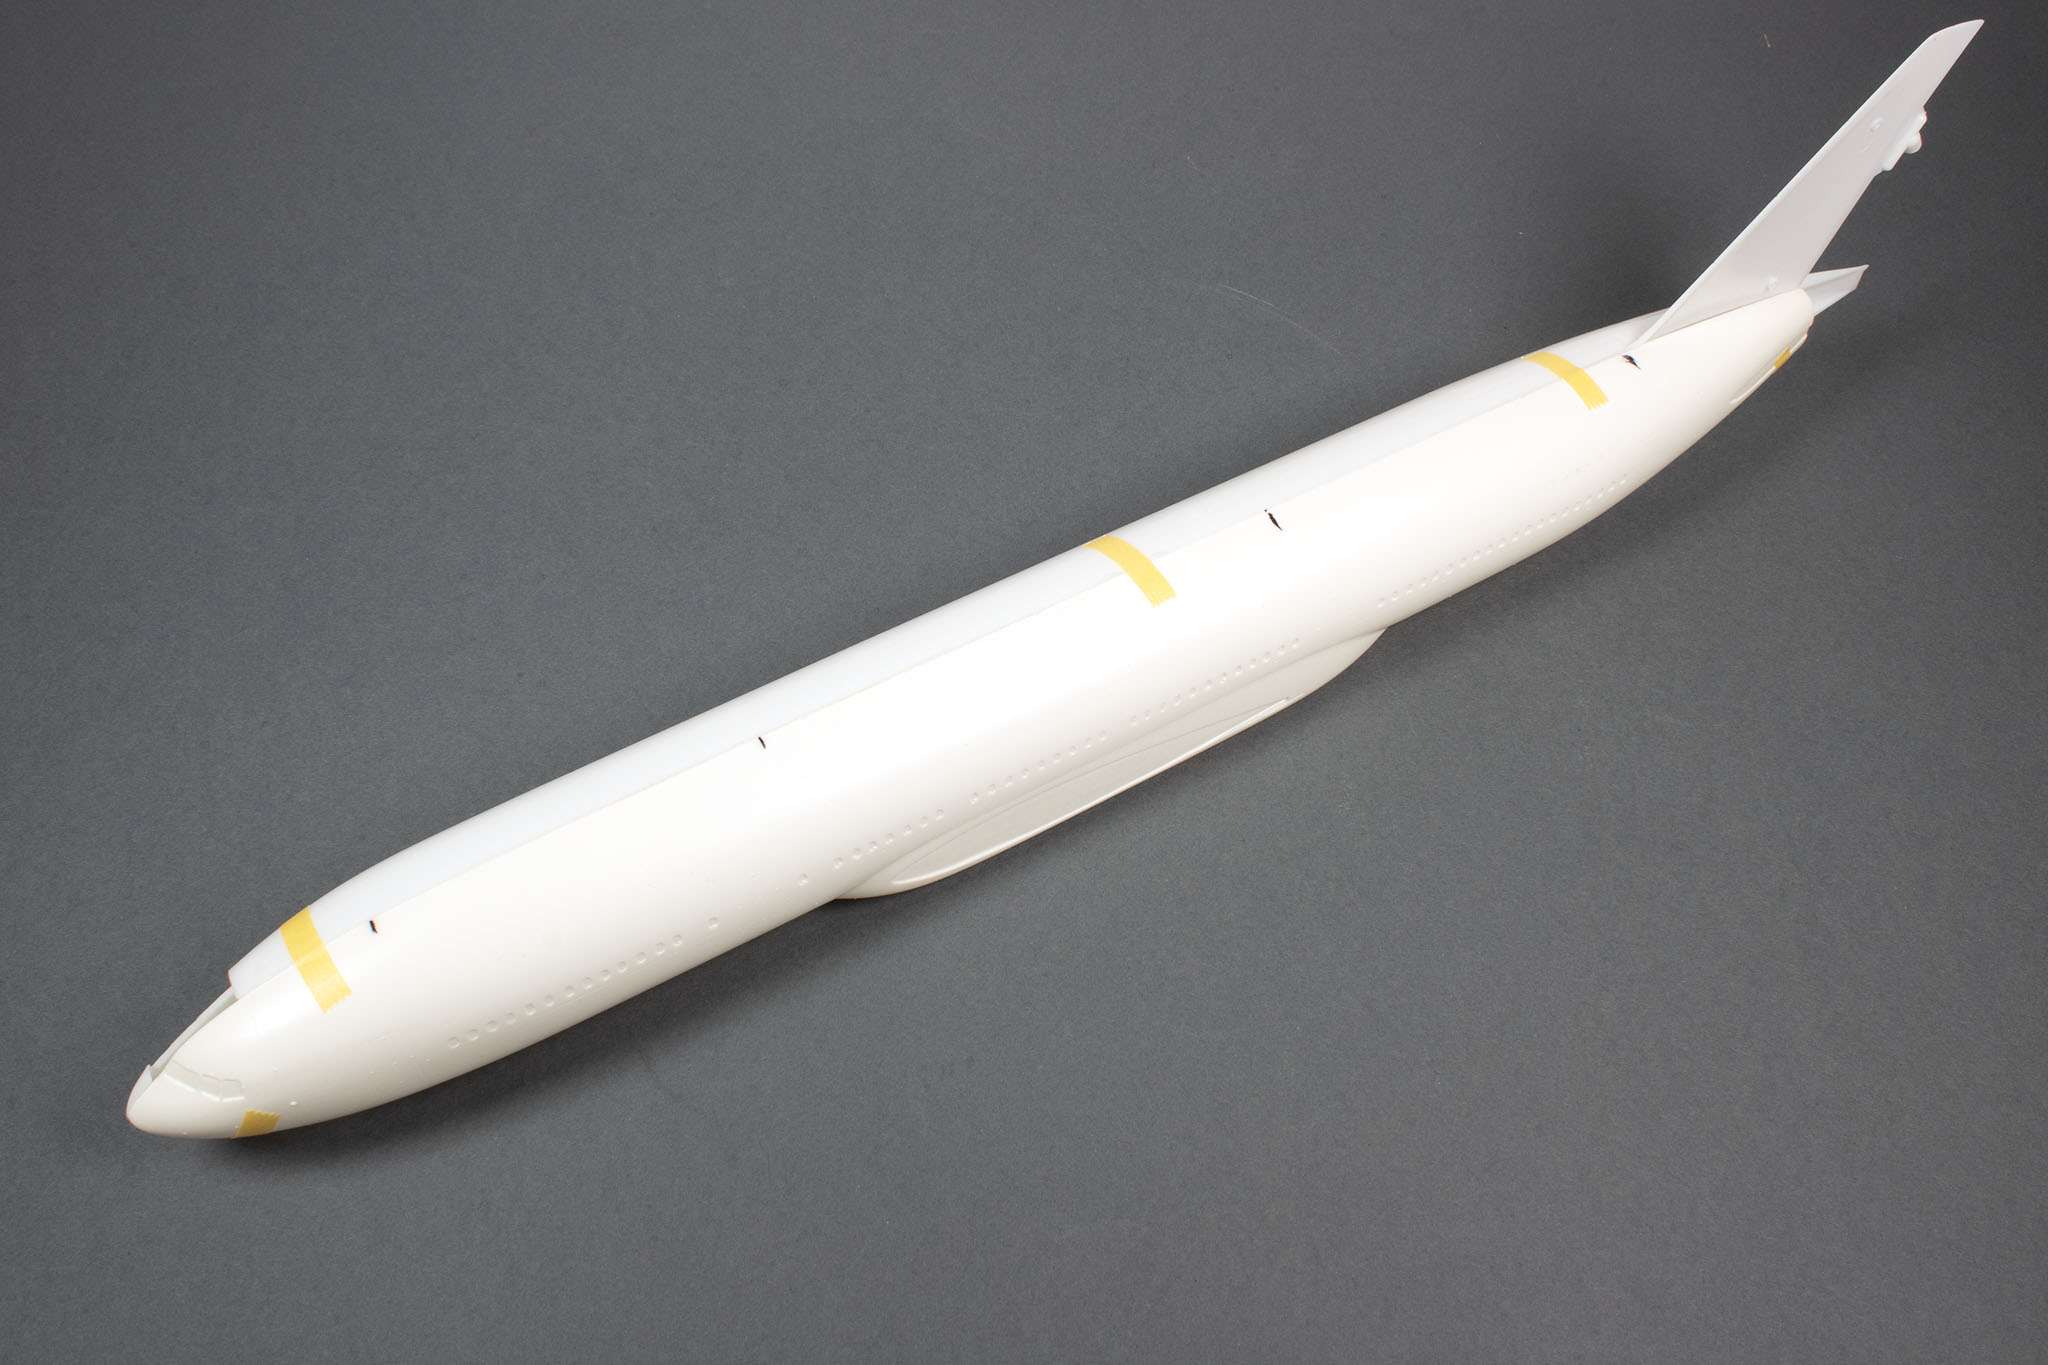
Anyway, setting aside the conundrum with the livery, I forged ahead with the fuselage assembly, first by adding a set of alternating tabs along the inside of the fuselage join:

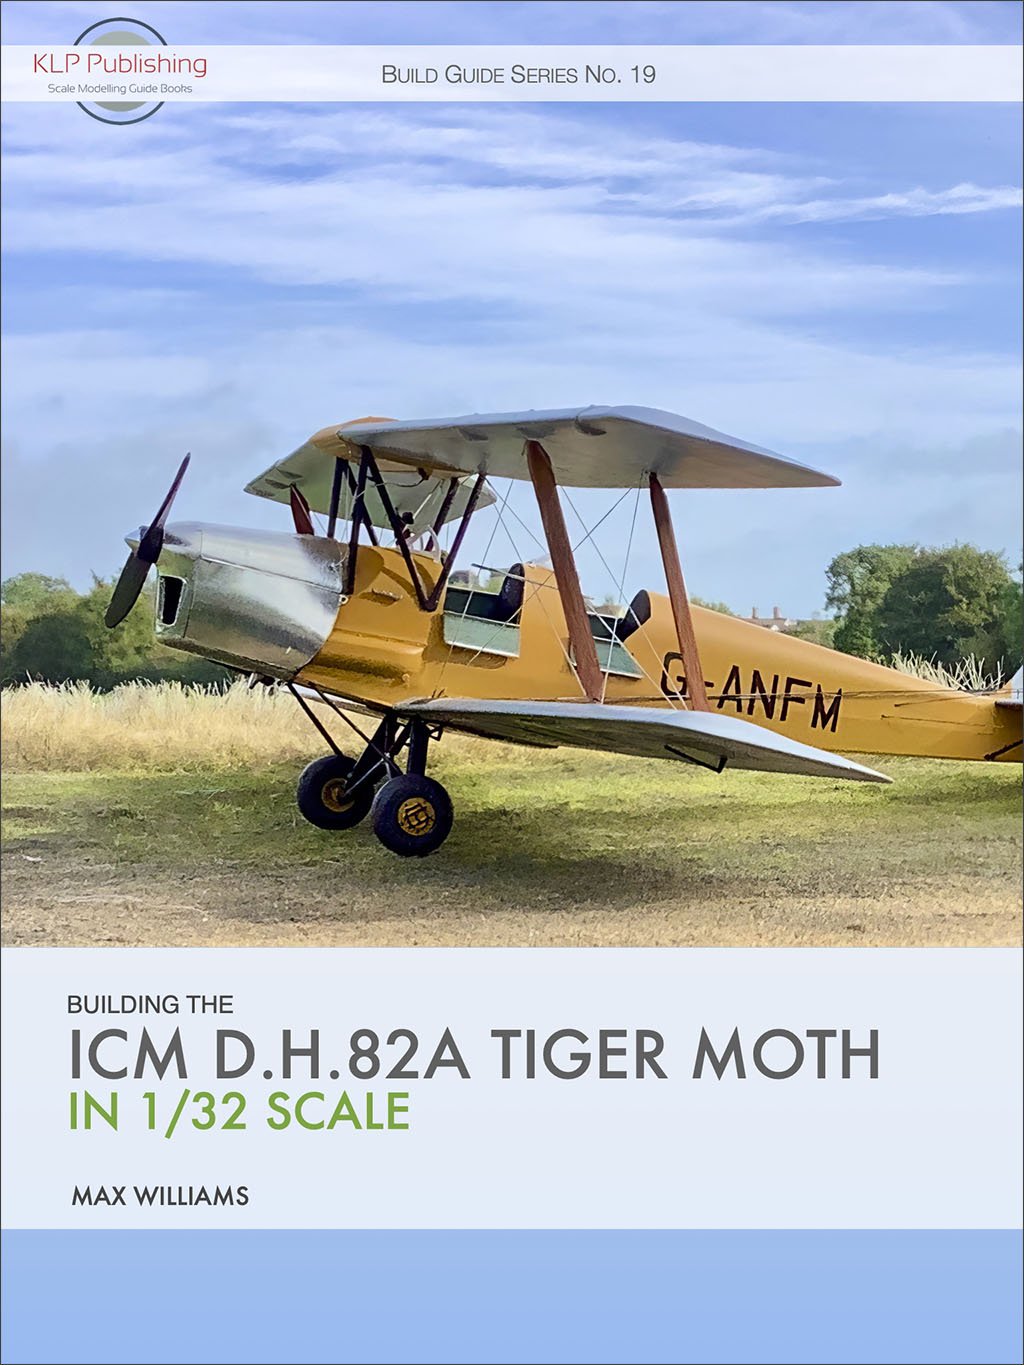
You'll notice I've also added some nose weight. I gave up fixing lead weights (fishing sinkers, in this case) with CA glue long ago after a couple of bad experiences, and switched to using Blu Tack:
Yep, Blu Tack. Not only is it safer than CA, and quicker than epoxy, but in my opinion it's also more effective than the former. Believe it or not, it creates a really secure encasing for the weights, and also prevents them from interacting with the kit plastic or any other chemical compounds used in the area. I've had weights secured with CA come loose in a model before, but never with this method, and despite the disbelieving responses, I preach it wherever I go! (Yes, I'm a right pain at parties.)
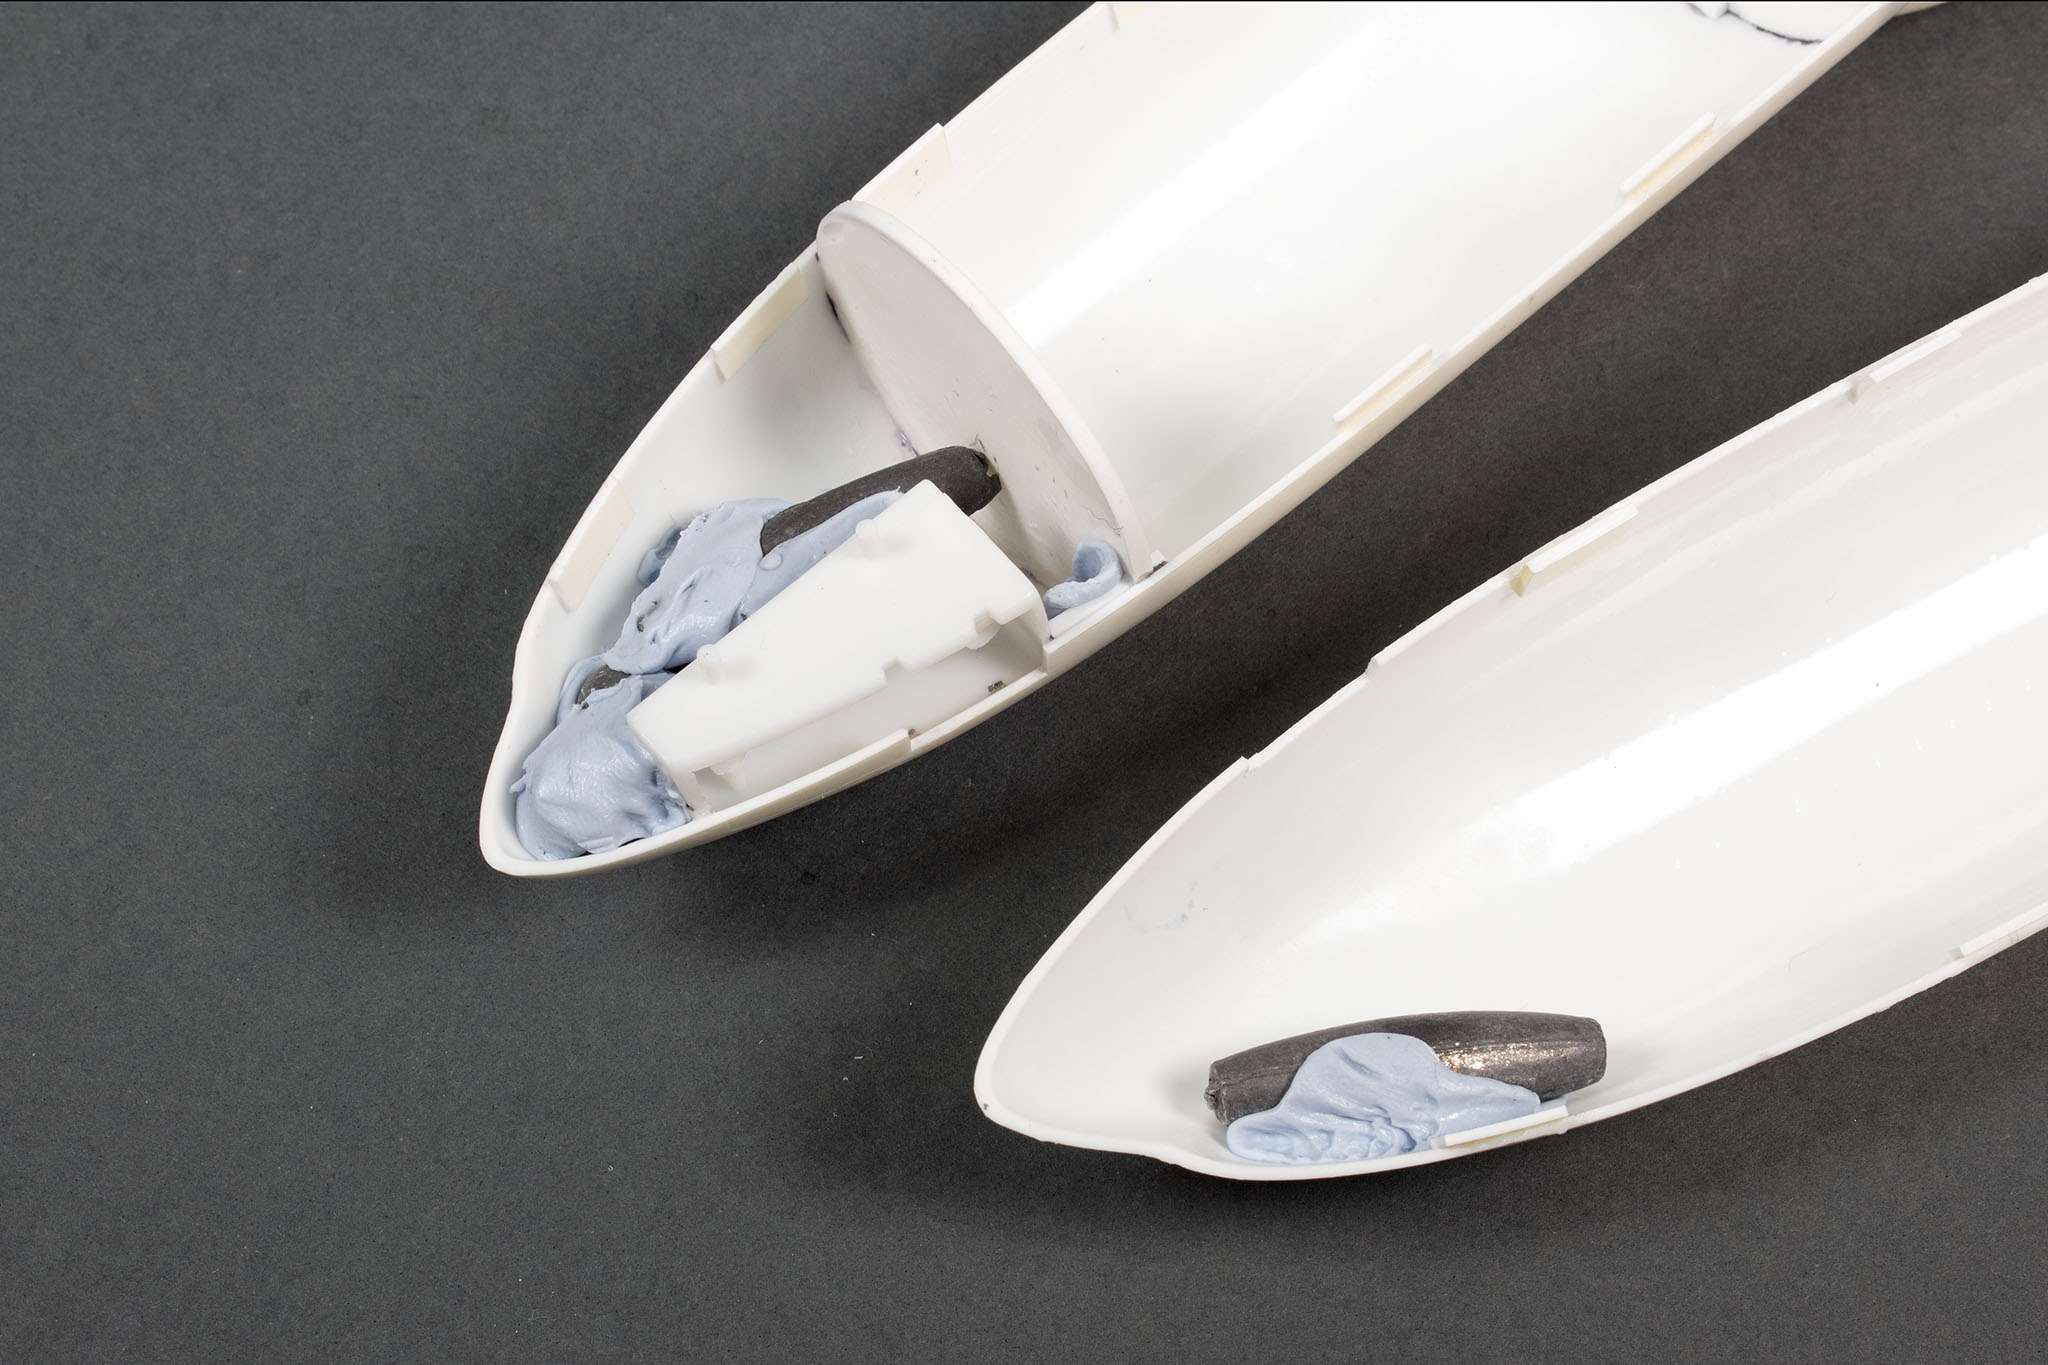
The tabs made it difficult to knit the fuselage halves together neatly along both top and bottom joins, and I realised that I probably made them too wide. After a bit of a struggle, I got there eventually, and ended up with this:
I reinforced all the joins with thin CA, just to be sure.
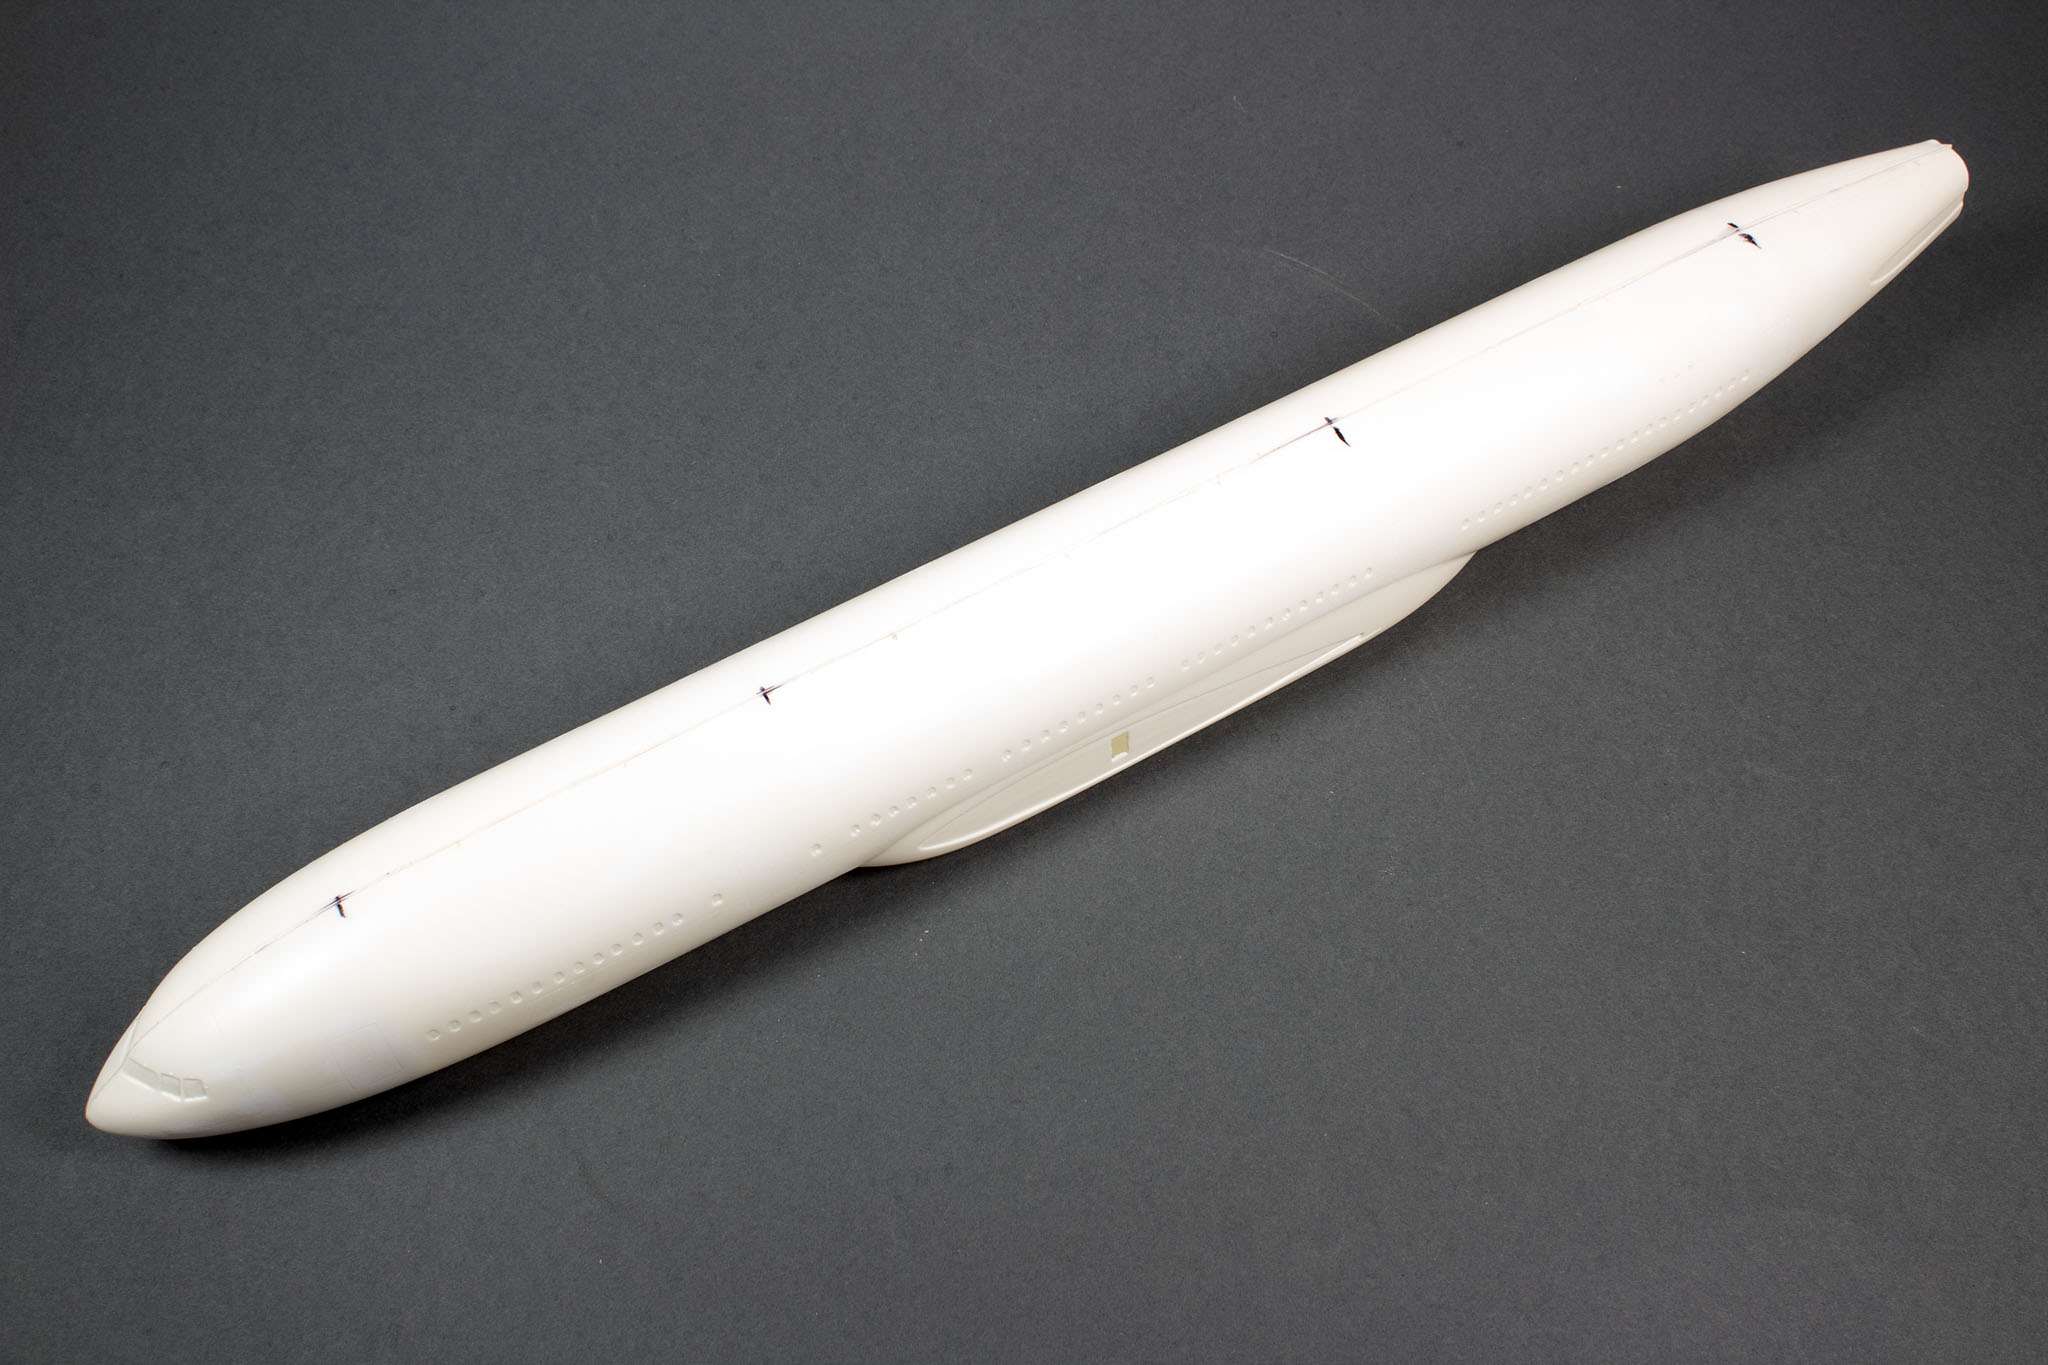
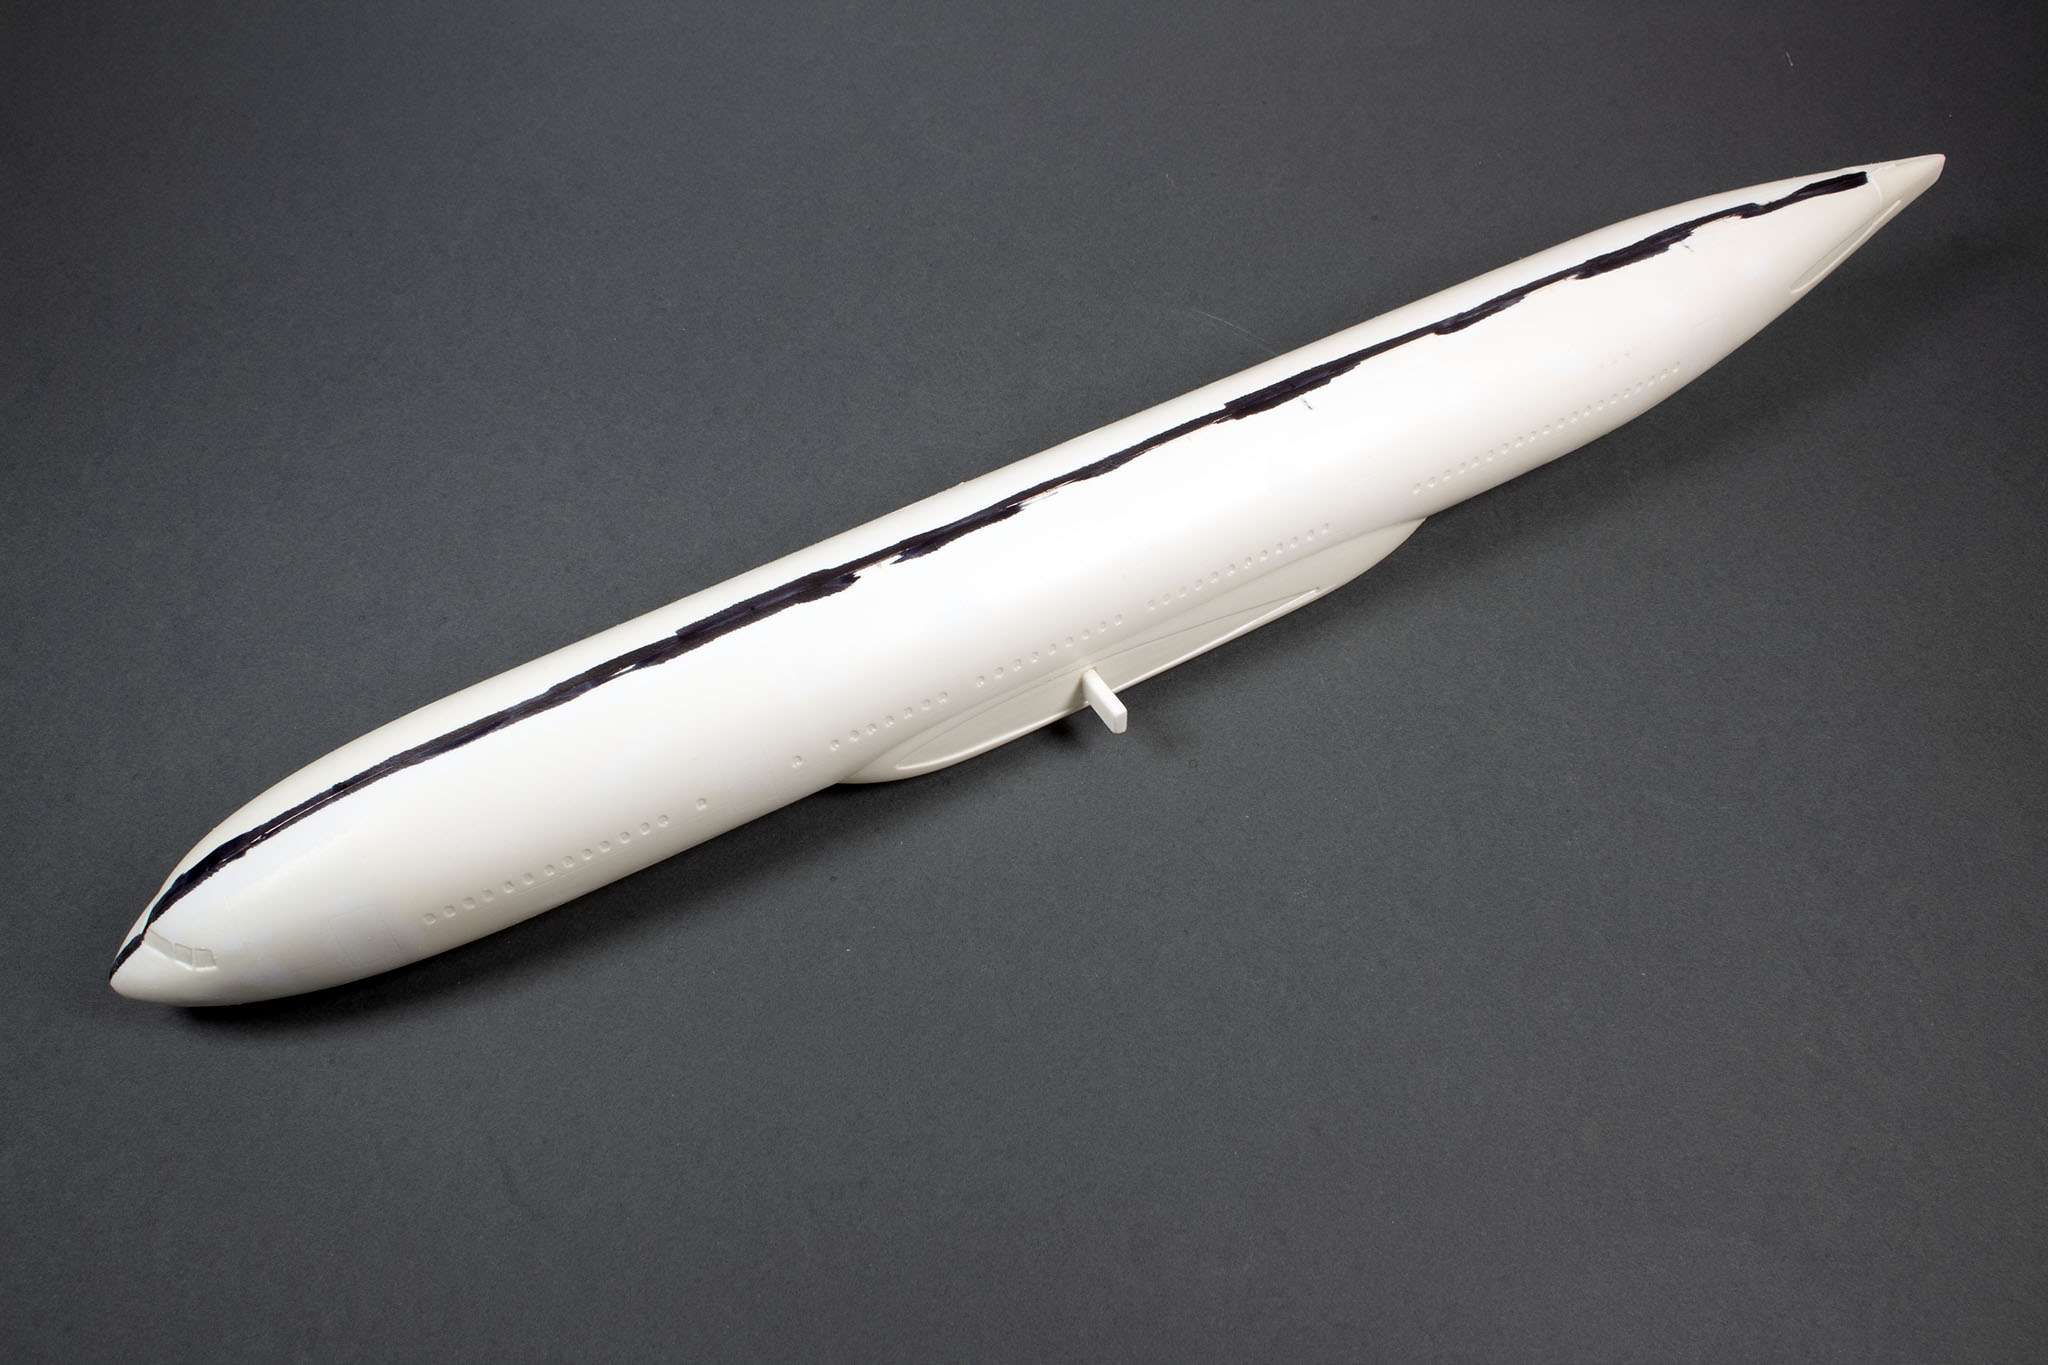
Another issue caused by the tabs I'd used was this undulating effect along the join:
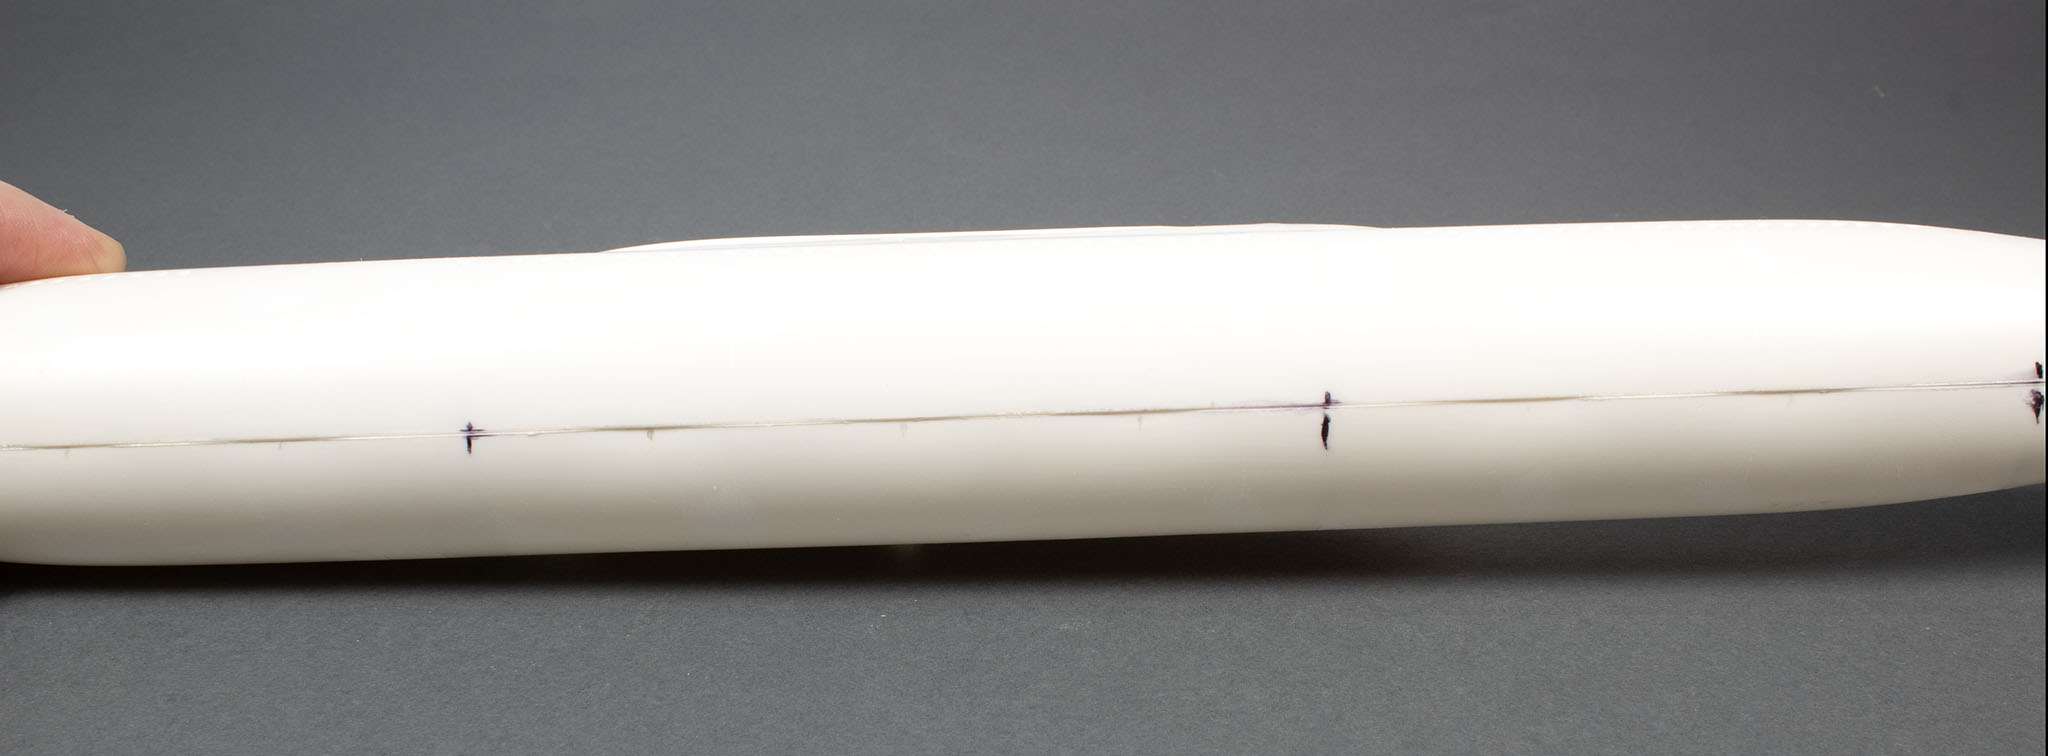
I'm not completely certain if this is caused by the tabs being too wide, or the alternating pattern I deployed them in - or perhaps a combination of both. Since the effect is much more prominent on the top (shown in the photo) than the bottom, I'm thinking it's more the latter, as for the bottom I used fewer, longer strips to form the tabs. So on my next vac fuselage, I'll experiment with using narrower strips that are as long as possible, and perhaps using thinner plastic that will conform better. But that's for another day!
I'd previously joined the two small tail end pieces together, but when I offered them up to the main fuselage, they were too narrow. I made the rookie mistake of not joining each half to its respective fuselage half, instead of making a separate unit out of them. I ended up cutting open the front section and shimming it with some styrene stock, which resulted in a much closer fit:
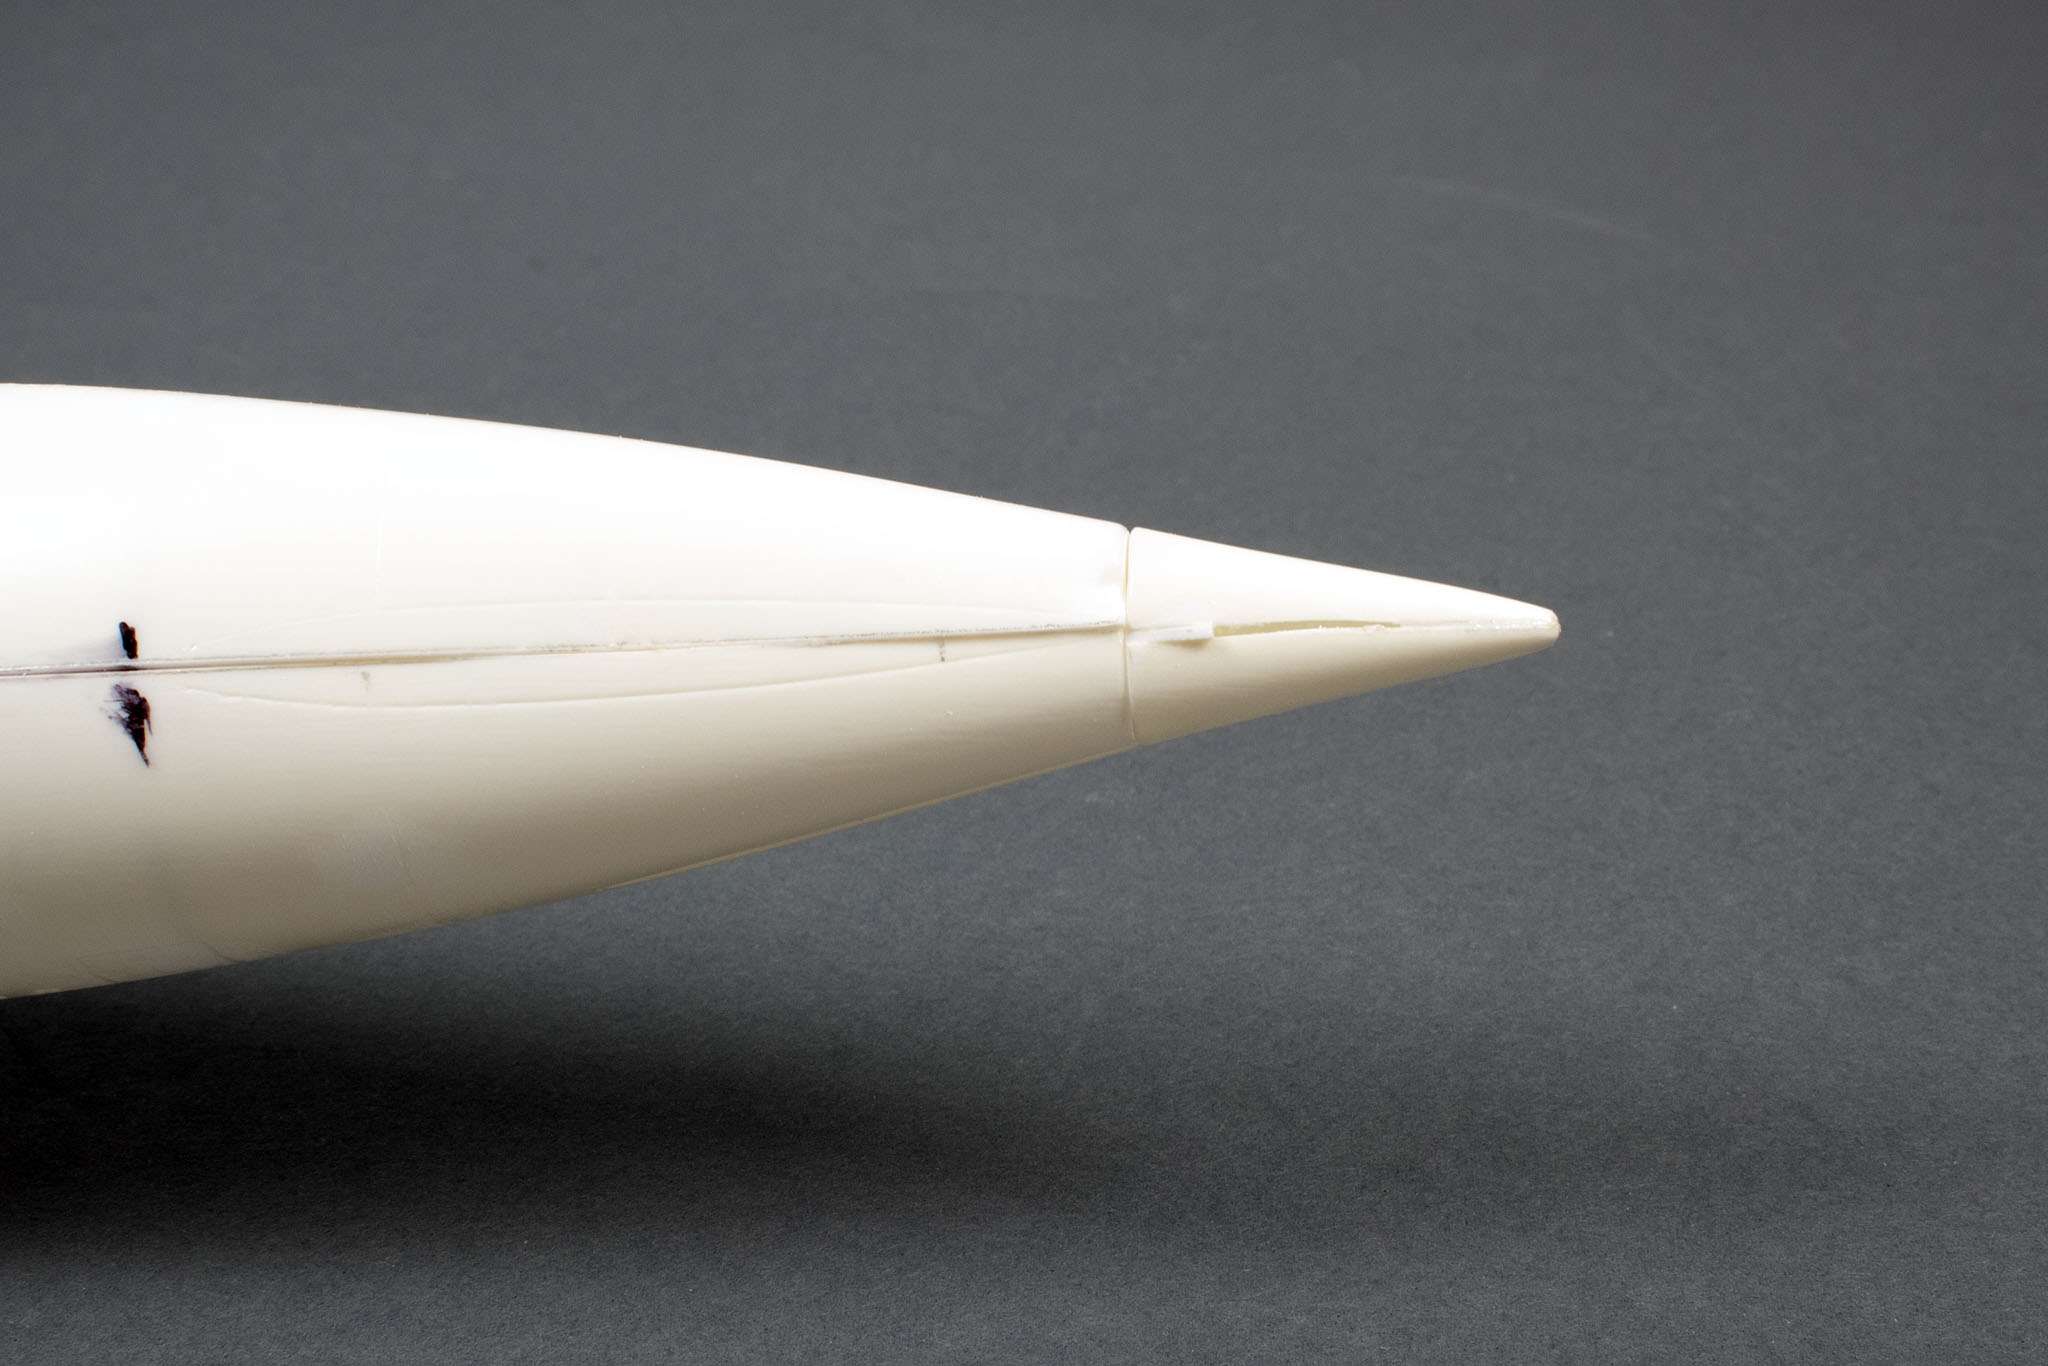
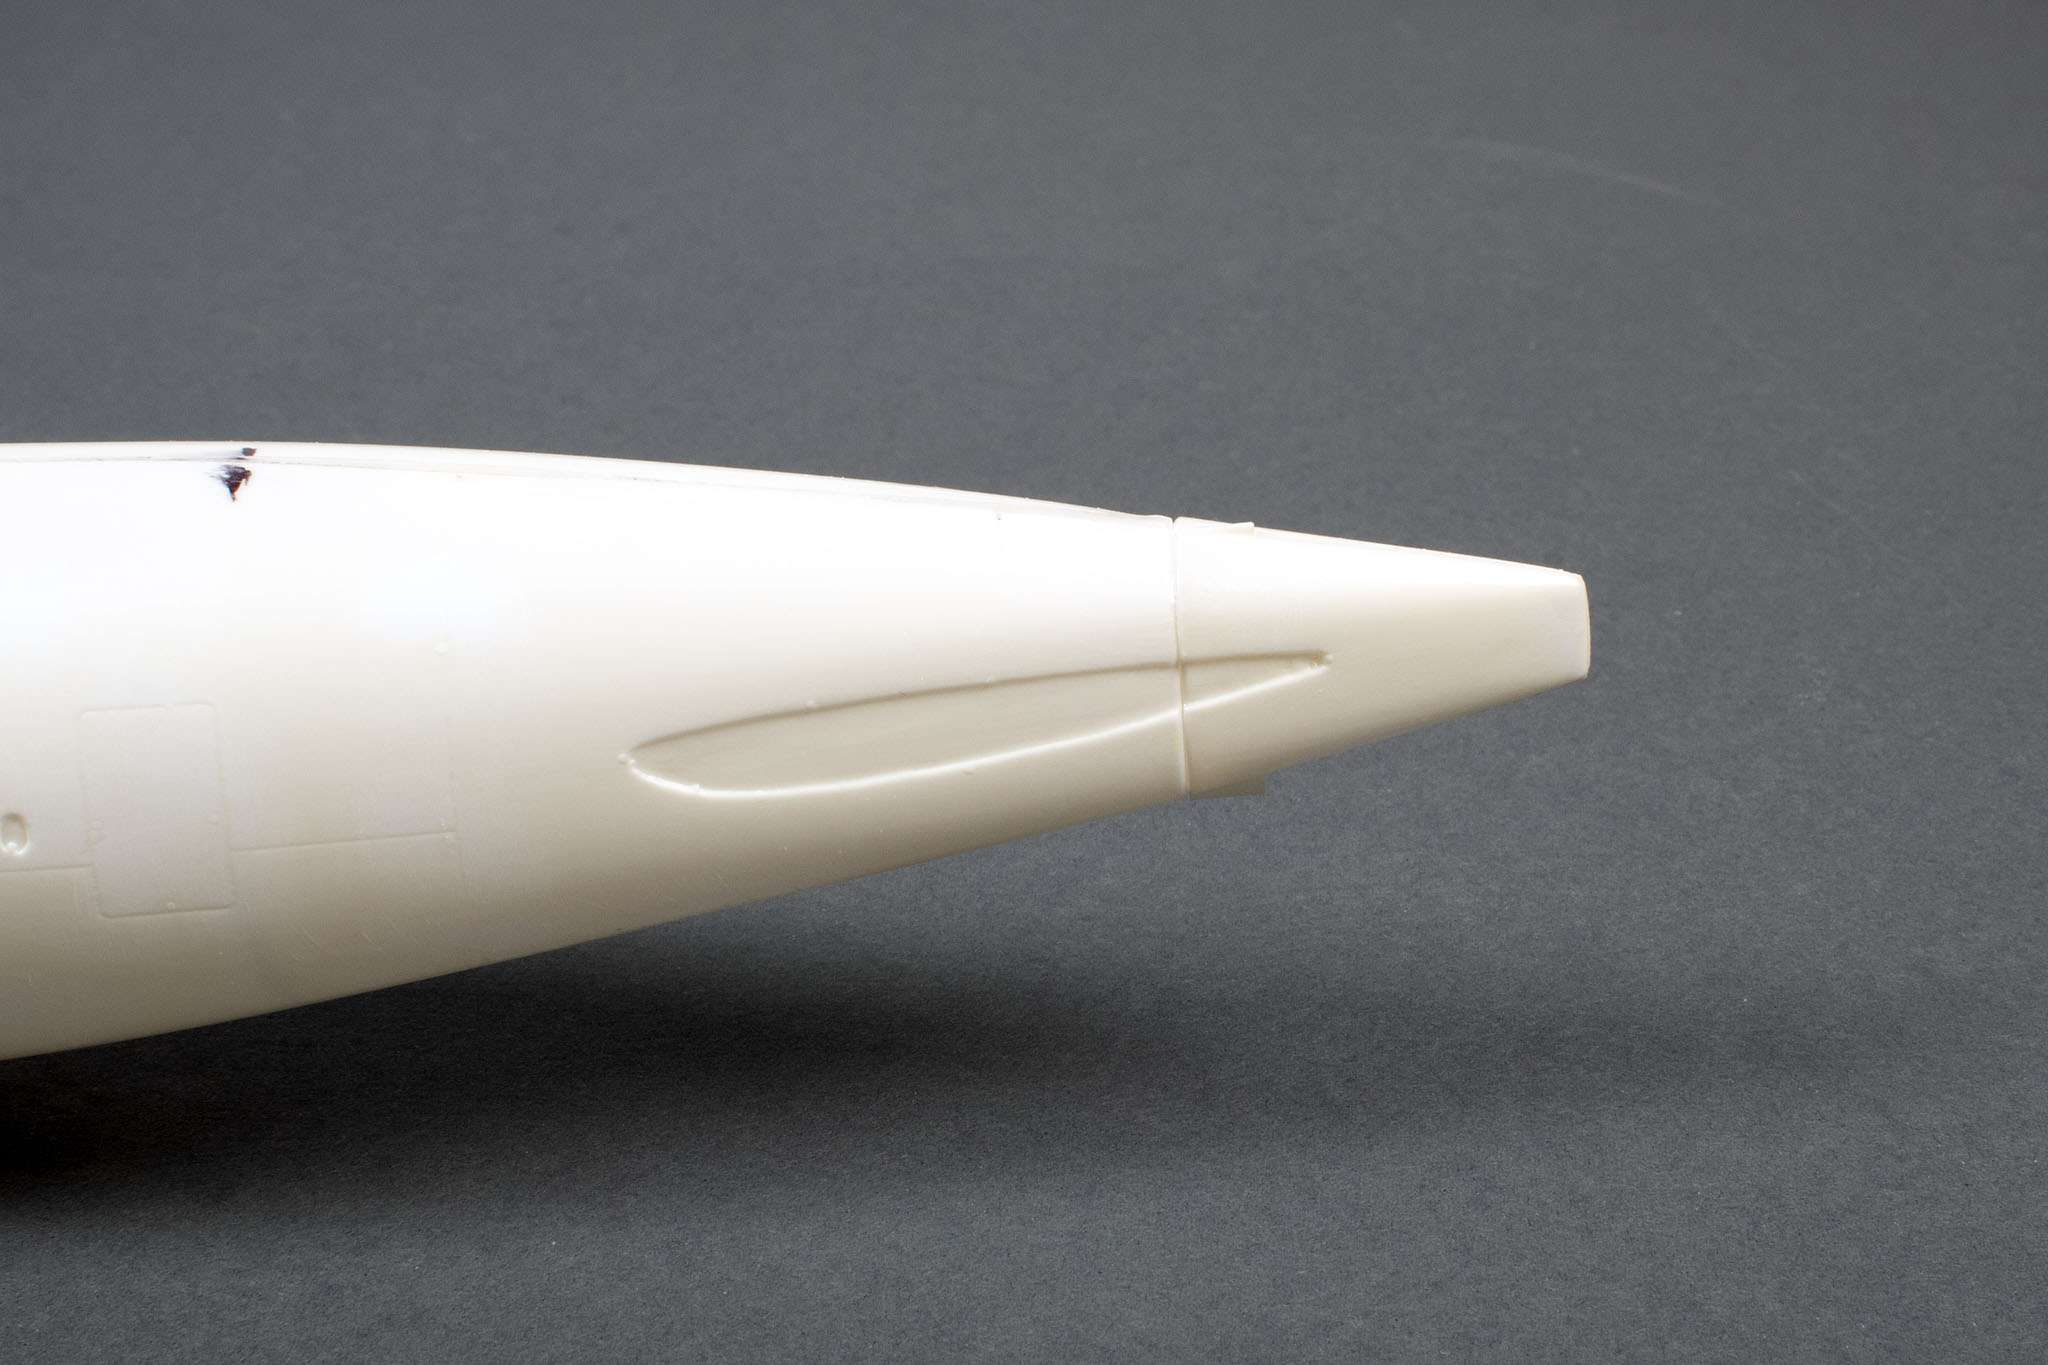
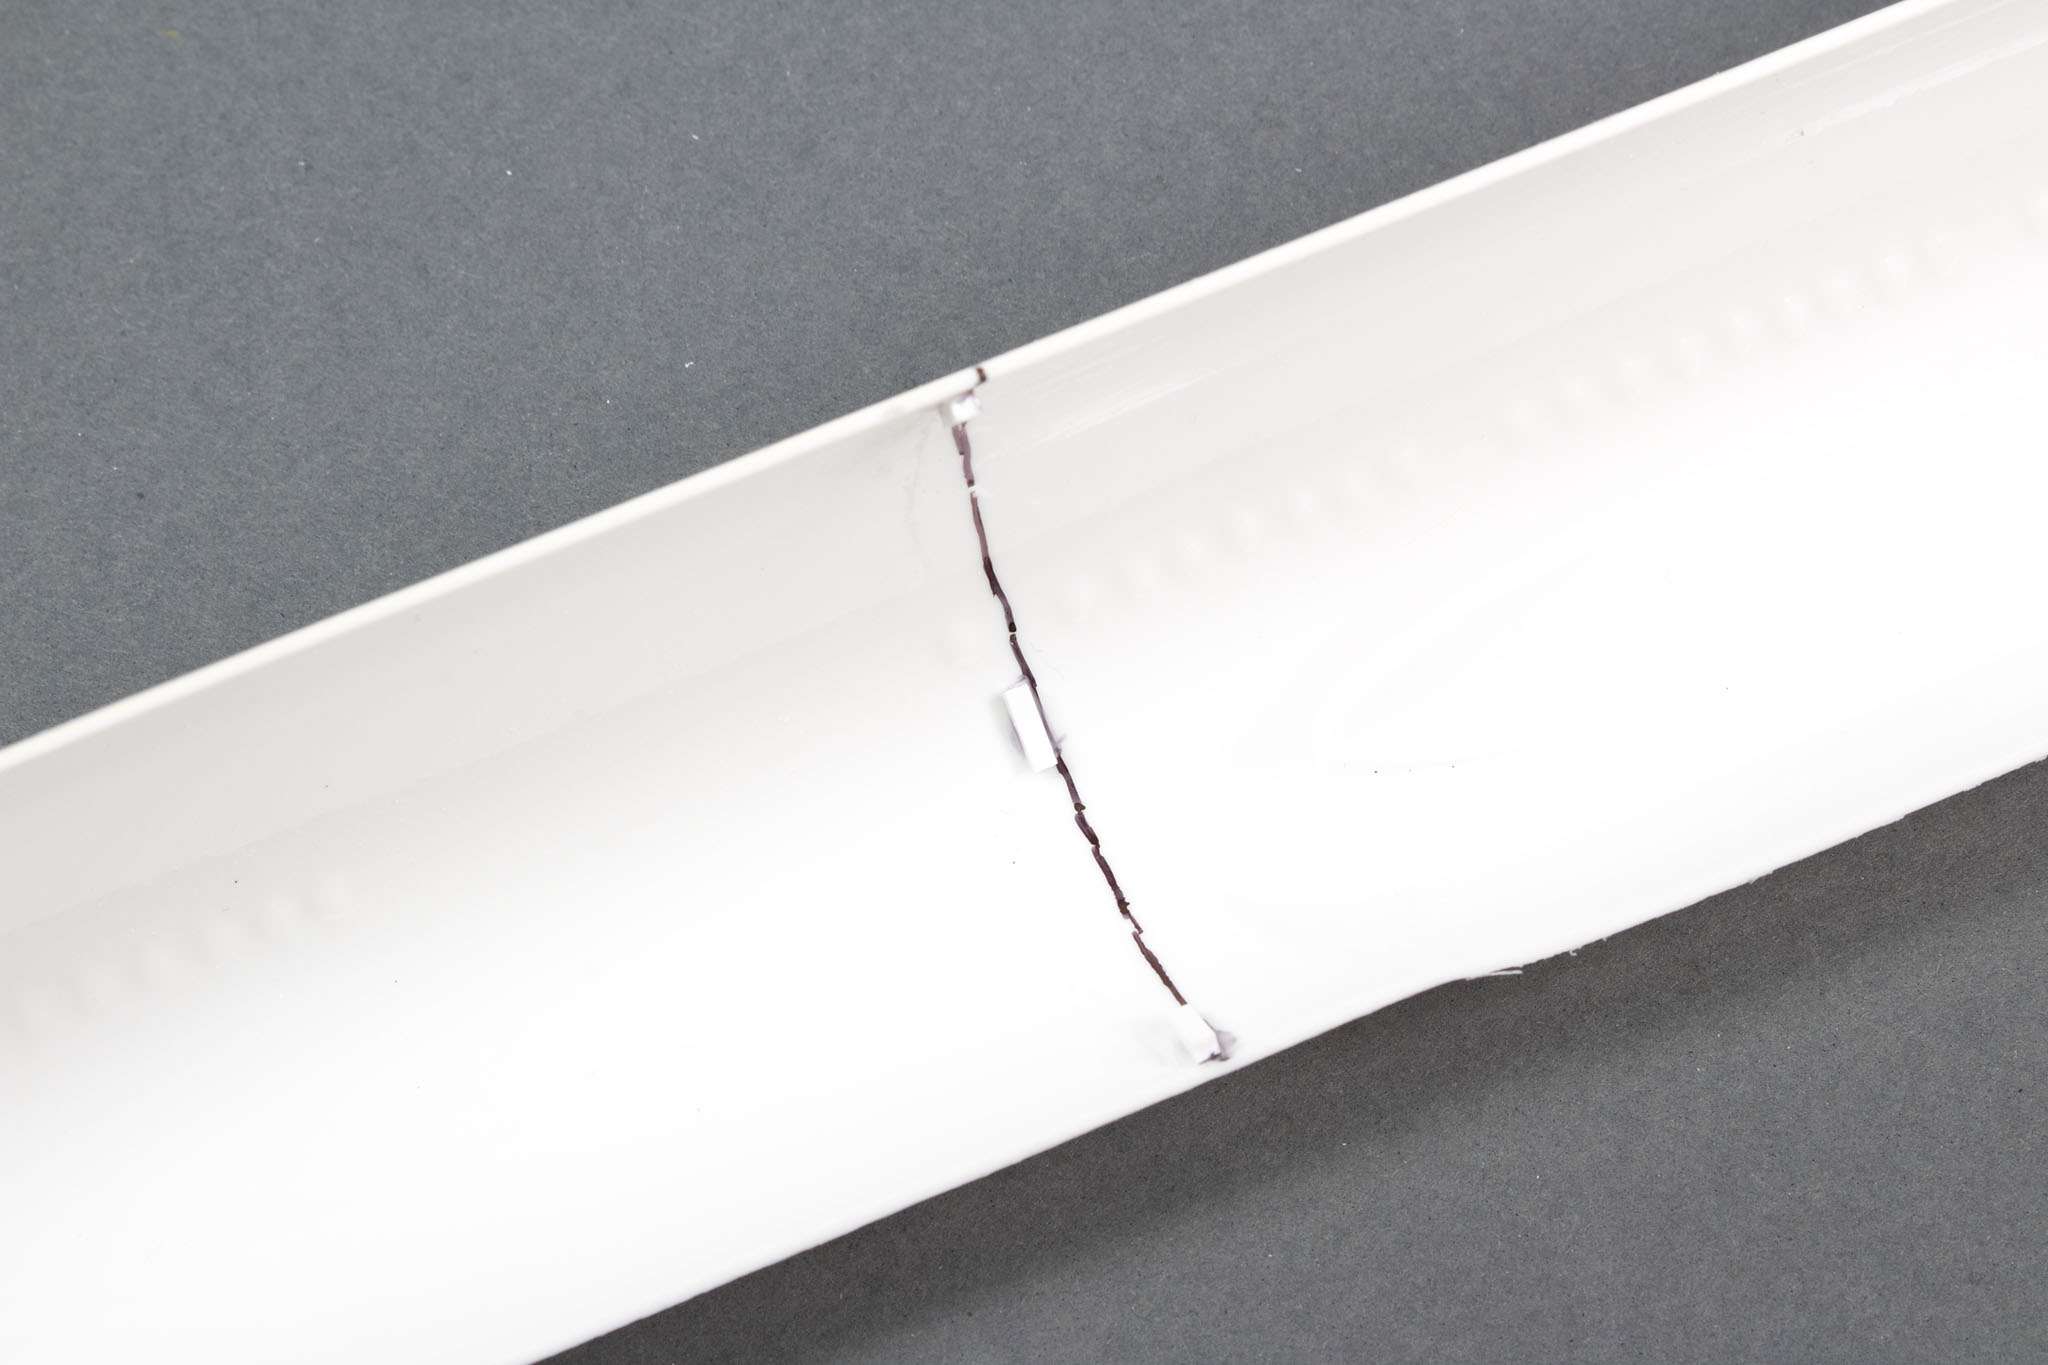
I finished off this round of fuselage work by highlighting the seam with a permanent marker. This will help me spot the low points as I sand the join back, and show me where I need to add filler.
I've also been working on the engines, with one going together with a minimum of fuss:
With the other, however, I managed to create some asymmetry in the plastic parts, meaning they didn't meet in the middle like they're supposed to:
I shimmed the gap with some Evergreen strip, and will let it set up firmly before moving on with it:
Suffice it to say that both engine pods will need their share of filling and sanding!
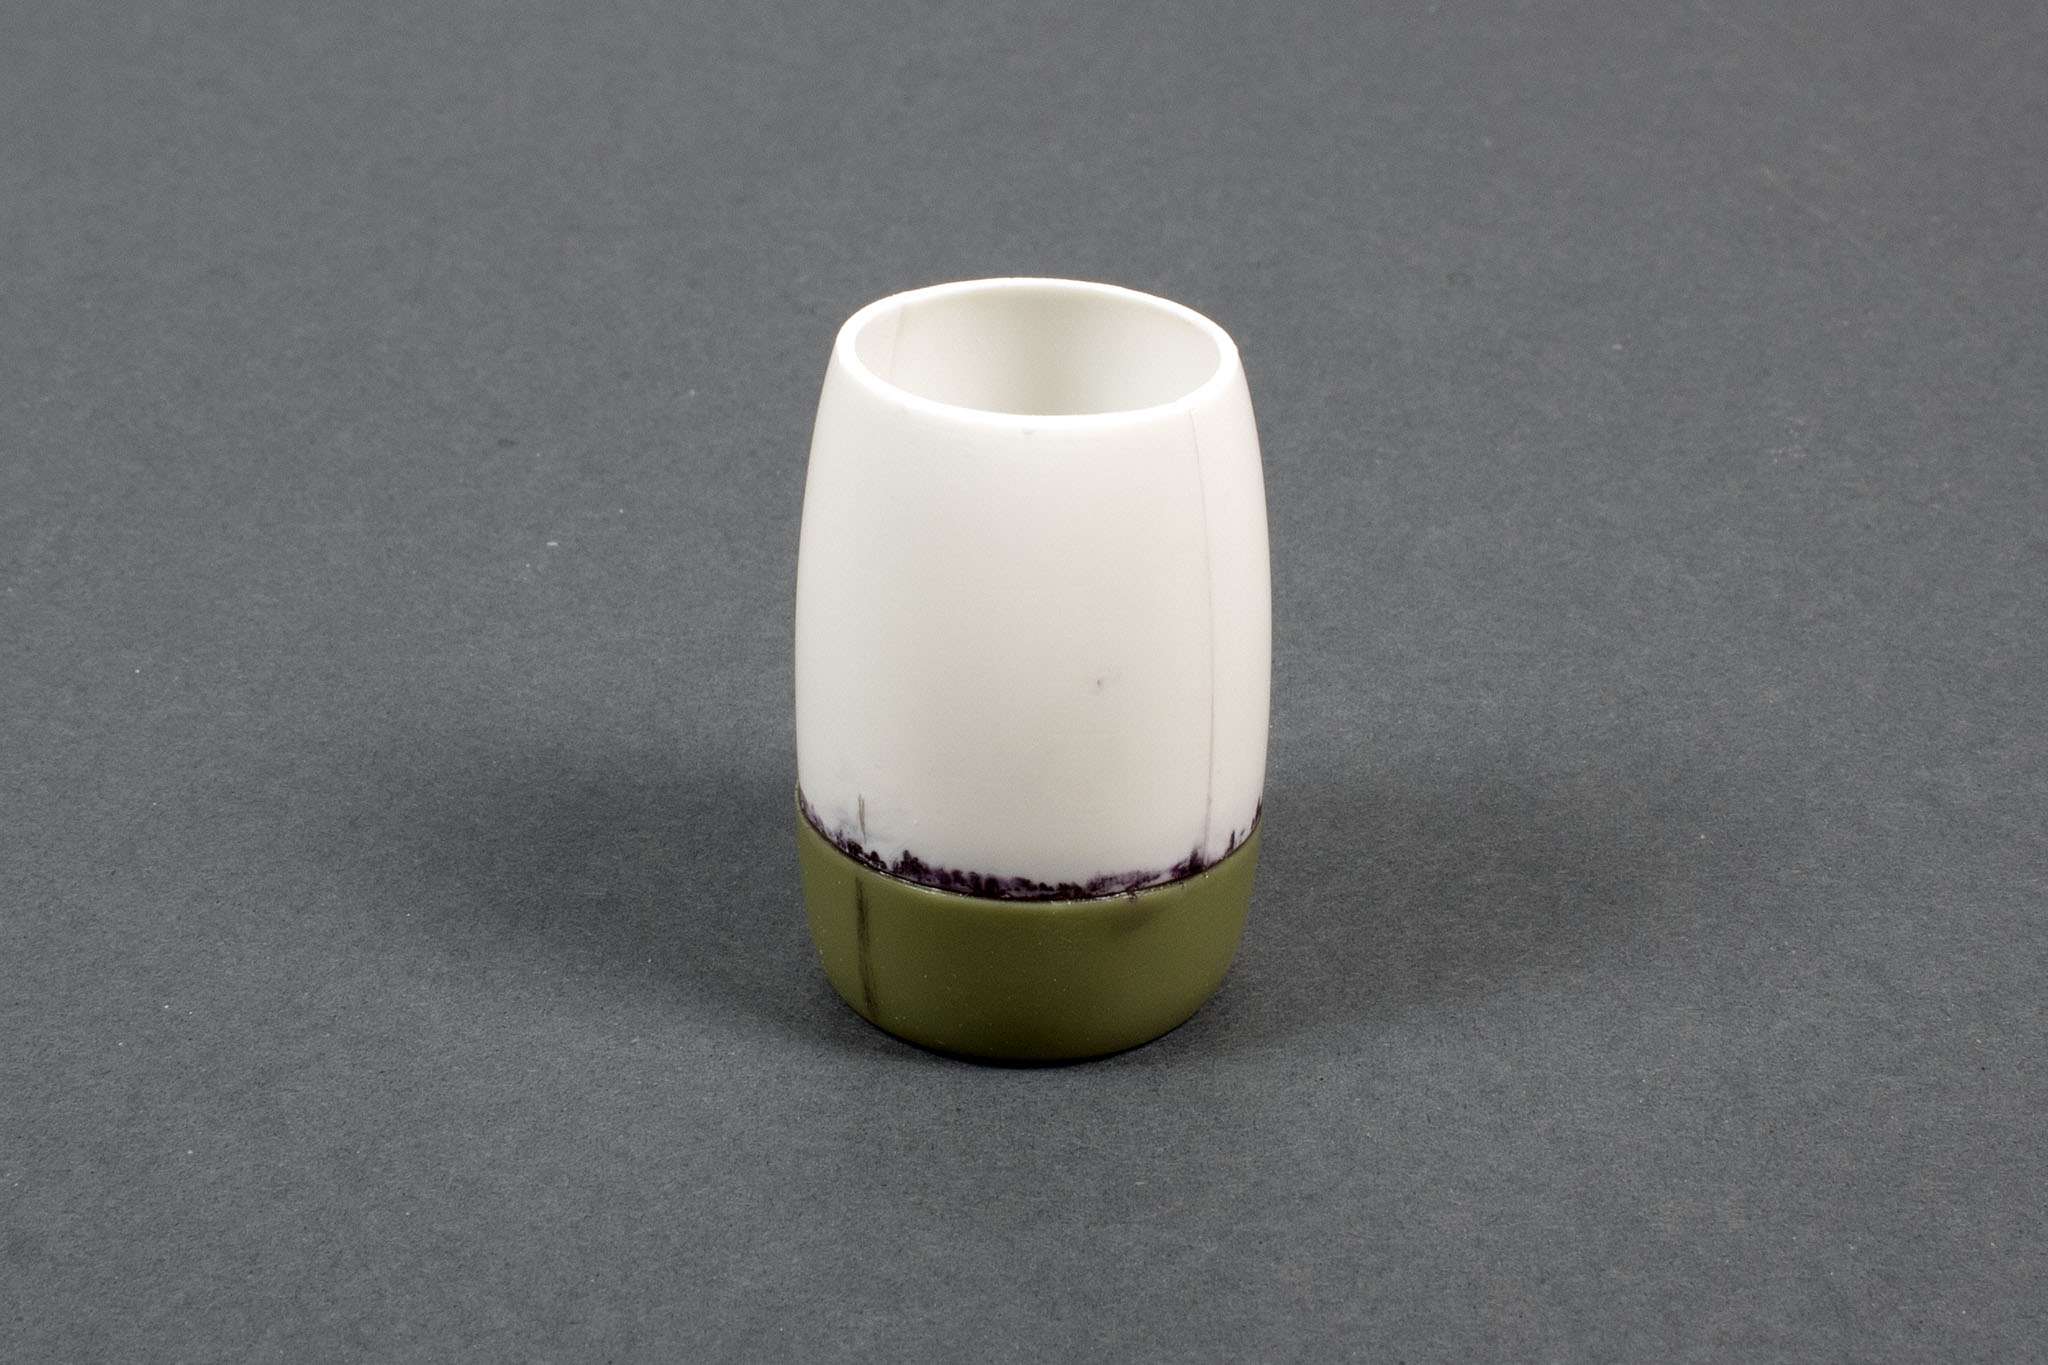
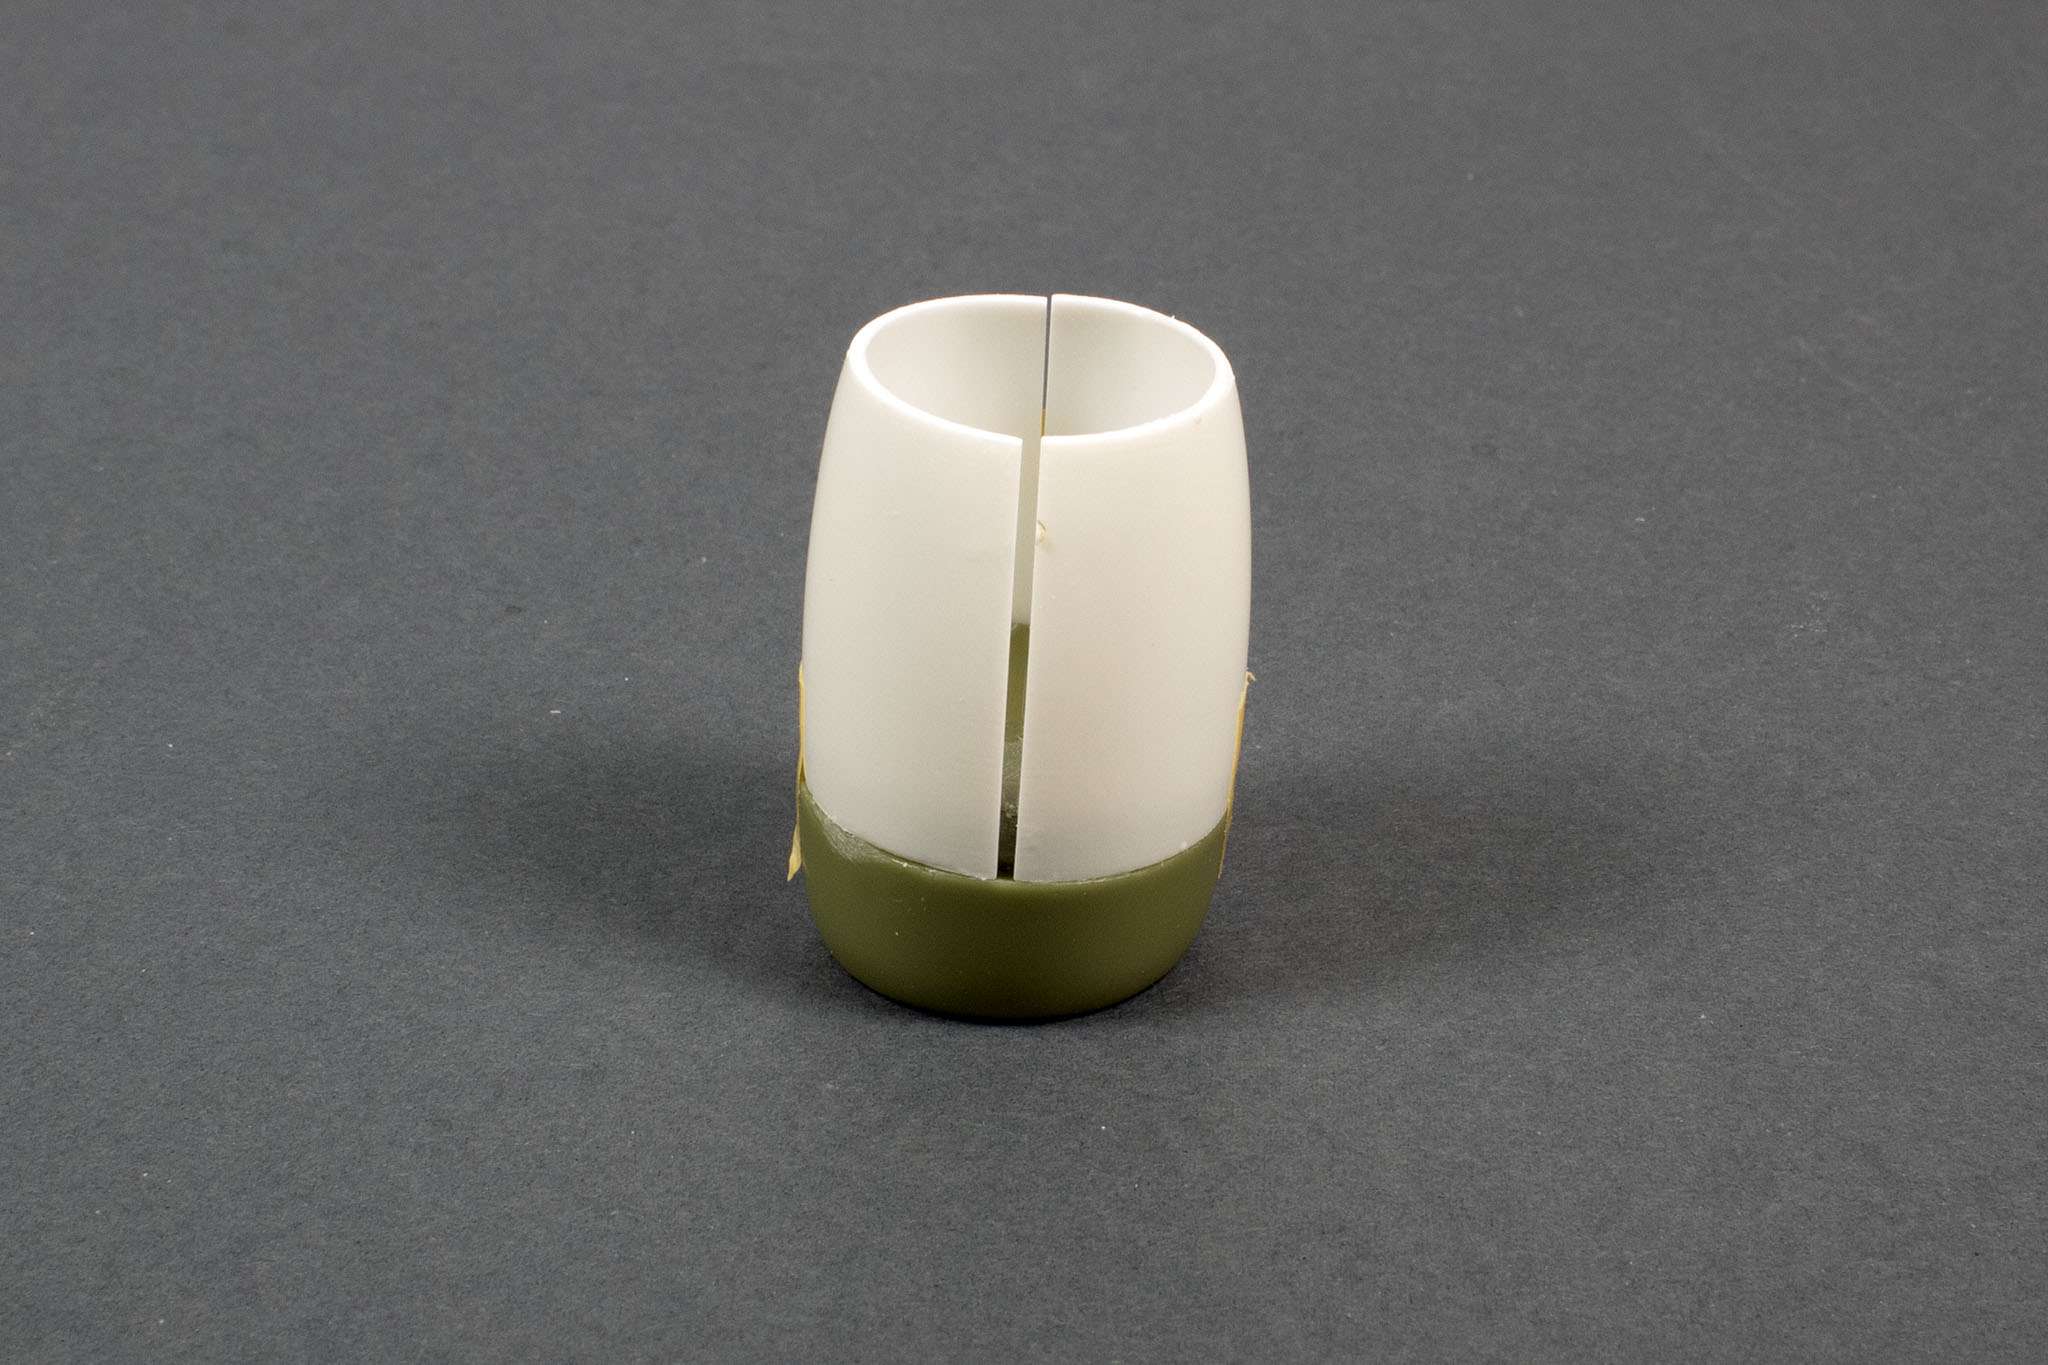
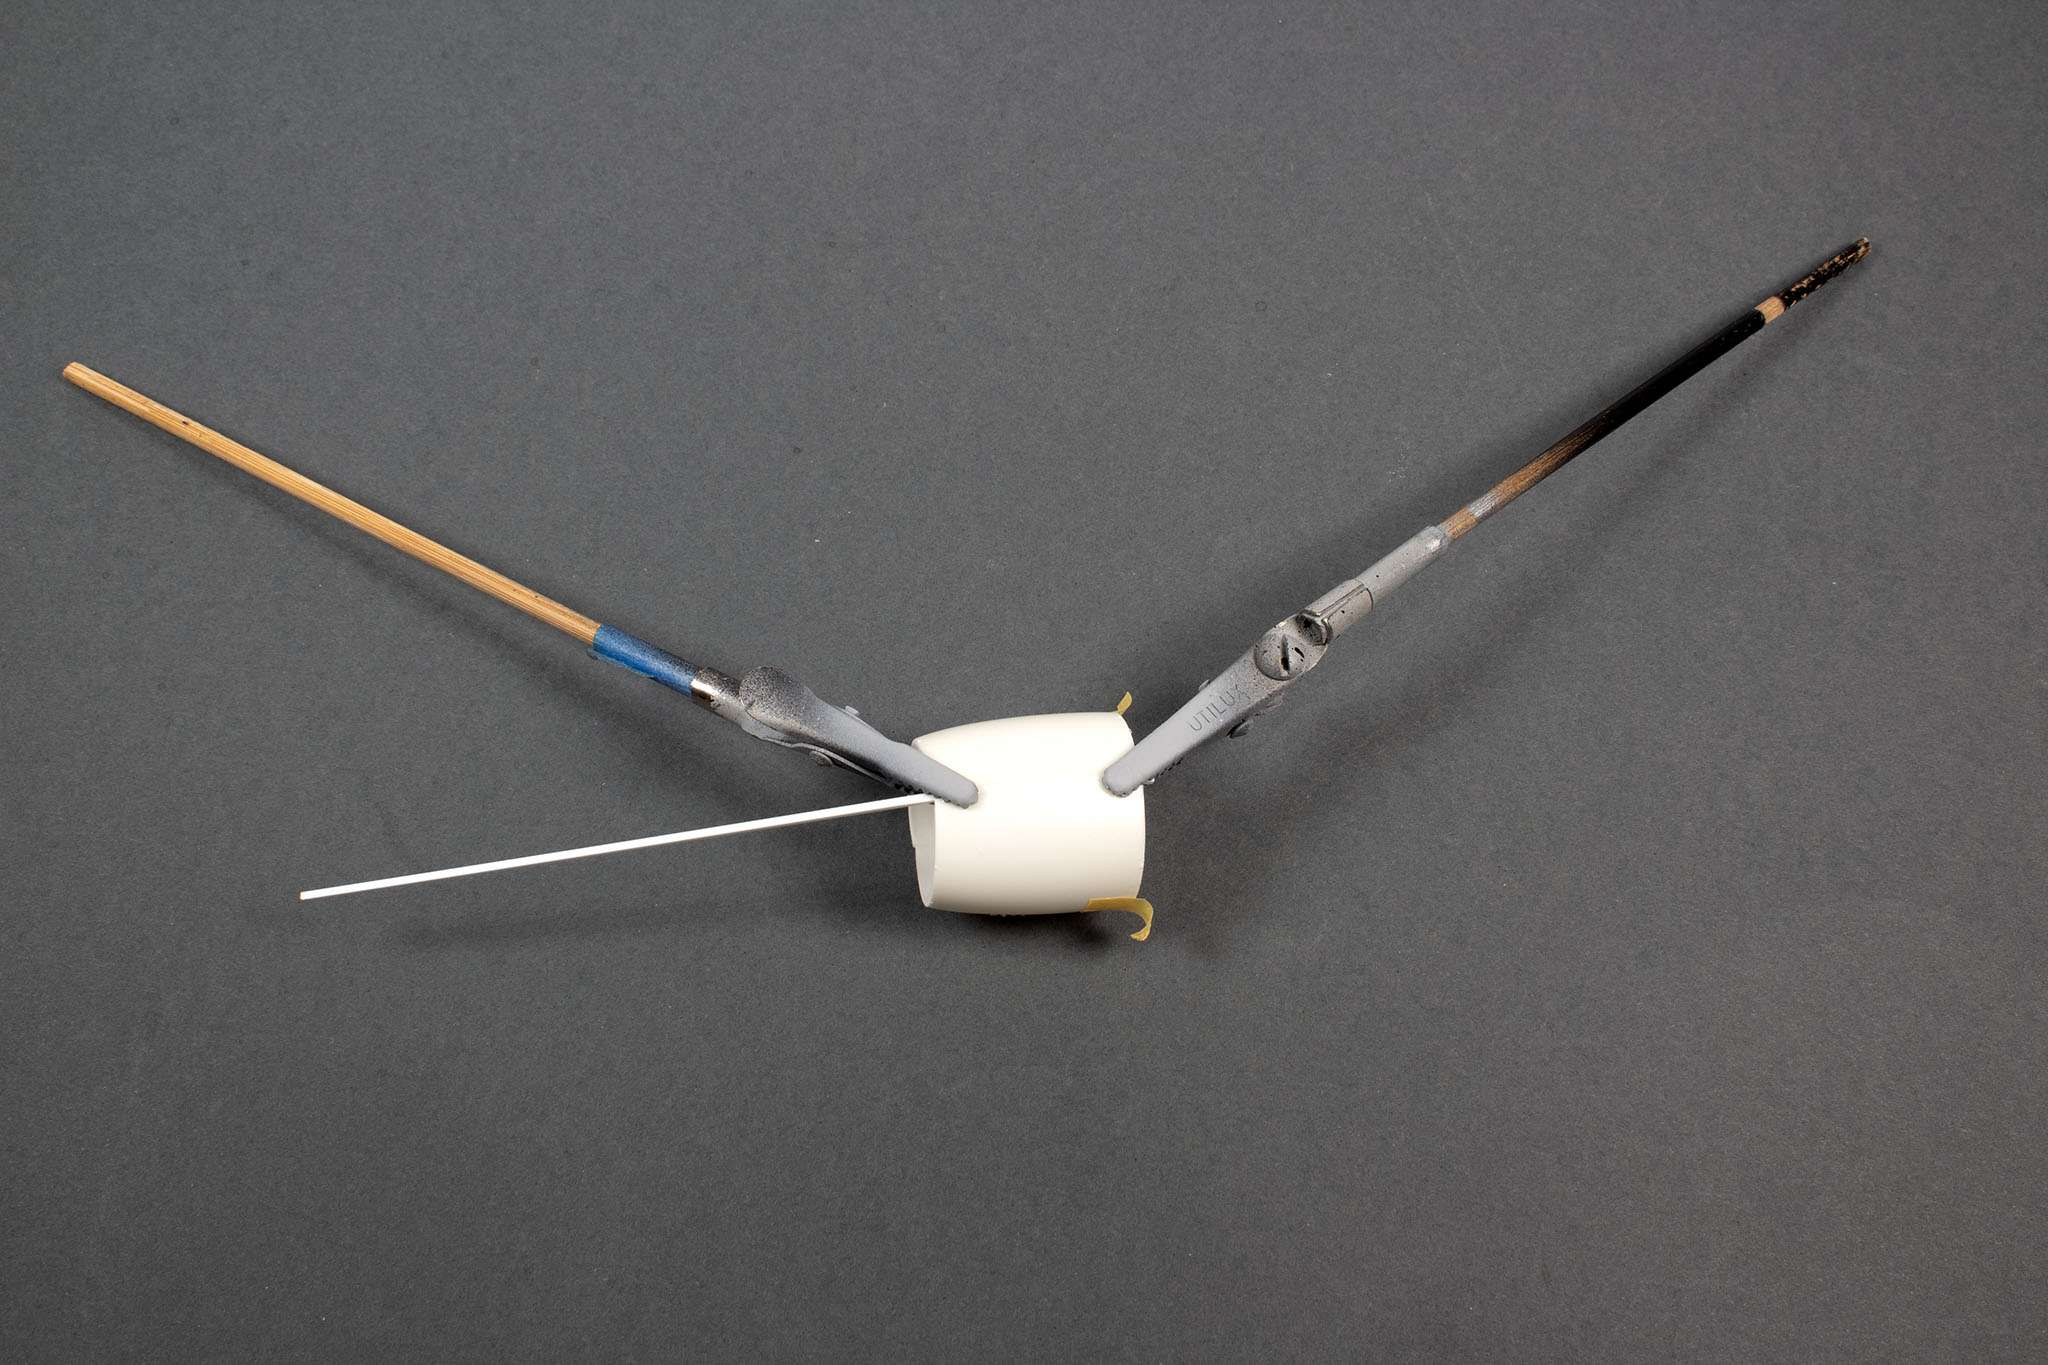
Lastly for today, I added the resin hot ends to the previously assembly pylon/engine assembly:

The instructions are a bit unclear with the assembly here, and I wasn't sure whether I was supposed to remove the plugs at the front of the resin pieces so I could butt-join them to the plastic, or make cut-outs in the plastic to accommodate them as inserts. For the bottom assembly, I tried the latter approach, but the plugs are really too wide for the resulting hole, even if you remove all the plastic. You can see in the photo above that I managed to split the plastic trying to fit it in. So for the second one (top in the photo), I removed the plug and went the butt-join route, which was about the same amount of work, but with no split plastic.
Again, plenty of remedial work ahead!
Kev
- LSP_K2, chaos07, patricksparks and 4 others
-
 7
7
-
8 minutes ago, LSP_K2 said:
I may, but in the meanwhile it looks like a bunch of the decals out there as options, are out of stock, and I don't have the time to just keep putting everything off. What, if anything, will strip Tamiya lacquer paint? I've never had any luck with that.
Tamiya lacquer thinner! Or Mr. Color Thinner - whichever one you have to hand. Just don't use hardware store lacquer thinner, as will be almost guaranteed to damage the plastic. But honestly, unless I'm feeling fussy about surface details, I'm often happy to just go over the existing paint after a quick sand to knock it down a bit.
Kev
-
It's just paint, so sand and respray, or strip it entirely.
Kev
-
Nice work, Craig!
You'll have to change the image in your sig, however, as it's way too large. I'm surprised the forum software even let you use it, as they're set to max of 400px wide.
Kev
-
-
44 minutes ago, LSP_K2 said:
It does look sort of weird. Perhaps it's time to consider a different scheme?
I might, but the decals actually look pretty decent, and Brad Shinn's photo on Facebook makes me think that I might be able to get away with simply painting the tail a lighter colour. I need to print the tail decals for the 757 soon, so I might print a couple of copies of this tail too, and lay them down over some lighter blue colours to see if the effect is convincing. Obviously if it's just going to end up being a mid-blue over a light blue, then that really isn't going to work.
The only other decals I have to hand are some American Airlines markings from the Minicraft kit, which is destined to become an Air New Zealand bird. And there's no full tail decal on that scheme either, so it would simplify things there, too. And, as my earlier photo shows, the fuselages from the two kits are a good match, so there's a chance the cheat stripe decals from the Minicraft kit would fit here OK. And they're printed by Cartograf, so no qualms about the quality.

Kev
-
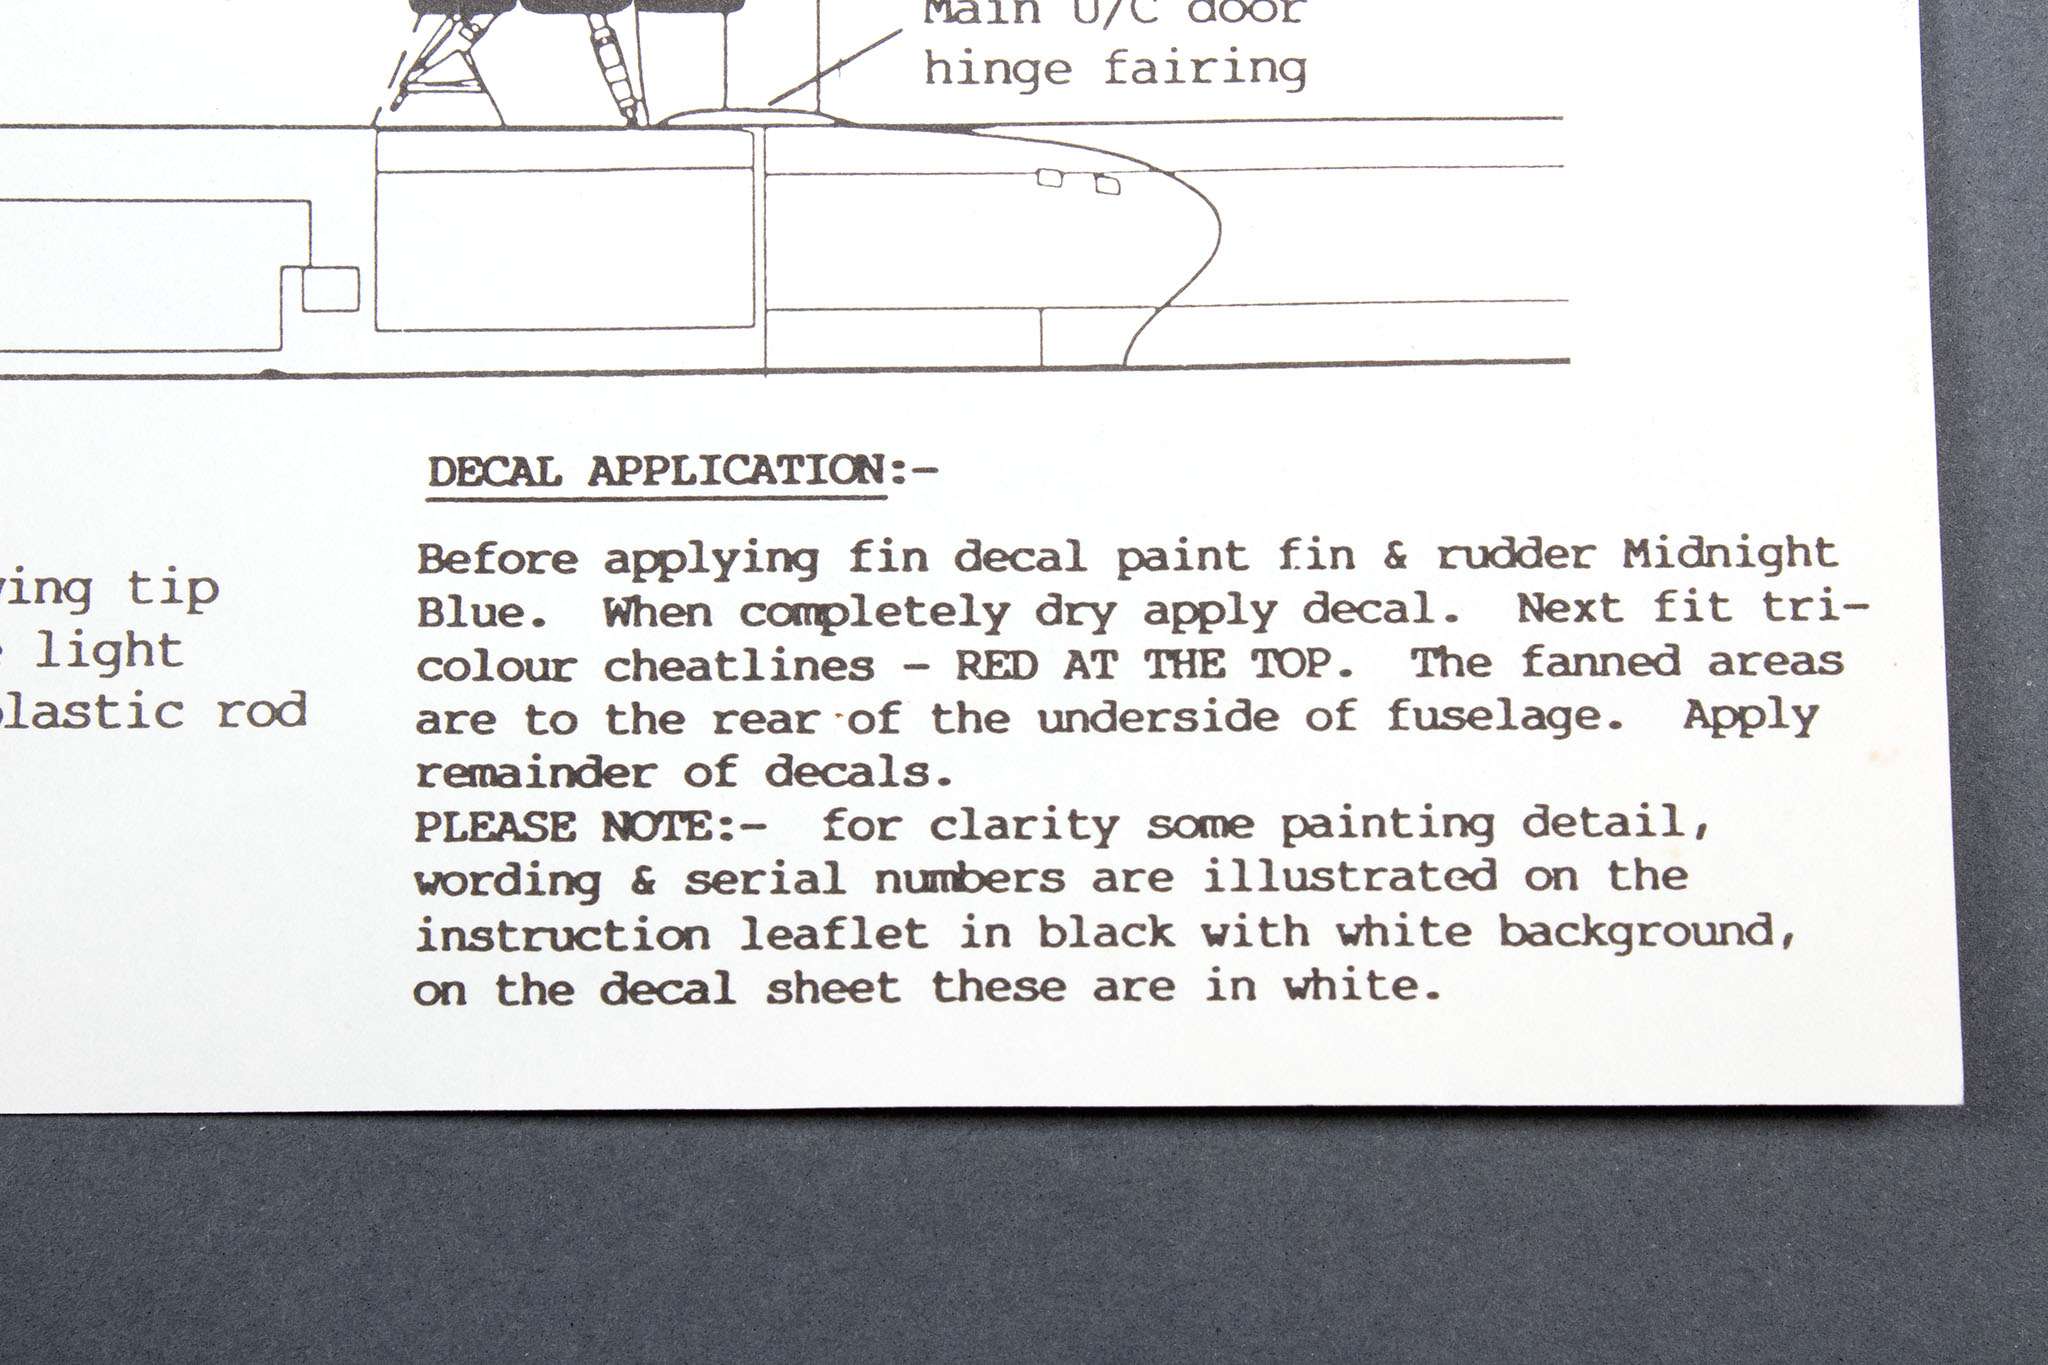
I'm a little confused about the United Airlines 777 scheme provided in the Welshmodels kit. It describes painting the undersides, engines and fin in Midnight Blue, and applying the supplied striped fin decal over the latter.
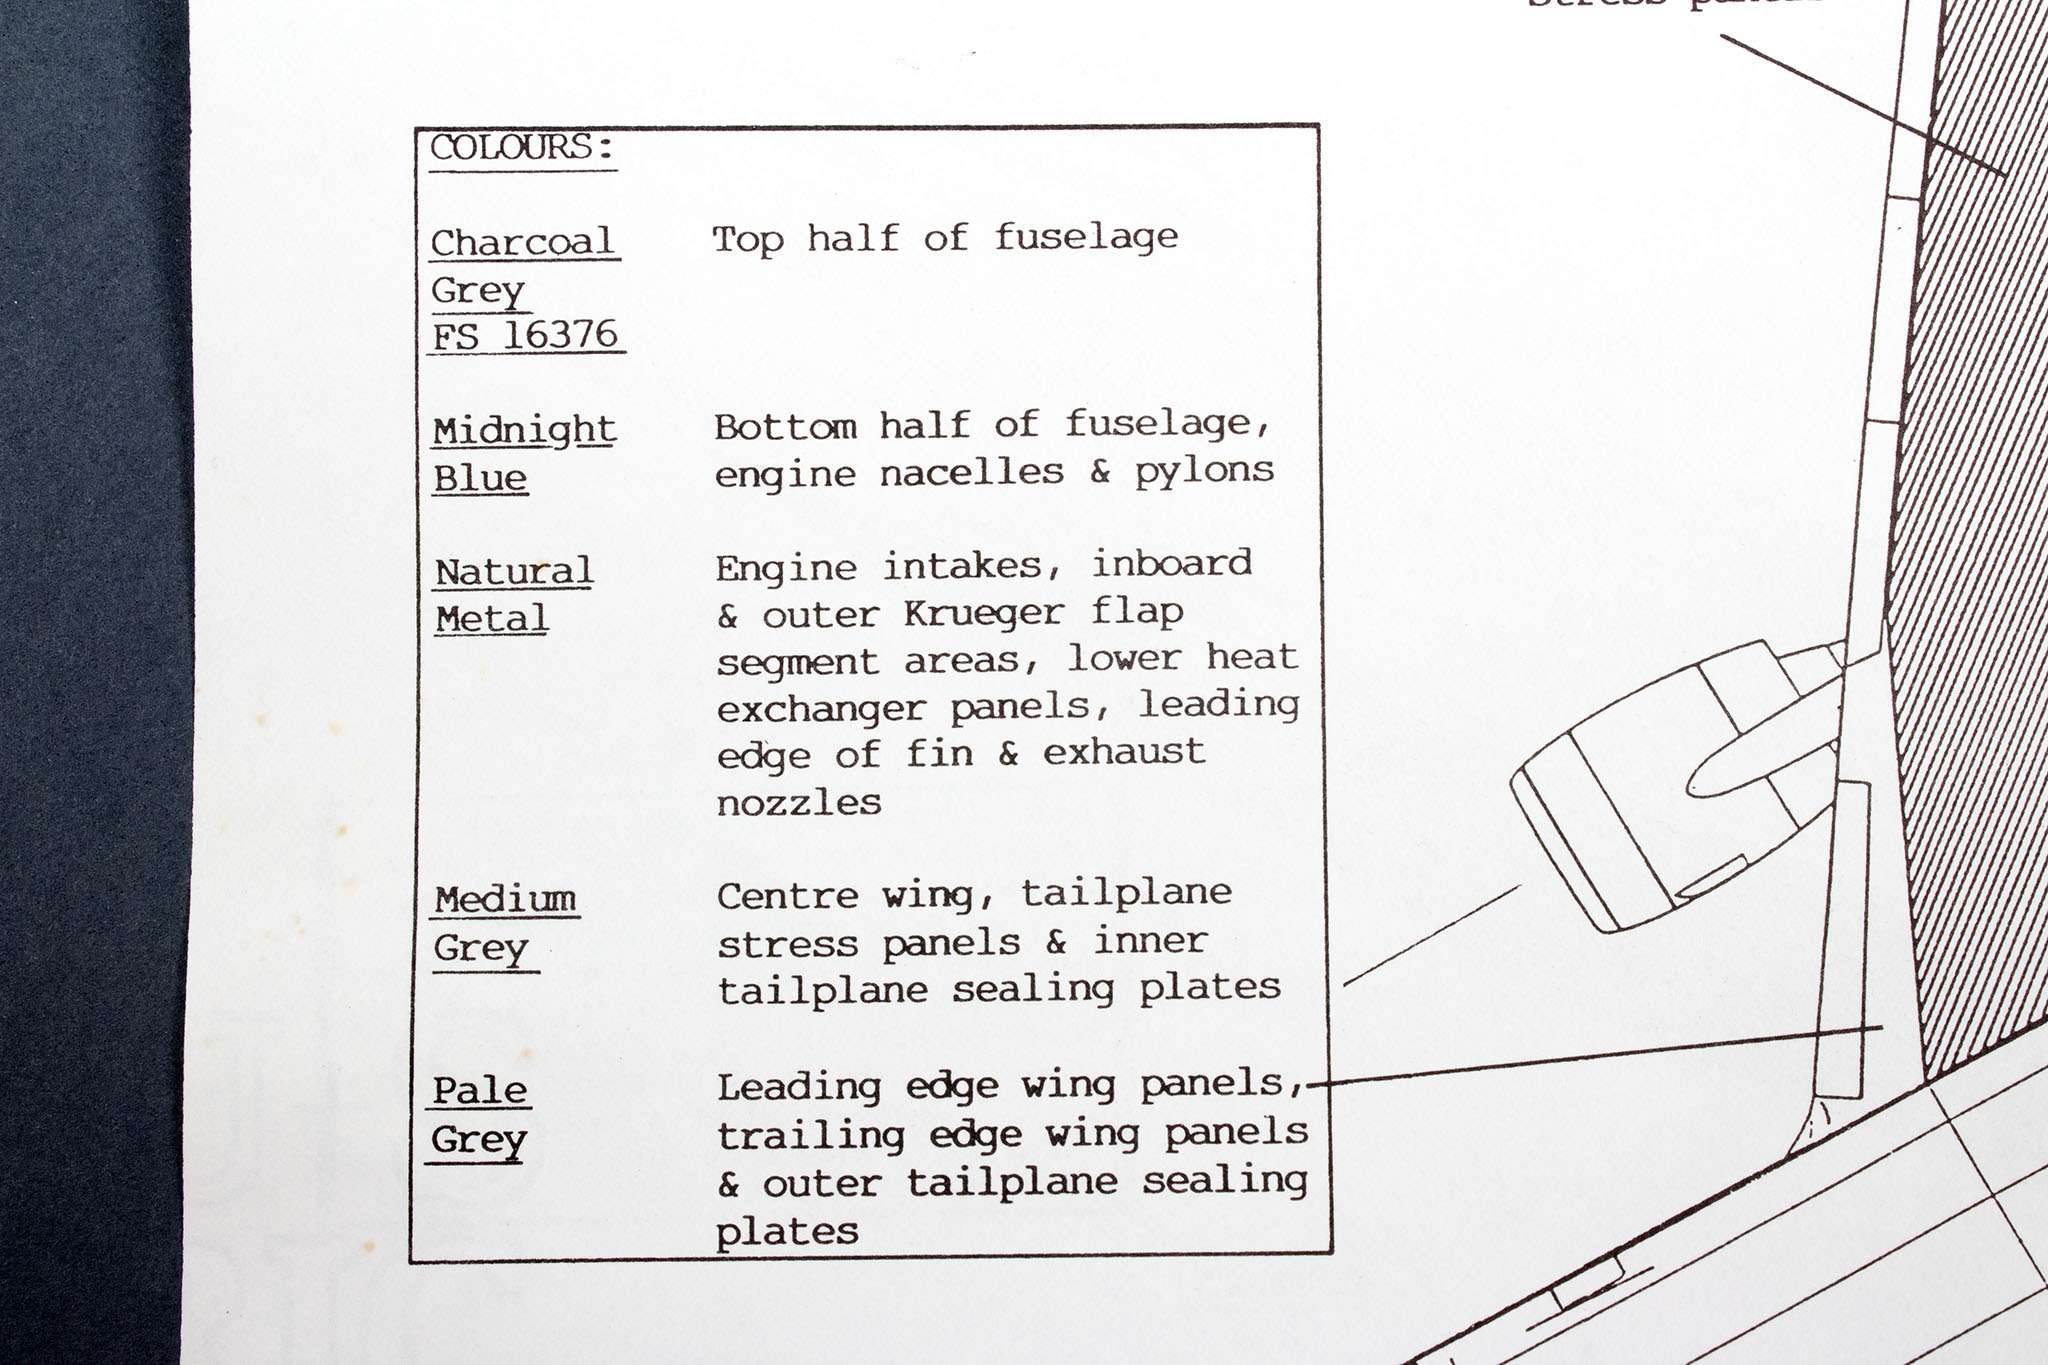
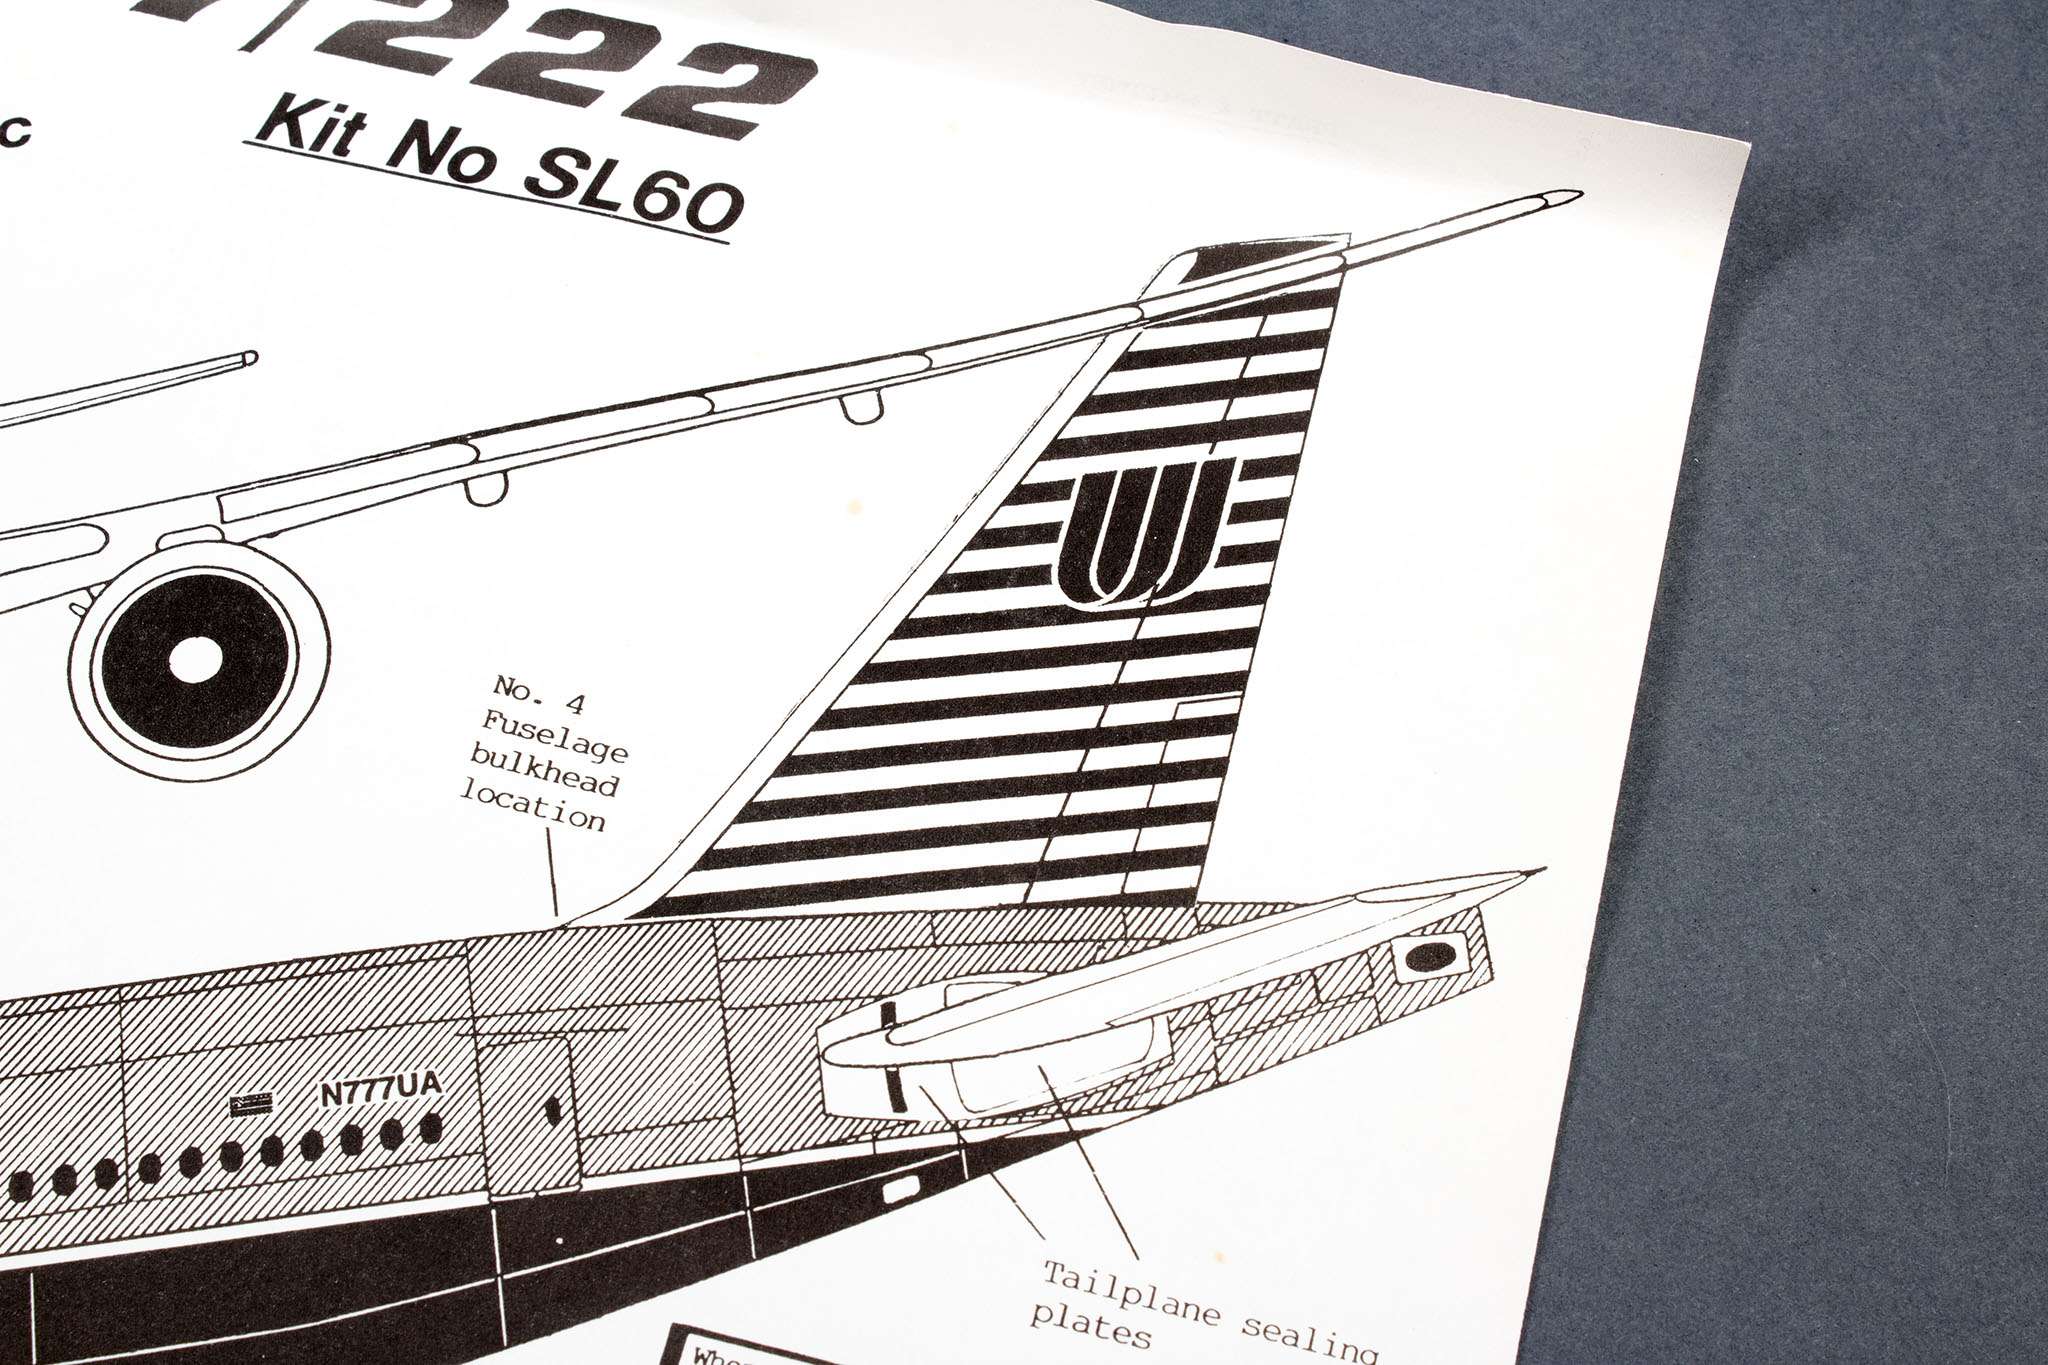 But compared to the real thing, the decal stripes appear to be much too light - closer in colour to the lighter of the two stripe colours.
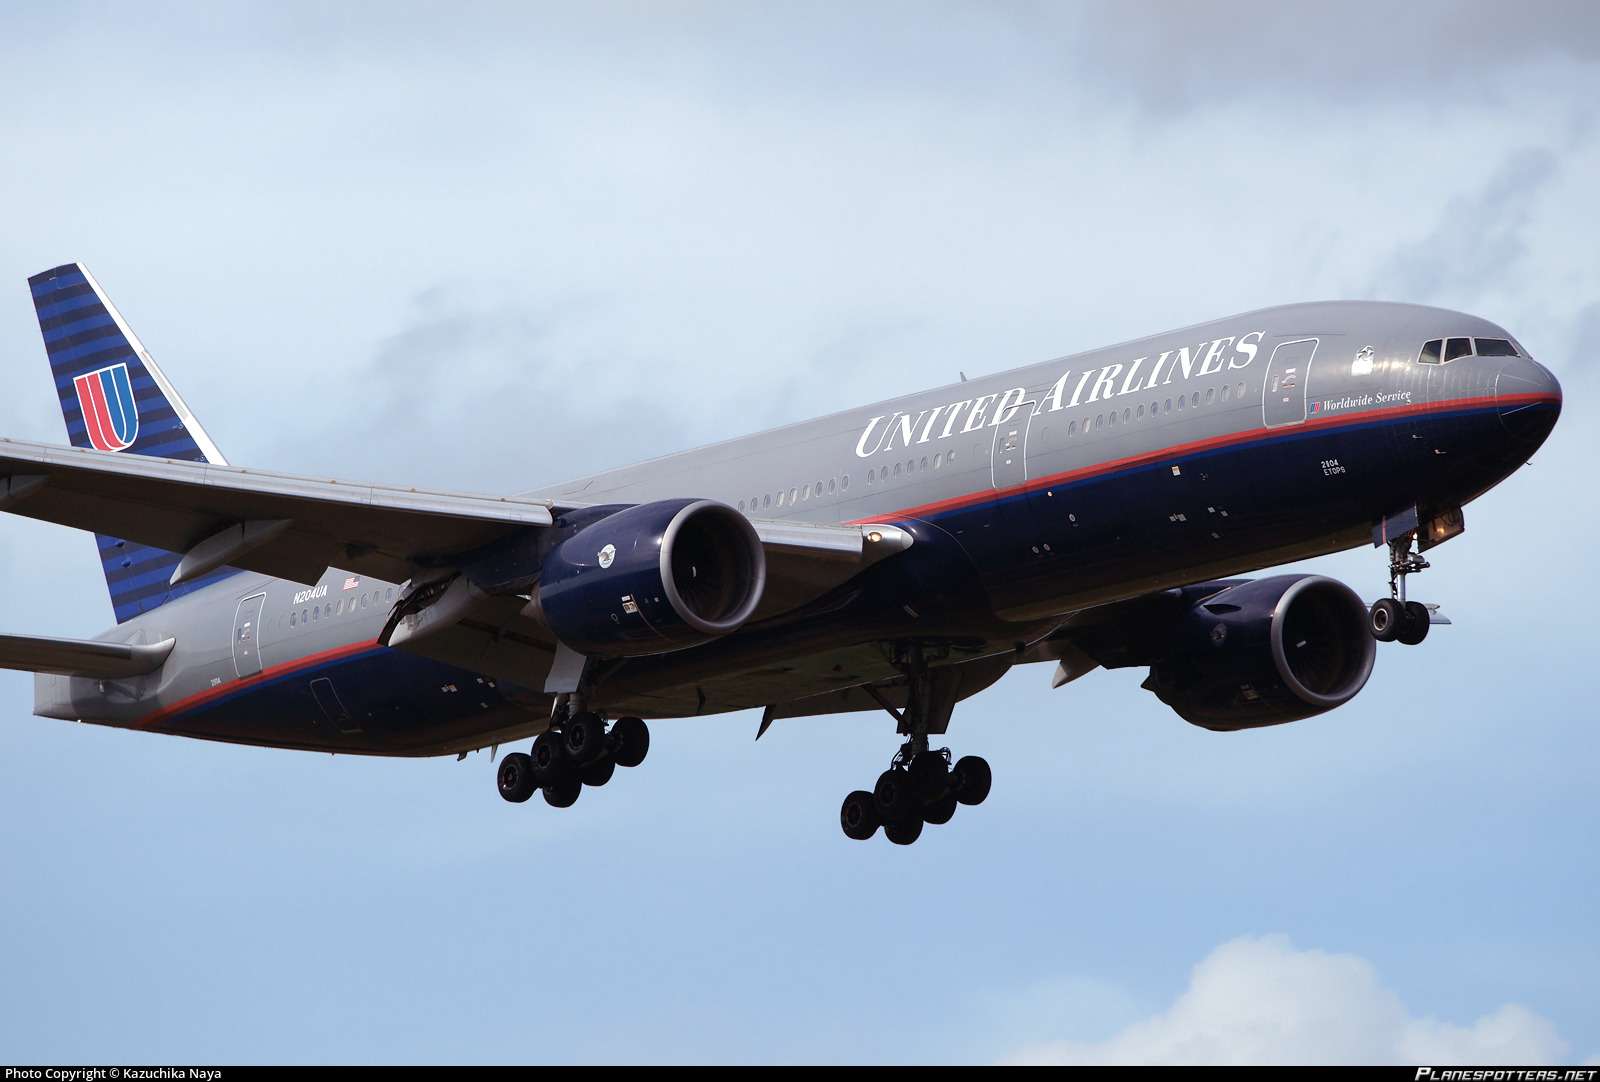
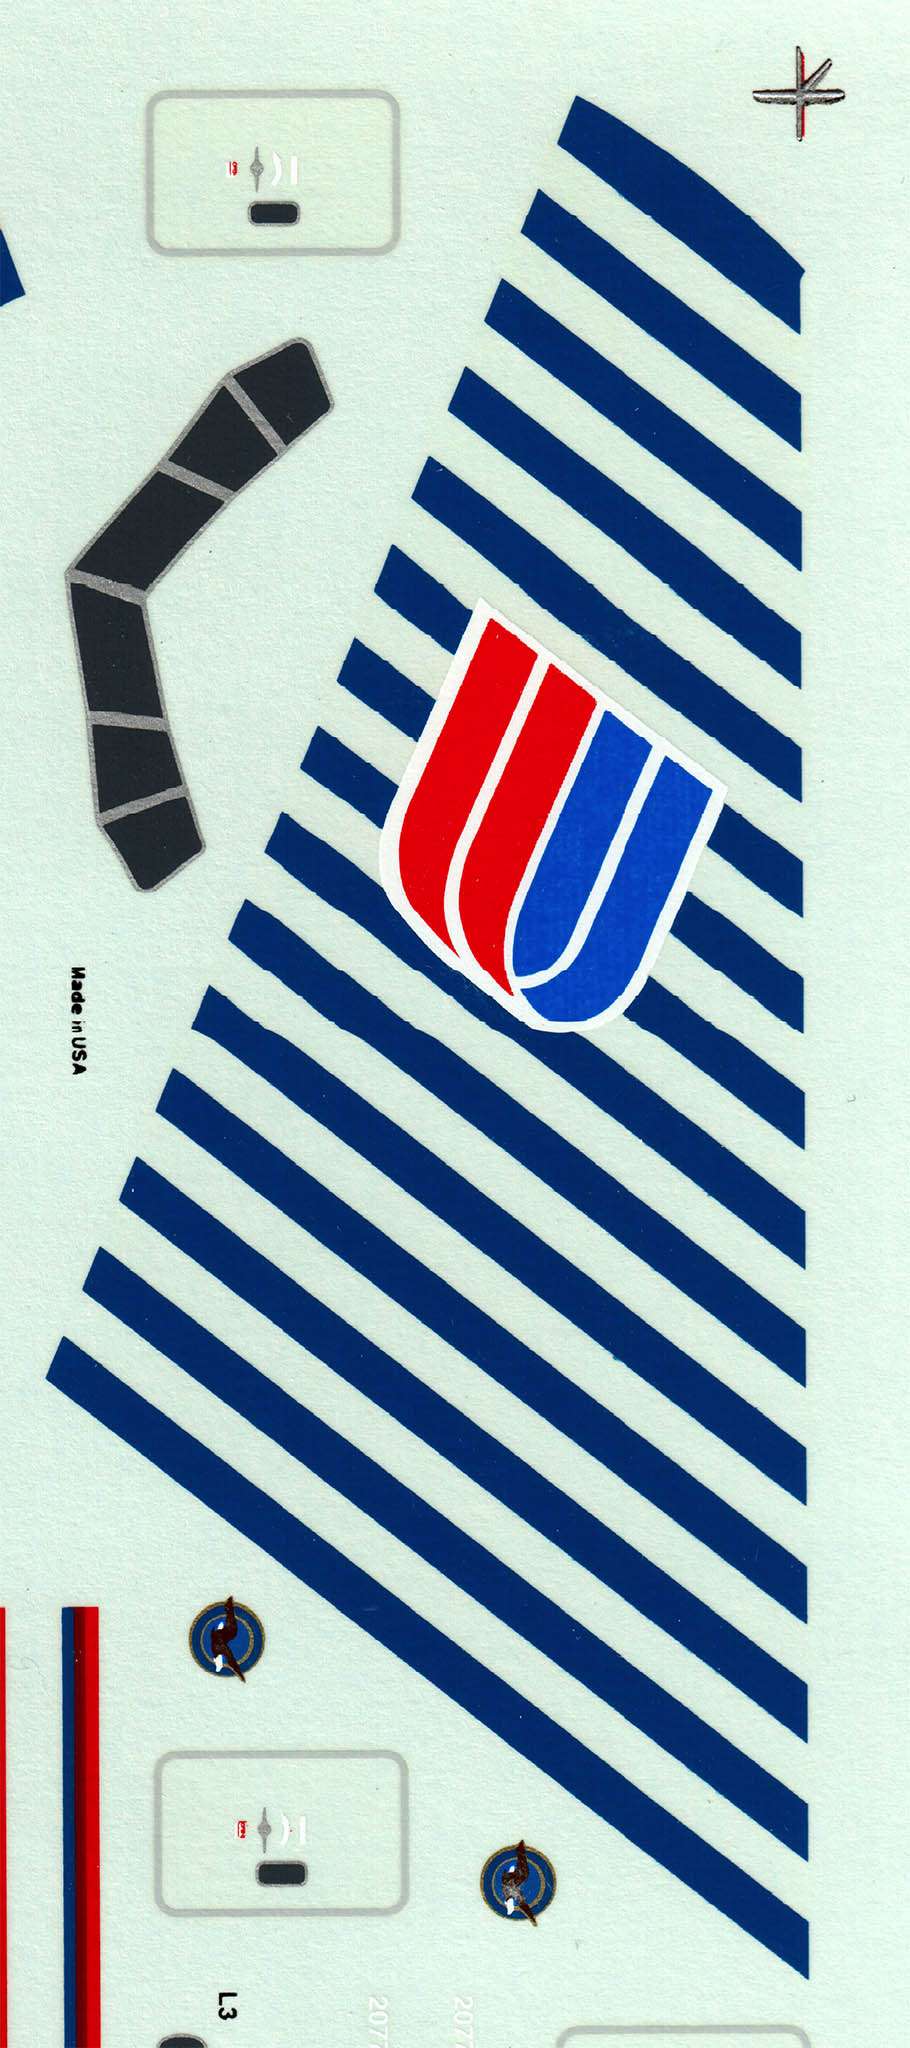 Their positions, however, indicate that they're intended to represent the darker colour. And that lighter colour looks to me to be lighter than the Midnight Blue on the fuselage and engines, which appears to more closely match the darker colour. So, I just can't see how these decal stripes are going to work over a Midnight Blue base colour. It's almost as if the positions of the decal stripes are reversed.What am I missing?Kev
 -
Just now, LSP_K2 said:
I know it's a chicken approach, but from now on, I think all of my airliners will bear a scheme where the tail is the same color as the upper fuselage. This will save me the tedious masking I have to soon do on my KLM 767.
I hear ya! It's full-tail decals that scare me. They never seem to fit properly, and are prone to curling or tearing while trying to apply them. But they're a feature on so many airliner kits, including the UA livery that comes with this one. I just hope I can nail it again for my second 757...
Kev
-
But wait, there's more!
Out of curiosity, I decided to break out one of my Minicraft 777 kits and compare their respective fuselages. To my surprise, they match pretty well!
I've made a small start with the assembly on this one, starting with the fuselage. I cut out and shaped the internal bulkheads, as well as filling the provided wing spar with Milliput:

These bulkheads never fit well, so you just have to make the most of it. Having learned some valuable lessons from the (still unfinished) 757 build, I decided to number the bulkheads front to rear, and mark their respective positions on the inside of the fuselage:
As you can see in the photo, I also added some styrene stock to aid with positioning and gluing.
And glued in place:
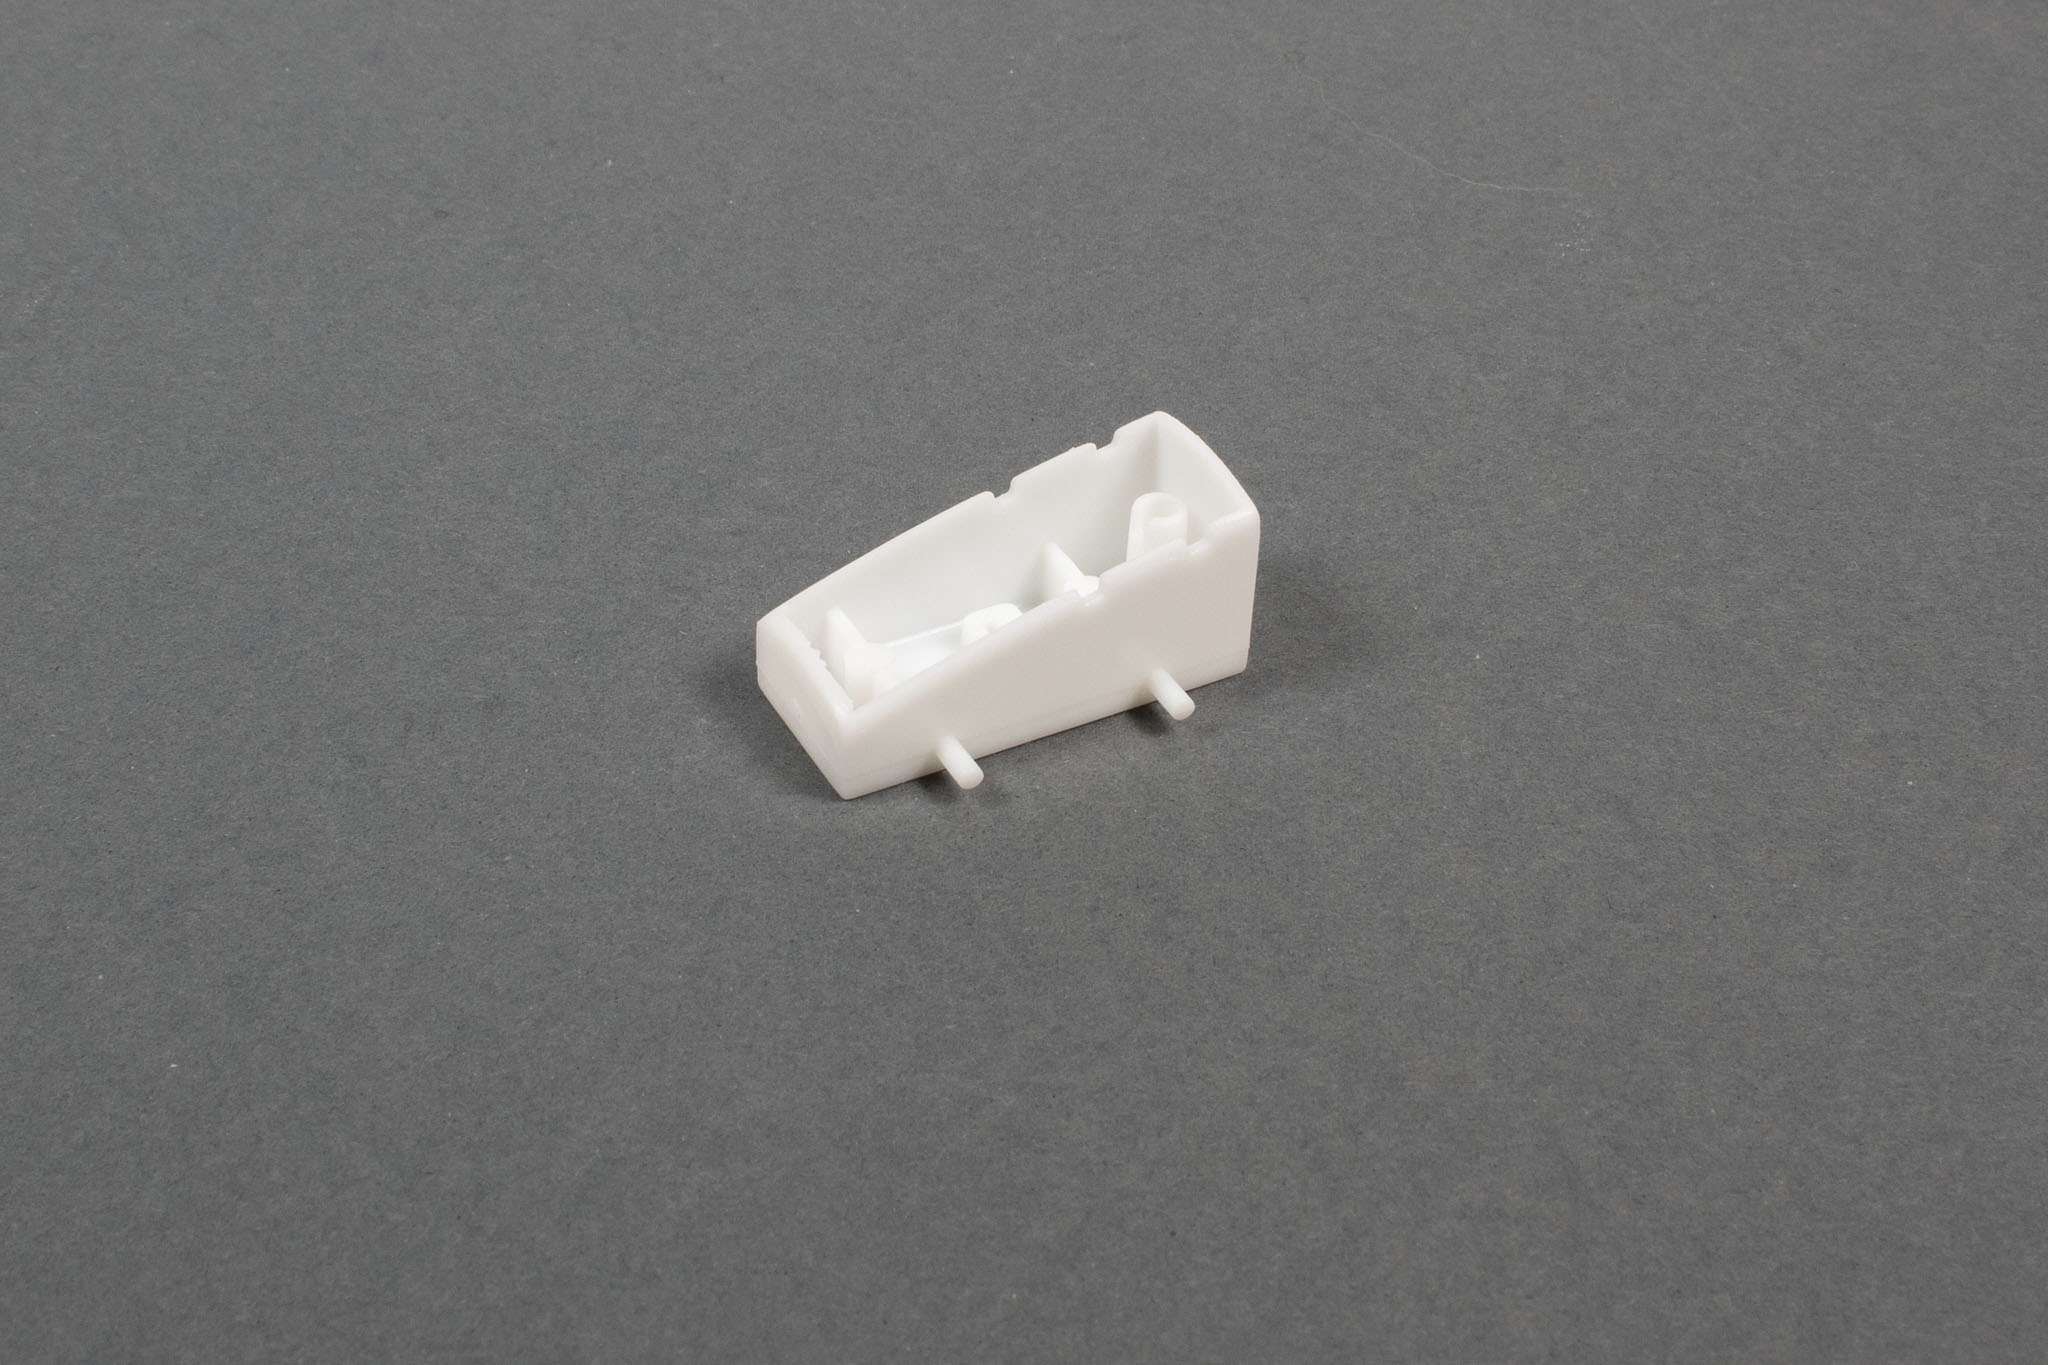
Note that I've also cut out the opening for the nose wheel bay. Since I bought the Bra.Z resin replacement nose for the Minicraft kit, which includes a moulded-in wheel bay, I decided to rob that kit's one-piece nose wheel bay for use here:
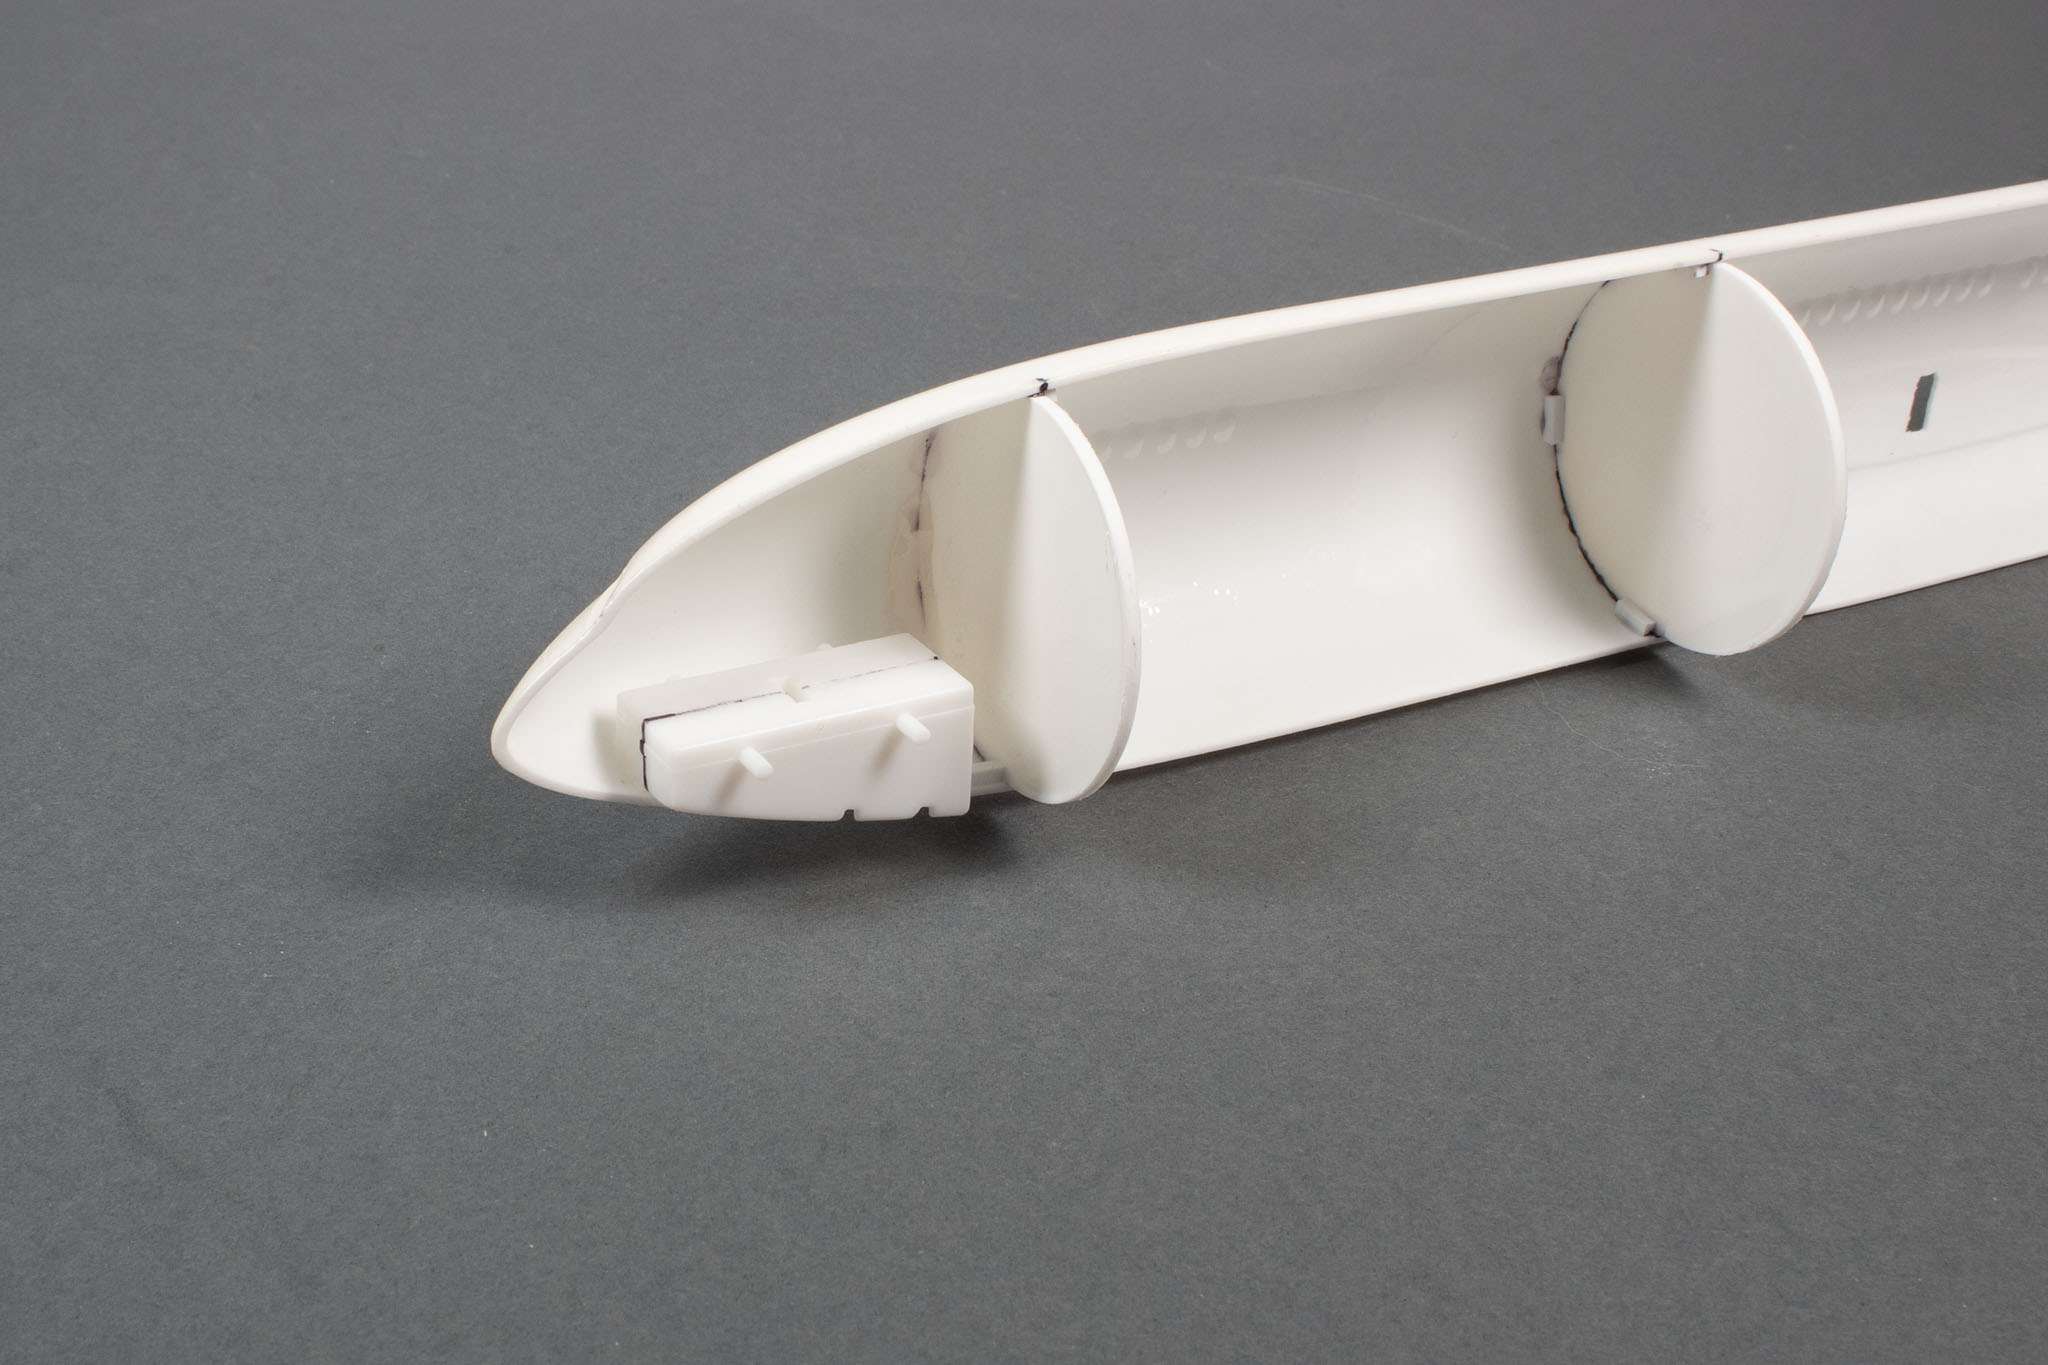
And a test fit:
The fuselage join will definitely need some internal tabs to help with strength and alignment, and have a better idea of how to go about that from the 757 build. I'm not sure if I'll use that dinky spar for the wings or not. It's easy enough to slide in or out as required, so I can make that decision later. I also mustn't forget to add some nose weight!
This build won't be a priority for a while, but still has a bit of low-hanging fruit I can harvest before it requires my full attention, so look out for another update soon!
Kev
- John1, Fanes, Rampenfest and 8 others
-
11
-
I've been tinkering with this kit in the background for a few weeks now, and it's finally got to the stage where it counts as real build, and is worth creating a build thread for.

Just like it says on the box, it's a vacform kit with detail parts in resin and white metal. Unlike the 757 kit, the wings are vacform too, rather than plastic - and quite intimidating! In fact, there are no injection-moulded parts in this kit at all.
I received this kit second-hand from our own Derek Bradshaw, and most of the vac parts had already been separated from their backing sheets, though not cleaned up and prepared for assembly. Most of my "tinkering" has been just cleaning up those parts, which is laborious, tedious, and best done while watching a movie!
Wings:
These have moulded-in recesses to represent the main landing gear bays, so at least I don't have to block them in. They do interfere with the fit of the upper wing pieces slightly, however.
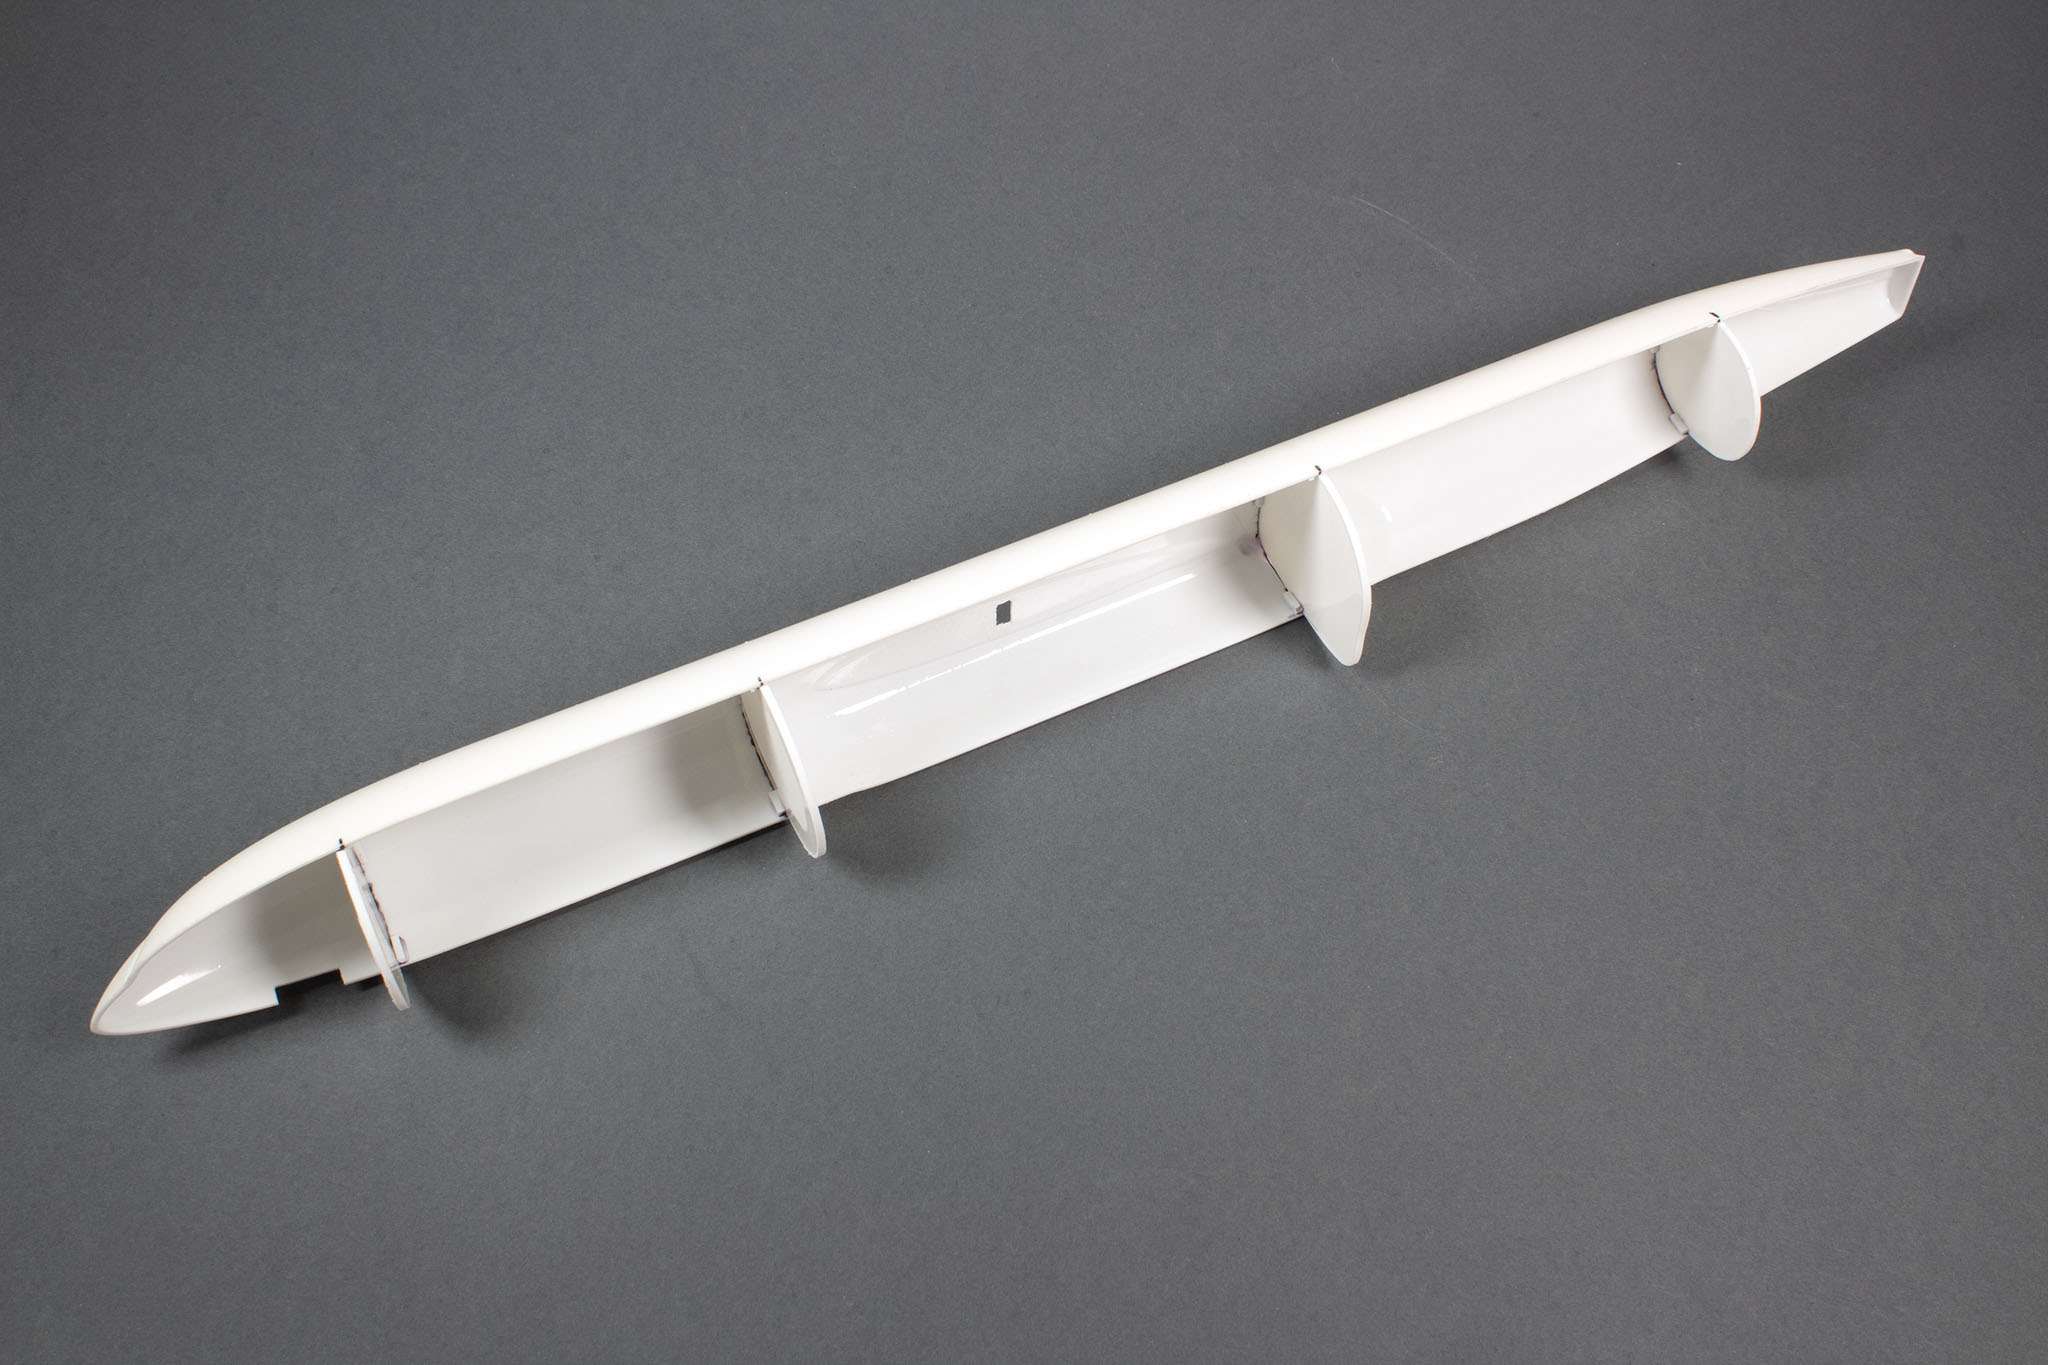
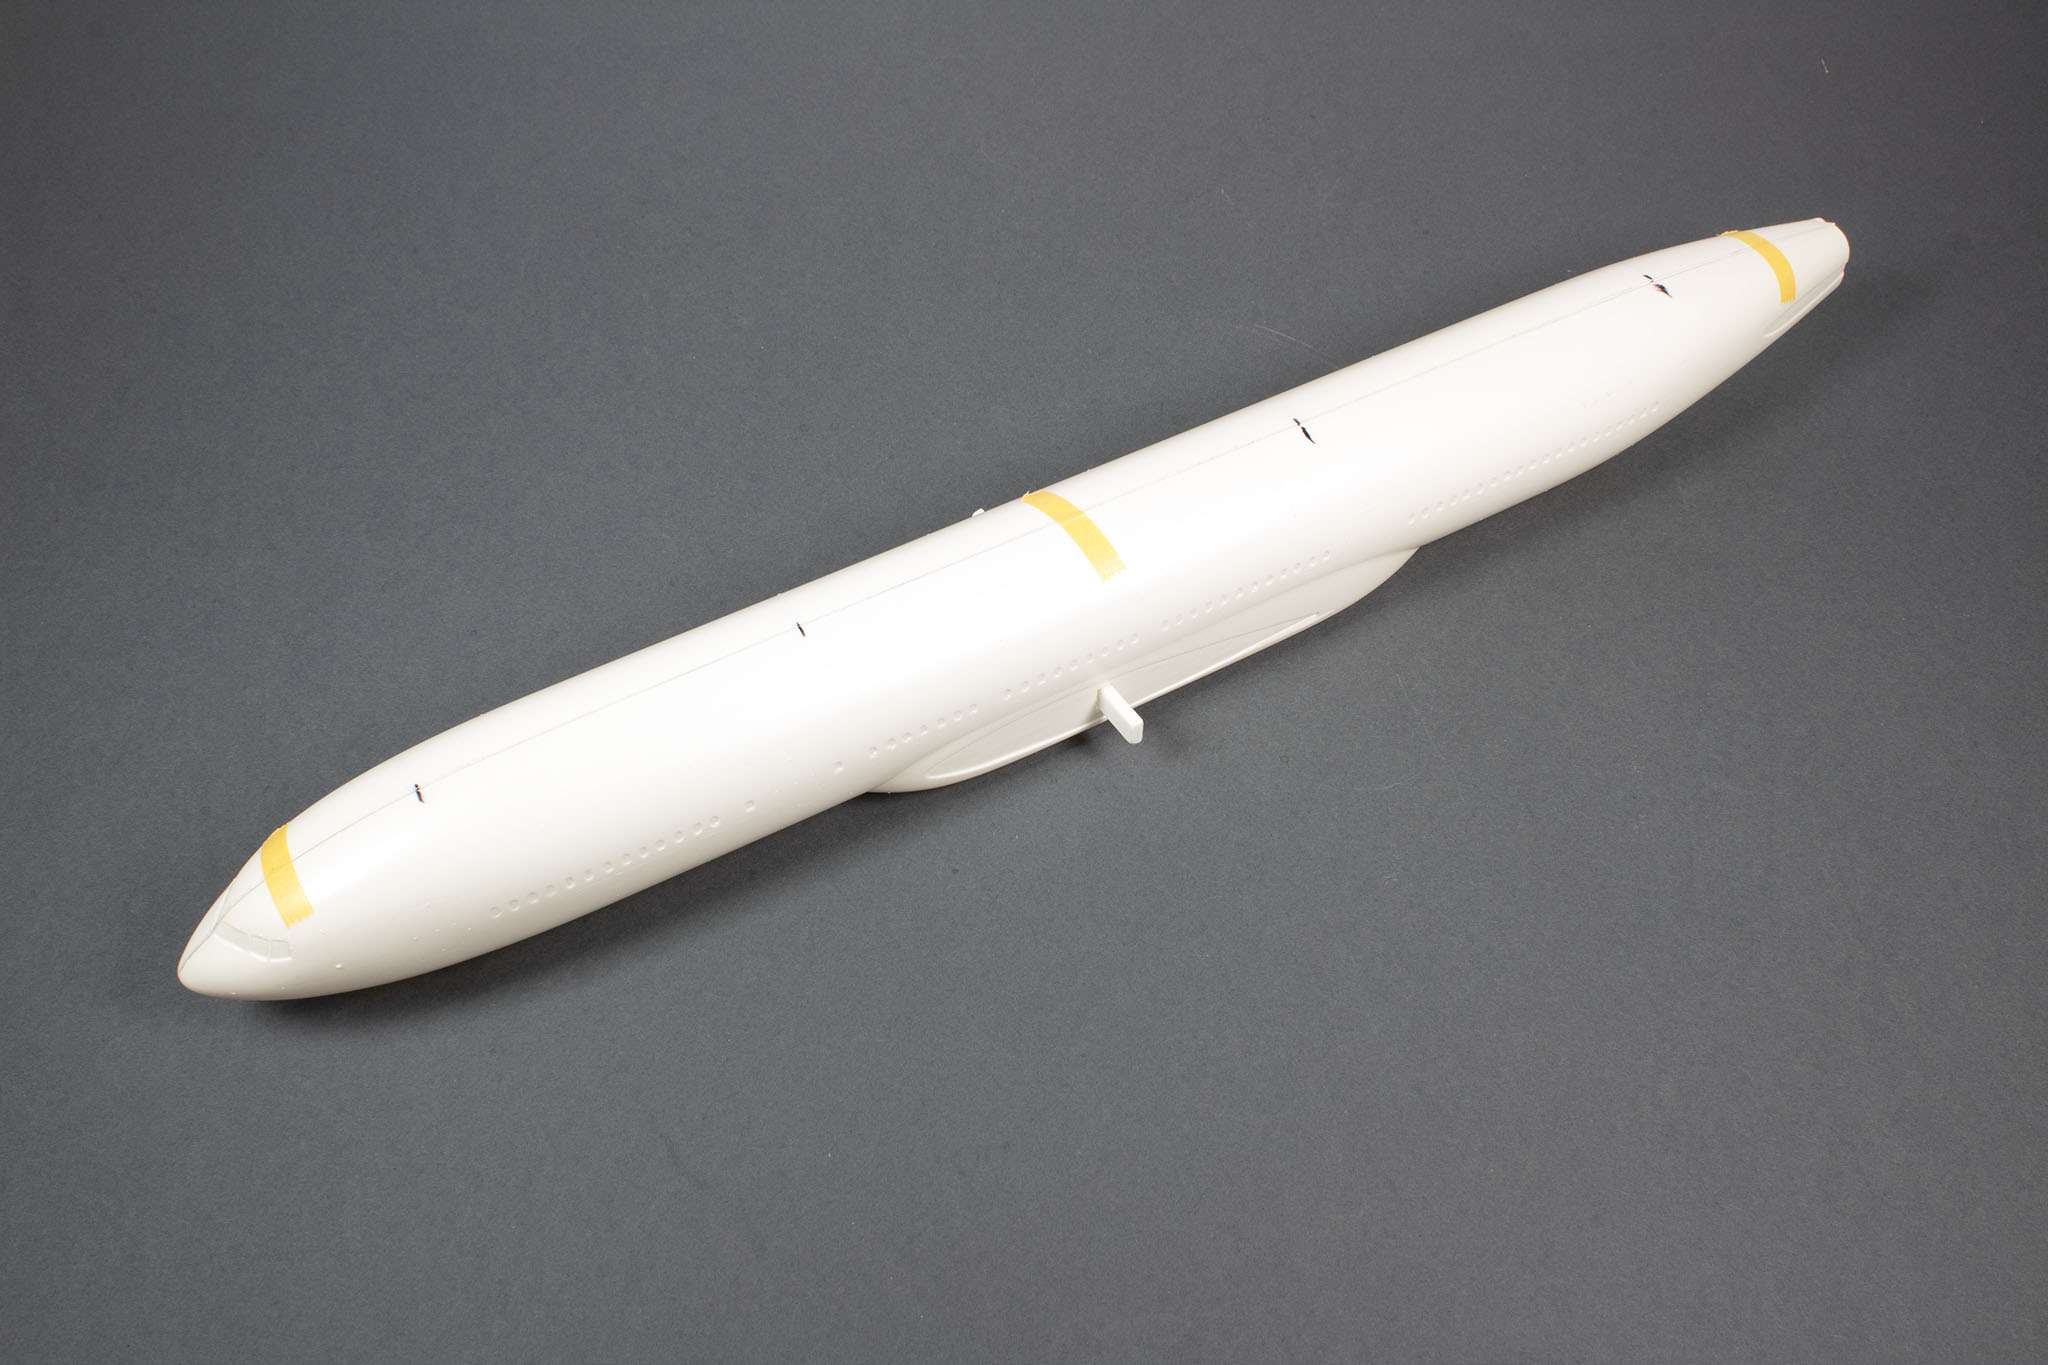
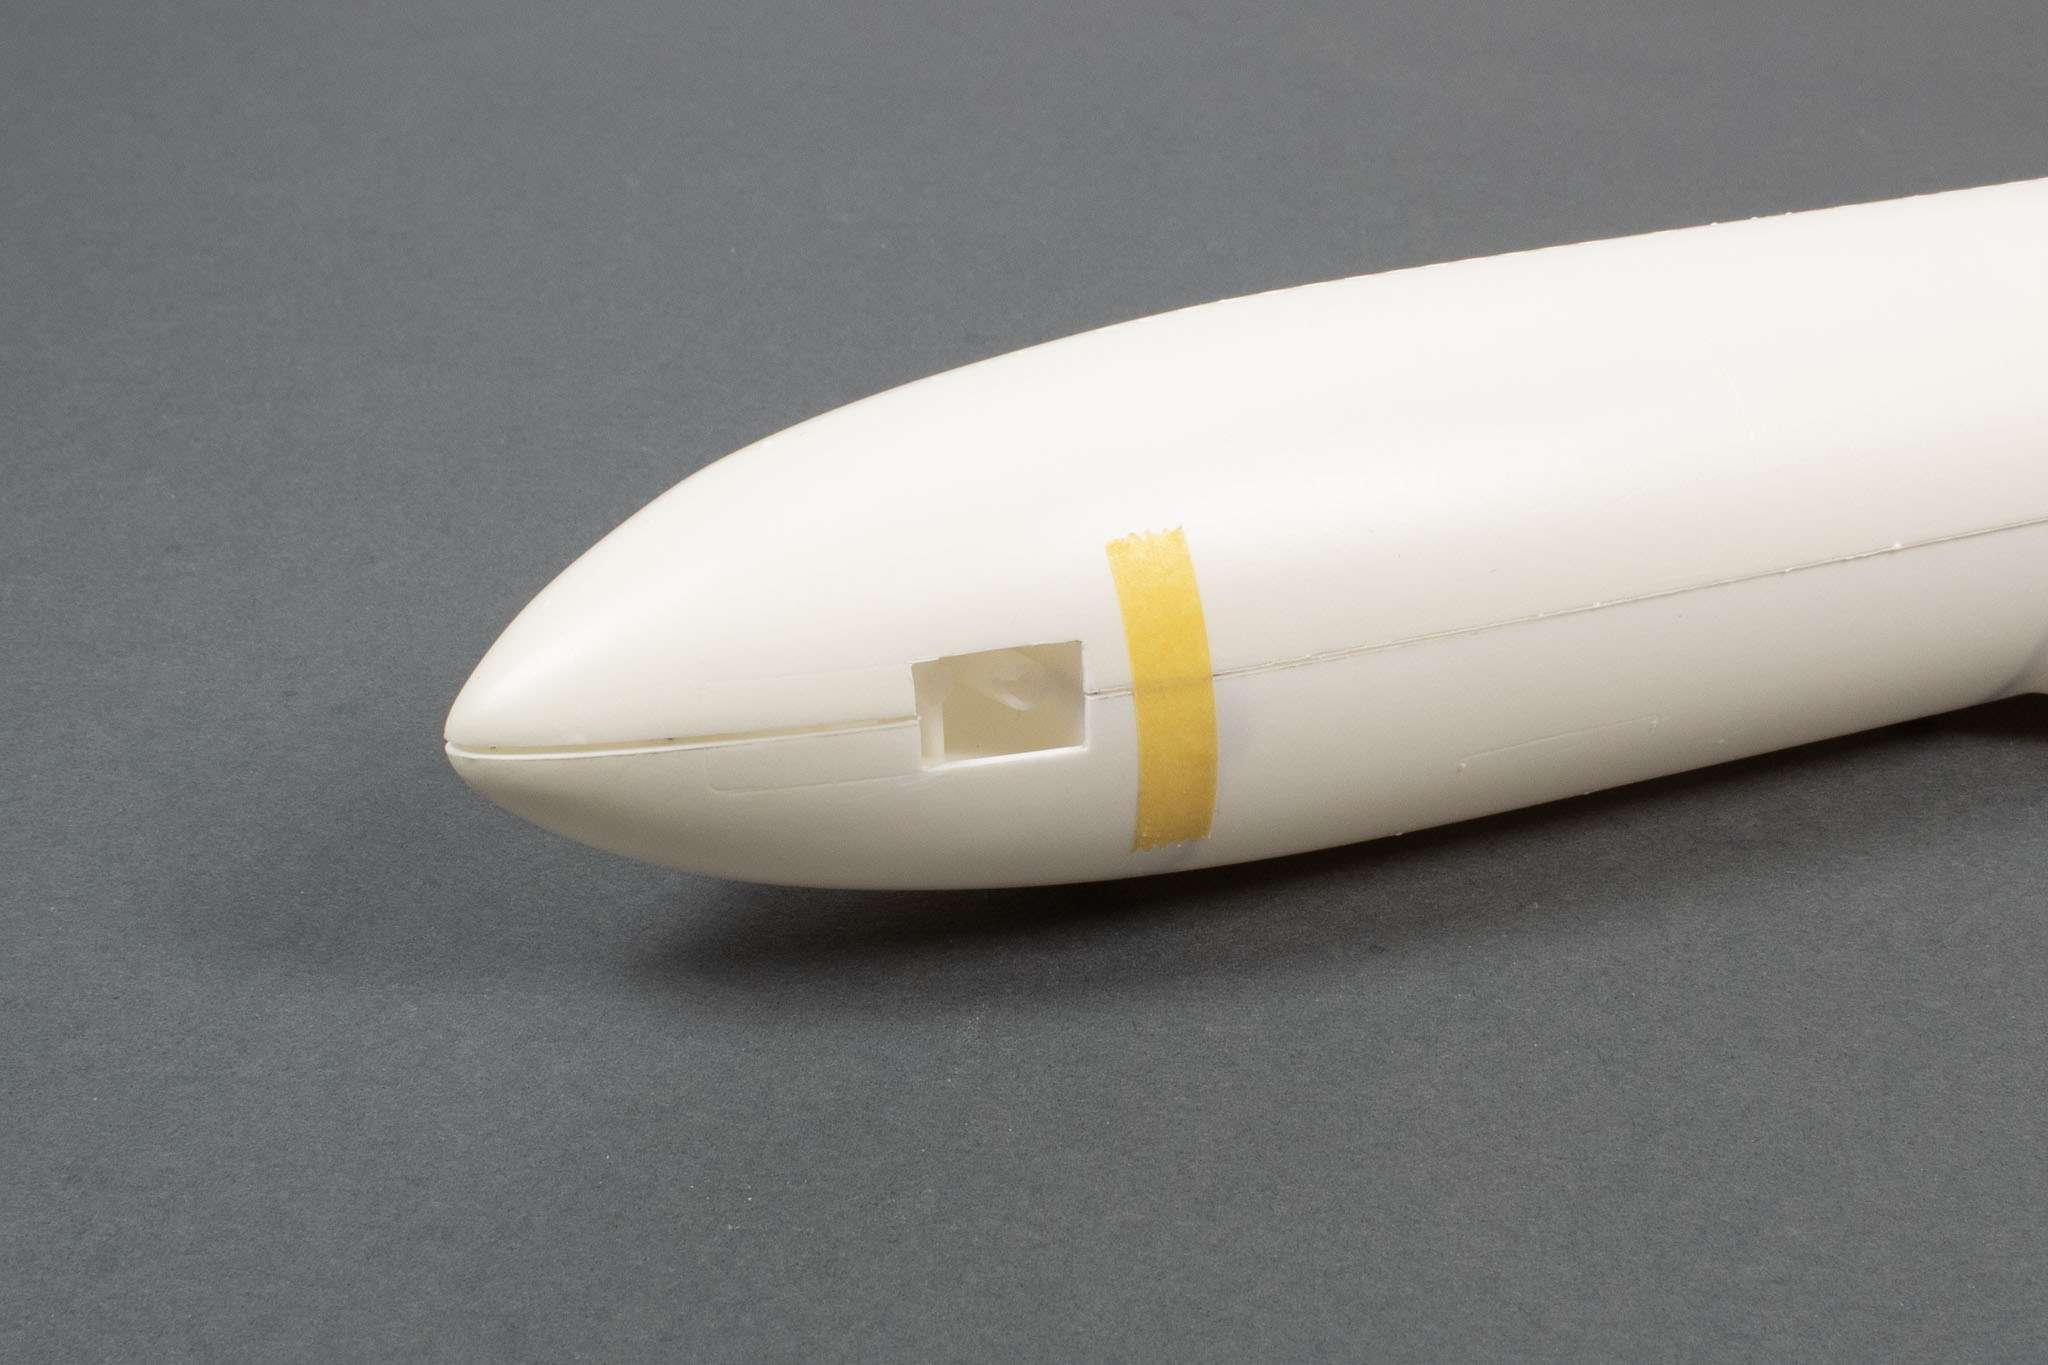
Fuselage:
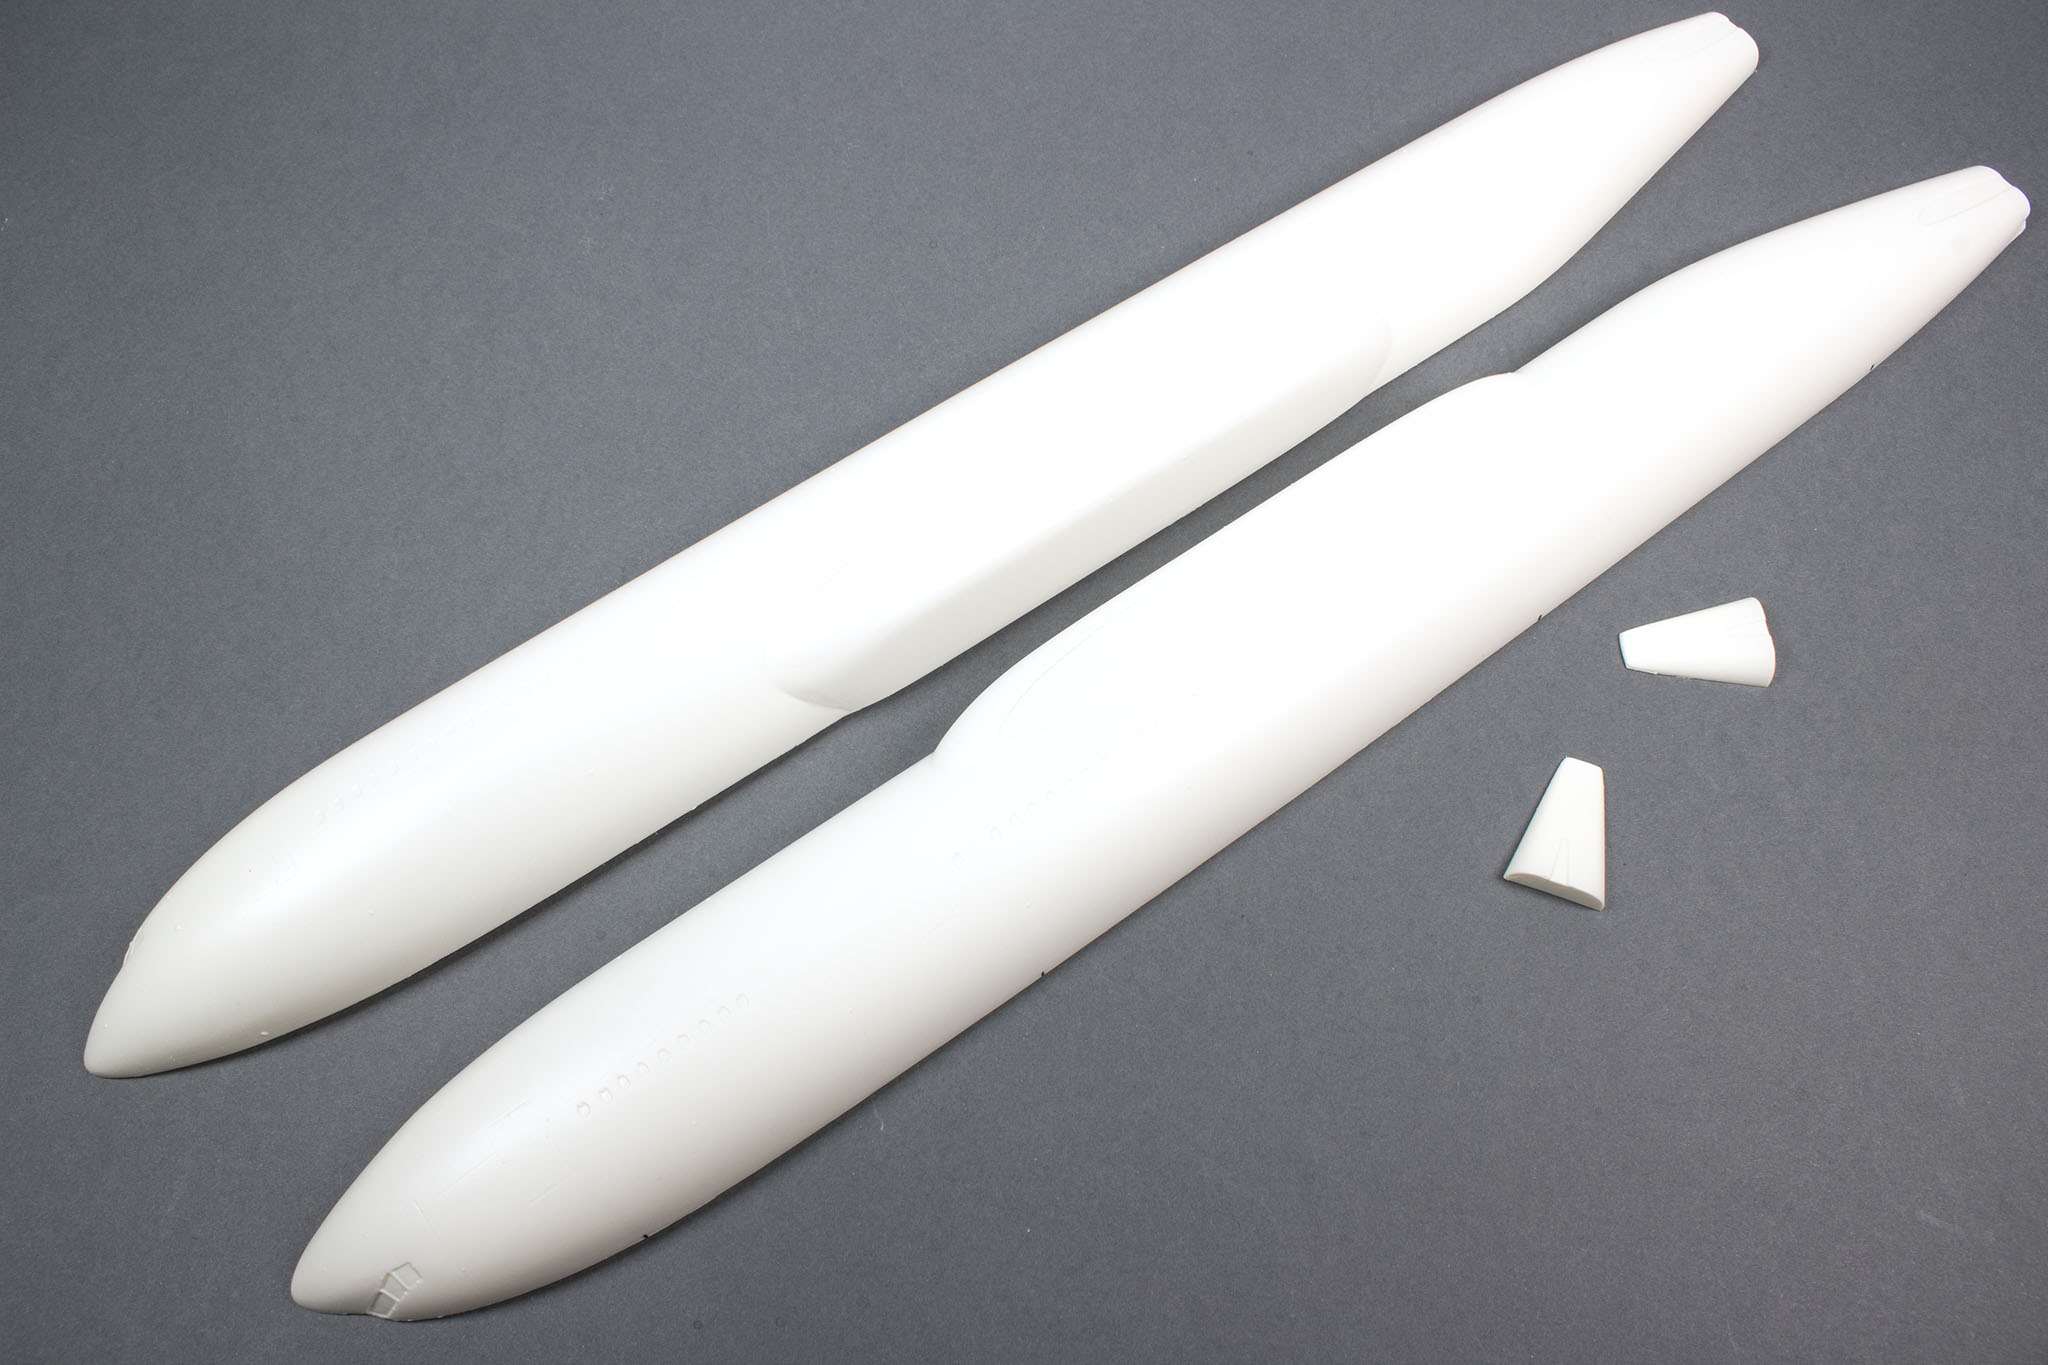
Note the separate pieces for the tail end. Presumably this was necessary to allow the large fuselage parts to fit on the vac machine. Here's a size comparison with the 757:
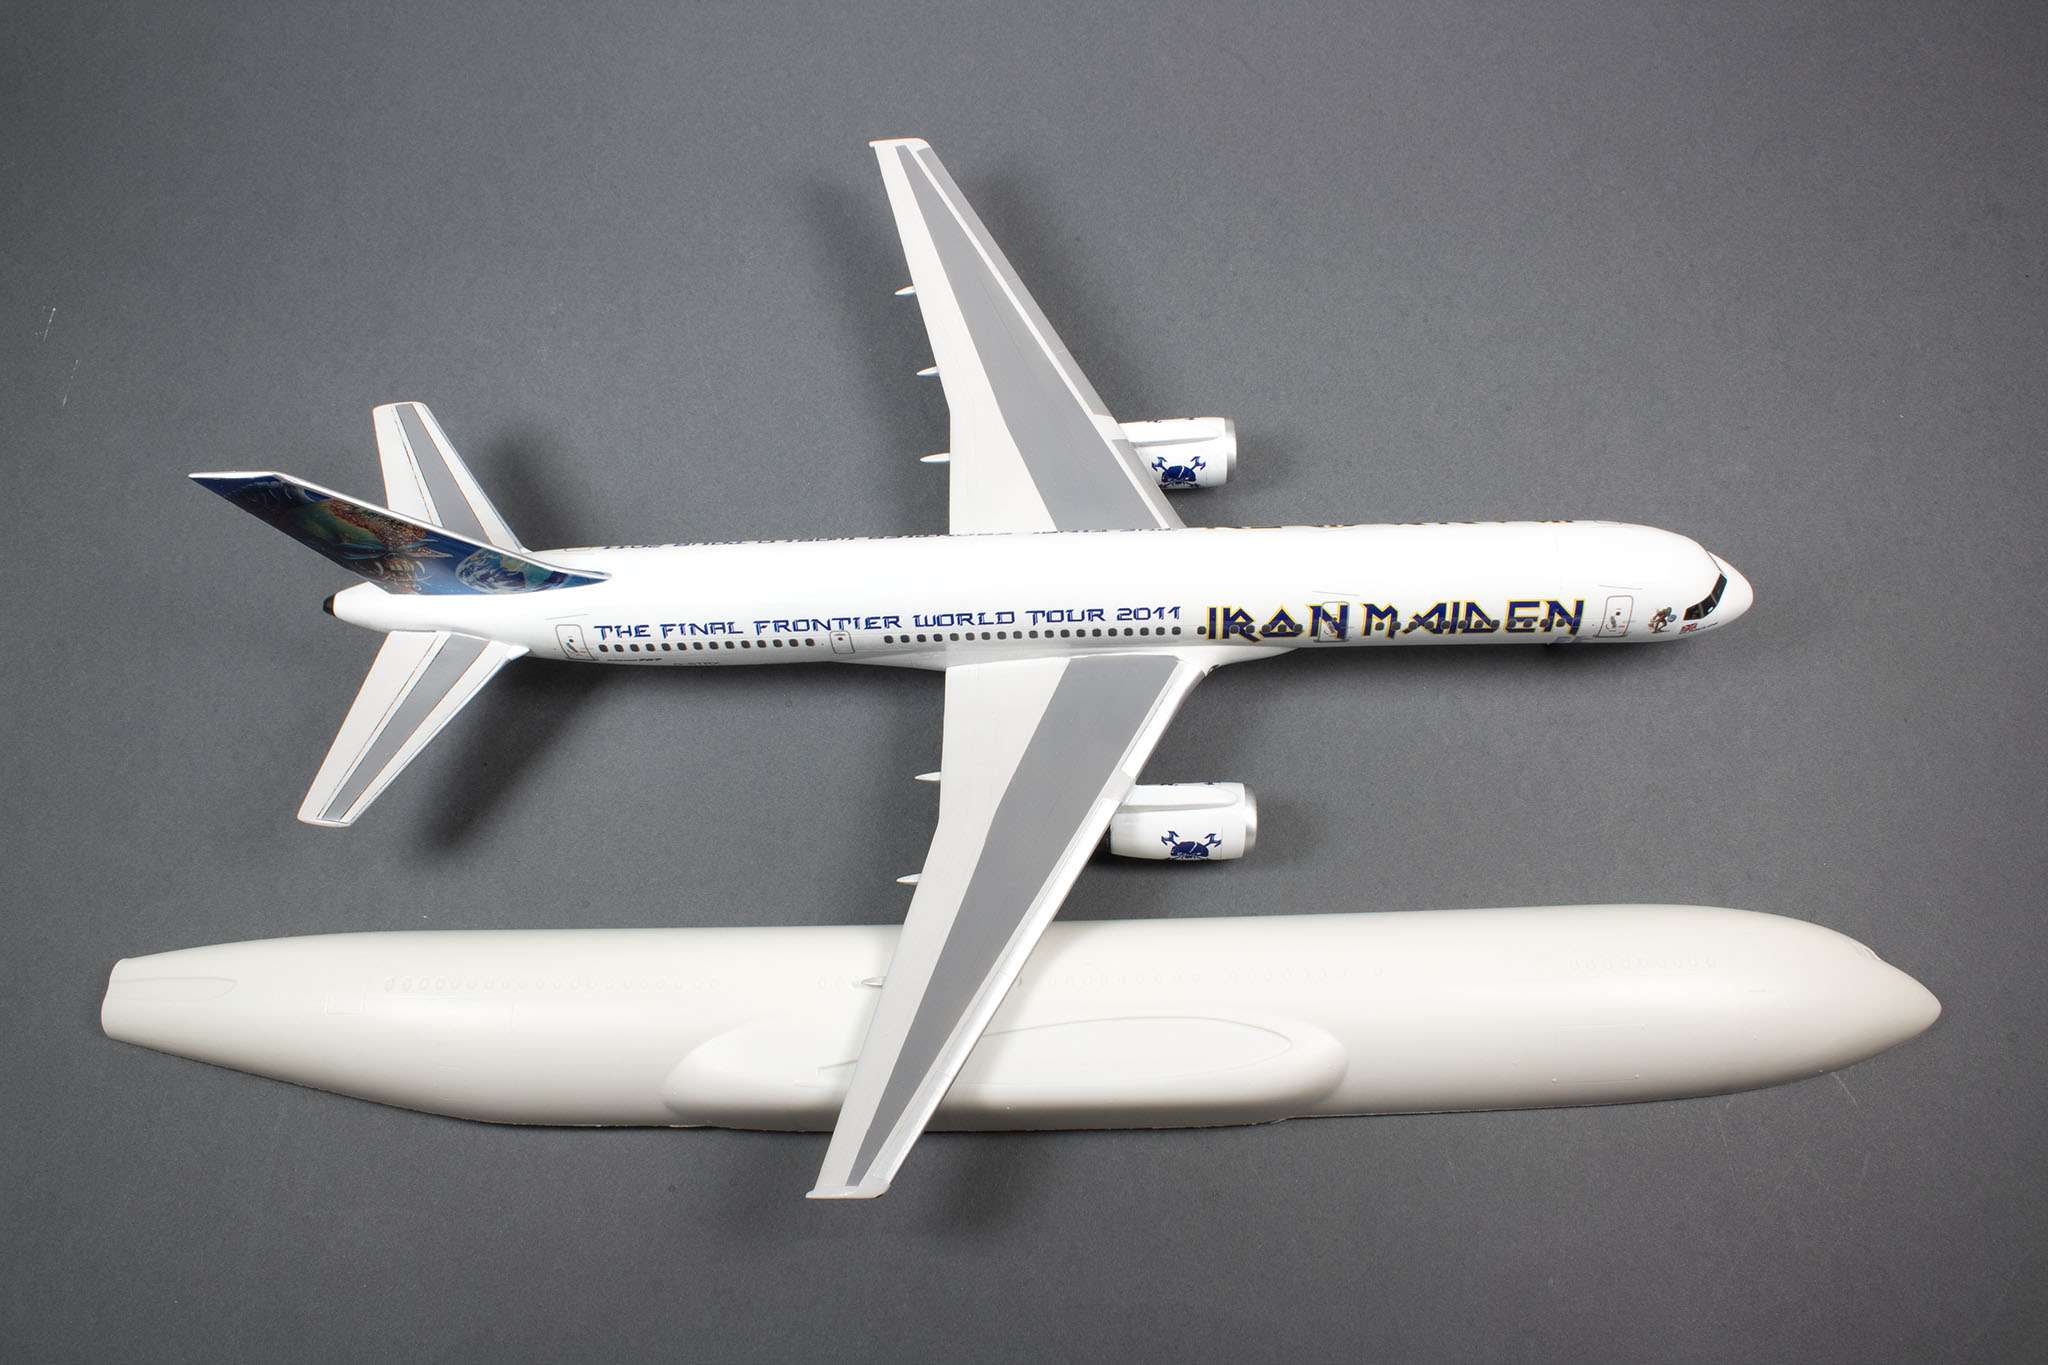
This will be the largest airliner kit I've tacked to date, as well as the largest vac kit. I do have larger airliner and vac kits in the stash, but that's where they'll remain for the time being!
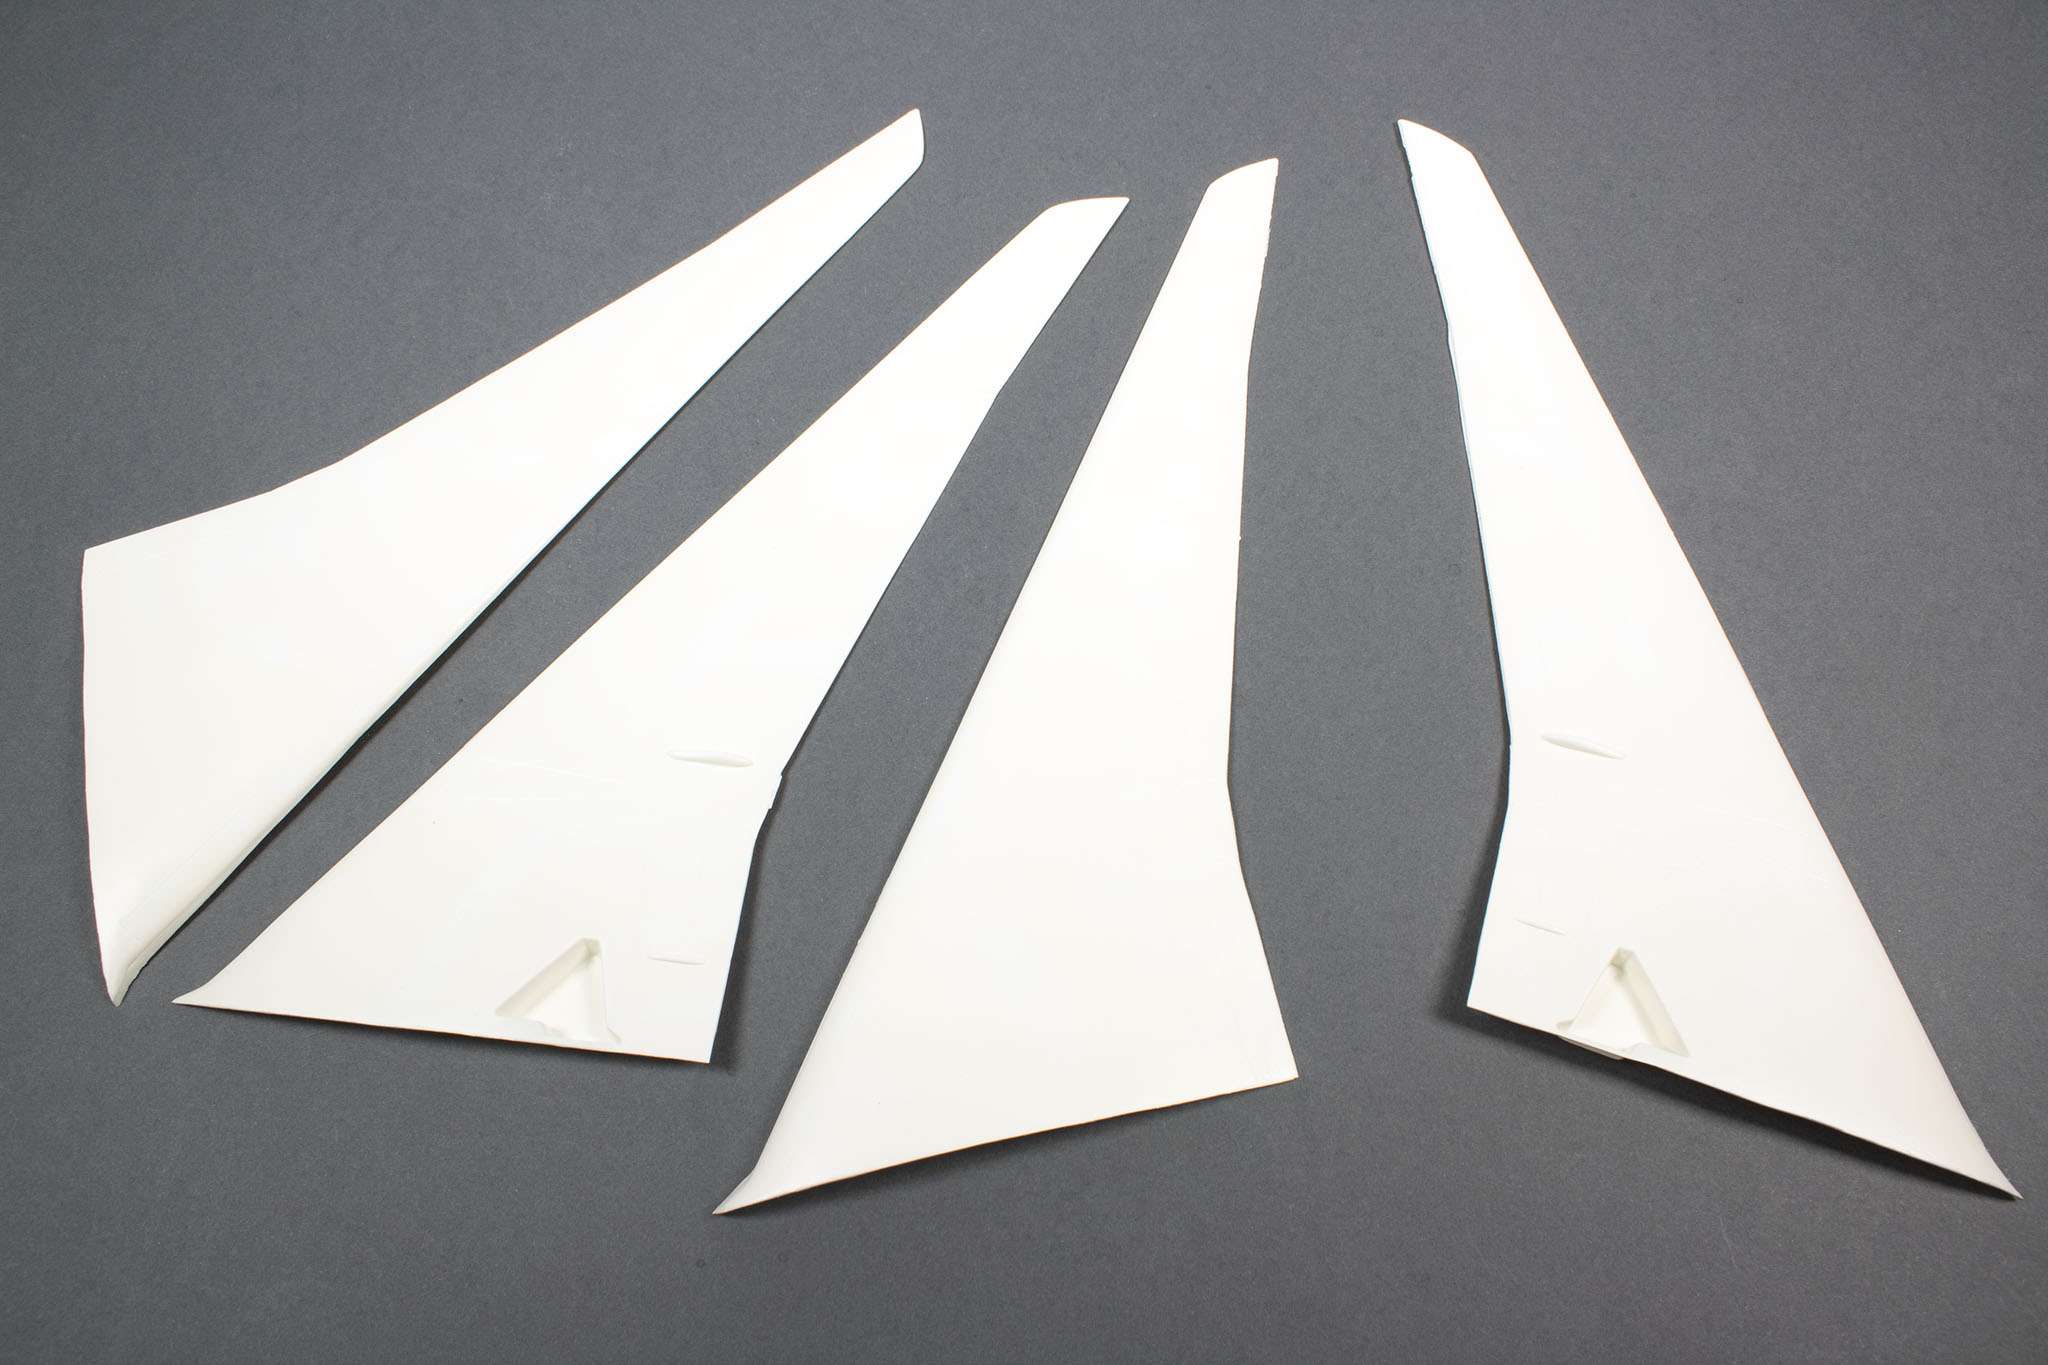
I've already prepped and assembled the tail planes and vertical fin:
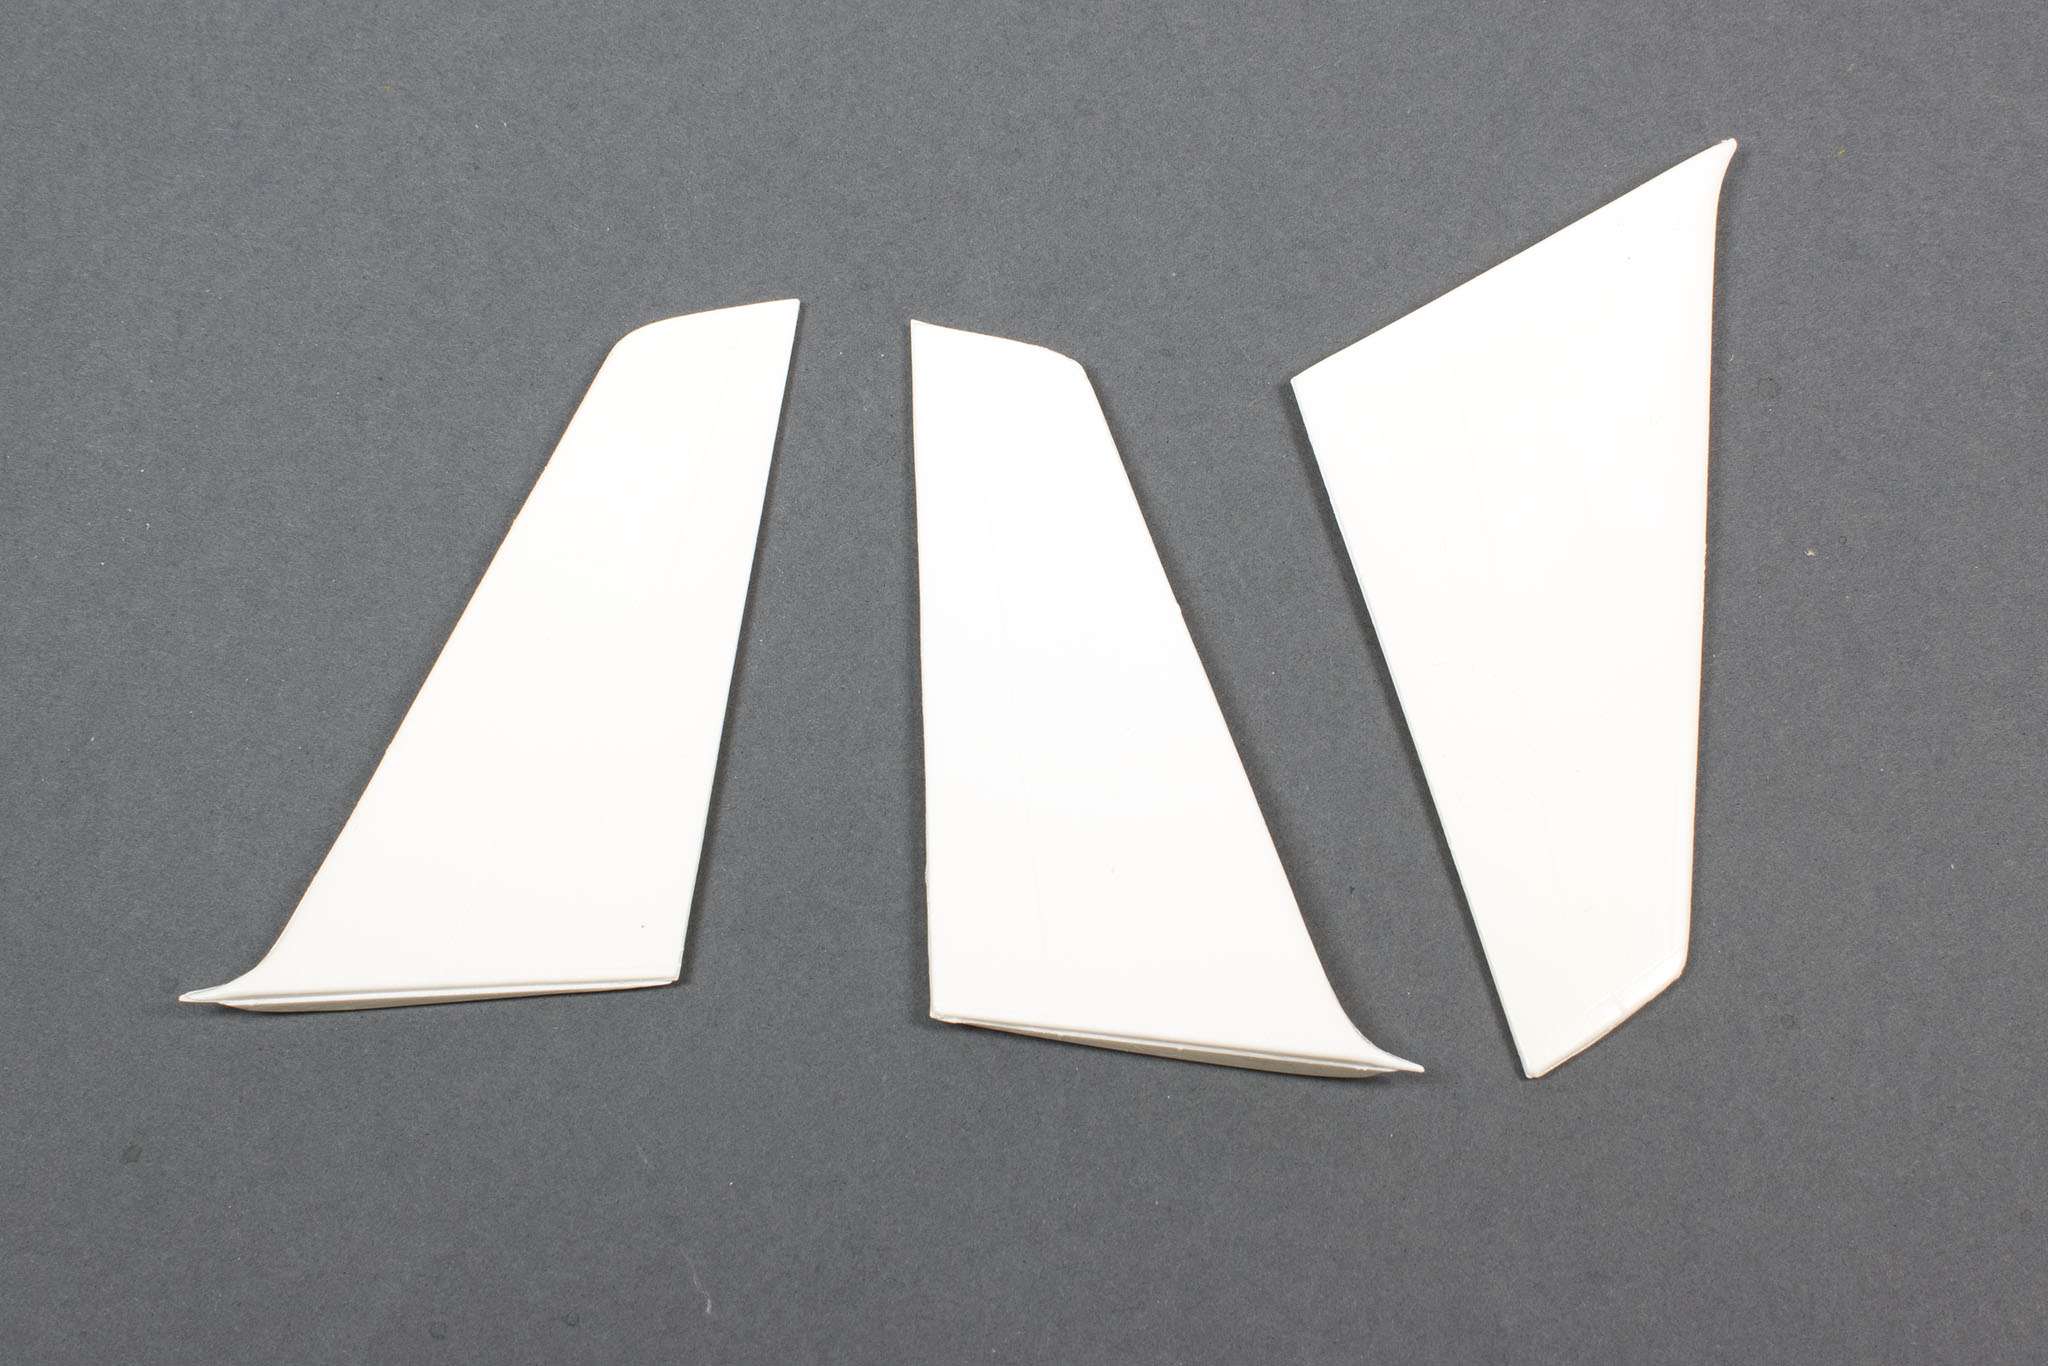
Mounting these evenly and securely will be the challenge it always is with this type of kit!
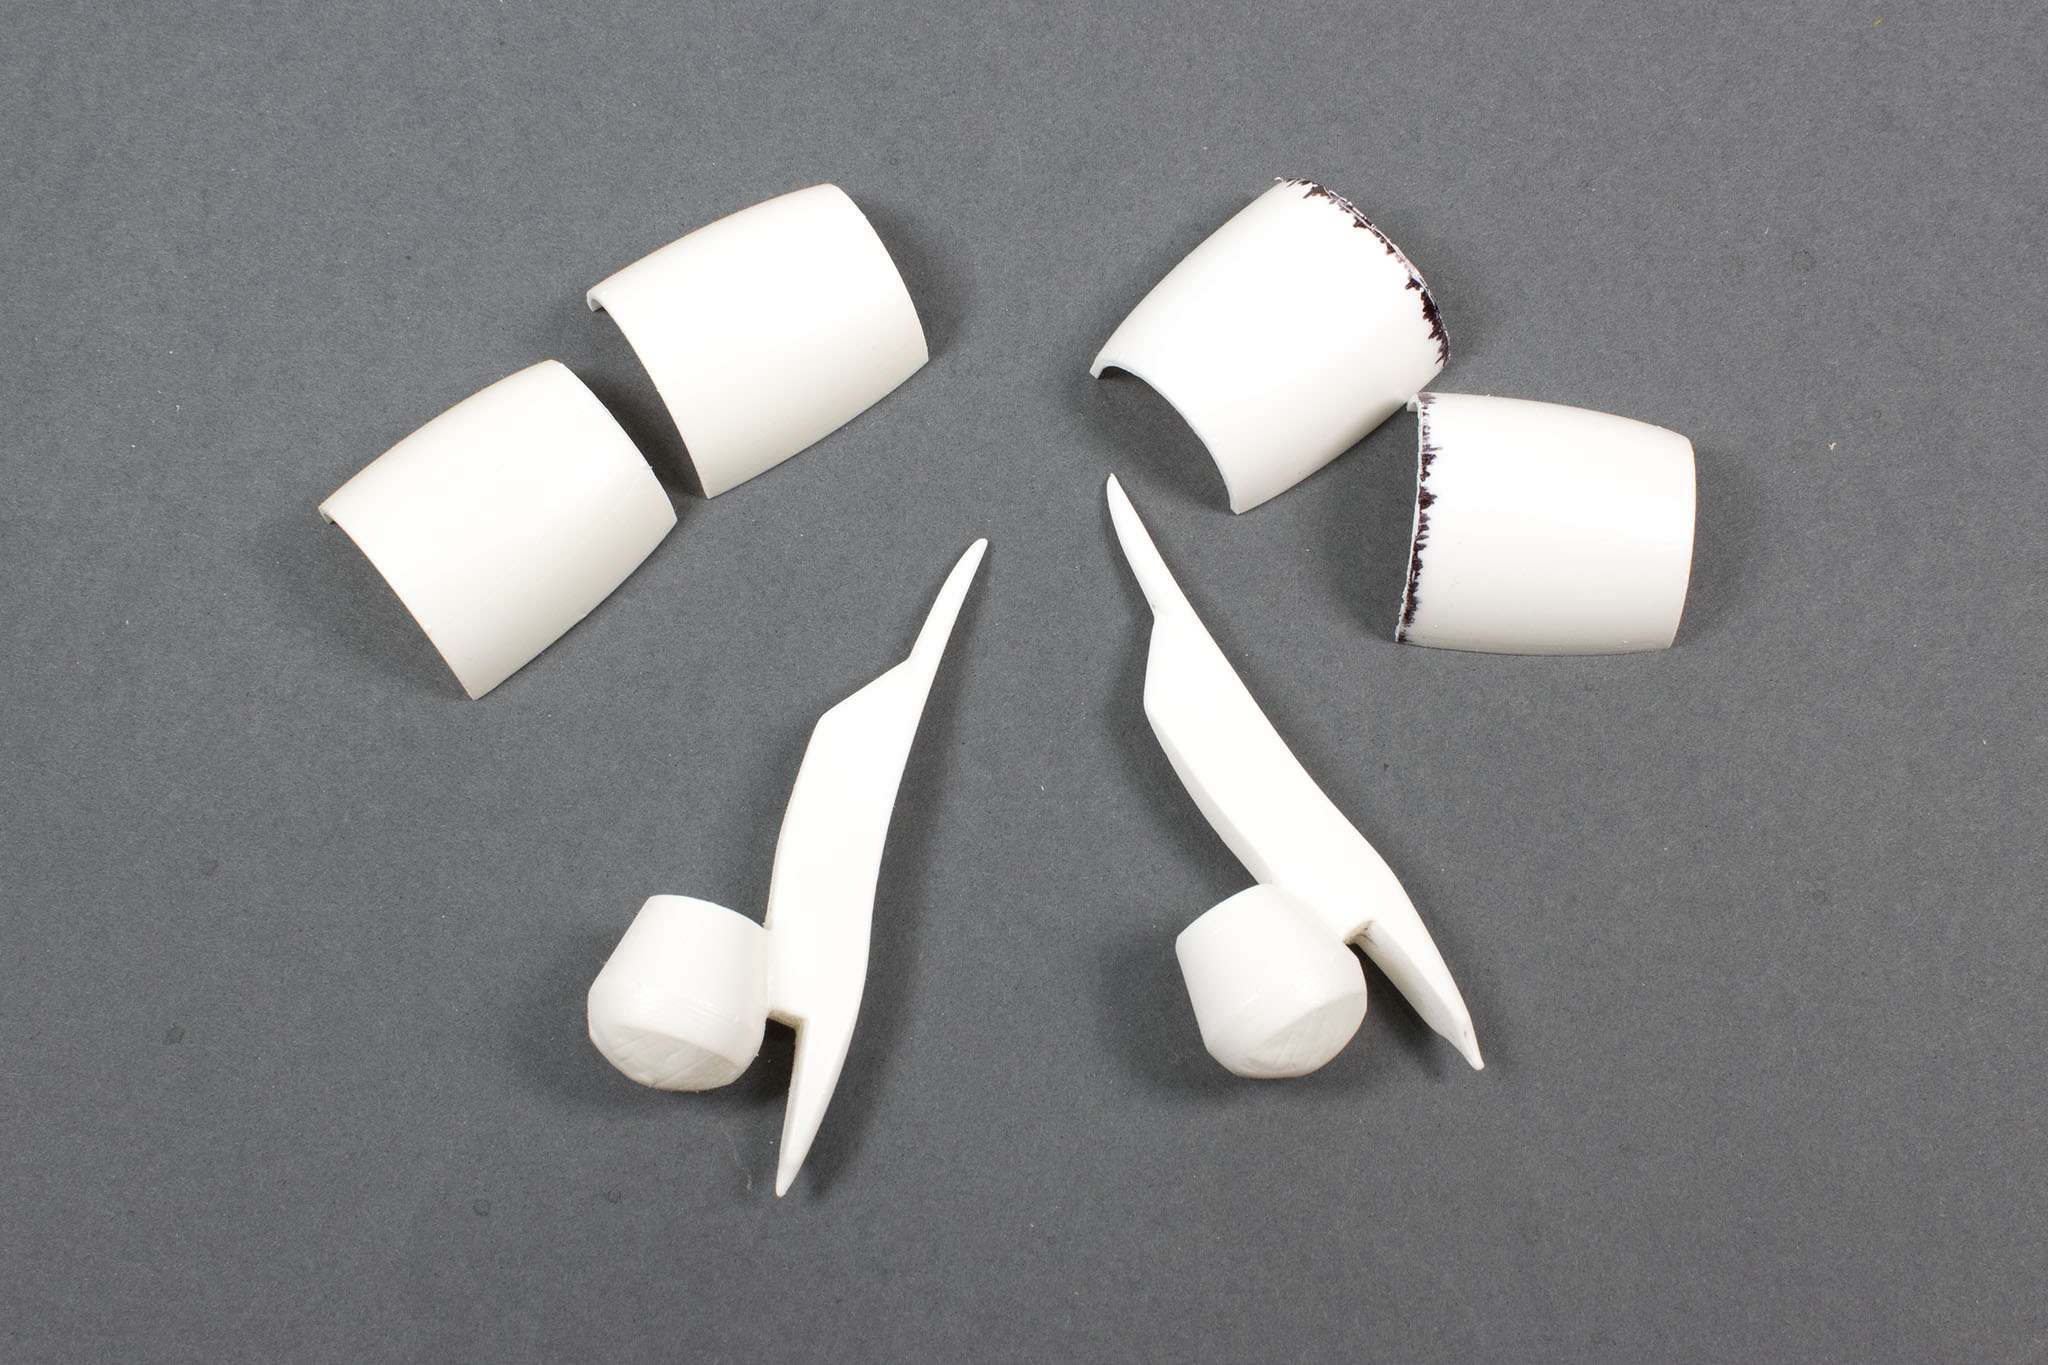
I've also made a start on assembling the engines, which are a mix of vac and resin components:
The resin parts - which include the flap tracks - are pretty decent:
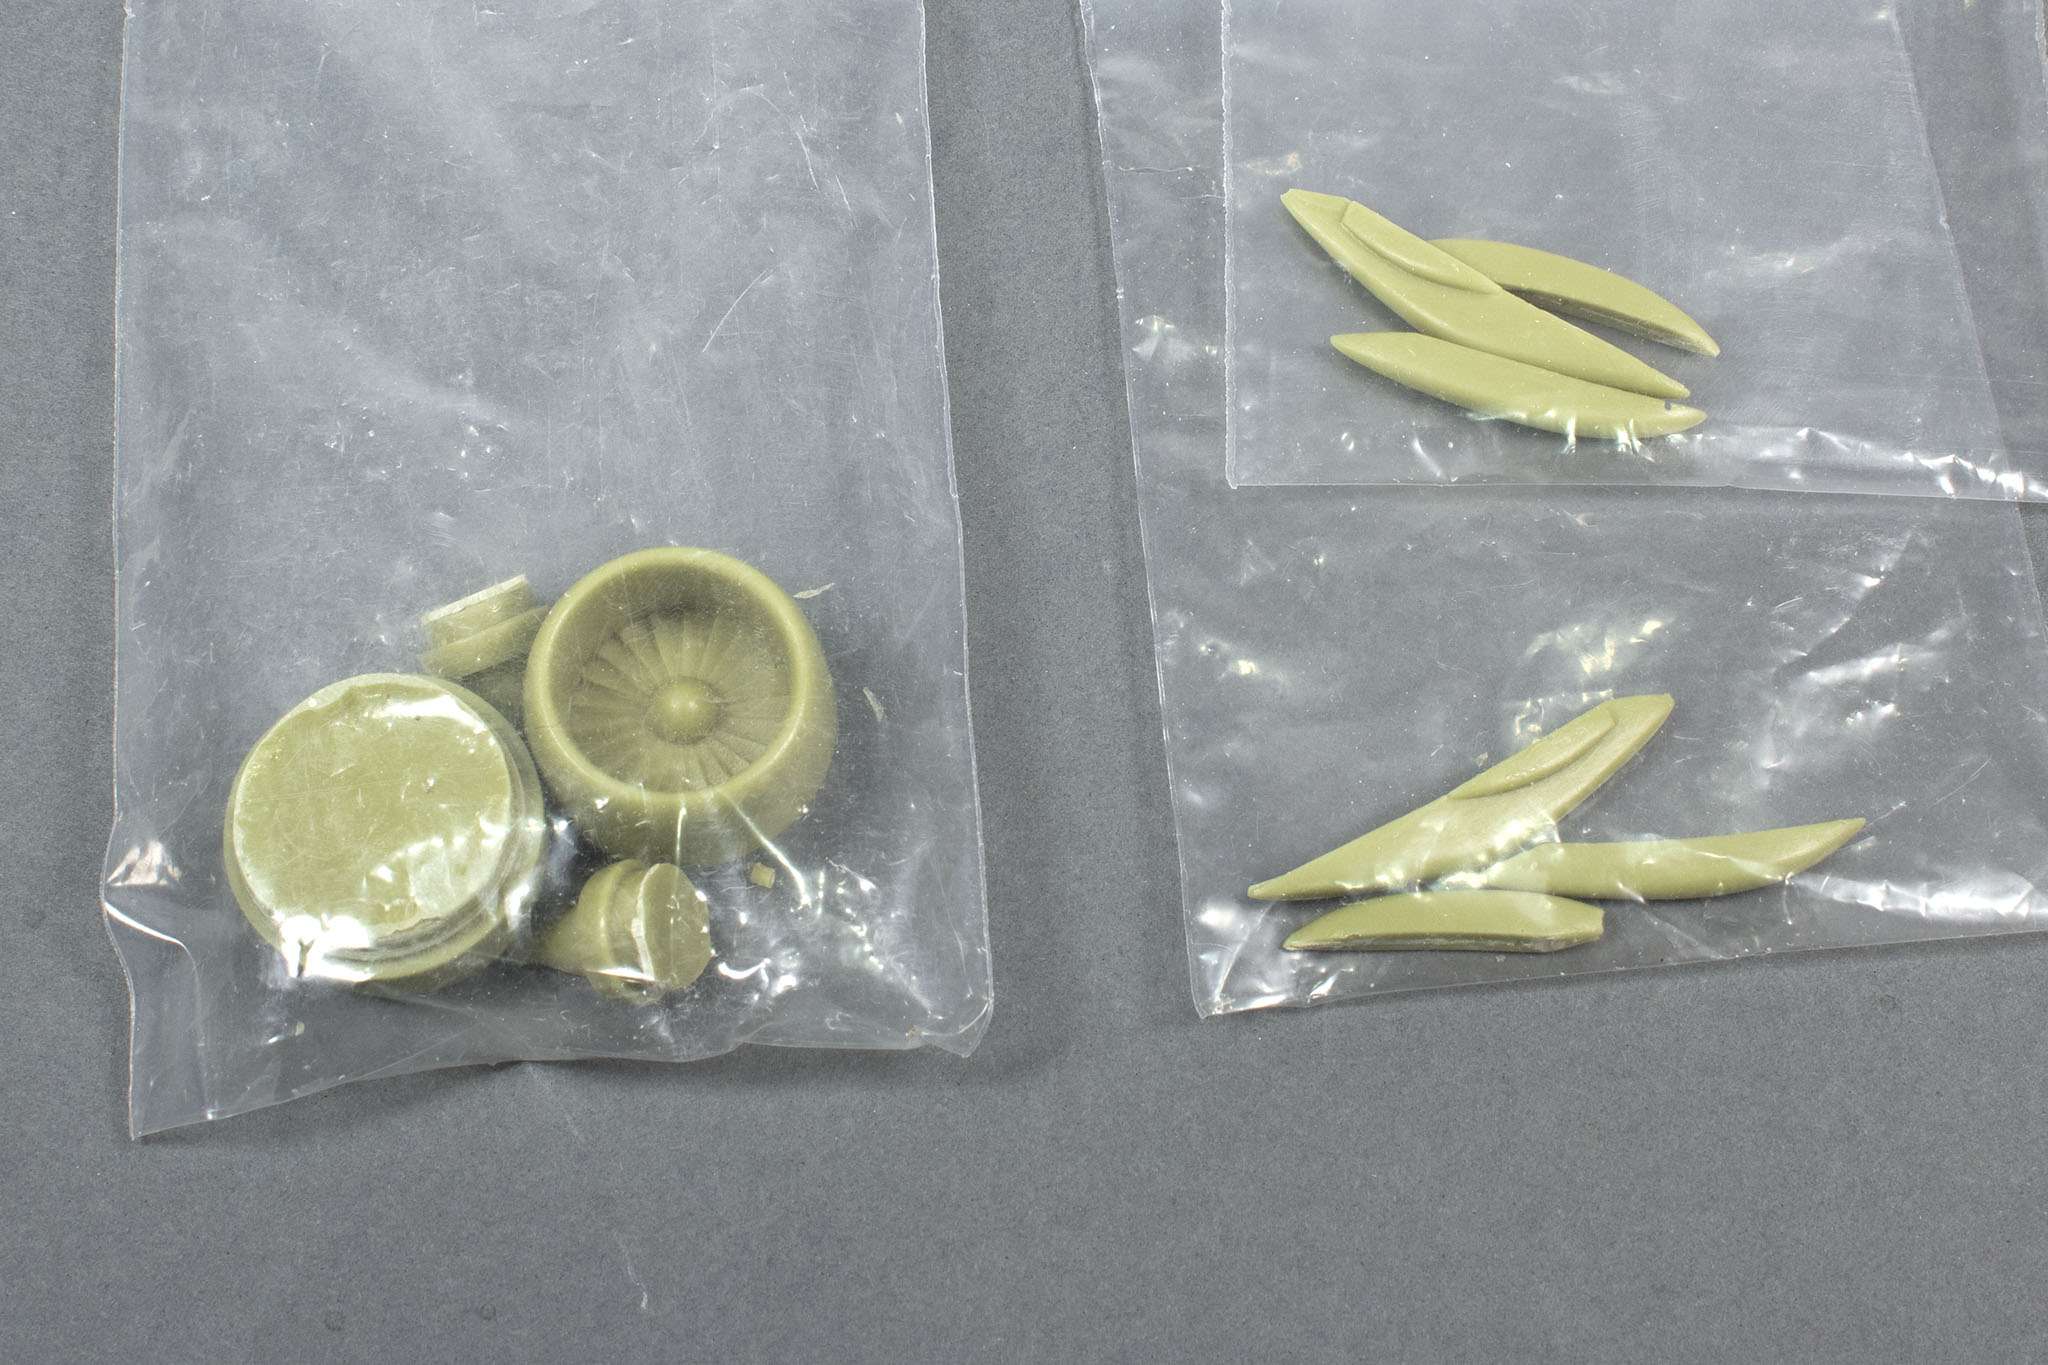
I'm hoping the separate flap tracks will provide me with the opportunity to add them after painting the wings, but not without a lot of work to perfect the fit first. We shall see!
And lastly, the white metal landing gear parts:
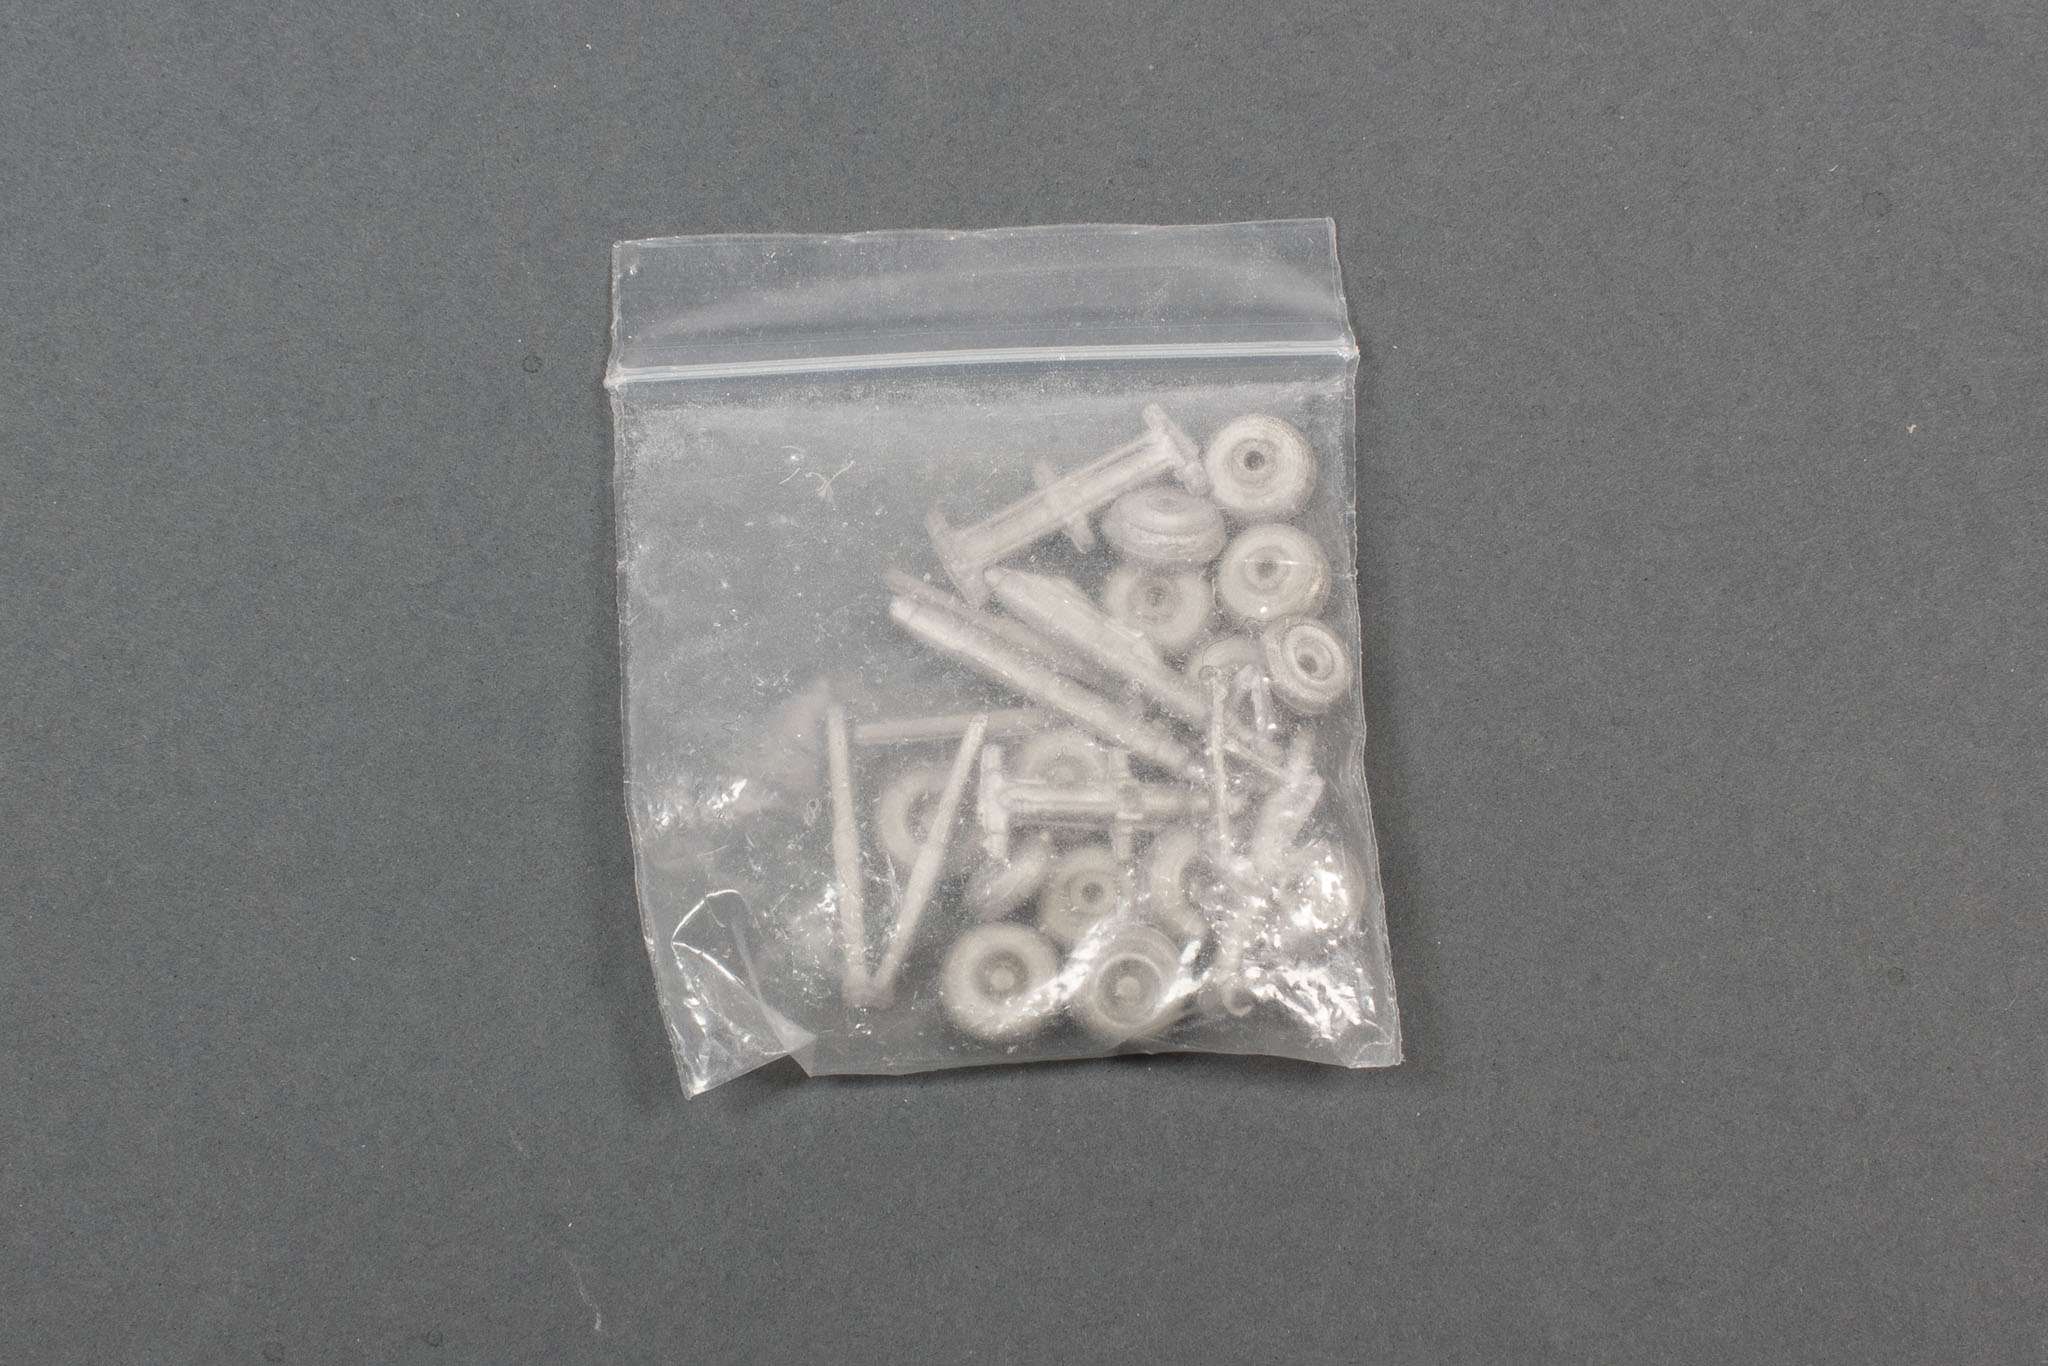
The wheels look better here than the ones in the 757 kit, but I might still replace them if aftermarket ones are available (haven't checked yet).
Oh, I nearly forgot the decals!
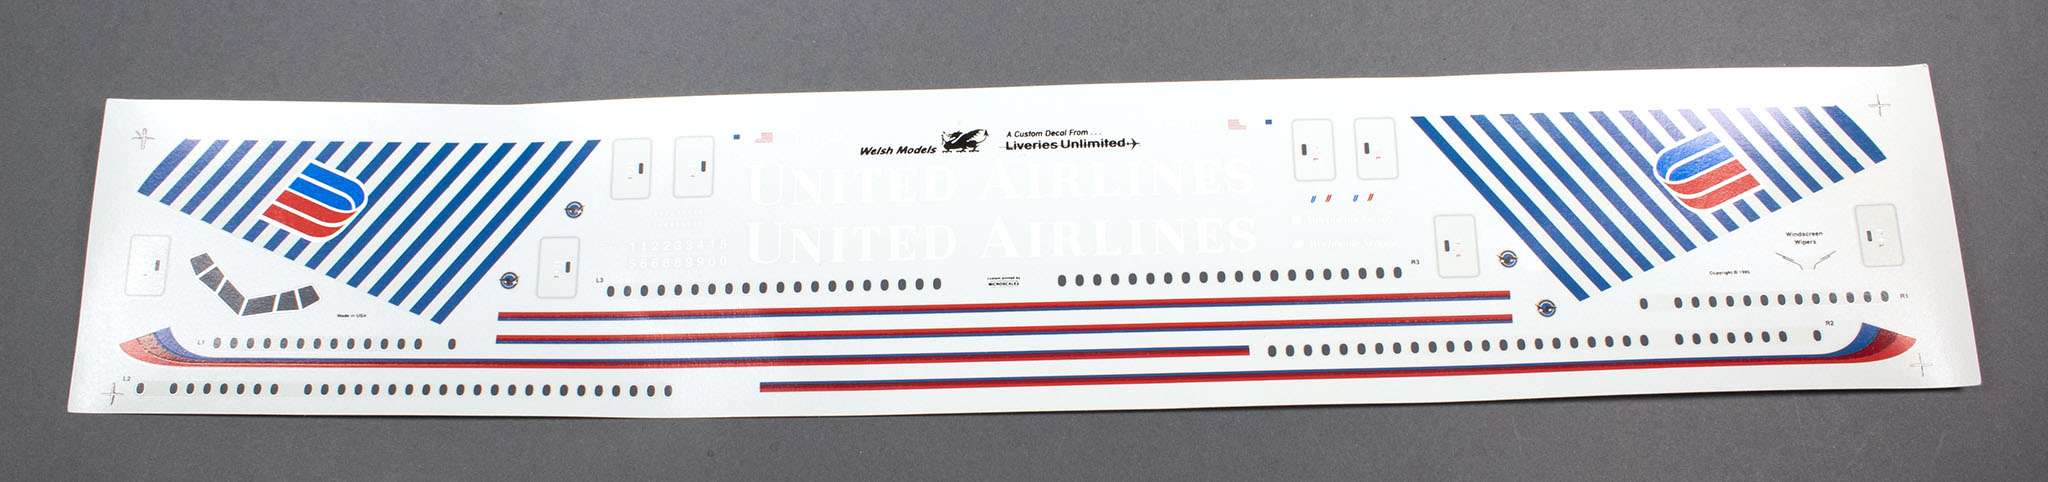
These look to be in pretty good shape, and presumably printed by Microscale, so I might even use them. While I generally favour building either Aussie liveries (I'm not aware of any Aussie airlines using the 777-200, but may be wrong) or special schemes, it's not something I'm slavish about, so this might save me having to purchase aftermarket decals that might not even fit.
Kev
- Derek B, TankBuster, chaos07 and 6 others
-
9
-
34 minutes ago, LSP_K2 said:
Rather surprisingly, there are no antennas or beacons provided in the kit, at least that I've been able to determine.
You can get some aftermarket parts from CRM, which I used on the Minicraft 757. I still had to scratch-build the anti-collision beacon, though.
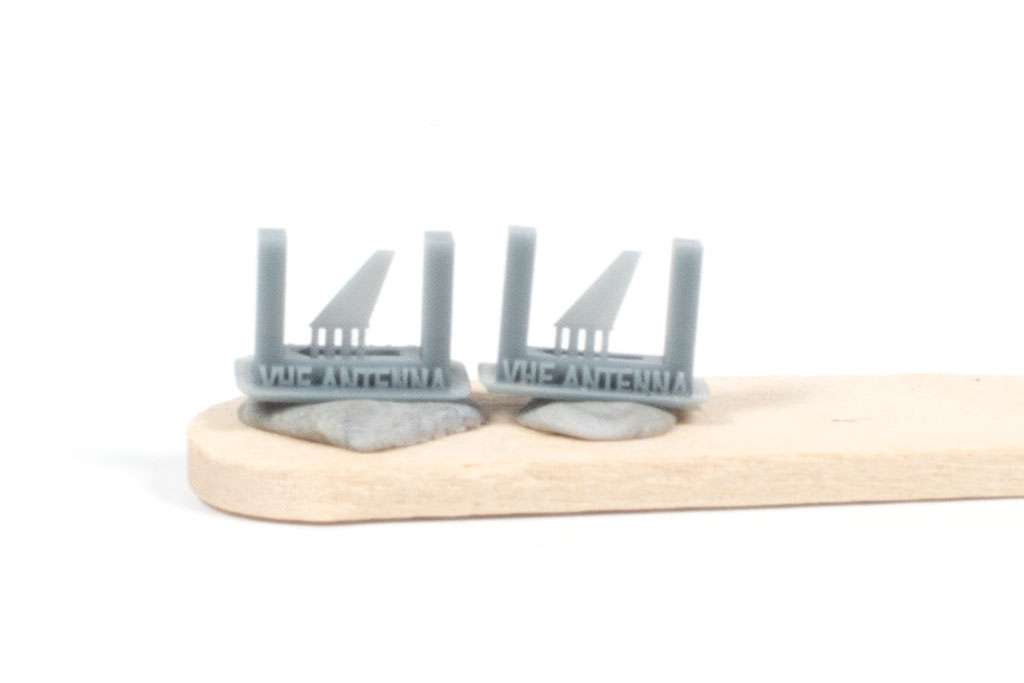
Kev
-
Lovely work, Michał! And now the subject of this week's banner image on our Facebook page:
https://www.facebook.com/largescaleplanes
Kev
-
-
Great stuff, John!
Kev
-
-
-
Elegant solution, Andy!
Kev


1/32 Macchi Landing Gear Legs Now Available for Pre-Order
in Vendors Board
Posted
I might have to get some of these for my 21st C kit, as they're terrible in that one!
Kev