

trenchard
-
Posts
36 -
Joined
-
Last visited


-
Woopee!! Got the cockpit set from Fotocut - Cheers Fred!! Photos will follow........Got a new camera and WILL read instructions!! On a side note I ordered the stencils from Hobbydecal (Many thanks again to those who recommended them) and as I awaited an E-mail for payment I instead got an E-mail that they had shipped! So thank you all at hobbydecal!! I'll need to do my best on this beastie now On the techmod front - I tried Hannants but they're not in stock Q. If I obtained a 1/48th scale set,(such as the Eduard kit) scanned and blew them up to the appropriate scale. Has anyone any thoughts on using this method to print the decals? I think the Griffin looks great Will up photos son R

-
and what the engine looks like I've also opened the exhausts I'll be fiddling with the gun bays next R

-
.......I did mean "read the instructions" (it;s been a long week) Heres the cowling dry fit

-
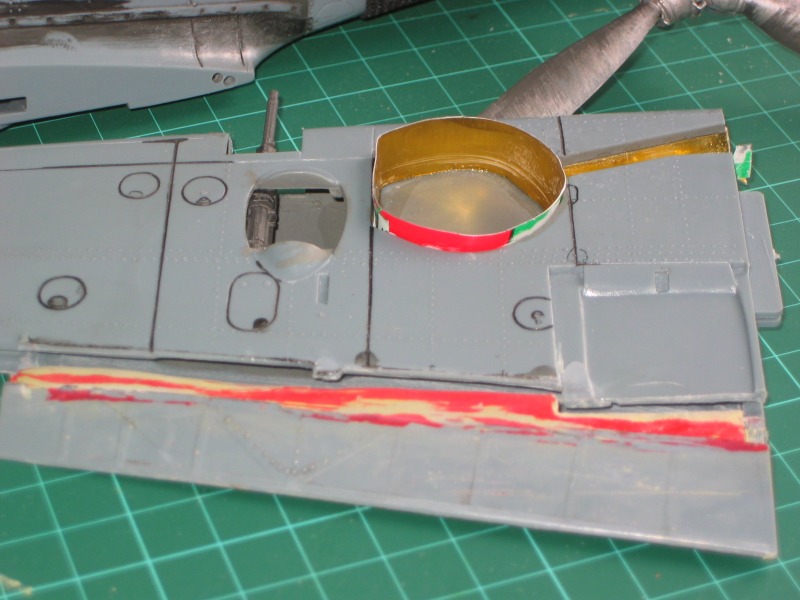
Hi All I really need to reaf the instructions for the camera....... Flap cut off - Filled and shaped the wheel well almost completed
-
Hi All Thanks for the comments and especially the help on the decals/transfers. I've ordered the Hobbydecals sheet and I still want to get the techmod as I want to try the scheme noted here. No photos as yet but I've been busy finishing and dryfitting the engine basic assemly and painting of the pit The biggest task nearly completed is the filling in of the wheel wells - A bit Heath robinson but it seems to be ok. I've cut the flaps but i'm still puzzled on how they deploy with the rads under each wing - I need to do more digging for illustrations. I've also has to thin the trailing edges of the upper wingas their around three mill in thickness!! A tip for the cowl fit is to assemble the engine block then when you attach the piston cases (that form the inverted 'Y') try to space them as far apart as possible. This helps with the cowl fit. still waiting on the fotocut etch with great eagerness Have a good one and I'll get graphics up ASAP Robert

-
Hi All Fiddled around with the engine a bit more - nearly where I want it to be I've been flitting from one item to the other and a few (no a lot!!) of queries have popped into my head re this buid.. The cabling for the engine - Is it all metallic? Is the cables mounted on the engine supports the same colour? (the reason I ask is that I thought elecrical wiring was yellow with O2 being blue) FLAPS I've some photos of these and I#m stumped how these operate with the underwing rads As for the wheel wells.............................................. BTW the colour scheme is RLM02/71/65 I'm going with the techmod decals (If I can find a british supplier) Have a good one! R

-
Should say sorry on the focus - I need glasses! R
-
I've undercoat the engine - Im still looking for a decent ref on the cableing from the firewall to the engine bay but I think I'll work with what I have. The preparation work will be enjoyable - Not sure about what to do with the exhausts yet Robert

-
Hi all I've always had a thing for this kit. I've not seen many builds of this one so I thought it's a perfect way to break my duck! I've ordered a fret from Fred @ Fotocut for the cockpit and some other areas Thanks to Radub for his advice on the Slats I'm now going to speak to Hobbydecal for some stencils - Any opinions on them before ordering would be most helpful!! I'm also looking at the Montex masks - again any advice would be great. Robert
-
Thanks for that - It makes my life a bit easier in that I'll leave the slats uncut. Is your canopy coming out in 1/24th? T
-
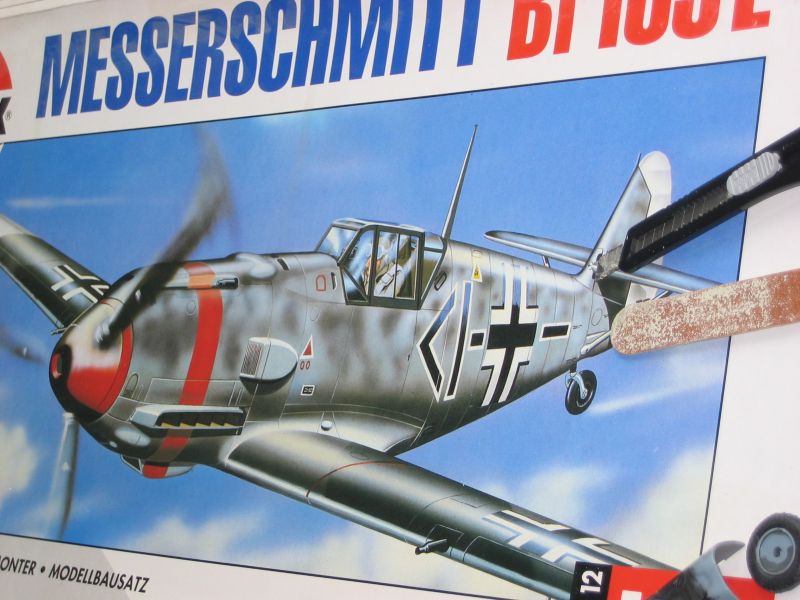
Hi All I've obtained a cheap 1/24th scale Airfix me109 and I've contacted Fred from fotocut for his detail set (thanks Fred!! ) I'd like to ask the help of some of you ME experten on the question of the forward slats. I understand theyre gravity controlled do I would have thought they'd be extended when parked. My issue is I've only saw the wings with the slats 'closed'. Any clarification would be most helpful. While I'm rattling on could anyone clarify if the flaps were positioned down when stationary and if they were one unit or two per wing? As a final thought, any comments on the Airfix Kit? Thanks again T
-
Hello Chris You mention the 'hot metal' method for putting the acccess panels on the wings/fuselage Can (or have you already) described this? Beautifully worked kit, I look for updates everytime I visit 'Father T'
-
I've always loved the design of this aircraft (two big engines, and lots of attitude) and while tamiya et al have the 1/48th scale covered, the parts for these are readily available. I want to model in 1/32!! I'm in for the long haul on this one!
-
Hello there I'm new to the website and relatively inexperienced about modelling. I am now getting my feet wet in the 1/32nd scale. Could anyone help me by offering any advice on after market parts for Revells' 1/32 Beaufighter. I've got a load of reference but I can only scratch build so far!! The observer/gunners position is a major endeavour. It would be interesting to know if there is any resin upgrade kits for the kit pre mark V Any info would be really appreciated